


BMW E36/E46
Brake Fluid Flush DIY
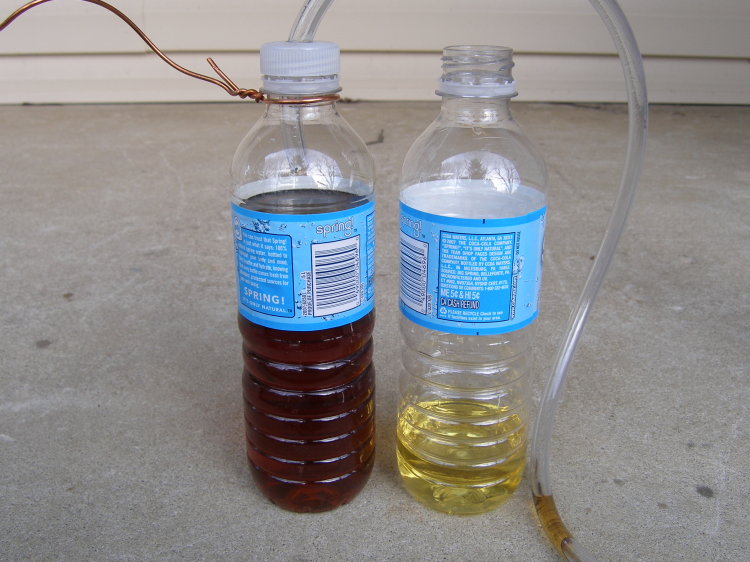
Is that a refreshing sun brewed ice tea or two year old brake fluid?
Introduction
This DIY article details the tools, equipment and processes required to flush the brake fluid of the E36 and E46 BMWs as required by BMWs recommended maintenance schedule. The process may be applied to other BMWs as the technology is quite similar, but as I don't have any experience with them I won't cover them here.
Why Change Brake Fluid
Brake fluid is hygroscopic. That means when exposed to air brake fluid will absorb the ambient moisture from the air. This contamination lowers the boiling point of the fluid and thus reduces the upper temperature limit tolerance of the brake system. In the worse case scenario contamination of the brake fluid can result in a near complete loss of braking power. Truth be told, however, most street cars are never driven in a way that will test that extreme.
The real threat from the absorption of moisture into the fluid on a street car is corrosion. The stock BMW brake calipers are cast iron and cast iron does not react nicely with water over time. If you allow the fluid to remain in the system too long the water can cause pitting on the internal surfaces of the caliper and piston and in an extreme case cause the piston to bind -- which translates into major brake system work and a commensurate hit to the wallet.
Of course, the absorption of moisture is not the only reason to change fluid. Brake fluid absorbs a lot of heat that is transmitted through the caliper body during repeated braking action. Over time, the heat cycles cause the fluid to break down and this again reduces its boiling point. This breakdown is most evident in the change of fluid color over time. The fluid is, for lack of a better term, "burnt".
When to Change Brake Fluid
How do you know when it's time to replace your brake fluid?
The first and most obvious indicator is color. If the fluid in the reservoir looks substantially darker than the new fluid, it's time. The problem with using color as the sole determining factor, ignoring the oddity of dyed brake fluid, is that there are many shades of color and, frankly, I have no data that correlates color with fluid performance. Cars driven on the track present another problem with regard to color. Since brake fluid does not circulate through the system in any appreciable manner it is possible to drive a car hard on the track and have good fluid in the reservoir and burnt fluid hidden in the calipers.
That said, for the average street car the fluid should be replaced once a year. Note that this interval is specified in calendar time and not mileage. Low utilization vehicles are not exempt from this requirement for the reasons discussed above. If you drive on the track or do any kind of serious performance driving you might need to change the fluid far more frequently. Most tracks, for example, require it be done within the last six months and most regular track drivers simply replace fluid before each track day for peace of mind.
Interestingly, BMW used to specify brake fluid flushes every year but once they migrated to the "free" scheduled maintenance program they pushed the brake fluid flush interval to two years. Make no mistake -- this was done to help BMW's corporate bottom line and nothing else. Although I have followed the two year interval on both my E36 and E46 with no ill effects, the picture above should convince you of the need to replace the fluid at some regular interval. Two years is better than never.
Flushing Vs. Bleeding
Flushing a brake system involves the wholesale replacement of the existing brake fluid with new fluid and assumes that the system has not been opened or otherwise compromised. Bleeding the system, on the other hand, is the process by which air is purged from the system and involves flushing of fluid only as required to purge the air. However, from a practical perspective most of the time bleeding is necessary a flush is also a good idea so the two operations are combined.
I make this distinction for a couple reasons.
- To point out that done improperly a flush can result in the need to bleed.
- Bleeding a car equipped with ABS can, in an extreme case, require the use of factory diagnostic equipment to turn on the ABS pump. For those of you outside of earshot of a dealer an alternative solution reportedly involves removing the ABS relay and shorting a couple pins to turn on the pump, but I wouldn't attempt that unless you have the requisite documentation and know exactly what you're doing (or, more to the point, you are willing to accept the repair bill for the possible damage to the system that may result).
Flushing Methods
There are three basic ways you can flush a brake system on any car:
- Two Person - The two person flush technique is so named because you'll need a helper to get the job done. It involves having one person outside the car at the bleeder screw and the other person sitting in the car to pump the pedal upon request. This the best way to bleed brakes without very costly high pressure bleeding equipment, but on older cars it may cause damage to the master cylinder if the pedal is allowed to drop farther than it does in normal operation. For this reason and the fact that I have no friends I did not attempt this technique. :-) Use at your own risk.
- Vacuum - This involves the use of a vacuum bleeding device to pull fluid out of the bleeder screw. If you have the right tools (like a vacuum bleeder driven with shop air) this is a fine technique for flushing brakes. In fact, the techs at my dealership use vacuum bleeders for this task and are happy with them. I wouldn't use the vacuum technique for bleeding brakes, however, because a vacuum in inherently more difficult to maintain and can result in air getting past the hose connection to the bleeder screw, thus giving a false indication of air being purged from the system. In other words, you can waste a lot of time and costly brake fluid trying to figure out if you're really done with the bleeding process.
- Pressure - This is similar to the vacuum technique except that it involves pressurizing the brake fluid reservoir to push the fluid down the hard lines and out through the bleeder screw. In my opinion this is the most effective technique for flushing brakes. It is also quite effective in bleeding brakes from what I've been told, but I'll have to reserve judgment until the day comes that I have to do some bleeding with it.
Prerequisites
To flush your brake system you'll need the following:
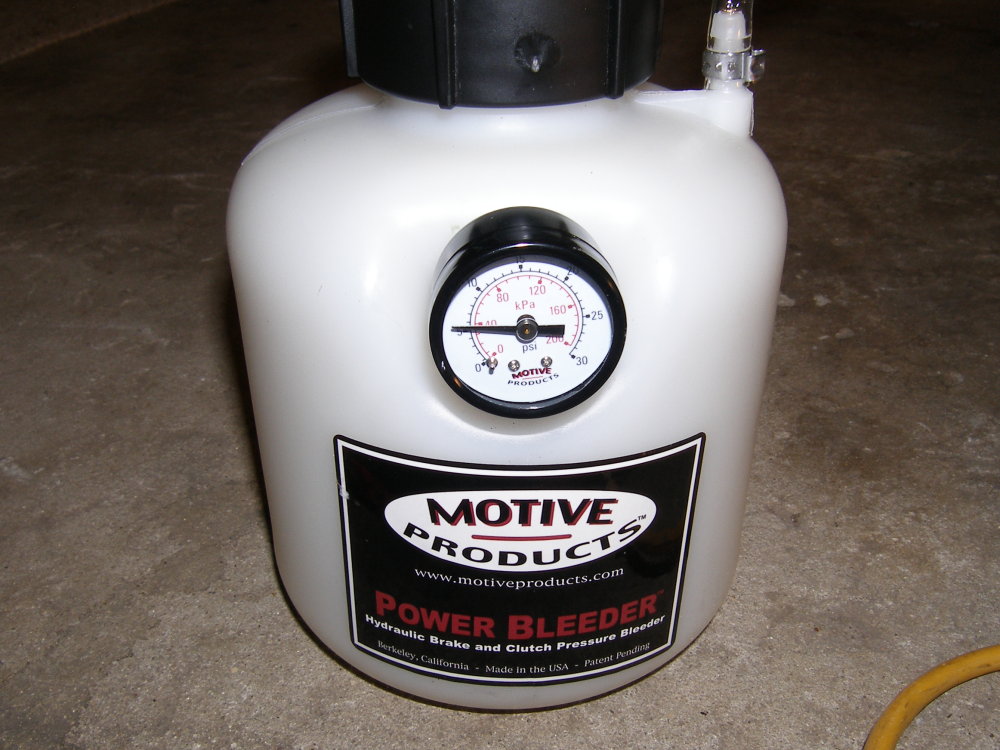
- Pressure bleeder. I used the Motive Black Label unit, but you can use anything you can either buy or build provided it's equipped with a pressure gauge.
- 7mm and 9mm box-end wrenches for the bleed screws. My E36 uses 7mm front and 9mm rear while my E46 uses 9mm on both front and rear, though some early E46 models reportedly use a 7/9 split as well. Best to have both sizes just in case.
- 1 liter can of DOT4 or DOT4 LV brake fluid. BMW supplies 300 ml bottles for $9 each. That's $27 for the job. Or, you can buy 1 liter cans of aftermarket fluid for $12 each. BMW recommends DOT4 LV (Low Viscosity) for all vehicles, though it is only required for vehicles equipped with DSC (E46 and later). The E36 may continue to use standard viscosity. I use ATE TYP200 in the E36 and Pentosin DOT4LV in the E46.
- Waste fluid bottle (buy or build yourself). About $3 in parts if you want to build. Lisle makes a small cup with rubber adapters for all sizes of bleeder screws for about $6.
- Safety glasses, preferably a type that seal around the eyes. You'll be working in the vicinity of pressurized brake fluid, after all.
- Rubber gloves
- Irrigation Syringe
- Small funnel (must be clean and dry)
- Basin to hold old reservoir fluid. I recommend something much larger than you might otherwise consider acceptable so to prevent splashes from exiting the basin.
- A roll of blue shop towels
- About two hours if this is your first time, 1 hour otherwise.
If you decide to build the waste fluid bottle you'll also need:
- Half-liter water bottle with screw on top
- 18" length of 1/4" ID (3/8" OD) clear plastic tubing.
- 24" length of 12 gauge copper wire. Used to tie the bottle up above the level of the bleeder.
- A means of drilling the cap out to accept the tubing (1/4" drill bit works well)
Building the Waste Bottle
It's almost not worth mentioning how to build the waste bottle but I figured I'd make a few notes.
First of all, it's important that whatever tubing you use is clear, as you will need to be able to see the color of the fluid as it exits the bleeder screw. The tubing also needs to be long enough to reach the top of the bottle when it is suspended above the bleeder screw.
The 1/4" inner diameter tubing fits the smaller bleeder screws reasonably well, but it's not as snug a fit as with the front caliper bleeders. I bought some 3/16" inner diameter tubing in anticipation of this but did not use it. Next time around I'll probably build up a second bottle and drill the cap to support the smaller tubing just so the fit to the smaller bleeder screws is better.
I used a pair of pliers to tightly wrap the copper wire around the neck of the bottle so there was no chance of it falling out. Brake fluid is nasty, corrosive stuff. You don't want the bottle falling out of the wire retainer and spilling or splashing its contents everywhere.
Procedure
After all this discussion about the brake fluid flush, you'll be quite surprised at how simple in principle the flush procedure is:
- Jack up the car and put it on four sturdy jack stands. NEVER rely on a jack to support the car, though it is certainly acceptable and even wise to keep one or more jacks extended underneath the car to prevent it from falling on you in the unlikely event that a jack stand fails or the car is pushed off the stands accidentally.
- Remove all four wheels and set both the wheels and the lug bolts aside somewhere out of the immediate work area. This prevents the need to do this later when your hands may be covered with brake fluid.
- Line the engine bay with old towels and pack some paper towels around the sides of the reservoir to catch the errant drop or stream of brake fluid. It is especially important to drape a towel down over the fender and maybe even the front left corner of the car so you can rest assured that no brake fluid will come into accidental contact with the paint. I can't emphasize enough how this would blow the economics of a DIY brake fluid flush right out of the ballpark.
- Put on your safety goggles and rubber gloves. Seriously.
- Open the brake fluid reservoir. Note that the level sender built into the reservoir cap uses a float, and that float rides up and down inside a green plastic sleeve. The sleeve is a fluid damper that prevents intermittent activation of the brake fluid level warning in the gauge cluster during maneuvering. Pull the sender and float out of the sleeve slowly and set it aside. Then pull the green sleeve out of the reservoir slowly and keep it directly above the filler neck. The sleeve will be about half full with brake fluid and will take about 15 seconds to drain out of the small hole in the bottom. When it's empty, wrap the bottom in a shop towel and move it aside somewhere safe.
- Use a syringe to extract the old fluid from the reservoir. You won't get it all but that's okay. Very carefully expel the syringe into a waiting basin, and be sure to prevent any splashing. The reason I point this out is because I found that when there is any air in the syringe it will tend to splash if you apply too much force. Take your time. When done, wrap the syringe in a shop towel and move the syringe and the basin out from under the hood and put them somewhere out of the way.
- Using a CLEAN and PERFECTLY DRY small funnel, fill the reservoir with new fluid. I recommend filling until you see the level rise to the point just below the top of the case. If you remember nothing else from this DIY article, remember this: NEVER LET THE RESERVOIR RUN DRY THROUGH THE ENTIRE FLUSH PROCEDURE . If you do, you'll be flatbedding the car to a tech with diagnostic equipment. It's as simple as that.
- Grab the pressure bleeder and attach it to the reservoir according to the instructions provided.
- Attach the appropriate size box end wrench to the bleeder screw on the wheel farthest from the brake reservoir. In US vehicles with the master cylinder on the left side of the car this means you'll start at the right rear. Position the wrench such that you can swing it one-half turn (180 degrees). Then attach the waste bottle tubing and secure the waste bottle above the level of the bleeder screw.
- Pump up the pressure bleeder to 10 to 15 PSI. I chose 10 PSI because I felt that was safer and because I didn't want to deal with ty-wrapping the reservoir to the master cylinder as a precaution. After all, the reservoir is only press-fit into grommets in the master cylinder and it is not designed to withstand high pressure.
- Go over to the wheel and open the bleeder screw, making sure the tubing to the waste bottle doesn't fall off. You may find that the brake fluid flows very slowly, particularly on the wheel furthest from the reservoir. This is normal. Watch the color of the fluid in the tubing carefully. Depending on the rate of the bleed it can take anywhere from 30 seconds to several minutes to flush the line. Throughout the bleed, pump up the bleeder as necessary to maintain the original pressure. When you are sure that you see the new fluid exiting the bleeder close the bleeder screw firmly (but do not strip it!)
- Depressurize the pressure bleeder and remove it from the reservoir. Refill the reservoir to just below the bottom of the filler neck as you did before. For your own sanity, I suggest refilling after each wheel. When done, reattach the bleeder and pump it up to 10 PSI.
- Move the box end wrench and waste fluid bottle to the wheel that is the next farthest from the reservoir. In this example, that's the left rear, followed by the right front, and finally the left front. Open the bleeder to start the process again, and repeat it for the remaining wheels.
- When done flushing at all four wheels, depressurize and remove the bleeder and set it aside. Then fill the reservoir to an appropriate level, removing fluid using a NEW syringe if necessary. The "appropriate" level will depend on how long your brakes have been in service. If you are doing this flush prior to a brake job (meaning your brakes are spent) you are advised to fill the reservoir only to the minimum level (or about 1/2" below the MAX if you can't see that) because pushing the pistons back into the calipers will force fluid back into the reservoir and cause the level to rise by about 1/4" per axle (hence the 1/2" recommendation). In any case, the MAX level exists for a reason and must not be exceeded. Finally, reinsert the green fluid damper and close up the reservoir.
- Go around to all of the bleeders and double-check that they are tight, clean the bleeders using a shop towel, and then reinstall the protective caps.
- Get in the driver's seat (carefully, mind you, as the car is still jacked up at this point) and push on the brake pedal a few times. It should be nice and firm. If it isn't, you may have introduced air into the system. If this happens, you'll need to bleed the brakes. In this case I suggest grabbing a dead blow hammer and tapping 20 times or more in quick succession on the brake calipers as they are bleeding in an attempt to improve the bleeding process. If that doesn't work, you may have run the reservoir level down too low and will need to get the car to a technician with the proper diagnostic equipment to fix it.
- Reinstall the wheels and go for a test drive. Be sure to fully test the brakes before moving even a few feet and be ready to apply the parking brake to stop the car if the brakes fail for whatever reason.
- Grab a beer, because you're done!
Highlights
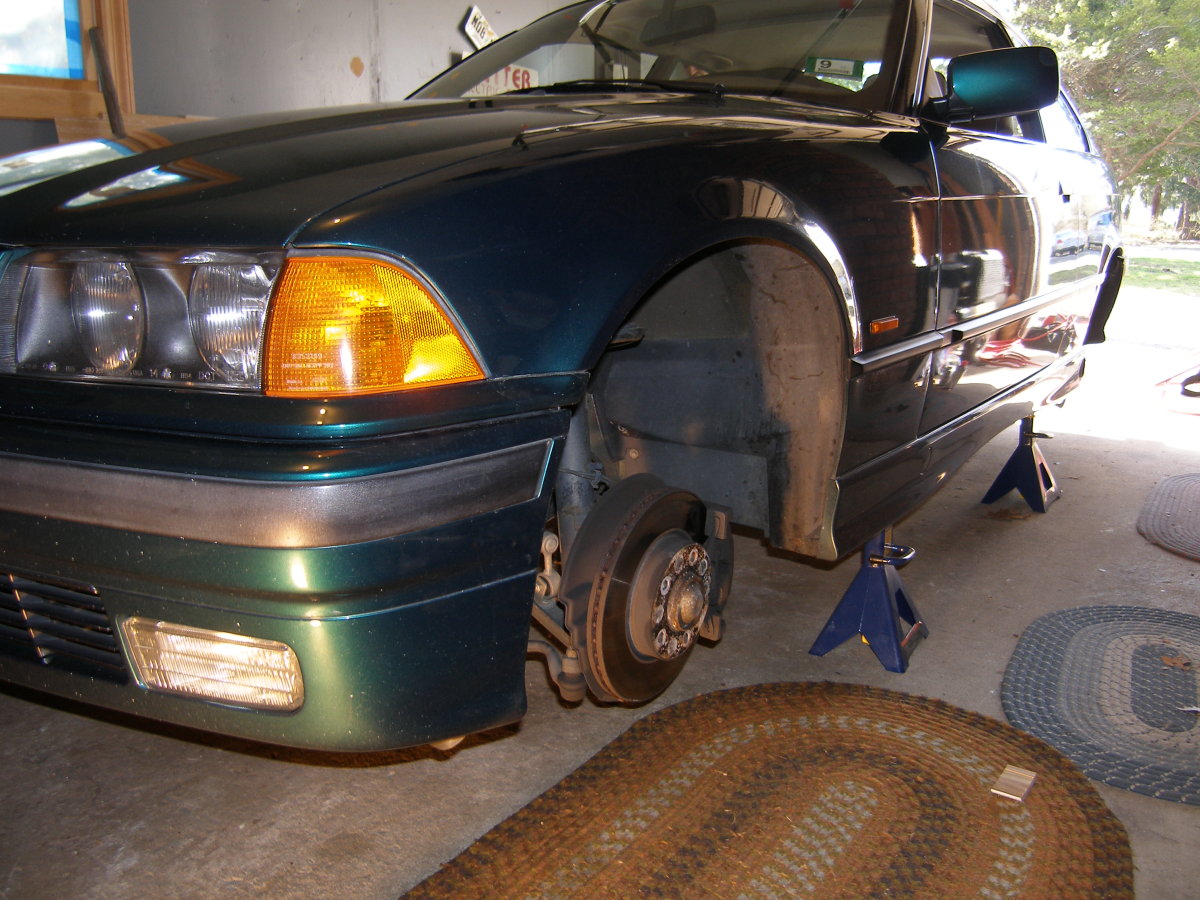 This was the first time I put four jack stands under the E36. I'm not sure if it's strictly necessary to keep the car level during the flush, but I did it anyway. |
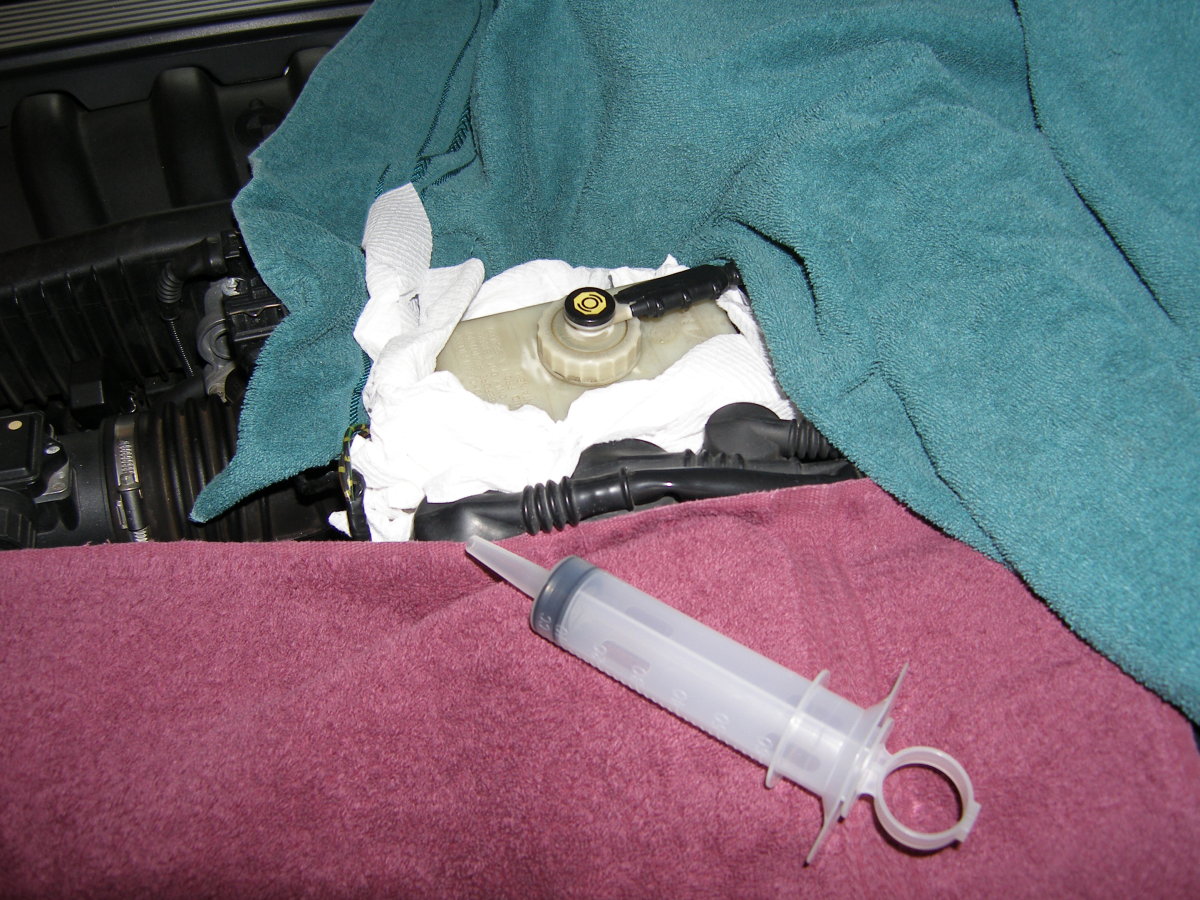 I used a common irrigation type syringe to remove the brake fluid from the reservoir and it worked great. No drips. Also note everything lined with towels to protect from drips, overflow. Absolutely essential to protect the paint. |
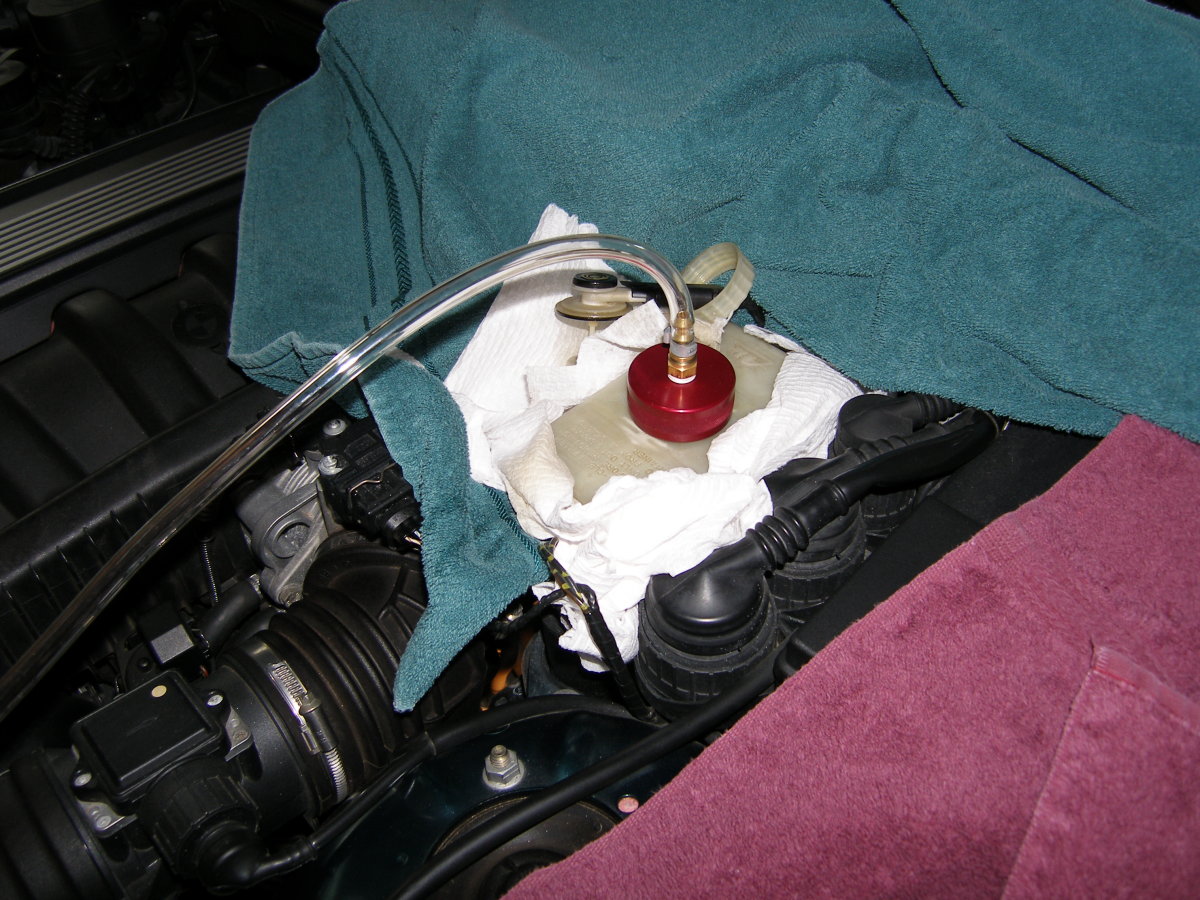 The Motive Black Label bleeder comes with this nice machined adapter that fits securely to the reservoir. The adapter swivels and thus prevents kinks in the line as you R&R the bleeder. |
 You'll note that I did NOT put the brake fluid in the bleeder. That's because it's a lot easier to clean up afterward and because I didn't mind refilling the reservoir after bleeding each wheel. Patience is a virtue. |
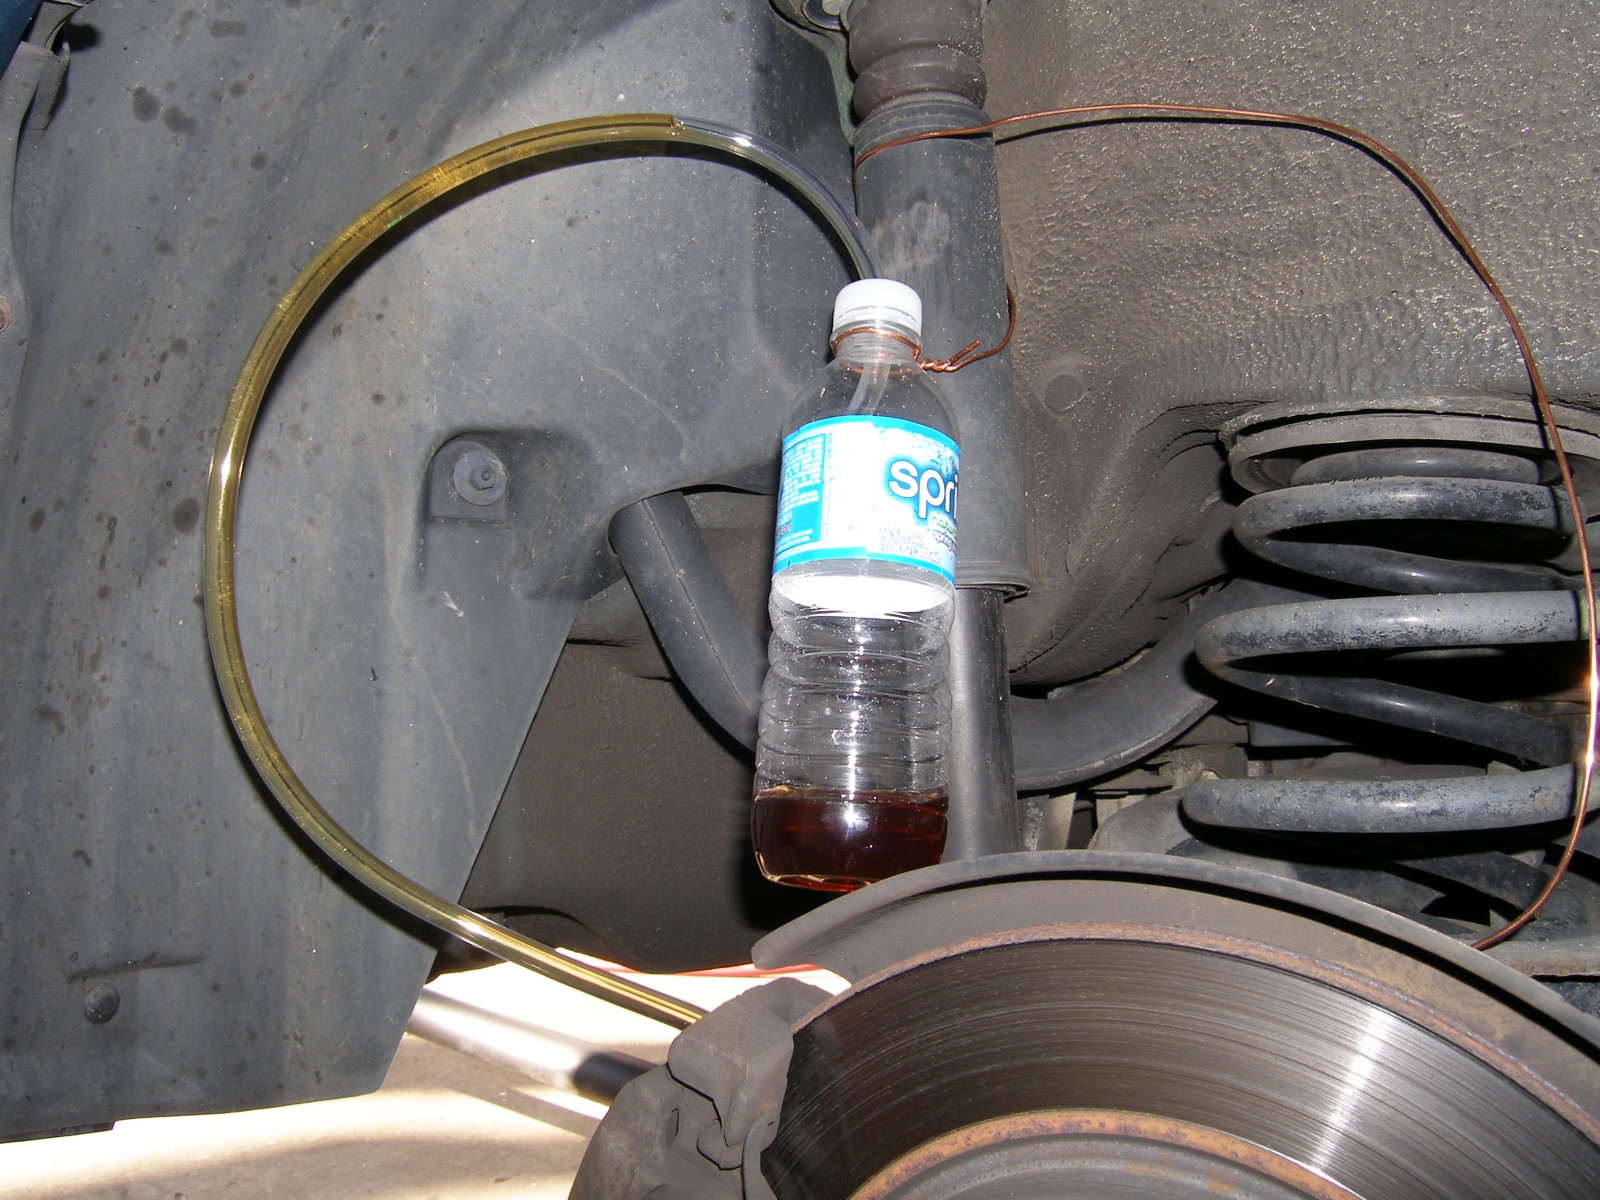 Here's my makeshift waste bottle in action. Note how the tubing does not reach very far into the bottle. That's so I can see how fast the fluid is flowing into the bottle. |
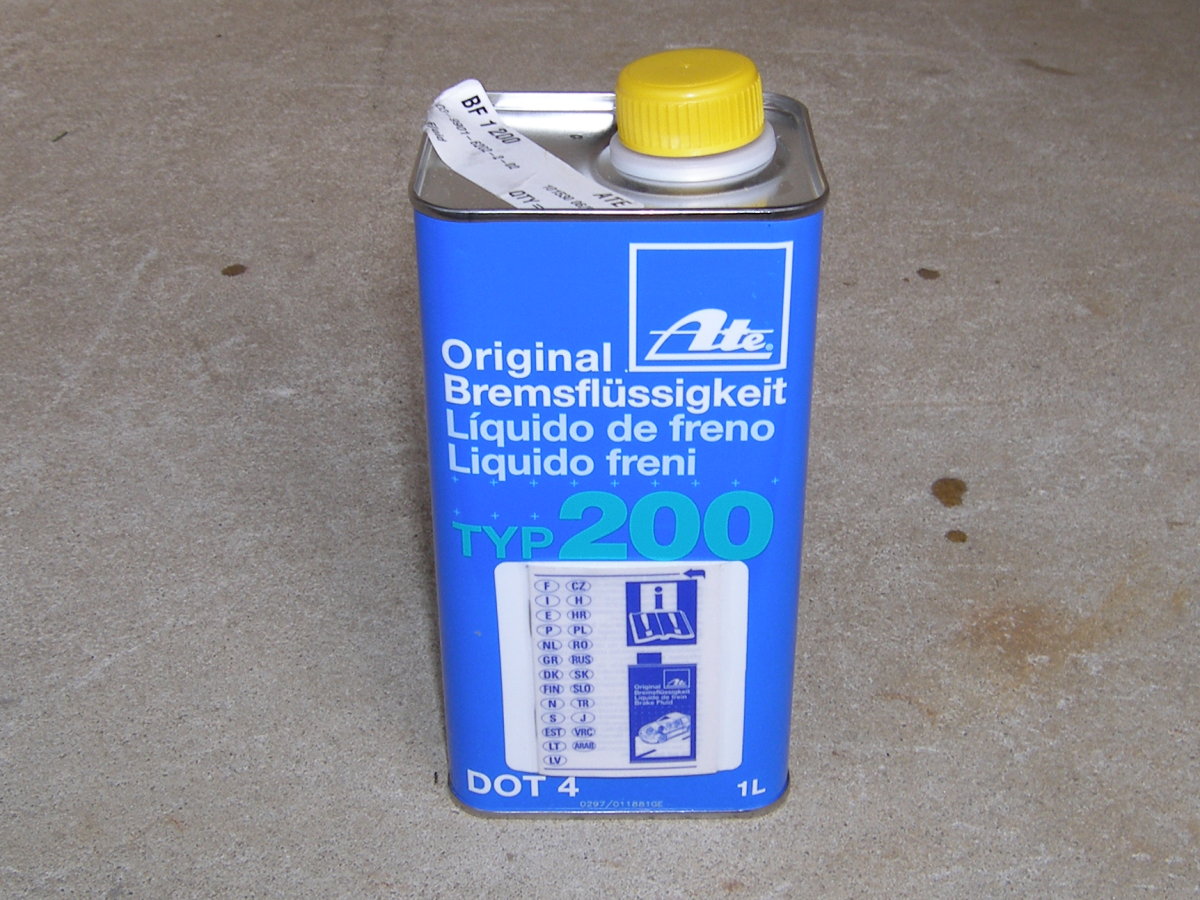 BMW DOT 4 fluid is, of course, fine for this job, but it's a lot more expensive than any aftermarket fluid. I don't know who supplies the BMW fluid, but I do know who builds the brakes. Hence the justification for ATE at a better price. |
Conclusion
A pressure bleeder makes quick and easy work of a brake fluid flush. I found this to be a 0 curse job (impressive in itself) and well within the reach of a DIY technician as long as the reservoir is never run dry.
And speaking of the reservoir, I chose to refill it after every wheel, but my guess is that I could have done two wheels without refilling. However, I was paranoid about not running the reservoir dry and I wasn't in a rush.
The process did not introduce any air into the system, even when I accidentally let the pressure get down to a couple PSI while bleeding the longest run so I think the entire process is pretty idiot proof.
This is a great way to save a couple hundred dollars and gain confidence in one's DIY skills.