


Sunday, November 9, 2014
New Rear Swaybar Installed
While overhauling the rear suspension back in 2010 I was planning to install new rear swaybar end links but I was so dead tired at the end of that project I gave up and decided to reinstall the swaybar as is. Fast forward to 2014. During an inspection earlier this year I noticed extensive corrosion on the rear swaybar with the powdercoat bubbled and flaking off in several places. Given the severity of the corrosion I wanted to address this before winter. And with the rear end exhibiting an occasional clanking sound I had real concerns that the swaybar was broken in half with the break perhaps concealed under one of the bushings. So today I swapped out the swaybar with all new parts and conducted a thorough inspection of the rear end.
I've already documented this process in my Swaybar Service DIY so I won't go over the details again but I will point out a couple things. I occasionally get email from people attempting this work, and one person I recall emailed me a couple years ago right in the middle of the procedure, evidently frustrated over his inability to press the end link bushing end onto the swaybar. I hadn't done the procedure in a very long time so today served as a reminder of what a PITA that job really is. But here's a tip: although the ID of the bushing appears constant for whatever reason I had better luck with one of the sides. Meaning, I pushed and pushed from one side to no avail, but then flipped it around and had better luck with that side. I'm not sure why this worked, but if you're doing the job and pulling your hair out, try that. Or just buy an aftermarket bar with rod end links and be done with it. Keep in mind, however, any aftermarket bar will alter the balance of the vehicle. If you are not skilled at suspension tuning you should probably stick with the factory bar.
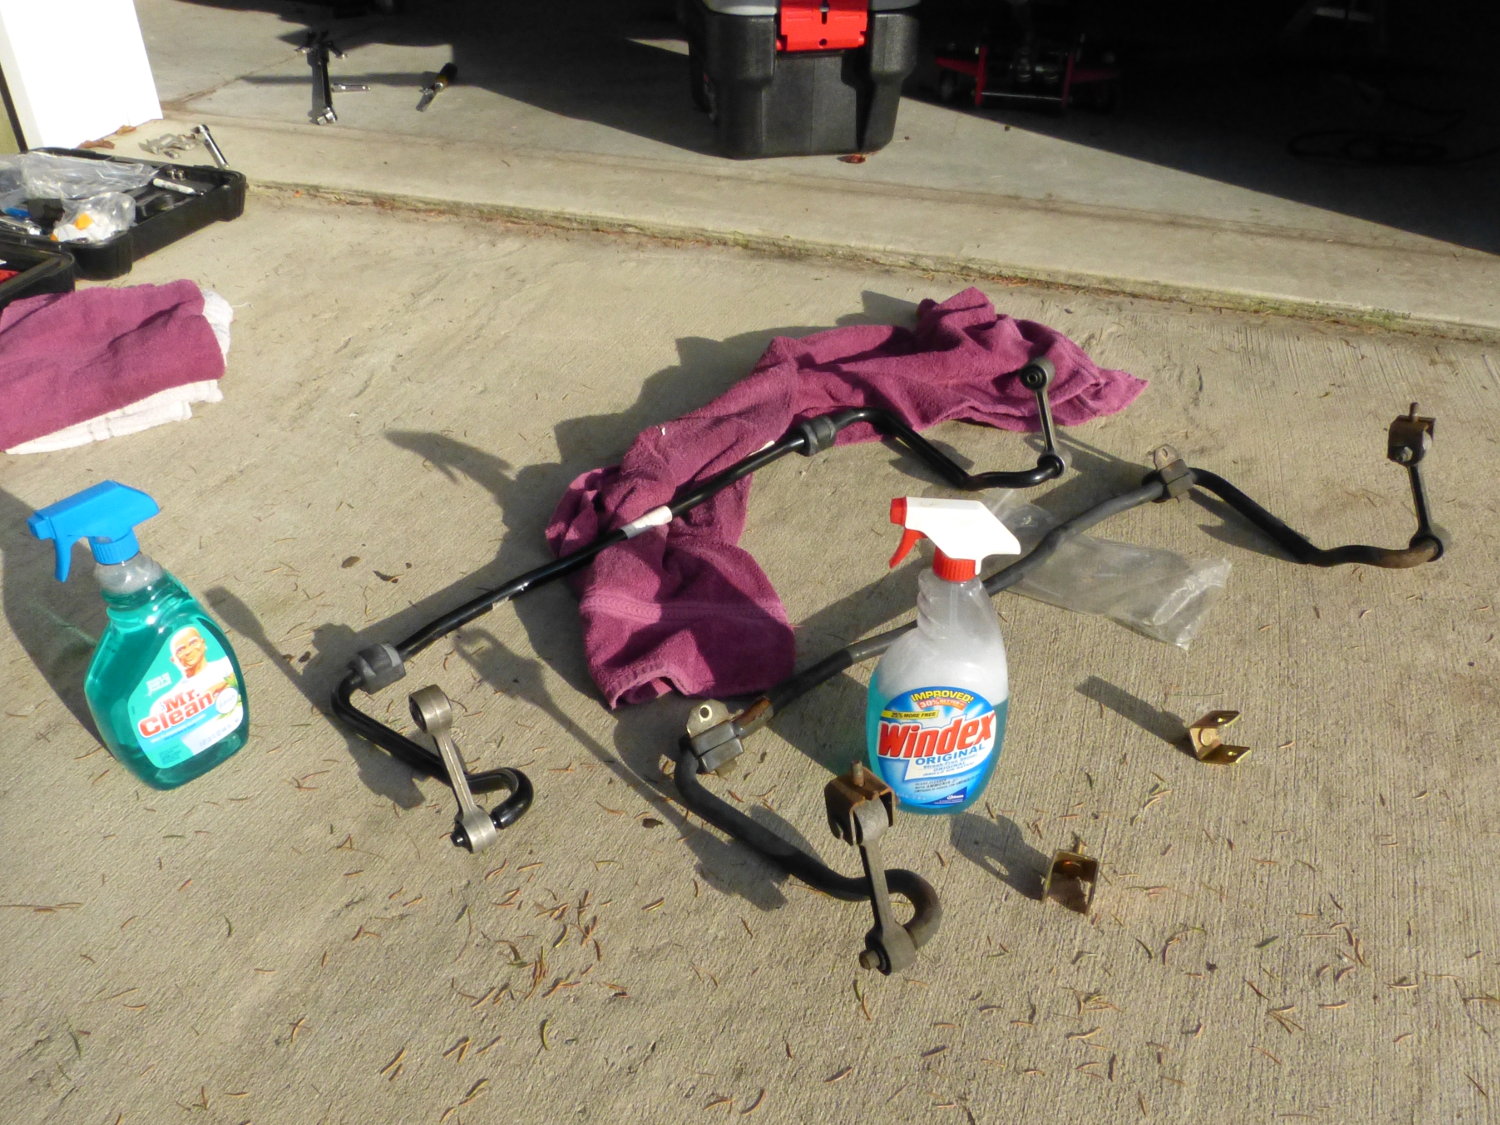 I couldn't find 409 anymore so I used some Mr. Clean and Windex. Neither appear to have the same degree of lubricity required to press on the new endlinks. I may have to special order 409 or Spray Nine online. |
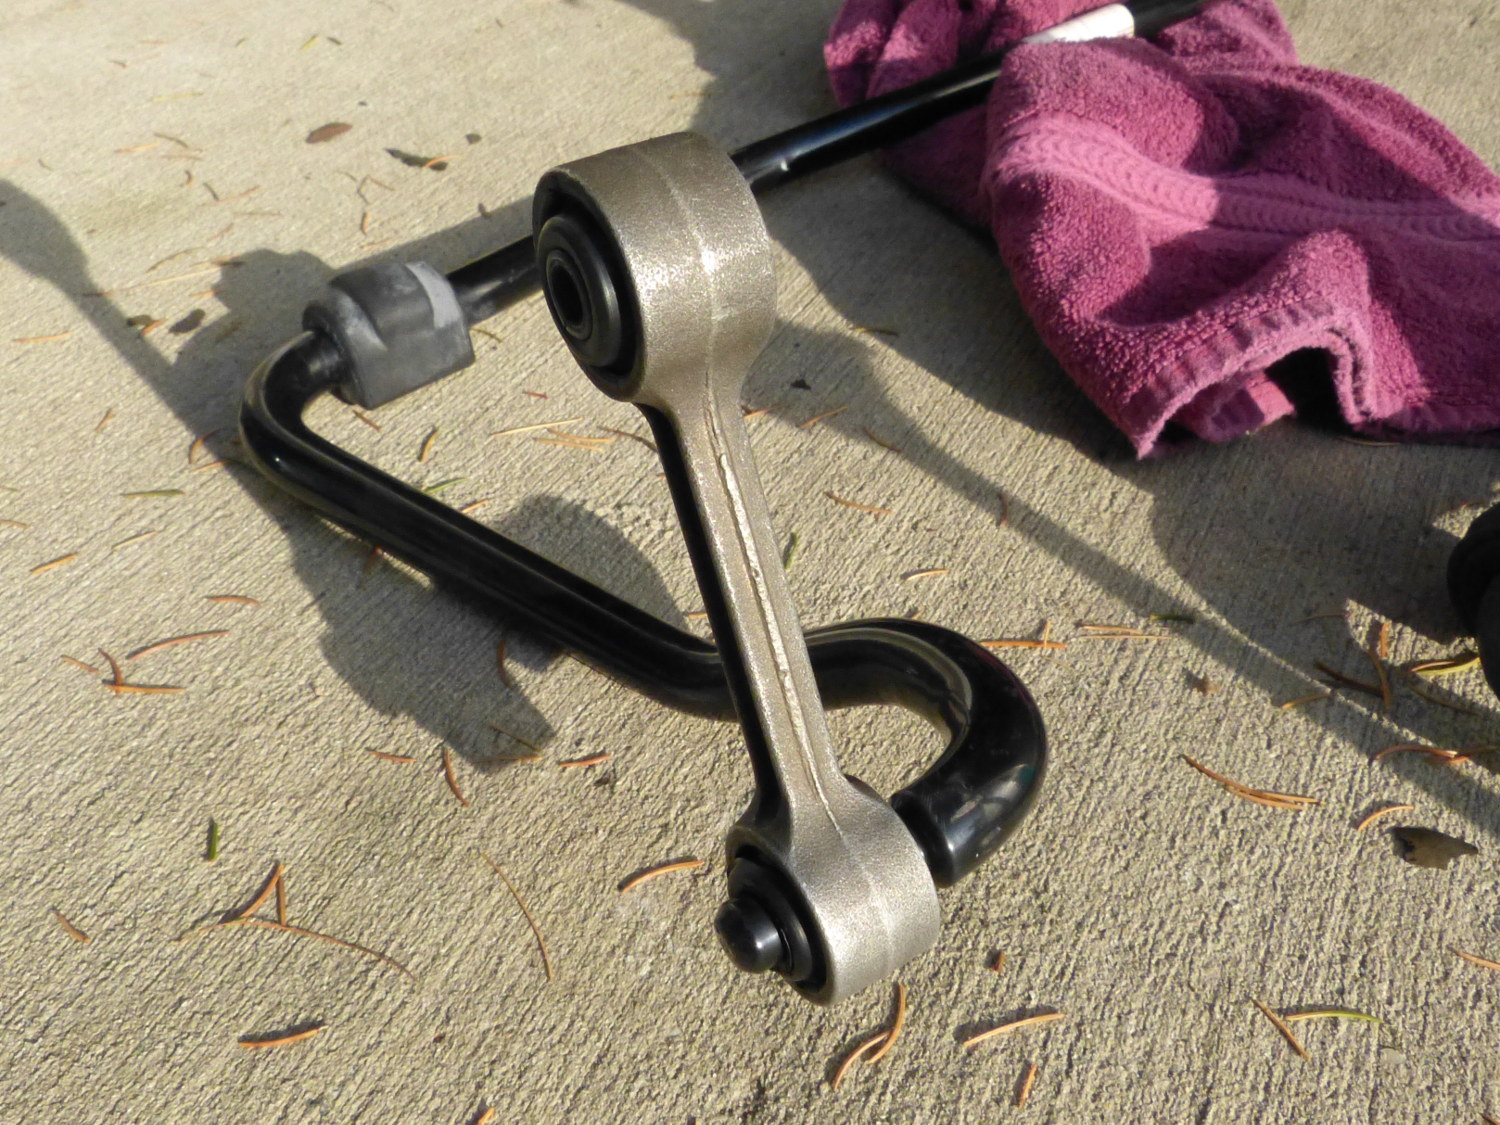 The new endlink installed. Note that I did not precisely measure the angle this time. I merely compared it to the old bar (one of the perks of having all new parts). Pressing these on isn't fun, but as you can see, it's quite possible. |
 Always replace the hardware that connects the endlink to the control arm. The self-locking metal nuts partially destroy the threads. Try to use those threads twice because you're cheap? Good luck cutting off the nut next time. |
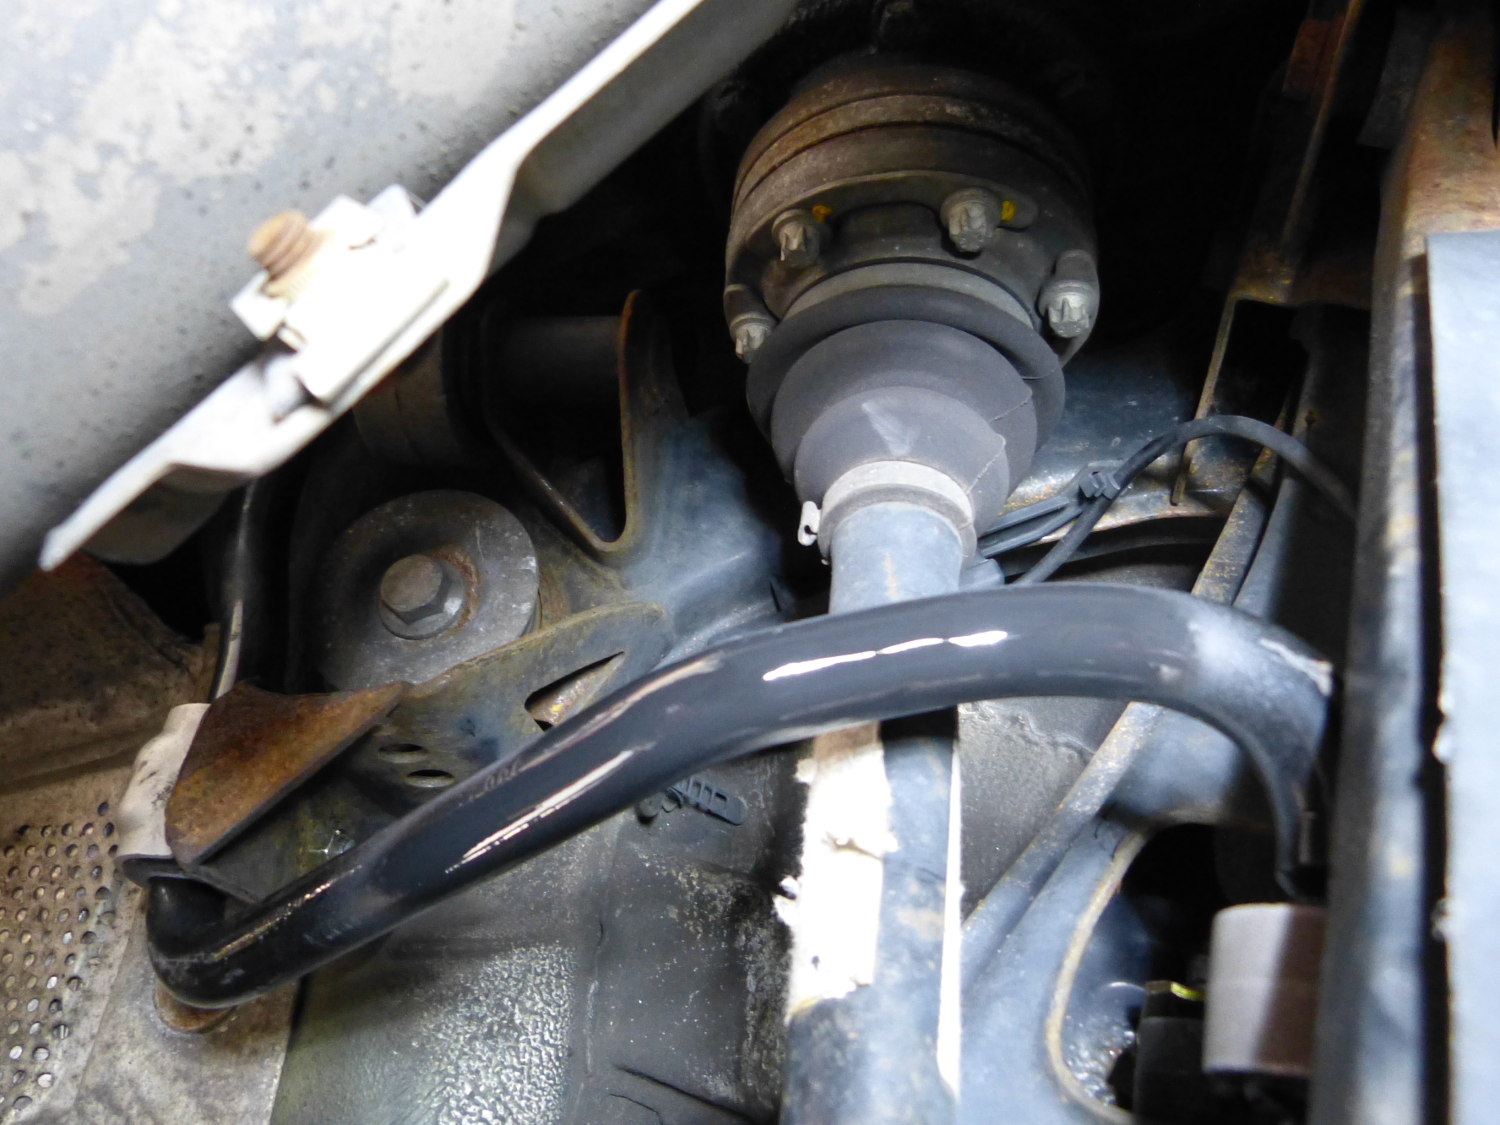
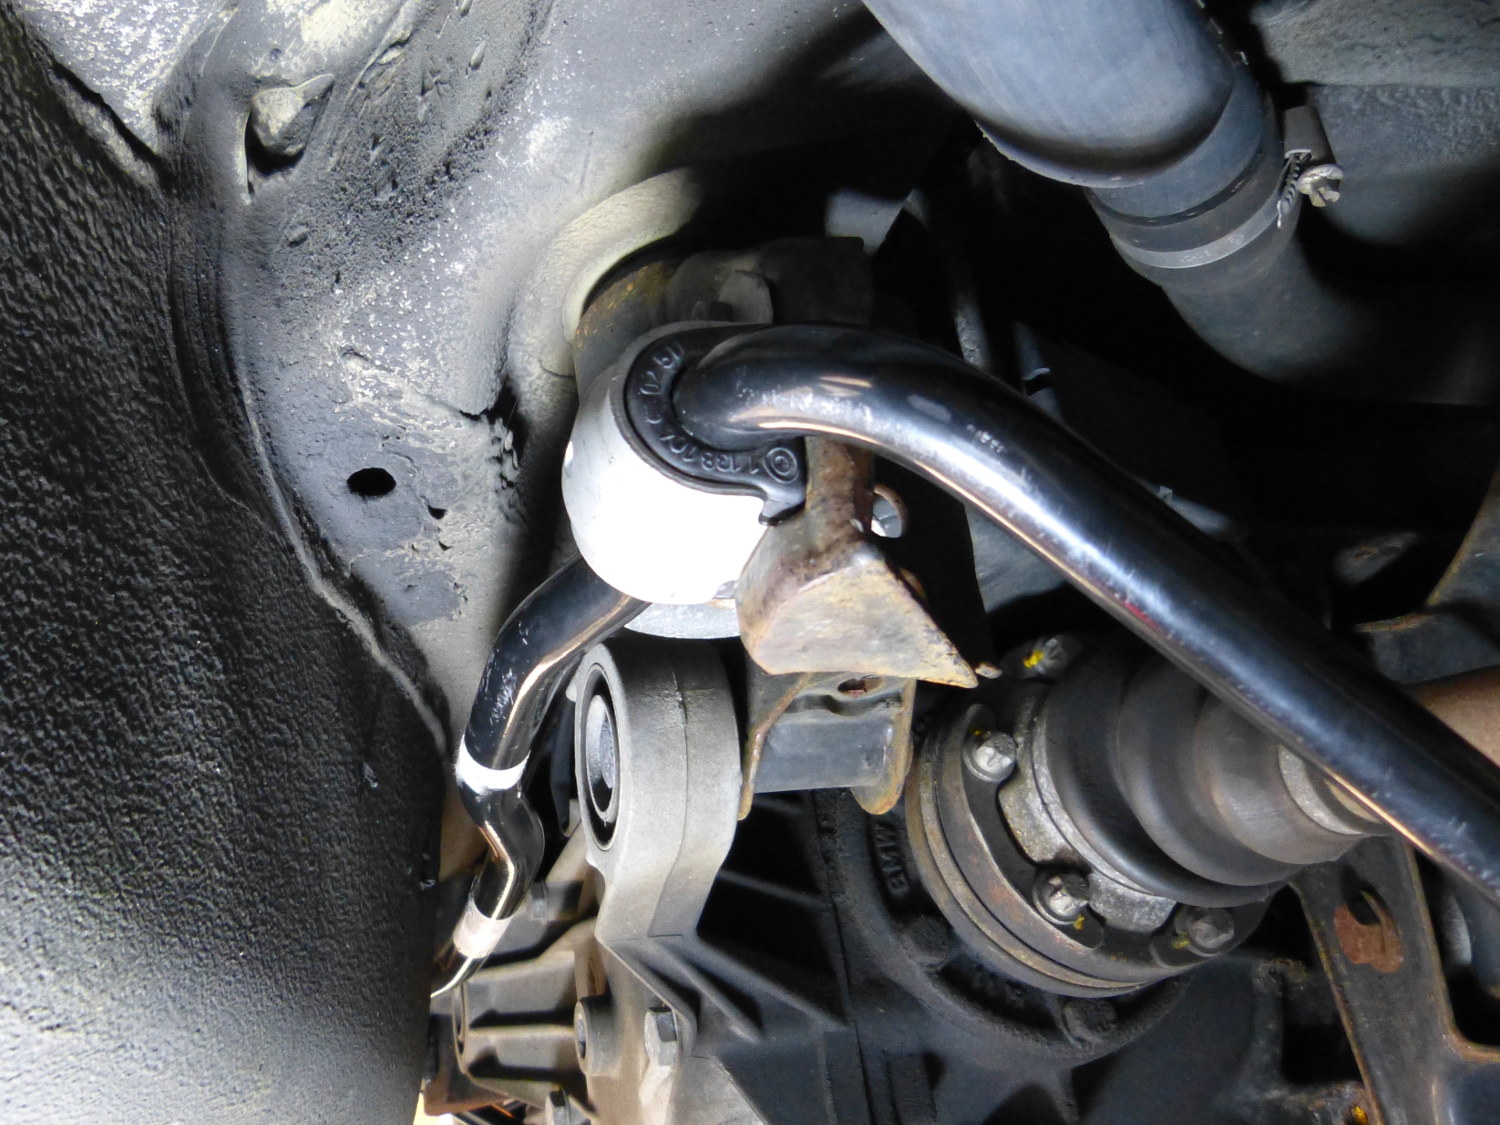 Just a perspective shot of the new swaybar installed along with the new bushings and brackets, which as you can see are now zinc plated. The older ones were cad steel and rusted like mad. These should last a lot longer. |
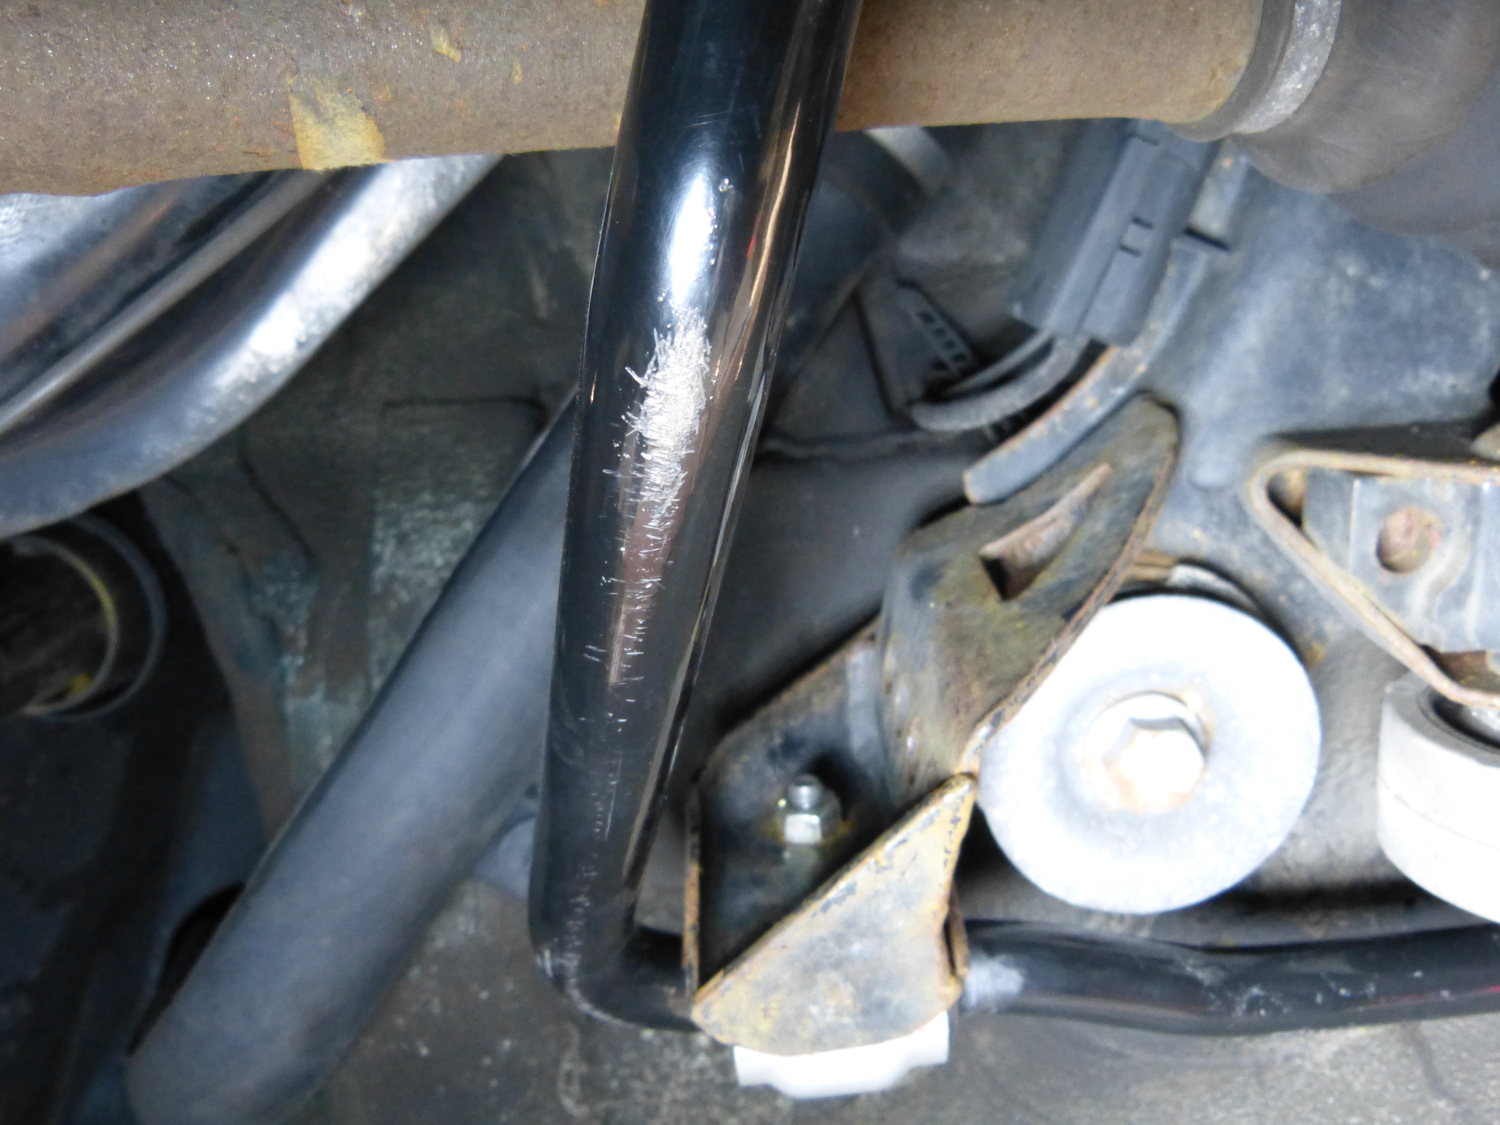 Ooops! Despite being careful I managed to scratch off the powdercoat on the base of both sides of the swaybar. Time to fix this so it doesn't promote rust. |
 To fix the problem I degreased the surface, draped a blue paper towel over the top of the bar to conceal the overspray and applied what I had on hand...some matte black in a rattle can. I resisted the urge to paint everything else under the car. |
Although I brought my mini router and some reinforced cutoff wheels just in case, I was really happy that the endlink top nuts that secure to the lower control arms came off without much fanfare. This may have had something to do with the fact that I splashed a bit of PB Blaster (a true rust penetrating fluid – unlike WD40 and other stuff some people use for this job) on all the nuts several months ago. They were not “wet” in the slightest, but they still came off easily enough. This is not the first time I have advocated the use of PB Blaster, but this is yet another reminder to have this stuff on hand. It may prevent the need to cut off the offending hardware. And trust me – because of the close quarters that job is NOT fun or easy.
I noticed a slit in the rubber (non-sleeved) bushing on both new endlinks. Given the similarity of the slit I believe this may be tooling related and caused by improper manufacturing procedures. If you buy new OE end links look closely at the bushings and think twice before accepting them if they are slit. I wasn't about to delay putting the car back together for this but it's clear that the crack in the bushing will probably contribute to early failure.
Another tip: the powdercoat on the new bar is quite thin. Without thinking I let the bar rest on concrete a few times and it wound up scratching the powdercoat and exposing raw metal. I wasn't about to leave this exposed so after the bar was installed I cleaned the area with brake cleaner, used a blue paper towel as a spray shield, and shot a bit of paint on the affected areas. It looked a lot better, but only time will tell if that will do the trick. The moral? Set the bar down on a towel when you're working on it, particularly when you're trying to press on the endlinks.
Looking at the old bar I can see that the endlink bushings were severely cracked and the subframe mounting bushings were quite compressed as compared to the new units. The drive home revealed a slightly quieter and composed rear end as expected but the clunk I've been trying to eliminate unfortunately remains. The overall inspection of the rear end revealed nothing of consequence, though I'll admit I did not have the time to pull the trunk liners out to inspect the top of the shock mounts. From below they seemed to be solid, but then again, it's not like pushing on the shock rods with my hands is going to apply anywhere near the same force as running the car over defects in the road so I have additional troubleshooting to do. In the meantime I've completed some essential routine maintenance and, in a matter of speaking, finally wrapped up the rear suspension overhaul(!)
Mileage: 252900