


Doug's BMW E36
DIY Microfilter Replacement
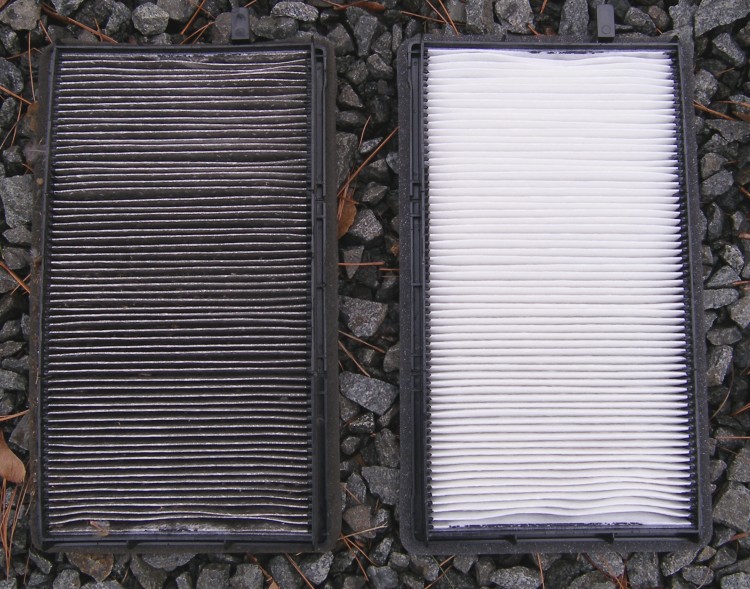
Which microfilter has been in service for 15K miles?
Pay attention. This will be on the quiz.
All modern BMWs filter interior air through a replaceable fine particulate filter called a "microfilter". On the latest vehicles, the microfilter(s) are located in easy-to-reach spots under the hood and take only a minute or two to replace. Since a microfilter was an afterthought on the E36, however, it's wedged in the only place BMW could think to put it -- on the upstream side of the evaporator coil. In other words, it's under the dash in a really inconvenient location.
The microfilter is aptly named, as it is sufficiently dense to catch more than just large leaves, twigs and bugs. The before/after shot above demonstrates how well it does its job. For this reason, if left installed beyond its recommended replacement interval it can contribute to odd smells in the interior, and if left in place beyond all reason, it can clog and thereby reduce the effectiveness of the car's HVAC system. BMW recommends it be replaced at intervals of 15K miles, and based on my experience that's perfectly reasonable.
This article primarily deals with left hand drive (LHD) vehicles because that is what I own. After this article was originally published a reader reported that the microfilter access panel for right hand drive (RHD) vehicles is located on the same side of the car as the LHD version. This means owners of RHD vehicles will need to remove the driver's footwell access panel rather than the passenger's or the glove box to replace the microfilter. Please make the appropriate substitutions in the procedure below.
Prerequisites
- BMW Microfilter, Part #64119069895
- #2 Philips screwdriver with 4-6" shank
- Vacuum cleaner
Which way is up?
Most of the pictures on this site are taken from the perspective of being upright. Some of the pictures in this article were taken while I was on my back in the passenger foot well and they have not been rotated or otherwise modified so that you can get a true sense of how things will look when you're in that position.
Procedure
I had the advantage of once seeing my technician do this -- quickly, I might add. The BMW TIS and some of the online tutorials, including one by Mann, the OE filter manufacturer, insisted I had to remove the glove box to do this job. However, my technician managed to do everything by removing the lower trim panel that forms the top of the passenger footwell. As it turns out I've found it easier to do it this way as well. So this DIY will explain how to do the job WITHOUT removing the glovebox.
The procedure to replace the microfilter is as follows:
- Remove the upper ("ceiling") trim panel in the footwell. There have been a few different designs of this trim panel, apparently, but mine is the latest and is held in place by two screws on the rear of the trim piece and a slot in the top portion of the kickpanel. The idea is to remove the screws, pull the rear of the trim panel down enough to get your hand in to reach the back of the footwell light and disconnect it, and then slide the trim piece toward the rear of the vehicle to remove it. I strongly recommend you put the screws with the trim panel and take them somewhere safe, like on a table in your work area. You don't want to drop those screws (yes, I'm speaking from experience here, but fortunately I found them before I pulled all my hair out).
- Remove the footwell duct work. This is shaped like a double "L". All of the E36's have been out in the field for so long at this writing that I highly doubt any original microfilters exist, but if yours has never been changed, removal of the duct work may take a bit more work because it is fastened in place with a plastic rivet that is only accessible from above. You have two choices here. You can take out the glove box to gain access to the rivet or just do what everyone else does, including my 30 year BMW technician -- wrestle the duct around until the rivet snaps. This may crack or break the boss of the duct that connects to the rivet, but it's not that bad, really. The duct is structured in such a way that it's not perfectly leak proof anyway and it doesn't need to be. The only thing I'd say is that if your duct breaks in half, you should probably replace it because you want the air in the footwell, not blowing across the vehicle's wiring harness.
- Move the wiring harness block to provide the clearance necessary to R&R the microfilter. The block in question is the one closest to the microfilter compartment and is attached to the adjacent blocks via two snap-fit connectors. To unsnap the connectors, place your thumbs on the edge of the block where it attaches to the other blocks and push upward enough to clear the receptacles the connectors fit into and then pull the block down as necessary to clear a path for the microfilter.
- Find the microfilter slot cover knob, twist it 45 degrees counter- clockwise and pull the cover off. This will expose the microfilter. You will notice that there is a tab on the filter itself. Push it toward the front of the car to unseat the filter, and then pull the filter out. Even with the wiring connection block(s) moved, you'll need to bend the microfilter toward the front of the vehicle to clear the blocks.
Now, let's install the new filter and reassemble everything.
- Run the blower motor for a few moments at medium speed to help blow any debris out of the open microfilter compartment. Outside of using a compressed air wand, this is the most effective way to clean out the compartment before you insert the new filter. This will most likely create a mess on the carpet, so you'll make good use of a vacuum here.
- Crack the new microfilter into thirds along the pre-weakened joints in the flange. You don't want to break the paper portion of the filter entirely in thirds. The point is to make it possible to bend the filter so it can be installed in same way as the old was removed.
- Insert the new microfilter. Remember that the flange of the microfilter faces toward the evaporator (or the rear of the vehicle). Push the filter fully into the slot and then seat it by pushing it toward the evaporator.
- Reinstall the filter cover and remember to twist the knob clockwise to lock it.
- Reinstall the connection block(s) to their proper orientation and secure them.
- Reinstall the footwell duct. Don't be afraid to put some weight behind the duct and twist and push as necessary to force it to snap into place. Note that if you broke the rivet during removal, unless you install a new one the duct may be a bit loose. This is okay. It won't push out because it has no where to go.
- Reinstall the footwell ceiling trim panel. Remember to insert the back of the panel into the slot on the kick panel and reinstall the lighting connector before pushing it up and reinstalling the mounting screws.
Highlights
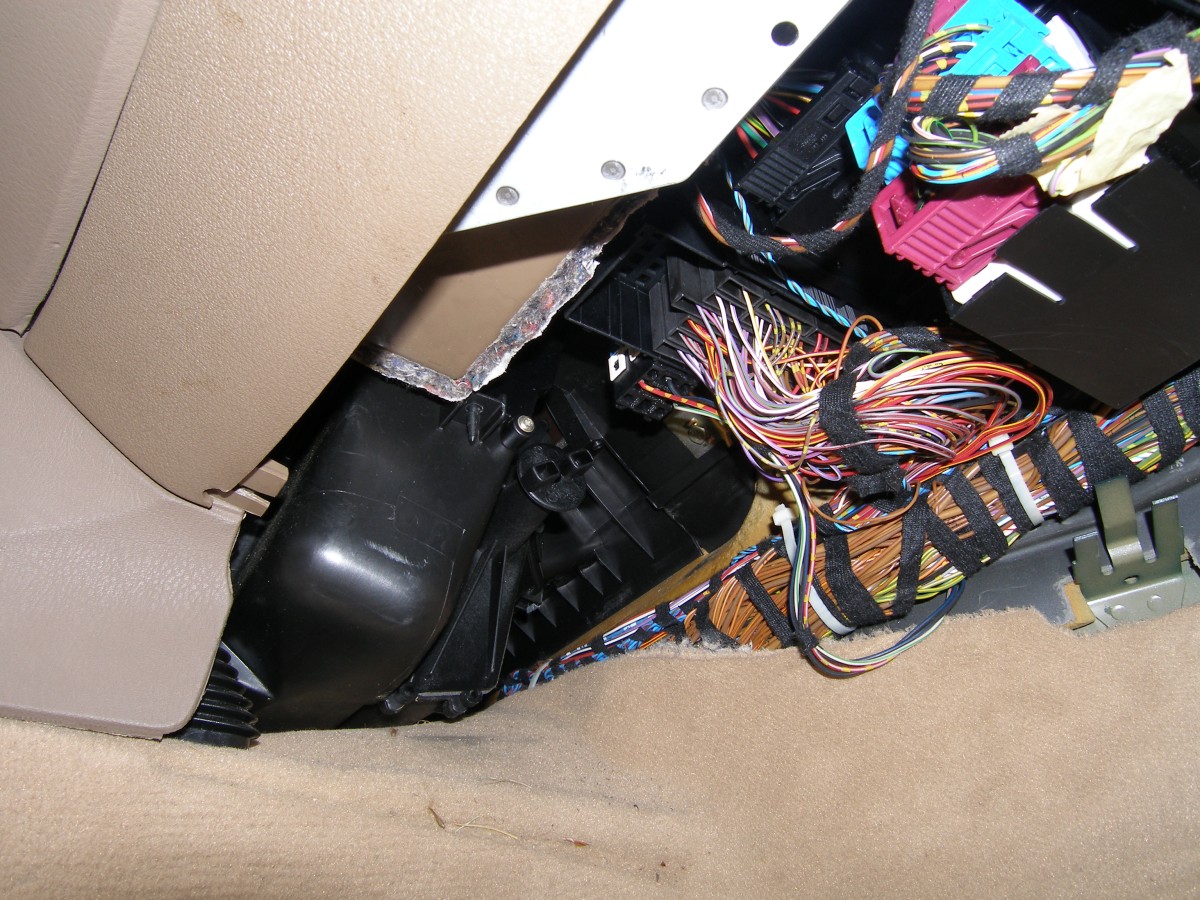 Fig. 1: Passenger footwell (left) |
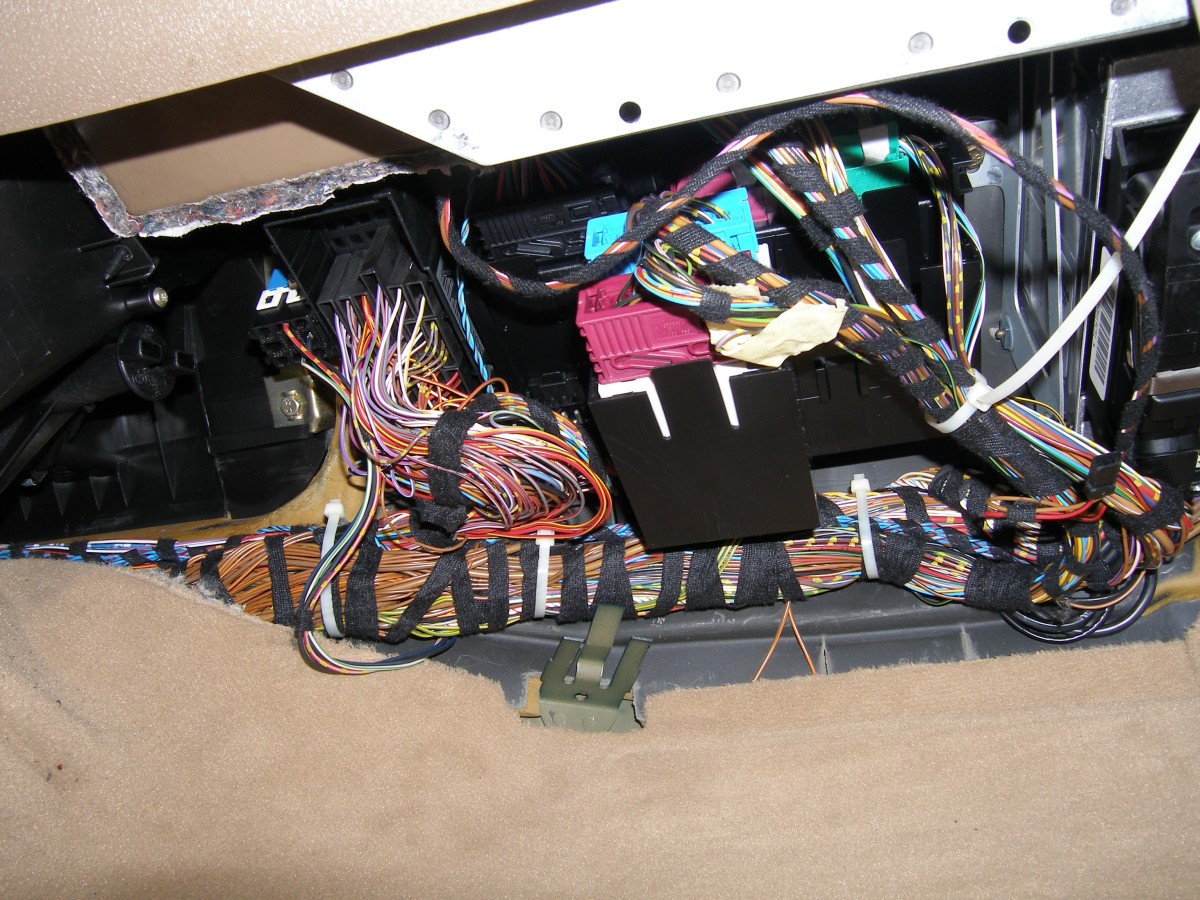 Fig. 2: Passenger footwell (center) |
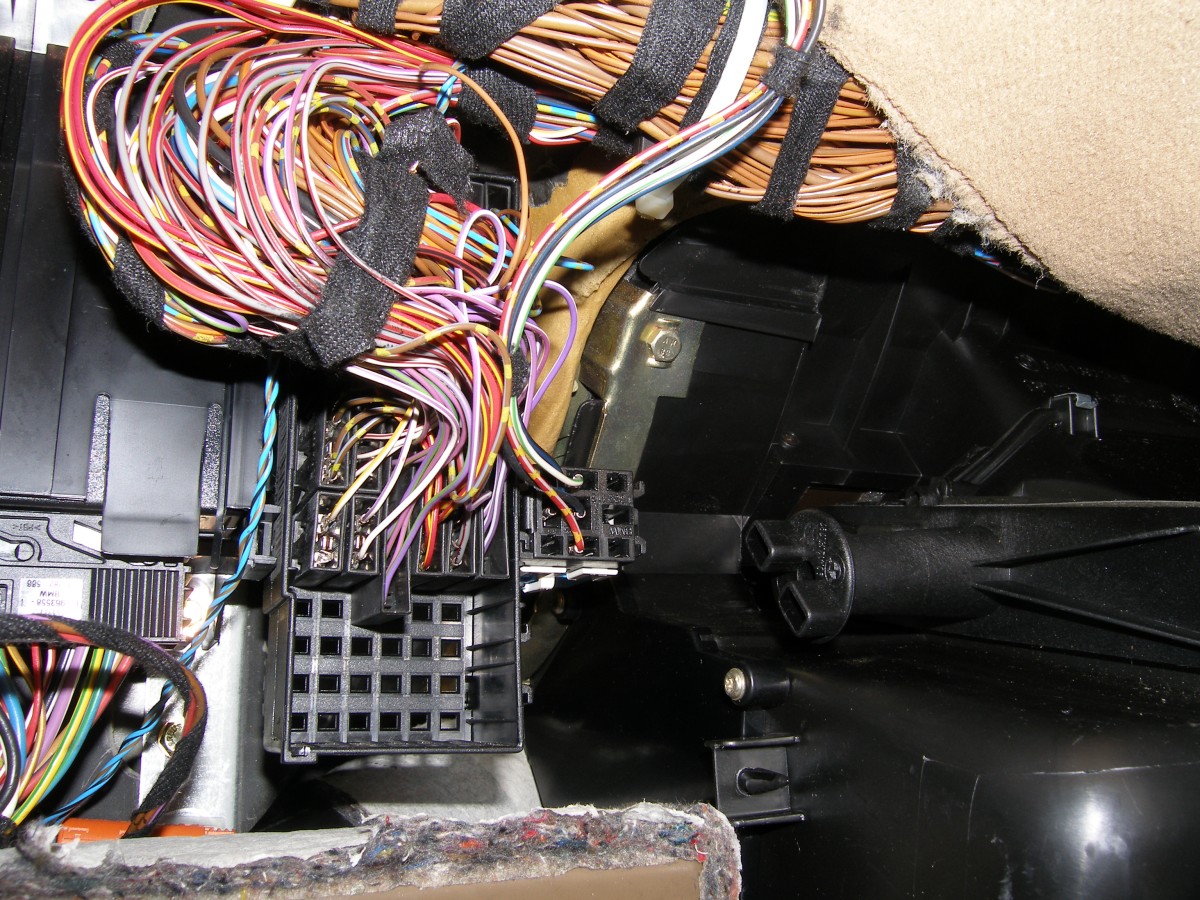 Fig. 3: Microfilter and harness closeup |
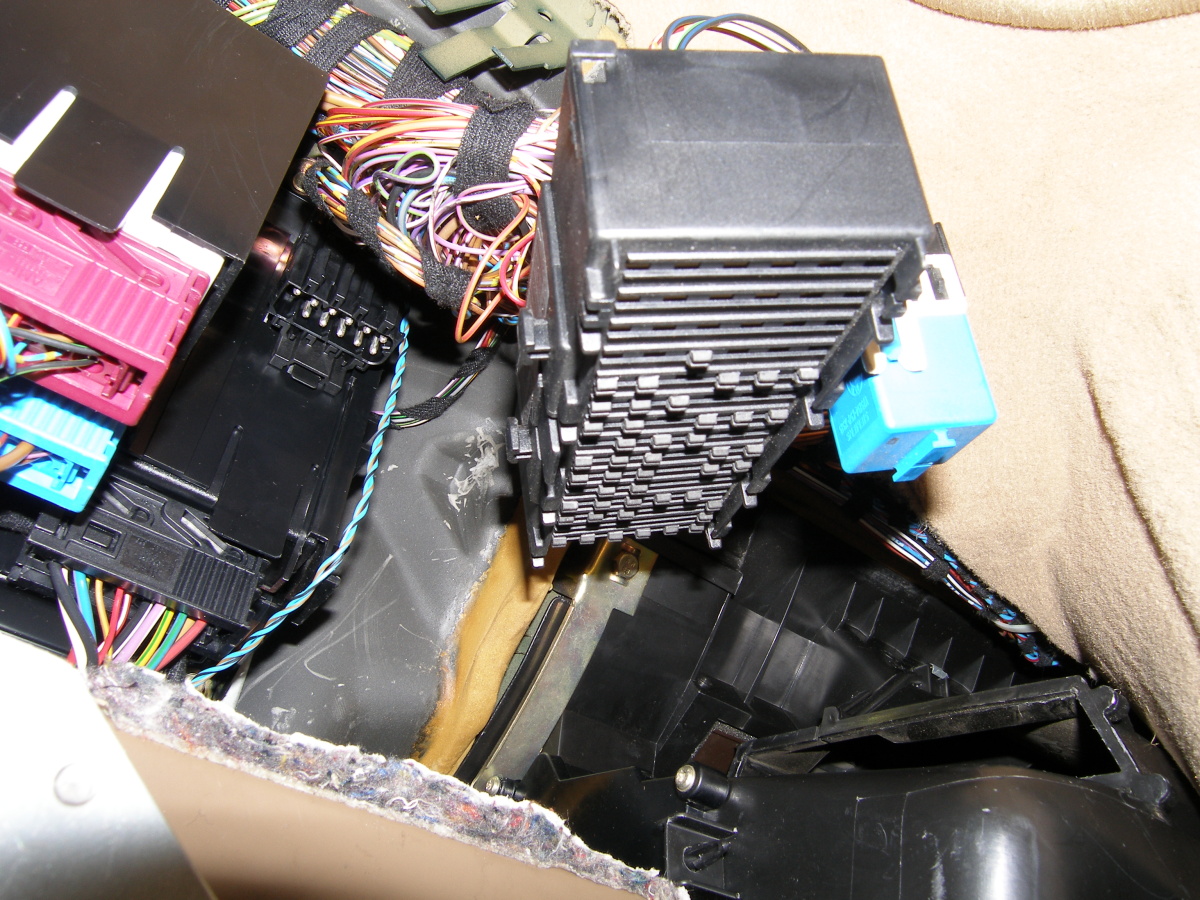 Fig 4: Wiring harness block decoupled |
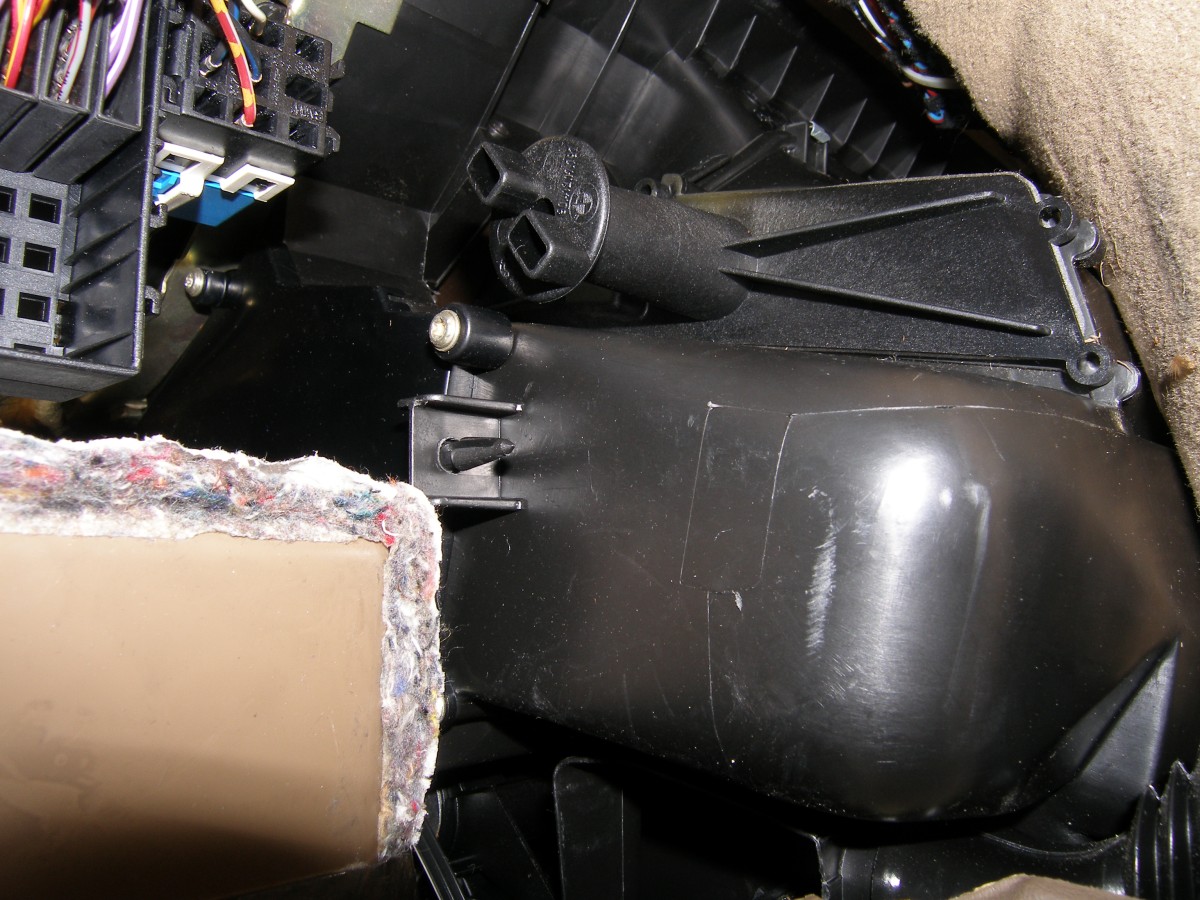 Fig 5: Microfilter compartment door closed |
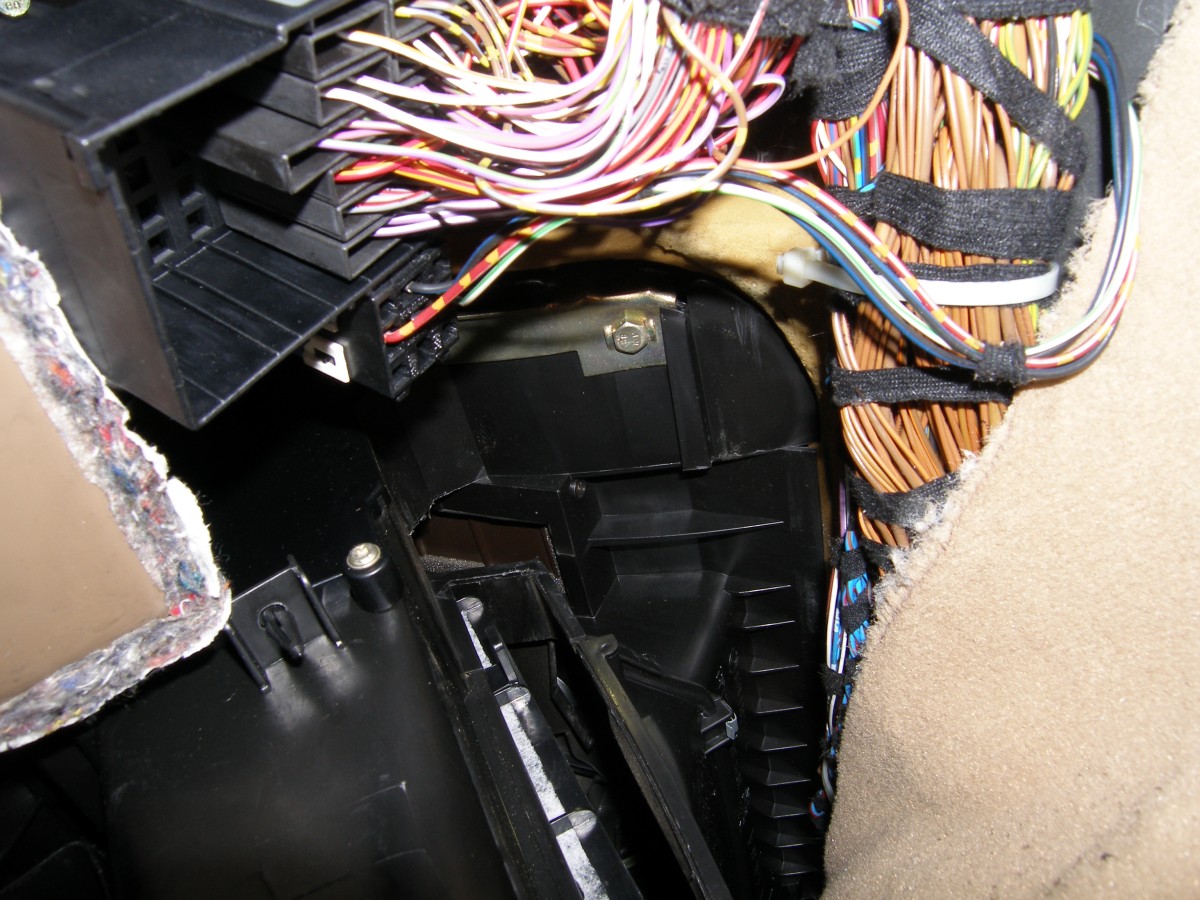 Fig 6: Microfilter compartment door open |
Conclusion
The procedure to replace the microfilter is very simple in principle but a bit annoying in practice. The silver lining is that it gets easier the more often you do it. The first time through the job took me about a half hour but I can now do it in less than 10 minutes.
I have used OE, Bosch, and aftermarket activated carbon filters and found that the OE and Bosch units provide the best particulate filtering, while the activated carbon filters provide some (but not complete) relief from exhaust fumes.