


Sunday, June 13, 2010
Rear Suspension Overhaul - Parts Prep and Body Cleanup
 The first step to any paint prep is to degrease
the parts. This presented a question -- what degreaser to use? Traditionally,
I've used mineral spirits shot through a spray wand attached to shop air to
degrease the airplane's engine and cowl area. It strips grease and oil very
well and then dries quickly with little or no residue. And, in fact, most enamel
(think rattle-can) paints suggest stripping the surface of the area to be painted
with mineral spirits, so I know they are compatible. The problem, of course,
is that mineral spirits is a petroleum product and as a consequence, not particularly
environmentally friendly. It's also flammable as hell.
The first step to any paint prep is to degrease
the parts. This presented a question -- what degreaser to use? Traditionally,
I've used mineral spirits shot through a spray wand attached to shop air to
degrease the airplane's engine and cowl area. It strips grease and oil very
well and then dries quickly with little or no residue. And, in fact, most enamel
(think rattle-can) paints suggest stripping the surface of the area to be painted
with mineral spirits, so I know they are compatible. The problem, of course,
is that mineral spirits is a petroleum product and as a consequence, not particularly
environmentally friendly. It's also flammable as hell.
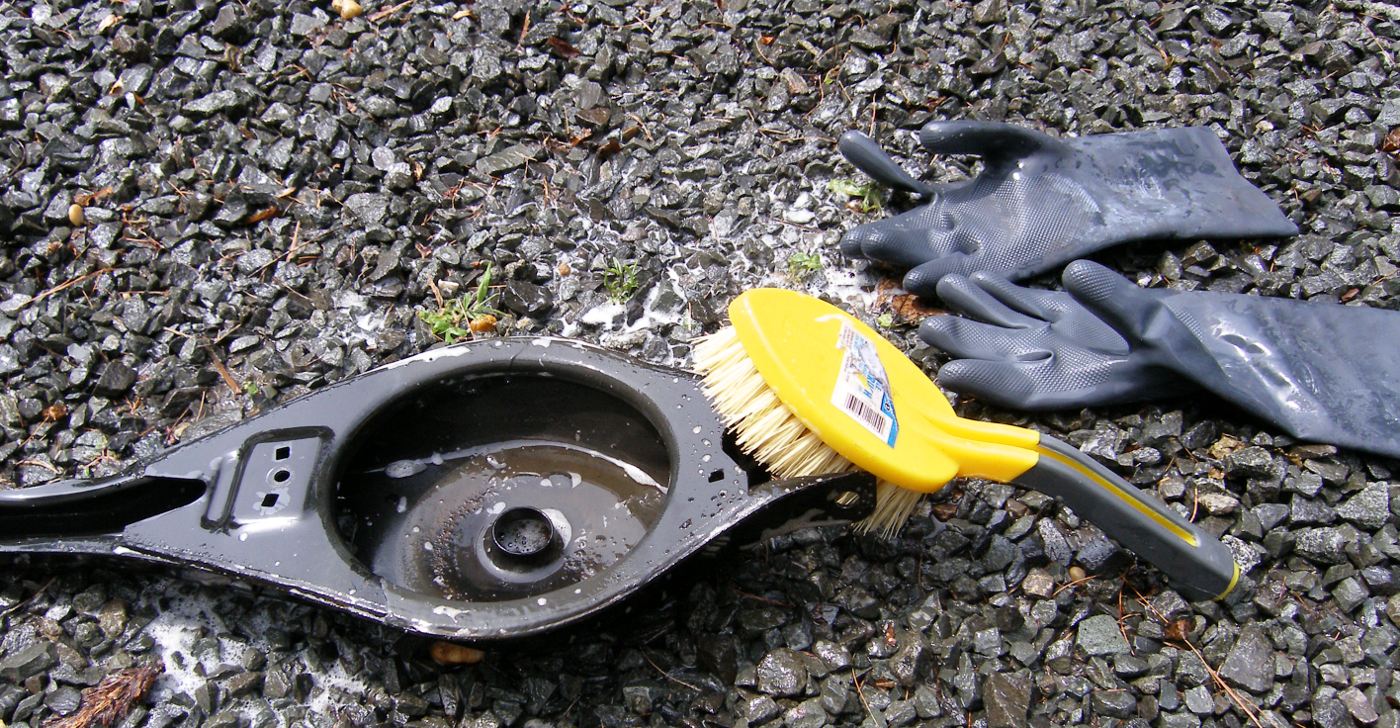
Based on some research online I've found that the age of bio-friendly citrus-based degreasers has arrived, and guess what -- unlike most "environmentally friendly" chemicals, they actually work. So while at Home Depot yesterday I bought a gallon jug of Zep Heavy Duty Citrus Degreaser, a pair of black nitrile rubber gloves to protect my hands, and a sturdy nylon brush. I also picked up several rattle cans of automotive primer and some satin black finish coat, as well as a gallon can of mineral spirits that I figured I'd use to remove whatever residue the citrus degreaser might leave behind just prior to painting.
Back home, I got to work and poured about 1/4 gallon of the degreasing fluid into a stainless steel bucket and used the brush to transfer the degreasing fluid to the parts at full strength. I scrubbed the parts and then rinsed them with water and was pleasantly surprised at how effective the process was at cleaning all the penetrating oil, brake dust, and other grime from the parts. I'm sold on citrus degreasers and can wholeheartedly recommend them if you want to be environmentally correct AND come out smelling as sweet an orange grove rather than the butt end of a refinery.
I then set up the compressor, equipped my die grinder with a medium grit abrasive disc, and sat down with the parts to begin the tedious process of cleaning off the rust and scuffing the existing paint to give it a "tooth" appropriate for painting. I spent a solid hour doing this and managed to clean up the parts pretty well, but ultimately realized that the damage due to rust on the subframe was a bit deeper than originally thought. I knew I could not fully clear the surface of rust or smooth out the surface in preparation for paint with anything but an electric grinder equipped with a hard-abrasive wheel -- something I did not have at the moment. At that point I realized I'd simply have to bite the bullet, accept a delay in the reassembly process, and get the parts professionally sandblasted. I left the garage for the day somewhat disappointed, but still satisfied that I gave it the old college try.
 Today, after washing and applying some paint sealant to the E46 to protect
it from the elements it now braves on a daily basis, I got to work on the E36.
First, I managed to replace the connector on the body harness of the E36 for
the rear brake sensor. Although I expected to have to solder in the pig tails
purchased this week along with the new connector, I managed to remove the existing
pin sockets from the broken connector and insert them, unmodified, into the
new connector.
Today, after washing and applying some paint sealant to the E46 to protect
it from the elements it now braves on a daily basis, I got to work on the E36.
First, I managed to replace the connector on the body harness of the E36 for
the rear brake sensor. Although I expected to have to solder in the pig tails
purchased this week along with the new connector, I managed to remove the existing
pin sockets from the broken connector and insert them, unmodified, into the
new connector.
As it turns out, that connector is equipped with a locking tab and that, in combination with small barbs on the pin sockets, locks the sockets into the connector. I tried to gracefully pry the locking tab up to slide it back and out of the way, but it broke. What a surprise. So I used a micro screwdriver to pull the remainder of the locking tab away from the connector and then pushed the barbs in far enough to release the sockets from the connector. To install the new connector, I simply reversed the process and snapped the locking tab closed. Done!
Since the brake wear sensor is just a switch of sorts I doubt the polarity of the wiring matters, but for future reference I noted the following wiring convention:
- Pin 1 = brown wire of the body harness
- Pin 2 = yellow wire of the body harness
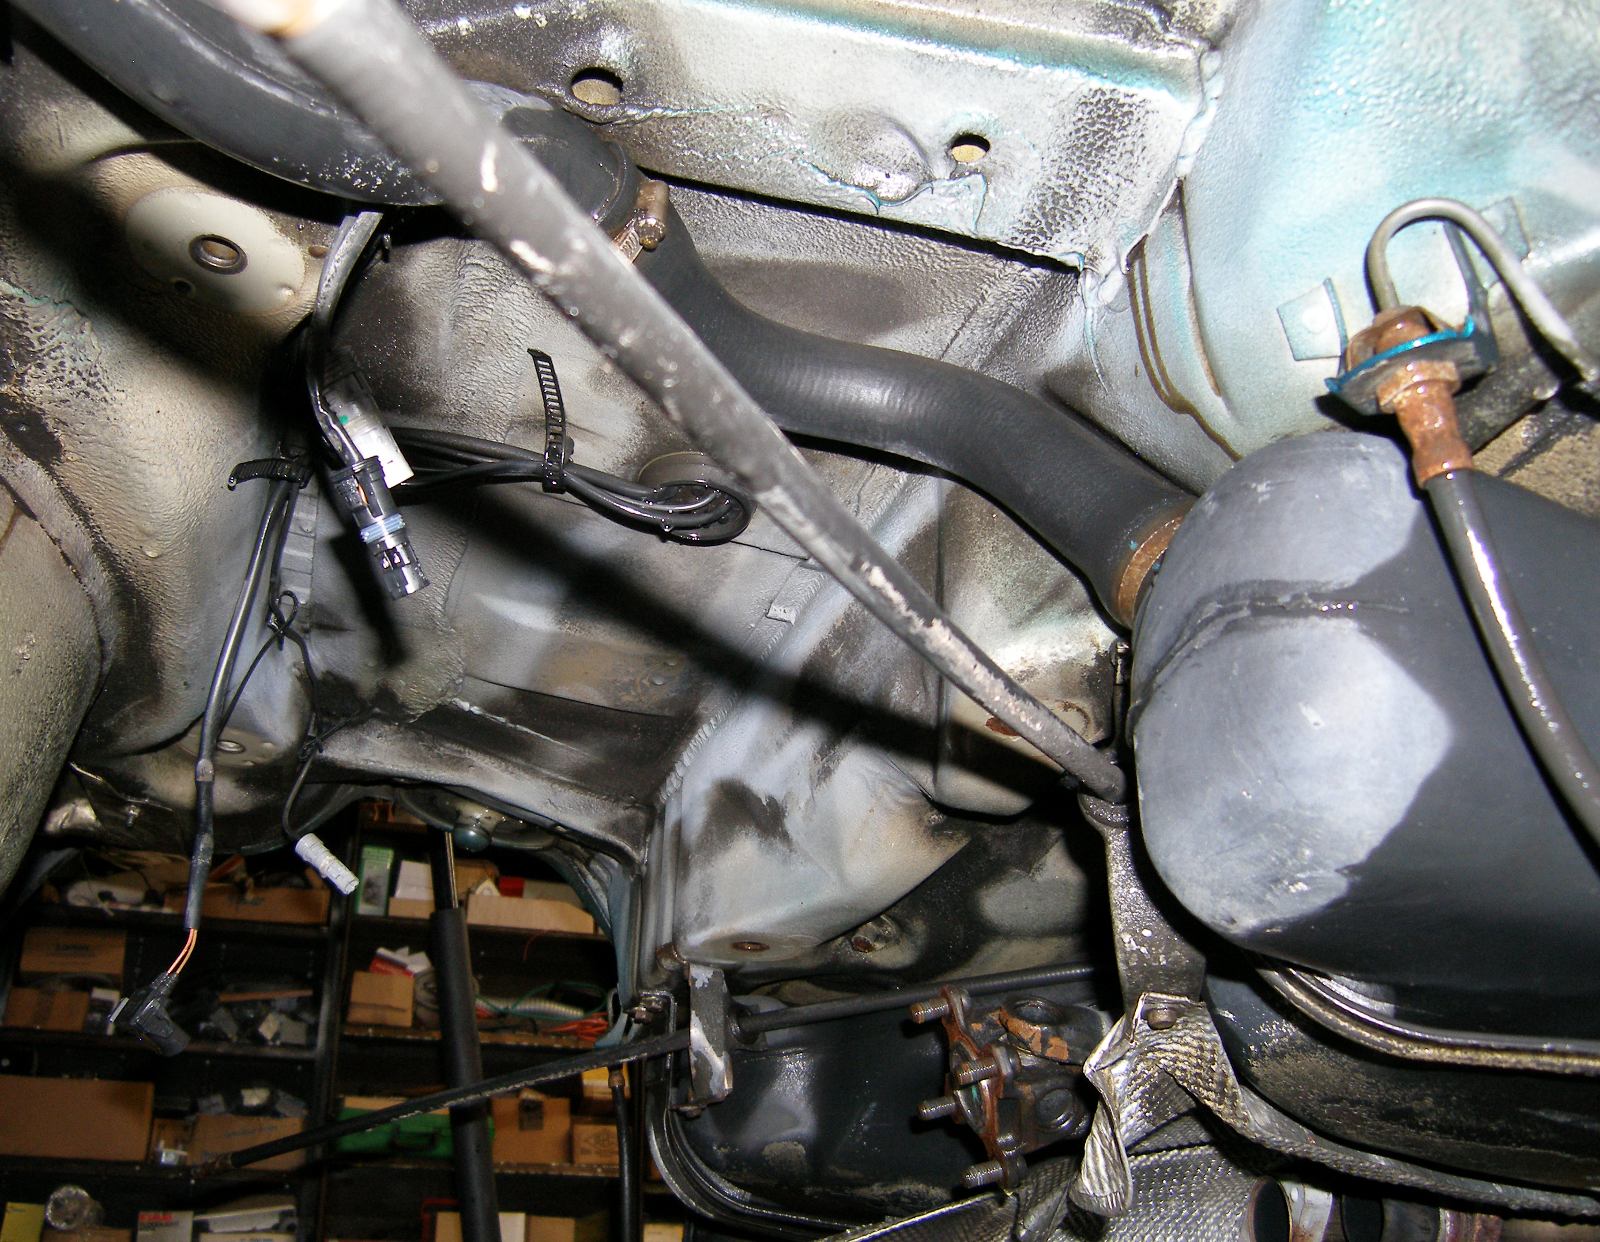
I put the unused pigtails for the sensor wiring in my spare parts drawer before moving on to the messiest part of the day. Using some of the degreasing liquid diluted 50/50 with water, I got under the bottom of the car and used the nylon brush to scrub everything in sight, particularly the areas that would be inaccessible once the subframe was reinstalled. I let the liquid soak in a bit and then rinsed it with water. The color of the water I rinsed off the garage floor was a black as night, so I knew the degreaser had done its job. I then looked up at the body and confirmed it -- the cleaning process exposed body color and gray primer that likely hadn't seen the light of day for many years. I'm now comfortable that the body won't clash with the freshly painted suspension parts.
This week I have to get the parts sandblasted, painted, and then back to Don so he can install all the new bushings, bearings, and ball joints. At this point I am uncertain as to whether I will be able to do any reassembly this weekend, but if I can get the subframe installed in order to get my rear jack point back I'll be happy.
Mileage: 193332, Supplies, $120