


Sunday, April 10, 2011
New summer wheels and tires installed
After several weekends of colder weather the skies cleared, winds died down, temperatures rose to comfortable levels, and I finally managed to find time in my schedule to install the new M Contour wheels along with my first set of Pilot Sport PS2s yesterday.
Although the winter wheels hadn't been off the car in six months the anti-seize I applied during installation did its job, as the wheels practically fell off the hubs. Oddly, however, I must have forgotten to apply a sufficient coating of anti-seize to seal the heads of the rotor retaining bolt because I noticed some rust starting to form at the interface between the rotor and the bolt. If left alone I realized that could cause problems during the next brake job so I cleaned the entire rotor hat surface with blue paper towels, used a small fine wire brush to clean away the rust near the retaining bolt, and then applied a new coat of anti-seize before installing the new wheels.
As I've come to expect, my technician wrote the road force balance numbers on the inside of each wheel. When I picked them up he told me that all were in the "low single digits" and "the one without any number was perfect", which, he went on to say "is pretty typical of Michelin tires". As I examined each wheel I noted road force numbers of 2, 4, 5, 6, and "nothing". Fortunately, the "6" was one of the 7.5" wheels so I declared that the spare and quickly nestled it into the trunk. In less than an hour the other wheels were mounted and I took the car out for a test drive.
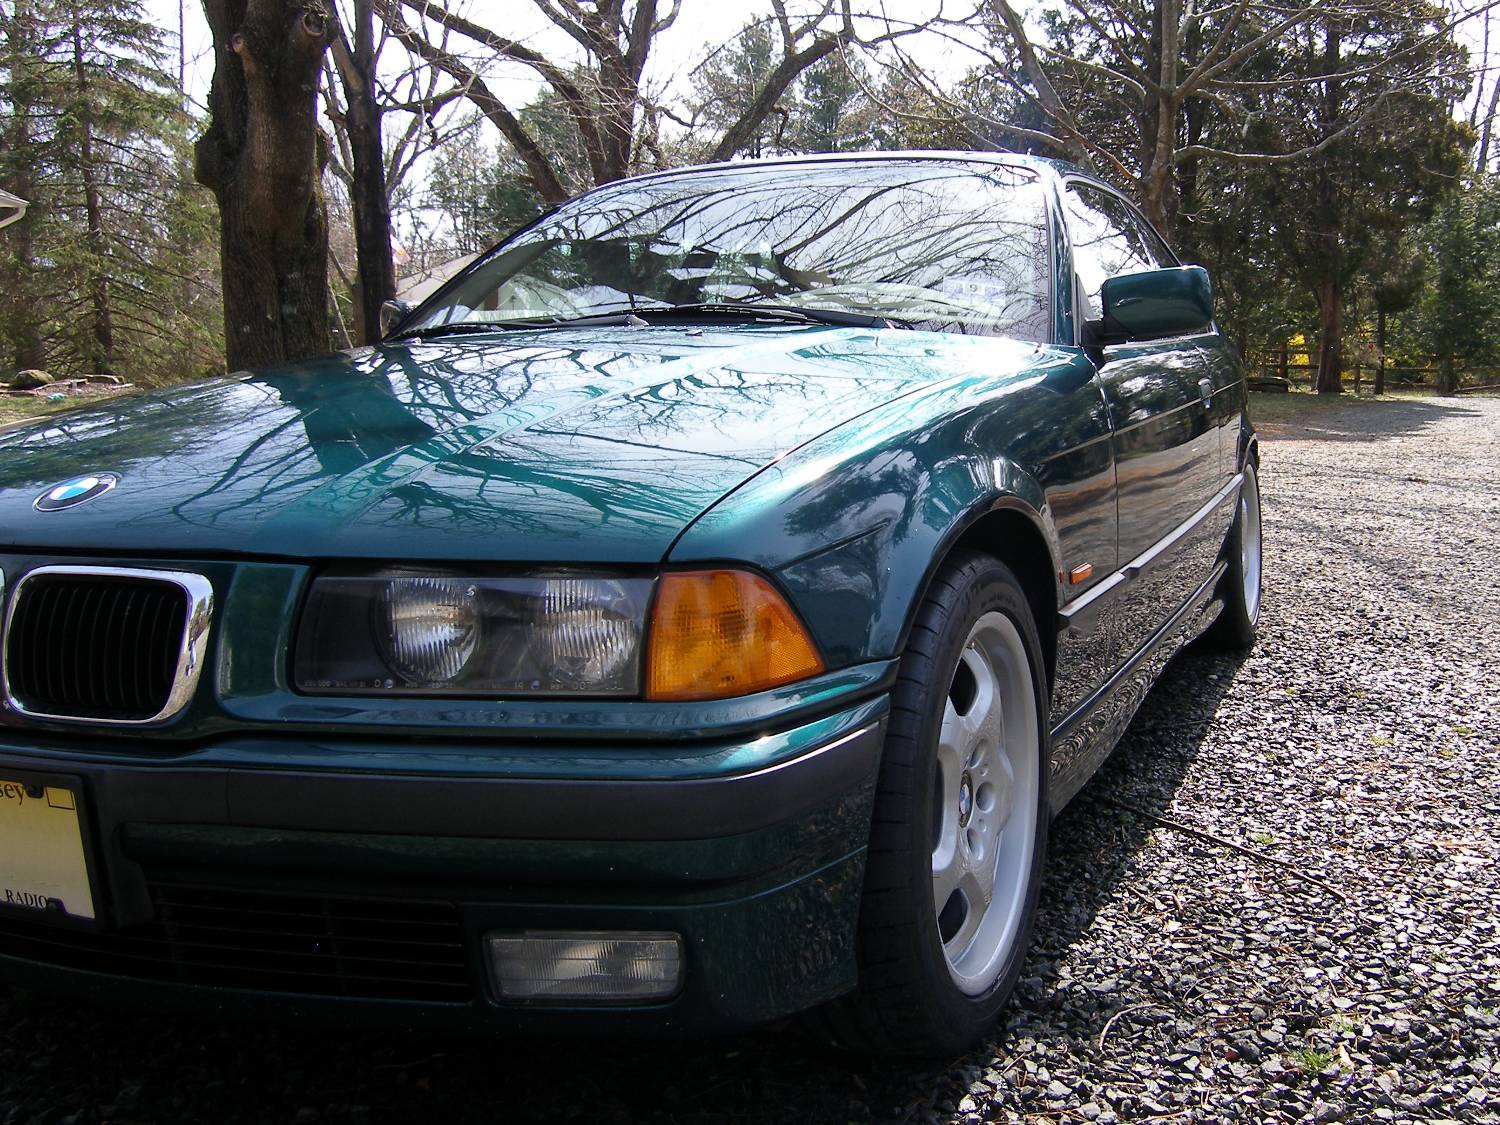 Left side perspective of newly installed 17" M Contour wheels with Pilot Sport PS2 225/45 front, 245/40 rear. |
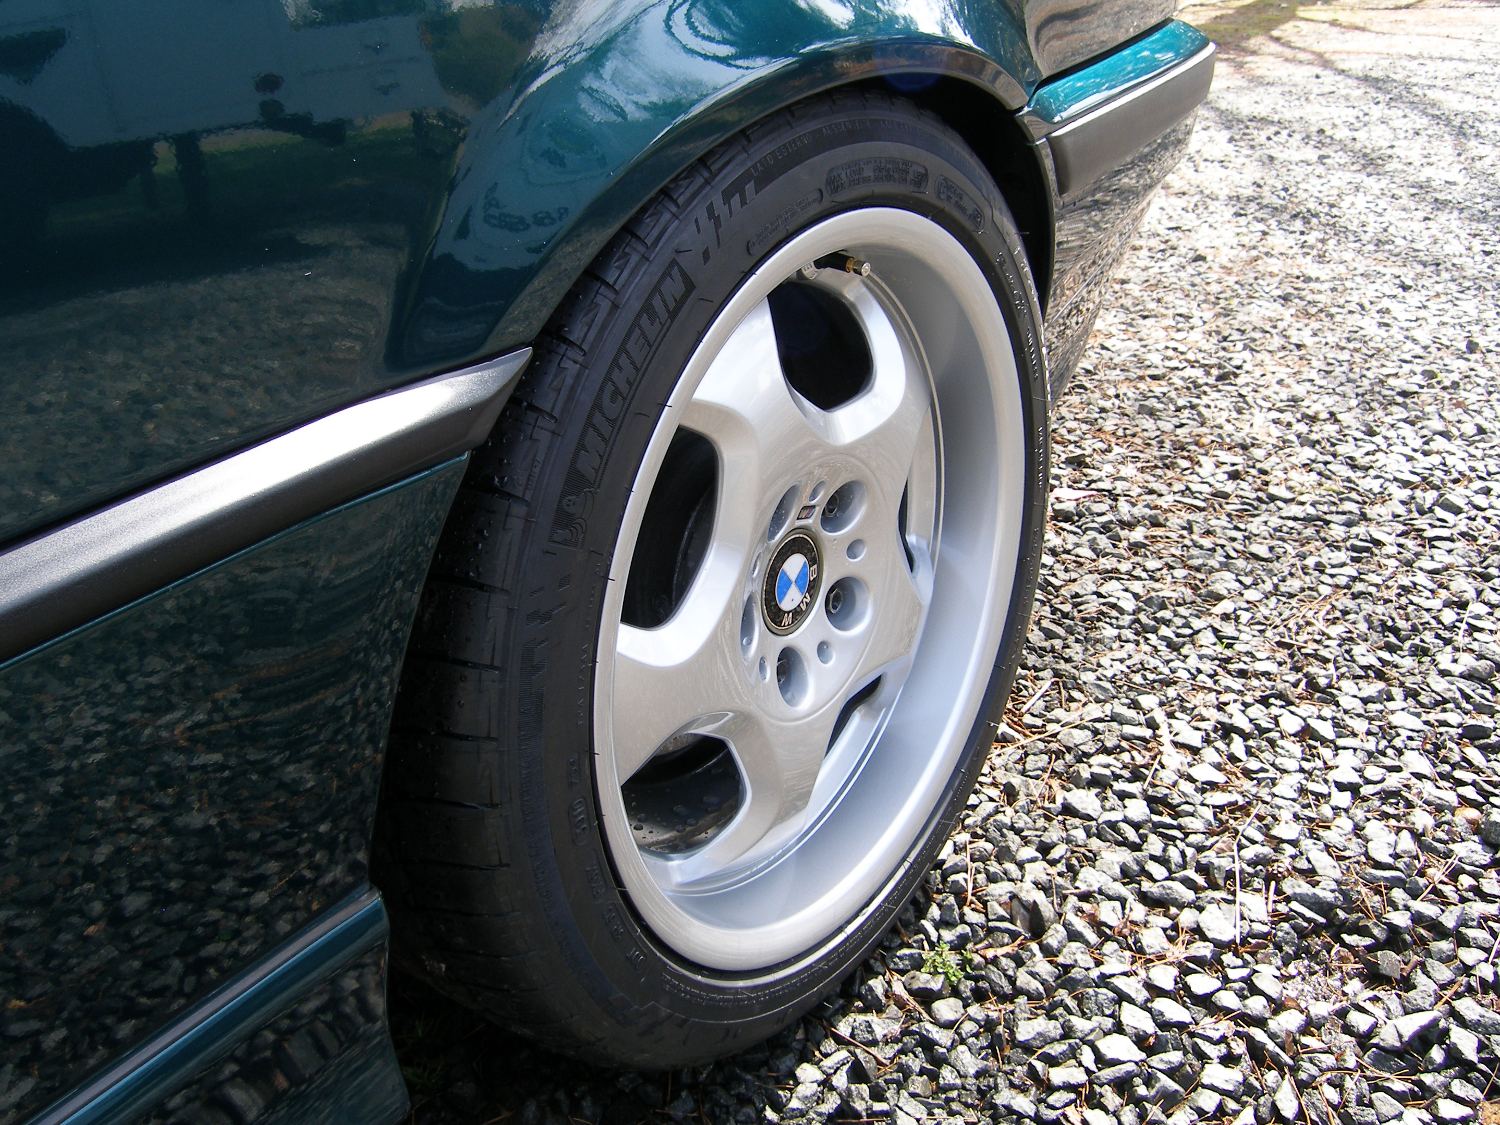 Closeup of rear 8.5" wheel. Wheel well gap is about the same as with the 8.5" CSL with 235 width tires, but that's understandable given the difference in offset. |
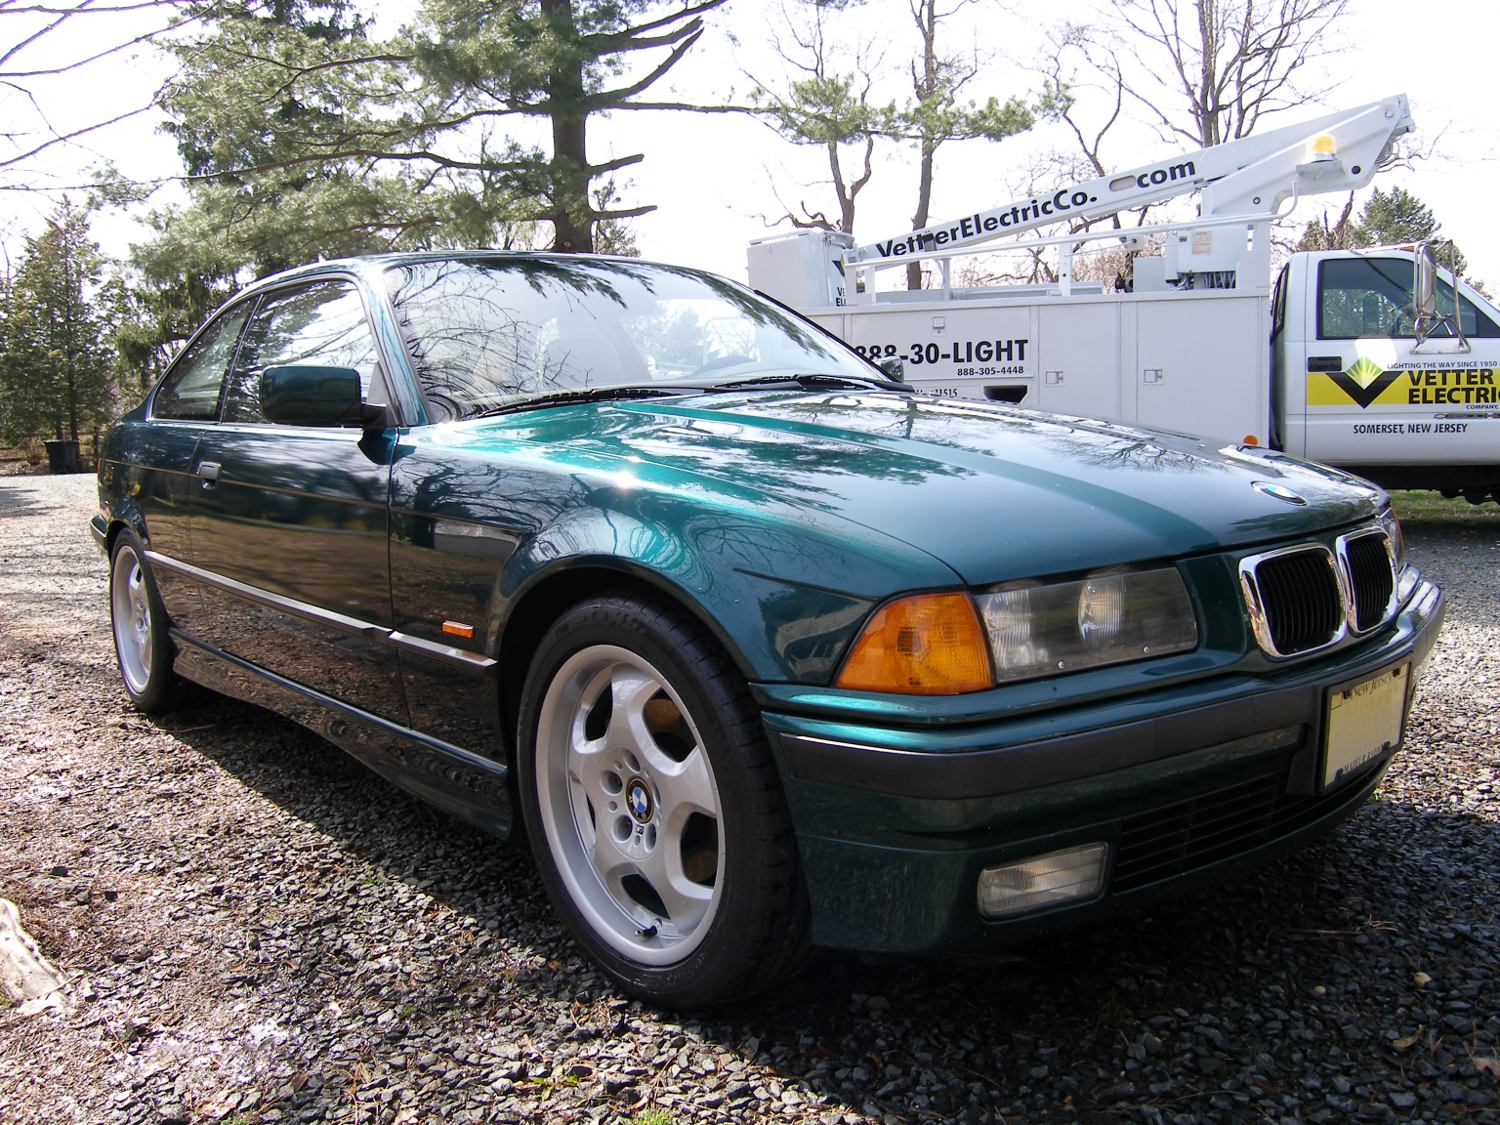 Right side perspective. The new wheels and tires look at home on the car, don't you think? |
The sticky coating on the new tires managed to pick up every small stone on the road and create a cacophony of impacts in the wheel wells for the first couple of miles. Soon thereafter the coating wore off and the tires went nearly dead silent. I took that as a sign to step up the pace and put the vehicle into its element. The tires tracked beautifully and turn in was amazing. In fact, they performed so well that it was hard not to notice the extra body roll that occurred as a result of the higher lateral G-force the car was now able to maintain. Acceleration and braking are, as expected, less affected by these smaller wheels and tires and the ride quality was far better than the CSLs, which confirms my belief that 17 inch wheels are the optimum size for the E36. With my mission accomplished I headed back to the garage to give it a bath and move on to other tasks (non-BMW related, that is!)
If I had my technician mount the wheels on the car I would have paid the difference between what I paid to mount the tires on the wheels and balance them ($40 ea) and the normal cost of that service ($70), or $30 each...hence the $150 in the labor saved column.
Installed new driver's side window motor
For the past four months I haven't been able to open my driver's side window because I all-too-conveniently ignored the telltale signs of a failing motor. I bought the motor back in January when I foolishly considered braving the cold to deal with the problem but as I indicated earlier I wisely decided to leave well-enough alone. That is, until today.
I usually look forward to doing work on the car because I realize that I'll learn something and save money in the process, but I must admit this time I was dreading going to the garage largely because of the uncertainty involved. Given the inoperative motor, I had absolutely no idea how I would reposition the window as required to remove the regulator to gain access to the torx screws that fasten the motor to the regulator. On the drive over to the garage I more than once questioned the parentage of the BMW engineer responsible for a design that precludes removing the motor without removing the regulator but I did manage to come up with a plan of attack.
Although I'd long ago become a "pro" at removing the door panel without doing any serious damage, any perception of proficiency in this task was quickly overshadowed as the panel popped free of the door and I heard a bunch unpleasant sounds. I looked down to see both storage pockets and one of the vertical supports on the ground and realized at that very instant this was going to be "one of those days". After I set the door panel aside I took at closer look at the storage pockets and realized they had cracked in several places (thirteen year old plastic will do that). Still, they seemed repairable, so I went about the ritual of mixing up a couple tubes of five minute two-part epoxy and re-bonded the components with the door panel.
That headache over I turned my attention to the window motor itself and quickly decided to take a different approach to this repair than outlined in my DIY. With the window in the full-up position I had no problem getting my hand in the door in order to remove the four nuts and bolts holding the regulator to the door. But this time instead of removing the regulator entirely, I simply tried to pull the motor and regulator away from the door and access the T27 motor mounting screws from the rear. Unfortunately I could not pull the regulator more than about 2" away from the door so that meant I could not use my regular 1/4" drive ratchet. When combined with the needed torx socket, it was simply too deep.
I managed to find a T25 torx bit (not a T27, but close enough) and realized I could use that and a box end wrench to remove the screws. Of course, the bit was cut for 1/4" and none of my smaller metric box end wrenches would fit it (6mm and 7mm were both close, but no cigar). My brother, a big fan of 70's American iron, was looking over my shoulder at the time and decided at this moment to ridicule me for not having any SAE tools in my toolbox before productively volunteering a 1/4" box end wrench from his tool collection. I managed to prove pretty quickly that the basic idea was sound but I knew full well without ratcheting action I'd be working on this until the next ice age, so I ran over to Eppys and picked up a 1/4" ratcheting box end wrench. $12 later, I was on my way back to the garage. It took about 10 minutes to remove the three screws holding the motor to the regulator and the motor popped free. At this point a quick check revealed that the window moved freely up and down so this confirmed that the regulator was in good shape and the motor was the source of the problem.
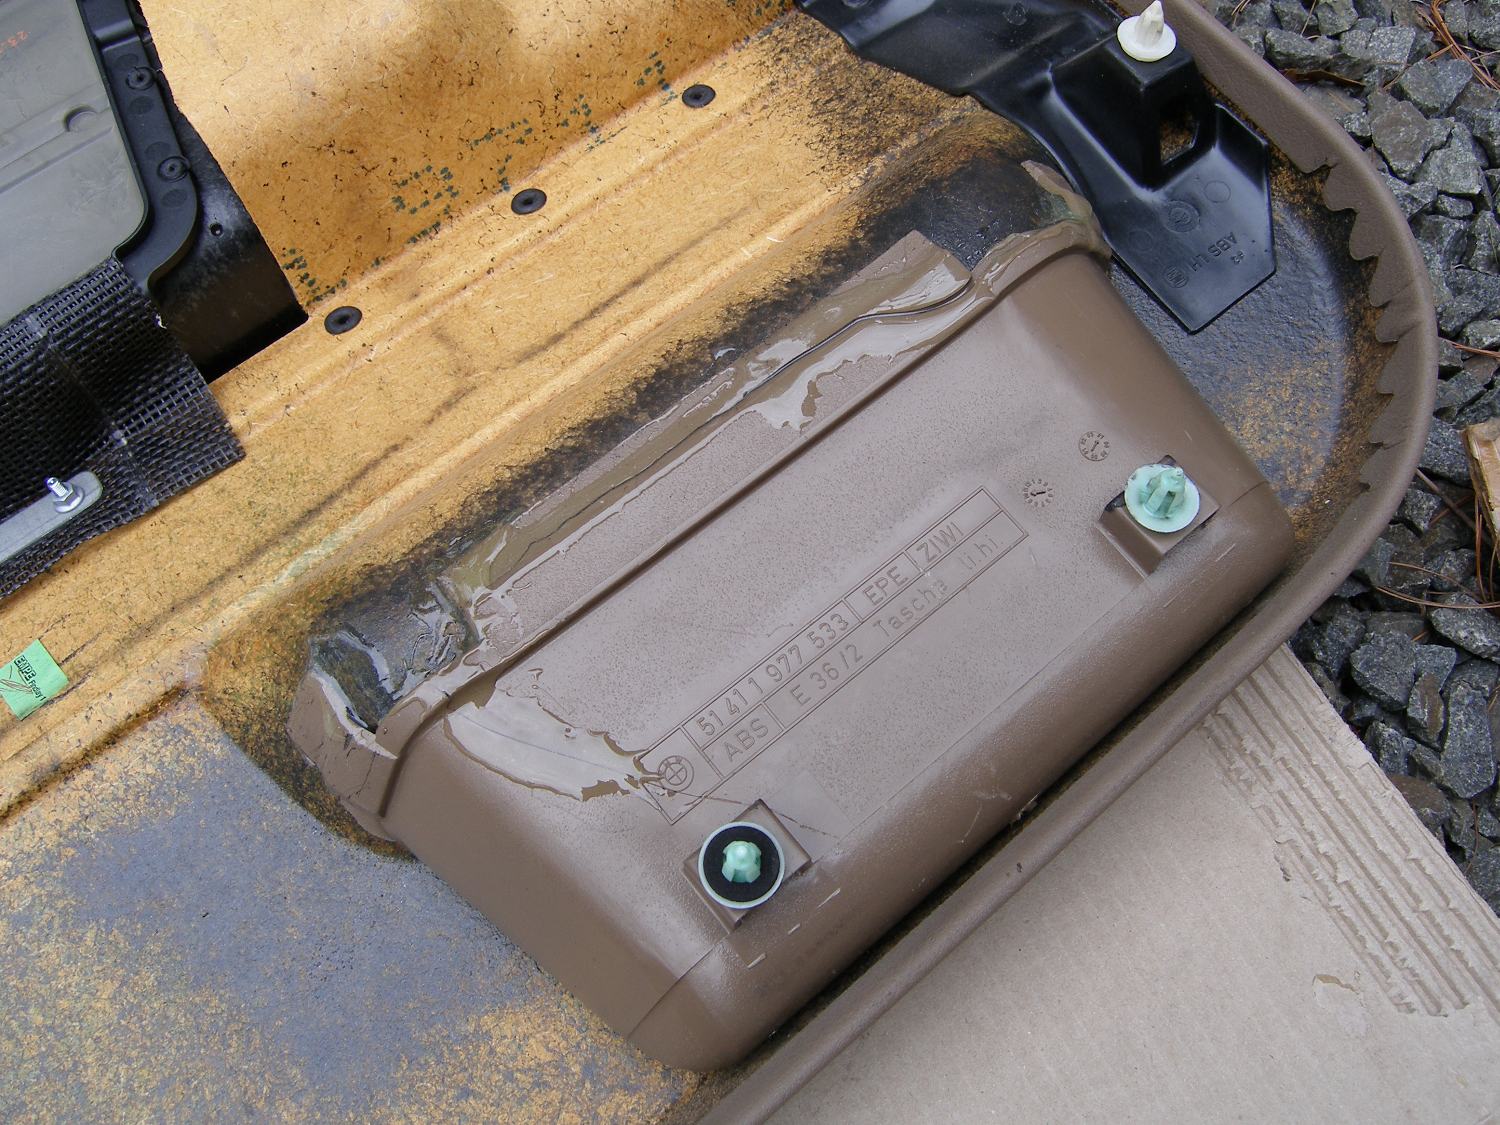 This door panel has been repaired so many times I'm frankly surprised I haven't had to replace it earlier. Looks like I'll be replacing it this time, though. |
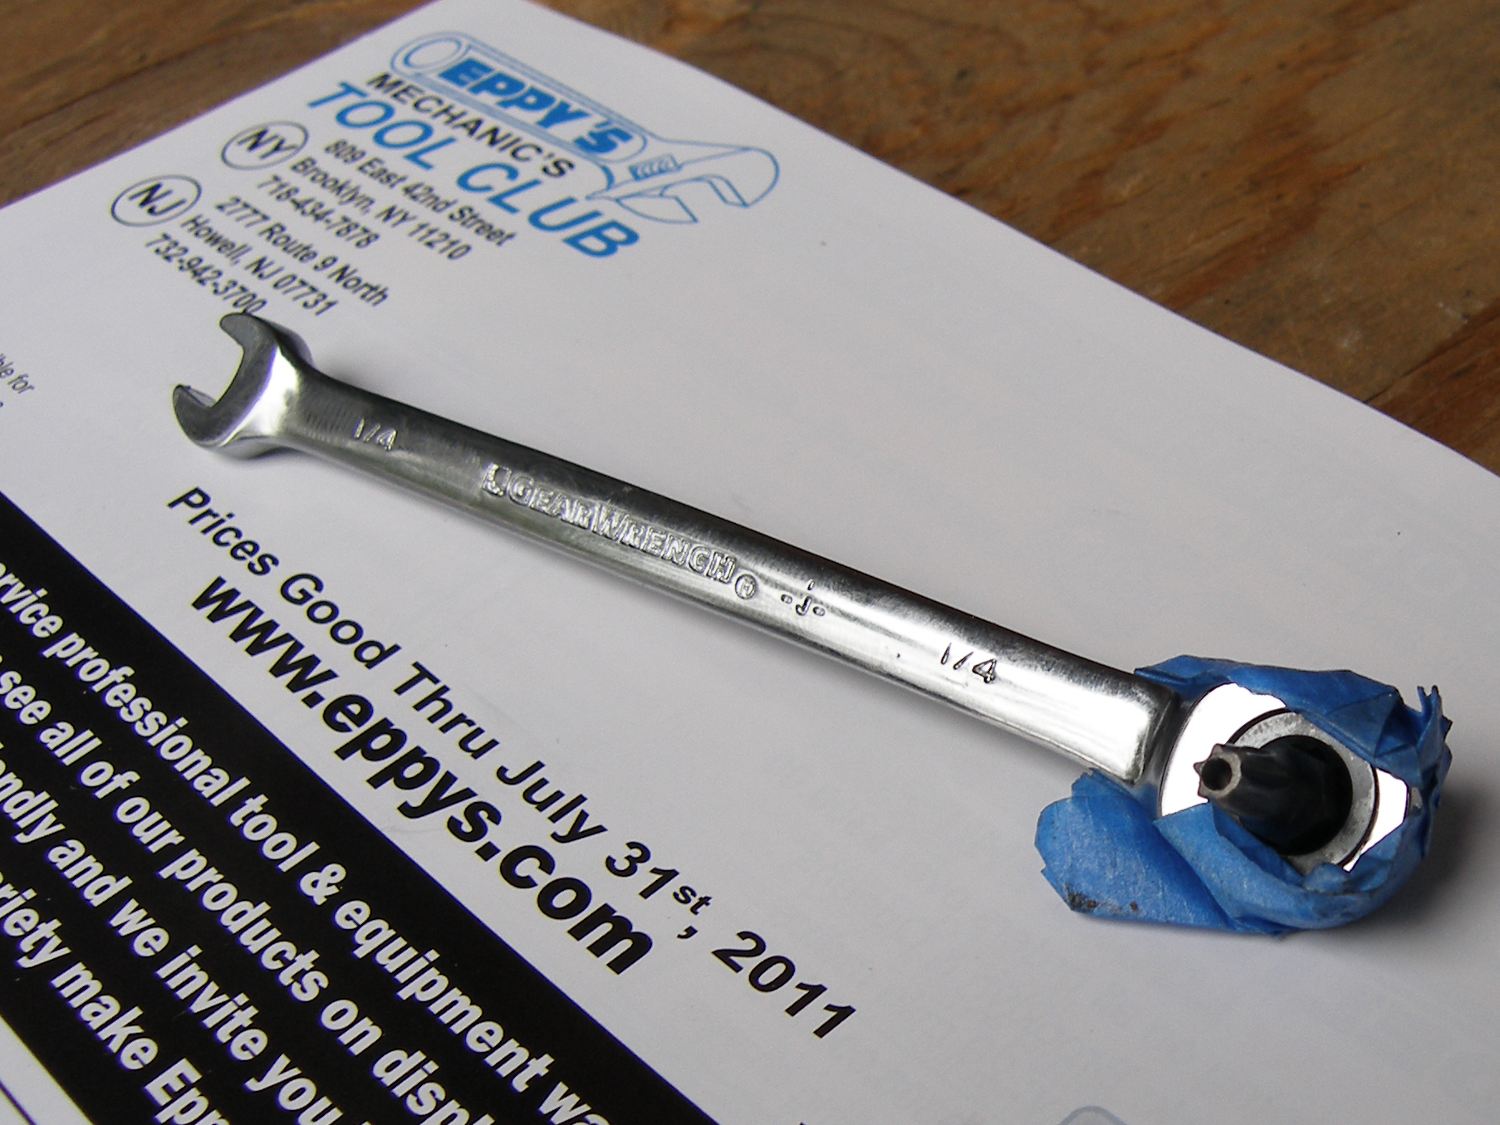 This is a makeshift torx ratchet I came up with to R&R the screws that hold the motor to the regulator. Not pretty, but it worked. |
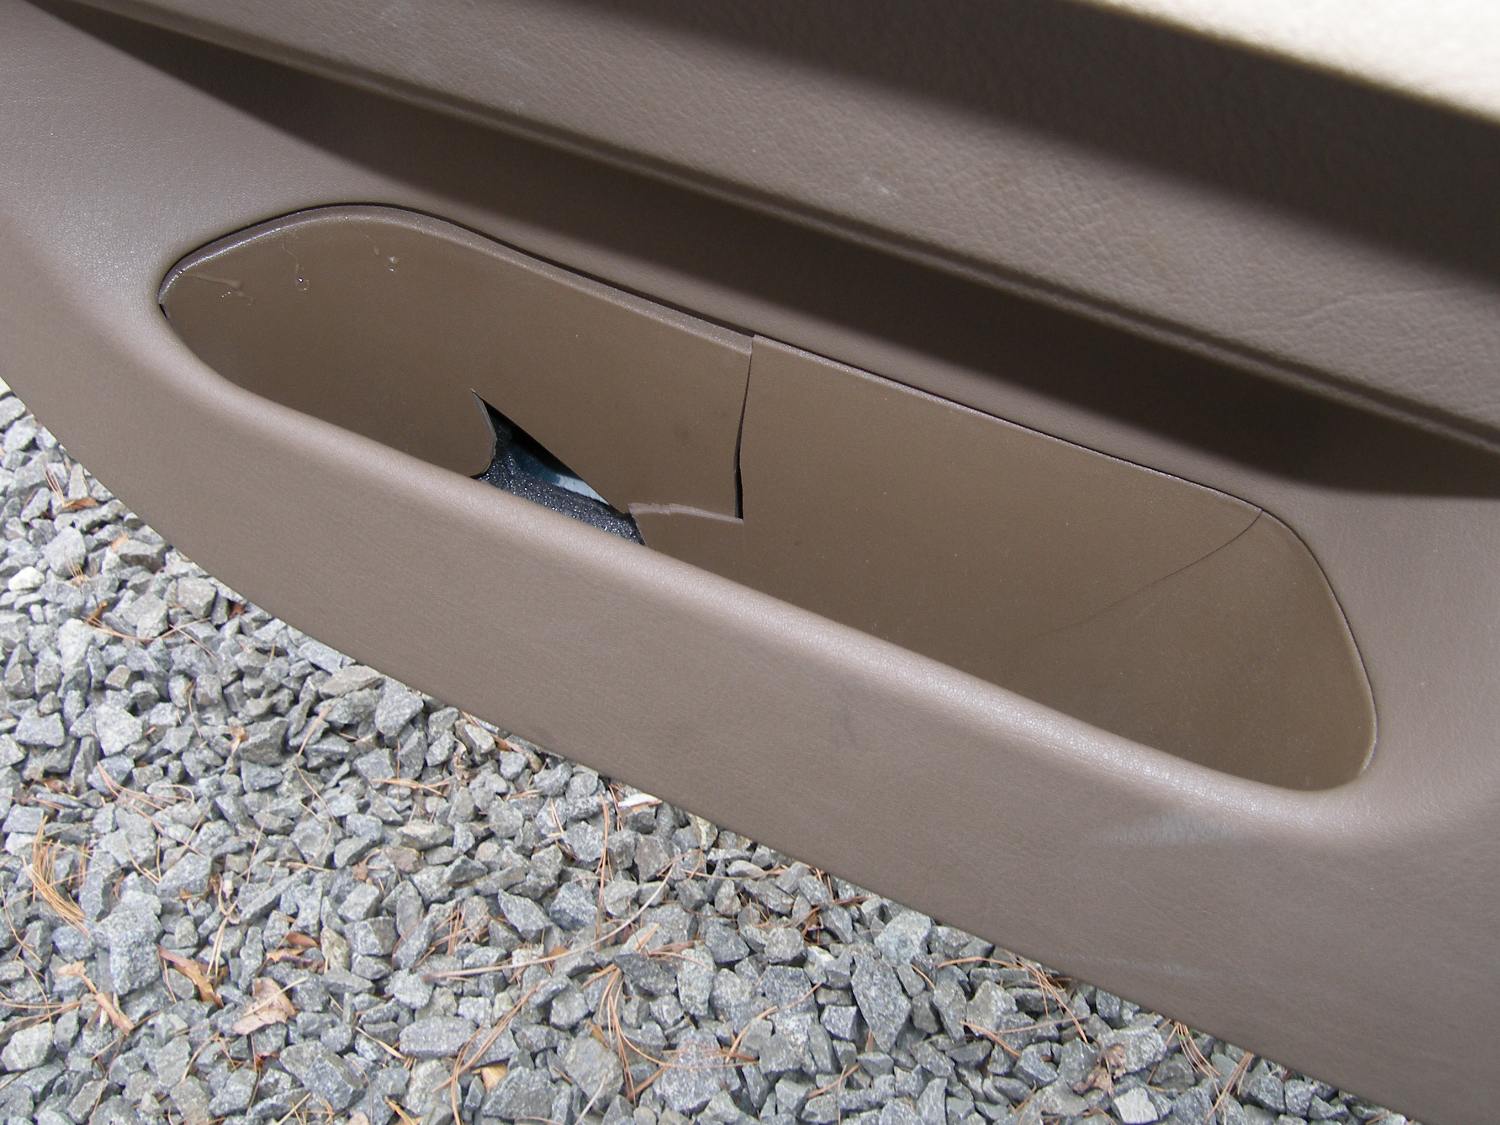 What happens when you R&R a thirteen year old door panel of questionable design once too many times. Have I said lately how much BMW door panels suck? |
Since the torx screws are designed to tap the plastic mounting holes in the body of the new motor and I knew I'd be limited in the torque I could apply in such an awkward position, I used my ratchet and T27 socket to quickly install the screws in the new motor to tap the holes. With that task done I proceeded to mate the motor with the regulator, being careful to align the motor's drive gear and the teeth in the regulator drive arm. Grabbing the window and moving it manually up and down a bit helped. I then held the motor to the regulator, installed the screws, and used my fabricated tool to tighten the screws one by one.
With the motor reconnected to the regulator, I did find I had to reconnect the battery and blip the window a bit in one direction to get all the regulator mounting holes to line up with the door, but once that was done I reinstalled the four bolts quickly and easily. With the regulator firmly mounted to the door, I got in the car, closed the door, tested full travel up and down, and then reset the electronic window stops.
The upside of the day resulted from my decision to keep the airbag connected whenever the battery was connected and the key was on so I never triggered the SRS warning light. It's a small thing to get reset at the dealer, but it's one less thing I'll have to do tomorrow morning. Unfortunately, the downside is that during installation of the door panel one of the pockets cracked severely and my attempts to get the fasteners to mate with the door resulted in a chunk of the pocket breaking off. Now I have a nice silver-dollar-sized hole in one of the storage pockets. I saw this slow-motion train wreck coming for the last several years, but was put off by the $800 price of a new door panel. Now it appears I'll need to suck it up and buy one. I suppose it could be worse, though -- the part could no longer be available. We'll see about that this week when I call my dealer's parts guys for a quote.
Based on this work I plan to update my Power Window DIY shortly to reflect the new information and techniques. Look for that soon.
The new window motor cost $120 and the two tubes of epoxy were $10. I don't know what the current book labor is for a window motor replacement but I'd venture a guess it's at least an hour hence the $128 labor saved.
Mileage: 206460, Parts: $120, Labor saved: $278, Tools: $15, Materials: $10