


Saturday, June 24, 2012
Front Suspension Overhaul - Day 9
I started the day by attacking the fracture bolts with my Dremel equipped with a reinforced cutting disc. I exclusively use reinforced discs now because they tend not to break and throw shards in all directions when subjected to certain loads and I have found they wear a lot longer in general. After several minutes of cutting each bolt the Dremel was quite hot to the touch and I had managed to put deep slots in each head. Unfortunately, no matter what I did I could not budge either one of those bolts with a large screwdriver and I have blisters on my hands to prove it -- they are simply torqued too tightly. I even tried to use an old screwdriver as a chisel of sorts and use the "chisel method". No dice. They still would not budge in the slightest.
Right now I'm at a loss and don't know exactly what I'm going to do to get these bolts out, but they're coming out one way or another, even if I have to break out my air powered die grinder with a cutting disc and hack the heads completely off. At least then the column will be out of the car and I'll have a bit more room to work on removing the studs that will be left behind. Before I resort to such drastic measures, however, I may try an impact screwdriver first. I've seen them work miracles in the garages of friends so why not here, right? Think positive thoughts. I thank you.
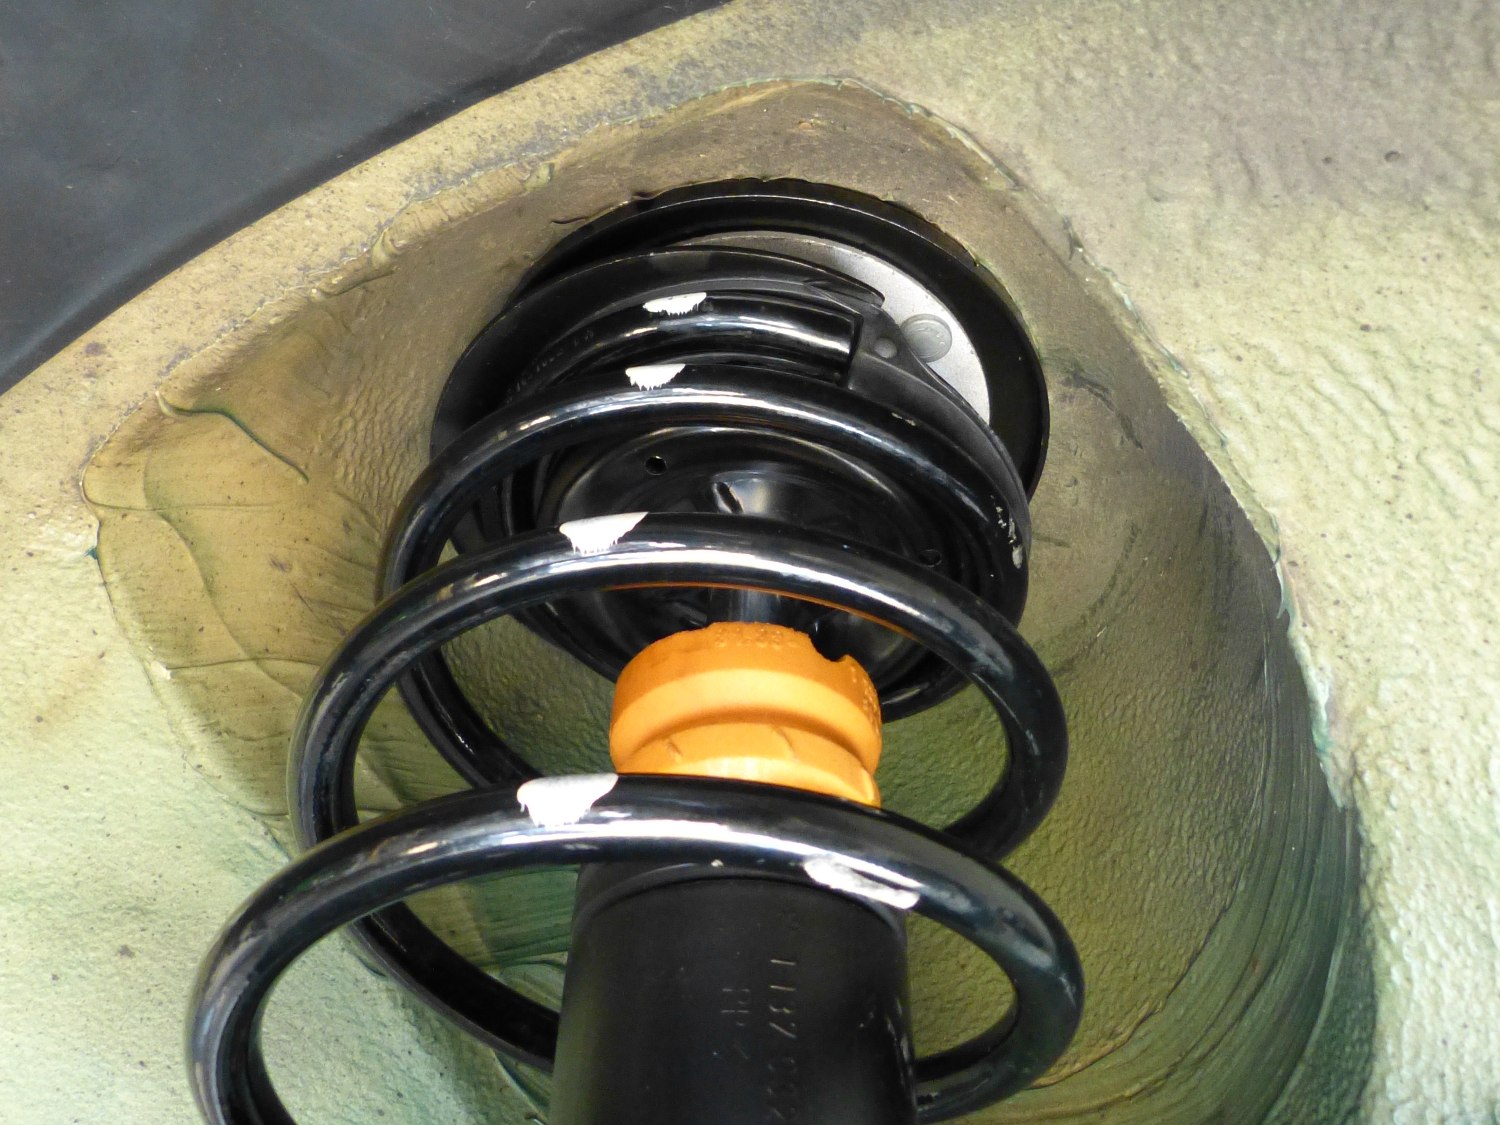 The strut installed with the M-reinforcement plate. This should help protect the shock towers from future damage. |
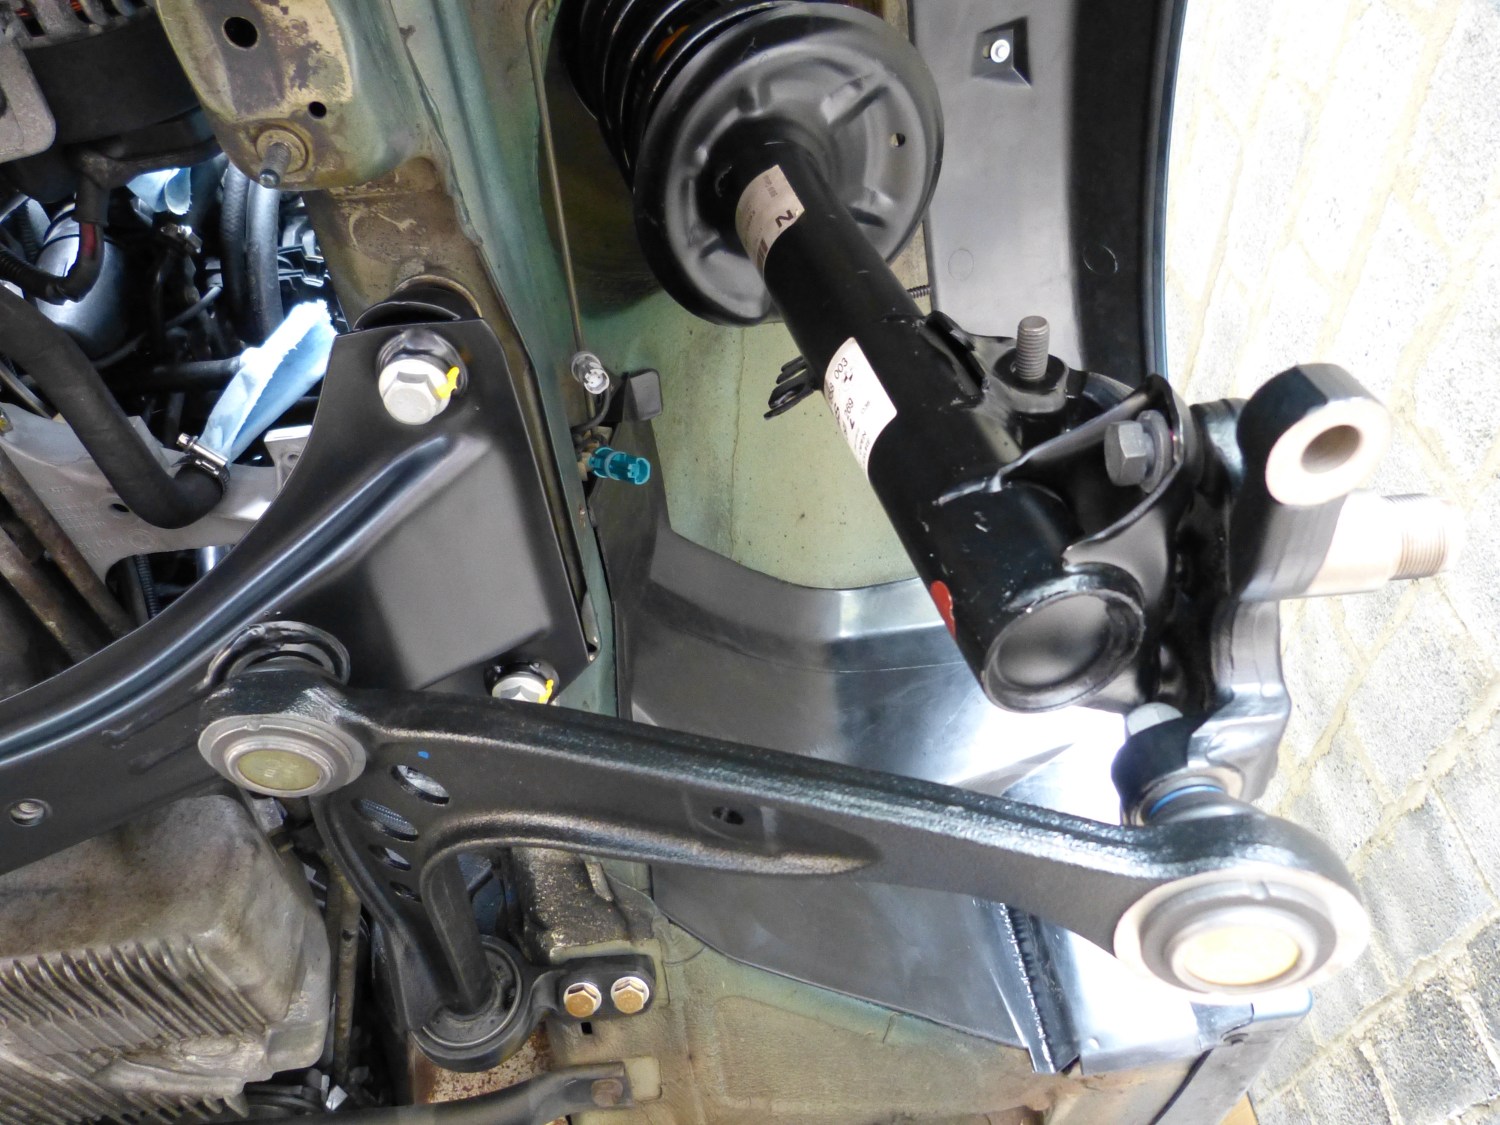
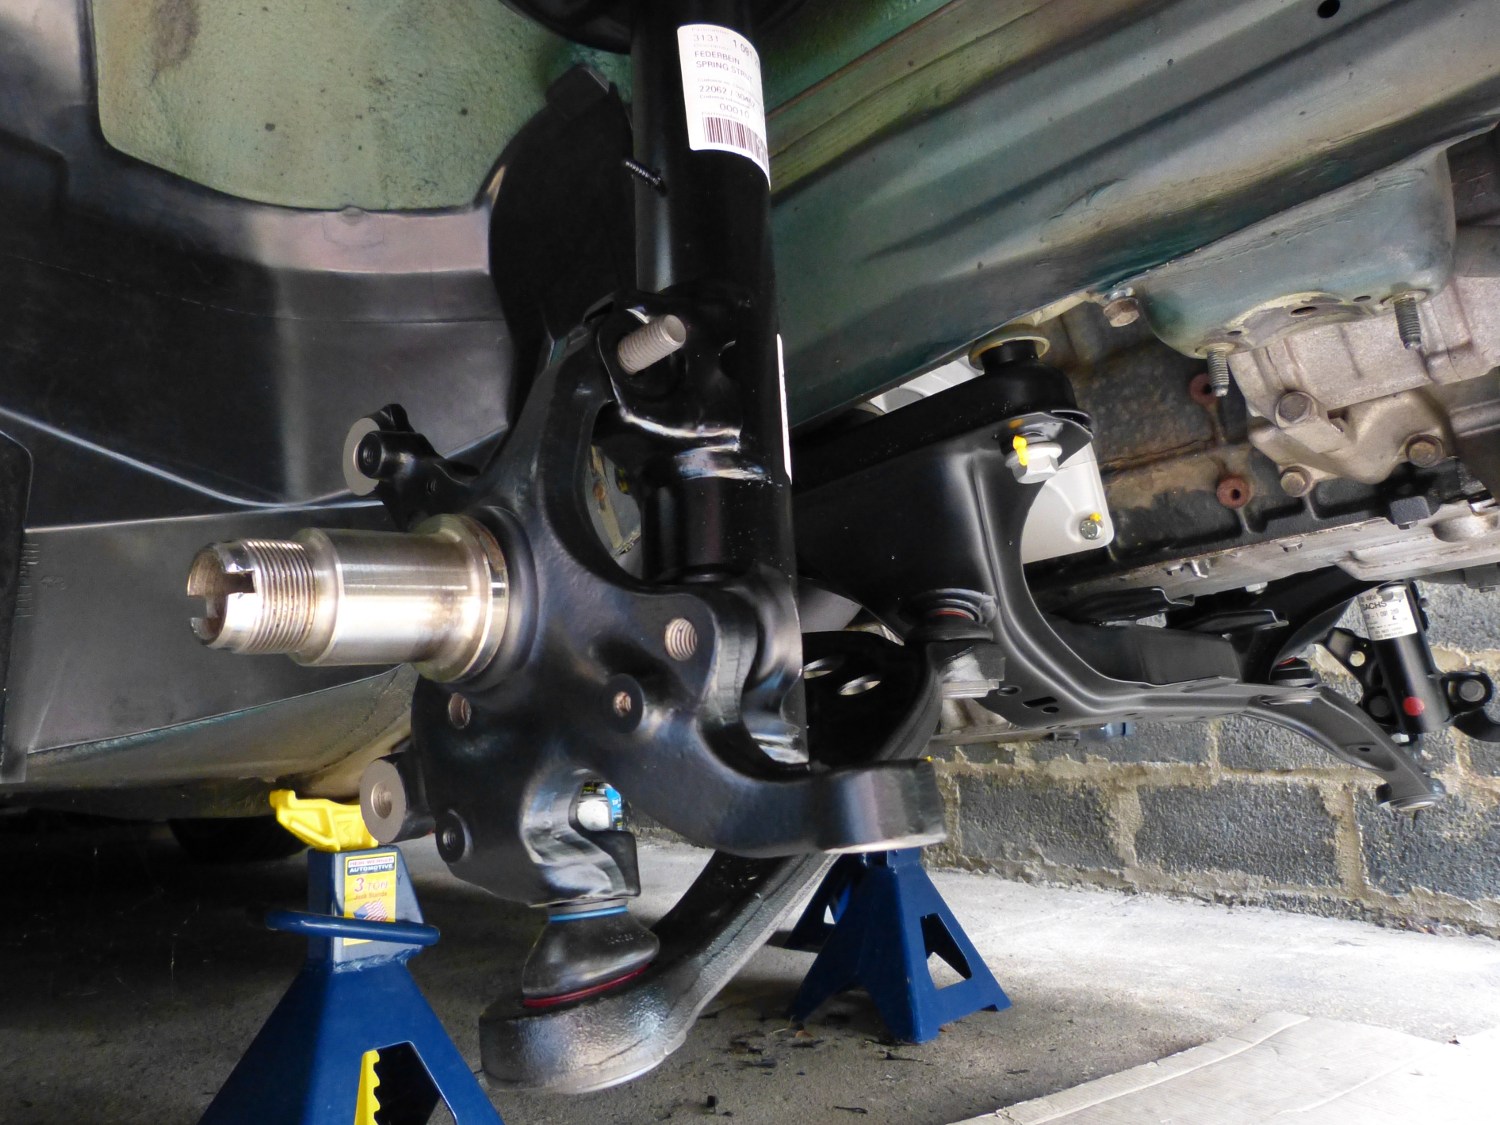 The right side kingpin fit loosely to the strut and control arm. The "fit bolt" nut is missing here and all of the fasteners are hand tight. |
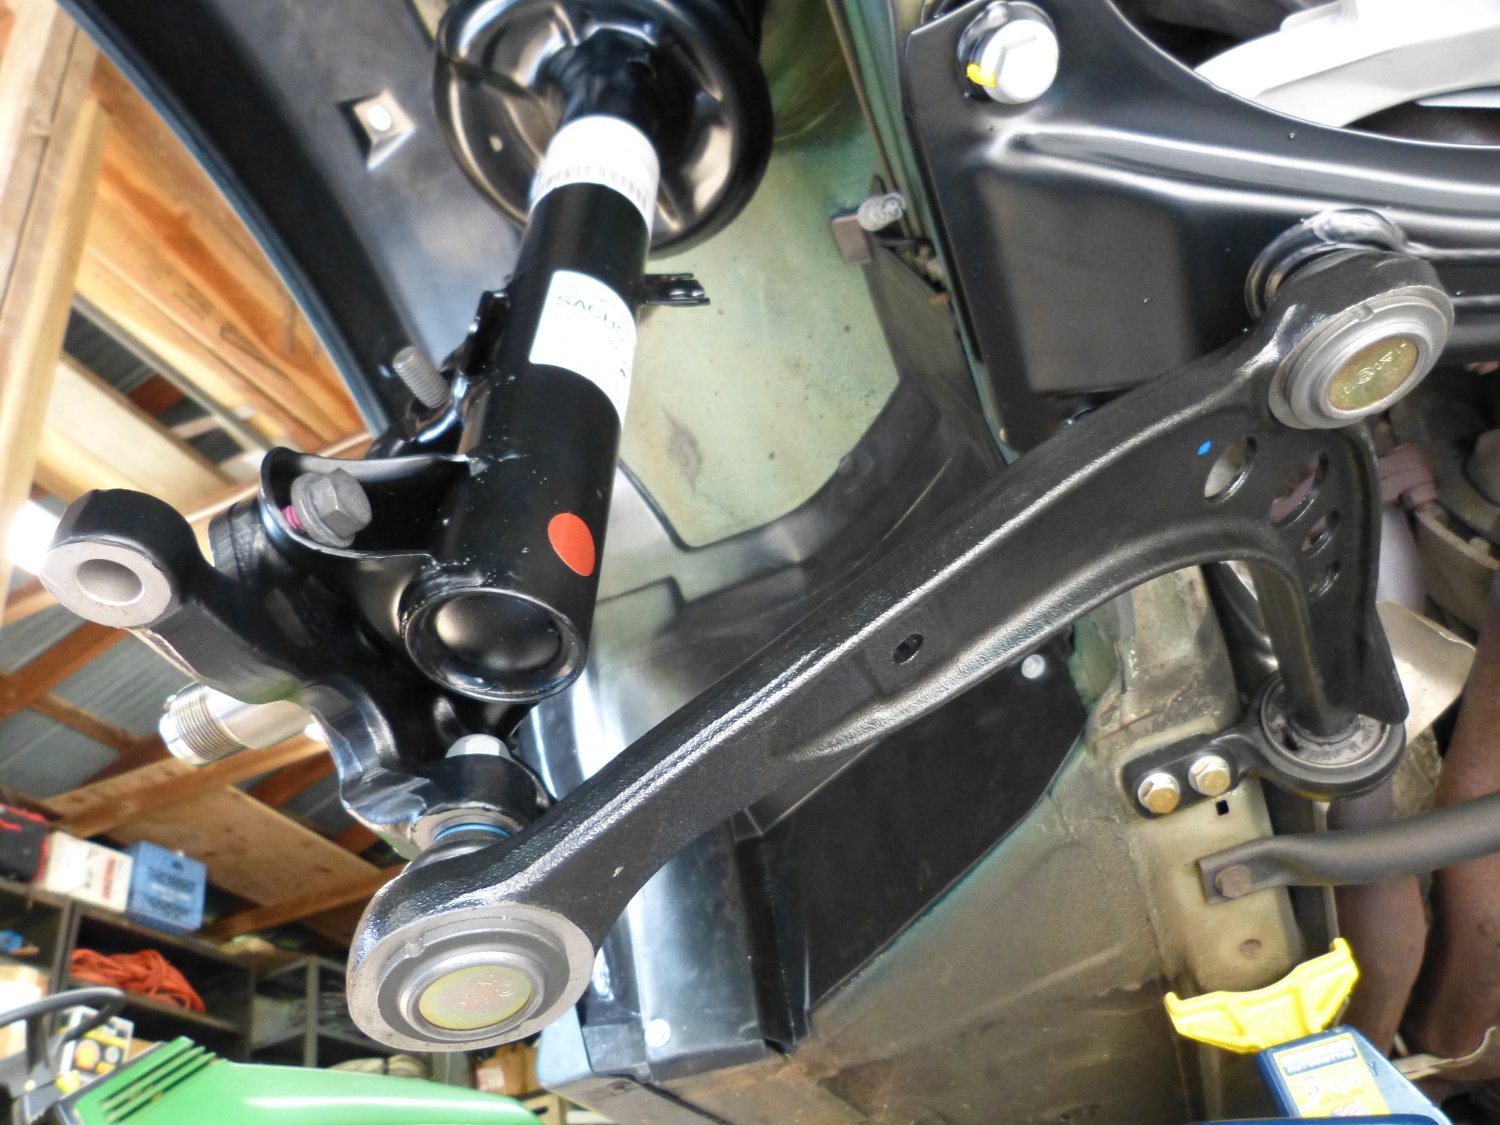 Bottom view of the right side control arm, strut and kingpin. |
 Closeup of the M control arm bushing installed on the arm and attached to the body structure. Note the required washers on the retaining bolts. |
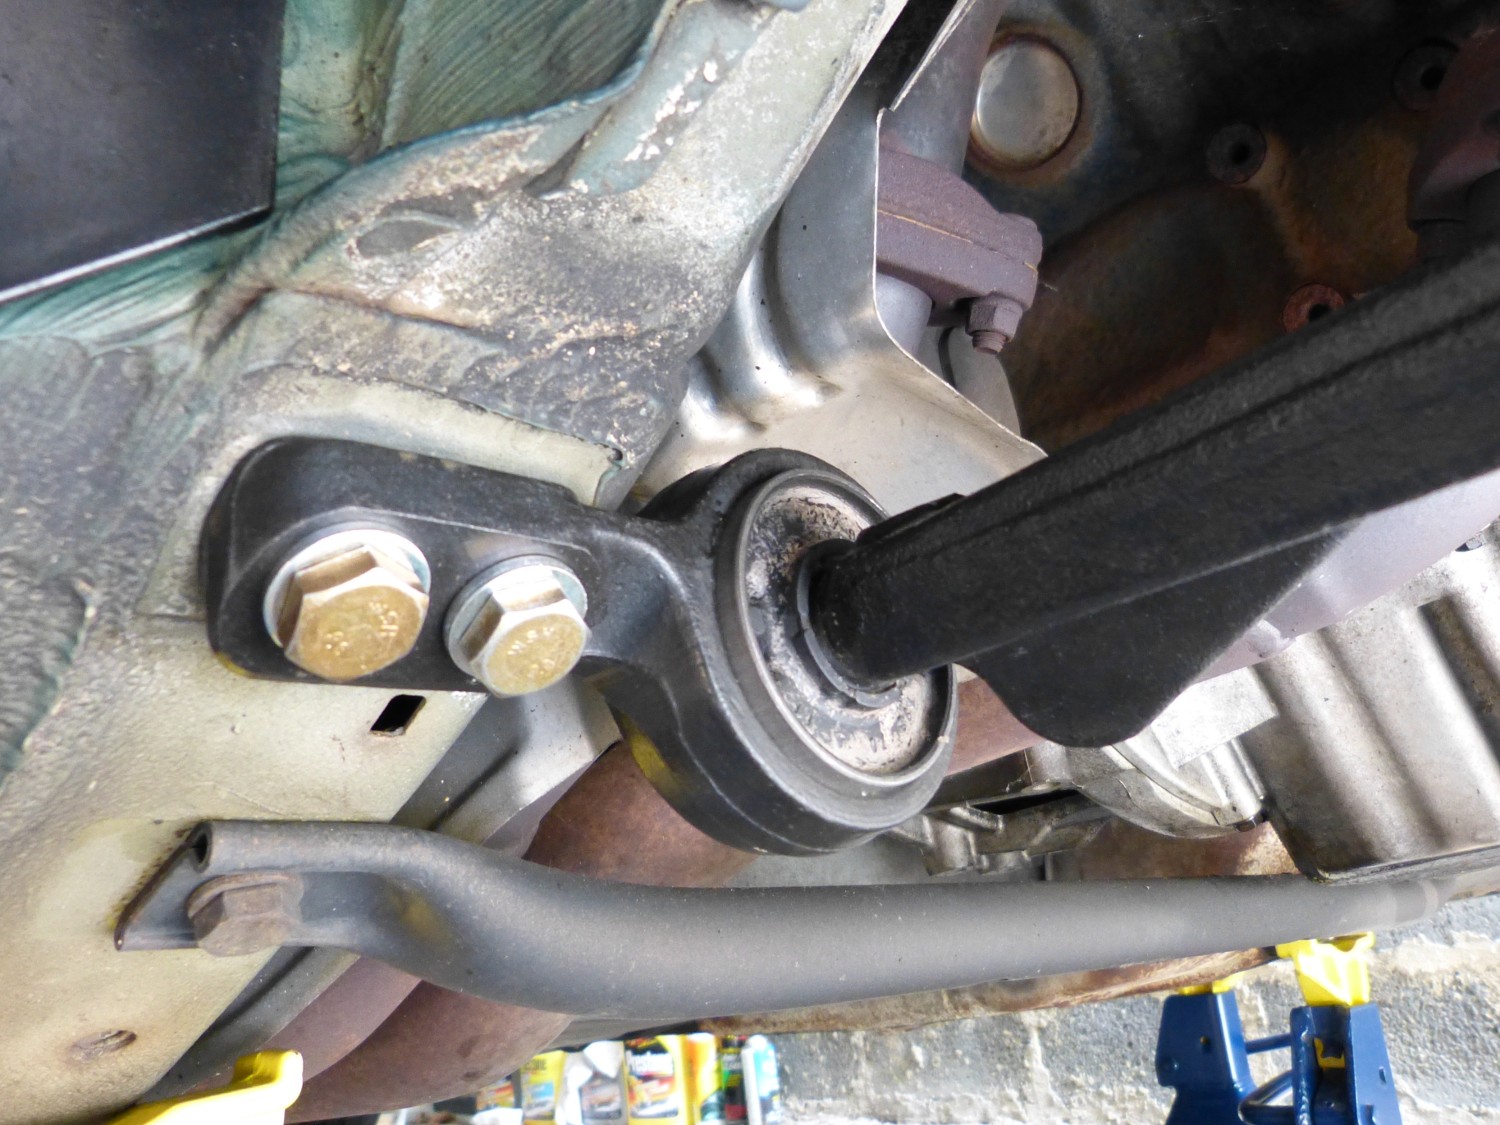
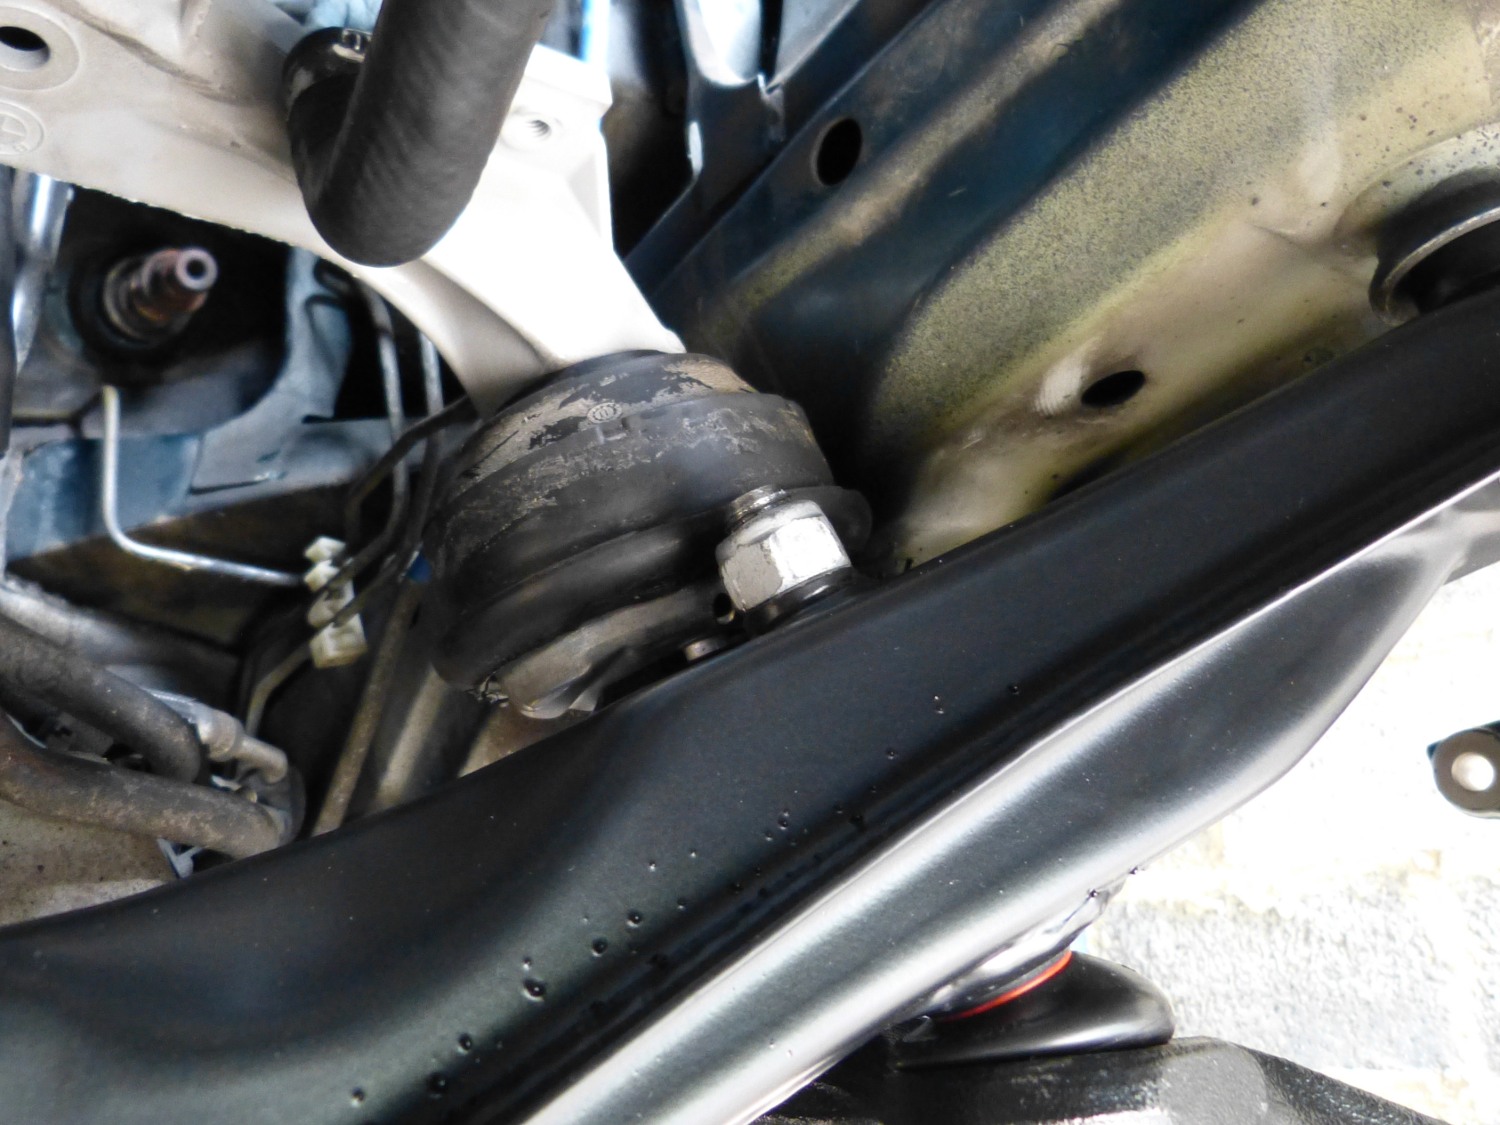 A closeup of the retaining nut for the inner balljoint of the left side control arm. |
 Bottom view of the left side control arm, kingpin and strut. Looks purdy, doesn't it? |
Frustrated with my experience with the fracture bolts I decided to switch gears and install the control arm bushings onto the control arms, mount the control arms to the vehicle and install both the kingpins and struts to tie everything together.
409 turned out to be a reasonable installation lubricant for the bushings, though I still had to apply a good amount of force to the bushing as I simultaneously twisted it back and forth and pushed it down with the arm standing on end. In retrospect I think this is easier with the M bushings since the core of the bushing tends to move less than the highly webbed sport or stock versions. So if you're looking for an excuse to install M-bushings next time, there it is.
I've read that some people seem to have alignment issues with the lollypops when installing new arms but I did not find that to be the case. As I inserted the inner balljoint stem of the control arm into the subframe I found the lollypop mated perfectly with the alignment dowels in the body structure. Fastening the control arm to the vehicle was then a simple matter of inserting the two lollypop bolts (with washers) into the body structure and threading the 21mm locking nut onto the inner ball joint stem. I then repeated this process for the other side.
Next, I had to correctly identify the left and right struts, place the M shock tower reinforcement plate on top of the guide supports and then install the paper sealing gasket on top of those before heaving the assemblies up into the shock towers and hand tightening the three retaining nuts on each side. I took note at this time that BMW had the foresight to avoid applying the thick and irregular underbody coating to an area at the top of the shock tower corresponding to the outer diameter of the M reinforcements, so the reinforcement plates fit tightly to the shock towers, exactly as required, even on this non-M car.
With the control arms and struts installed the only thing left to do was install the kingpins and temporarily install all the hardware to tie everything together. At this point I discovered that I am missing the nuts used to fasten what BMW refers to as the "fit bolt" -- one of three fasteners that tie the strut to the kingpin -- so I decided to call it quits for the day. Naturally, I'm planning to order a couple of those this week and apply final torque to everything next weekend.
I've completely lost track of time on this project but I think I spent 2-3 hours today getting to this point including time needed to confirm part numbers and placement of selected parts like the washers on the fit bolts you can see in the pictures and video if you look carefully enough. Next weekend I'll pick up where I left off, sacrifice a couple goats to the fracture bolt Gods, and then install the brake shields, wheel bearings and brakes.
Videos:
Mileage: 222600