


Saturday, May 11, 2013
Fluidyne Radiator Arrives
Note: I wound up returning this radiator due to the fitment issues noted below. If you intend to use the OE shroud please read this entry and the followup before you buy this radiator!
The radiator has arrived and I plan to install it soon so I can take the car to the body shop. In the meantime the E46 continues to serve as my daily driver.
I also picked up an OE expansion tank, coolant level sensor and o-ring, new top plastic retaining clips, and a stock shroud. My original stock shroud is not broken (to my knowledge) but since it was only $35 I bought it to help test fit the unit to the new radiator.
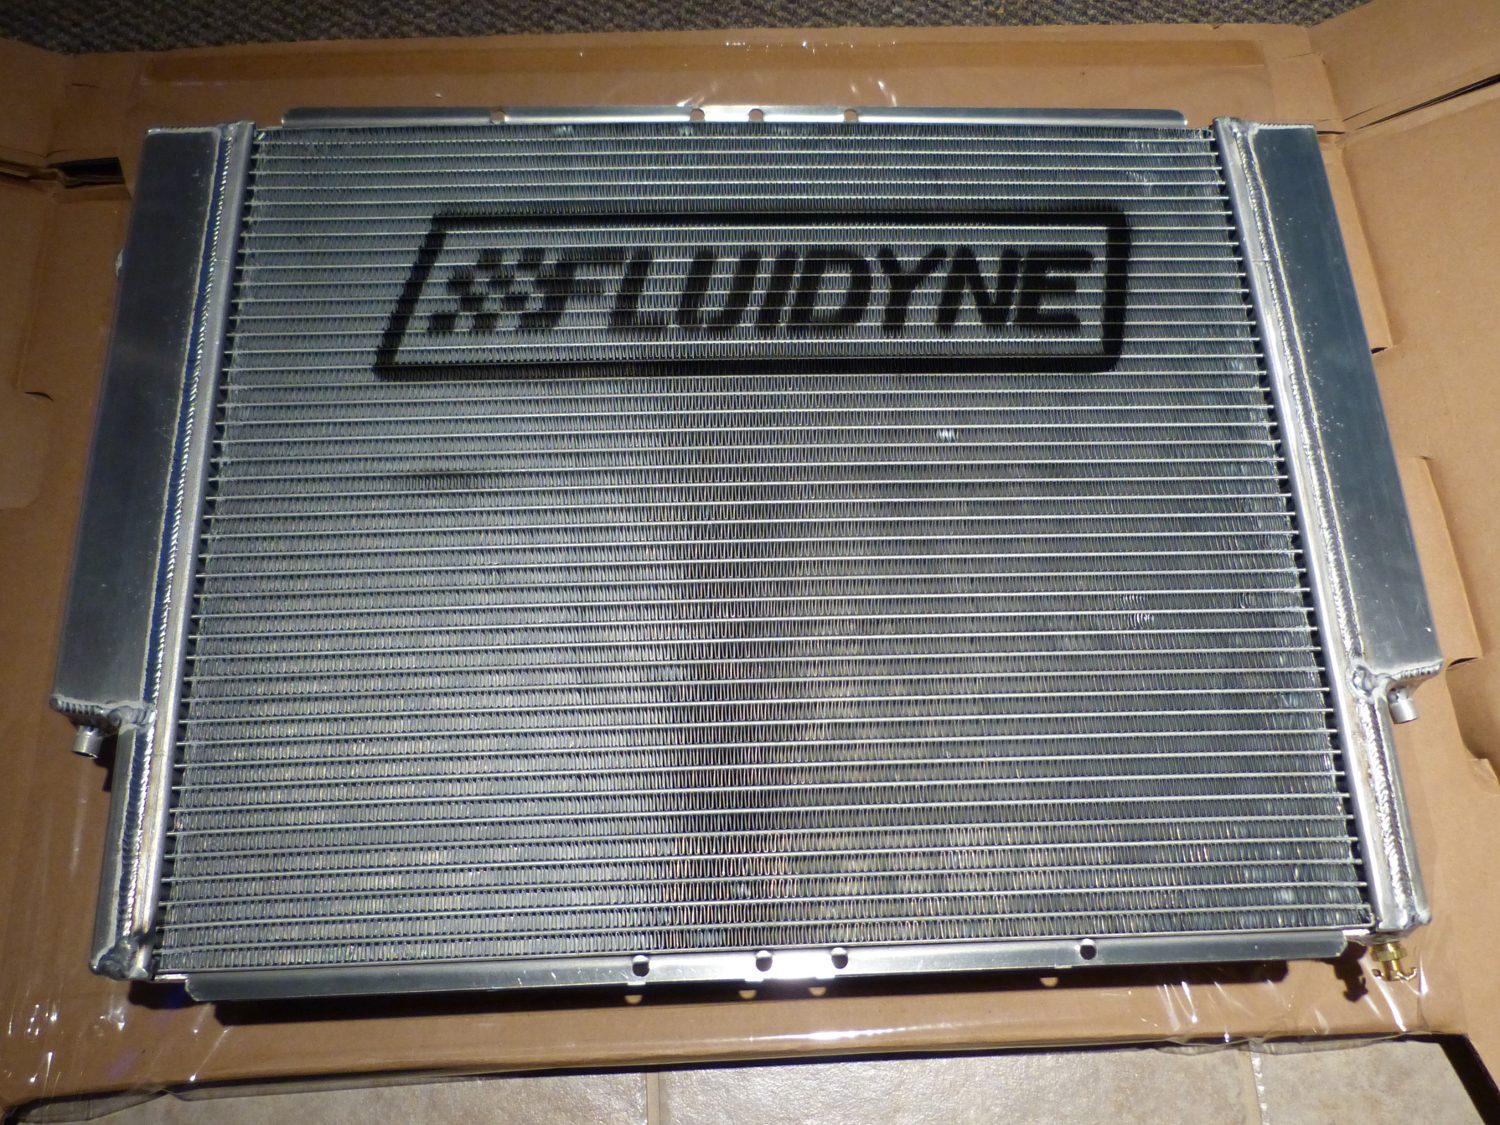 The front of the radiator is sprayed with a stencil. I'm not a fan of this and I really wish they would not do this. I know what I bought, guys. No need to advertise. Fortunately, this is not visible when installed. |
This metal badge looks nice but I discovered that it prevents one of the OE shroud mounting clips from sitting flush with the top of the core. Sadly, there's no way to remove the badge without risking damage to the core. Next time use a label like everyone else, guys. |
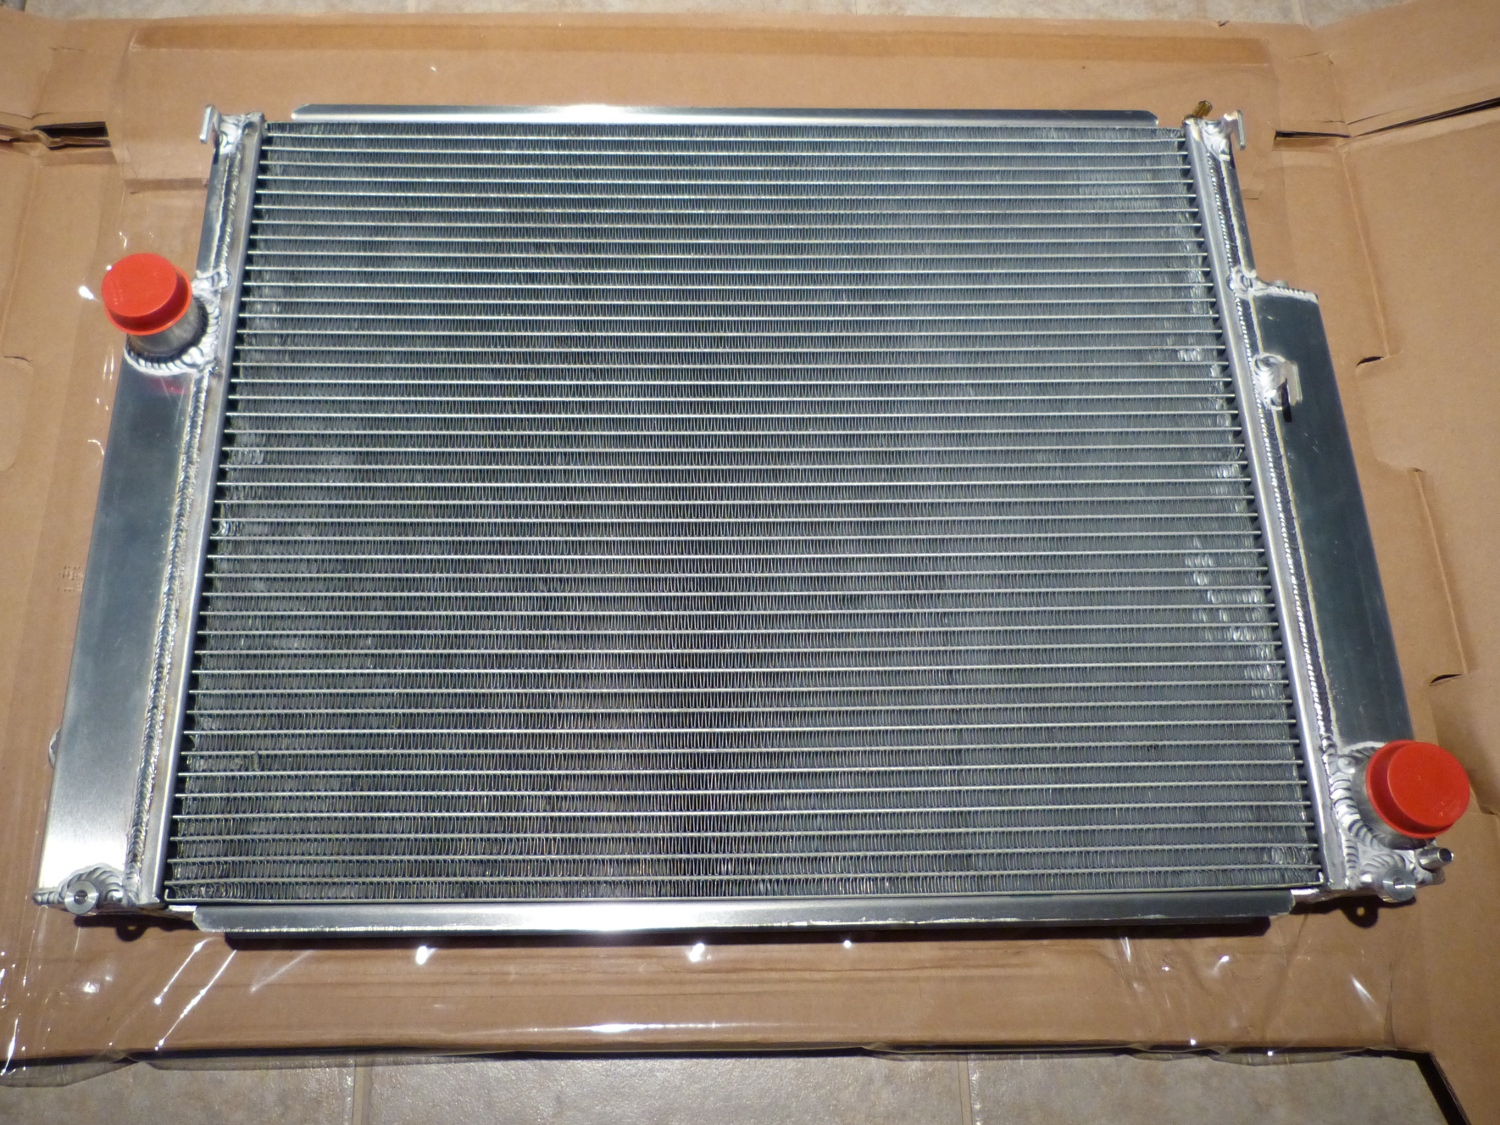 The rear of the radiator shows clearly what I paid for: an all aluminum design including end tanks. Were it not for the shroud mounting issues I'd say the unit was worth the cost. |
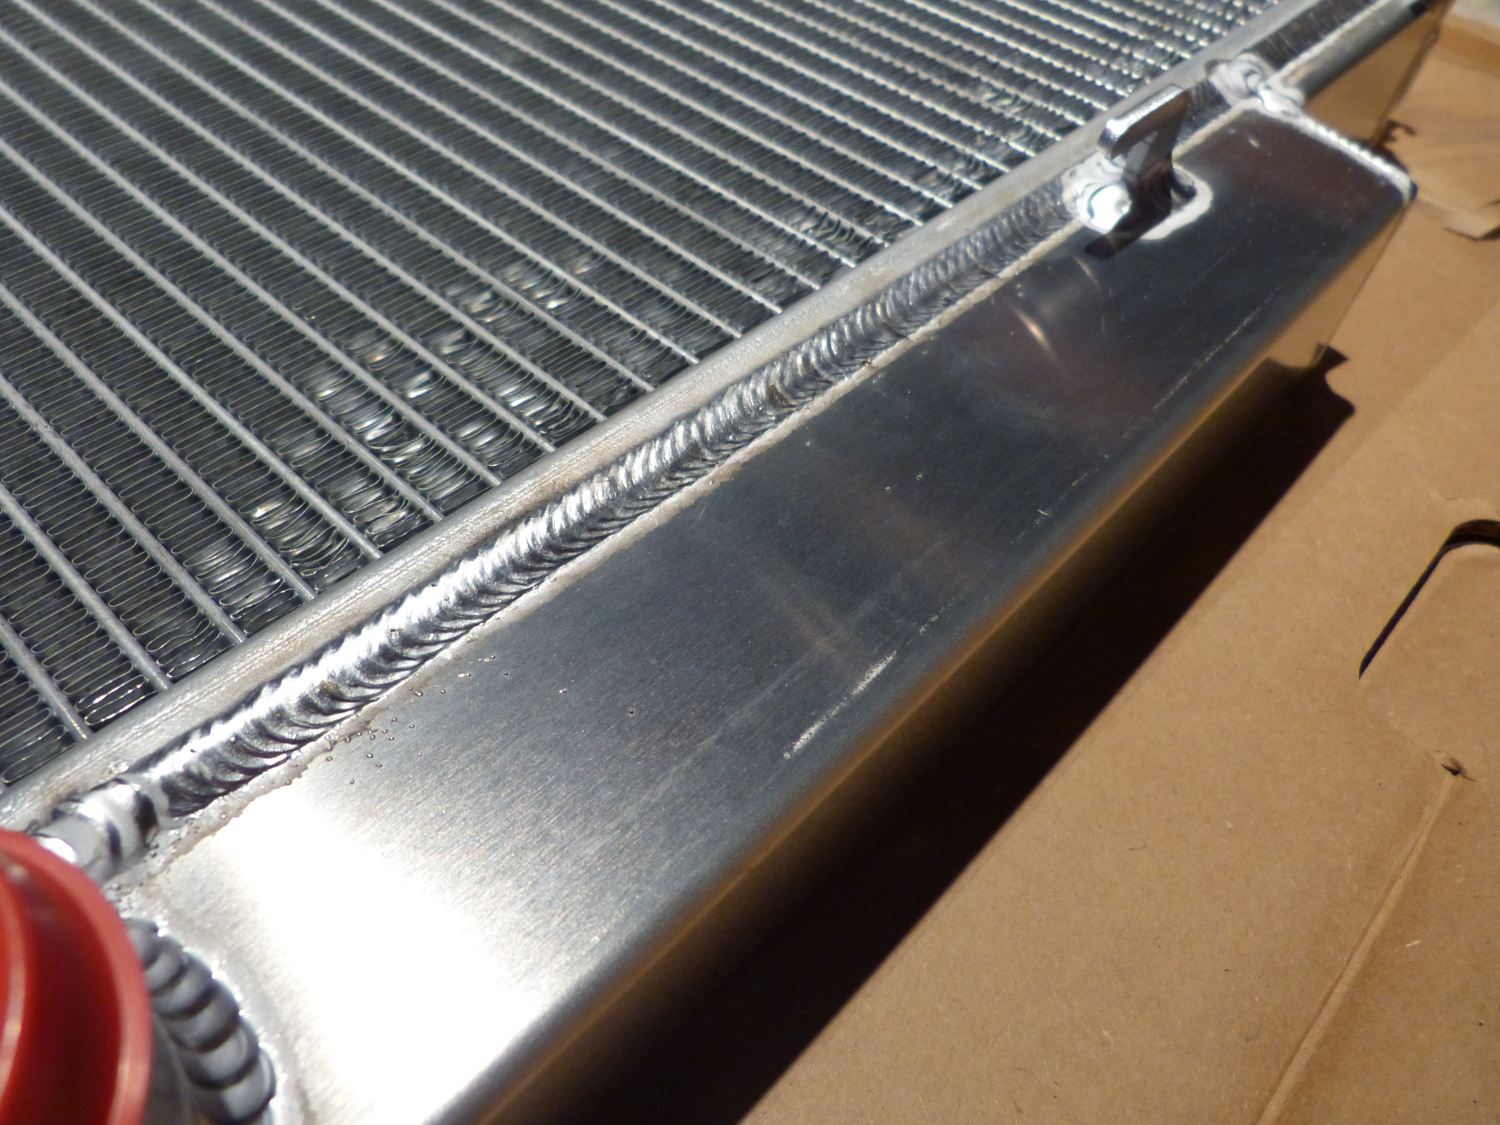 These are advertised as hand welded. The vast majority of the welds look good, but I did notice a bit of soot in places along the welds that bond the tanks with the core. Nothing to be concerned about, however. |
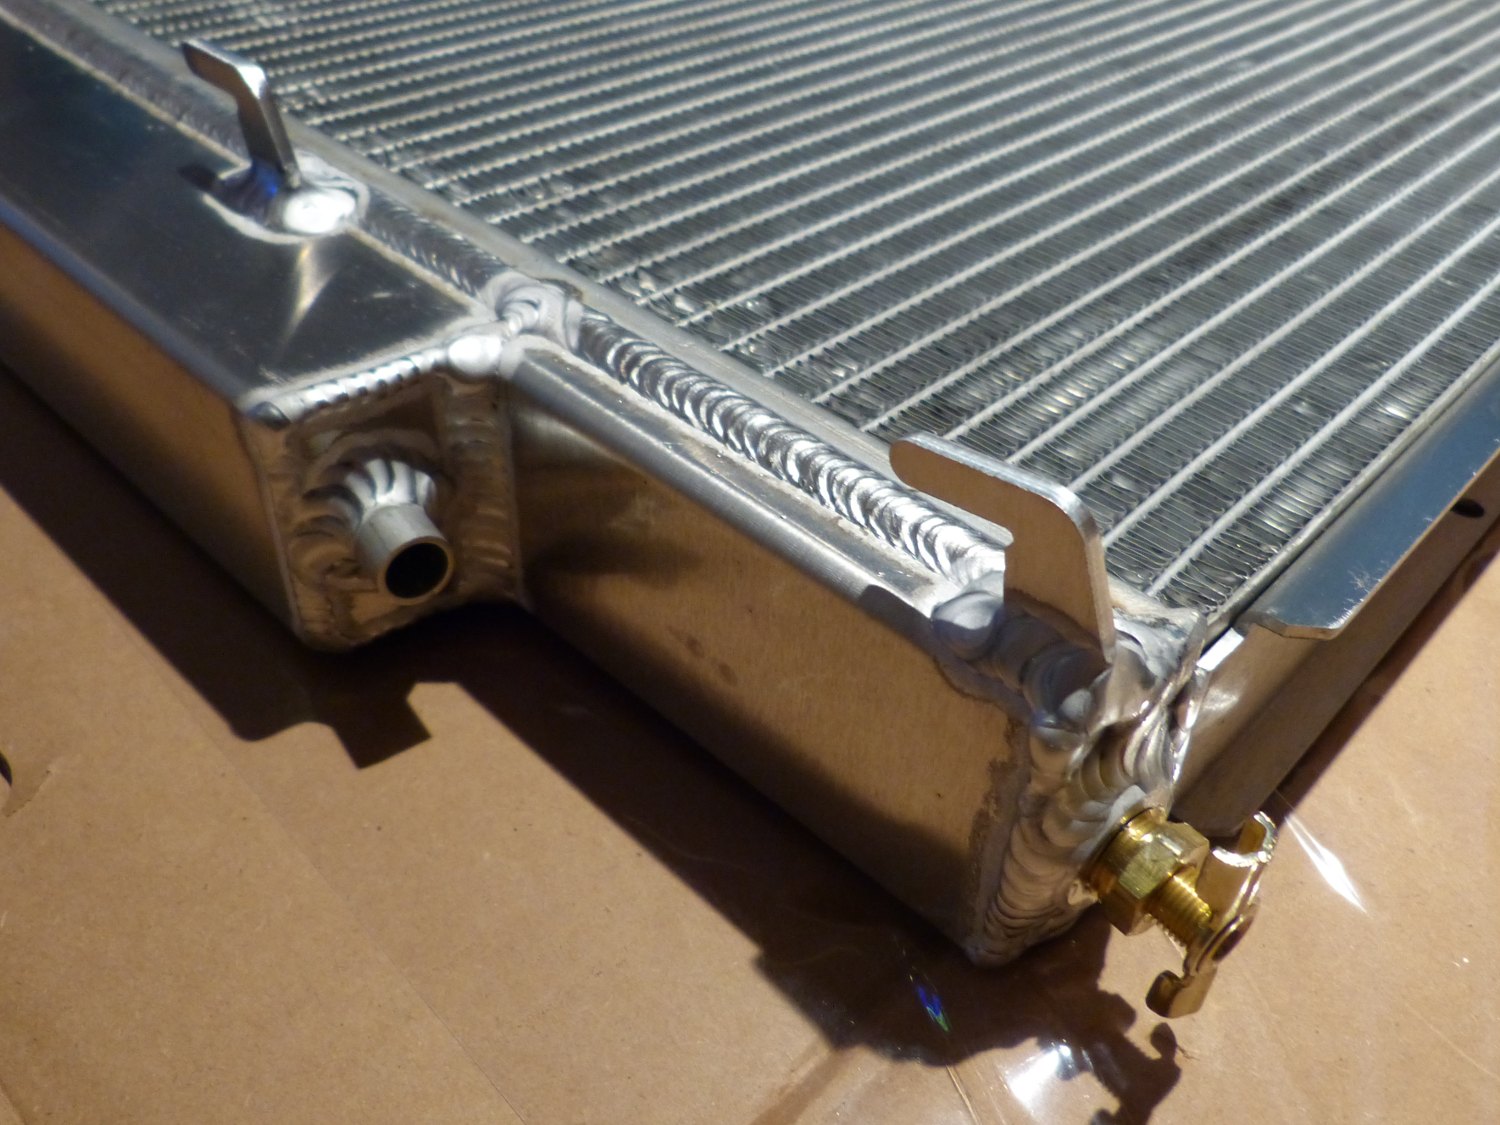 The lower left rear corner of the unit shows the brass petcock. Unfortunately trying to loosen the petcock handle winds up turning the entire valve. I'll tighten the base a bit more before completing the installation. |
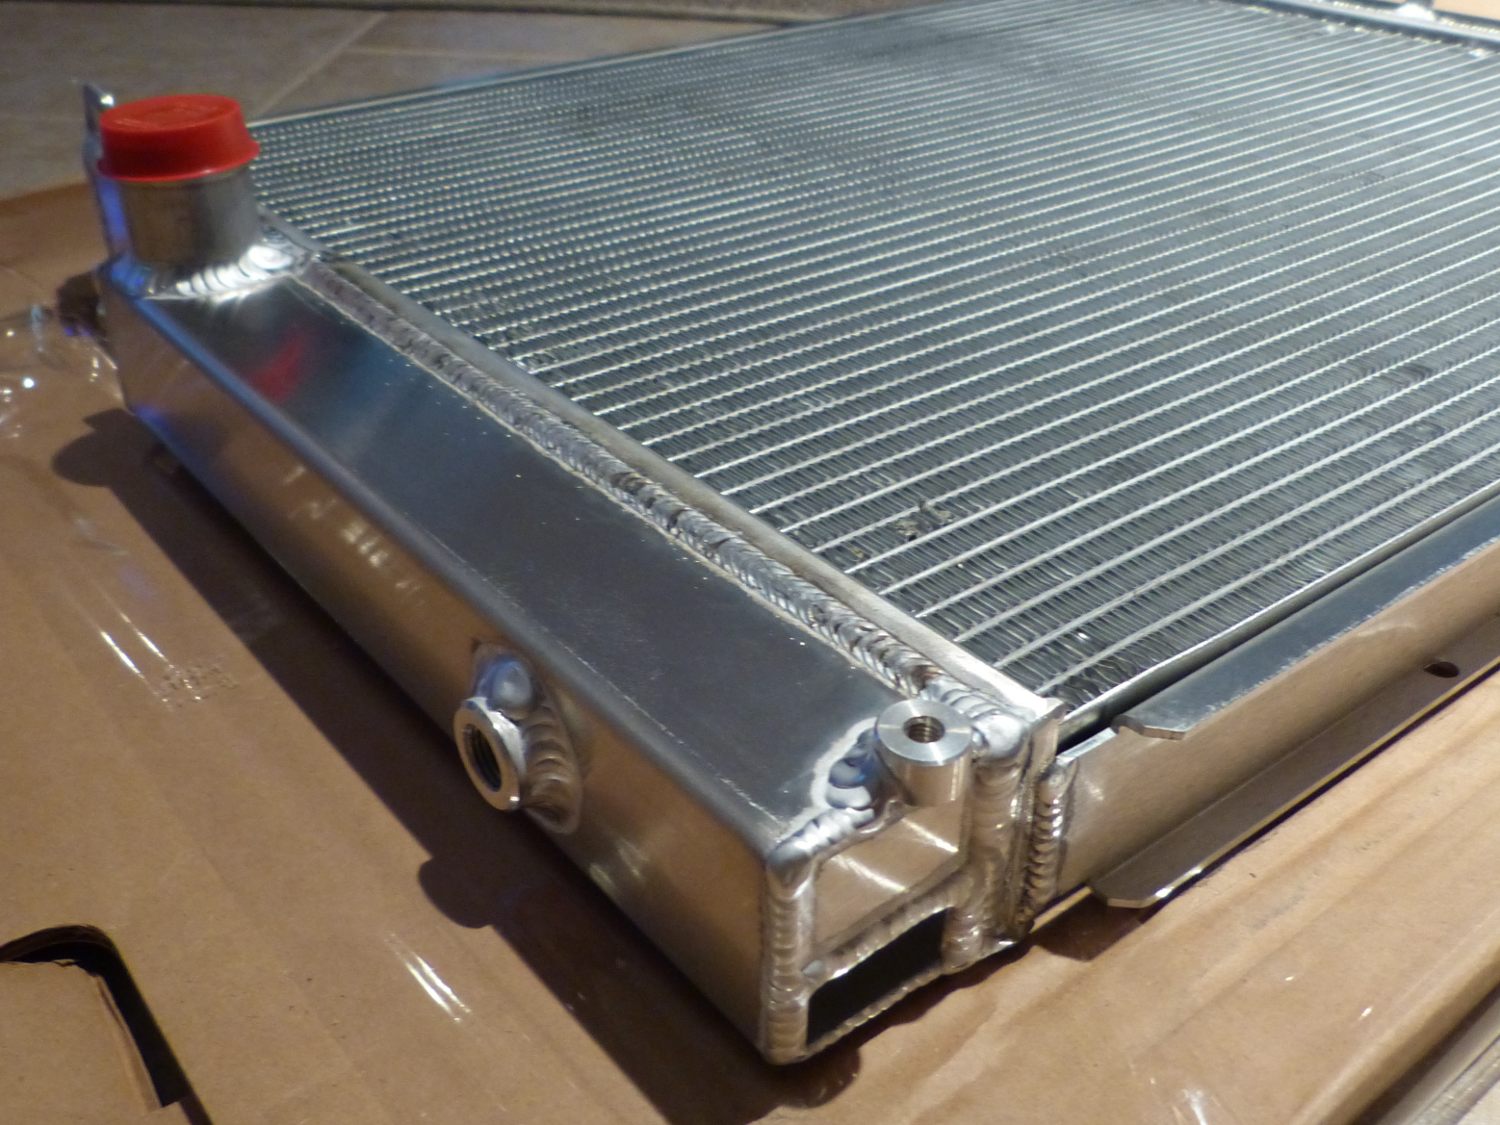 This perspective shows the slot for the locking tabs at the top, the bung for the temperature sensor and the neck for the lower hose. The welds around the locking tabs, bungs and necks are all nicely done. |
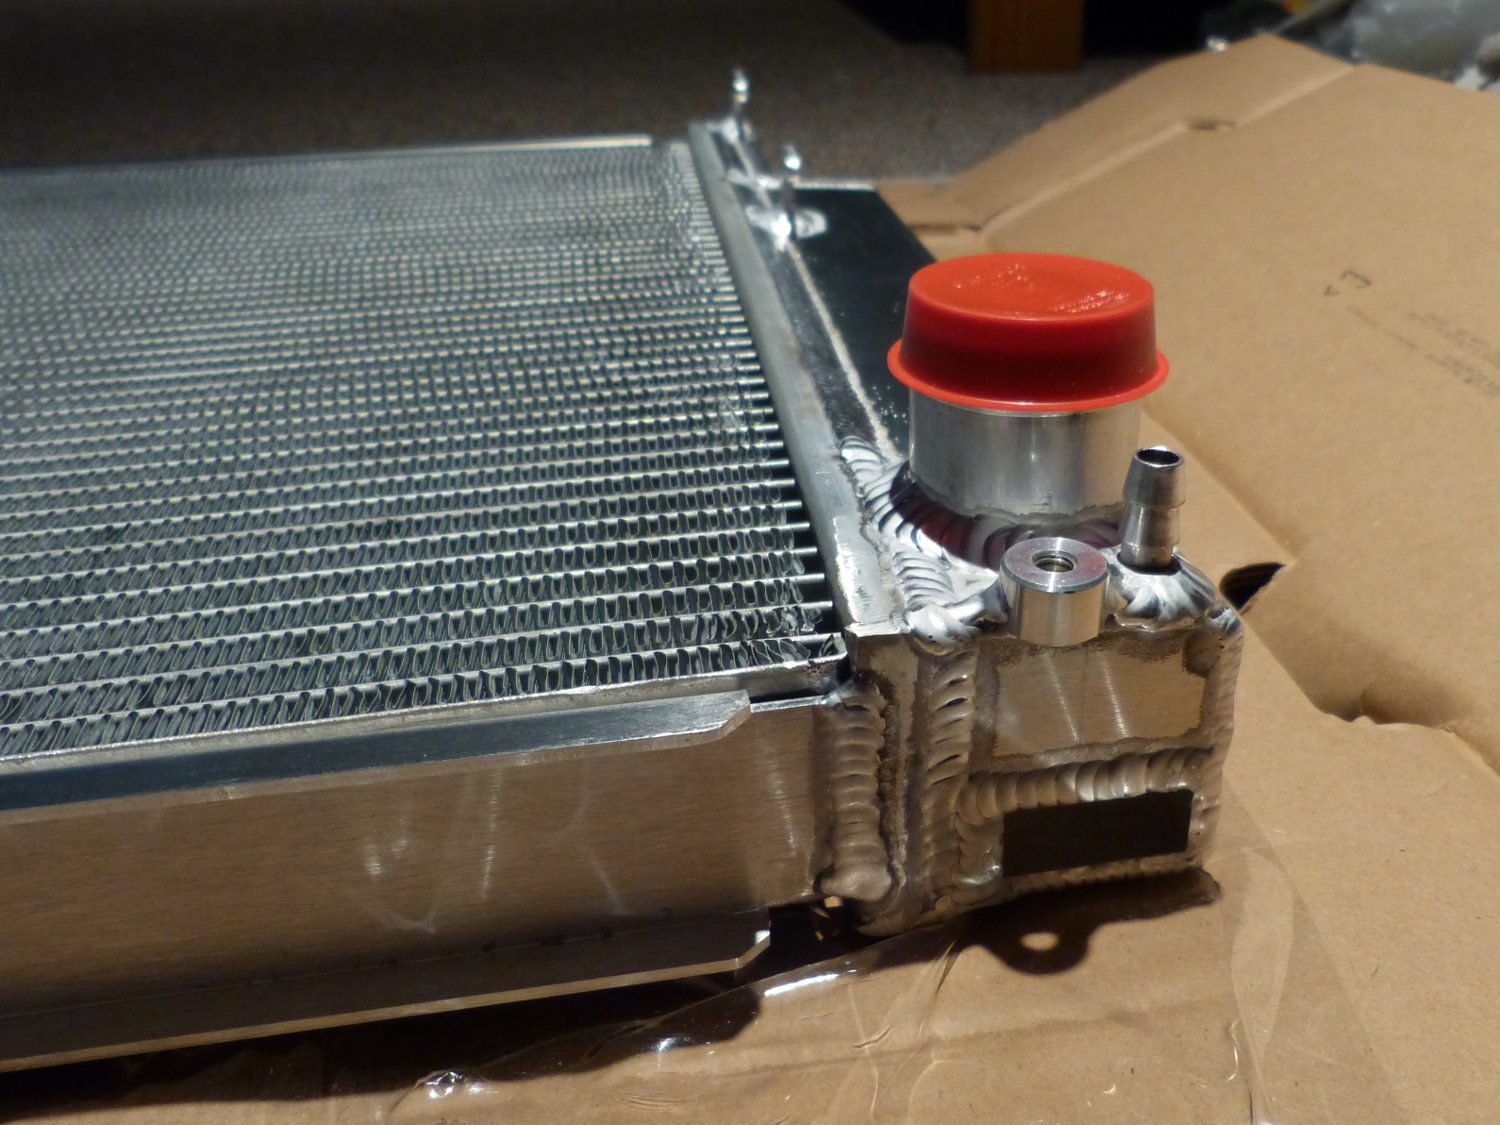 The other top corner shows the nipple for the hose leading to the expansion tank. The threaded nuts at the top are supposed to hold the top of the shroud but the alignment isn't perfect. |
 The hooks (one of which is shown here) help retain the OE shroud. While test fitting a new shroud I found the hooks were not mounted in the correct locations. The two bottom ones were too high and the middle one too low. This contributes to a poor fit of the OE shroud. |
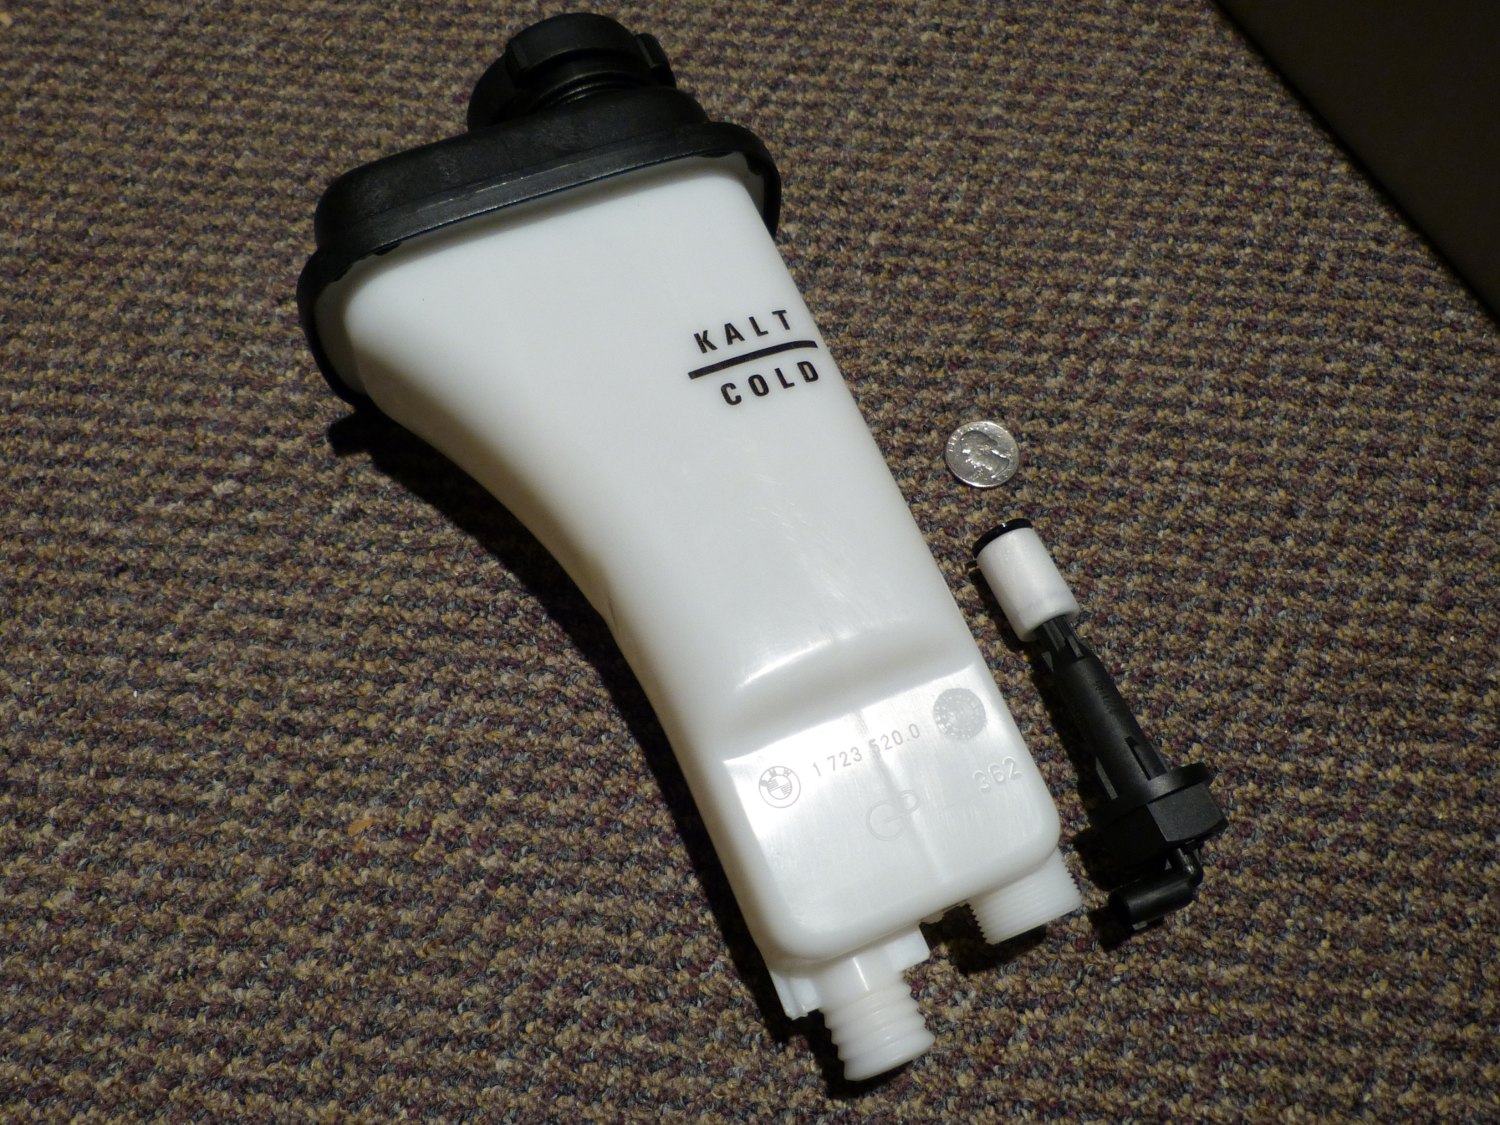 I'm reluctantly using a stock OE expansion tank because I couldn't find an aftermarket unit that would work with the stock shroud or an aftermarket shroud and tank that would work with the mechanical fan. Not shown: the o-ring that seals the coolant level sensor to the tank. |
While at first glance I felt the unit looked pretty good, I'm not at all happy with the fit of the new OE shroud I picked up today. I know a lot of people who install these radiators don't use the OE shroud but I think $500 should buy me a perfect fit. The shroud attachment points are not welded in the correct locations and the core itself is a about 2 mm smaller than necessary for a perfect fit. The end result is that the holes at the top of the shroud don't align perfectly with the threaded nuts welded to the top of the core and the seal between the shroud and the core, while not perfect even with OE parts, is decidedly less than ideal. My solution will likely involve trimming of the OE shroud, since I have no intention of taking my Dremel to a $500 radiator.
Video: Fluidyne Radiator Closeup
Mileage: 235000