


Thursday, July 4, 2013
Today I used some of my holiday time off to install a new cowl cover, rear quarter window seals, drip edge moldings and M3 mirrors. As usual the weather was hot and humid and I felt like I was working in a sauna but I managed to get the work done in about three hours.
Cowl Cover
The first task was to replace the damaged cowl cover. I had plans to replace it earlier but decided to wait until the shop had completed their work. After delivery I noticed that the body shop installed the passenger side wiper blade a spline or two too high so I figured I'd fix that as well. The only snag came when I removed the cover and realized that a couple of the rubber inserts for the mounting clips were missing. I didn't think to order new ones so I had to look for an alternative. I grabbed a few older rubber inserts left on some side molding clips I had handy and found they fit. I'll buy the proper type next time.
Rear Quarter Window Seals
I was not looking forward to this job because I assumed I would have to remove the windows to accomplish the task but the good news is that wasn't necessary. There was also the question of exactly how to install the seals properly because the original seals were so badly deteriorated that I could not use them as a model. I began by opening the quarter window and carefully peeling down the interior seal from the top of the window. I could not pull the seal completely out of the area of the hoffmeister kink because of the retention mechanism but as it turned out just loosening the seal was enough. The middle seal reaches from the top forward corner of the window and down into the kink, so I pulled the seal out of the kink and then simply slid the entire seal backward out of the window frame.
The new seal slid in almost as easily and I pushed it into the frame before reinstalling the inner seal to hold it in place. The trick came when I took a closer look at how the inner seal and middle seal mate with the window. It's possible to fit the "flap" of the middle seal over or under the exterior portion of the interior seal. Because of the design of the seal and how it wraps around the curved portion of the kink it's not entirely clear to me which is the preferred solution to prevent leaks but I decided to install the flap over the interior seal. The next time it rains I'll take a close look at things to see if it leaks but given the condition of the old seals anything is bound to be better.
Drip Moldings
This is another task I feared doing, primarily because of the price of the parts. With the parts removed from their shipping plastic I realized that the interior of the moldings were not metal as I originally surmised but a metal core wrapped with ribbed molded rubber. The second I saw that I immediately breathed a sigh of relief, knowing I could spray the interior of the molding as well as the mating surface on the vehicle with some 409 to lubricate the surfaces and make it easier to press them into position, much as I would a suspension bushing.
Based on the recommendation of the body shop owner I started by aligning and pressing in the curved portion of the molding designed to mate with the hoffmeister kink and then worked progressively toward the front of the car. With the door open I was able to press the "remainder" of the molding onto the A-pillar flange and down beneath the front quarter panel. All in all this was a lot easier than I assumed it would be. In less than five minutes I made quick work of the other side and stepped back to look at the accomplishment. The drip edge moldings have looked like crap on this car for years and now they look showroom new. Can't beat that!
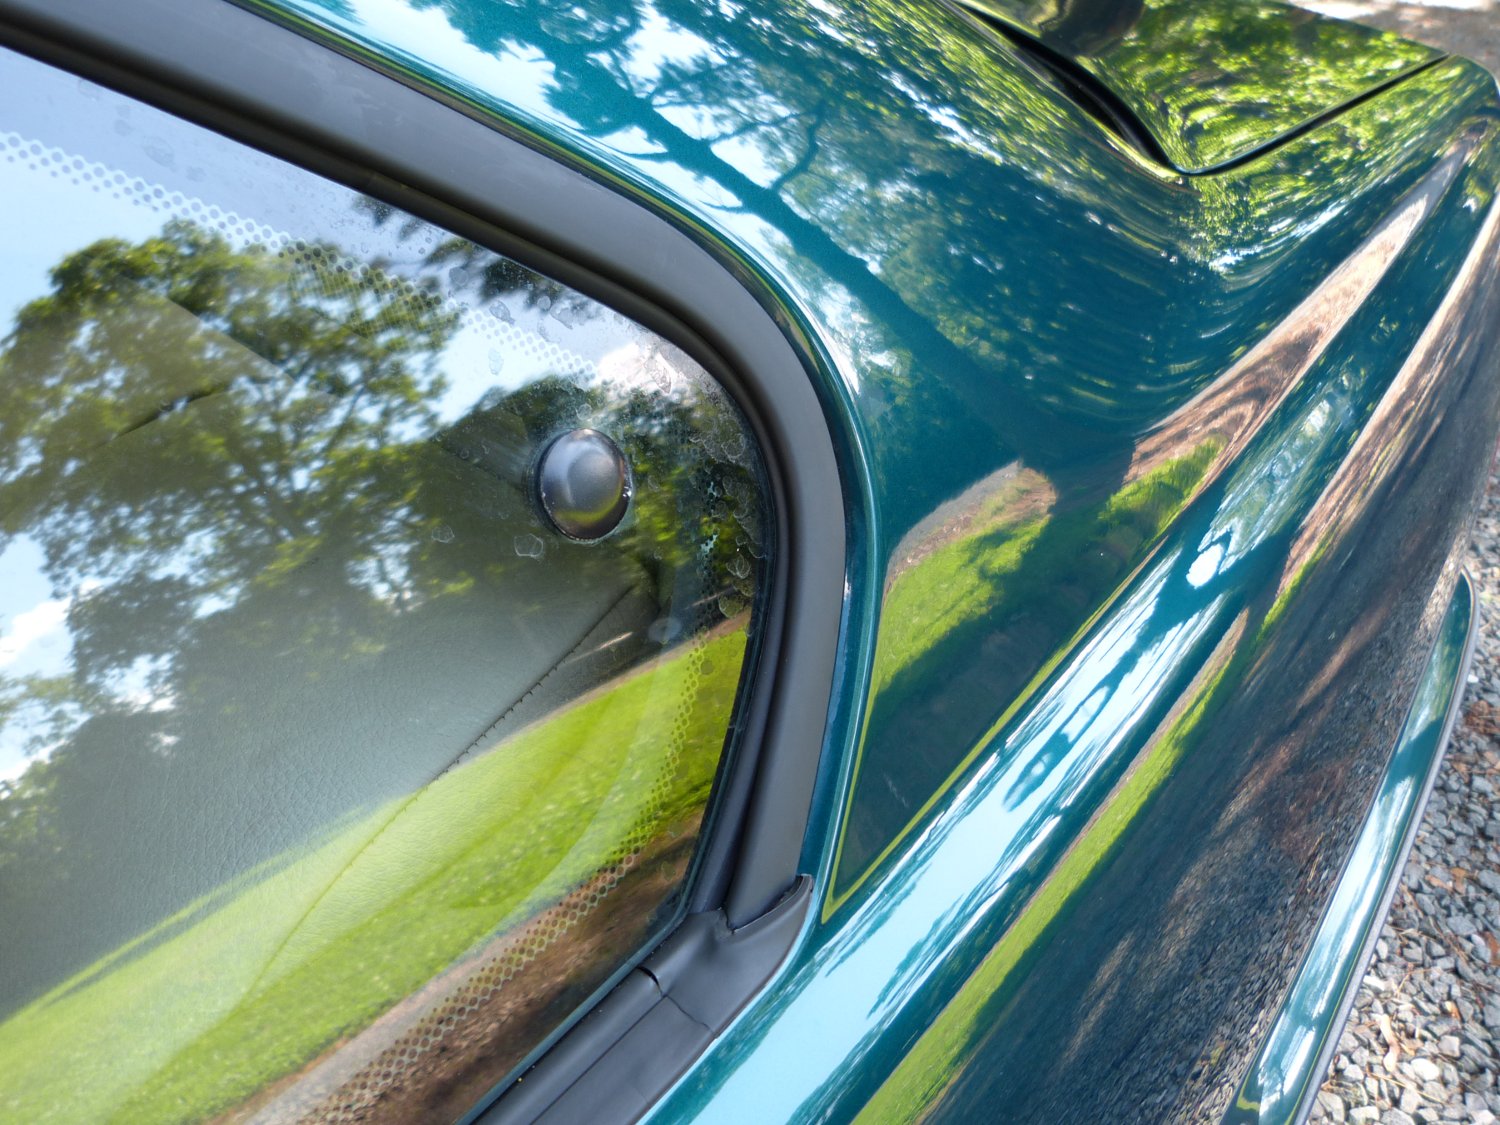 Closeup of the Hoffmeister Kink shows the new moldings and window seals. This looks SO much better than the rusty, leaky mess it replaced. |
 The passenger mirror installed. This is far more aerodynamically efficient than the standard mirrors and I already note less "hiss" while driving. |
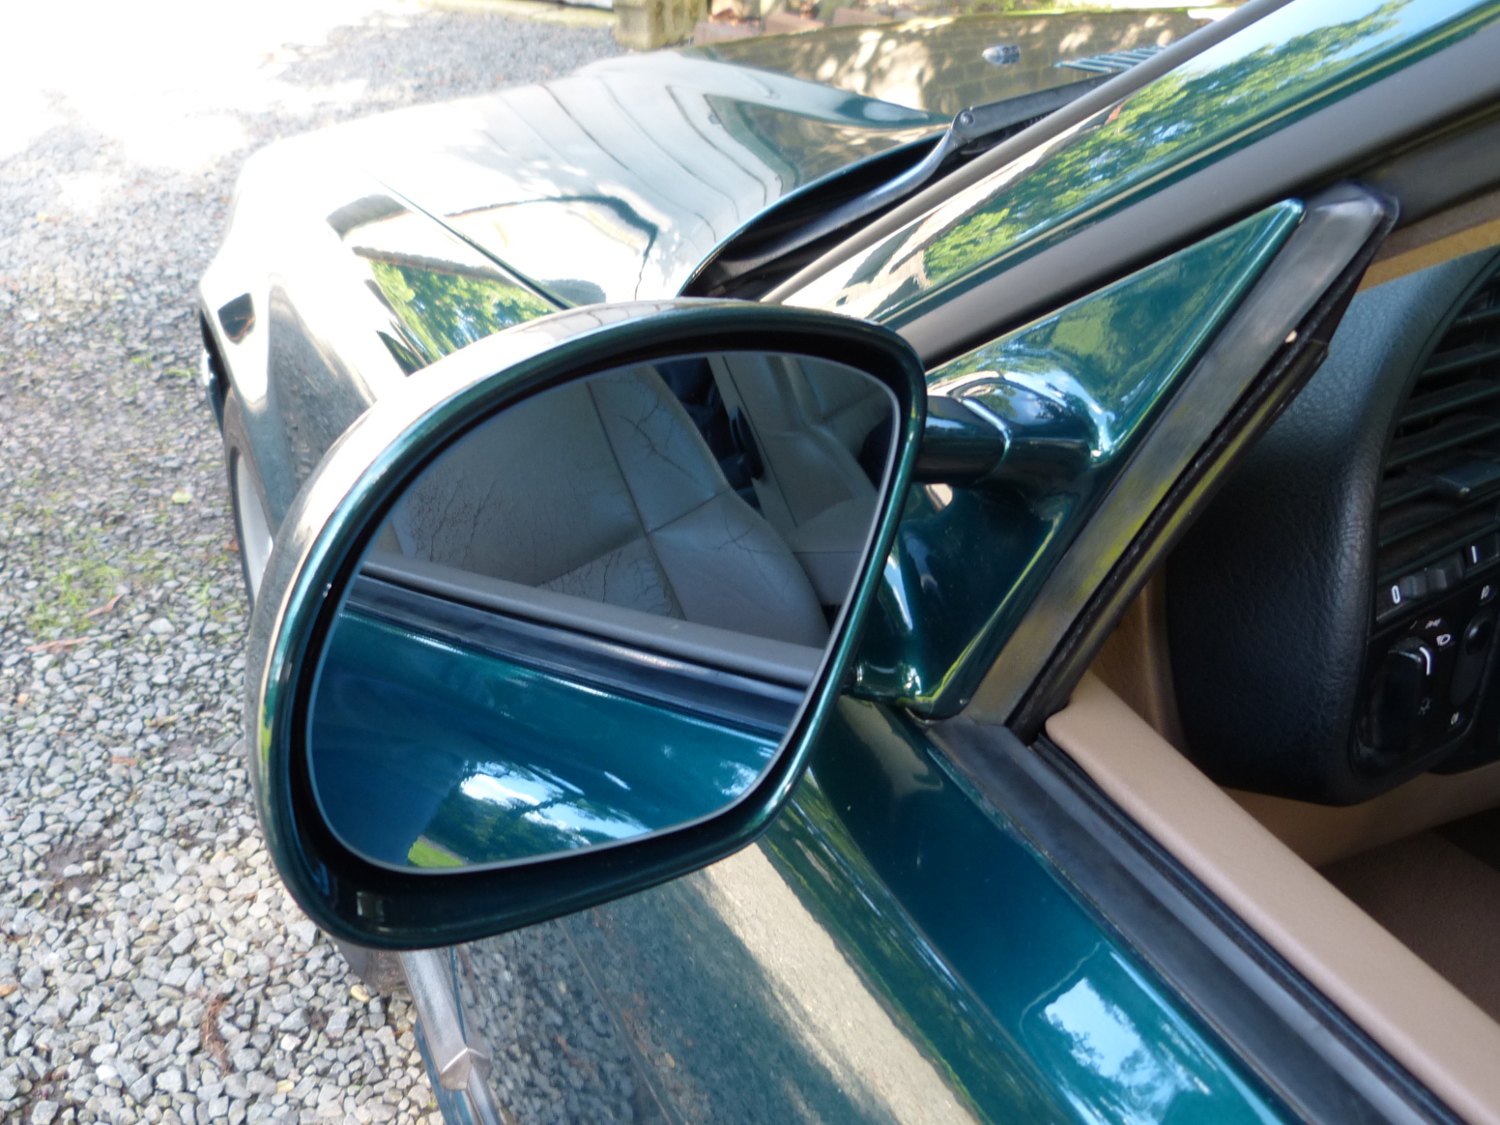 The driver's side mirror with convex euro glass. Driving behind it only for 15 minutes I already appreciate the increased field of view in both the horizontal AND the vertical. |
M3 Mirrors and Test Drive
With the mirrors painted and the euro mirror glass installed there wasn't much else to do but install the parts. I began by removing the triangular-shaped interior cosmetic panel to expose the electrical connection and three "self tapping" screws holding the old mirrors to the car.
I was careful to remove the electrical connection first, followed by the two lower screws, and lastly the top screw in order to prevent the mirror from accidentally falling or otherwise banging against the side of the car. Once I popped the rubber gromet that seals the electrical connection free the old mirrors were easily removed. The new mirrors were installed just as easily, though some 409 once again came in handy when mating the new grommet and I did have to be careful about aligning the bolts correctly as they are intended to tap the holes in the metal base of the mirrors and I knew I'd only get one chance to do that correctly.
At this writing I have only about 15 minutes driving time behind these mirrors but I already love them. The convex glass on the driver's side produces a wider field of view in both the horizontal and the vertical which more than makes up for the slightly smaller mirror surface. While I knew going in that the M3 mirrors were more aerodynamically efficient what I didn't expect was the subtle but noticeable reduction in noise. The stock mirrors used to produce something of a hissing sound and I had naturally come to accept it as normal but the second I got the car up to 50 MPH I found the difference obvious.
Trivia: if you look closely at the stock mirrors you'll see that BMW obviously attempted to remedy some of the aerodynamic faults of the design by adding "bumps" to the inside edge of the mirror. These energize the boundary layer flow to keep the airflow attached so it doesn't separate and create turbulence that manifests as noise, but it's obvious based on my time with the M3 mirrors that they didn't solve the problem completely. I'm very happy I spent the extra $30 on the M3 mirrors and can strongly recommend the upgrade.
Wrap Up
Stepping back to examine the results of my efforts it's clear that the car looks a lot better than it did. With the exterior refresh complete and rust vanquished I can now proceed with plans to complete the interior refresh and stereo upgrade. And it's probaby just in time because the seat foam is deteriorating more rapidly and the left channel of the stereo is occasionally dropping out. It's going to be a busy summer.
My maintenance schedule worksheet noted that I'm 2000 miles overdue for a fuel pump replacement so I ordered one earlier in the week. I plan to replace that along with the fuel filter and related hoses this weekend. Interestingly, the fuel pump was my very first DIY task on this car back in 2006. If only I knew then what a journey this would become....I probably would have sold the car. :)
Mileage: 236225