


Friday, August 23, 2013
Pilot Super Sport Installed
My technician called me the day after I dropped off the wheels to tell me that they were ready so I picked them up the next morning. He told me that one of the front wheels was very slightly bent on the inside rim. I told him I didn't notice any vibration but if it was a problem I'd bring it and my spare back to have him swap the tires. For those that might think these aren't strong wheels, all I have to say is I know exactly when the damage occurred and frankly I'm surprised my car isn't in China right now because the Grand Canyon had nothing on that pot hole. He also mentioned the non-trivial size of the bolt / screw that took out the left rear tire. It was apparently several inches long. It's times like this I want to punch every sloppy contractor.
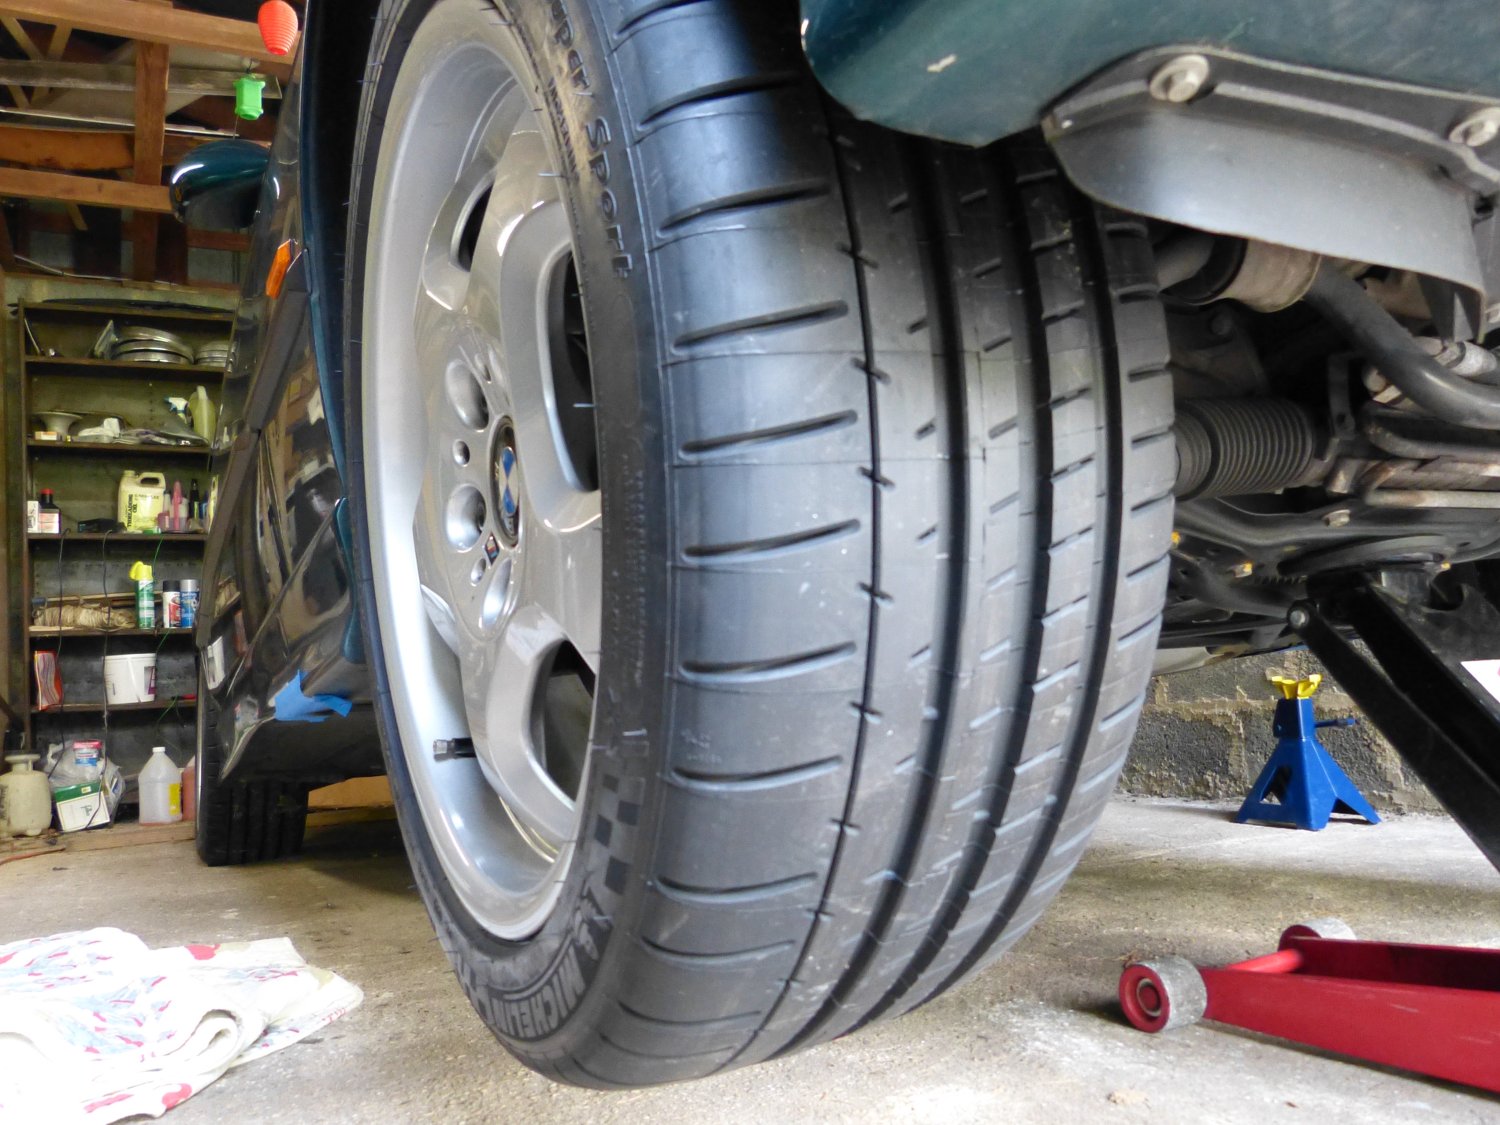 You can see why turn-in is reported to be phenomenal with the PSS. The outer tread blocks are basically one piece. |
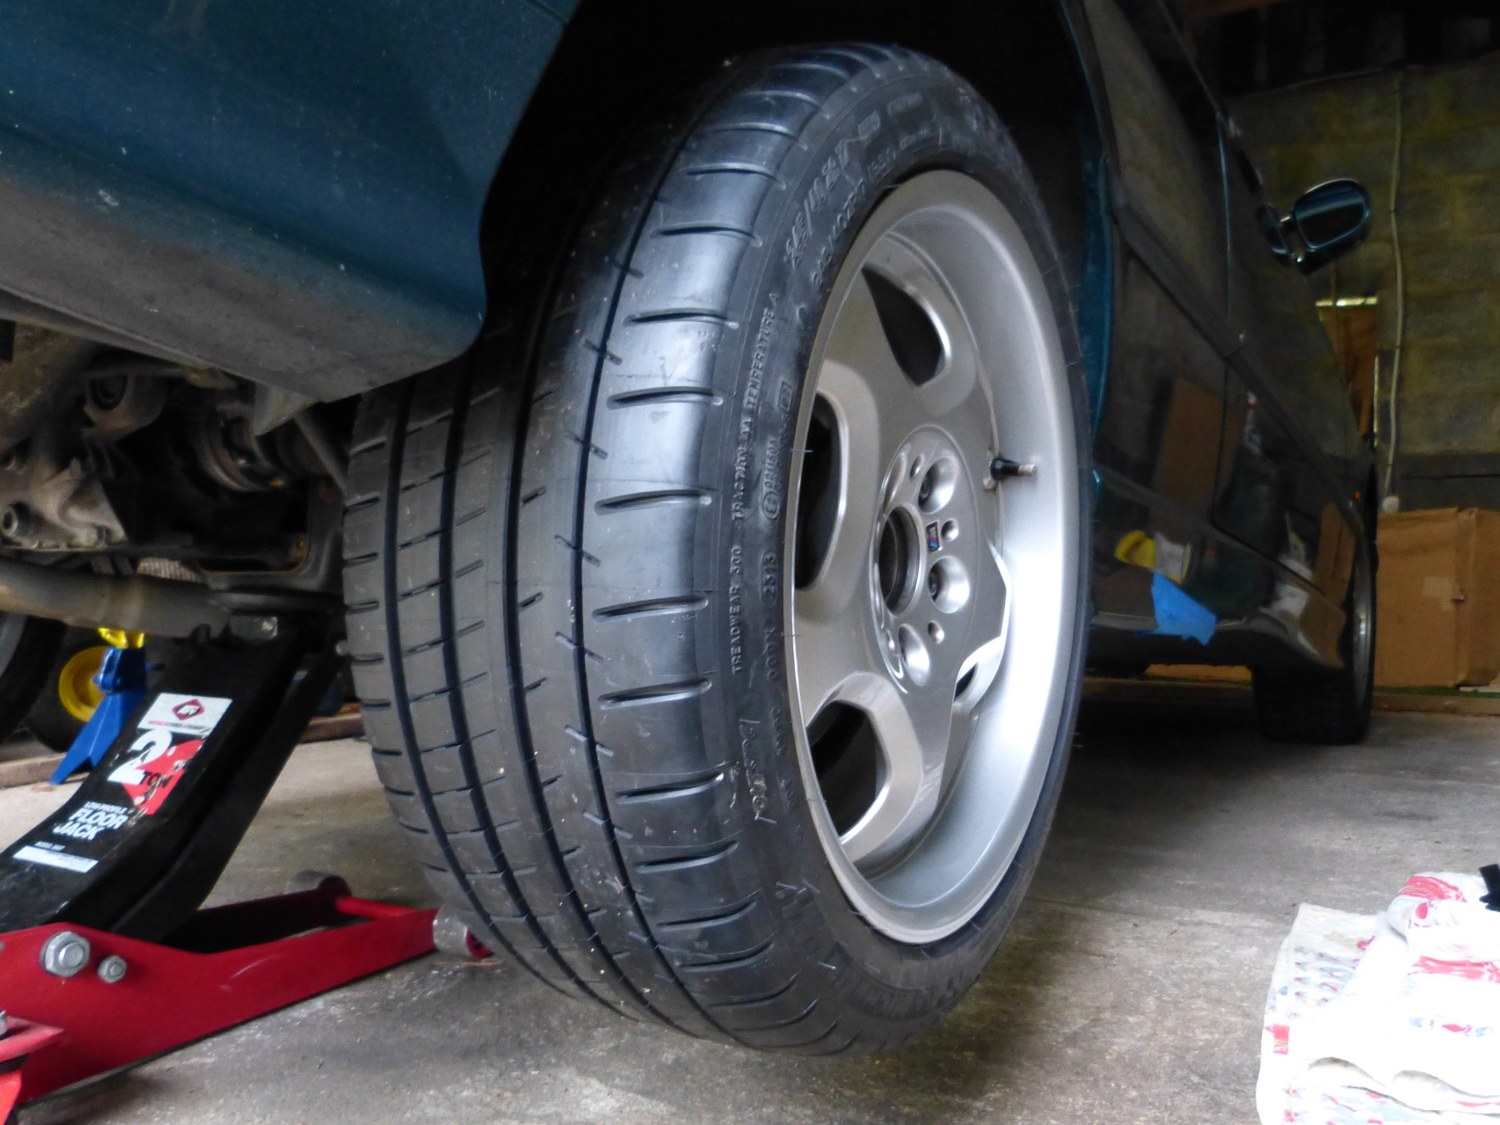 The 245/40's sport a slightly wider outer tread block, which also helps cornering. |
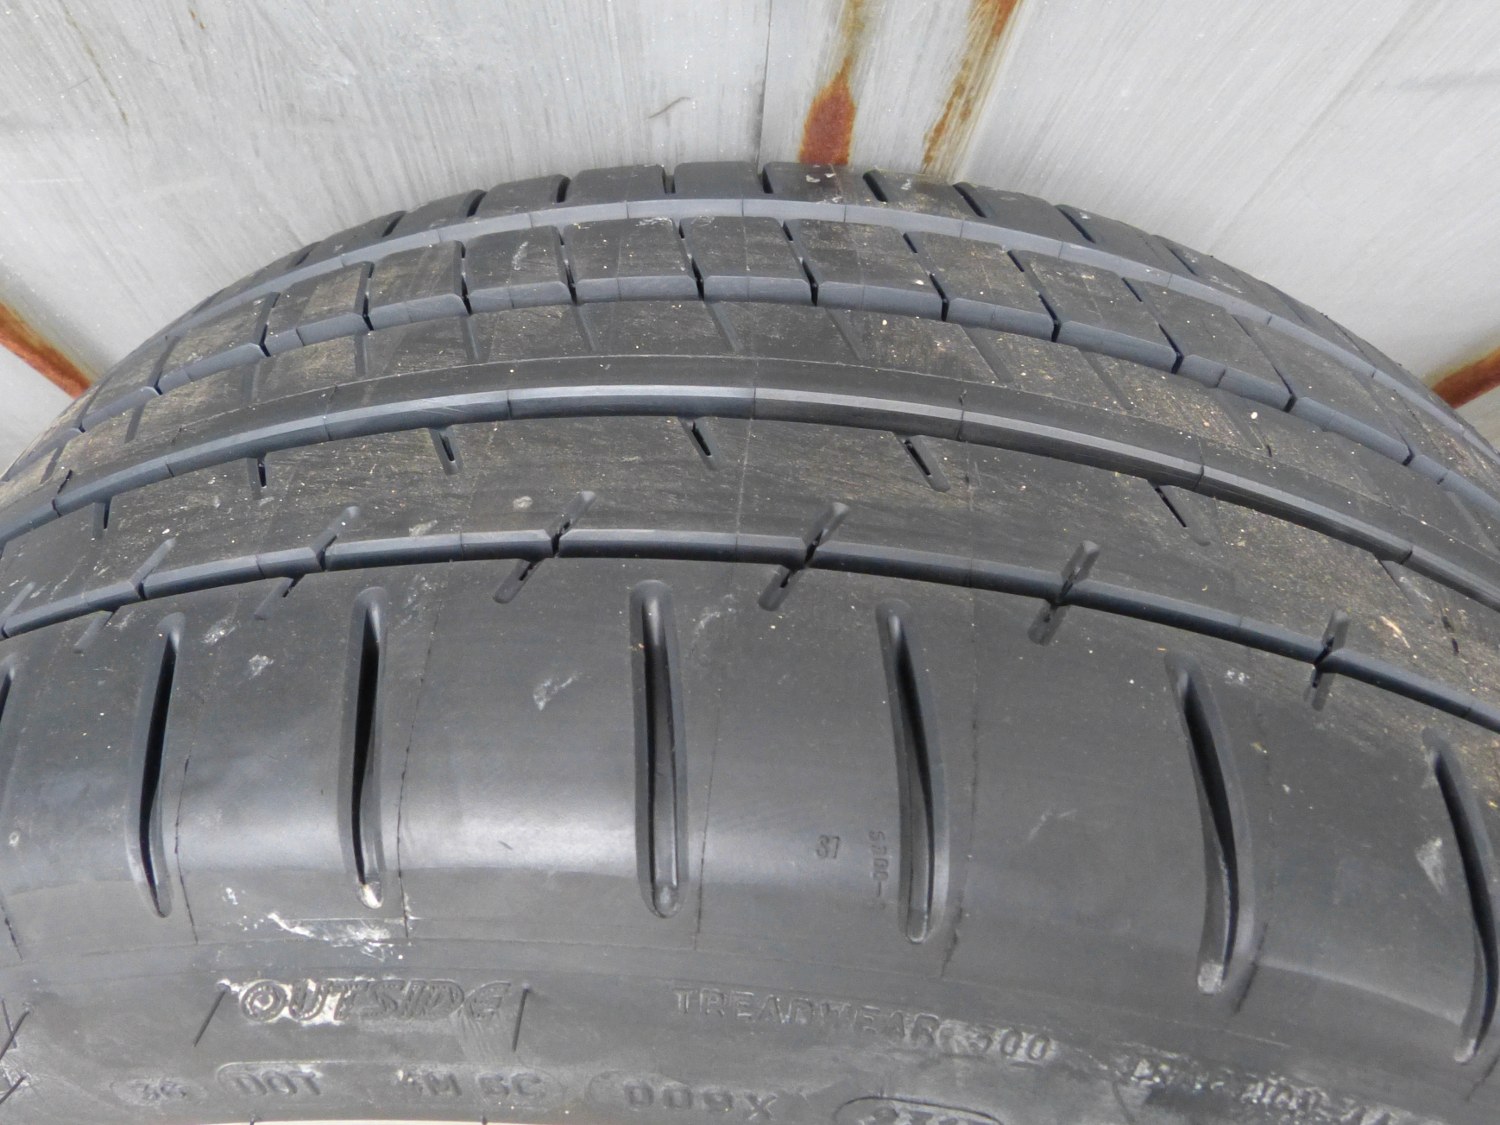 Ah, that matte finish of sticky rubber. Looks, feels, and grips like a pencil eraser. :) |
Back at the garage today I jacked the car up and installed the wheels without fanfare. The test drive went perfectly. I have to be careful about the superlatives I use to describe a tire so new to me, particularly after riding on those HORRIBLE, shaking, roaring Pirellis for a week, but I think it's safe to say the reviews were spot on. I have never felt a tire more sure of itself, steering more precise, or as smooth and quiet while turning as the Pilot Super Sport. And for the record I'm not getting ANY kickbacks from Michelin for saying that. All you need to know is this may be the perfect tire for a high performance car. Best of all, the price wasn't bad either. The 225/45 front tires were nearly the price of a typical all season. The rears, being a bit bigger, were more expensive naturally, but at this performance level I think they're worth it.
The road force numbers for the front tires were 7 and 9 while the rears were 14 and 5, with the 5 having absolutely no corrective weight installed. In other words, typical Michelin. While I can't rotate the tires front to rear due their staggered sizes, one of the perks of the PS2 and PSS alike is that their treads are non-directional, meaning you can put them on either side of the car. I chose to put the tire that measured with 14 pounds on the right rear just to get it as far away from the driving position as possible. Similarly, I put the slightly bent wheel back where it came from...the right front.
Jack Point Rust Repair
One of the lesser known areas the E36 is known to rust is in and around the four jack points located at each corner of the car. I'm not sure why, really. It's not like that area gets any wetter or is subject to more road salt than any other area under the car. And although I acknowledge that the sunroof drains vacate water through the hole at the center of the jack point the amount of water entering those drains is miniscule, at least on a vehicle whose sunroof felt seal is in reasonably good shape, so I sincerely doubt that has anything to do with it. My best guess is it either has to do with the recesses in the jack pads tending to hold salt water close to the body, or possibly compression and eventual cracking of the factory undercoating when the car is jacked by those points.
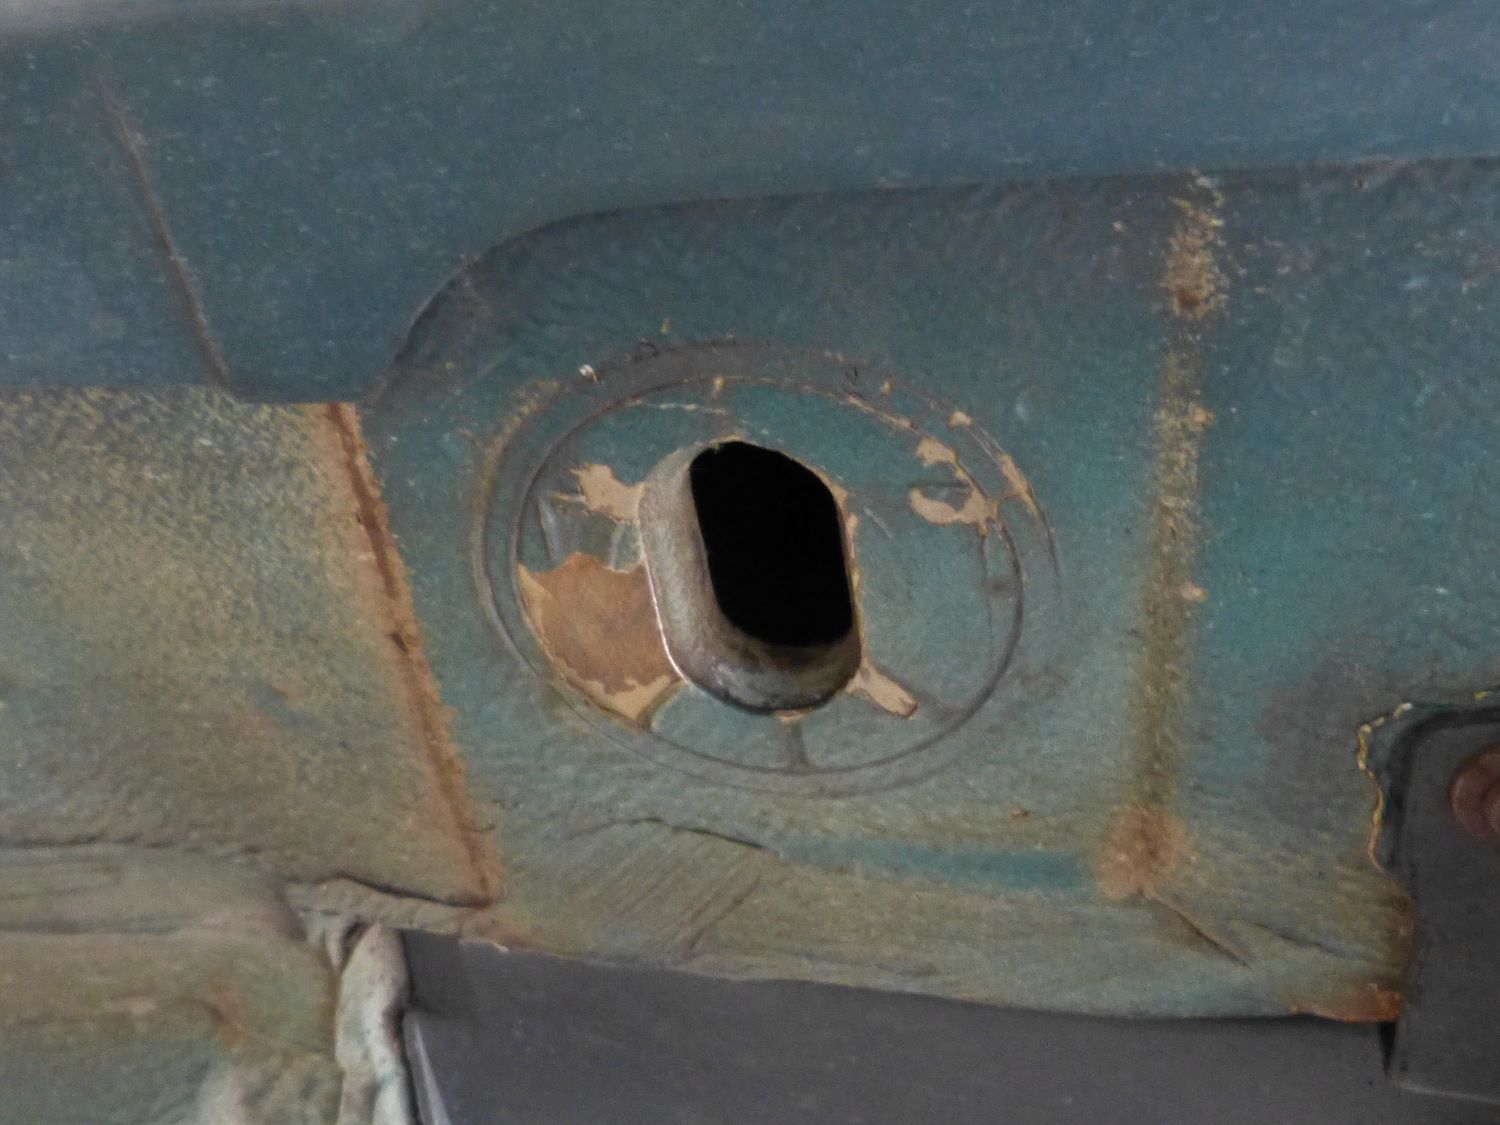 This jack point wasn't the worst of the four, but it does show how the undercoating has flaked off and exposed metal that has rusted. |
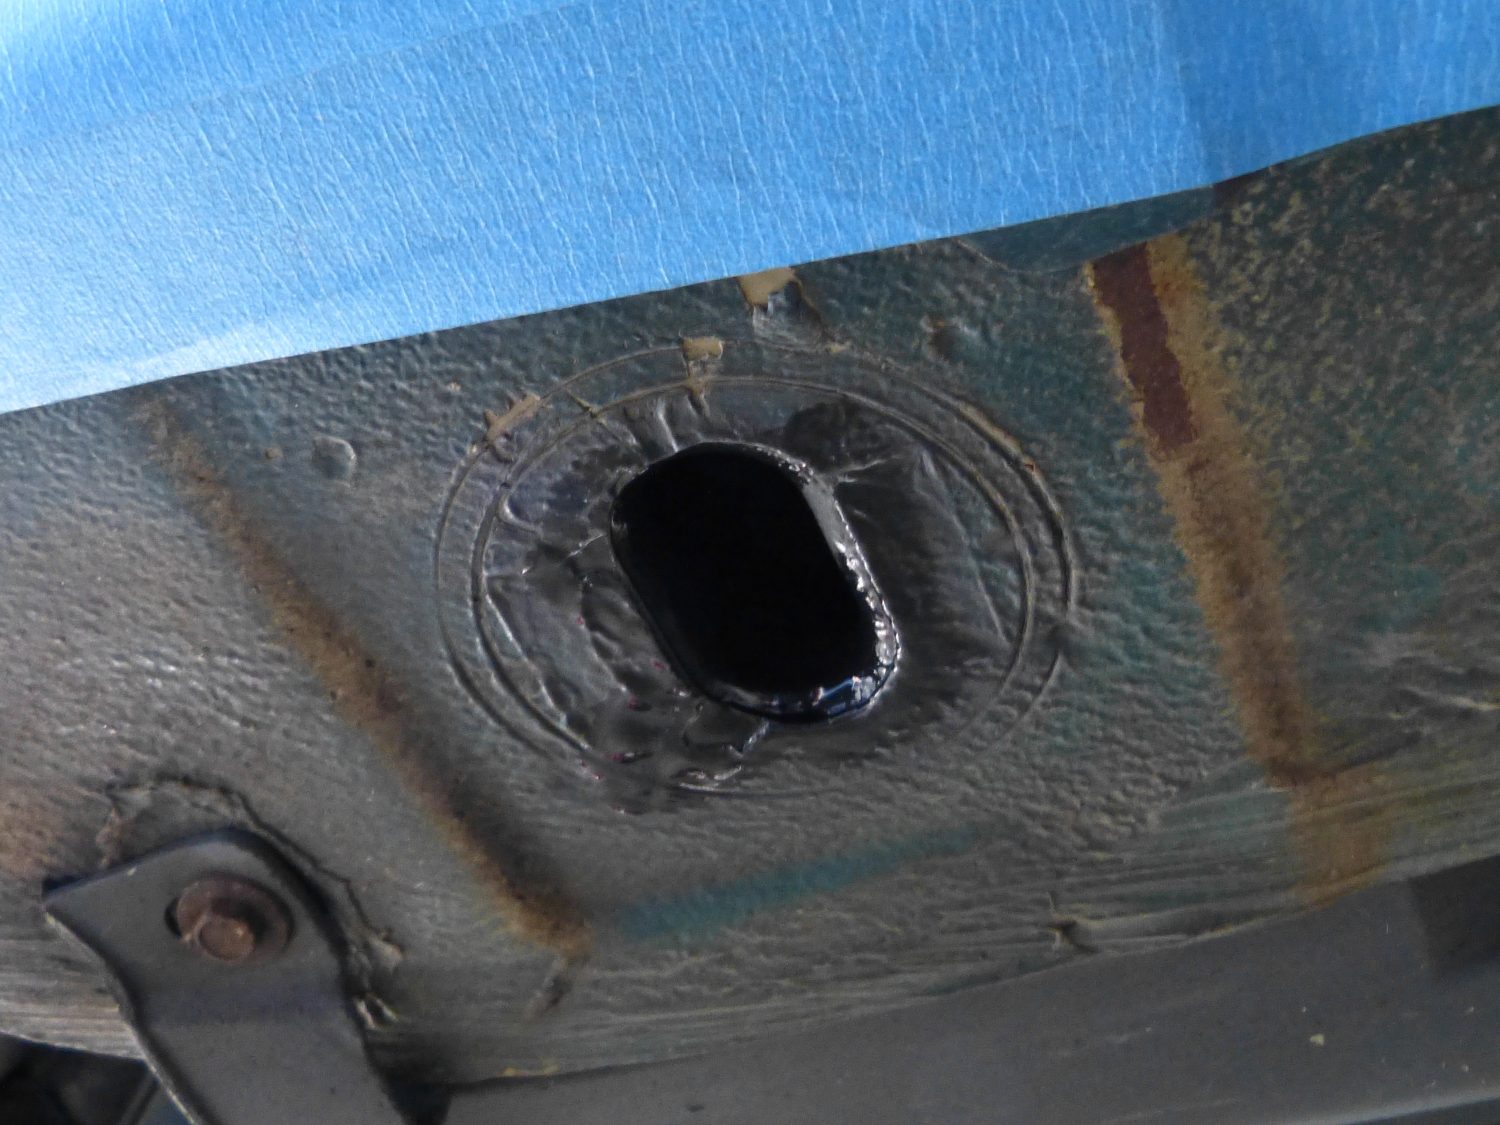 After the surface was wire brushed to remove as much of the surface rust as possible, I applied a thick coat of compatible primer. |
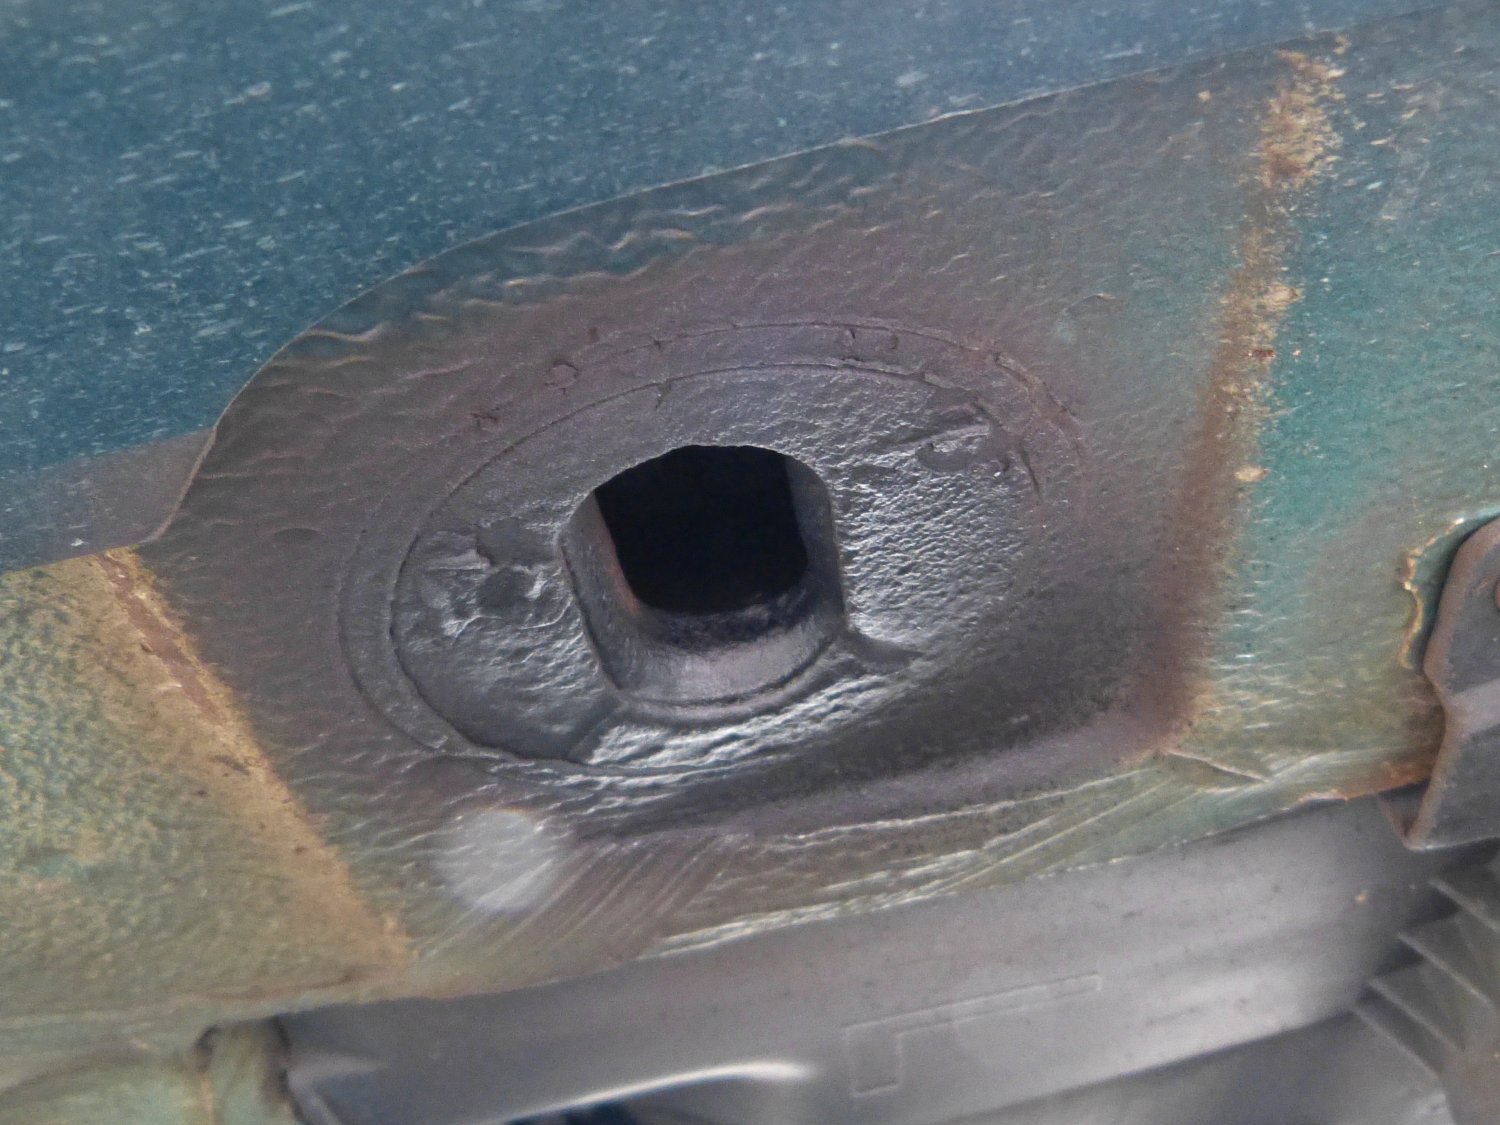 The 3M undercoating finishes the job. It can be installed on primer or bare prepared metal. The product contains toluene and other nasty stuff so be sure to wear safety gear and use in a well ventilated room. |
In any case, over the course of the last couple of years I've made a habit of removing the jack pads after use because I've lost a few in my travels..and they're not exactly inexpensive. Every time I'd pull them out I'd get a good look at gaps in the undercoating and rust forming in those areas. So today, while I had the car up on the jack for the tire swap, I decided to do a little rust remediation.
Where necessary I used a screwdriver to remove whatever factory undercoating was present but no longer adhered to the body. A small wire brush was used to remove the surface rust and clear the jack point hole of contamination to the extent possible. I then used an automotive primer suitable for spraying over light rust to cover the bottom surface and made sure to get a good amount up into the hole in the body. After that dried to a tacky consistency I followed up with some 3M Professional Undercoating. I tested the product on a piece of wood first to get used to the spray pattern before applying it to the car and found that the product nicely blended with the thick factory undercoating. True to its name, it lent a "professional" appearance to the finished work and my hope is that I've at least slowed the rust formation in this area and protected it from the upcoming winter weather.
Mileage: 238500