


Friday, October 10, 2014
Passenger Door Panel Speaker Installation
While I was dreading cutting the new passenger door panel as required to install the midrange and tweeter pods I must admit I was not as nervous as when I did this to the driver's side panel. This may have had something to do with my prior experience, as I had already figured out the right tools and technique (small router, plunge bit, set to relatively high RPM) but the fact that I didn't have to cut the inset to accommodate the mirror switch probably helped.
If you're wondering about the router I used it's a Proxxon 38481. I bought this to replace the Dremel that I burnt up working on the car last summer. The perk of the Proxxon is that it is amazingly quiet as compared to the Dremel. The Proxxon does get extremely hot in operation, however, particularly near the chuck, so some thin gloves (Mechanix or equivalent) are probably a good idea.
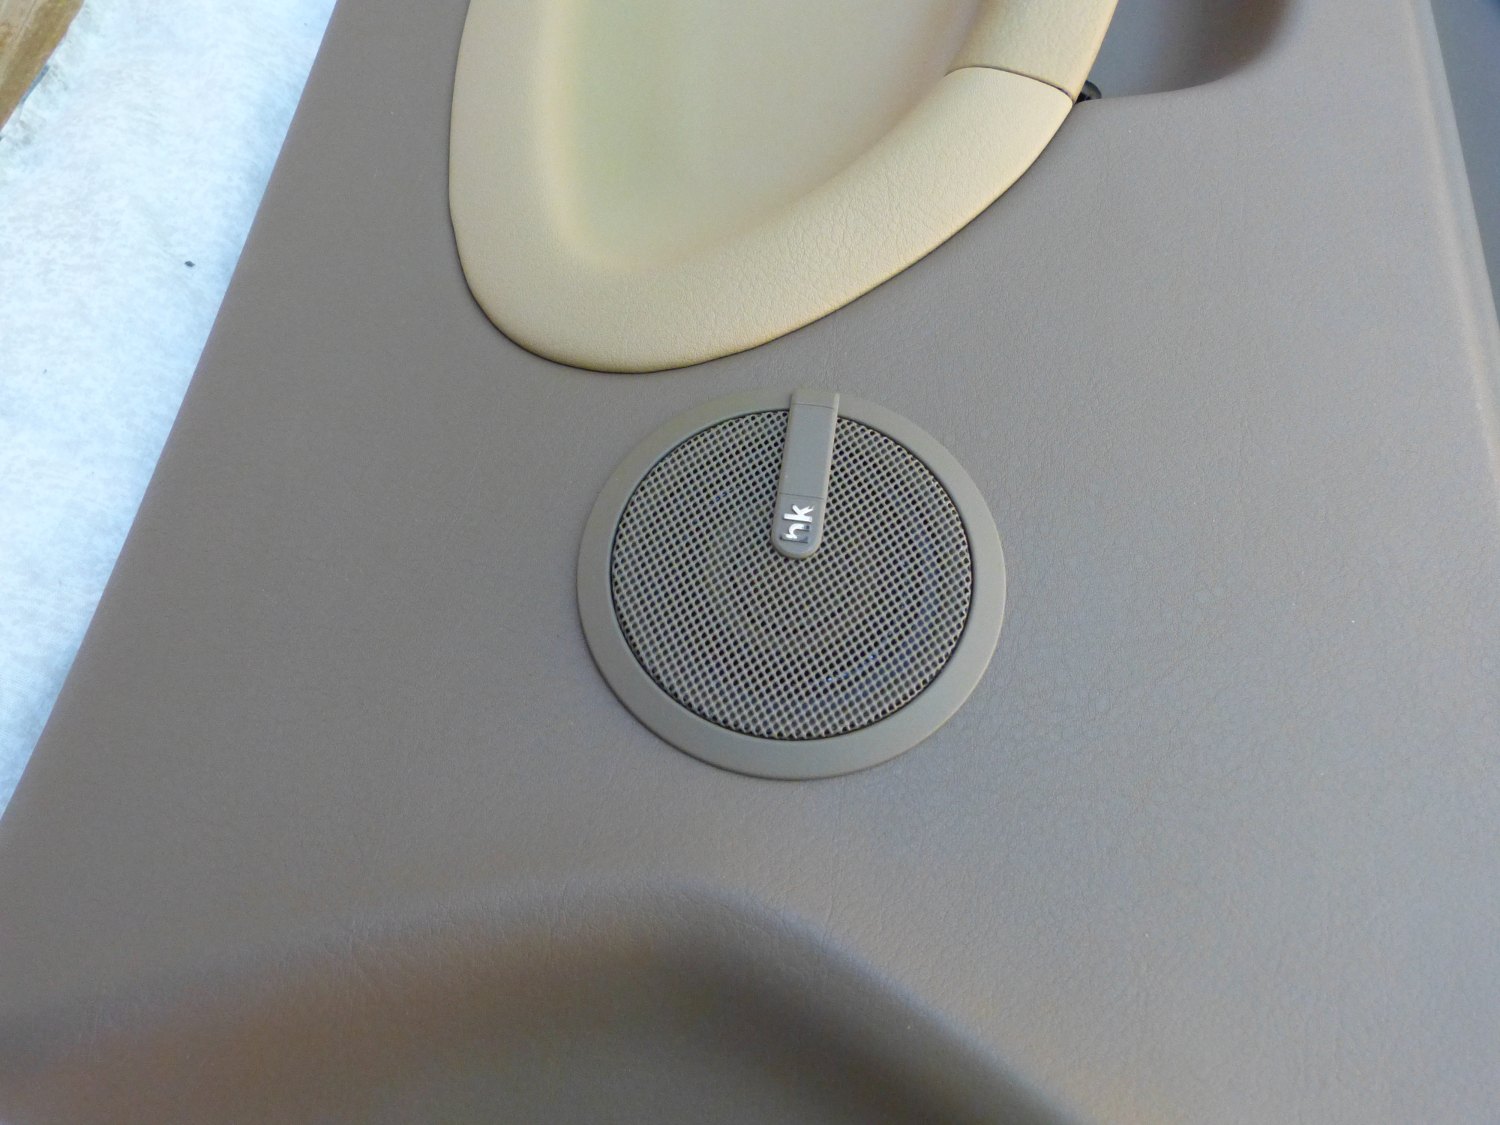 Closeup of the new door panel with the midrange pod installed. The tweeter pod is next. |
 With the panel on its face I highlight the impression in the substrate with marker and use that as a guide for cutting. No slipups allowed! |
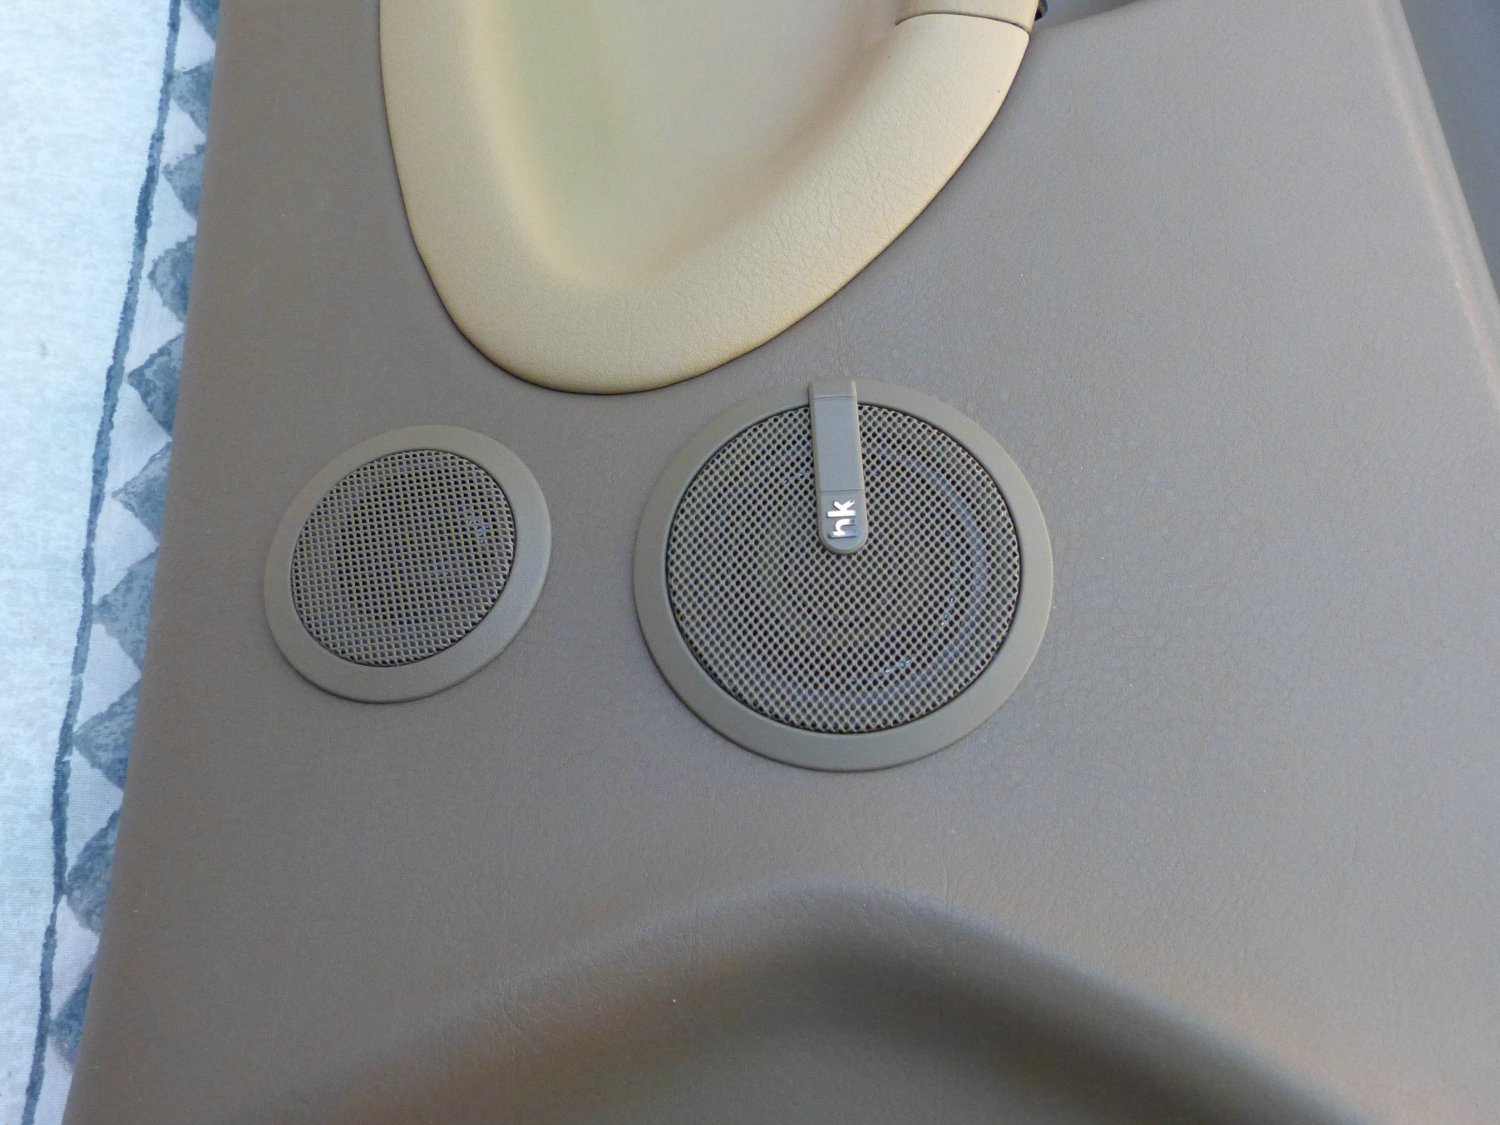 With both pods installed this door panel is ready for installation. Good thing too...the car will be returning from paint shortly. |
Lateral Panel Repair Planning
I recently reported that the cosmetic covering of the lateral panels had delaminated from the panel in the area of the seat belt relief. I also reported that one of the panels is no longer available in my interior color and that there are no aftermarket replacements to my knowledge. This naturally gave way to my suggestion that this appeared to be a good opportunity for someone in the aftermarket to step in and produce new panels.
Shortly after I posted that a reader from Germany wrote to suggest that one of the reasons why there may be no aftermarket interior panels for the E36 (yet) is that BMW trademarks (patents, really) their interior designs and the related protections are afforded to the trademark owner for a significant period of time (think decades). Meaning, if someone did try to produce aftermarket replacements BMW could sue claiming infringement of their design and seek damages.
As I pointed out in response, while this may be true elsewhere in the world and Germany in specific, US courts thankfully struck down the concept of “look and feel” patents and we have Apple's greediness with regard to Microsoft to thank for it. I think it's safe to say BMW wouldn't have a legal leg to stand on, at least in the US. And I think this is morally correct as well. It's one thing if BMW was still willing to produce the parts and someone was copying them but it's clear BMW doesn't want to be in the business of manufacturing E36 interior panels anymore so as far as I'm concerned the market is wide open for replacements. Unfortunately, legal issues aren't the only barrier.
I don't think it would be practical to produce 1997+ door panels capable of integrating the side impact airbags as the door panel has become a functional component of the restraint system rather than something merely cosmetic in nature. The panel in front of the airbag is no doubt engineered to break open with a specific force and allow the bag to exit without damage. Good luck engineering and testing a replacement at reasonable cost, or getting liability insurance to cover the work of a non-credentialed engineer in this field (like me). Think you can just produce a part and declare it applicable to older model vehicles and then “wink-wink, nudge, nudge” condone the installation on newer cars with the airbags removed and disabled? Technically possible or not, the second the car gets into an accident and its reported that safety equipment originally installed on the car didn't function the attorneys will descend on the door panel manufacturer like an anvil in a Road Runner cartoon. This is probably the real reason we'll never see aftermarket door panels, at least for later models of E36s and most certainly for newer vehicles like the E46 that seem to be sprouting airbags like wildflowers in spring.
With my lateral panels in questionable condition and no hope of new replacements my thoughts turned to repair options. I briefly tried to pull the vinyl off the panel but despite the small area of delamination the adhesive in the surrounding area is still remarkably strong...to the point that pulling the vinyl only served to stretch and deform it. Sadly, this means even if I was able to adhere the vinyl to the panel again it would no longer retain its smooth look. So that's a non-starter.
That left me with one option: cut out the delaminated section and fabricate a new inset out of fiberglass that I can wrap with matching vinyl or leather and then mount it to the base with epoxy, the aim being to produce an “OE like” repair that only the trained eye would notice. So over the last couple of weeks I gave myself an education in composites, selected materials appropriate to my application and performed my first test layups.
Composites 101
Composites consist of a resin and a reinforcement material.
Resins come in three basic forms, in order of cost and strength: polyesters, vinylesters, and epoxies. Readily available polyesters can be further sub-grouped into orthophthalic (ortho) and isophthalic (iso) types, the latter being stronger and more stable post-cure (less shrinkage). This makes ortho resin the low cost option and iso resin good for mold making. As I planned to make molds and didn't want to buy two kinds of resin I settled on iso.
Resins are cured using the heat produced by the exothermic reaction between the resin and a catalyst, typically Methyl Ethyl Keytone Peroxide (MEKP). In full strength MEKP is considered a high explosive that is sensitive to shock but it is typically diluted to between 30 and 60% for industrial use with stabilizing agents. The mixing ratio between resin and catalyst is somewhat critical with the amount of catalyst varying inversely with temperature. Most resins are designed for 1.5% catalyst by volume, but up to 2% is allowed where the ambient temperature is below average. Accidentally dump too much MEKP into the resin and you could easily have a nasty fire on your hands regardless of ambient temperature. To add inconvenience, the iso resin I selected is designed to be catalyzed only between 60-90F. Further, this resin cannot be applied in direct sunlight, but a shady overhang outside on a sunny day is fine.
Reinforcements are the fiber materials embedded in the resin. Their job, as their name implies, is to increase strength. Resin by itself is a lot like concrete – strong in compression but brittle in tension. Similar in concept to the manner in which steel rebar increases the strength of concrete, reinforcements allow a resulting composite part to be amazingly strong and surprisingly tolerant of stress in directions consistent with the reinforcement used. Reinforcements come in either mat or cloth form. Both are sold (in the US) according to weight per square yard.
When people think of fiberglass they most commonly associate with reinforcement mat, which consists of many small strands of randomly oriented fiberglass threads. Prior to application the threads are held together flat (hence the name “mat”) with an adhesive. As the mat is wetted down with resin the adhesive dissolves and the individual fibers are allowed to bend and twist in all directions. This makes mat good for applications that must conform to curved surfaces. The downside is that mat typically produces a thicker and heavier finished part. It's also difficult to properly engineer any structural applications made of material whose construction (and hence strength) is “random” by nature, which explains why we don't typically see aircraft made of this stuff. Typical mat is 1.5oz per square yard. A thinner mat, typically used in mold making as the first layer between the gel coat and other reinforcements to follow, is typically 0.75oz per square yard. I acquired some mat of each weight for my experiments.
Reinforcement cloth is a woven material that can be considered unidirectional or bidirectional, depending on how the fibers are weaved. Cloth is typically made of four materials, arranged in order of cost: e-glass, s-glass, carbon fiber (CF) and Kevlar. E-glass is the least expensive and therefore the most popular. S-glass is made of a tighter weave of smaller glass fibers and resembles silk because it's so thin and shiny. While S-glass is stronger than e-glass it costs noticeably more and therefore typically used for structural applications. CF is very popular but it requires the use of expensive epoxy resin and relatively complicated layup, molding, and finishing techniques to produce a structurally and cosmetically acceptable part. Since my part was non-structural and would be hidden by a finish material (leather/vinyl) I ordered a few yards of an e-glass called 7.5 oz Twill – a bidirectional cloth woven in such a way that the weave appears to run on the bias.
Fiberglass Testing
I decided to use my old passenger door panel to test my layup techniques so I did not put my irreplaceable lateral panel(s) at risk. The goal was to do a simple 4 ply layup to verify that the cloth would wet down smoothly into a recess in the panel similar in depth to the delaminated area of the lateral panels. The deep inset near the door handle qualified so I prepared the surface with blue tape to protect the vinyl surface, clear packaging tape over that to aid release (since resin does not bond with most plastics), and then applied a few coats of mold-release wax to ensure the part would separate easily.
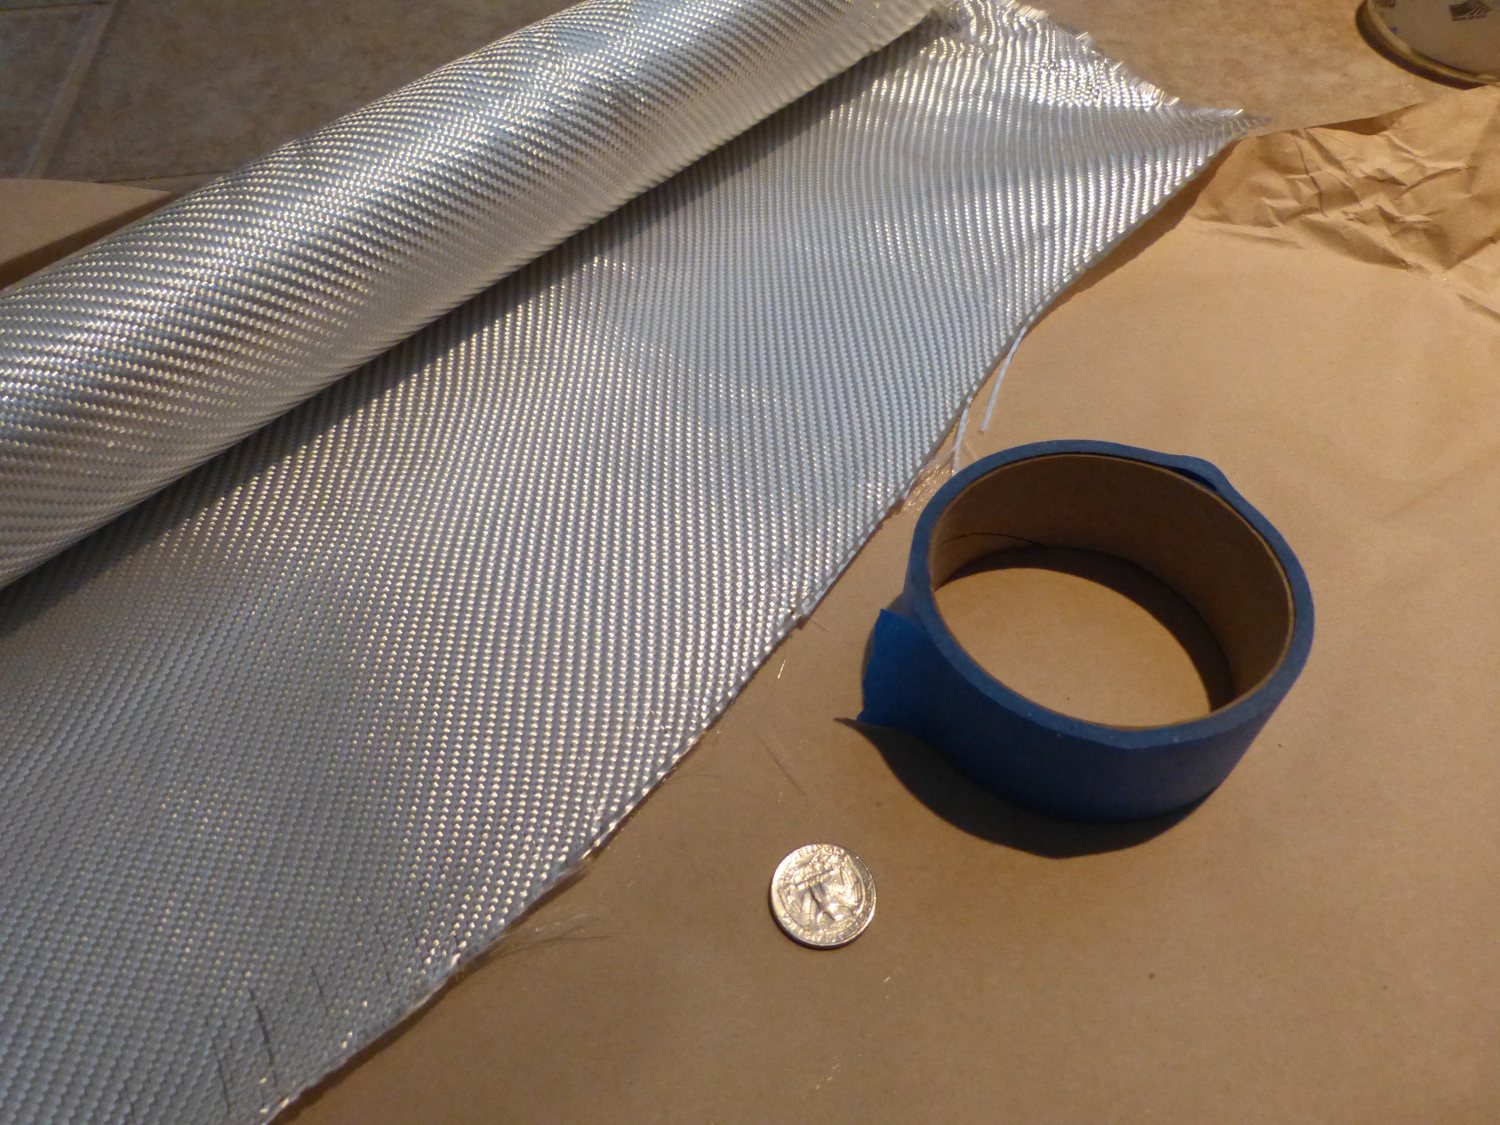 This is the 7.5 oz twill fiberglass reinforcement cloth I purchased. It's more expensive than standard cloth but its 2 over / 2 under weave allows it to conform to curves. |
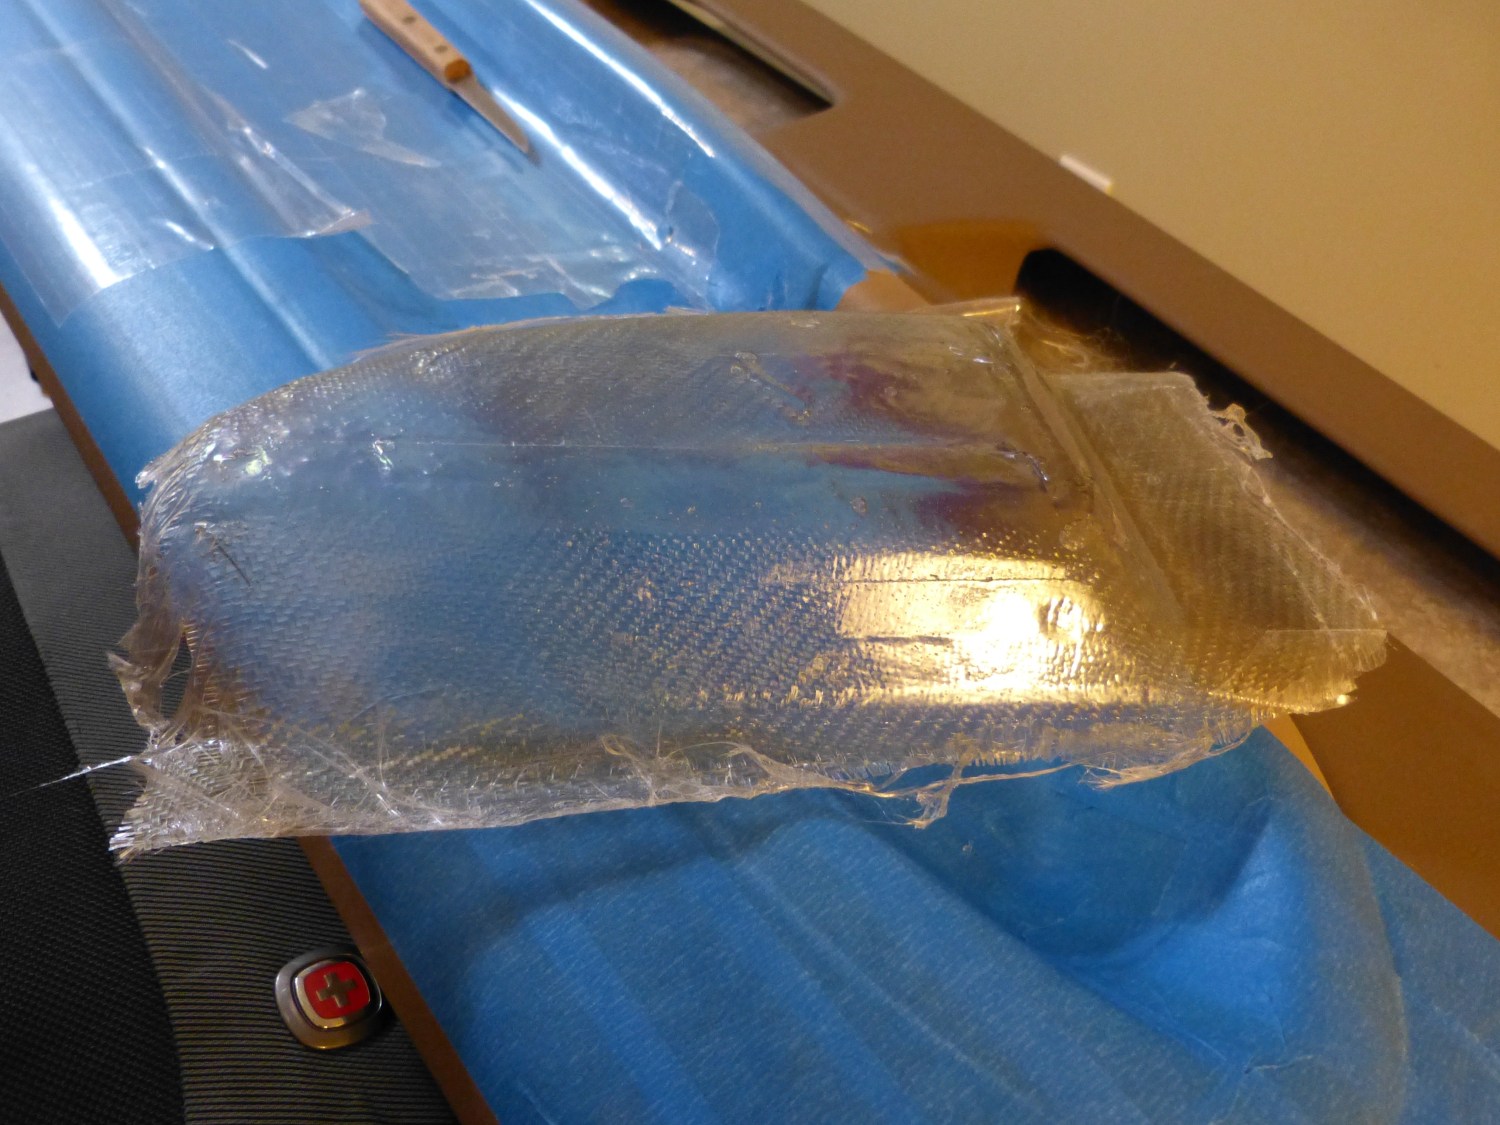
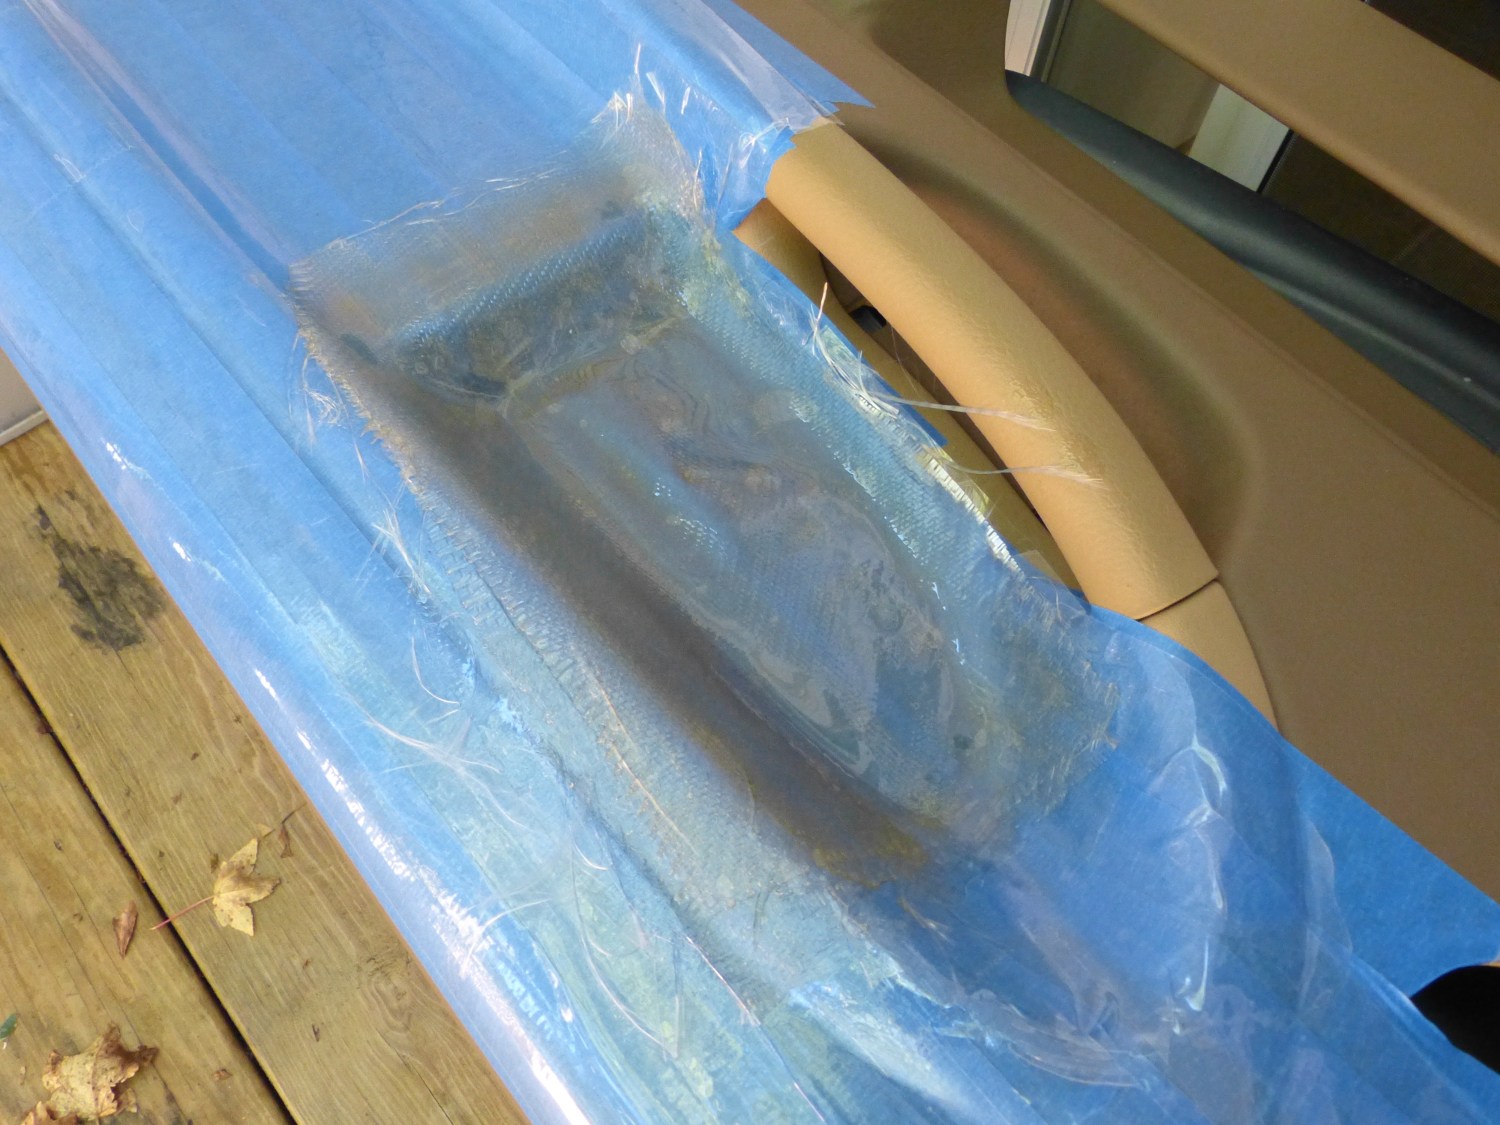 The door panel is first protected with blue tape, then a layer of clear packaging tape and mold release wax. Despite the test layup consiststing of four layers of cloth it's amazingly thin. |
 The finish test part released from the mold shows all the imperfections in the mold. The real parts will be sanded smooth and primed in prep for making the gelcoat molds. |
After I donned all my safety gear including an organic vapor respirator I mixed up about 7 oz of resin. I wound up using only about 3 ounces and I left the other 4 oz to cure in the mixing cup, only to later come back and find the bottom of the cup deformed due to the heat. The message? The effects of the exothermic reaction are particularly acute when the resin is not spread out over the surface of the part. The morals? Mix only what you need and spread it quickly. Also, for larger parts, mix several smaller batches rather than one large batch, as once the resin begins to gel it's pretty much impossible to apply.
The good news is the cloth laid down into all the corners and angles without bunching up or folding, to the point that I realized it made no sense to do a test layup with mat (which explains the unused resin). I removed the test part from the door panel after six hours. It was still off-gassing at this point but was no longer sticky to the touch. By the next morning (about 18 hours cure time) the part was virtually scent free and had become noticeably firmer, thus signaling completion of the curing process.
Next I'll repeat the process using the lateral panels themselves. The difference will be that the layups will be created using a combination of cloth, mat, and some wooden reinforcements. This will produce positive molds otherwise known as “plugs”, which will in turn be used to create negative gelcoat molds. These molds will then allow me to do a production run of parts without involving the lateral panels for each layup. The first set of parts to come out of those molds will be covered and installed in my car as a proof of concept, and if they come out well I'll finish up the production run and sell the parts on a first-come, first-served basis. More to come.
Mileage: 252200