


Saturday, December 13, 2014
Lamin-X Protective Film Installed
During Thanksgiving weekend a reader let me know that Lamin-X was running a holiday special so I decided to take advantage of the 20% off and free shipping to order a kit for the E36 designed especially for the Euro Ellipsoid headlight assemblies (no DOT alignment nipples). That kit came in two forms -- 10 mil and 40 mil thickness. I selected the 40 mil thickness (about 1mm) because glass does not, of course, flex as the plastic lenses do in response to an impact event. If I was merely trying to protect the stock DOT plastic lenses I'd have purchased the 10 mil because that is a bit easier to install and generally less noticeable when installed. Lamin-X apparently agrees, as when the kit arrived I found the blinker films to be 10 mil rather than 40 mil.
The blinker film thickness turned out to be a moot point, however, as I ultimately decided against installing them for a couple reasons. First, I figured the film would not properly conform to the raised lettering molded into the face of the lenses so it would likely show little "bubbles" around the lettering. Second, I saw no real point to protecting them as they're inexpensive and readily available from BMW and alternative sources. So today I decided to install the films on the fogs and headlights.
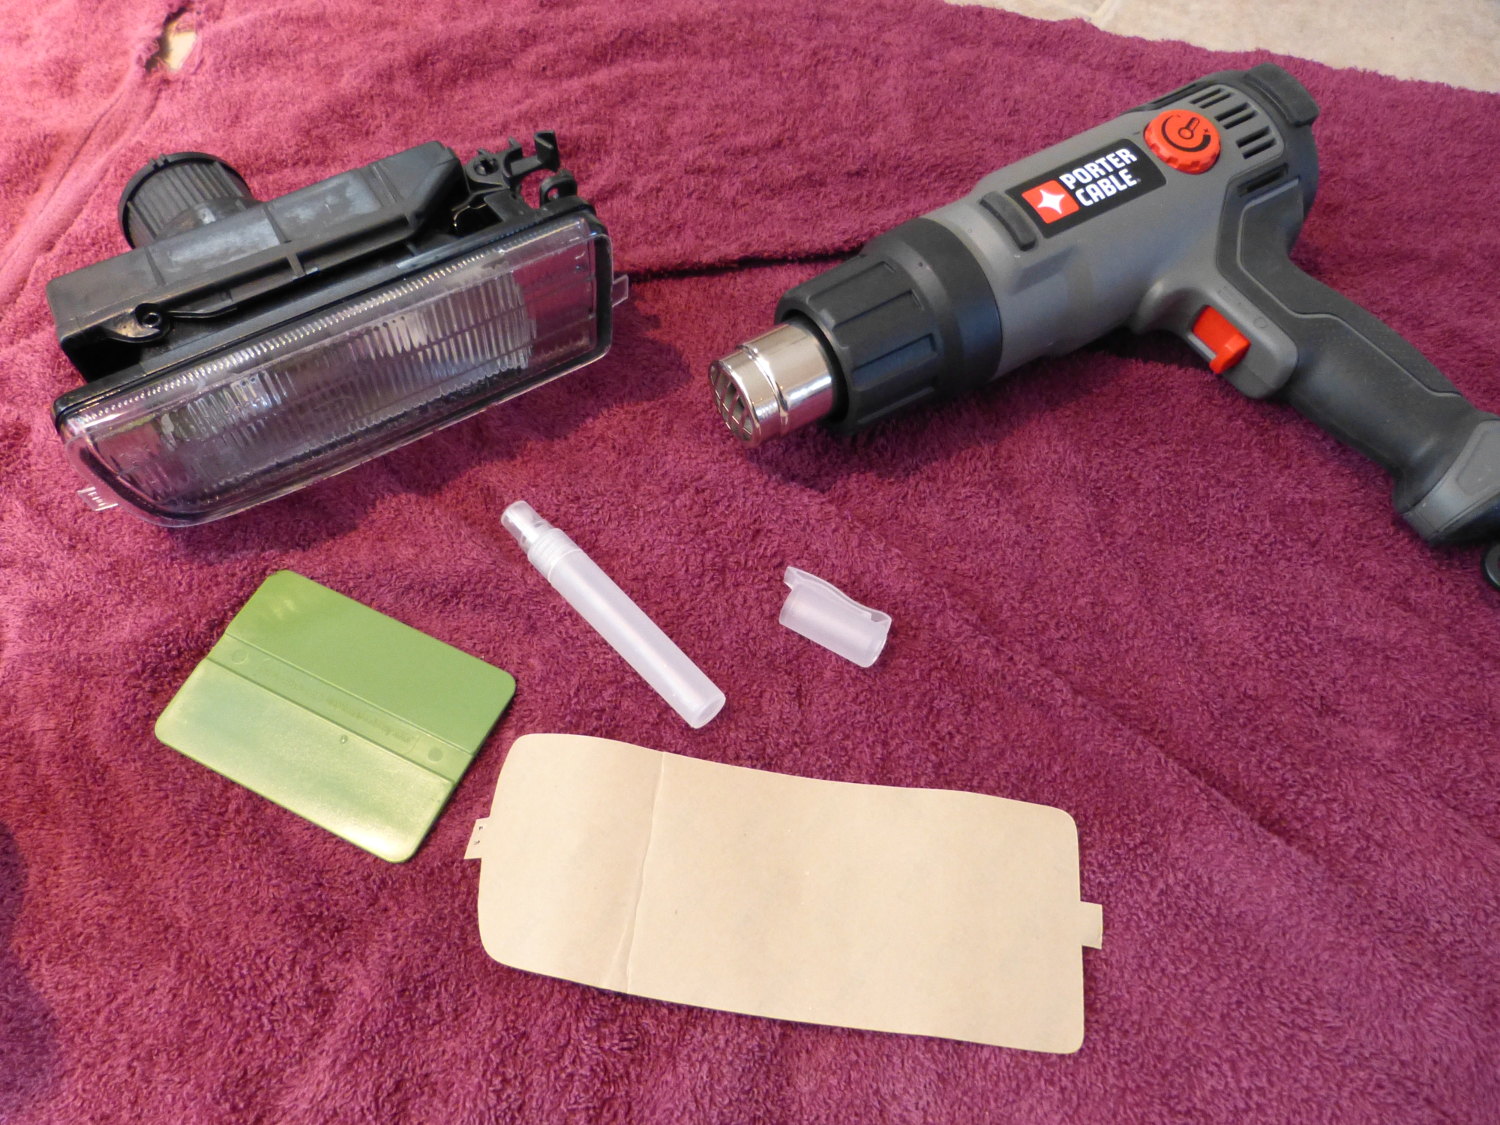 Installing Lamin-X is pretty easy. One fog down, another one to go. They provide everything you need except, of course, for the heat gun. |
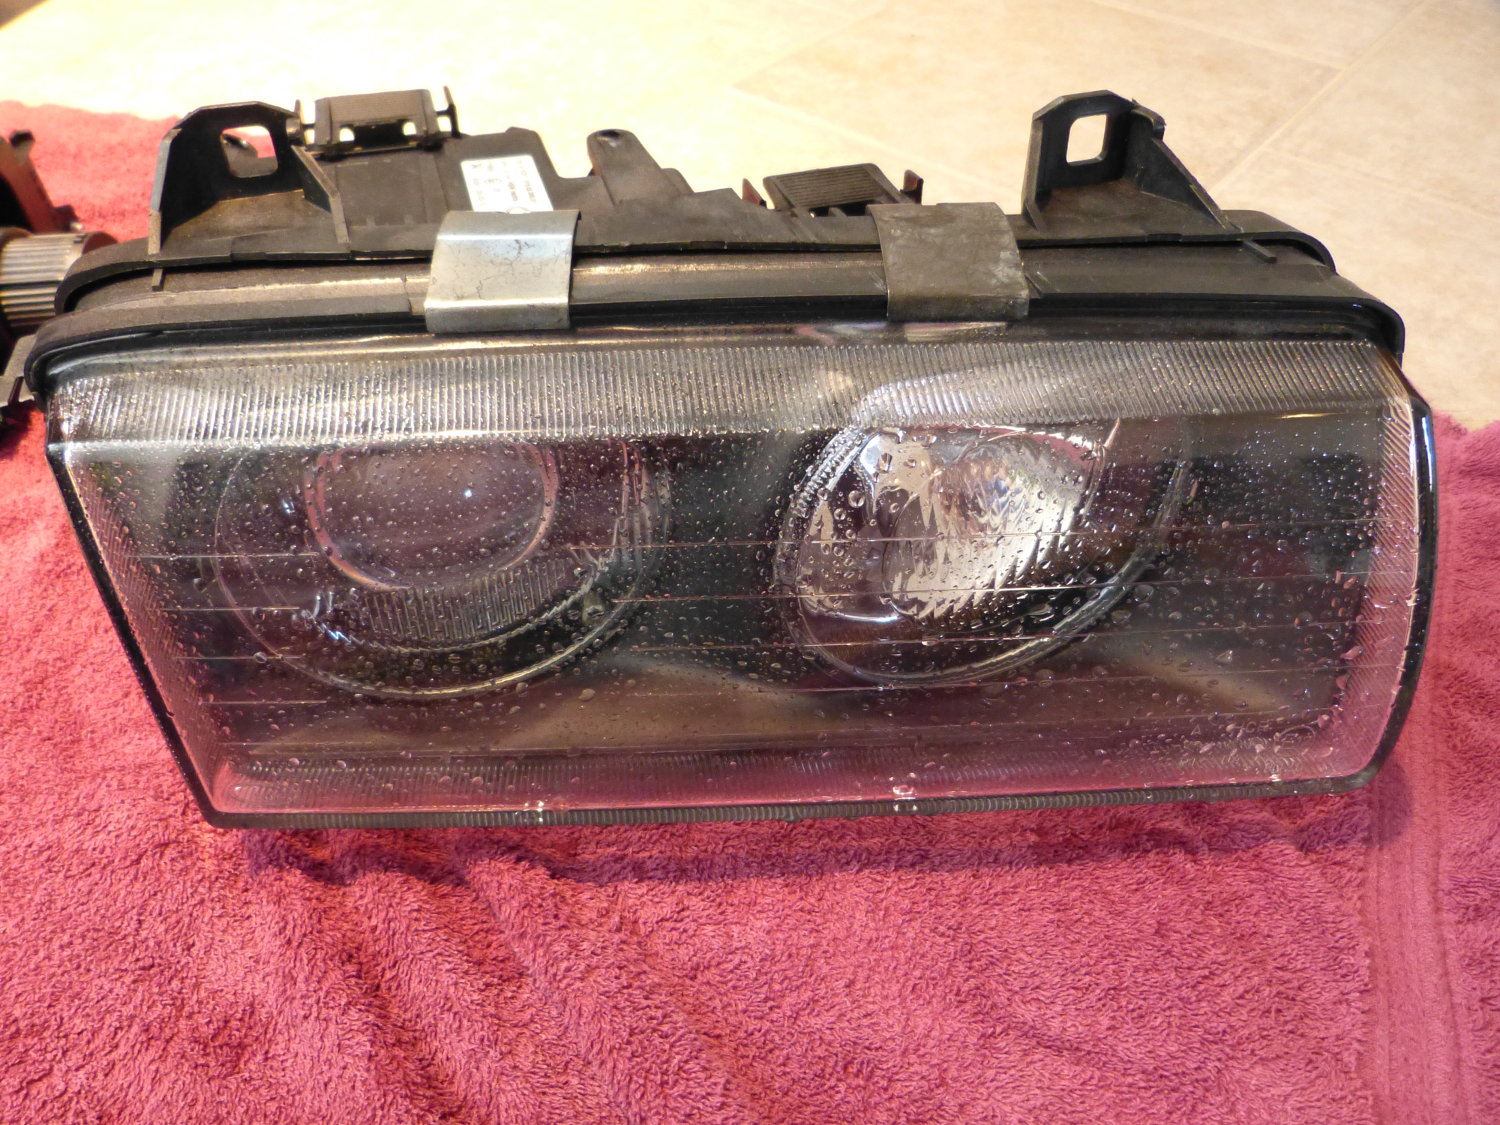 The headlamp assembly just prior to installation of the film. Applying water with the mister is essential to control the initial adhesion of the film so it can be easily repositioned as needed. |
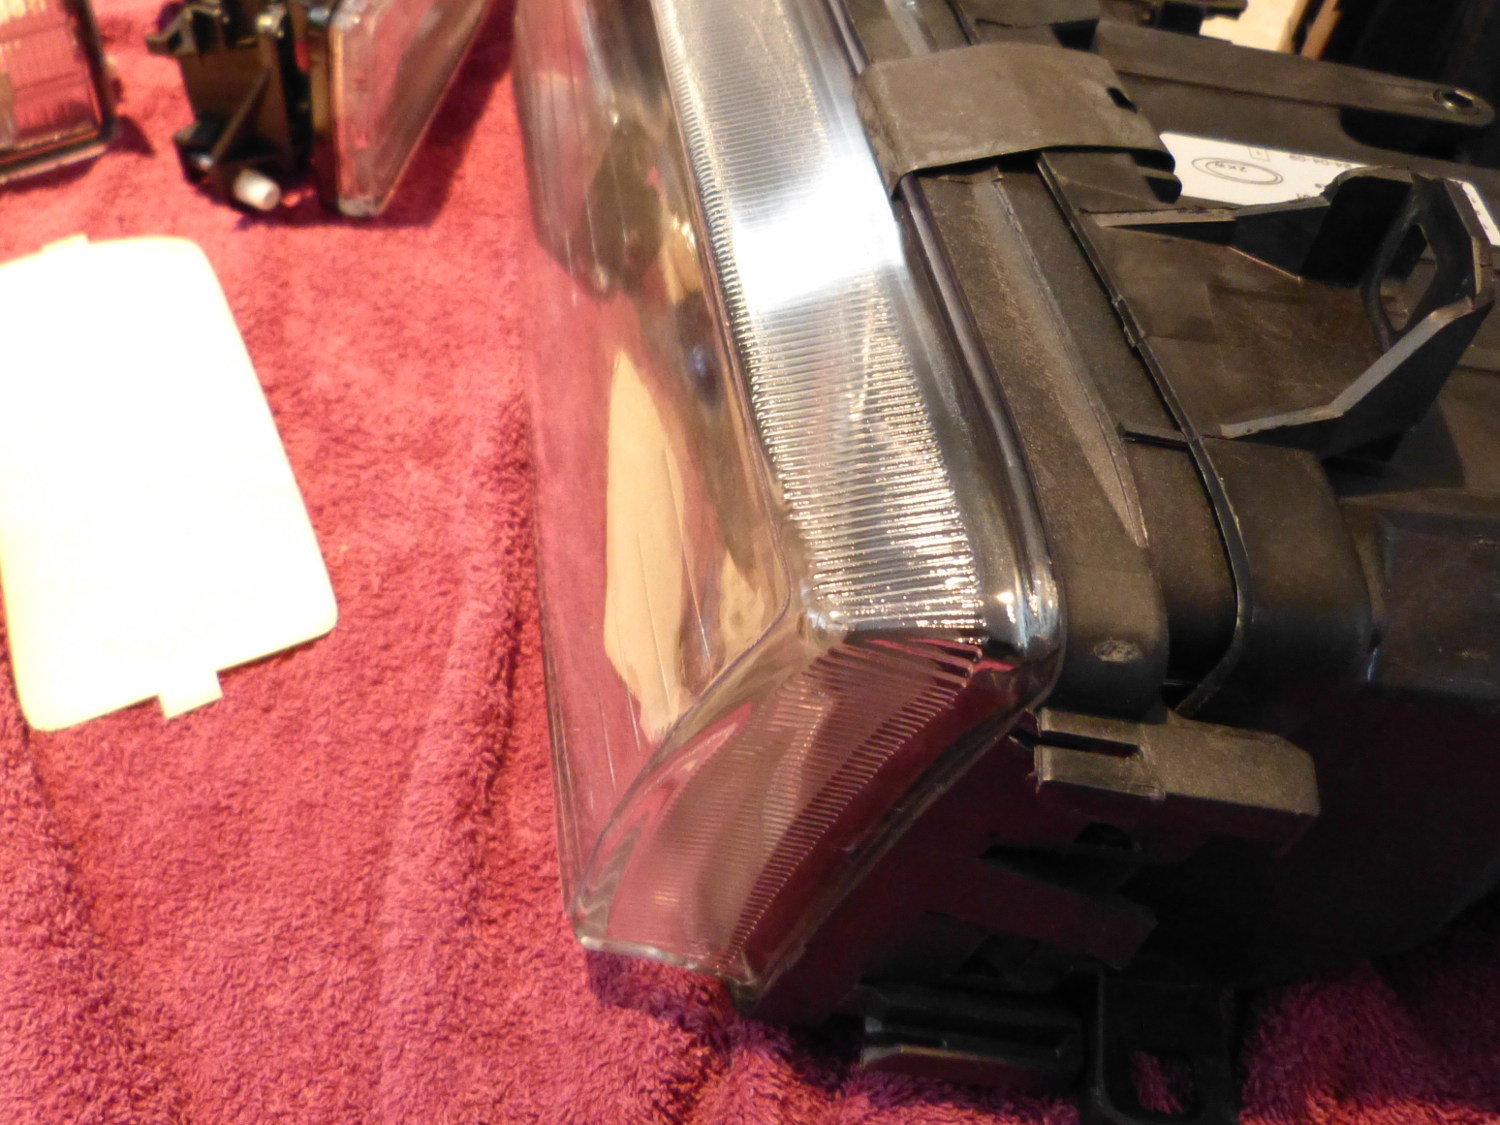 Here you can get a sense for what 40 mils looks like (about 1mm). This thicker material is essential for glass lenses, IMO, since glass does not flex like the plastic lenses do. |
I watched some videos of the installation process and most seemed to advocate using an alcohol/water solution to clean the lenses, and then more of that same solution to lubricate the lenses so that the film could be more easily positioned. The Lamin-X instructions, however, ran counter to that and advised to use clean / filtered water only and no alcohol. That made my life a bit easier so that's what I did. I'm not sure why alcohol is frowned upon with Lamin-X. It might have something to do with the composition of their adhesive or it may have to do with the fact that some plastic lenses do not respond well to alcohol or other solvents (ammonia in Windex is known to attack acrylic, for example, which is why we NEVER use that stuff on aircraft windows).
Since the films came wrapped around a cardboard cylinder they remained curled when I removed them from the cylinder. To make my life a little easier I put the films under a couple heavy books for an hour to flatten them and that worked like a charm. I'm not sure if this extra step would be necessary on the 10 mil films but I believe it's essential for the 40 mil films.
To begin the installation process I used tap water and a lint-free towel to clean and dry the glass. I then test fit the film (with the adhesive protection film still applied) to gauge how best to center the film on the glass. I noticed at this point that the headlight films were cut noticeably short of the radiused edge of the glass, particularly on the sides, but the fog films were somewhat oversized on all sides. Since the fog films were smaller I began with those and then proceeded to install the headlight films. I just removed the adhesive protection, positioned the film, lifting and twisting as necessary to ensure it was properly aligned, and then used the included squeegee to press out the water, starting from the center and working my way out.
In order to help the film conform to the edges of the glass and help dry out the remaining moisture that initially limited adhesion in these areas (particularly on the fogs) I found that I had to heat the film gently with a heat gun. Lamin-X suggests this may be necessary as well, but cautions not to burn the film. I guarded against this by keeping the gun outlet moving in small circles and ensuring that the outlet passed over my fingers on a regular basis so I could effectively gauge the temperature and adjust the distance to the part as needed. I finished up the job by using the included razor knife to trim the little "handles" on the outer edges of the film and looked at the clock to see just 15 minutes had passed from start to finish.
Overall I found this to be a very easy job, and one made decidedly easier by virtue of the fact that the parts weren't installed on the car and I was able to work in my nicely heated living room (what can I say...I hate cold). As I'm still looking for the connectors, terminals, and crimping tools needed to construct the harness adapters I put the units back in their respective boxes to await the day I'm ready to install them. Hopefully soon.
Mileage: 254500