


Monday, August 14, 2017
Transmission Update
It's been a bit over two weeks since I dropped the transmission off at my local overhaul shop so I decided to give the shop a call for an update. The owner told me that the unit has been dismantled and he's waiting for a few parts to come in, including the bushing kit.
The hard parts have been found to be in good shape. The only obvious issues were some slightly burned steels and a worn band. Burnt steels on a transmission with 140K miles and no fluid changes are to be expected. The band, he suggested, was likely to have worn out due to a lack of adjustments over the service life of the unit. Back in the day a band adjustment was often performed in conjunction with a fluid and filter change but given BMW's war on maintenance this was never recommended or performed.
Naturally, he's planning to replace all the steels, which are provided in the master kit I requested, as well as the band. He is now anticipating wrapping up the unit near the end of the week. He also told me that he took a bunch of pictures of the unit throughout the disassembly process. If those are of reasonable quality I'll post them when the unit is returned.
Power Steering Hose Discrepancy Revisited
Ten years ago I made an attempt to replace the high pressure hose that connects the power steering pump with the rack. I was unsuccessful finding a hose that matched the hose on my car so I replaced only the return line. I suppose it turned out okay as I managed to get another ten years out of the line, but as I have to replace the line real soon now, I have been forced to revisit the issue.
The ETK maintains that I need part number 32411093461 but as I look at pictures of that hose, at least provided by the aftermarket (since in 2017 BMW still doesn't provide actual pictures of every part in ETK), it's clear that the hose does not look anything like the hose on my car. I spent a good 15 minutes browsing google images for "e36 steering high pressure hose" only to figure out that no one takes good pictures of the underside of their vehicles or at least the routing of their power steering hoses. Still, I discovered a couple pictures from aftermarket conversions and one that appeared to be from a 4 cylinder car that indicated the *461 hose probably routes front to back, directly between the pump and the rack, rather than taking the circuitous route along the rack. Of course, for a path so direct the *461 appears to have an awful lot of unnecessary bends in its hard line sections so I'm not convinced it will fit in any case.
Unfortunately, because my power steering pump is flopping around in the engine bay attached to nothing in particular, I can't test fit the *461 hose. So at best this will have to be done after the engine is back in the car and the pump is fixed in its normal location.
More Parts to Machinist
Speaking with the machinist last week he noted that in order to balance the crankshaft properly it would be helpful to have the damper, the crankshaft flange to which it bolts, as well as the double-chain sprocket. So today I delivered those items. While there he said that the block is expected to be picked up by the cleaning company tomorrow. He also said that he is taking two days of vacation early next week but that once he gets back the work should proceed quickly. If he finishes by Friday the 25th then his original estimate will have been met.
Assembly Parts Order
Today I placed what I hope will be the final big order of parts from my dealer. This order includes everything my technician recommended in prep for the assembly process, as well as many items I determined necessary following my inspection of the engine and chassis. The most expensive components in this order are new cams and cam trays, but thanks to my dealer the damage wasn't as bad as it could have been. For example, I got the cams for several hundred dollars less than the closest aftermarket equivalent I could find (Schrick).
Once the car has exited the break-in period I plan to resell many tools and parts from this project, including the original cams and trays, so the first thing I did at the garage today was pickle and package them in order to preserve them until they are sold. If they don't sell within a few months I will likely discard them, as I will no longer have any need for them. If you're interested in buying my original M52 cams, be sure to contact me sooner rather than later.
Hood Latch Work Begins
I decided to start work on the hood latch replacement project by taking a closer look at the front upper support piece from which the AC condenser hangs and to which the upper headlight adjusters attach. I initially thought that this support was a simple horizontal beam that could be removed by taking out a few bolts but I was wrong. Upon closer inspection I realized that the piece is actually welded to some vertical supports that are sandwiched between the bumper and the frame rail. Thus, to remove the support beam the entire bumper must come off the car.
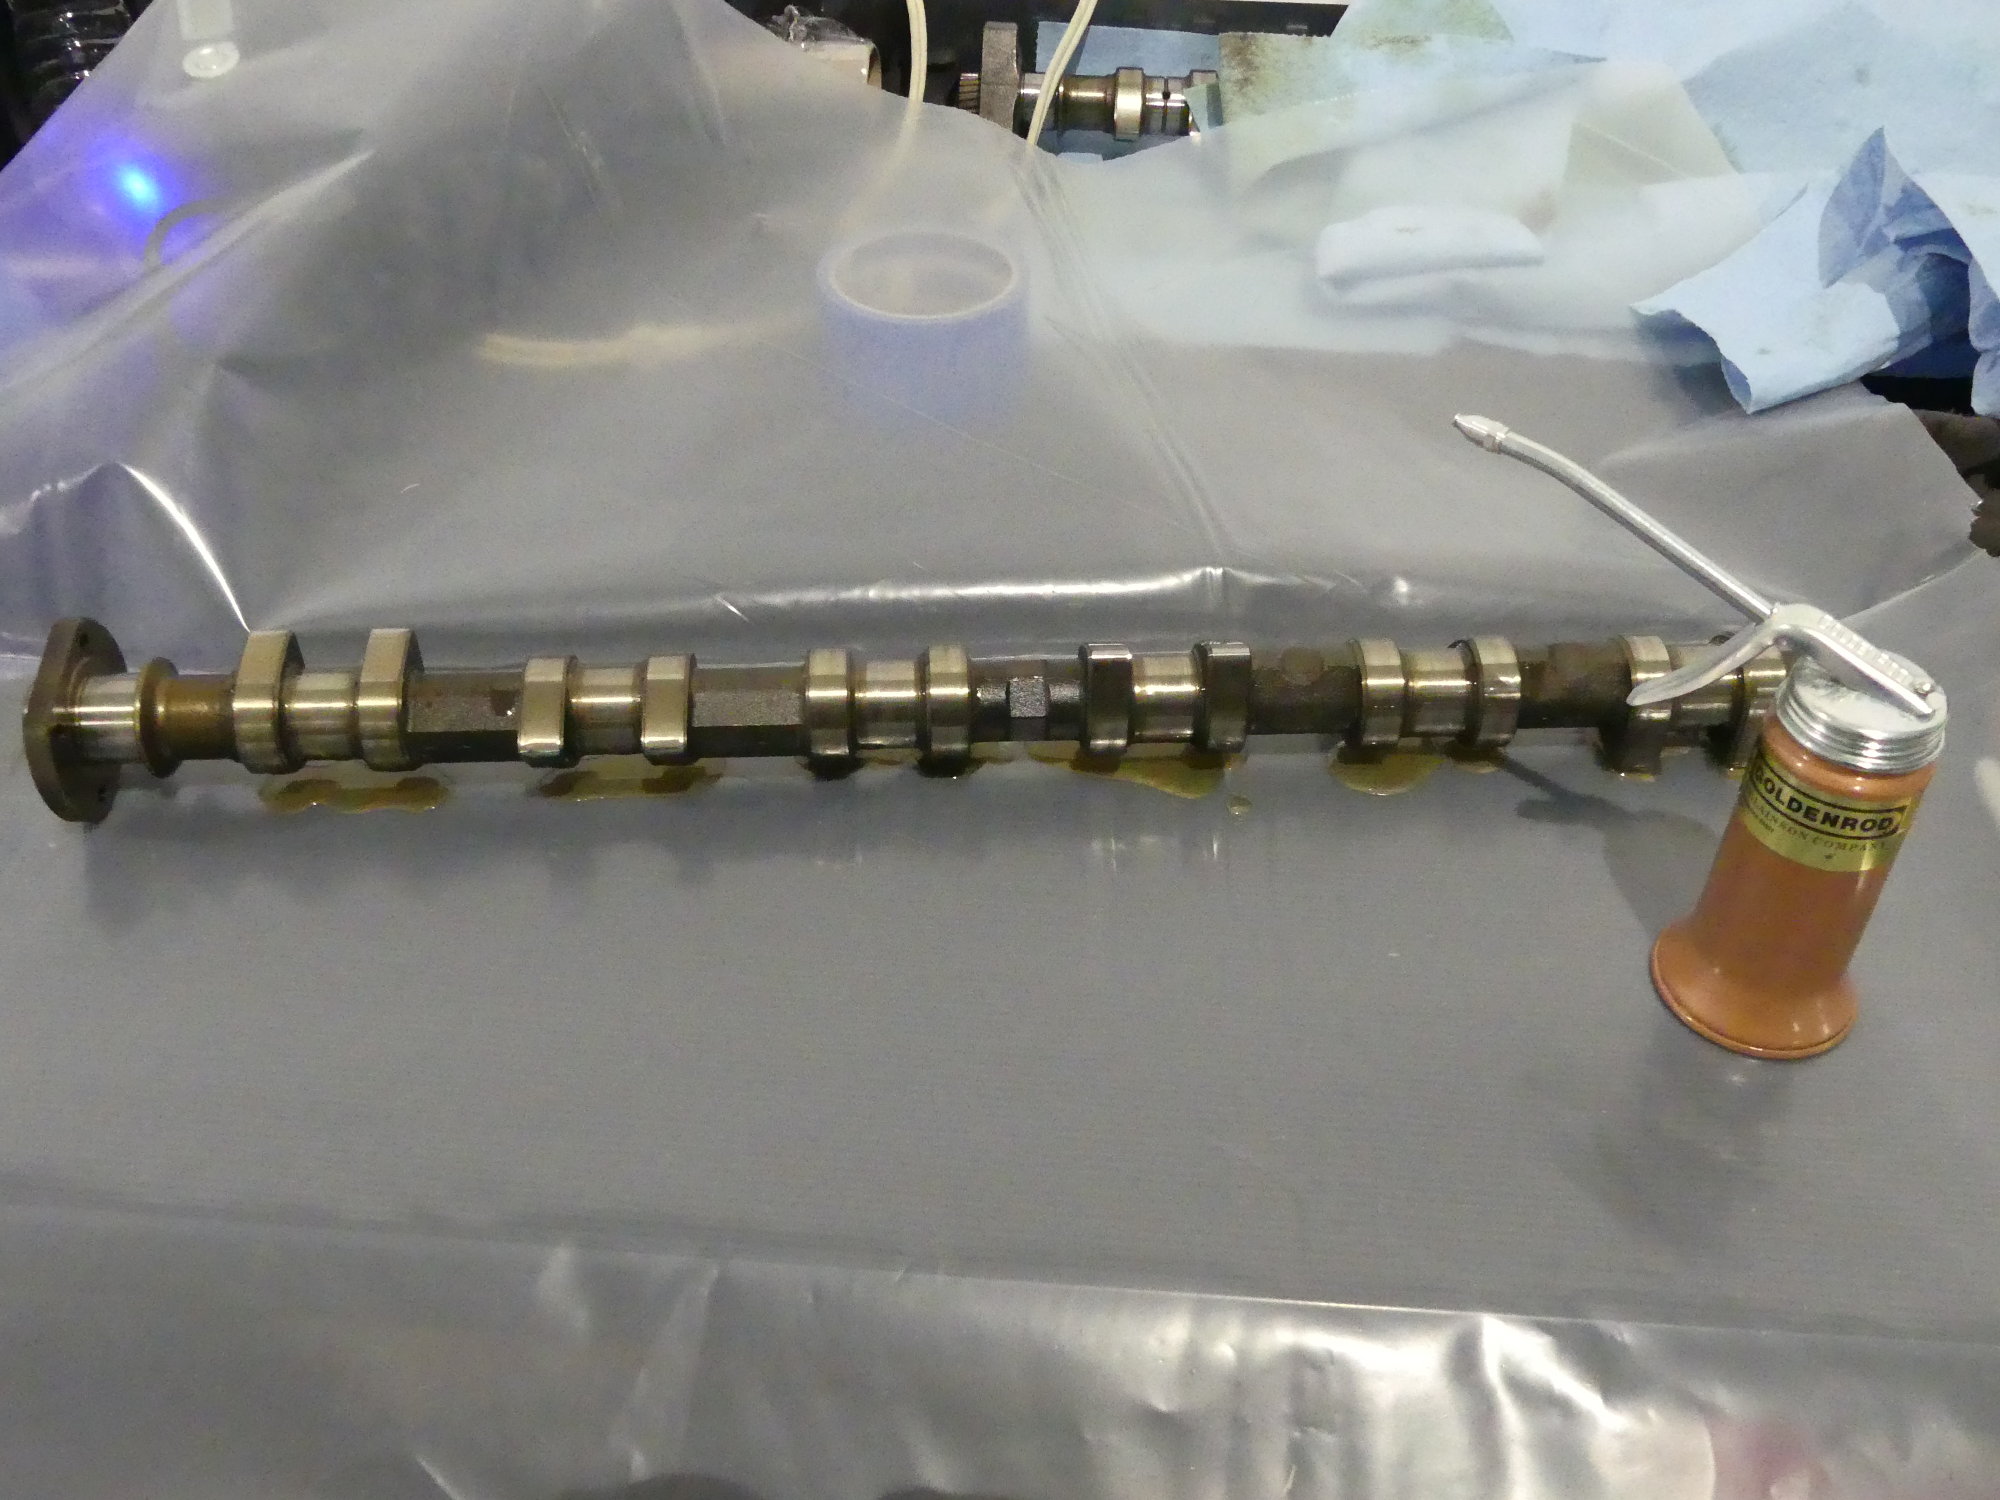 Now that I've decided to install new cams and bearing ledges (a.k.a cam trays) I'm planning to resell my original cams and trays eventually. Until they sell they'll be protected with a coat of oil and wrapped in several layers of heavy gauge plastic. If you want them, let me know. |
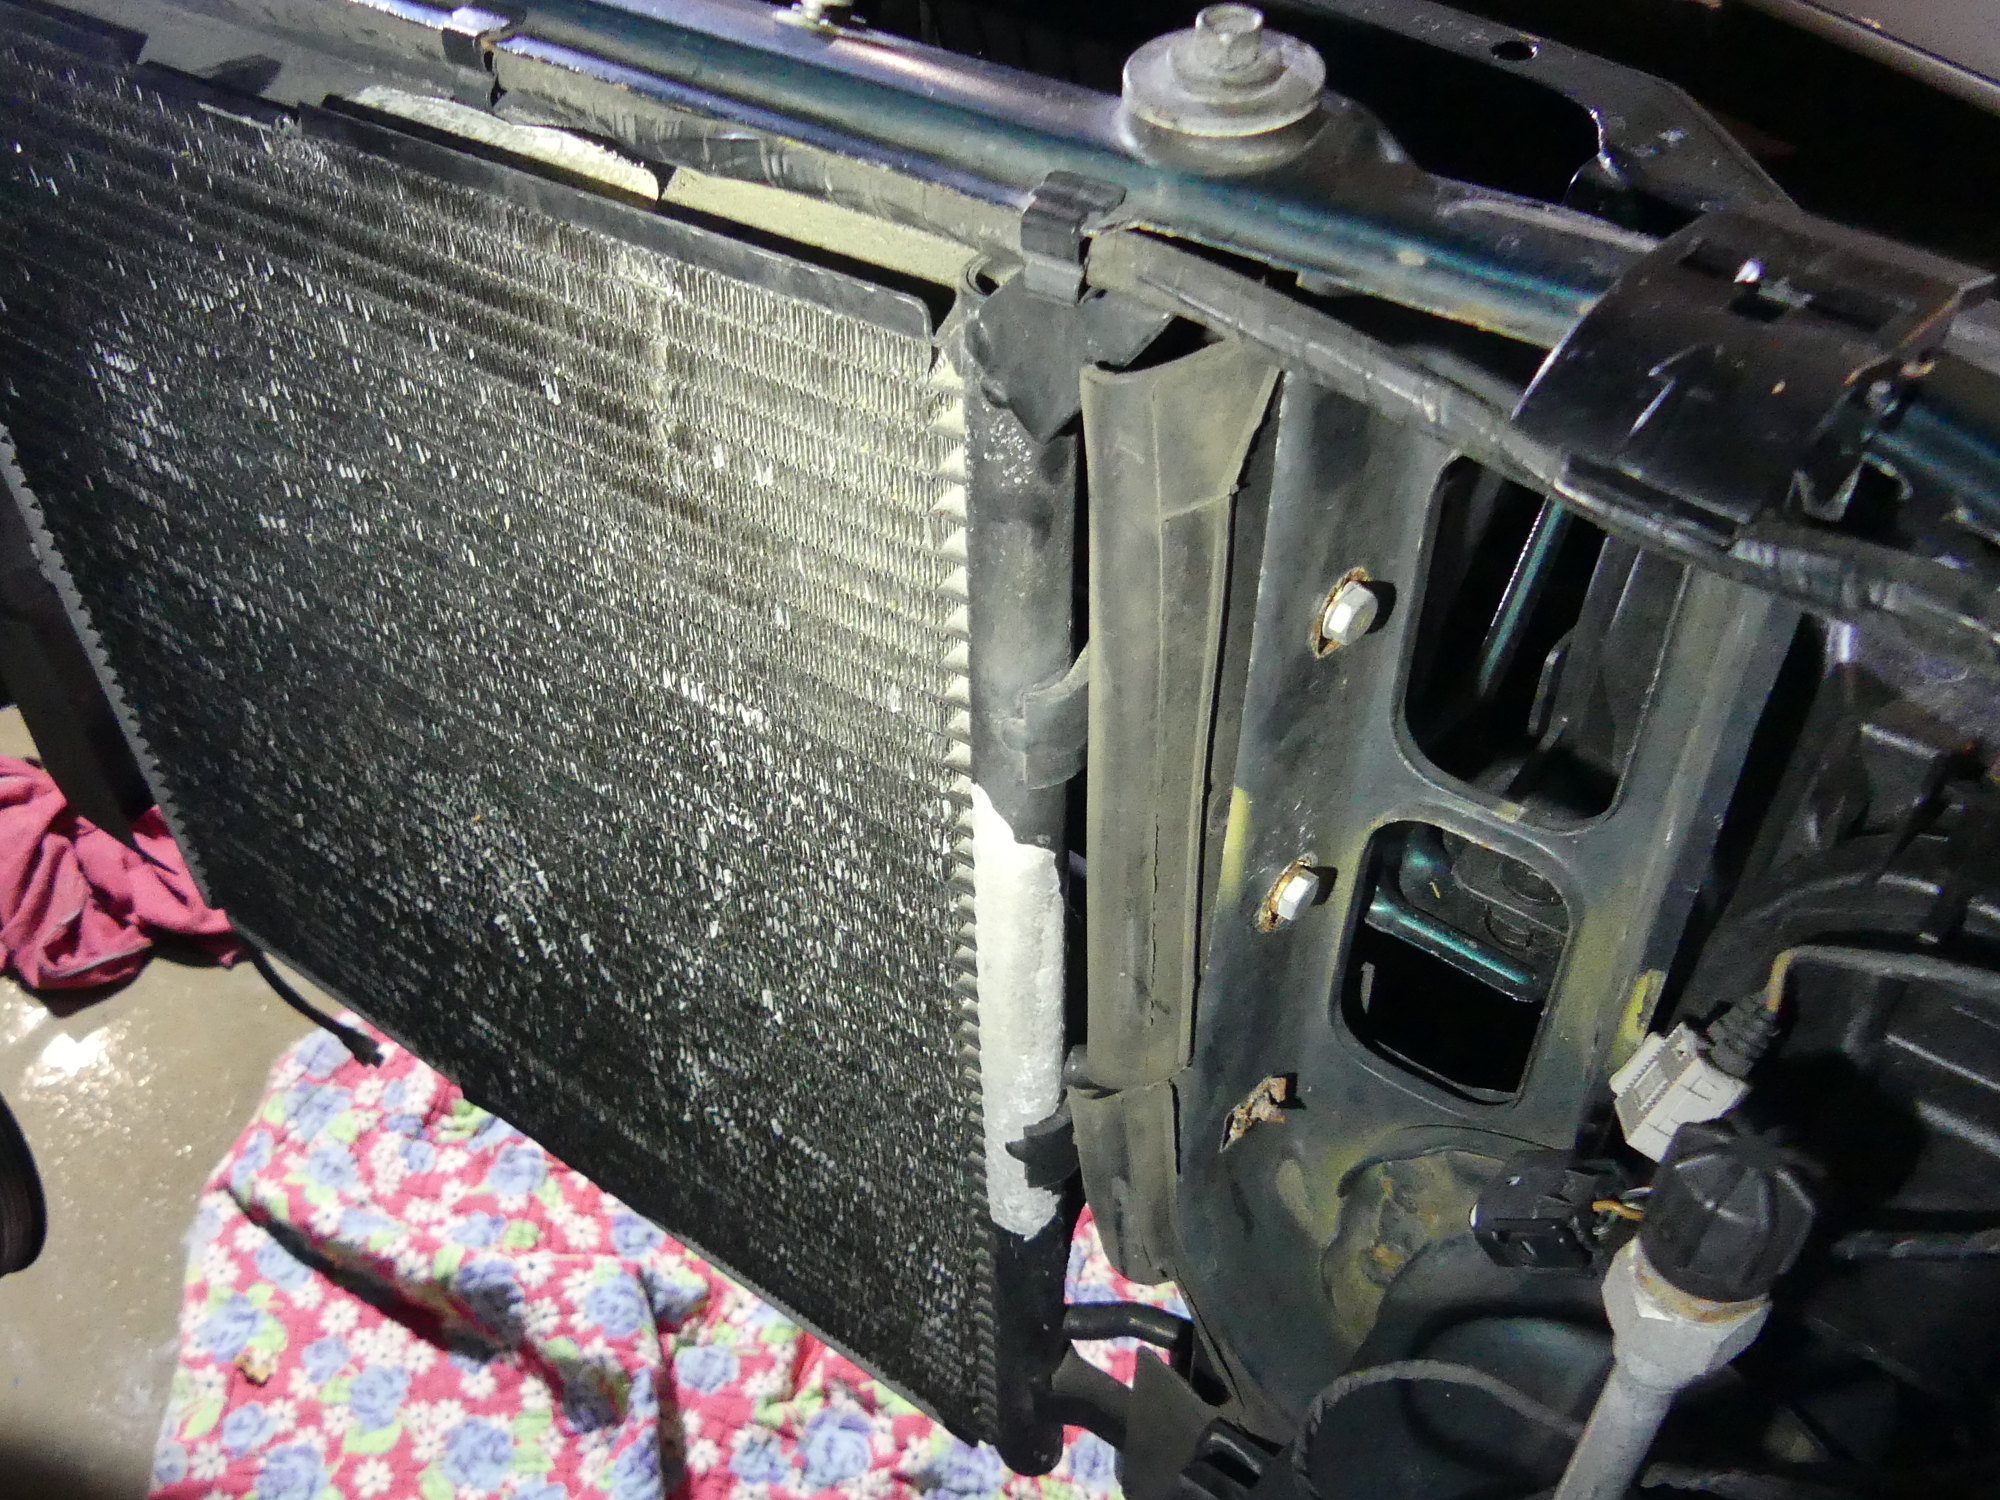
 Just a perspective shot showing the state of my 12 year old condenser and (via the green arrow) the hard-to-photograph position of the left side headlight adjuster. In a fully assembled car this is only accessible when the airbox and related ductwork is removed. |
 Showing the sins of the past -- at some point one of the body shops lost the original fastners and did this hack job. As a result of the bolts gouging the vertical support I'll have to disassemble this and address the resulting rust. |
Unwilling to go through that process I researched the topic and discovered that the receptacles and cable that ties them together should be accessible from the rear if the condenser is removed. For the average E36 owner this would likely be a non-starter as it requires evacuating the AC system, but as my system is already evacuated and I expected to remove the condenser to replace it anyway, this proved to be an ideal path forward.
To remove the condenser I had to first remove the "pork-chops" and the cover that protects the bottom of the condenser. The aux fan was next. Once that was out of the way I had to disconnect the two refrigerant lines that mount to the condenser. Even with the proper metric allen socket these proved rather difficult to remove. The first time I felt the allen slip I freaked out a bit, thinking I had started to strip the head, so I stopped and reached for my old friend, PB blaster. I gave a couple squirts to each bolt near the base of the washer and waited a couple minutes before trying again. This time I pushed the allen firmly upward to fully seat it in the bolt head before I tried to loosen them again. They proved quite stubborn, but I breathed a sigh of relief as I cracked each bolt free. Once removed I inspected the bolts and discovered why they were so stubborn -- the threads were completely corroded, likely the result of dissimilar metal contact (steel bolt, aluminum boss). The bolts will need to be replaced. Fortunately they still appear to be available (BMW part number 07129904477).
The refrigerant lines popped free of the condenser easily and that cleared the way to remove the upper two support bolts and pull the condenser free of the vehicle. The good news is that condensers are available for the E36 from both BMW and the aftermarket. The bad news is that the ones available in the aftermarket, while significantly less expensive than the factory part, have very poor fitment. Some people have reported having to elongate various mounting holes or worse -- bend the mounting tabs. Since I have no intention of drilling or bending anything, as that would make the parts unreturnable if they fail for other reasons, I ordered a new BMW condenser. Once again, however, the parts department came to the rescue and I wound up paying a lot less.
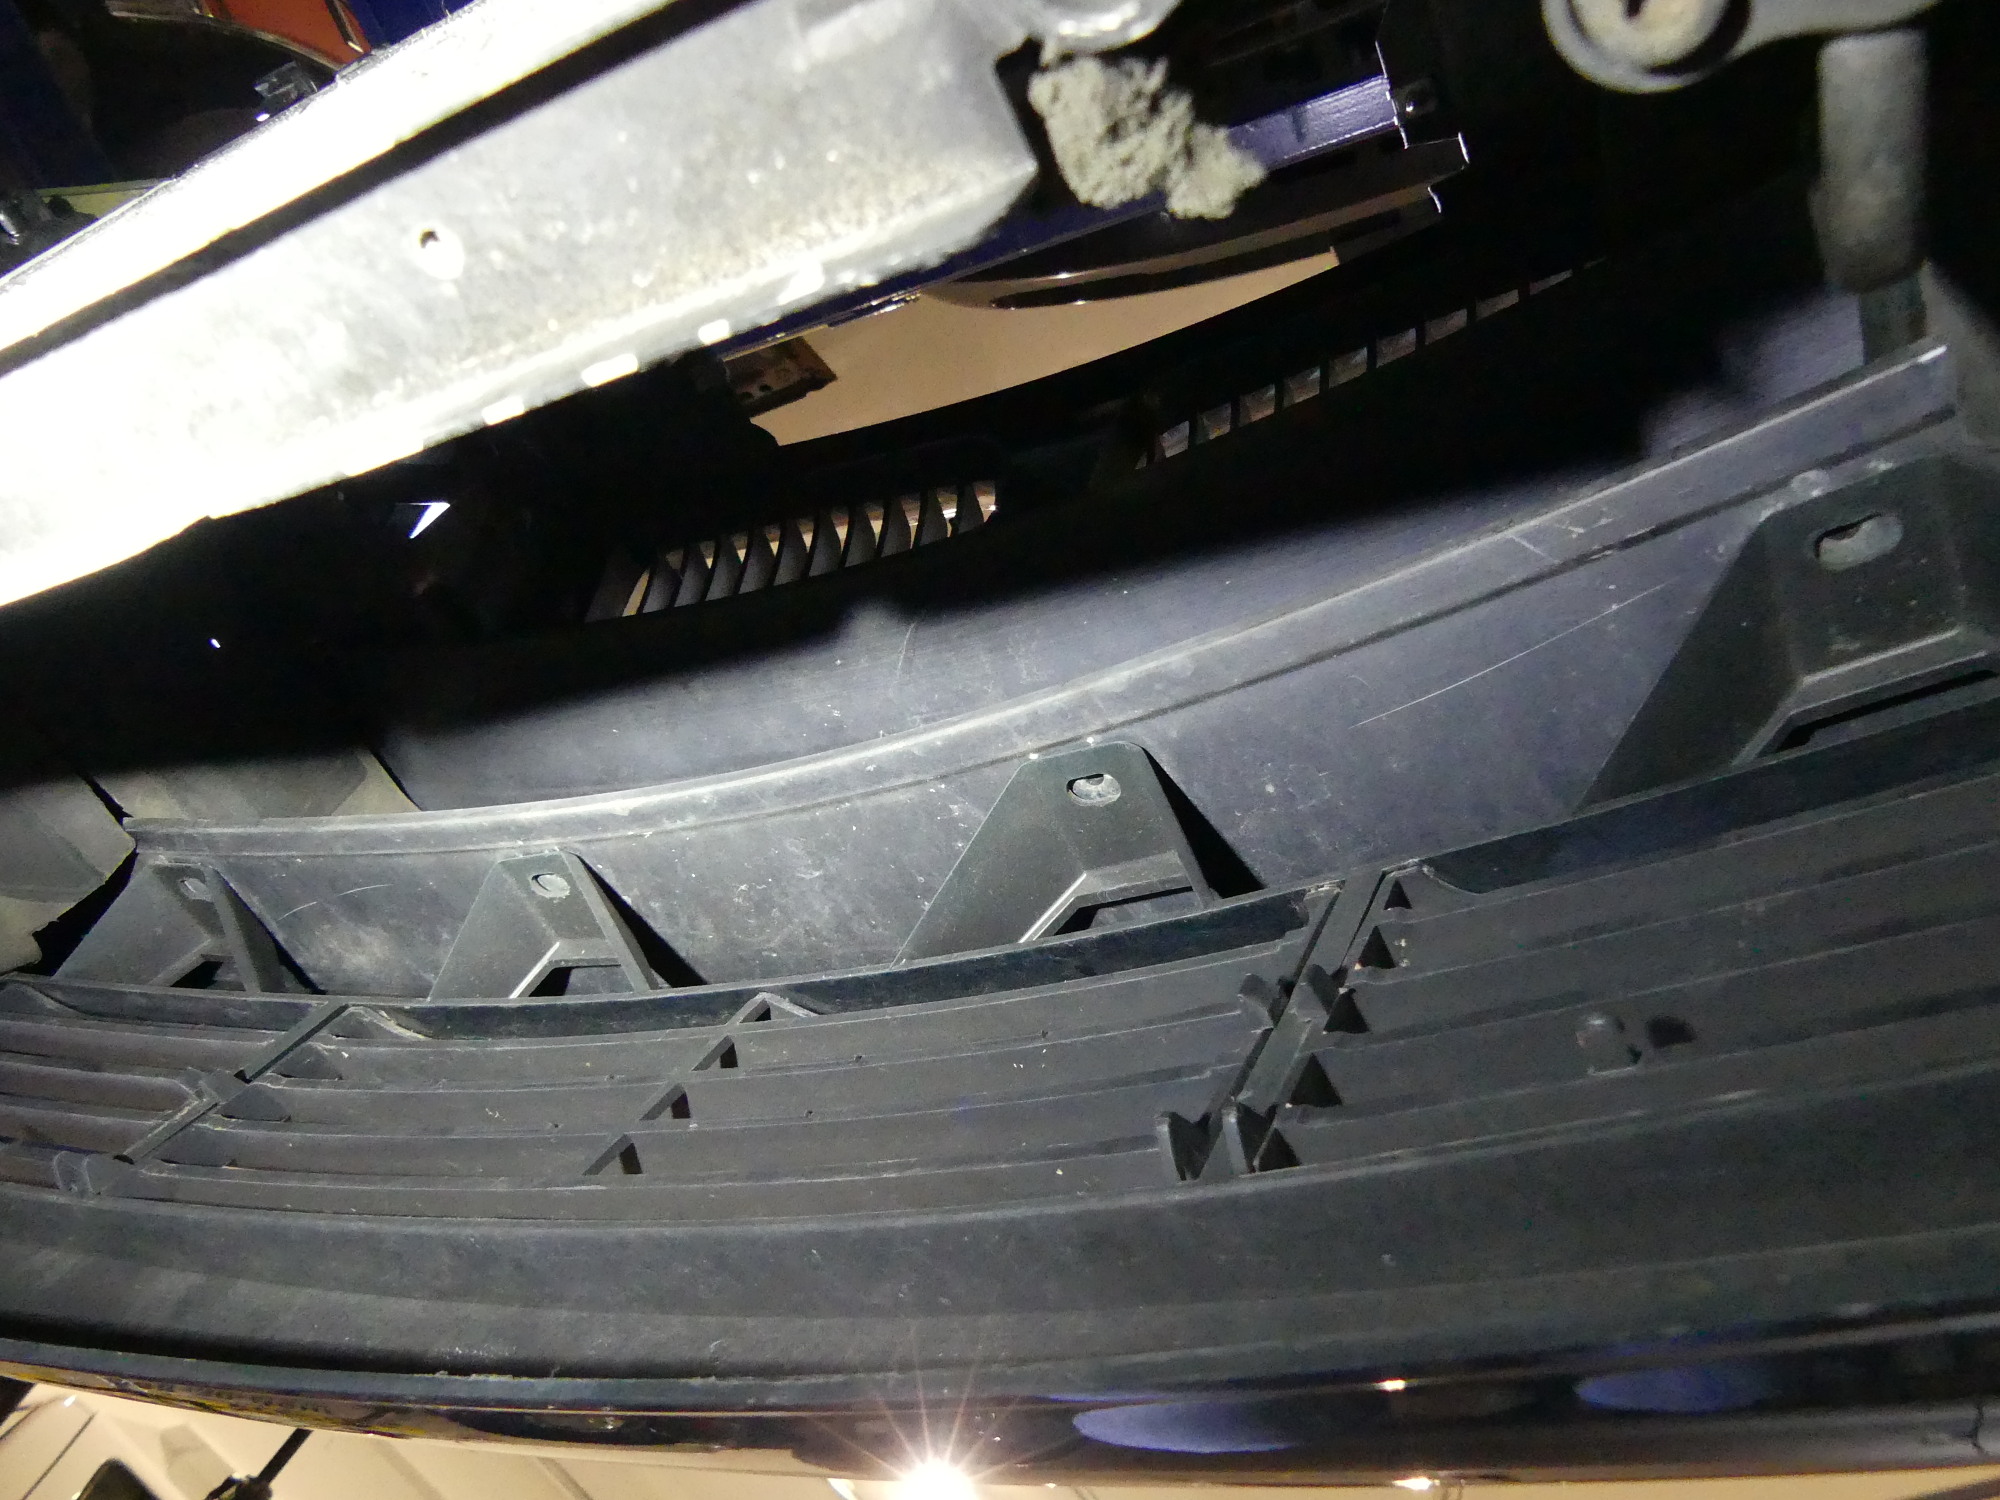 More sins of the past. Someone decided that my bumper cover did not require the four plastic expanding rivets needed to secure the bumper cover to the bumper support beam. These must be plastic rivets because any steel fastener would likely cause dissimilar metal corrosion with the aluminum bumper support. |
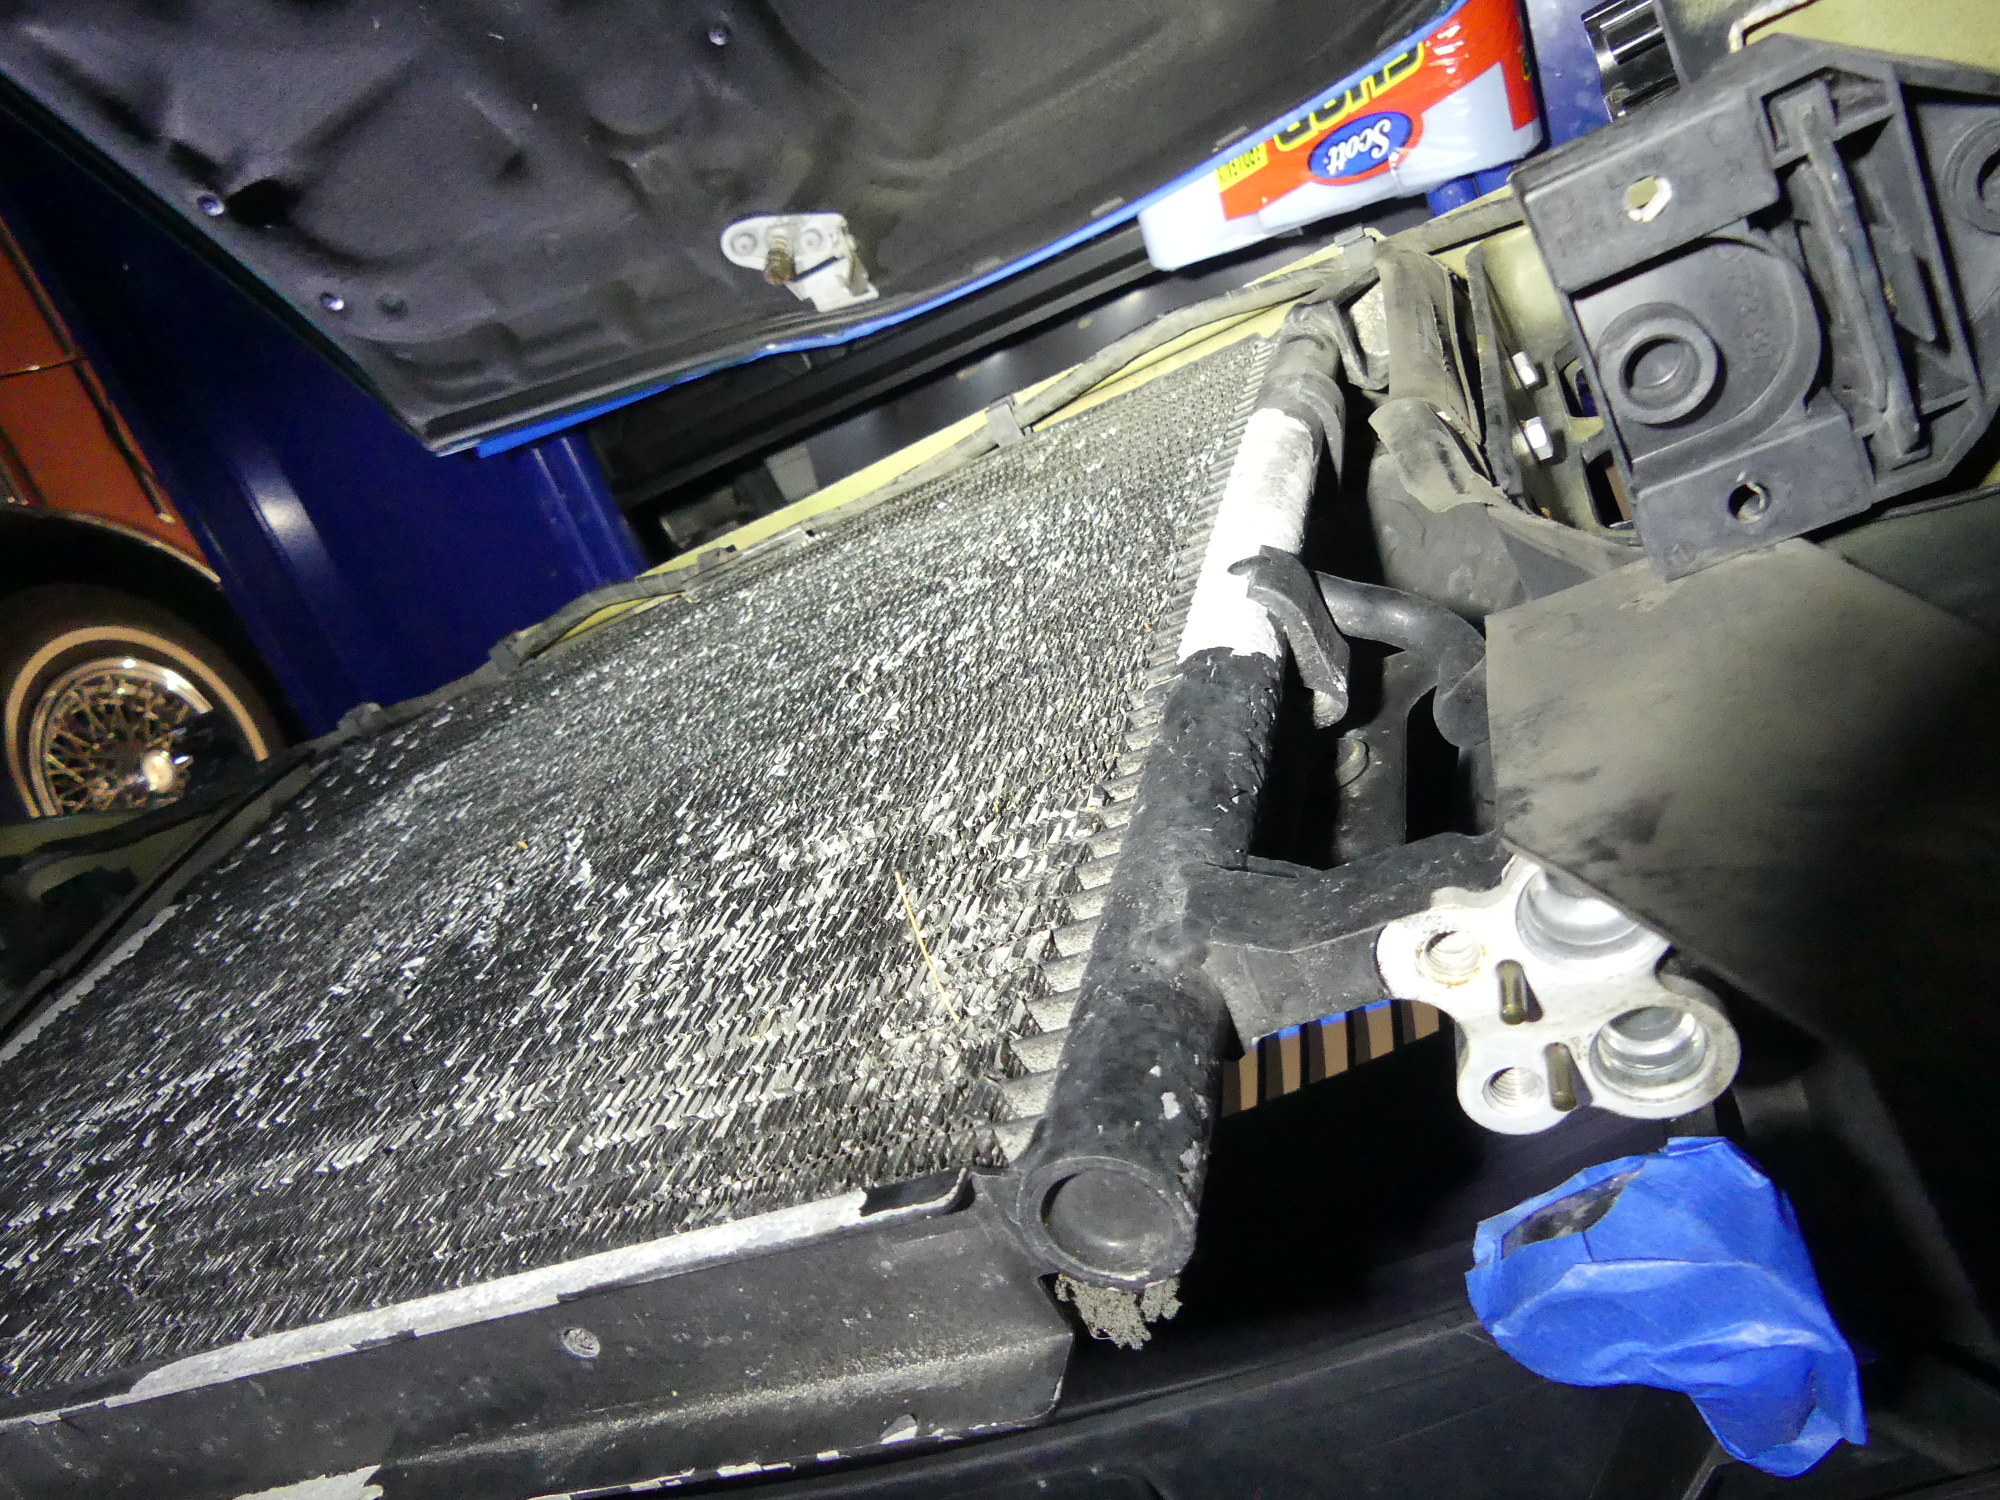 Under the car, looking up at the old condenser with the refrigerant lines removed. The bolts were a bit stubborn but with a bit of PB blaster to the rescue they eventually succumbed to my 3/8" drive allen socket and ratchet. I plan to replace the rusty bolts. |
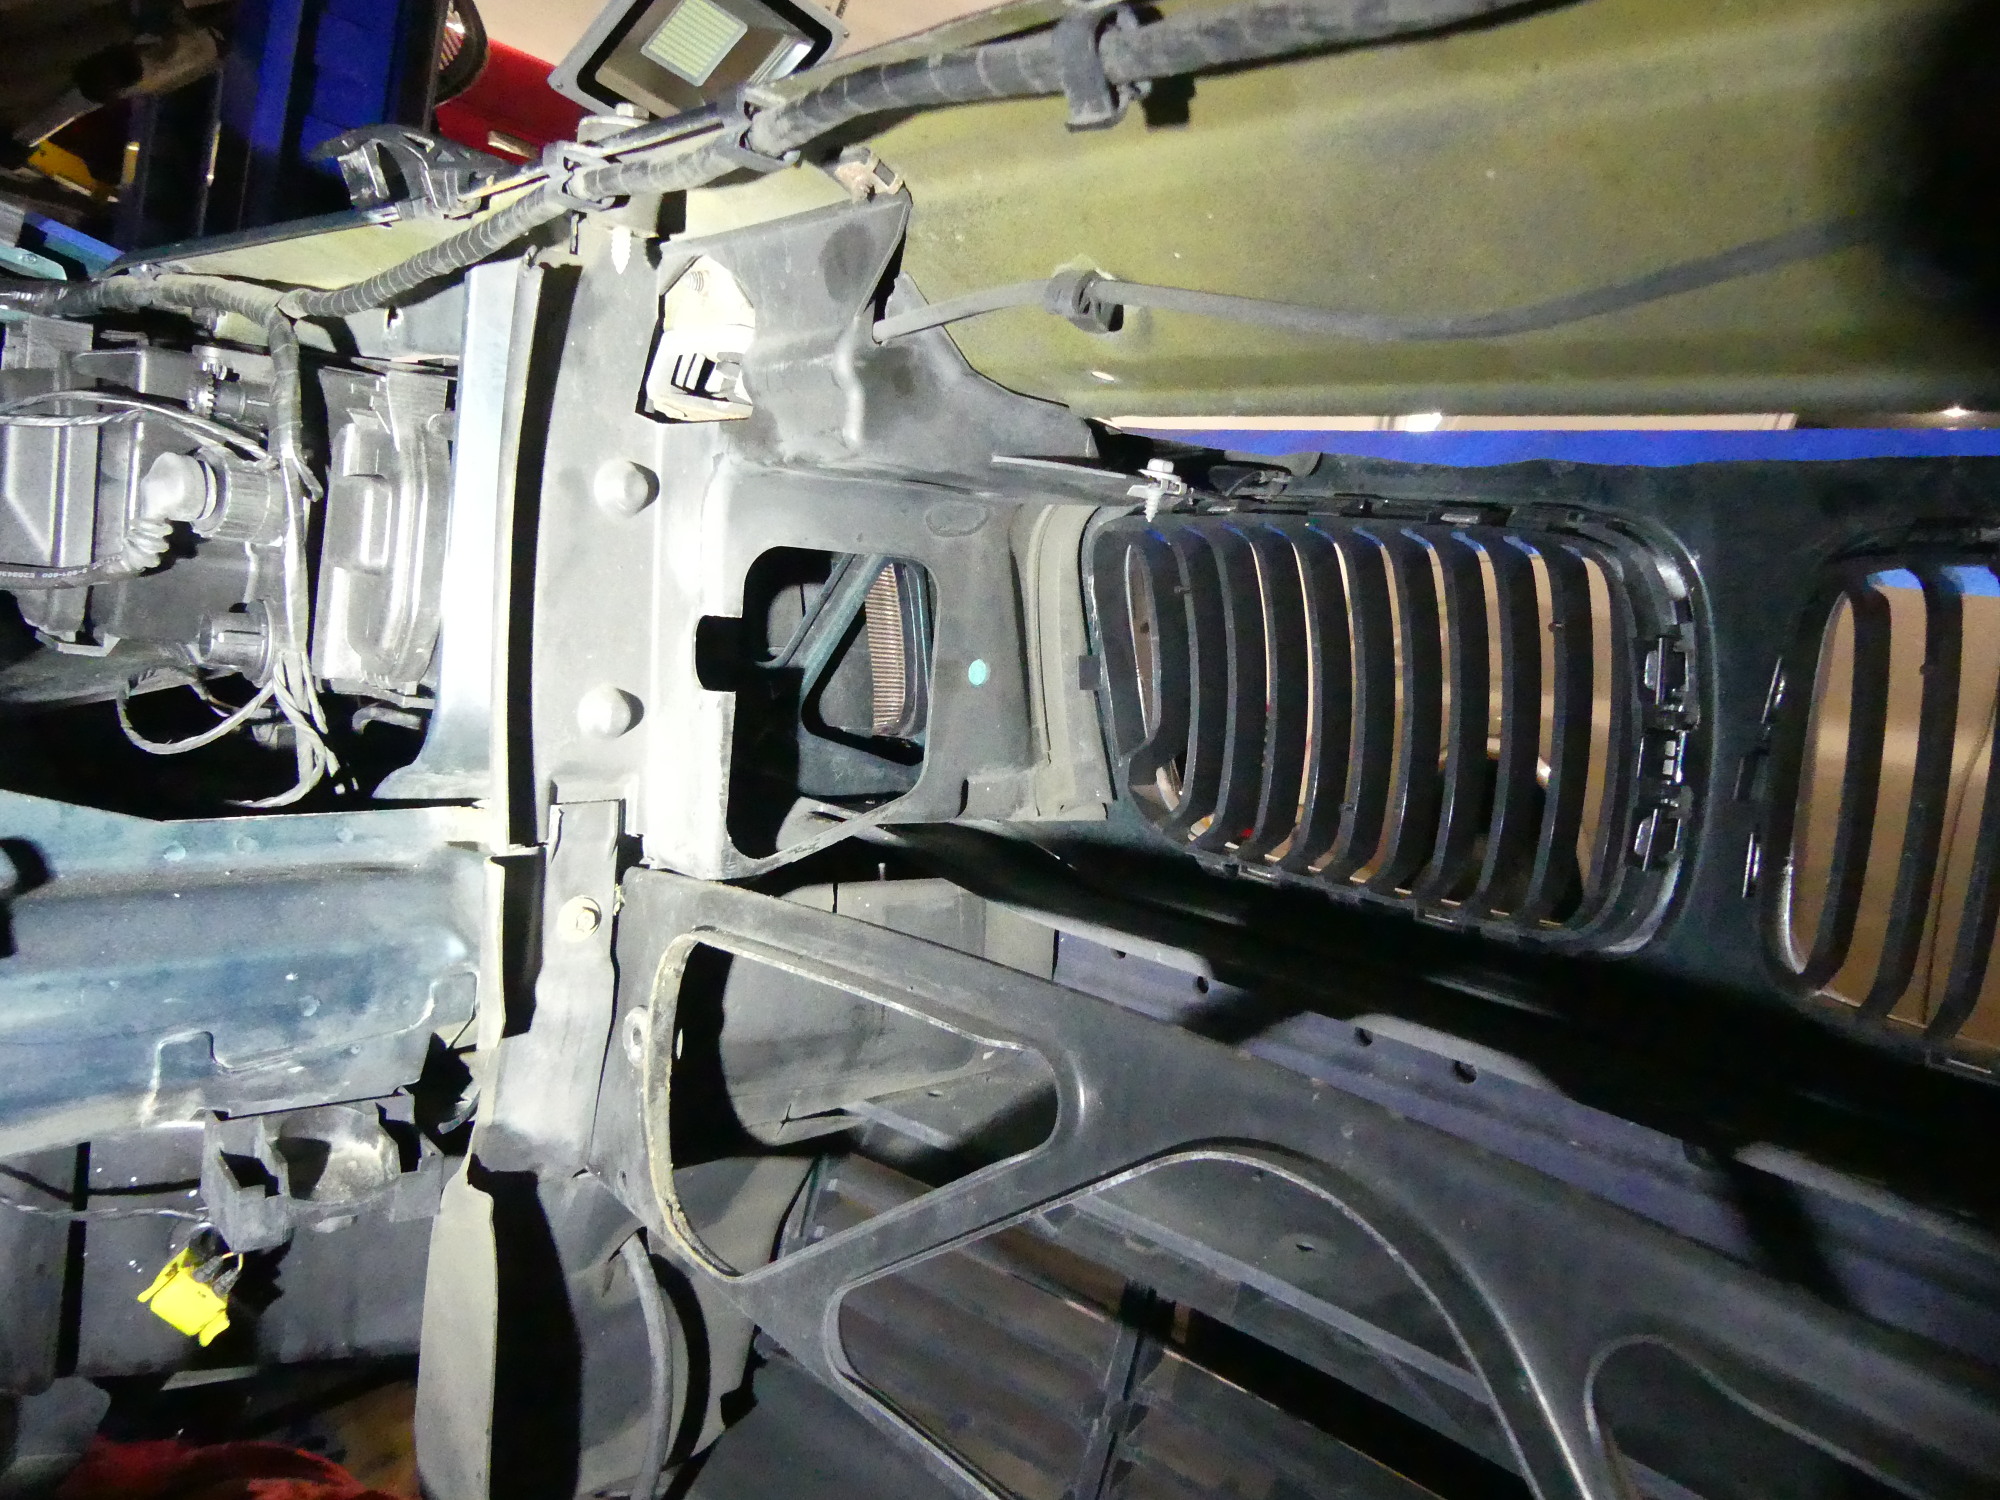 With the condenser removed the hood latch receptacles are revealed... behind yet more ductwork. This also shows the tie cable clipped to the upper support. I purchased those fastners as they tend to break when disturbed after 20 years in service, and they'll be easy to replace. |
With the condenser removed I found that I have access to the cable that ties the two latch receptacles together, but the receptacles themselves remain behind some duct work. I also noticed that one of the body shops who took the front end apart made two errors in assembly:
-
They failed to install the four expanding rivets that tie the bumper cover to the aluminum bumper support. I suppose people do this to simplify removal of the bumper, but now I know why the bumper cover moves a bit more than I think it should when I push on it.
-
They replaced the original hardware required to attach the left and right side ductwork to the vertical supports with common hardware. The problem is that the holes in the vertical support are square and they didn't use washers on either side so when the installer tightened the bolts they gouged the metal. The result was predictable -- more rust I need to address.
Next Up
I'll continue the disassembly of the front end as required to gain access to the hood latch receptacles and address the rust on the front support.