


Saturday, August 19, 2017
Manifold Cleaning
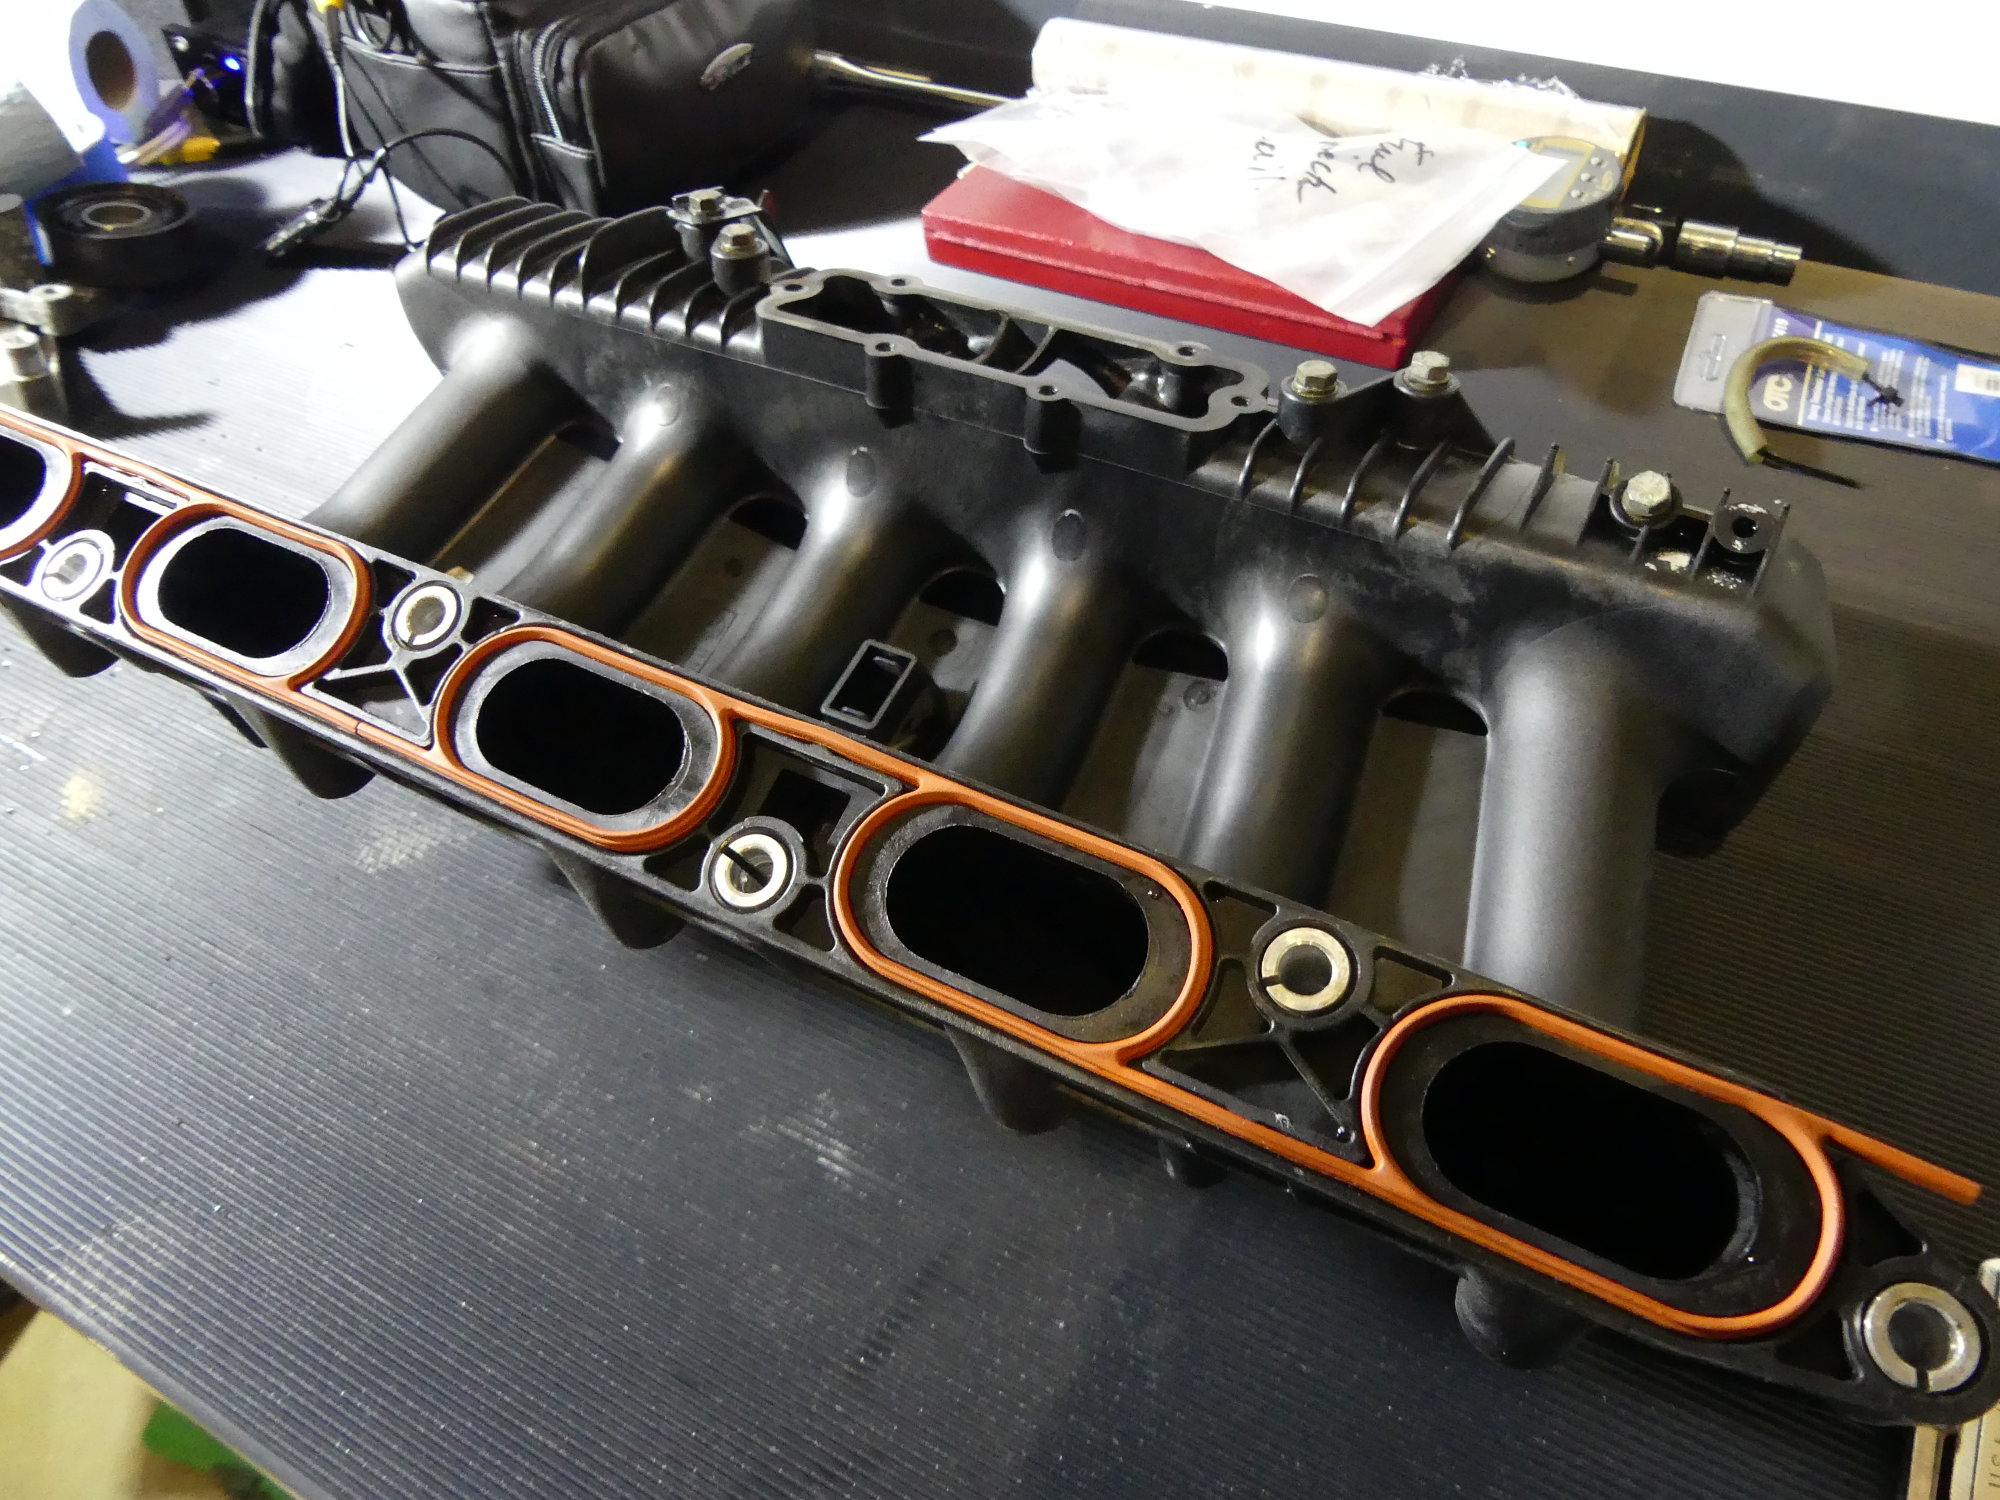
With the fuel injectors returned from Marren I decided to start the day by installing them in the intake manifold. But as usual my plans changed when I grabbed my flashlight and took a good look inside the manifold. Considering the mileage I considered it pretty clean but there was definitely an oil residue all over everything -- the worst of it being at the end of the runners near where they connect to the head. So I decided to see what I could do to clean the manifold.
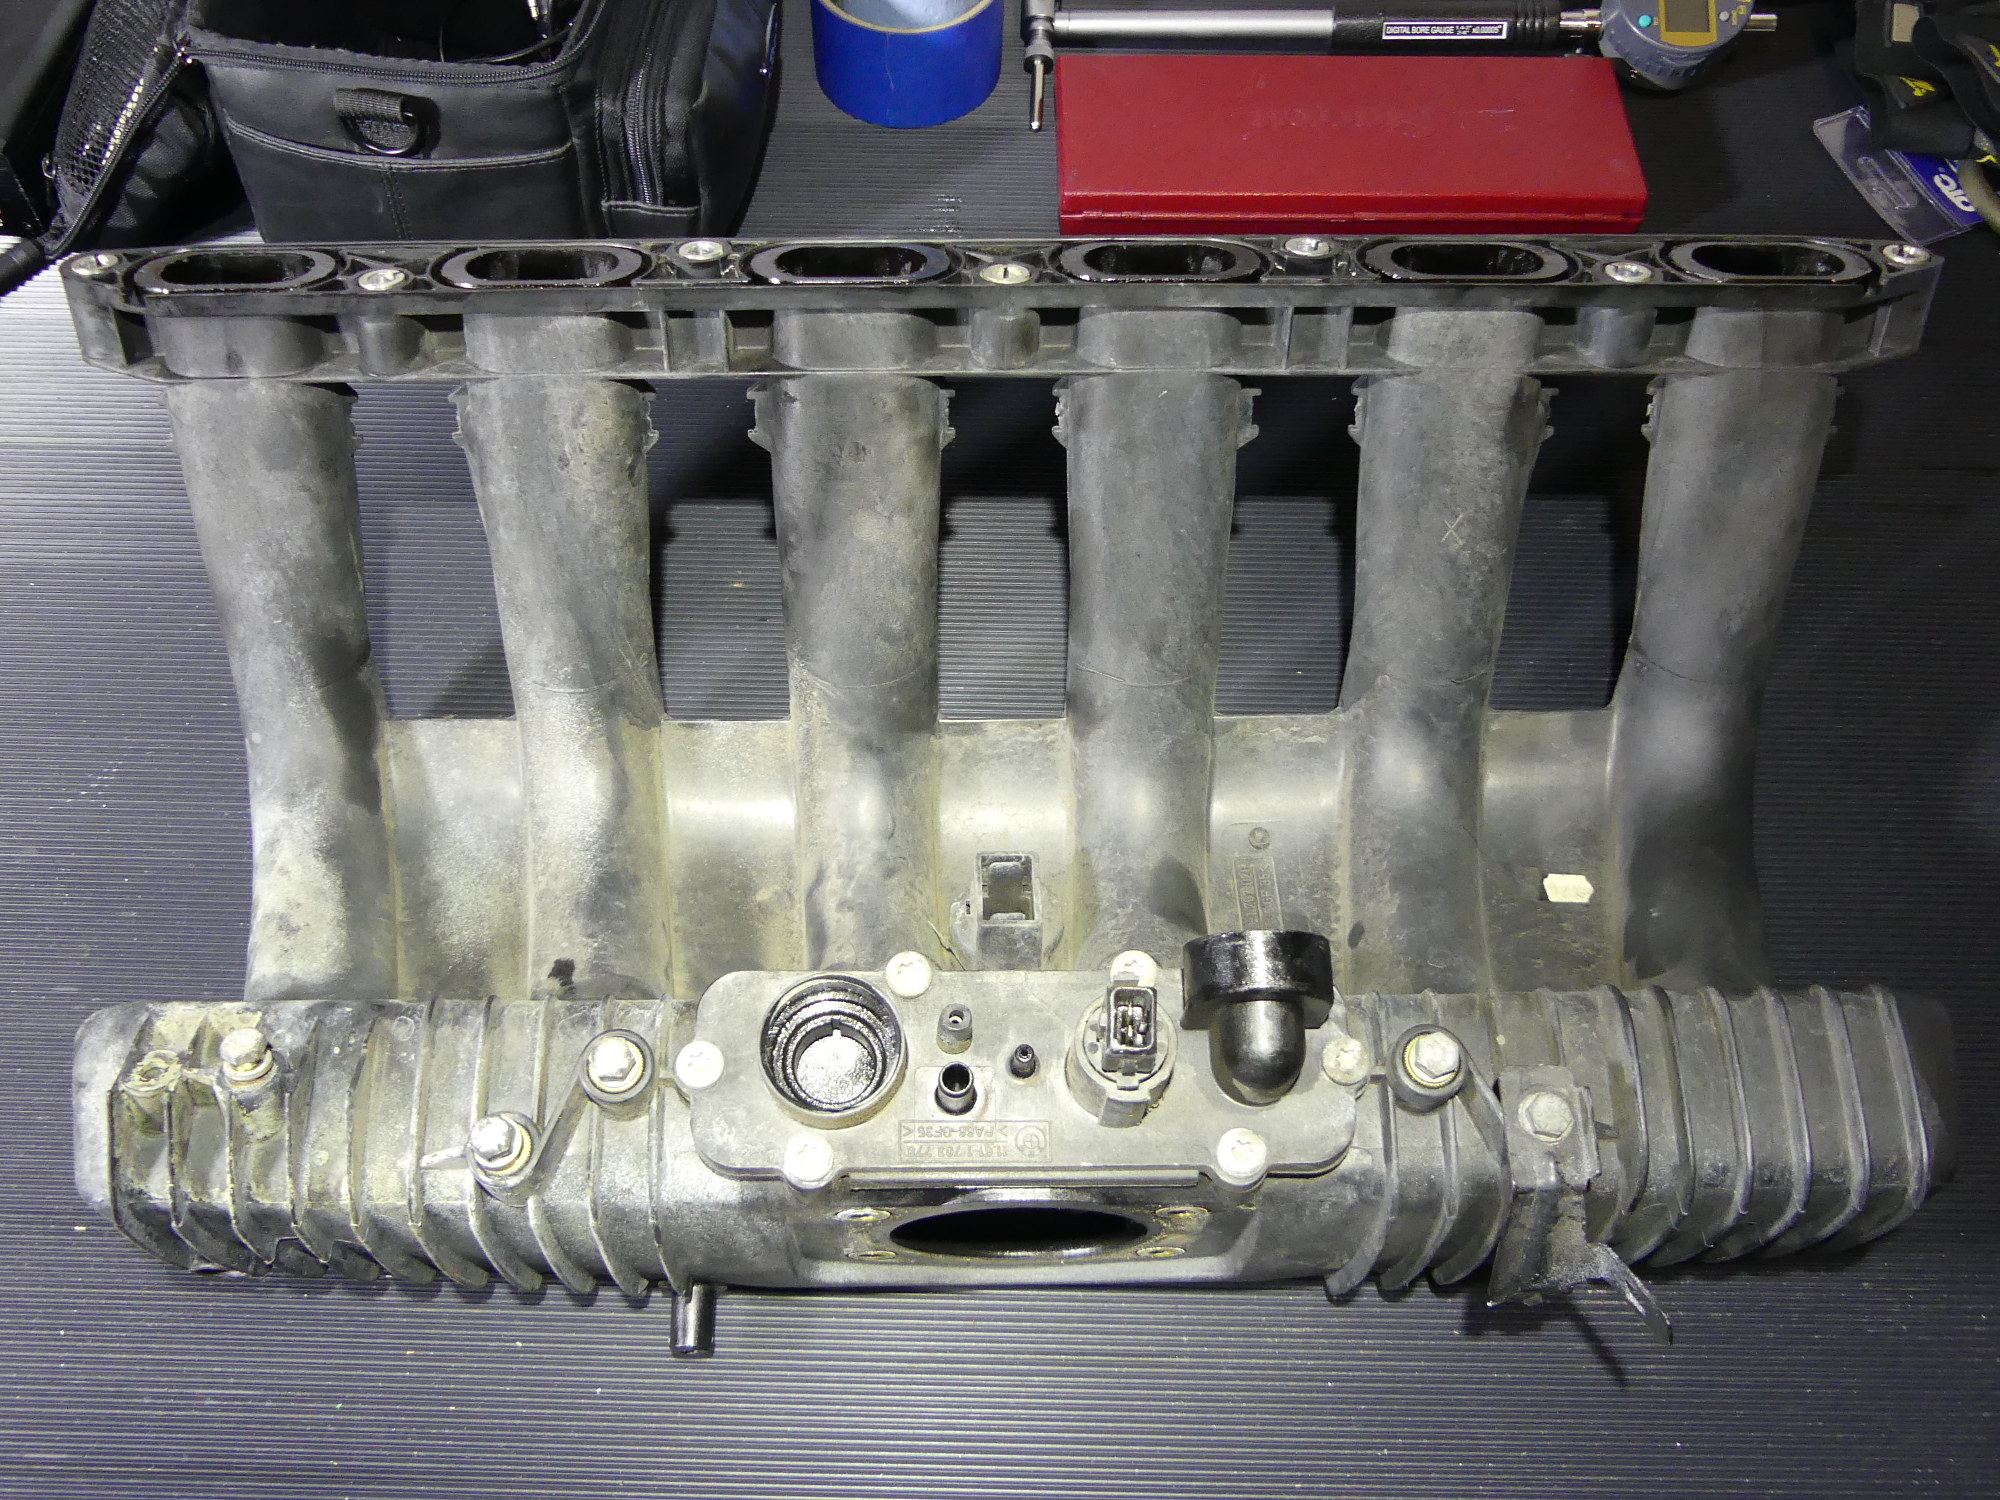 Underside of the intake manifold prior to cleaning. Thanks to the foresight of BMW's engineers that cover in the center that accepts the CCV and temp sensor is removable for cleaning. |
 The cover removed reveals the green silicone gasket. The cover seems to have a filter or something in the hole where the CCV mates, or it's just dirty. I'll be replacing it. |
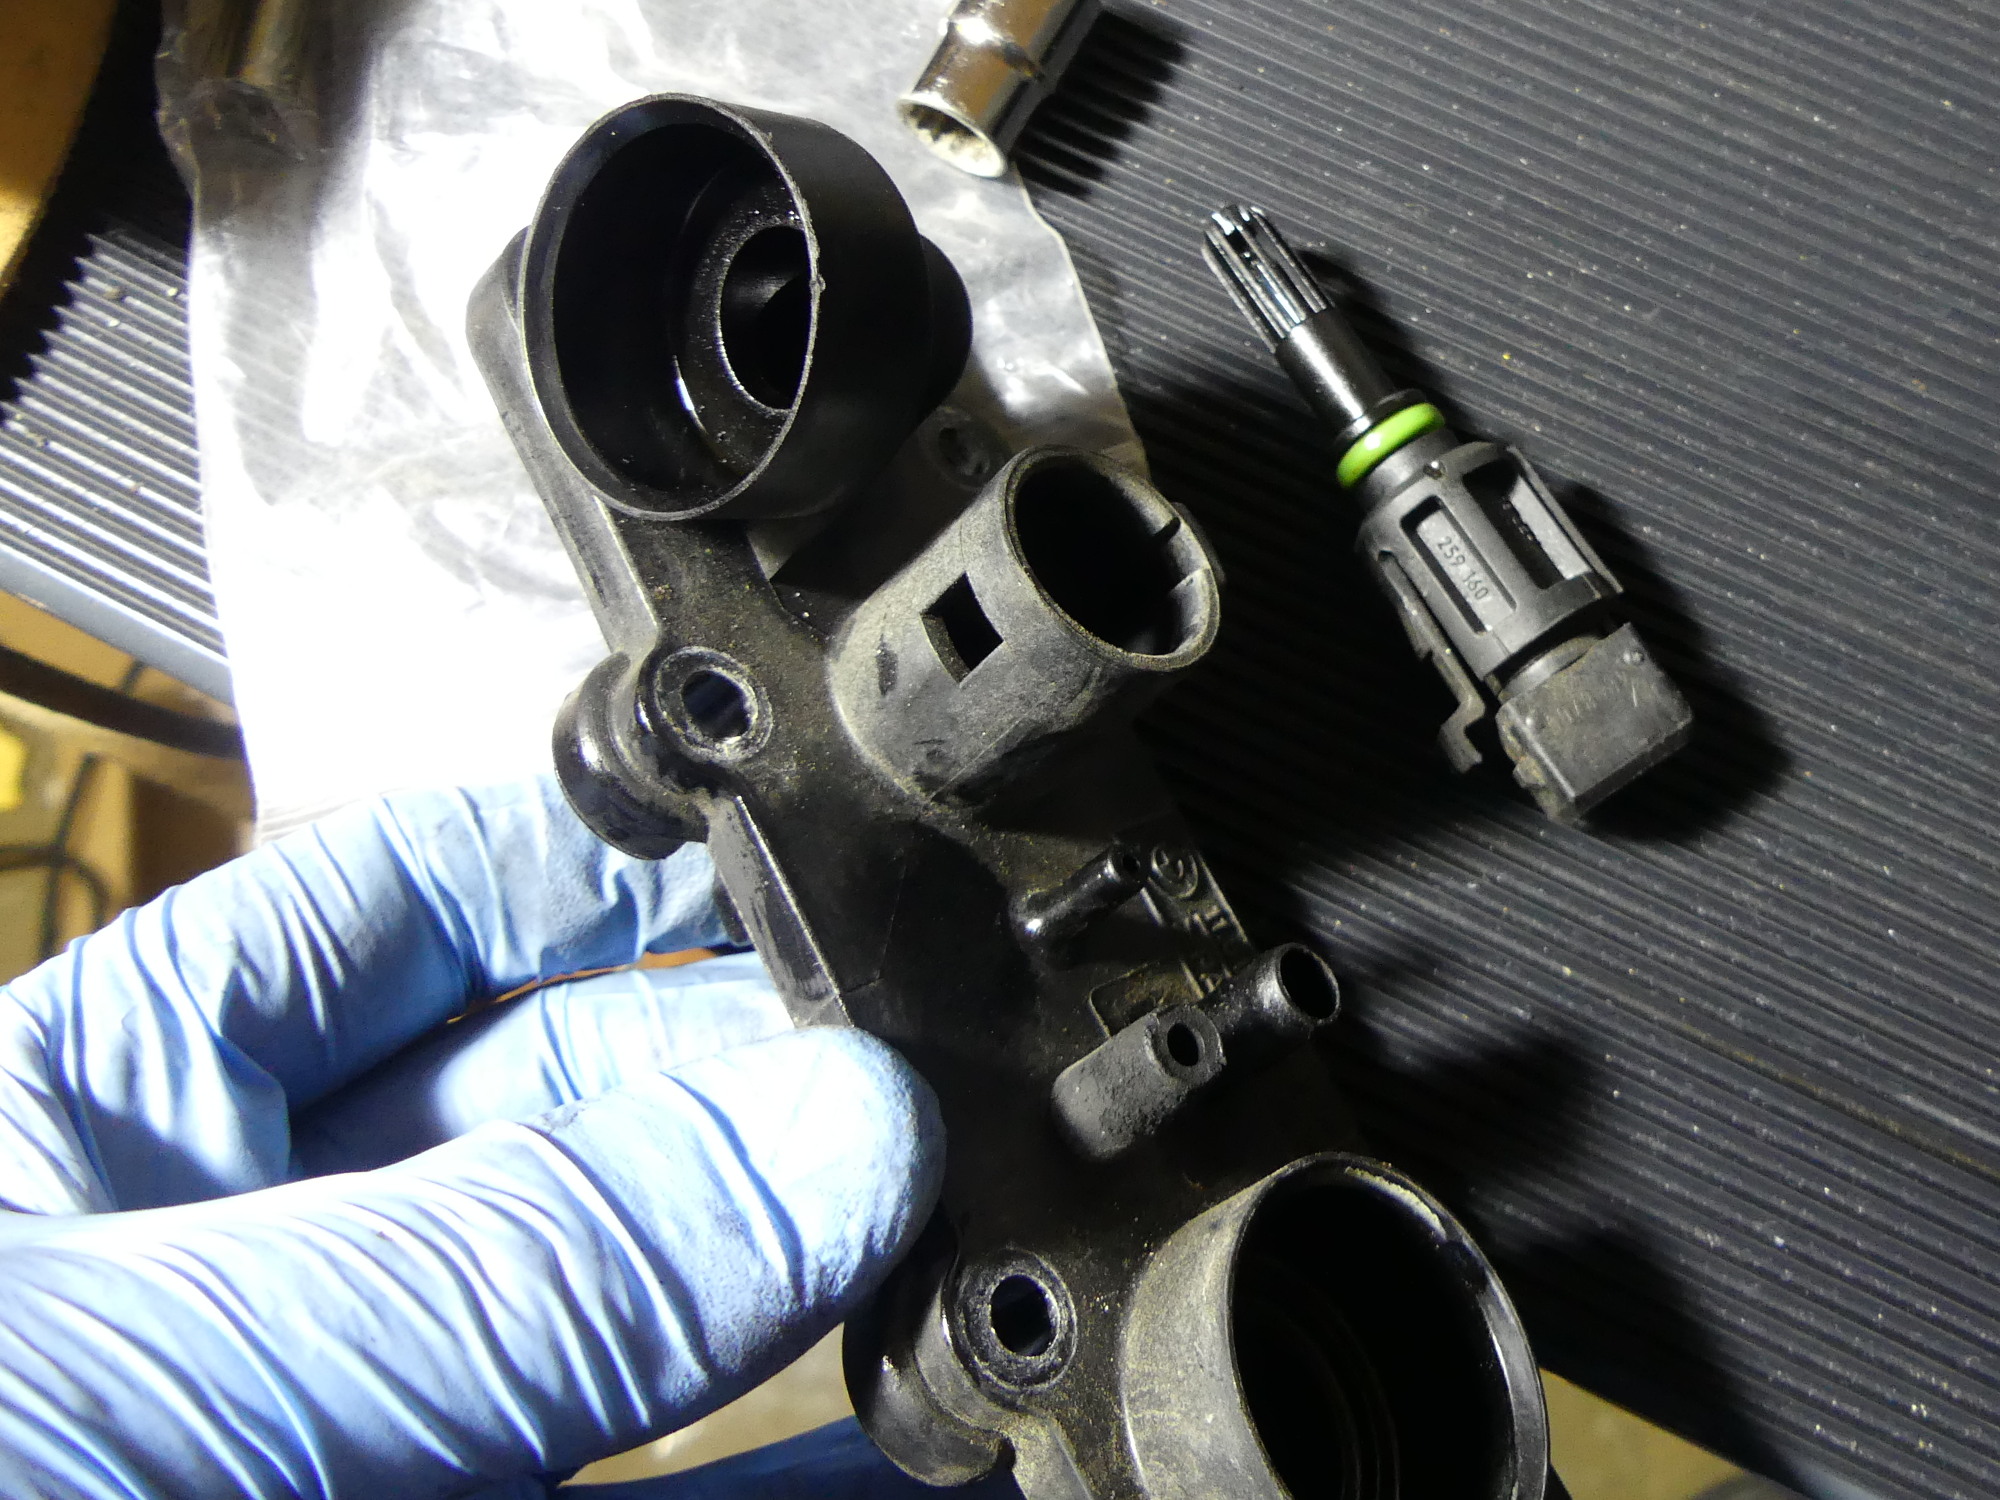 Another perspective showing the temperature sensor removed from the cover plate. I replaced the temperature sensor a few years back and it looks like new so it will be reused. |
I briefly considered using mineral spirits, as that is a great degreaser, but I wasn't sure how the solvent would react with the plastic of the intake. Sure, you might think that if it can tolerate gasoline it could handle mineral spirits, but I just couldn't take the risk of damaging such an expensive part. So I mixed up a couple gallons of a strong ZEP degreaser solution and put my spray gun to work again.
I washed and rinsed the interior about three times and then used a sponge to clean the exterior. I'm happy to say it came out about as well as expected, but some of the more stubborn grime and caked on oil at the end of the runners required some manual labor. After using a few blue towels wrapped around the head of my socket wrench to reach in the runners as far as possible I then rinsed the head thoroughly with plain water to ensure no pieces of towel or lint were left behind. The only thing I want going in my head on first start is air and fuel.
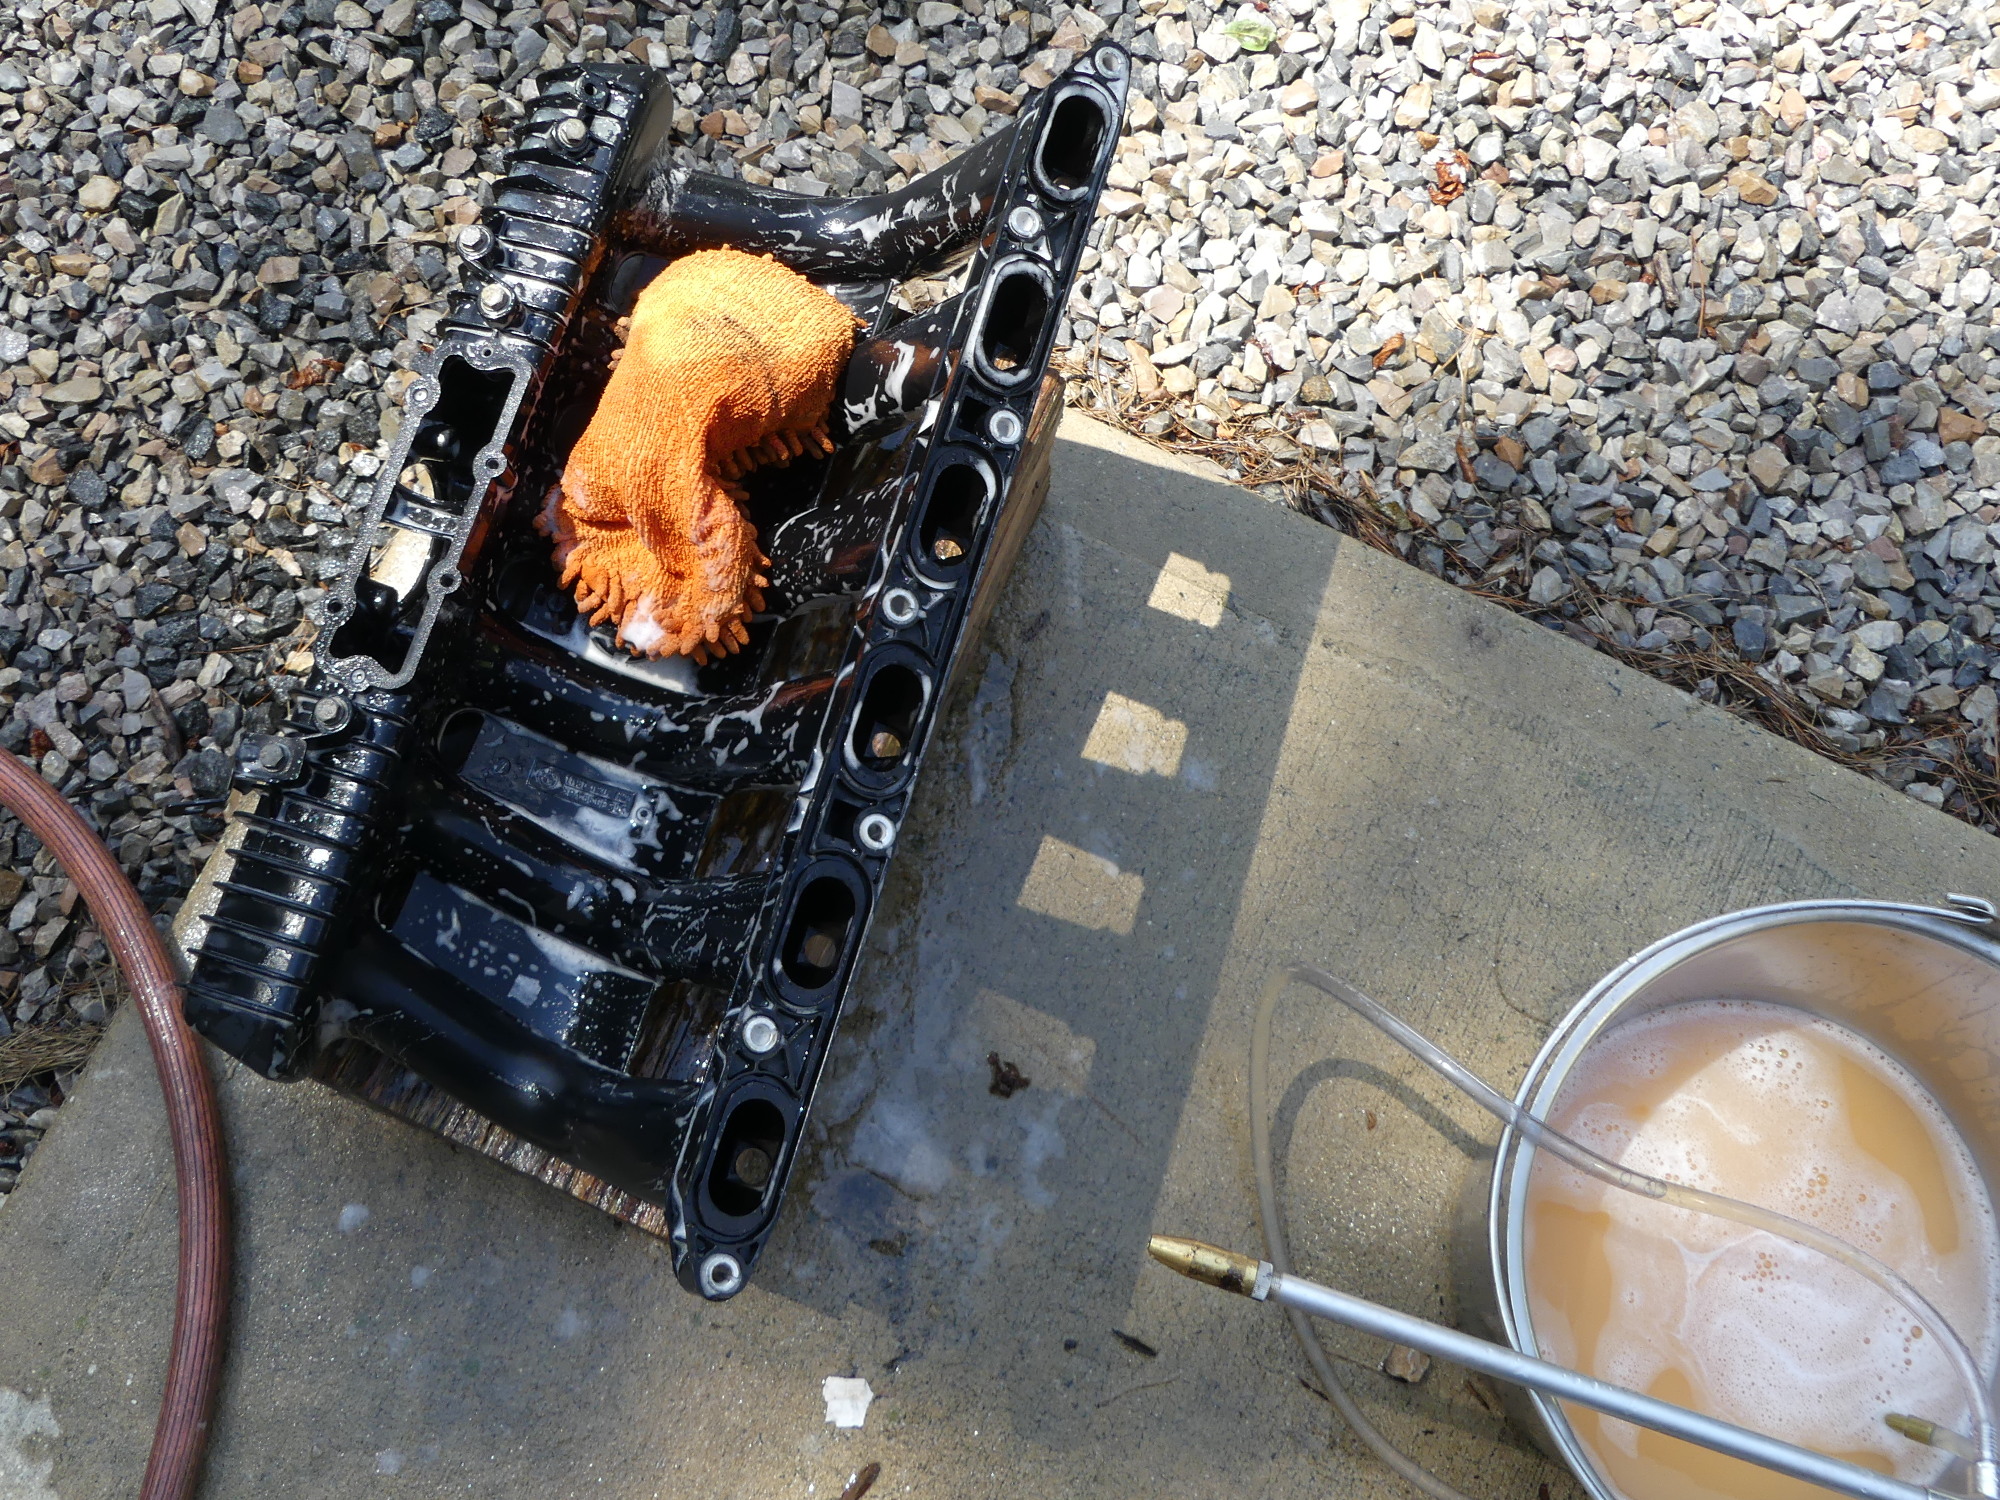 I cleaned the manifold using two techniques -- a simple sponge for the exterior and my syphon wand to inject a strong spray into the interior. A strong mix of water and ZEP degreasing fluid did a good job here. |
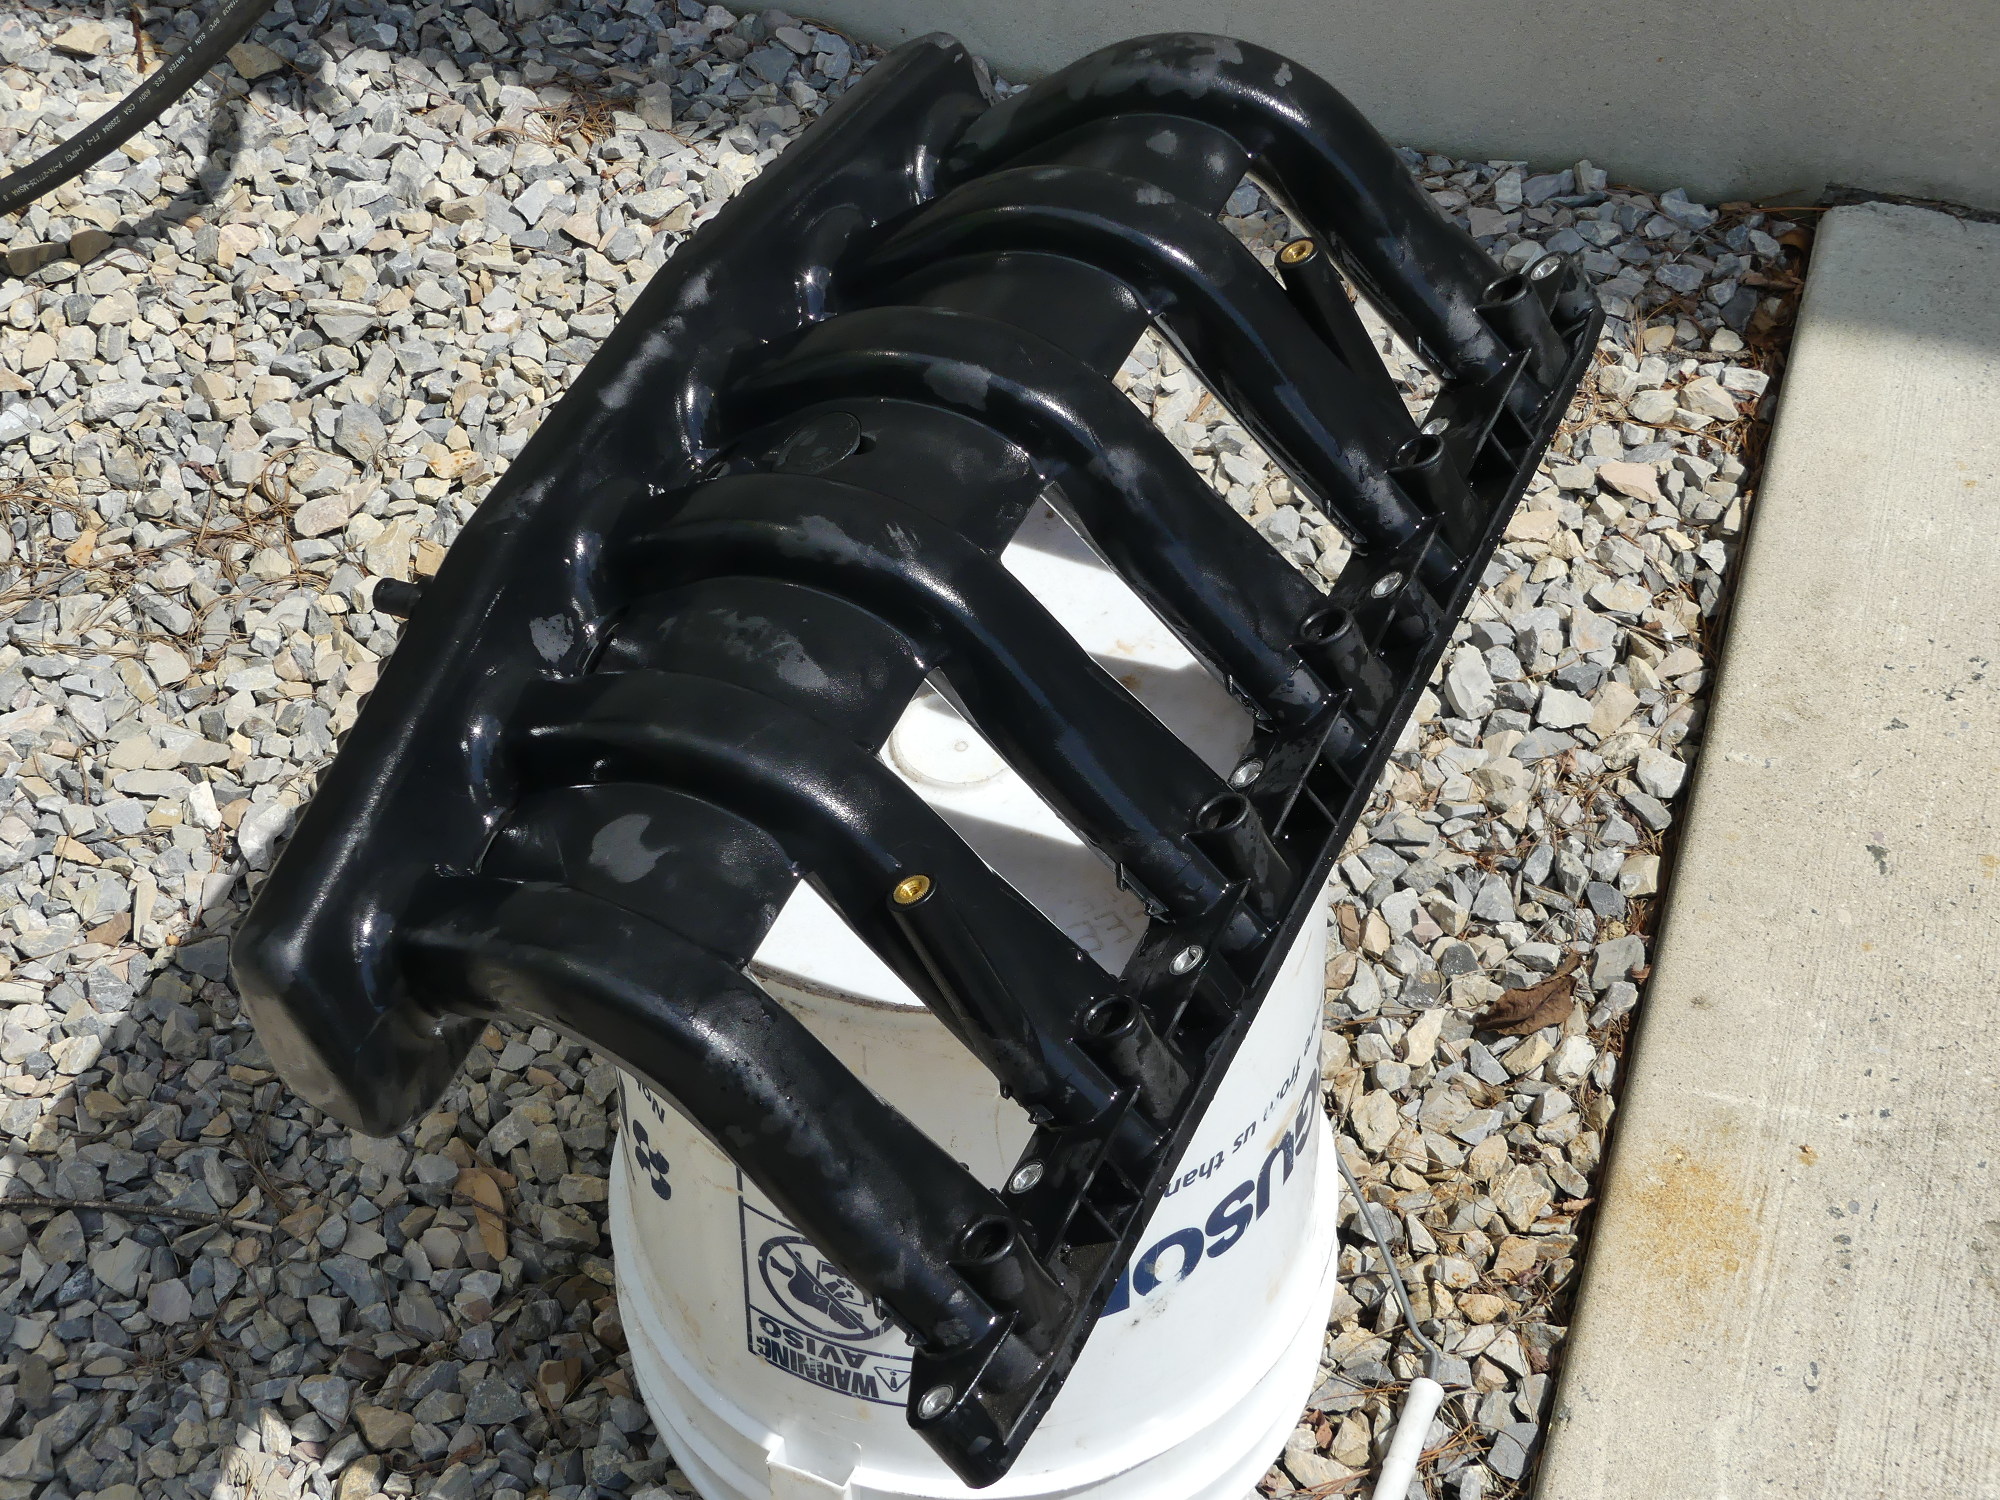 Shown here still wet, with bright sun and temps in the upper 80s, the manifold dried in a few minutes. The interior was nearly as dry a couple hours later. |
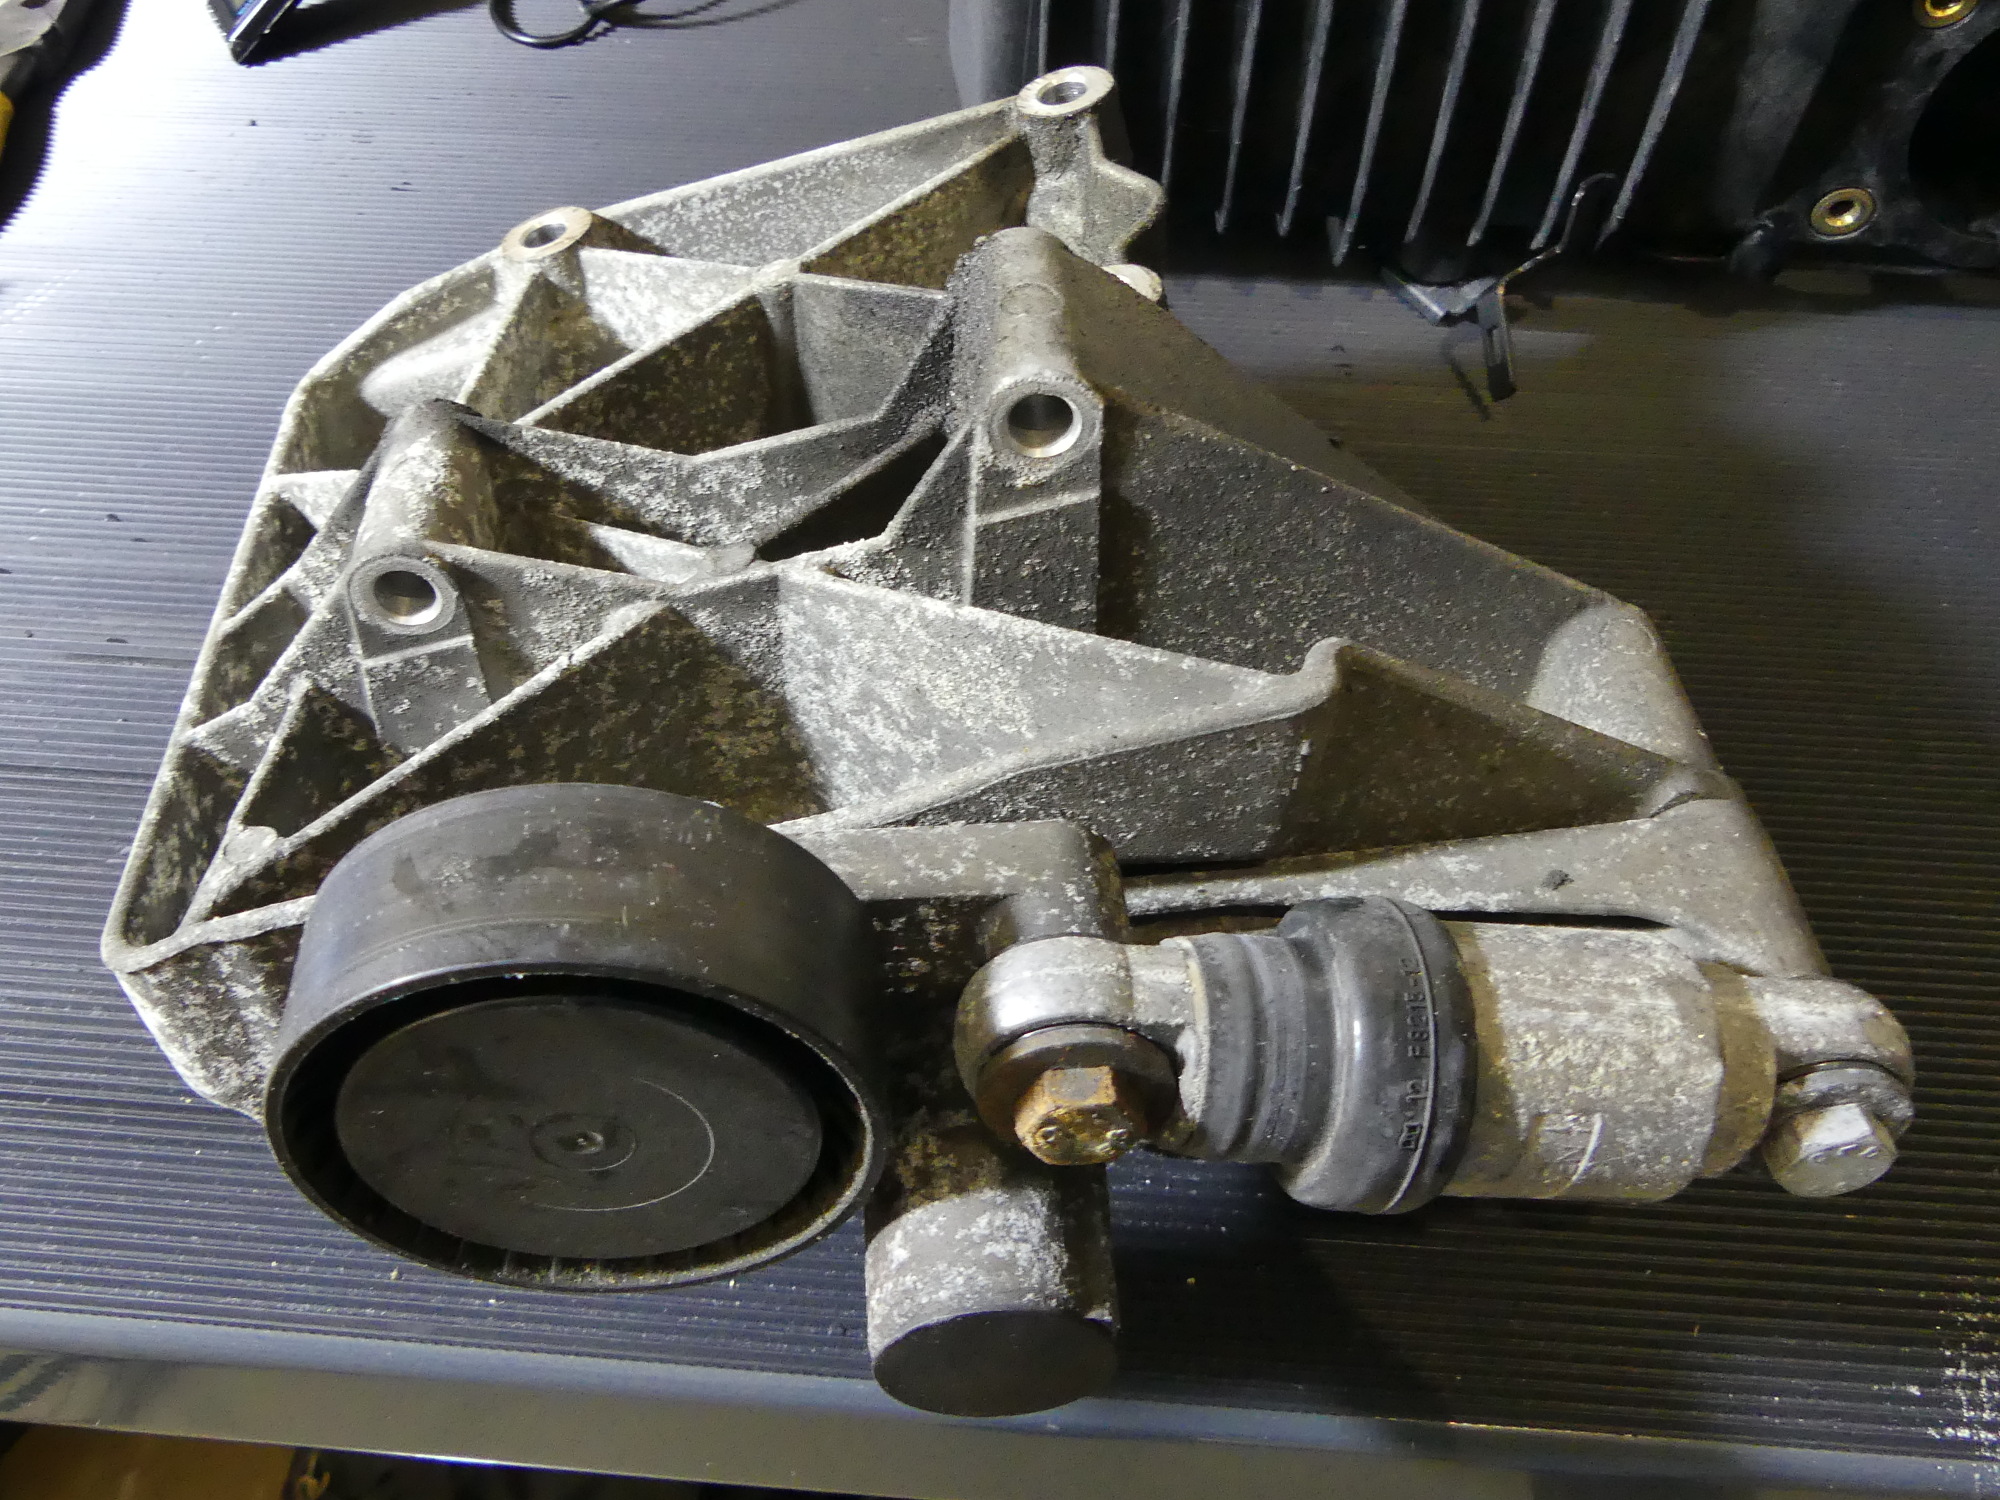 This is the bracket that is host to the A/C compressor and belt tensioner. I took the assembly apart and degreased it in prep for a meeting with some glass beads. |
I left the manifold outside in the sun to dry while I attended to other things.
Prepping the Fuel Rail
Many years ago I bought the special fuel line removal tool from Baum Tools for some project that I never wound up doing, so the tool remained in my toolbox. Without even trying to detach the lines I grabbed the tool from my garage, thinking it would finally come in handy. Turns out, it's not needed.
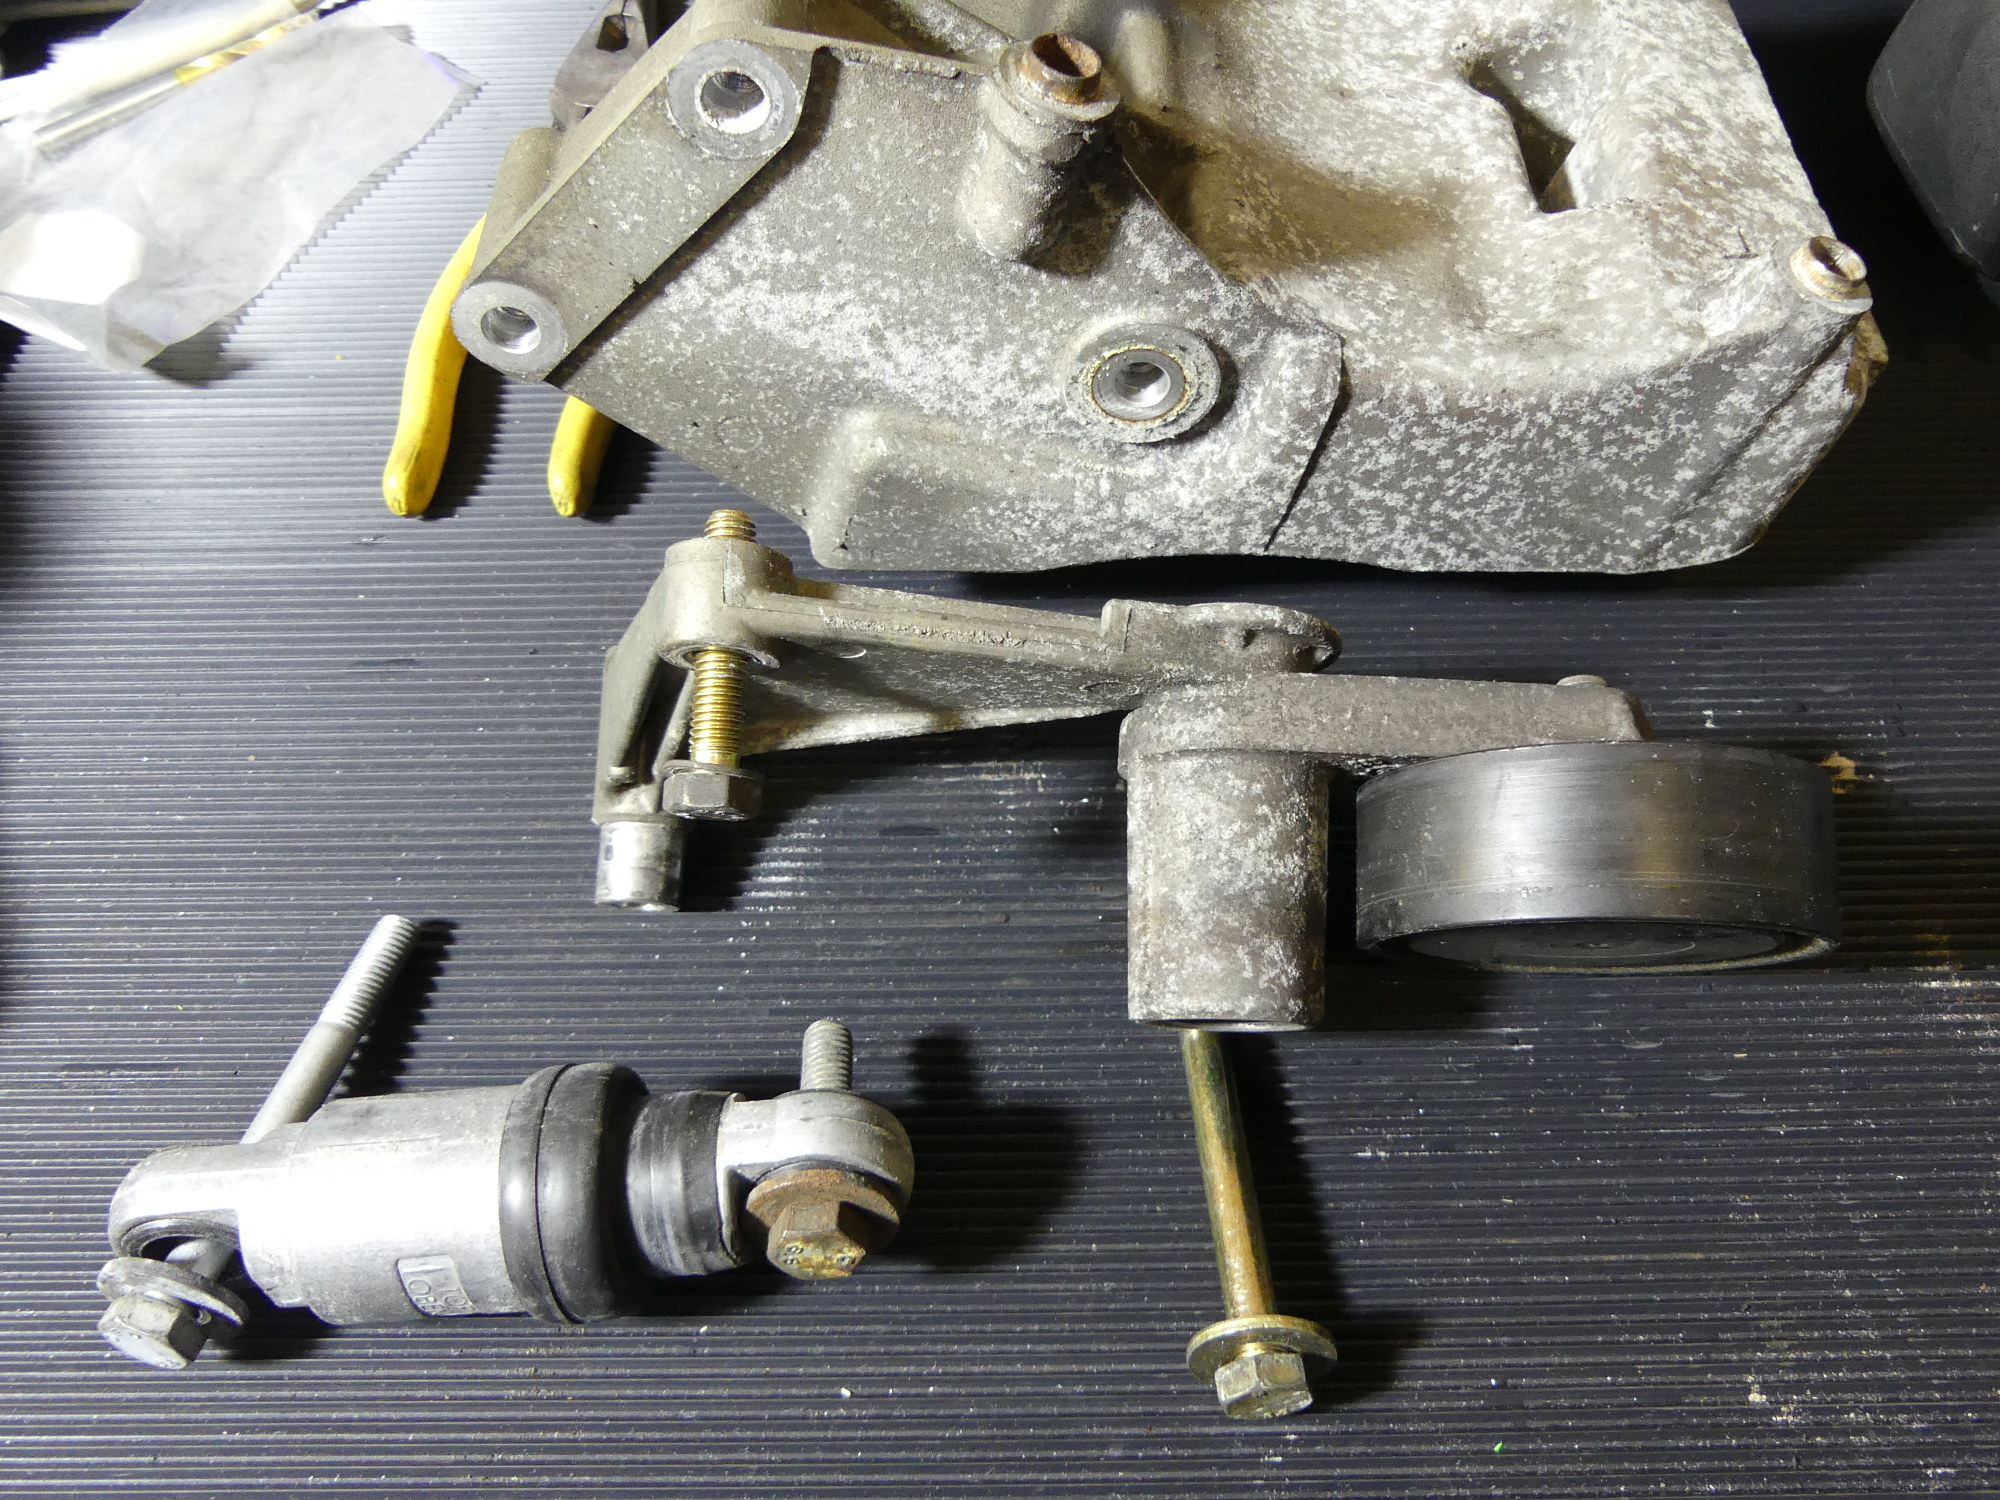 Although I do plan to glass bead the tensioner, I have taken special effort to seal the bearings so that they will not be contaminated during the blasting process. |
 I bought these intake manifold gaskets many years ago when I thought I might have to remove the manifold but never wound up using them...until today, that is. |
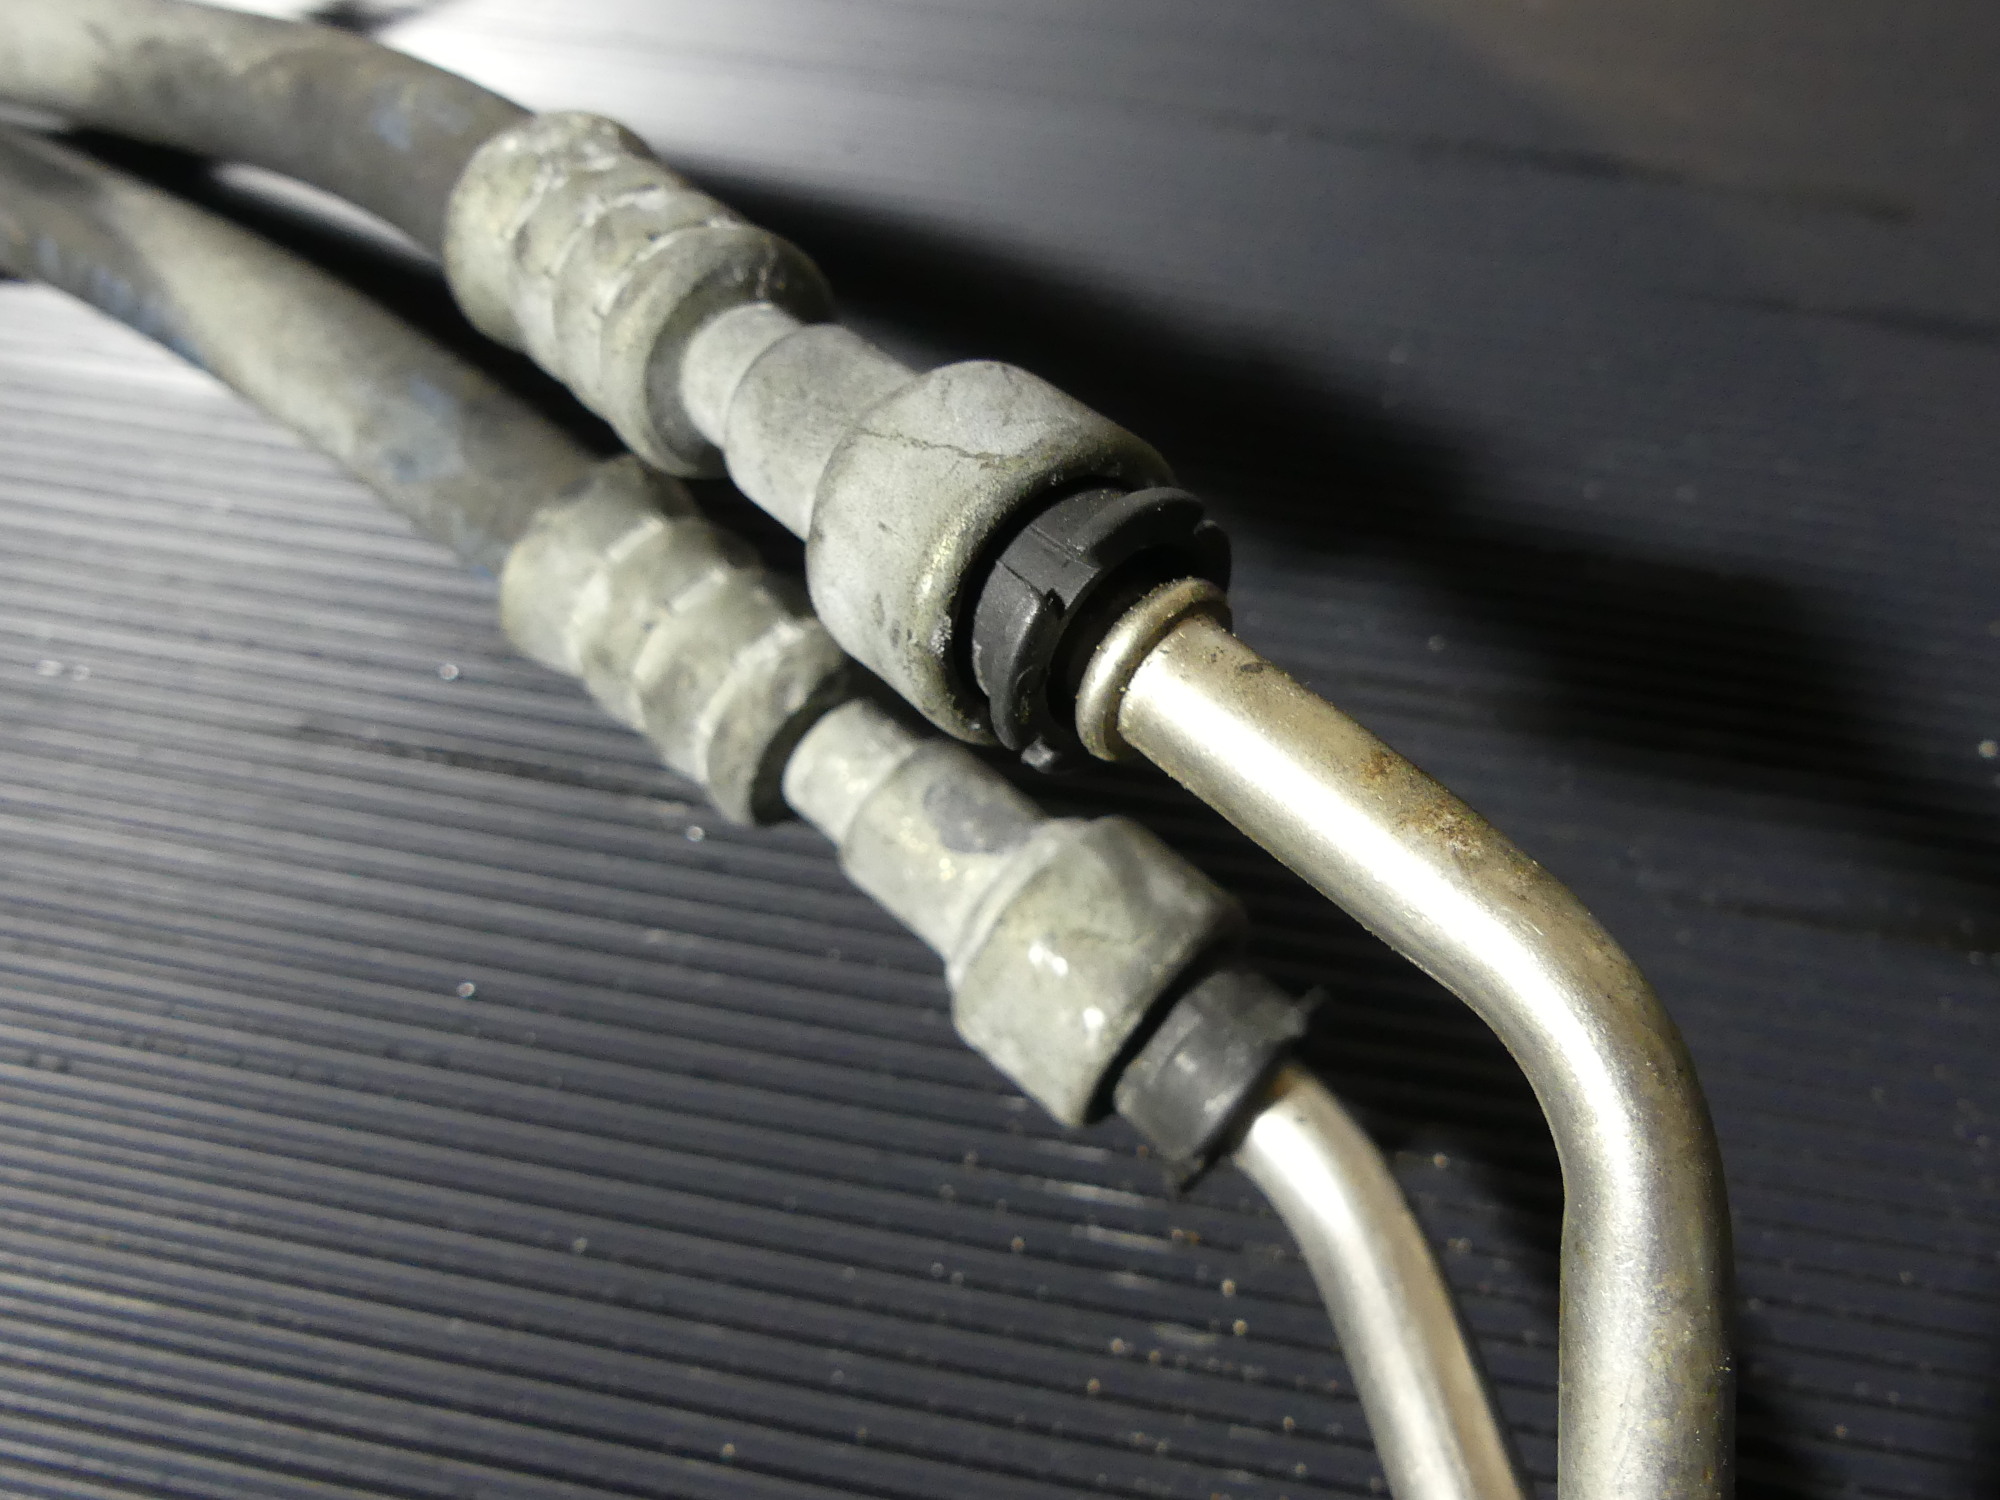
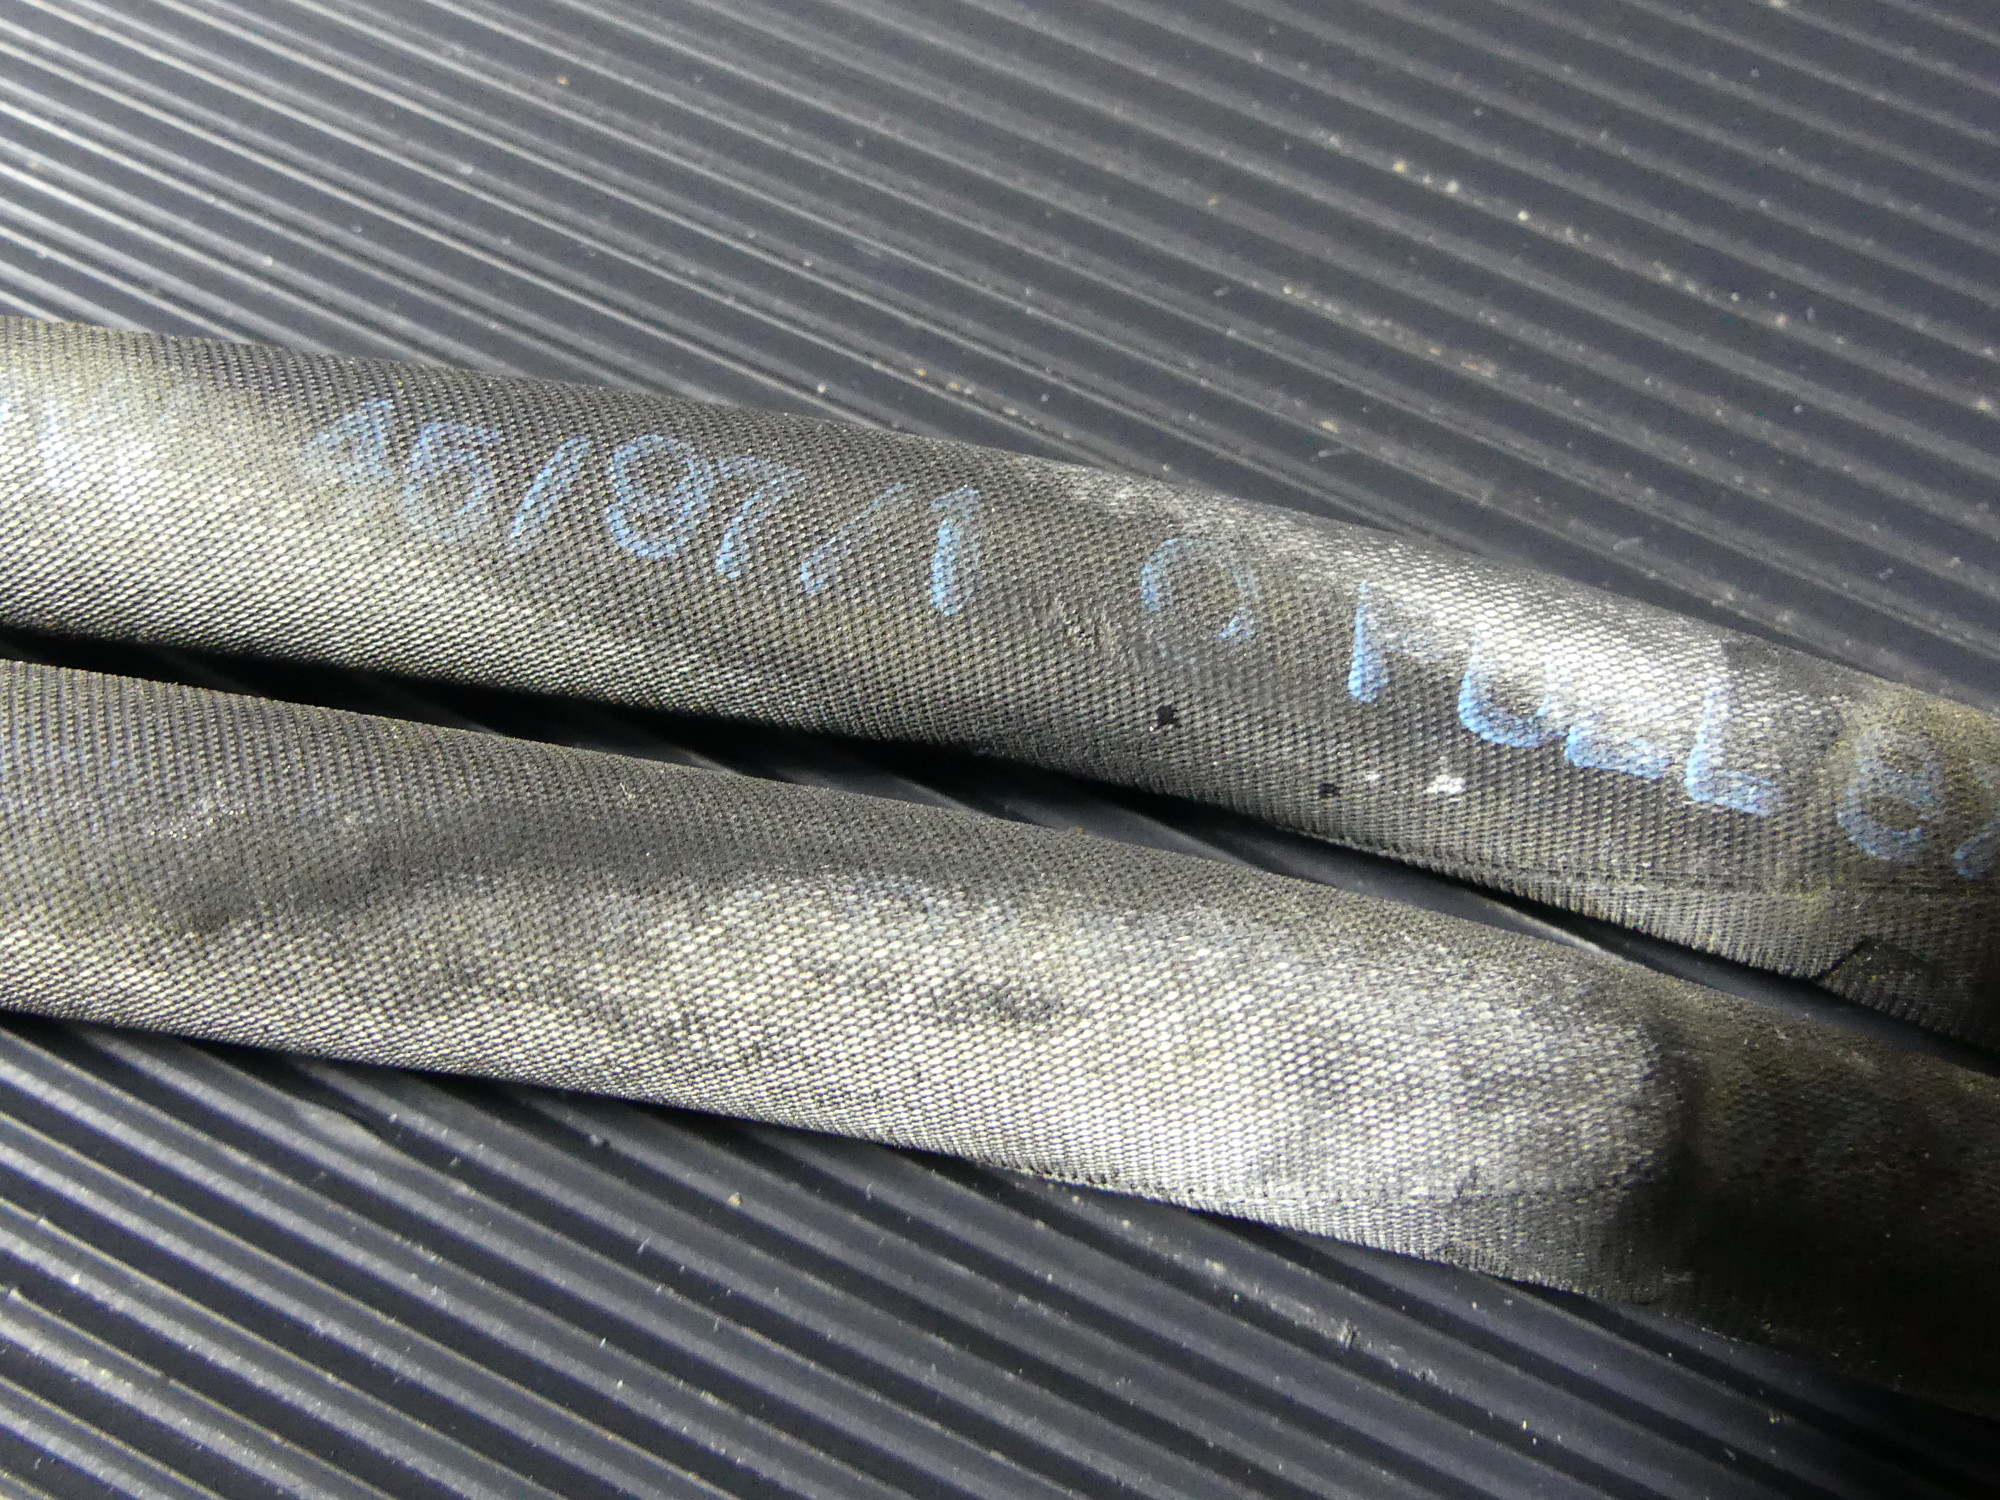
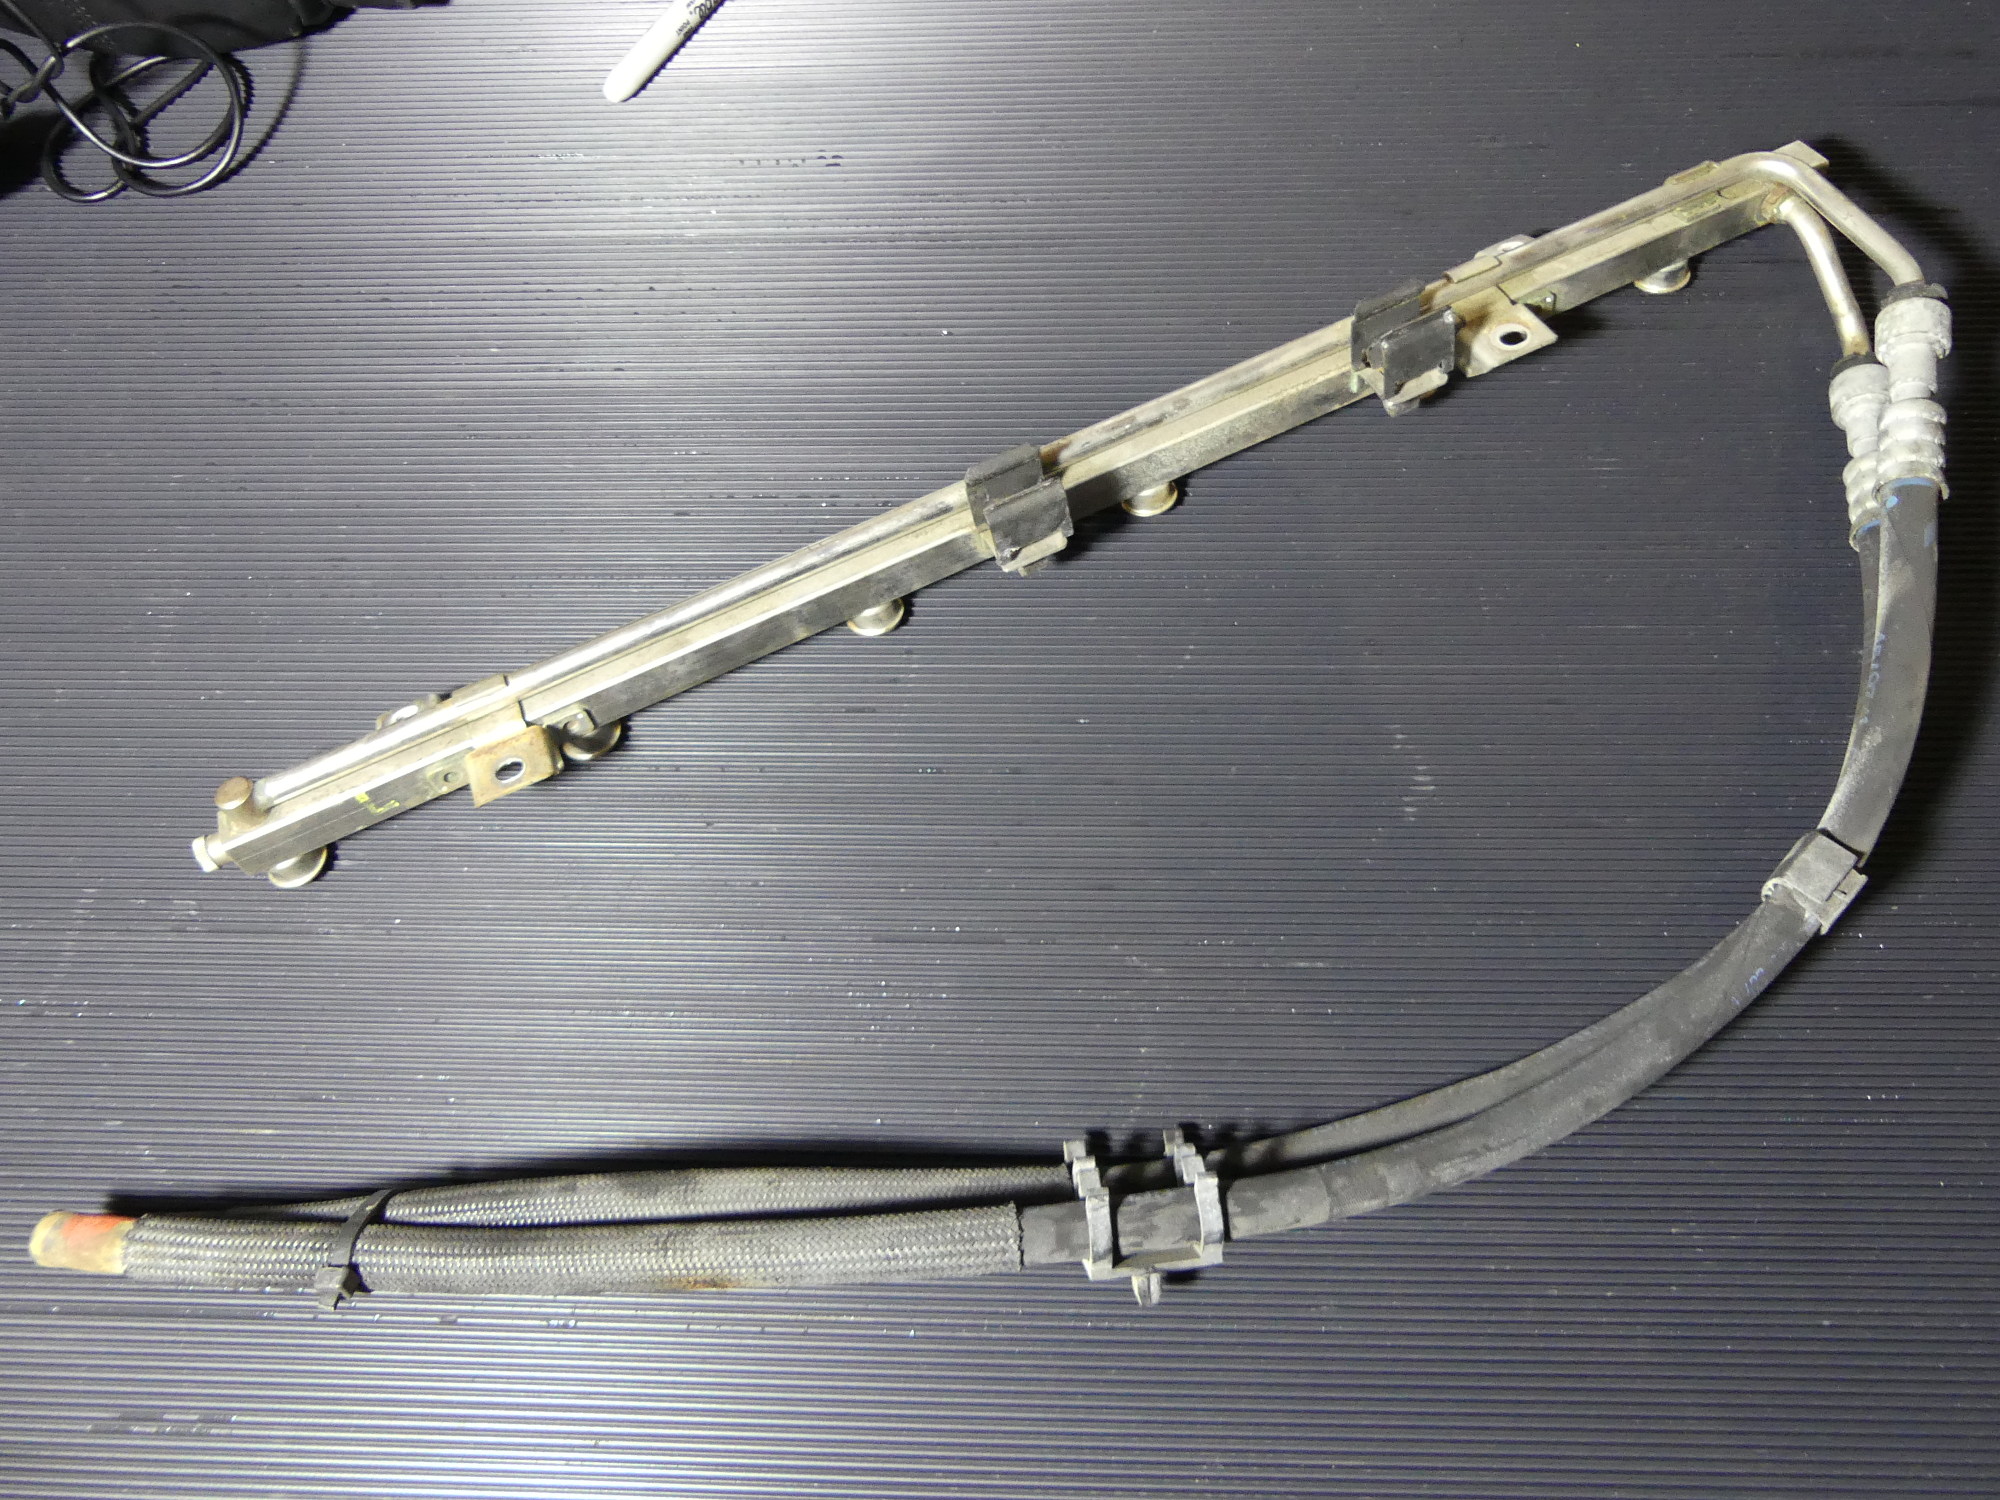 These lines have "gasoline fueled fire" written all over them. These are the lines I assumed would most likely be the source of a leak and a fire so they will be replaced 'tout de suite. |
After futzing with the lines for a couple moments I finally realized that to disconnect the lines all I had to do was push the black sleeve backward (away from the hard lines of the fuel rail) until its flange was nearly mated with its parent connector....and then pull the connector away from the hard line. I can see this being a bit of a pain in the ass with the lines installed under the intake manifold, but on the bench it was quite simple. Needless to say, I put the special tool back in my toolbox, unused, where it will probably live for another 10+ years before it sees the light of day.
I noticed that the fuel rail was a bit dirty with a stubborn grime that didn't seem to come off when rubbed with a towel so I walked it over to my wash basin and used a stiff brush and some mineral spirits to clean it up. That worked like a charm and the rail now looks almost brand new.
Installing the Injectors
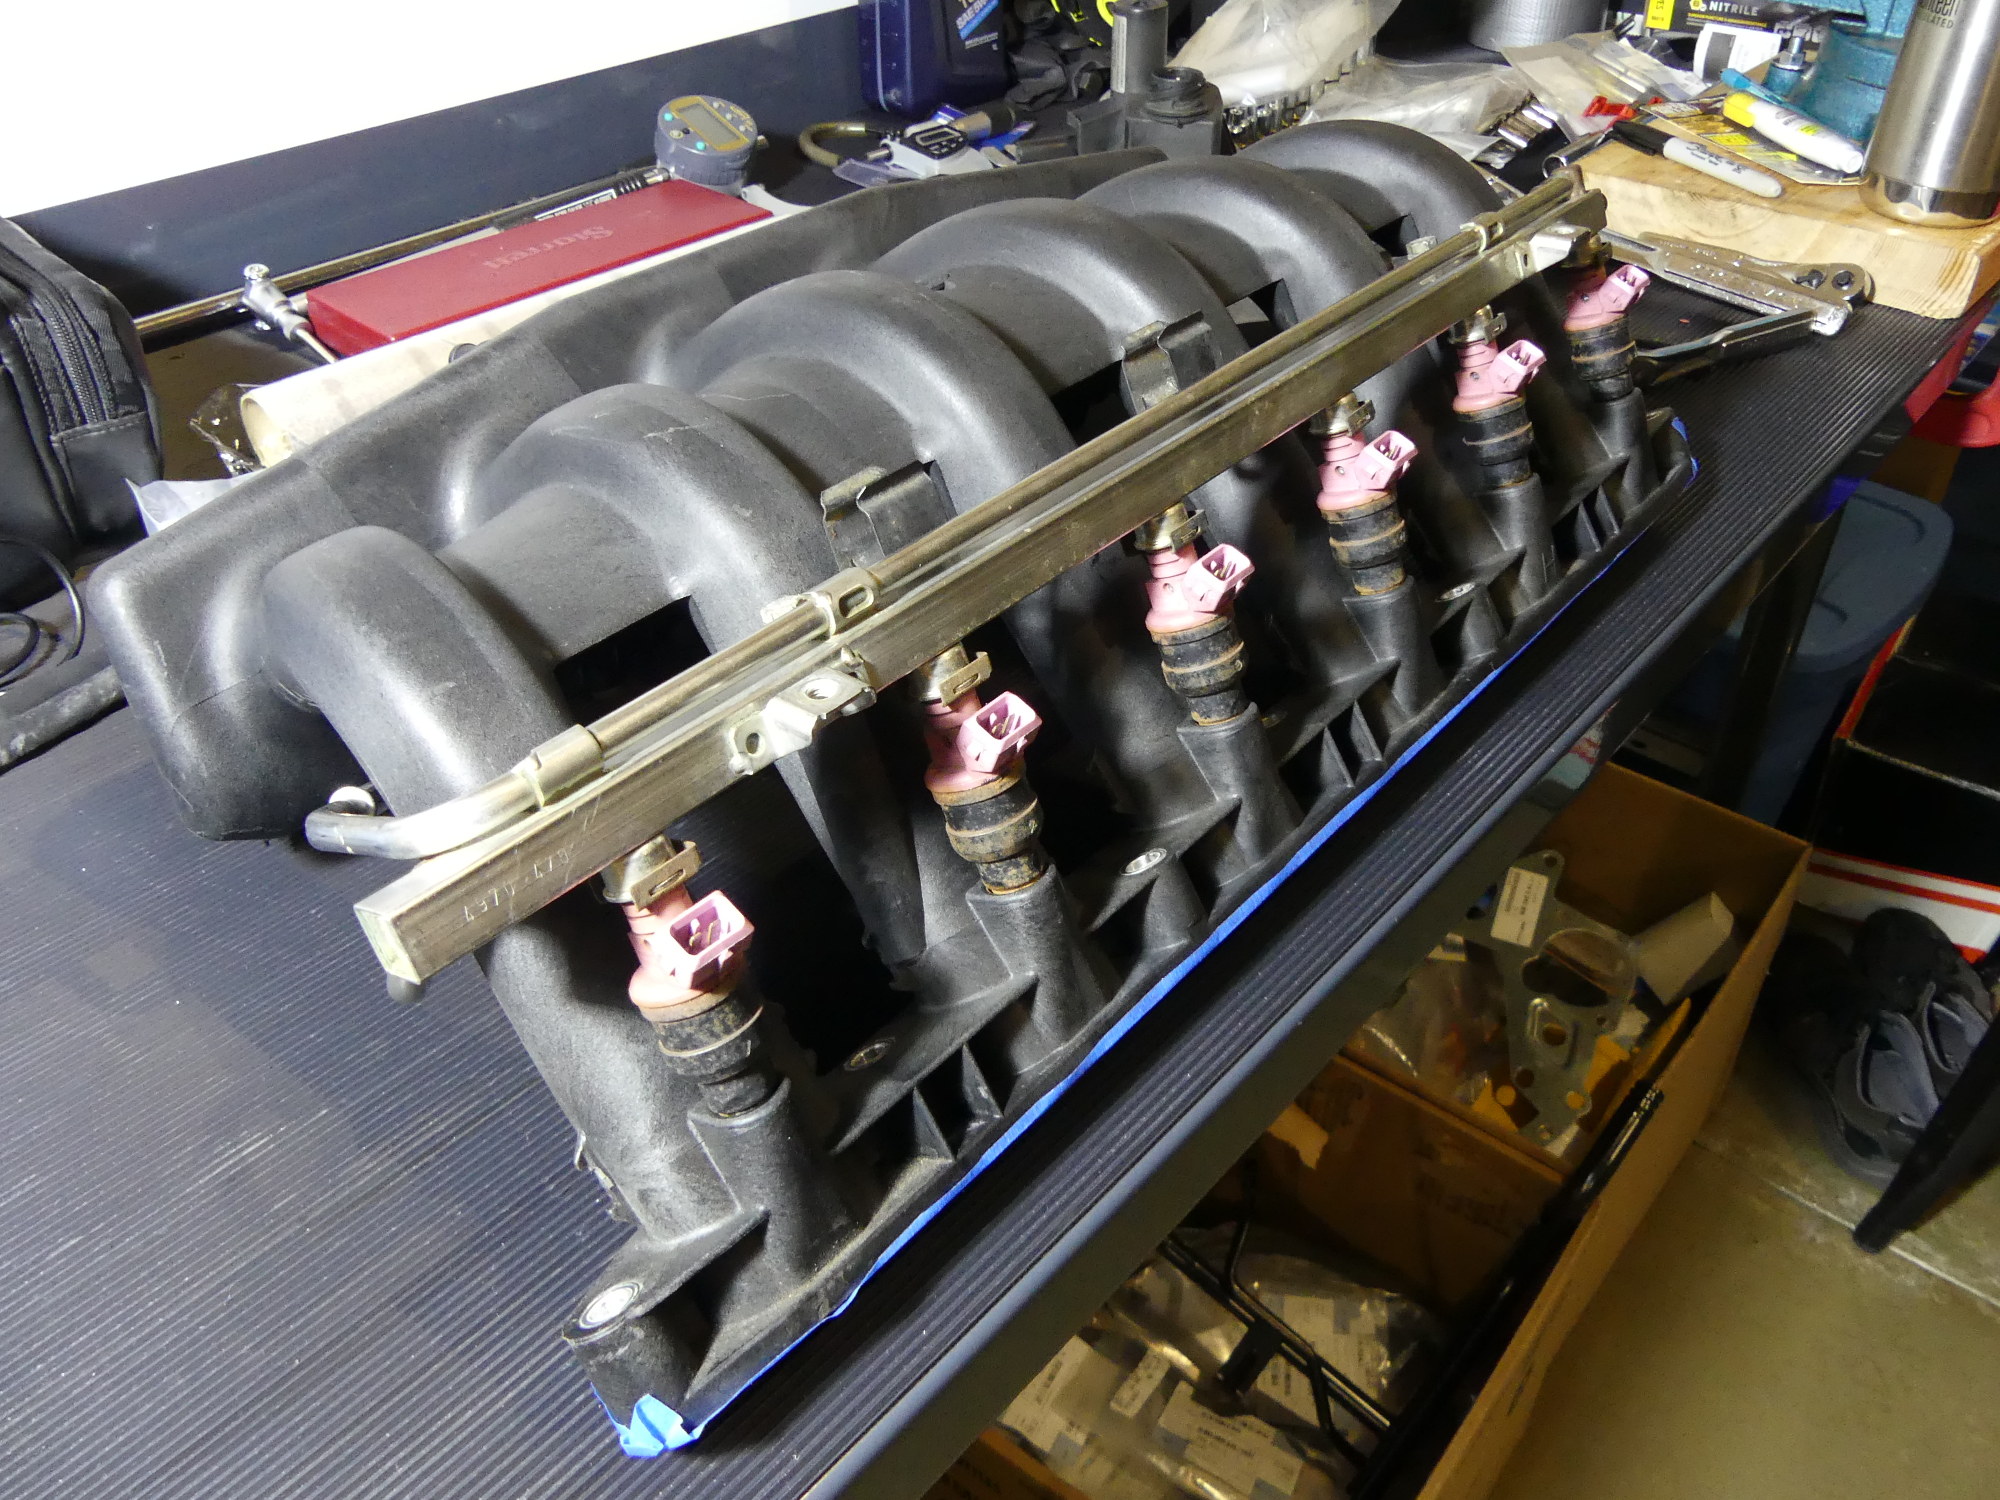
I read somewhere that it was a good idea to place an extremely small amount of silicone paste lube on the o-rings before mating the injectors with either the manifold or the fuel rail. So I naturally put a bit of the lube on a blue towel and then put an extremely small amount of that on the tip of my finger, wiped my finger on the towel to leave behind nothing more than a thin residue, and then transferred that to the bottom o-ring of each injector before inserting it into the manifold.
 Removing these connectors is easier than it looks and the process does not require the special tool. All you do is press in those black plastic pieces and pull the hose free. Installation is even easier -- they just click into place. |
 Proof positive that these are the original fuel lines on the car. The date code showing production in the 45th week of 1997. BMW makes high quality fuel line, but at this point I don't trust these lines. |
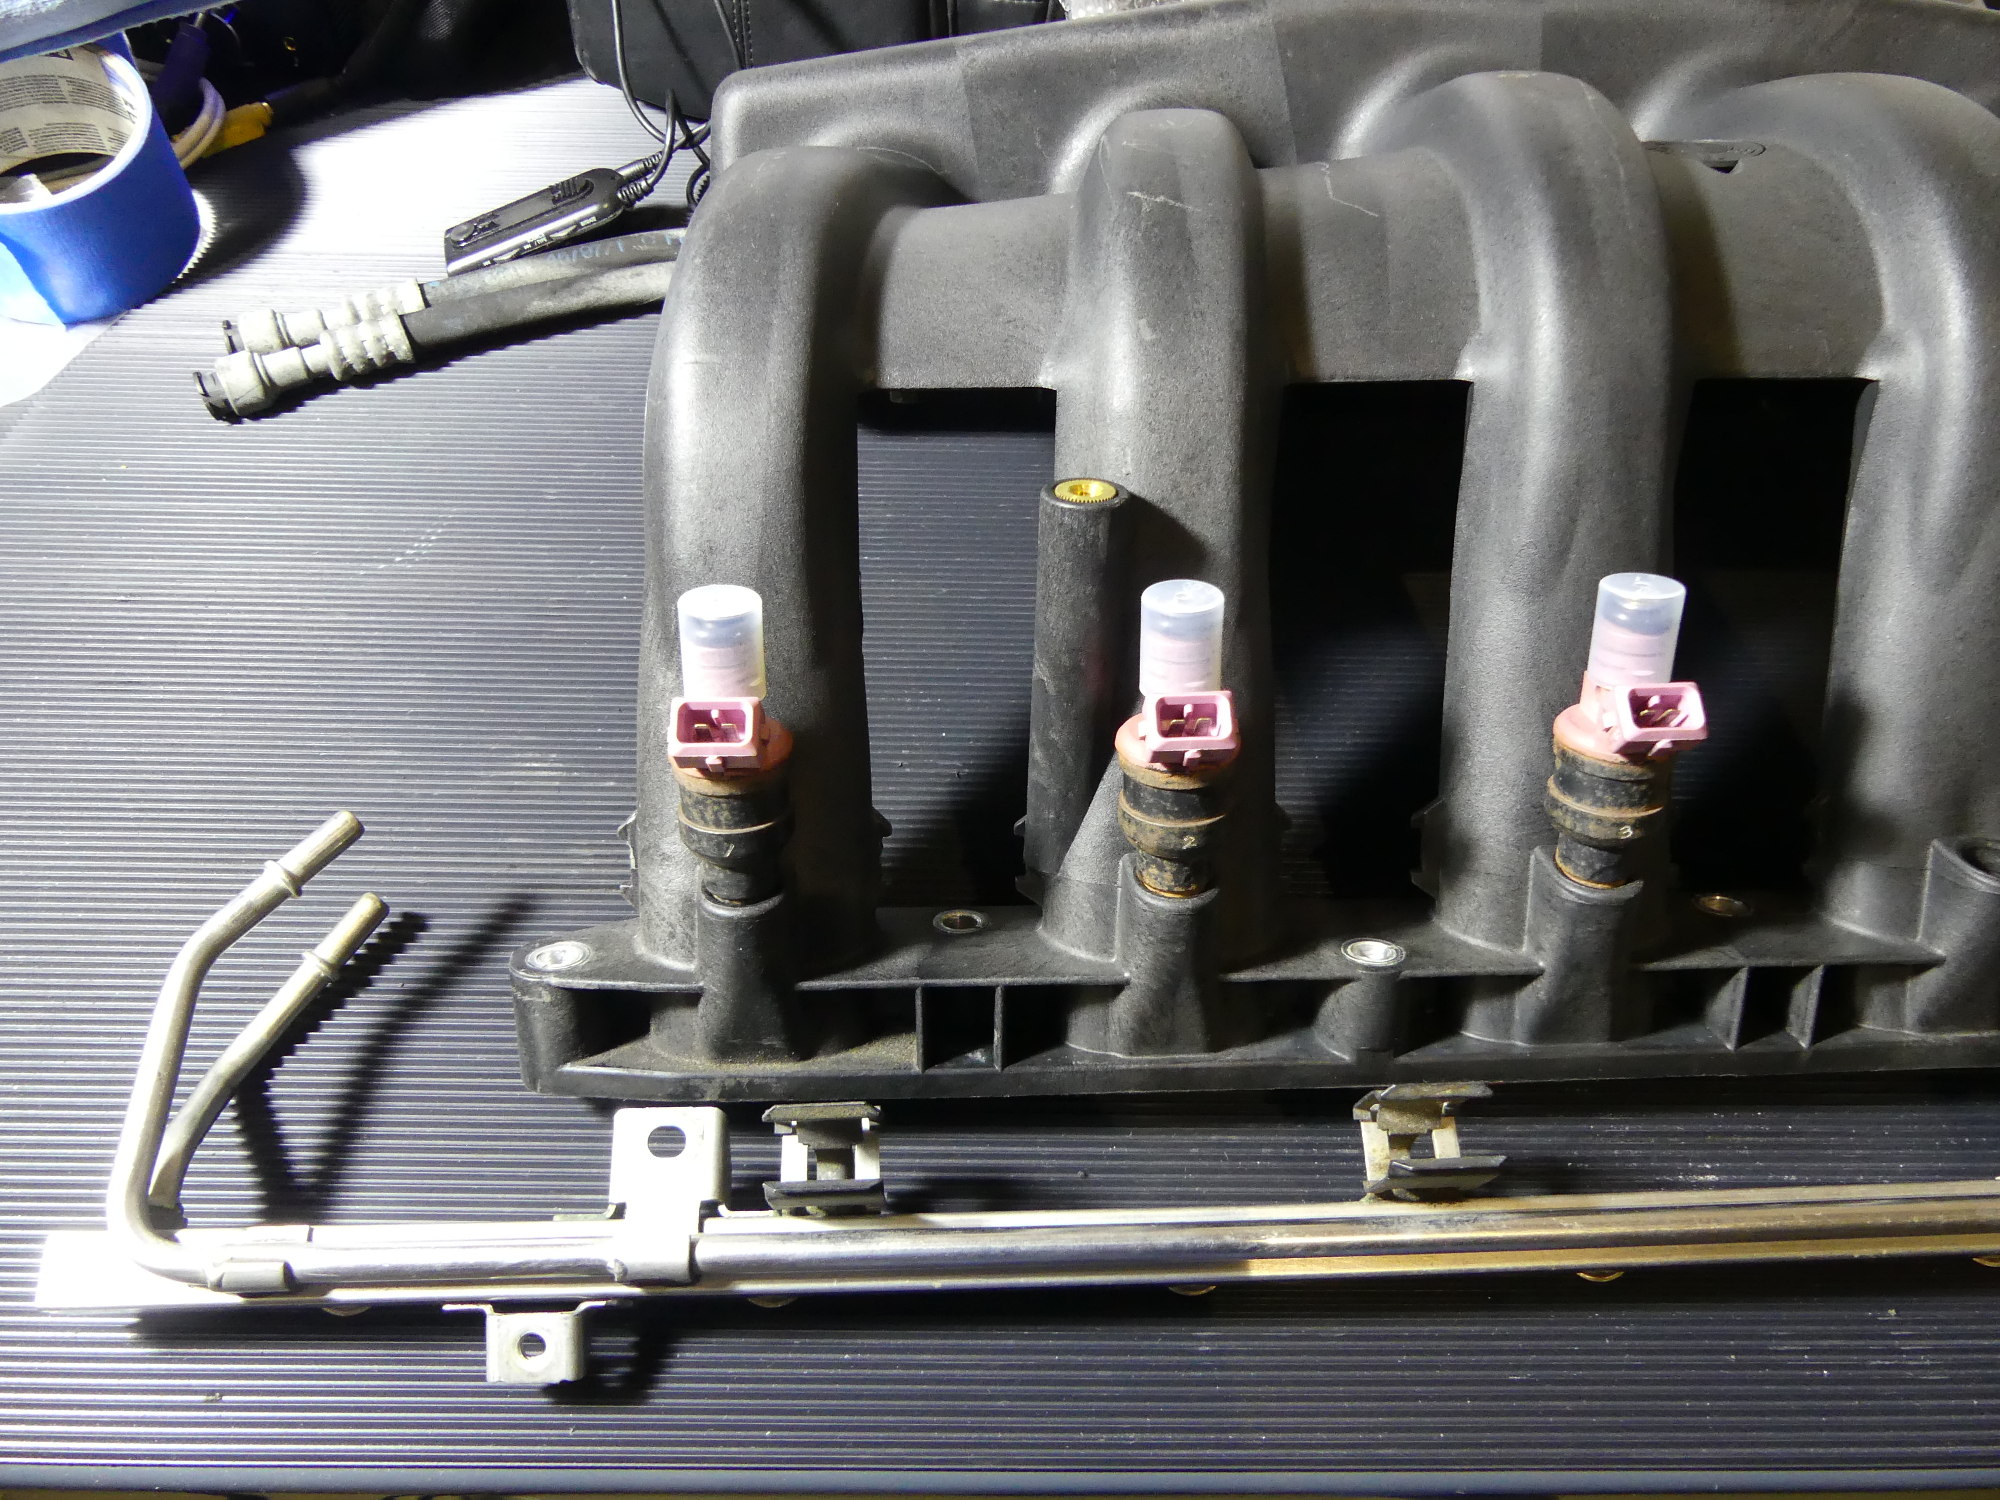 With the manifold clean and dry I'm back at it, installing each injector in prep for mating the fuel rail to the top of them. A touch of 3m silicone paste lube on each o-ring assists installation. |
As each injector seated, I pressed down and rotated it slightly (perhaps 10 degrees either side) before returning to the installed orientation with electrical connectors perpendicular to the fuel rail. This assured that the o-ring and injector in general were fully and properly seated. With that complete I repeated the process for the connections to the fuel rail. I simply removed the protective caps from all the injectors, applied some lube to the o-rings, and mated the fuel rail to the injectors.
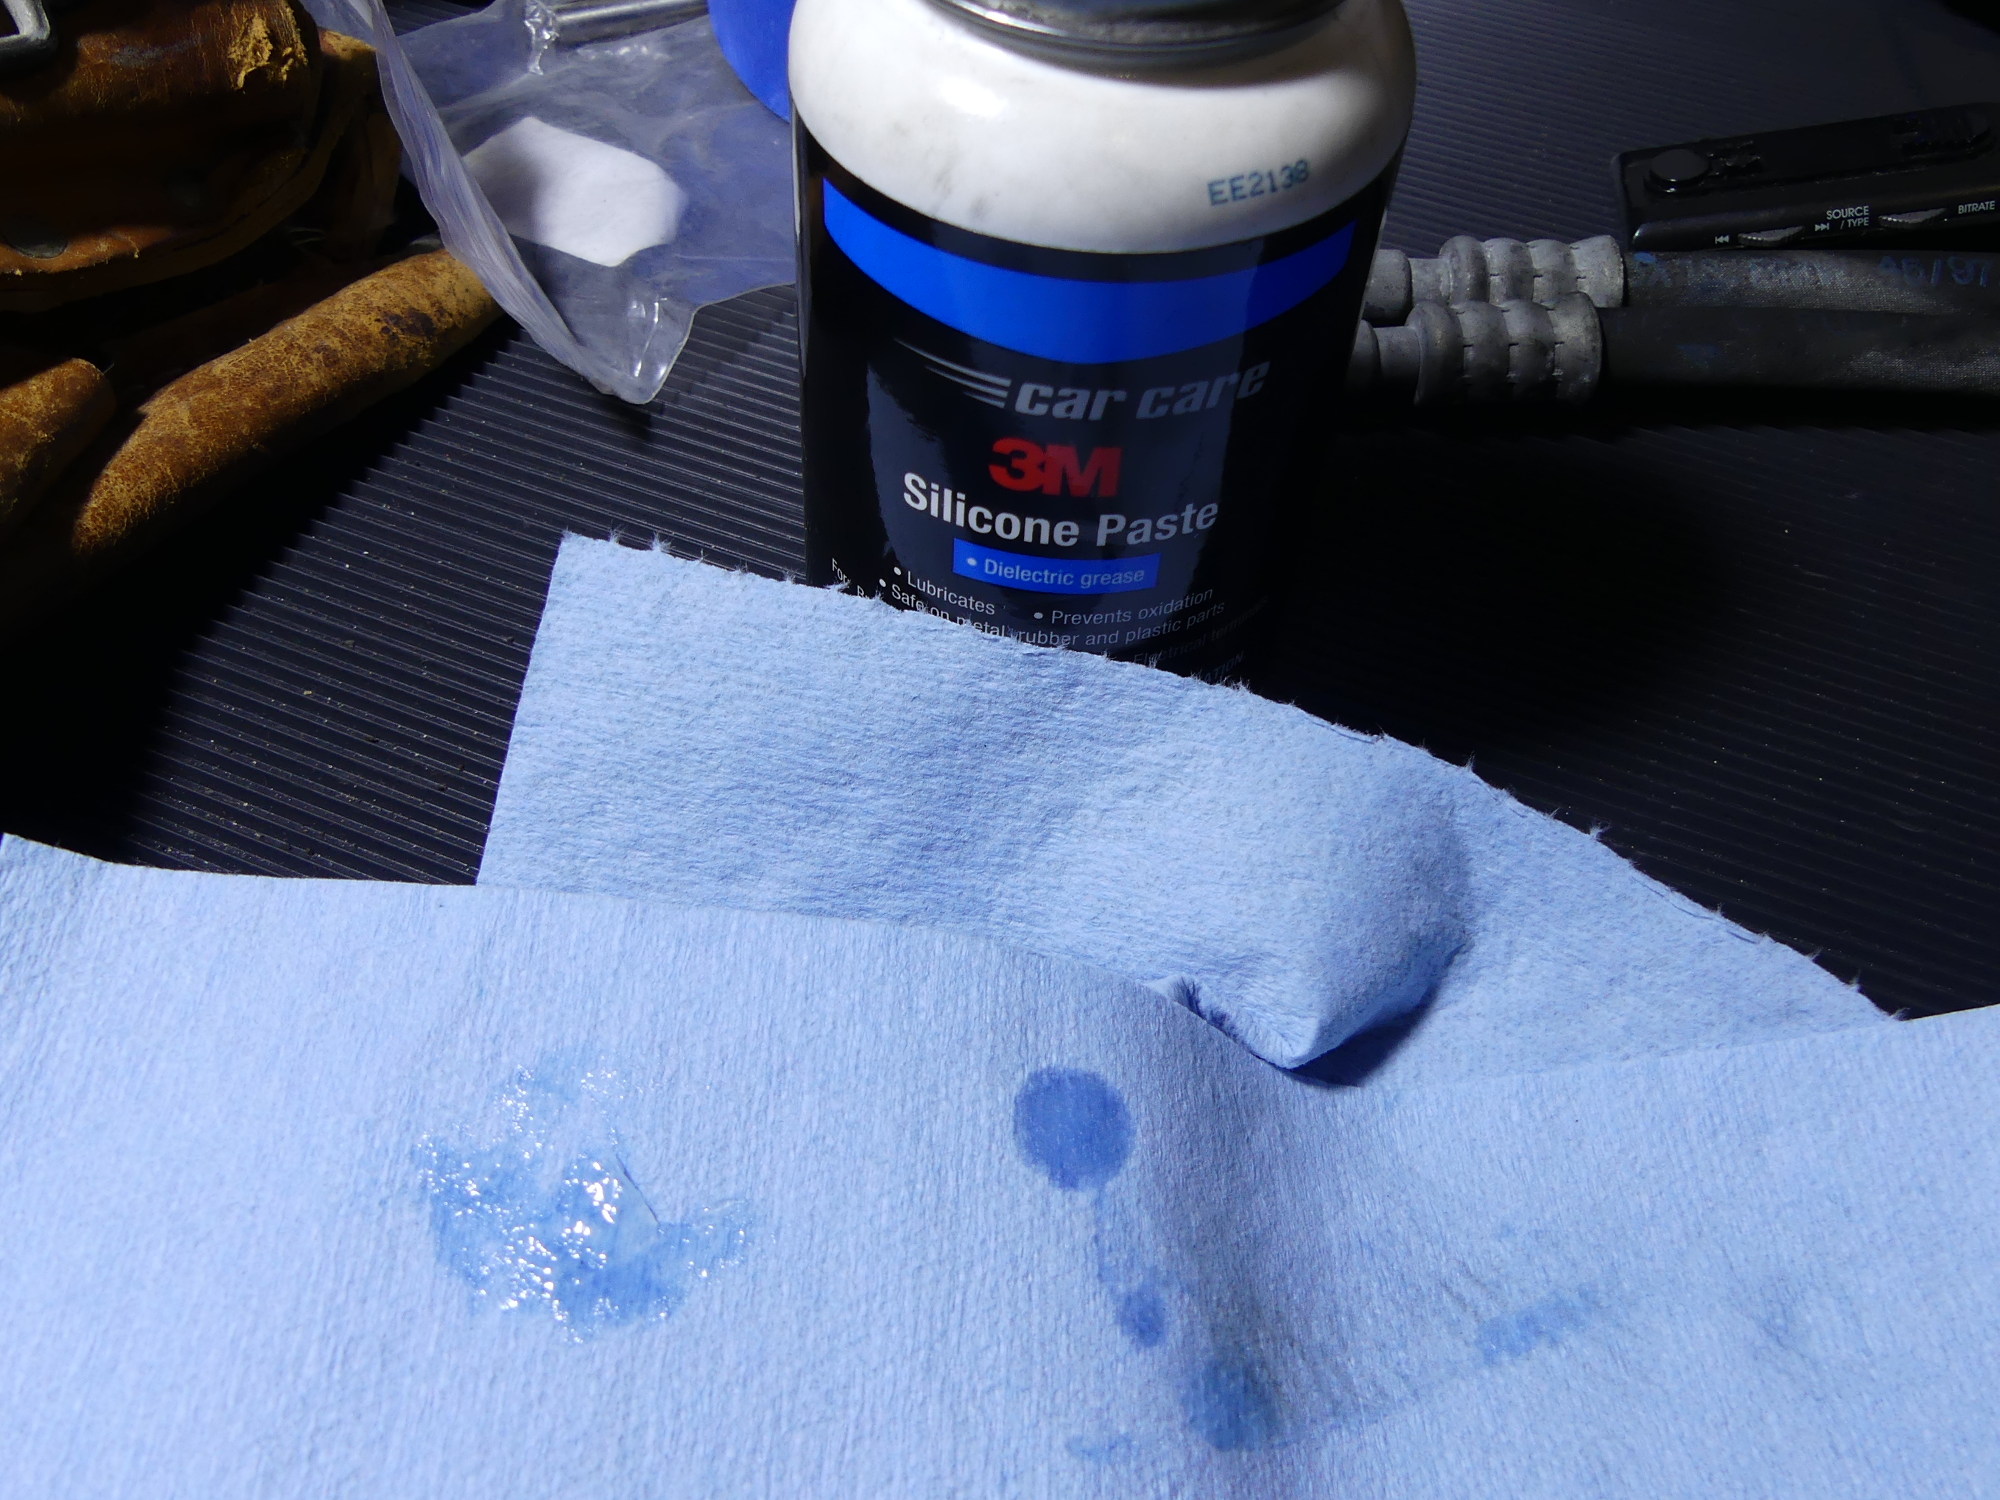 My technique to apply the paste involved using the huge brush to apply a bit to the towel so I could slide my finger through the stuff to pick up just enough to lightly wet the o-rings. A little goes a very long way here. |
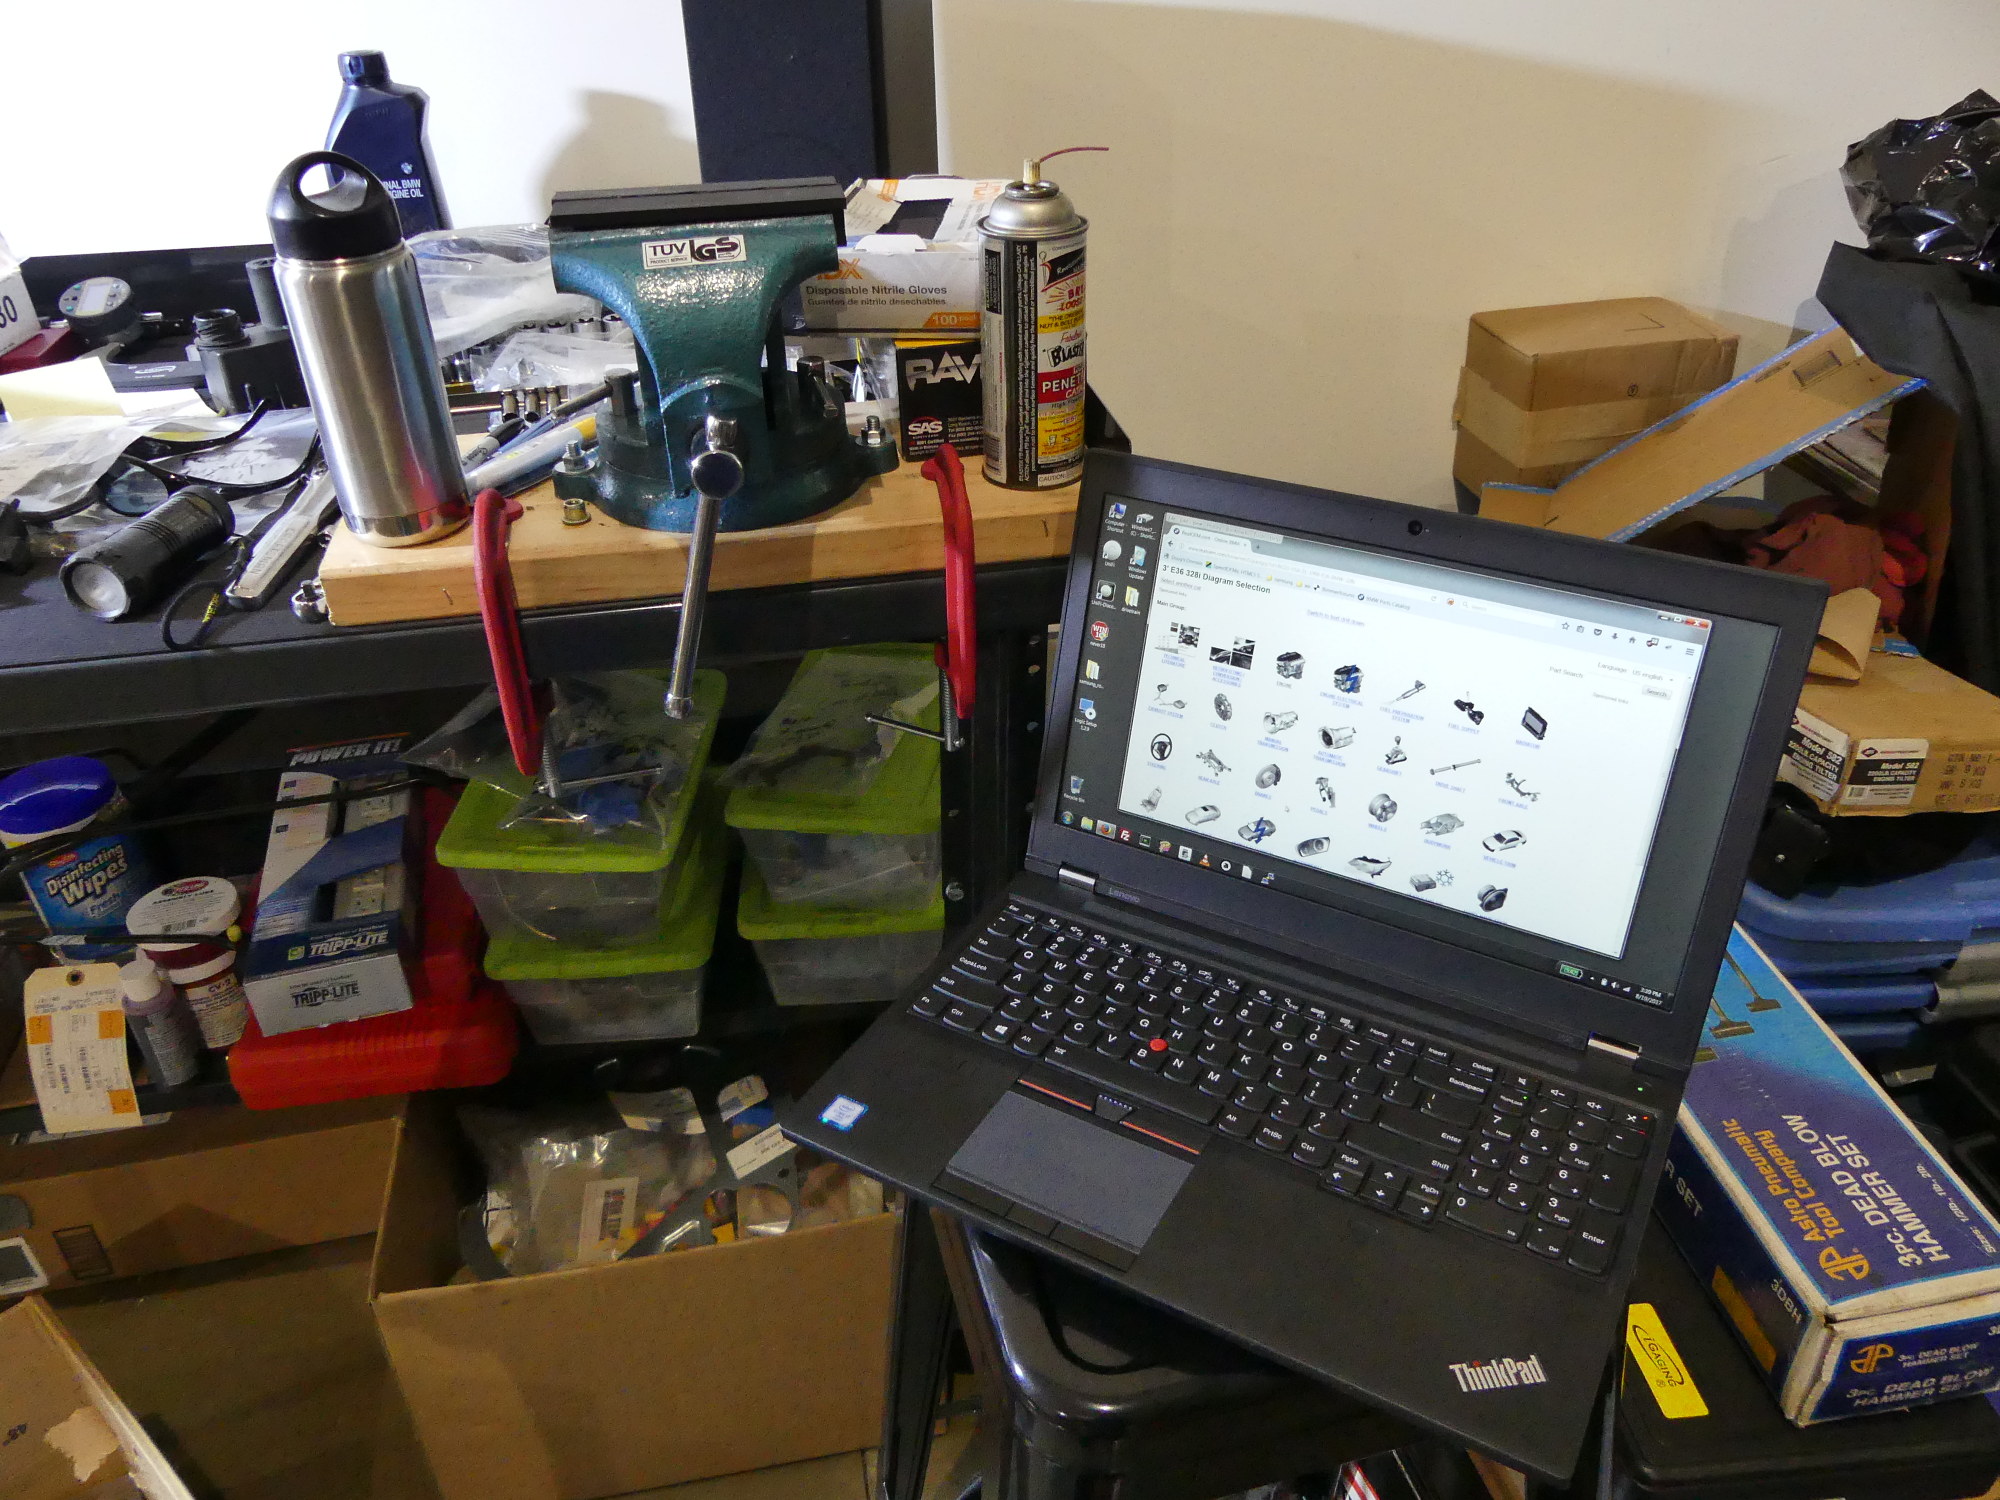 My brother recently installed WiFi in the garage and it's coming in handy here with my laptop browsing realoem.com to check a part number, since all the vacuum hoses look alike! |
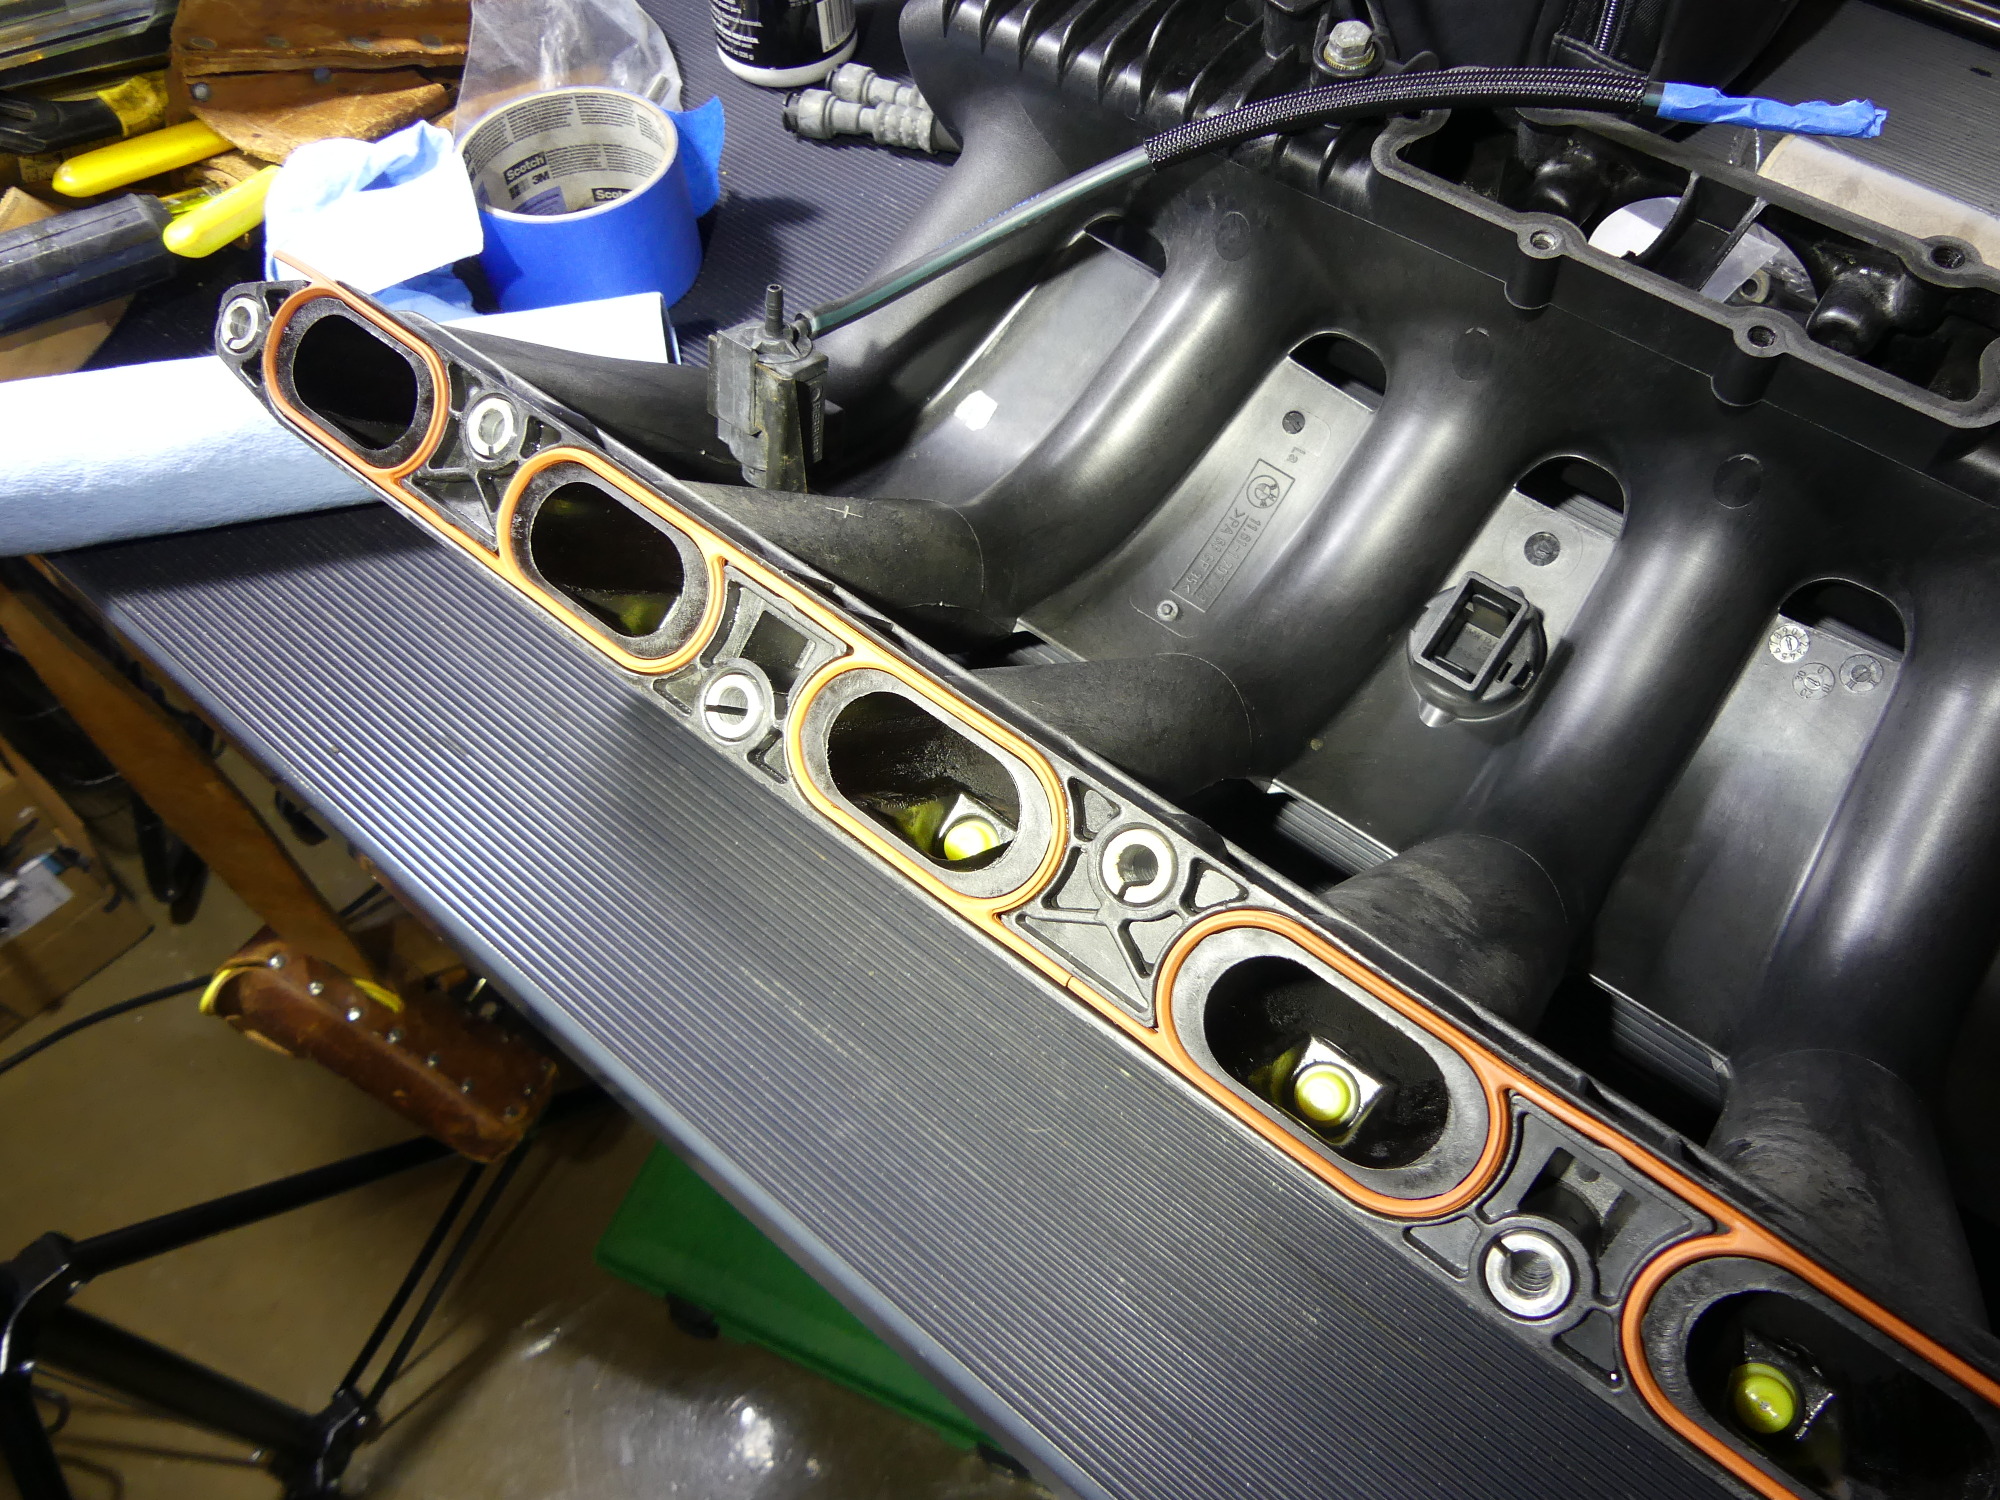 A glamour shot of the manifold showing the cleaned intake runners, new silicone gaskets, yellow pintle caps on the reconditioned injectors, and the new vacuum hose installed on the solenoid. |
This all went together a lot easier than it came apart -- thanks to the silicone paste lube -- but I do want to emphasize how little of this stuff I used. It was only enough to make the o-ring appear slightly wet. It was not obvious, overflowing or filling in the gap around the o-ring. Very little goes a very long way here.
Vacuum Line Preparation
Before I could install both screws that fix the rail to the manifold I had to find and install the small bracket which holds an vacuum valve solenoid. Attached to this valve I found a piece of vacuum hose that had seen better days. It was permanently bent near the valve due to position and time in service. As I inspected the line and bent it a bit more I saw several small holes open up in the line. While the removal likely stressed the line it's hard to believe it wasn't leaking before then, and so this may be the source of the vacuum leaks that I recently concluded may have been the cause of my lower-than-normal idle RPM the last few years. If anything, I think this is proof positive that these vacuum lines have a lifespan of no more than 10-15 years, particularly if they are close to any heat source.
 Finished for now. The manifold is cleaned inside and out, the injectors are installed and the fuel rail is secured to the manifold. I'll let my mechanic reinstall the electrical connectors. |
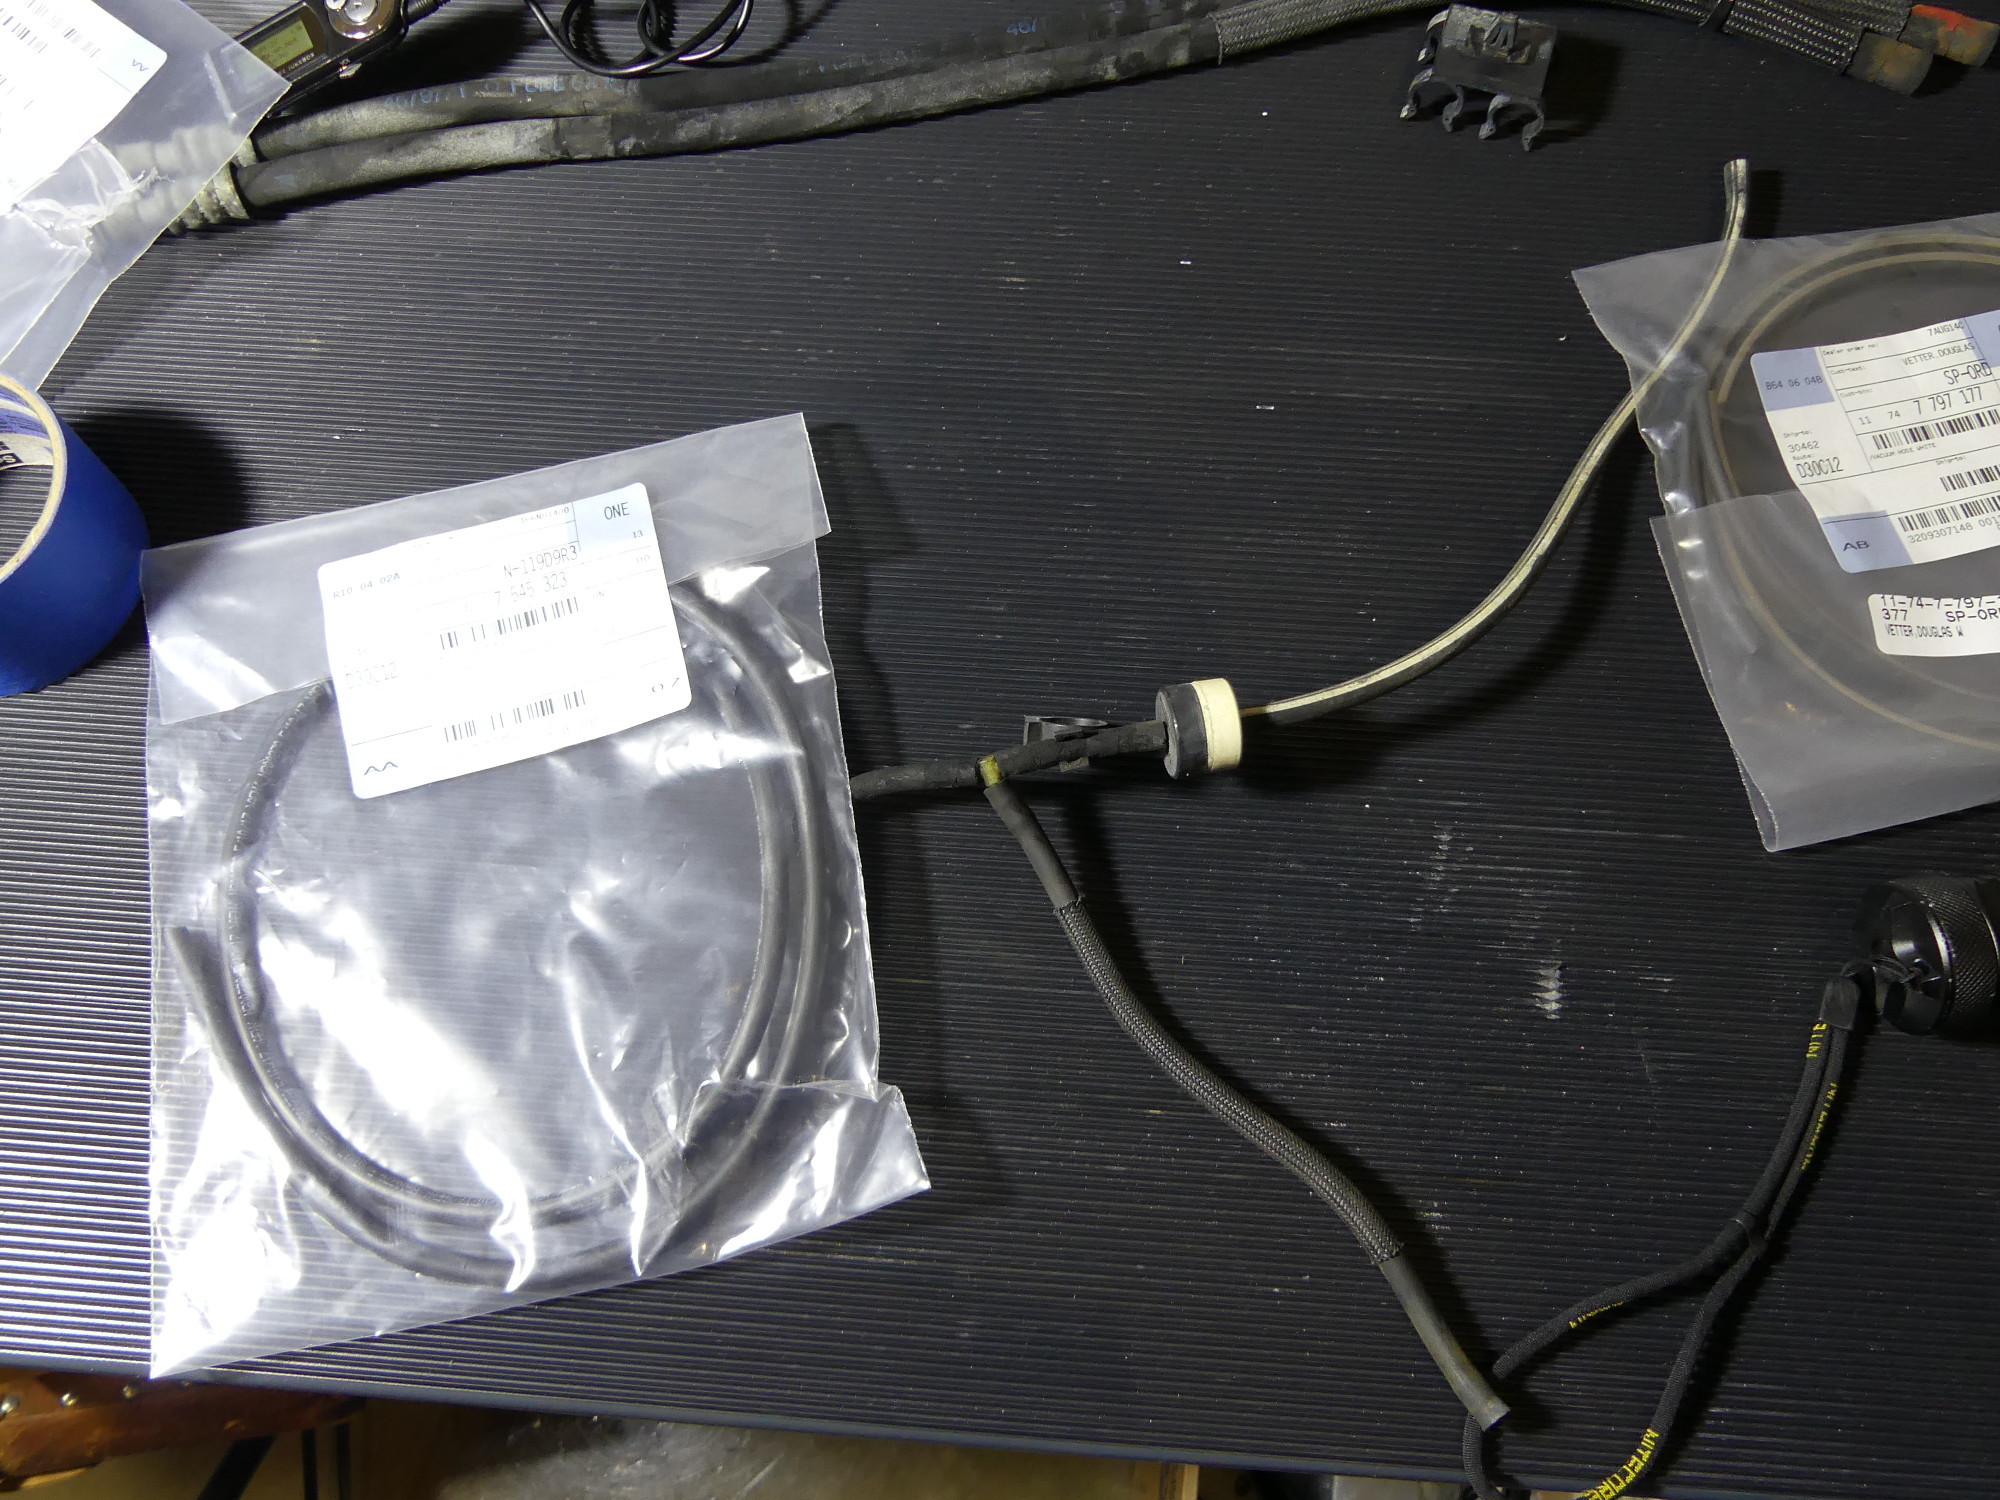 This vacuum hose subassembly was in very bad shape. The short hose segments on the left and right side of the T fitting were basically turning to dust due to heat damage. I bet these were leaking prior to the overhaul. |
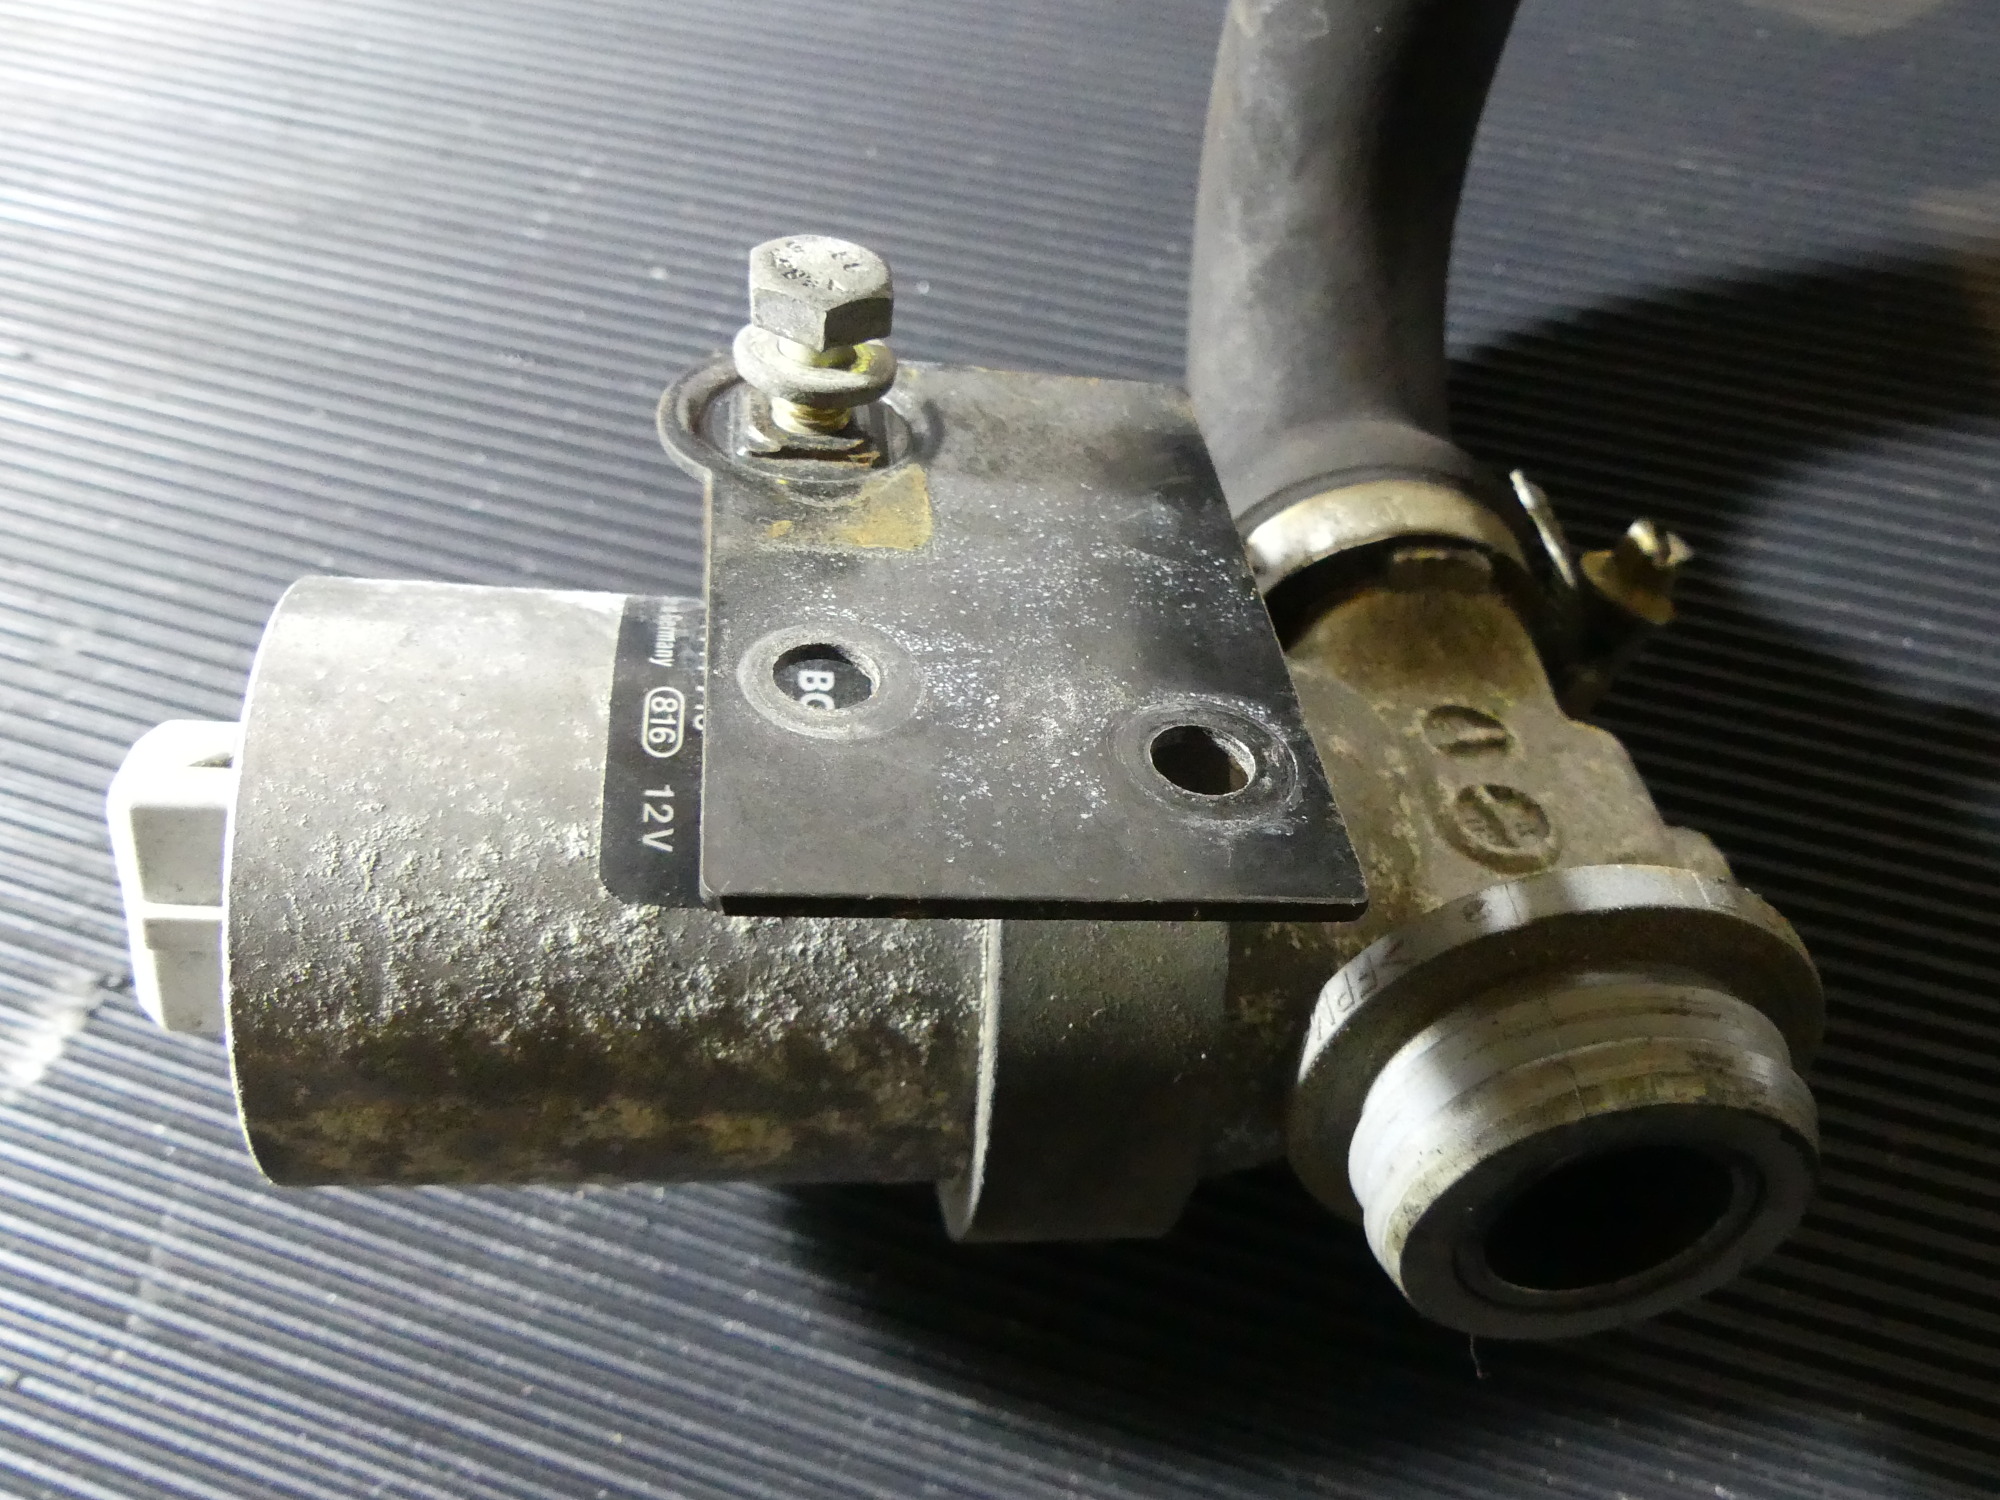 Prior to pulling the engine I noticed some idle sensitivity. When I inspected the ICV I found that the internal armature was nearly stuck. Some carb cleaner cleaned it out and now it is moving freely. |
One of the vacuum lines that arrived this week in the assembly parts order included a short (8") line with a protective mesh secured to the hose. I grabbed my laptop and checked on realoem to make sure the part number was correct and then installed the hose on the end of the vacuum solenoid. With that secure I placed the valve mounting bracket over the forward fuel rail mounting hole and secured the rail to the manifold permanently.
With that vacuum line installed I was inspired to look in my trunk (where my technician placed the manifold, wiring harness, and related items) for other shoddy vacuum line assemblies. I wasn't disappointed. I found another set of vacuum lines surrounding a T connector and a check valve. Two of the vacuum hoses of this assembly, short as they were, had to be the worst lines I saw on the entire car. They were clearly original and had practically turned to dust. I wanted to repair this assembly today but I lacked all the parts required to do so, including the hose segment protected with mesh, barbed T-fitting and check valve. I'll order all of those items on Monday.
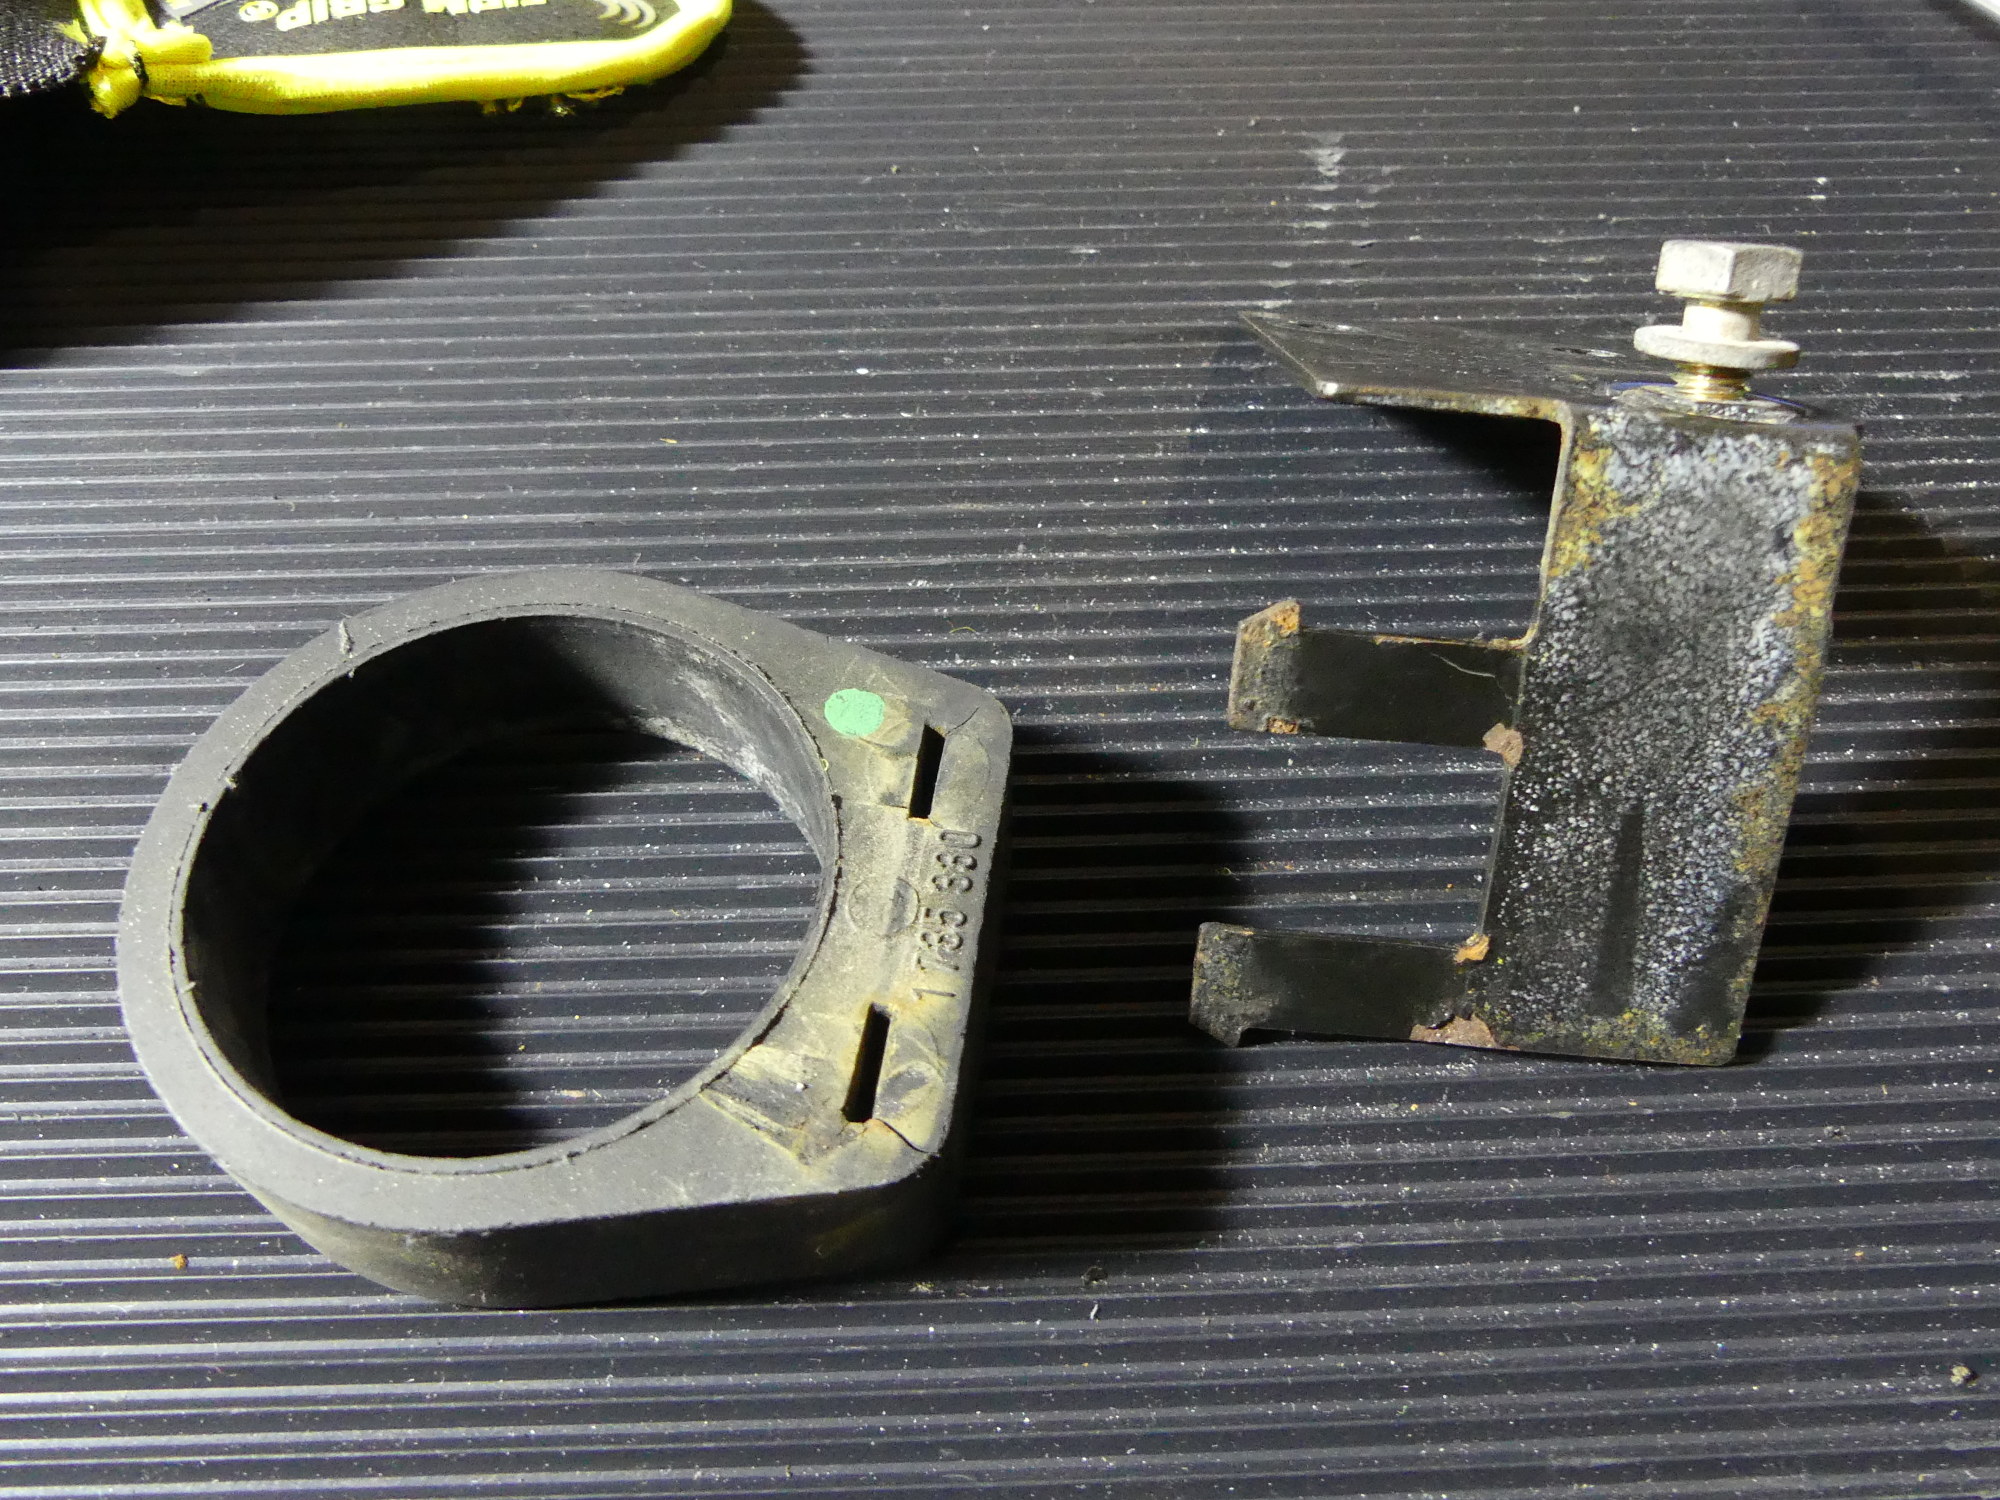 I haven't decided whether to replace or recondition the ICV mounting bracket. It will largely depend on the price of the part. Separating it destroyed the relatively hard rubber mount so that will be replaced. |
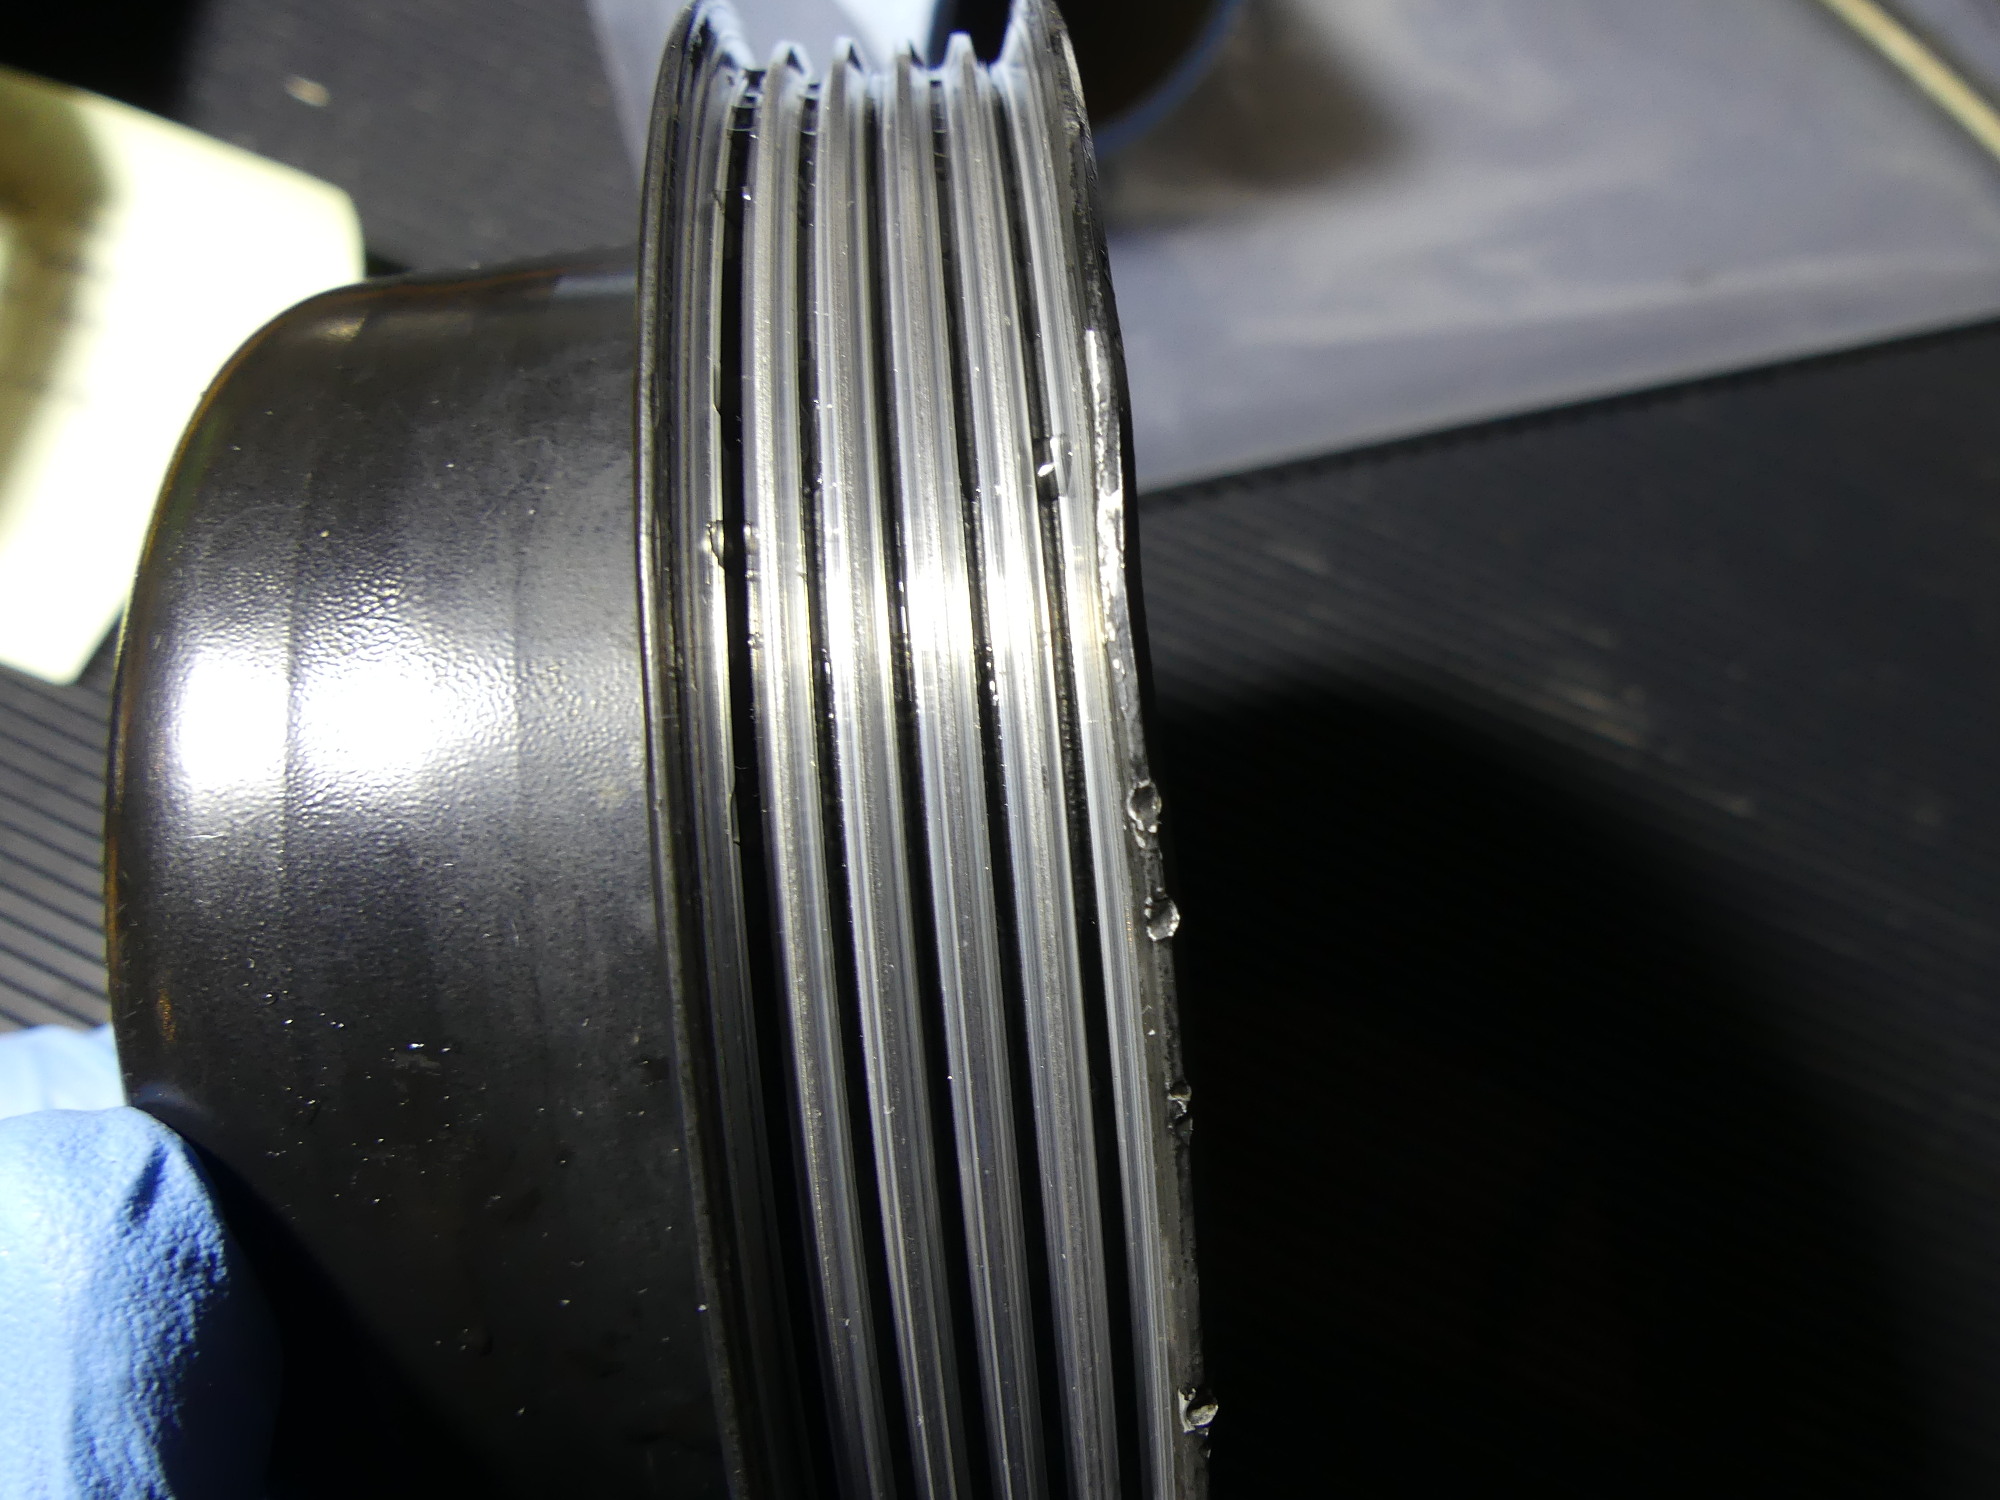 I honestly don't know how the AC crank-mounted pulley became bent, but you can clearly it's been hit several times. Fortunately a new part isn't that expensive, so I'll be ordering a new one. |
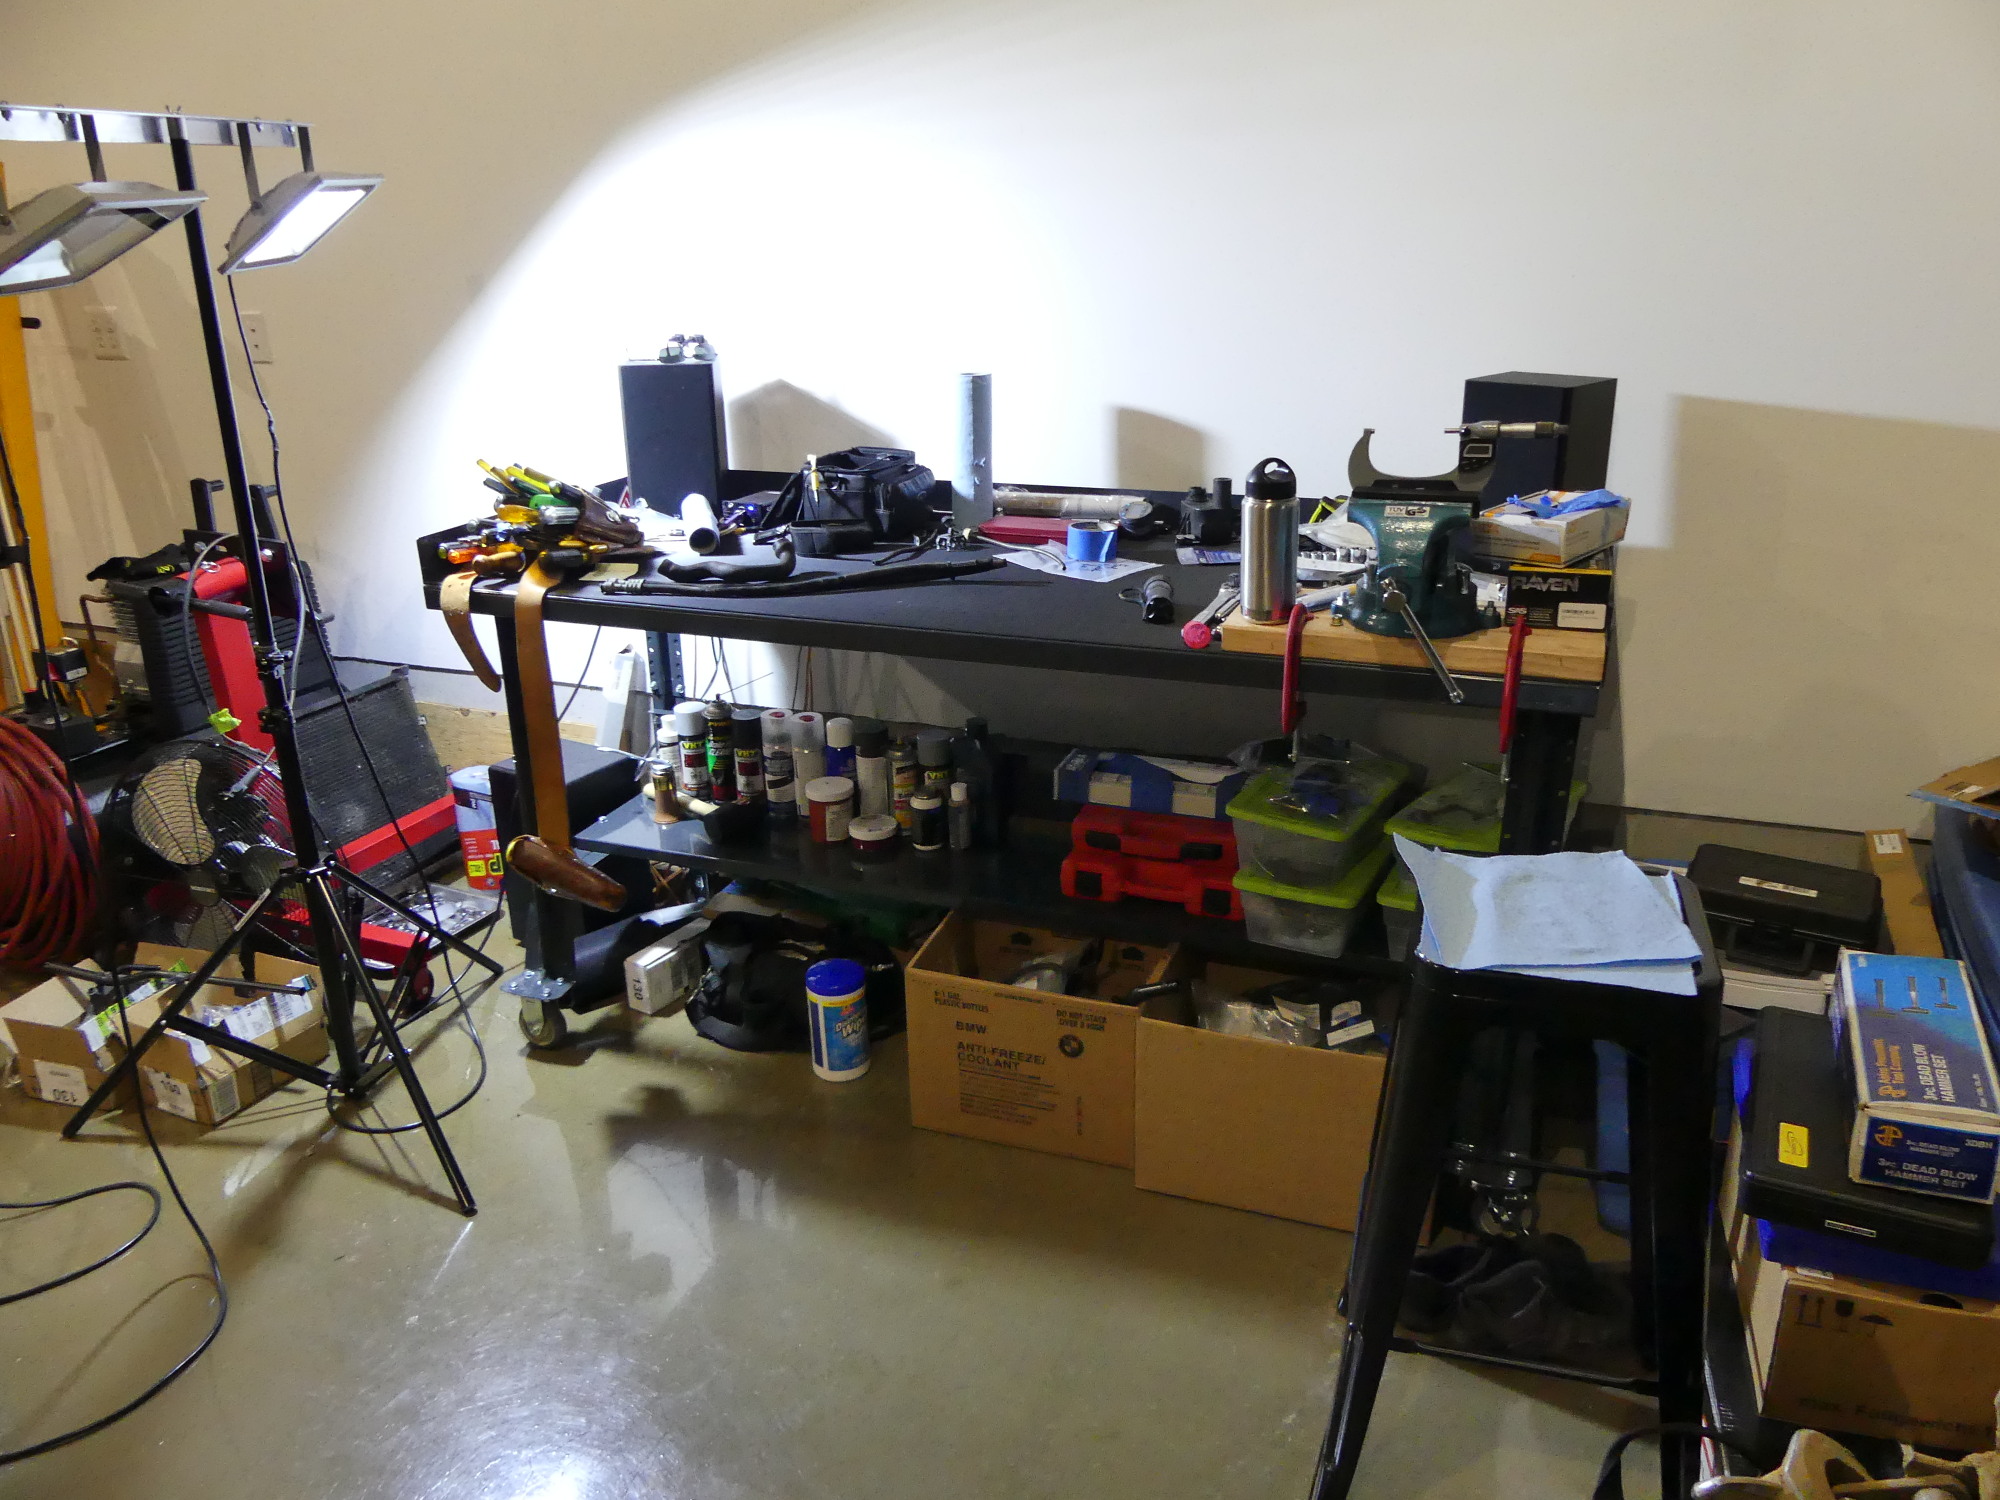 Just a perspective shot of my work environment. The ShureShop table and the lights are working out nicely. I've even used my vise several times already. In the words of the late George Peppard: I love it when a plan comes together! |
A/C Mounting Bracket Cleaning
While rummaging through the trunk for other stuff to clean or replace I found the A/C bracket. This is a fairly substantial aluminum casting that secures the A/C compressor and the related belt tensioner. This part looked just as bad as all of the other aluminum on the engine, with tons of grease and corrosion. I decided that it would go to Chris's powdercoating shop for a cleanup so I degreased it and set it aside.
A/C Crank Pulley Bent
While rummaging through my trunk I found the A/C pulley that is fastened to the crank. After a quick cleanup an inspection revealed that it was bent in one area. I have no idea how it got that way. I certainly didn't do it. The bend is minor but I'm sure as shit not going to reinstall that in an application that spins to 6500 RPM, so that too will be ordered on Monday.
Next Up
I don't know why I keep writing this section, since it's been the same for the last several entries. Bla, Bla, Bla, I'm going to get around to the hood latch / front support issue tomorrow. But seriously, yea, that has to be done tomorrow so I can take the support to the powdercoat shop to be blasted on Monday. Wish me luck.