


Monday, August 21, 2017
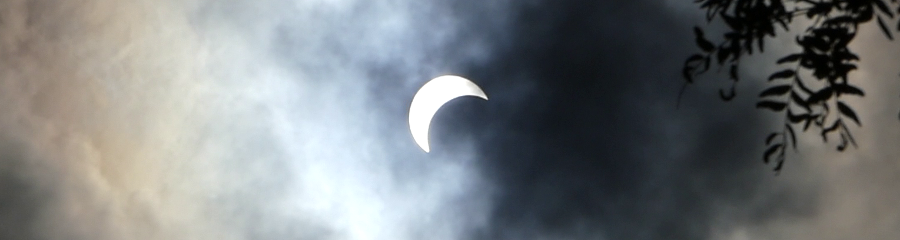
The solar eclipse as viewed from New Jersey prior to totality
(75%)
Another Parts Order and Pickup
The first order of the day was building yet another parts order. Purely by chance most of the items were hoses needed throughout the engine bay. With the exception of the radiator hoses most were last replaced prior to 2006 when I started working on the car myself so I figured this would be an ideal time to replace them.
The most costly item on this order is the front support. I decided to replace this rather than rework it for a variety of reasons including simple economics. The quote I received from the local body shop to rework the old part was almost as much as the new part. My dealer gave me employee pricing for this part, so the damage wasn't nearly as bad as it could have been.
I also decided to replace the refrigerant hose that connects the condenser to the compressor, as well as the two bolts that gave me fits when I removed the condenser. Given the cost of the refrigerant hose I tried to seek out aftermarket alternatives, but most were Chinese ripoffs for $25-$50 that would ship via the slow boat. There were no (believable) reviews of fitment and I couldn't wait for them to arrive in any case, so I begged my dealer for preferential pricing once again and thankfully received it.
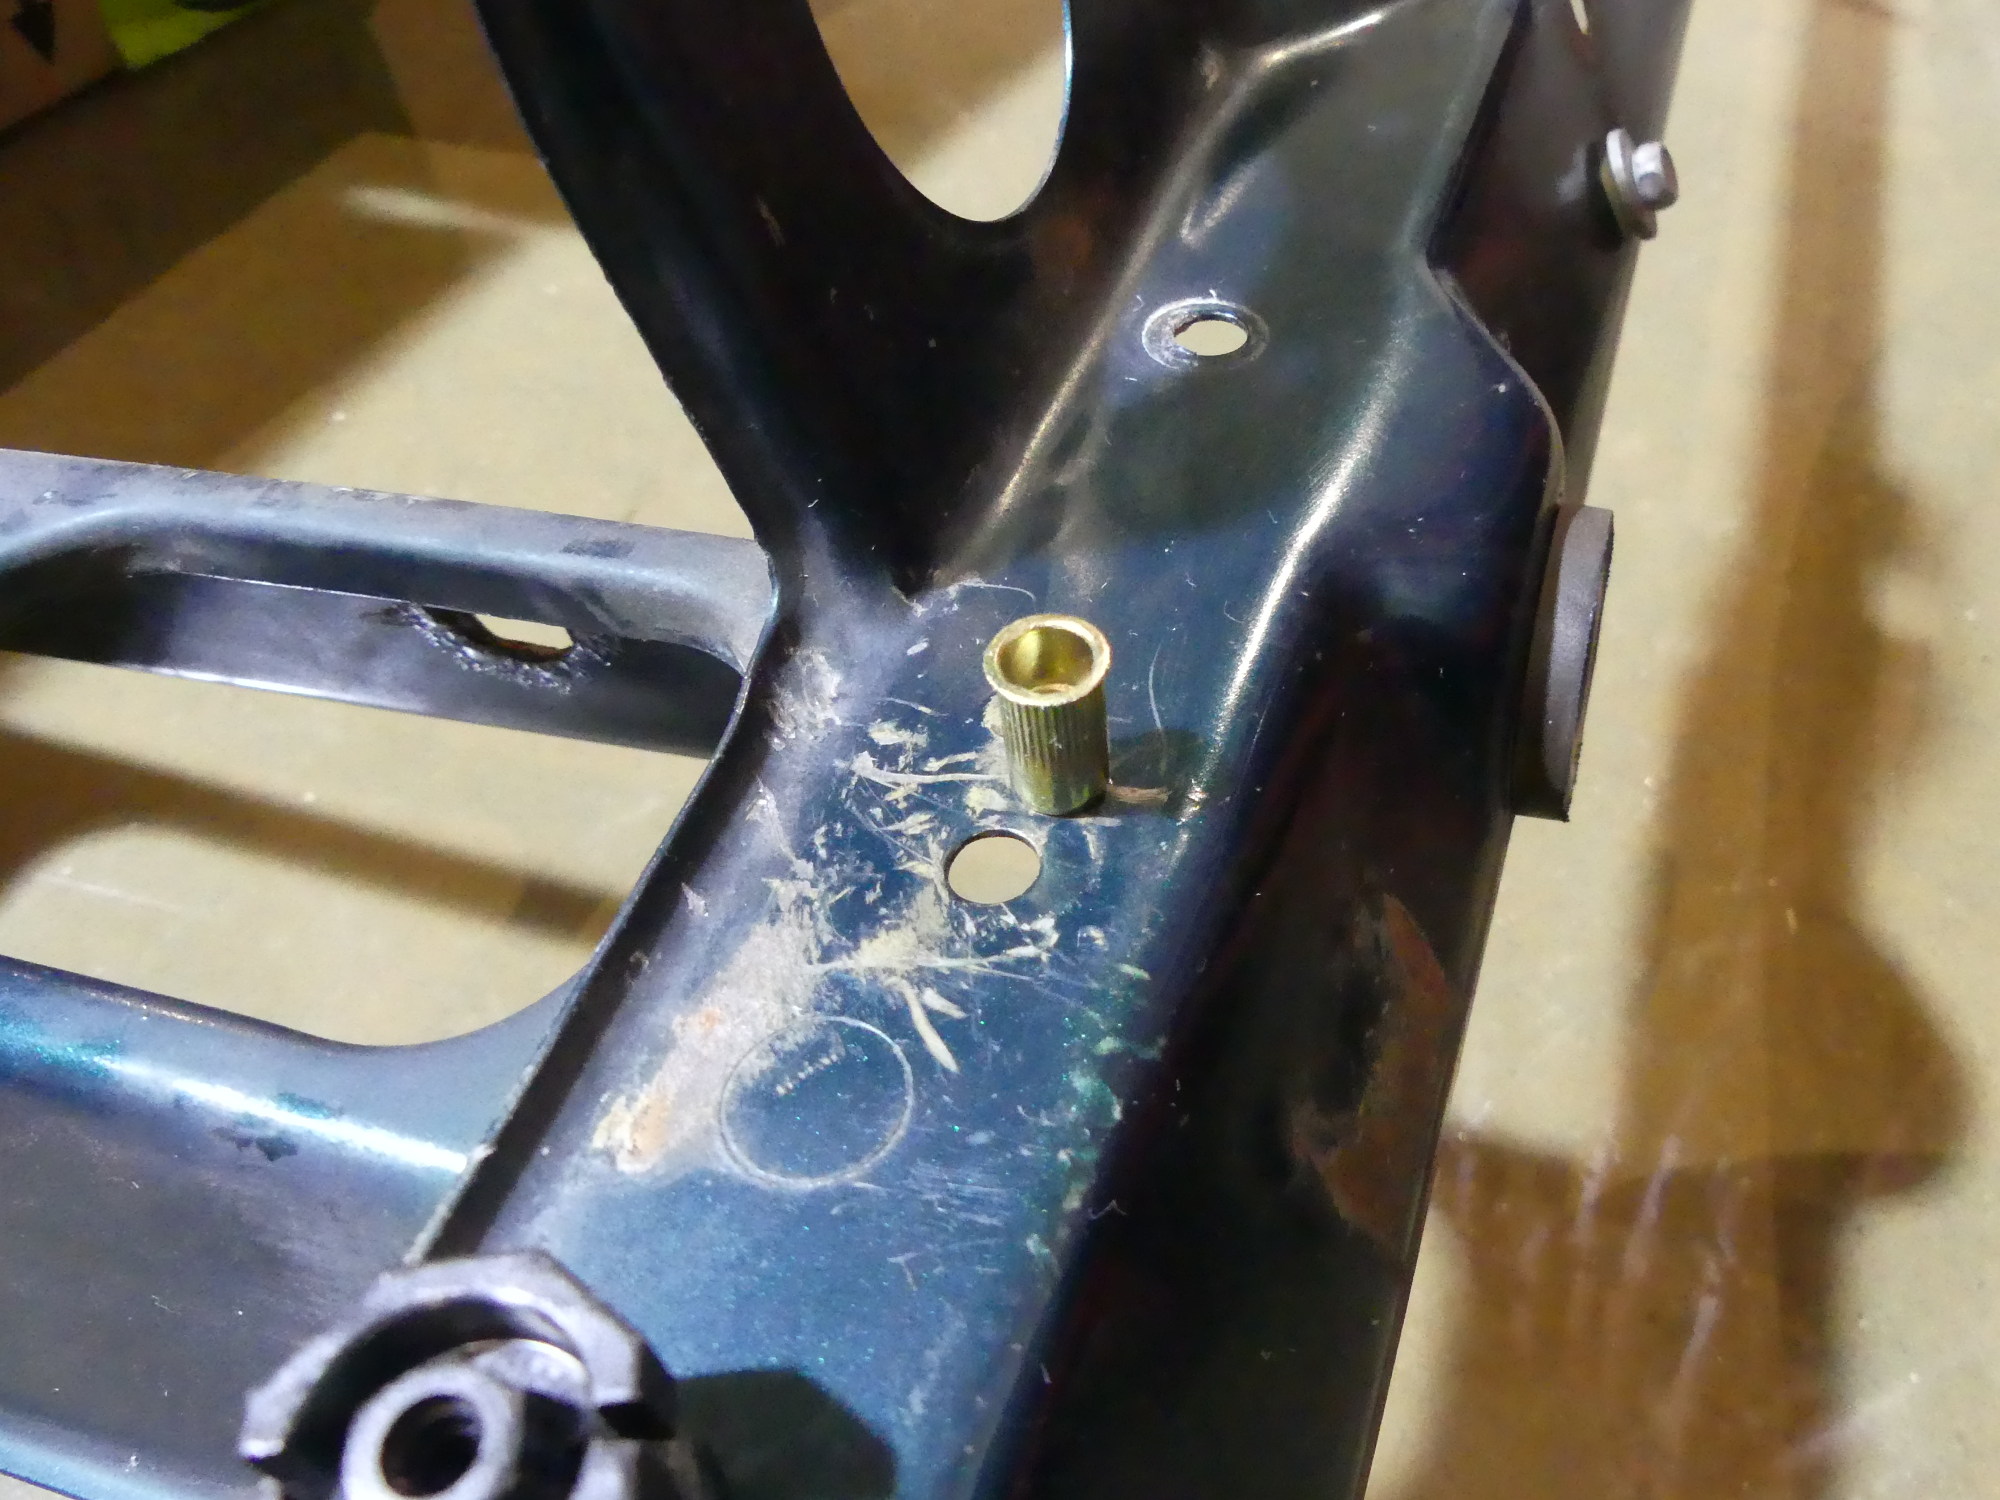 The M5 nutserts arrived today. These will be inserted into the adjacent hole, which normally accepts those annoying expanding rivets. My goal is to use some kind of stainless fastener here, probably with a flange head so I don't need to deal with a washer. |
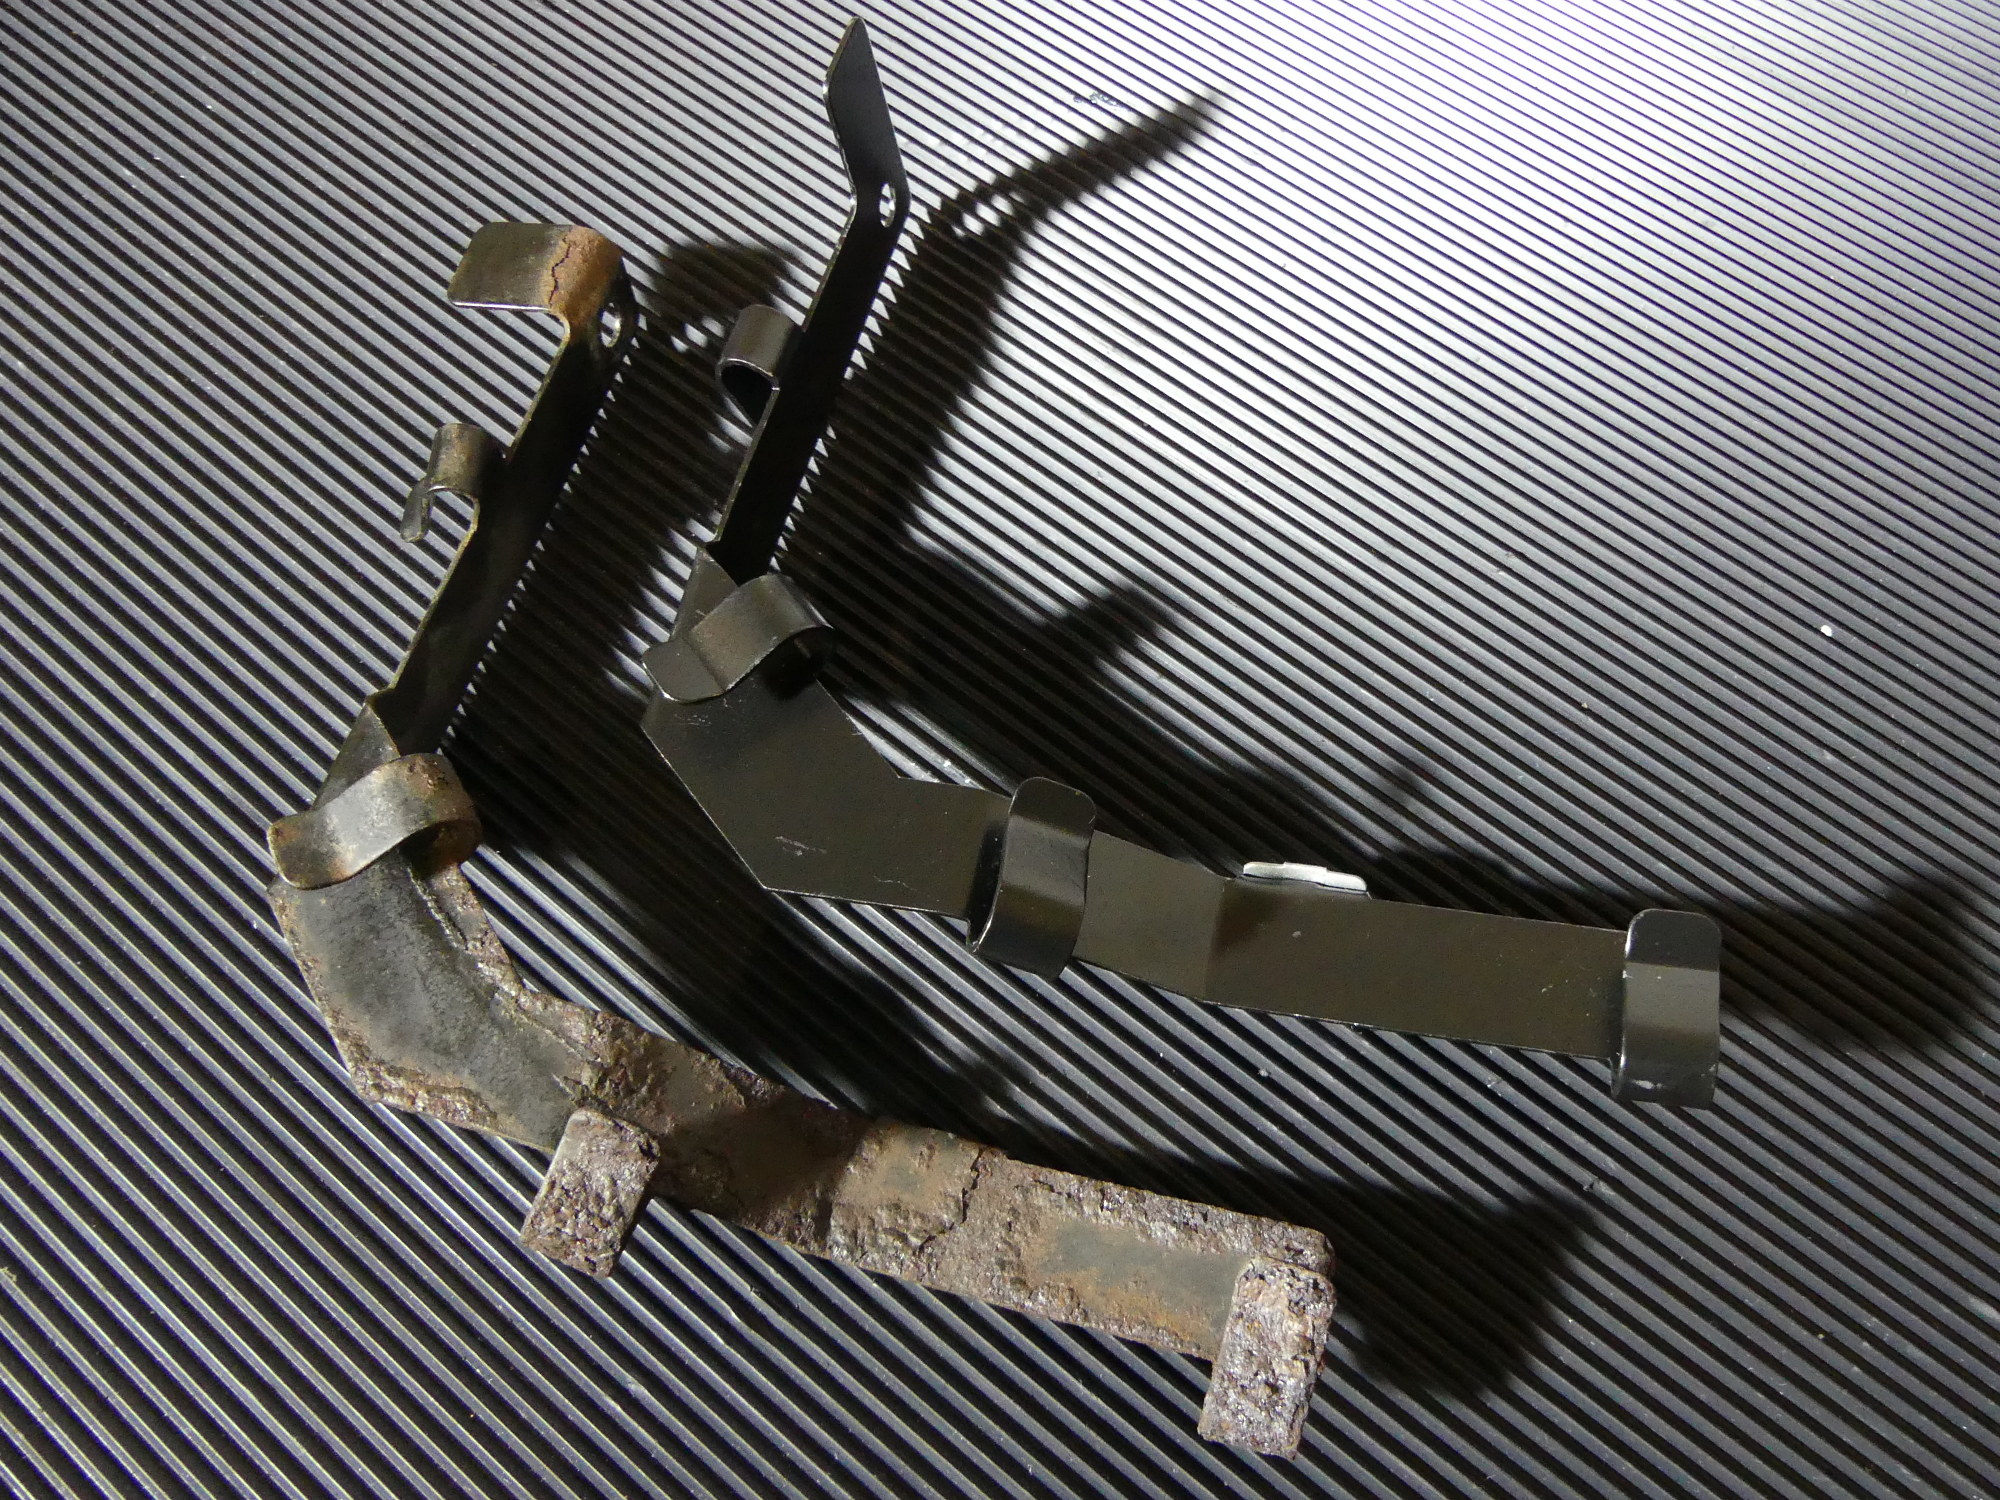 My original O2 sensor wire management bracket has definitely seen better days and I couldn't see putting the old one back on what I hope will be a beautifully restored engine. The mounting clip (zinc plated steel clip hard to see here) comes with the bracket. |
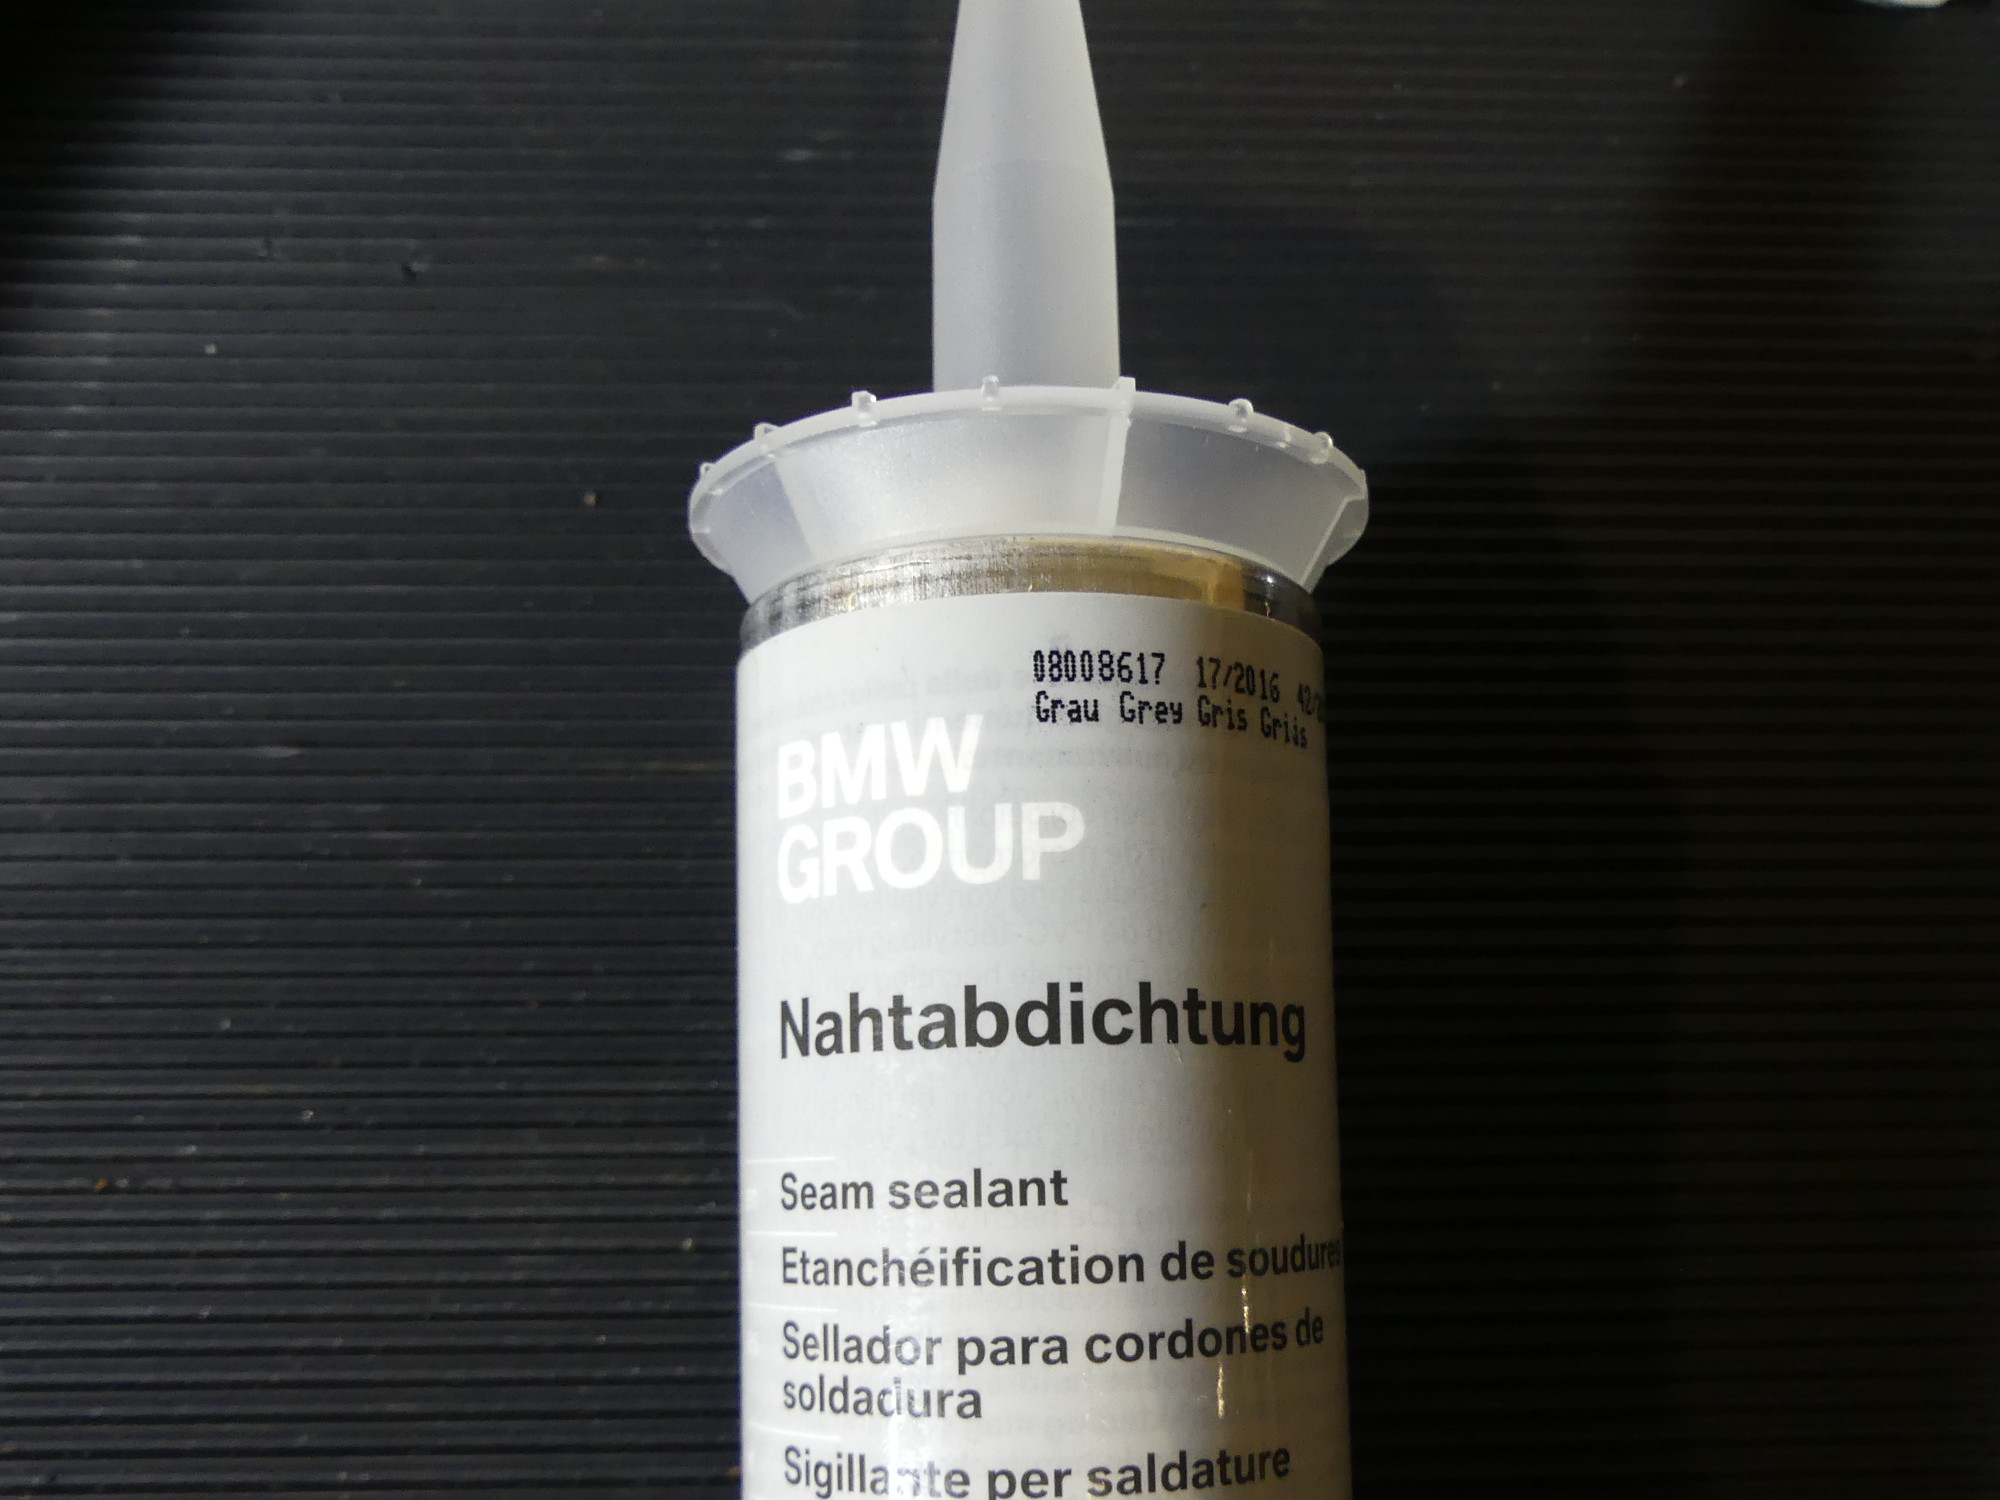 While picking up some parts at the dealer and speaking with my tech about a variety of subjects he handed me this tube of seam sealer and suggested I use this to top coat my rust repair at the rear of the tunnel. Cost? Gratis. |
Around the same time I submitted that order via email I got another email indicating that the two remaining items from the last order had arrived -- this included the large tunnel heat shield and the small bracket that mounts to the back of the block to retain the O2 sensor wires. As you can see from the picture the original bracket was riddled with rust. This bracket attaches to the block with a bolt and a small clip. I wondered for some time whether the little clip would be included with the bracket and that turned out to be the case -- one less part to track.
The one strange item in this order was the ICV bracket, which incorporates or mates with a circular rubber mount. I only really wanted the rubber mount, but when I looked up the part associated with my VIN on realoem.com the price was almost $75. I freaked out a little bit and then did what I should have done originally -- I derived the part number from the last seven embossed in the rubber mount. That turned out to be a mere $11. Sold. So my existing rusty ICV bracket will go to powdercoat and I'll save a good $55+ reusing it.
First Powdercoat Batch Arrives
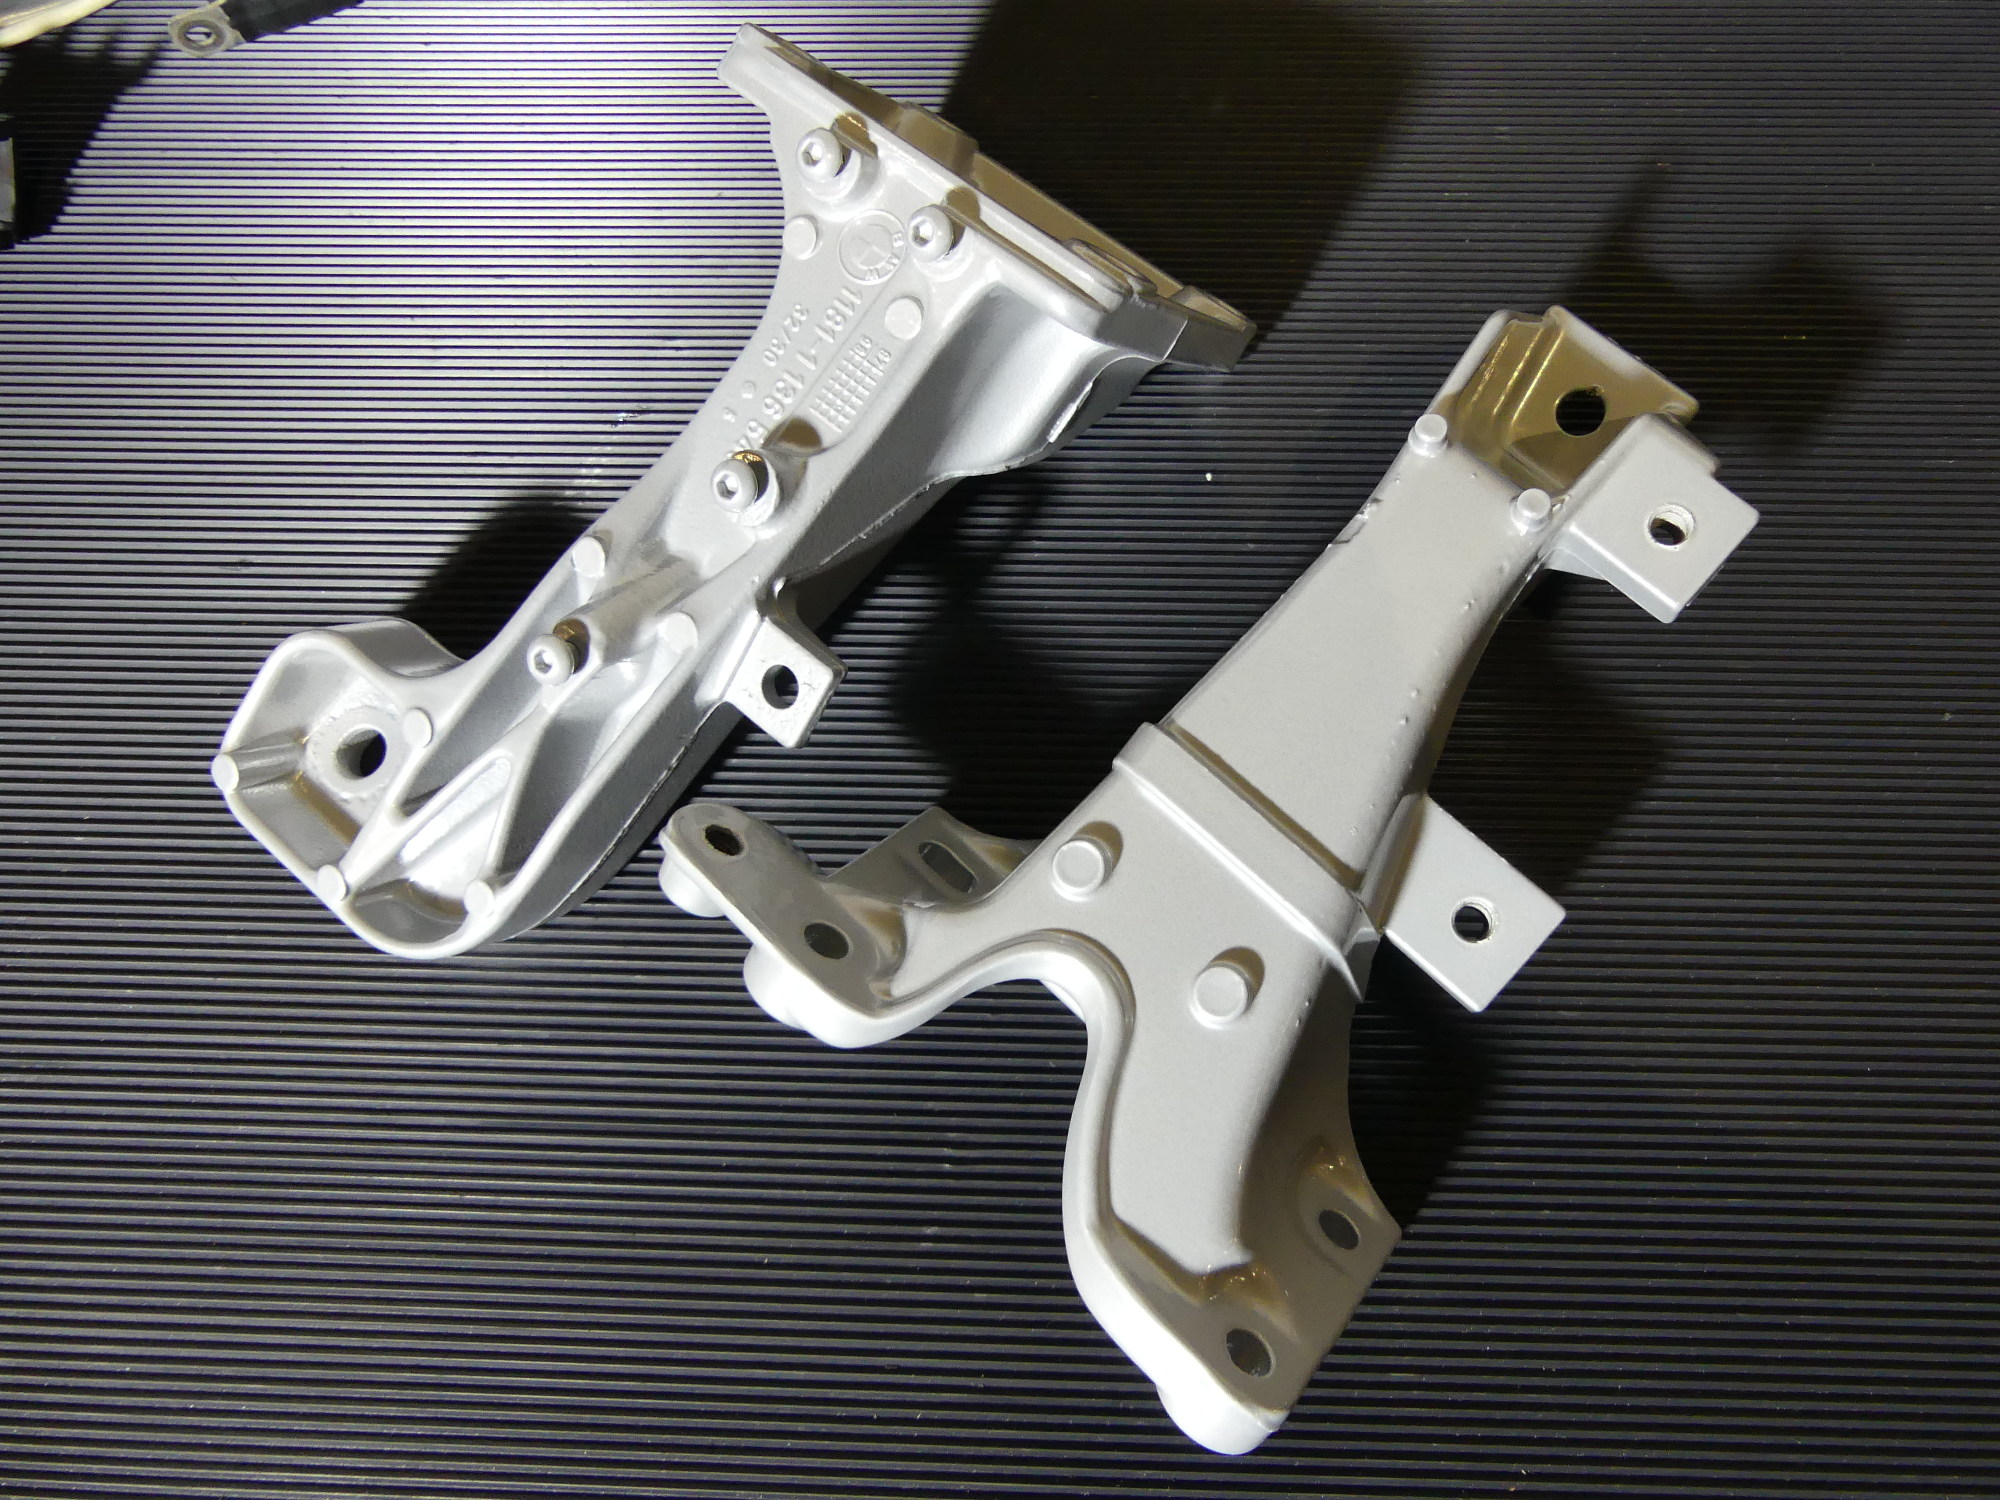
On schedule the powdercoater let me know that my parts were ready so I picked them up. Once back at the shop I unwrapped everything and found all the parts exactly as ordered. The rust on the X-brace cleaned up nicely, though there was some etching of the steel left behind. The engine supports look far better than the last time I had them coated, and I was particularly pleased with how nicely the transmission support cleaned up. The surface is still visibly pitted in areas but the powder tended to fill in many of the worst areas so it looks almost as good as new. Considering how much cheaper it was to powdercoat vs replace all of these items I'm happy with the result.
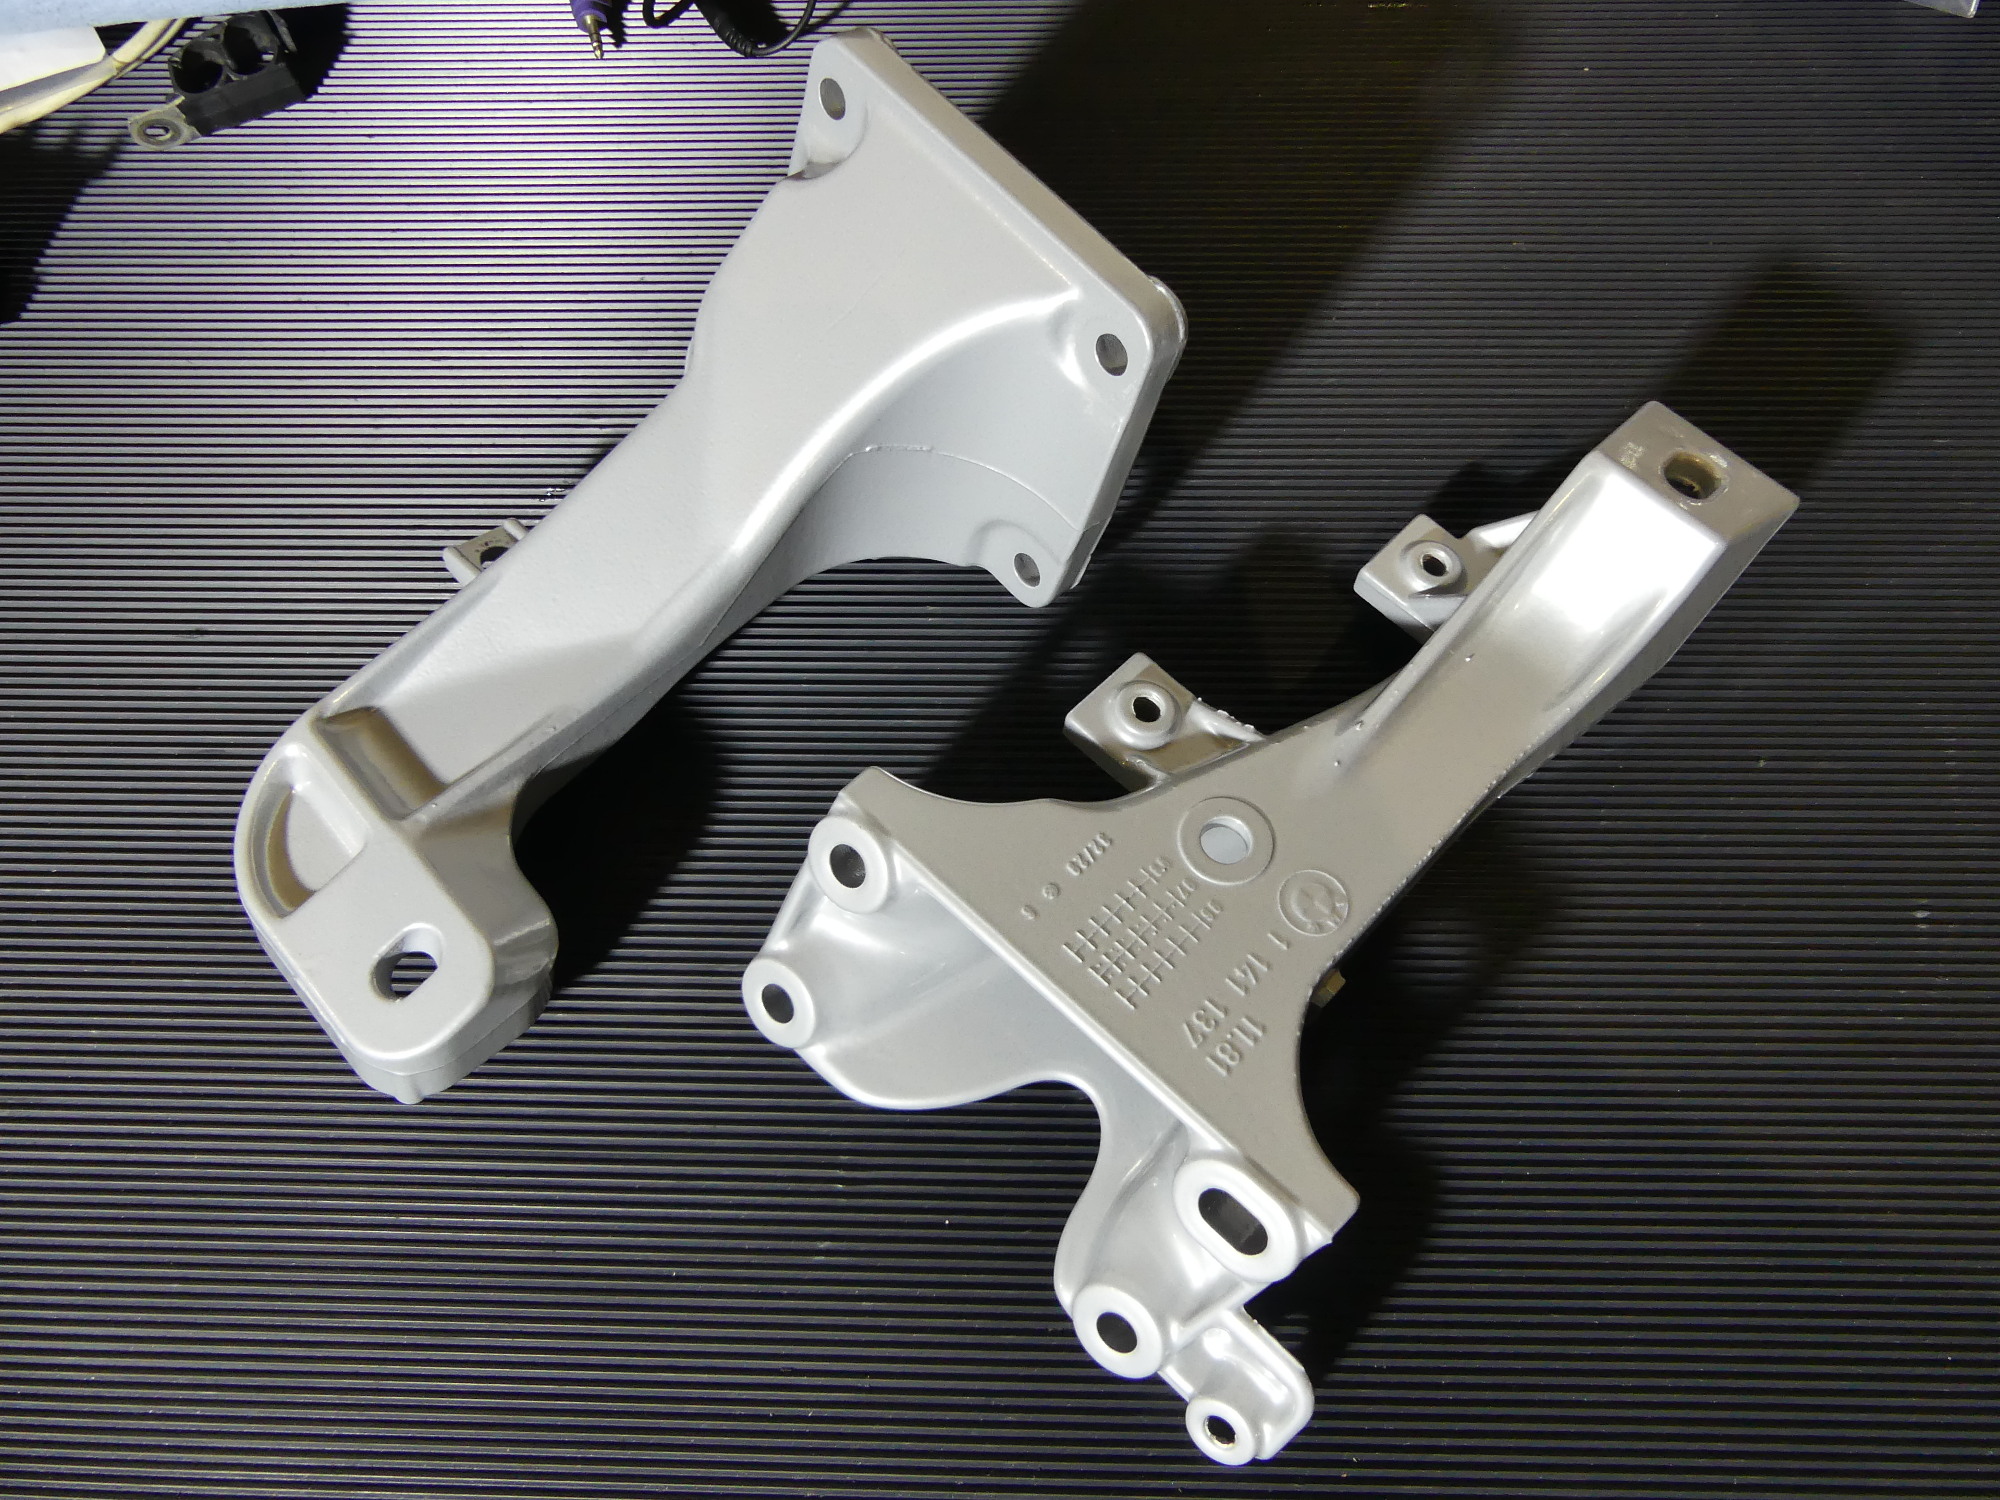 You know when you've reached the middle of the project when the newly powdercoated parts arrive. These are the vastly improved engine supports. Yes, I will be abrading the coating where necessary (contact points with the engine and where the ground cable connects). |
 While not exactly clear due to a bit of oversaturation of this picture, the color I selected is a common silver with a satin finish. There was a brighter silver available but it would have required a topcoat of clear which would not have held up to the heat. |
 Among the parts received so far the transmission support gets the award for most improved. The powder filled in much of the pitting. While the surface texture isn't perfect, this isn't a show car. I'm merely trying to prevent further degradation of the part. |
 The underside of the mount looks a thousand times better than it did. My technician provided the mount to me with the bushings installed so I plan to do that as well so all he has to do is mate the assembly with the vehicle and transmission. |
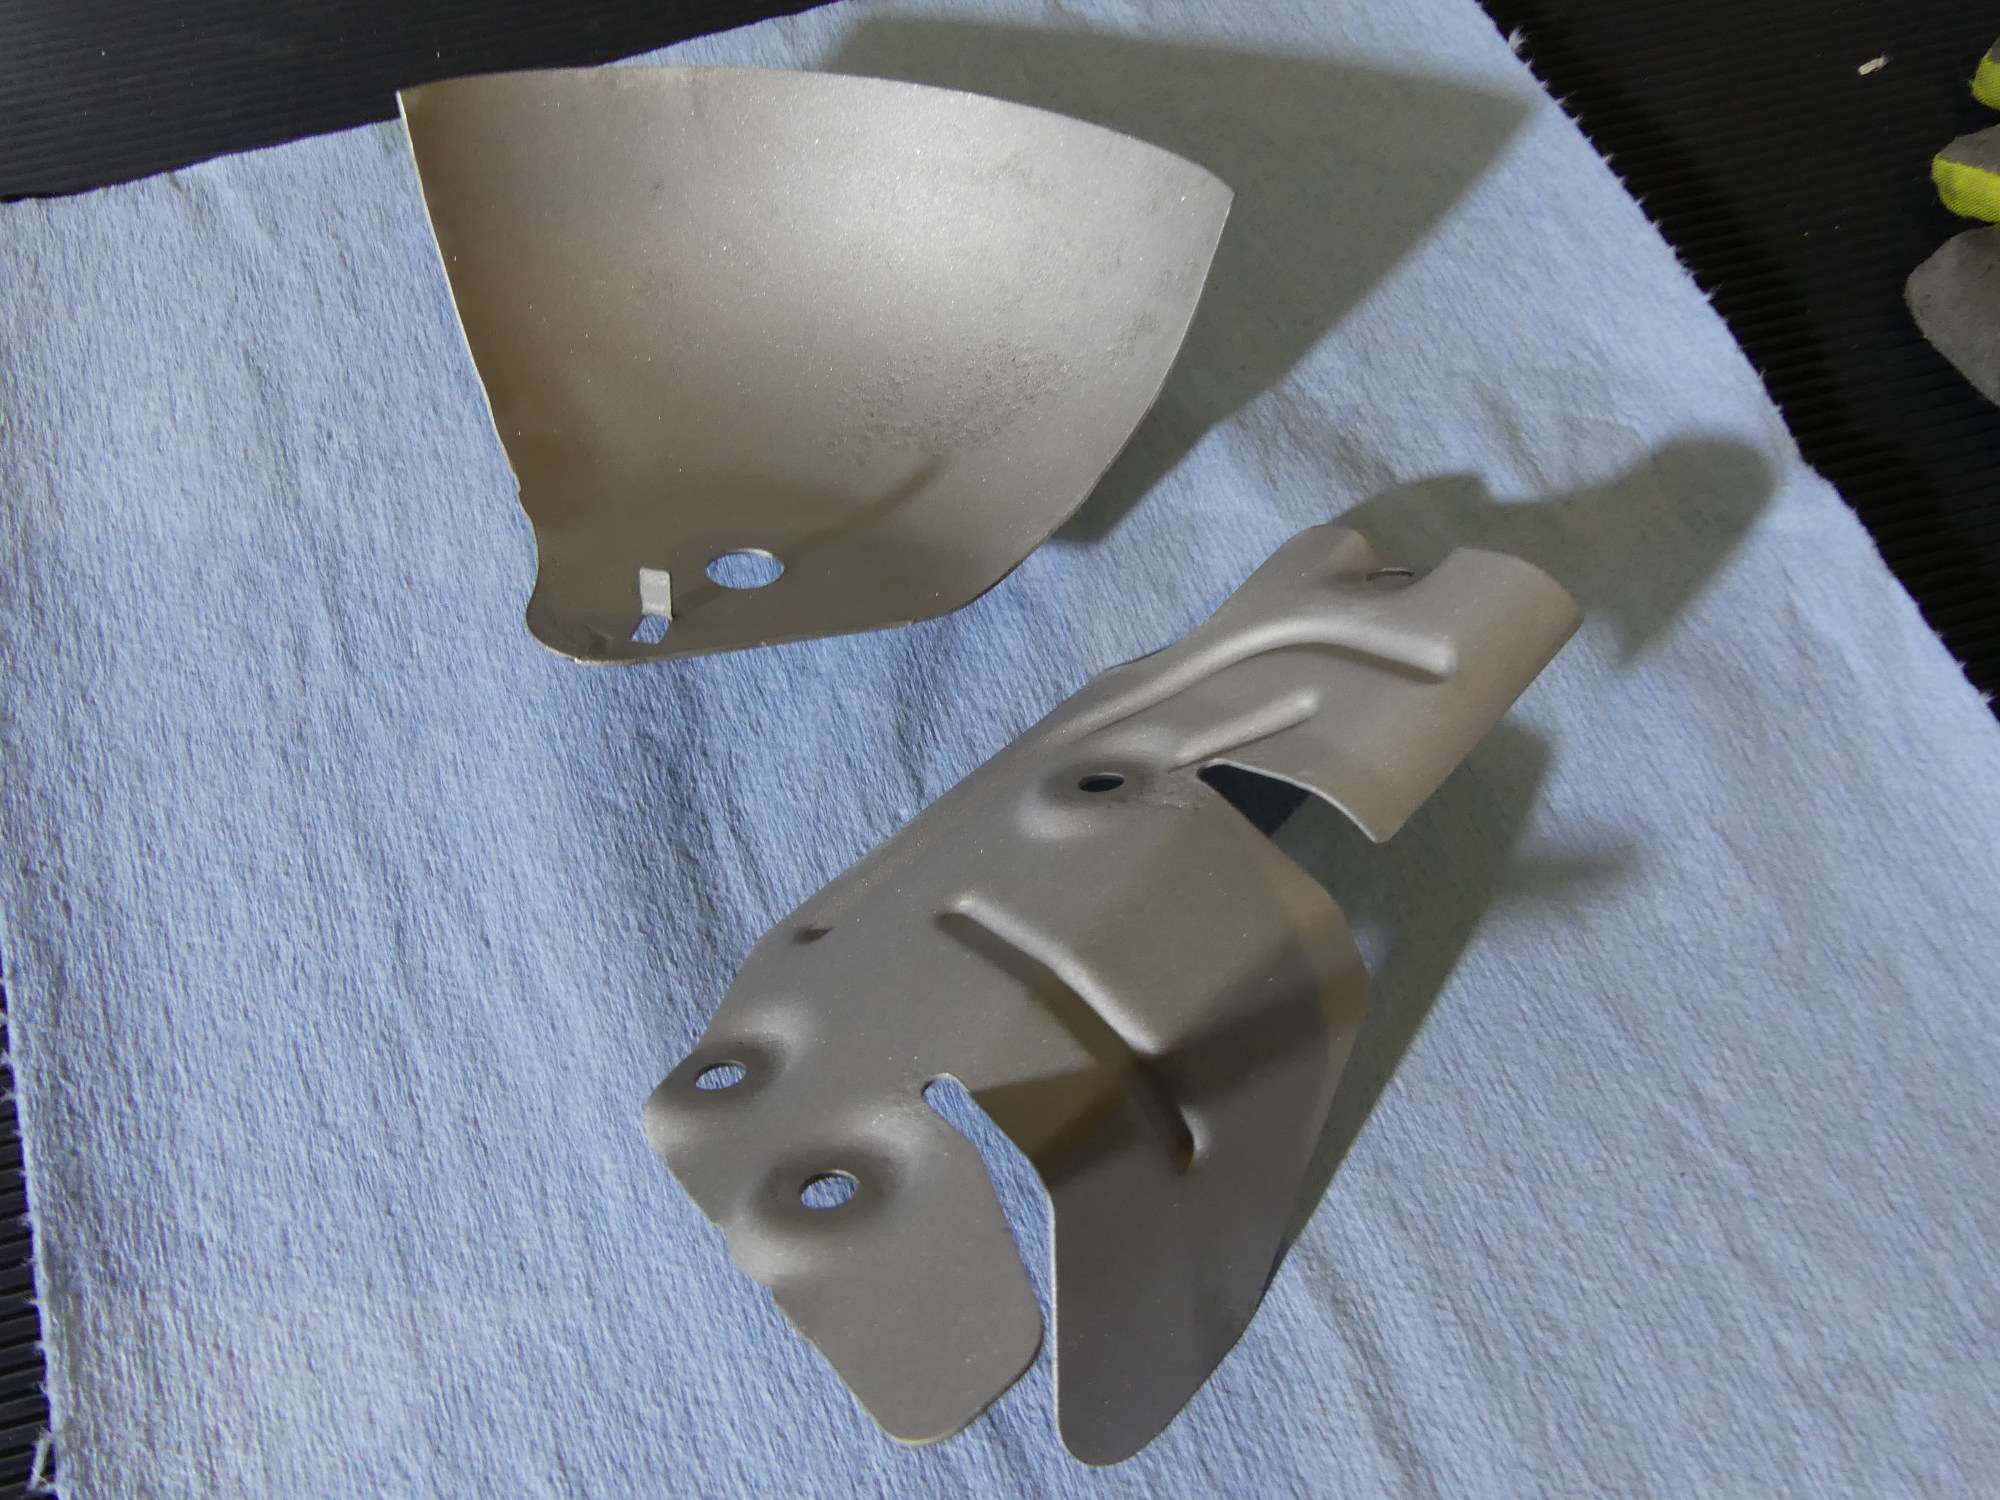 Although difficult to tell, these heat shields were only blasted. Based on the powdercoater's recommendation, I'll prime and paint these with VHT. As you can see the finish is a bit scarred from the corrosion but with the rust removed the primer should stick like glue. |
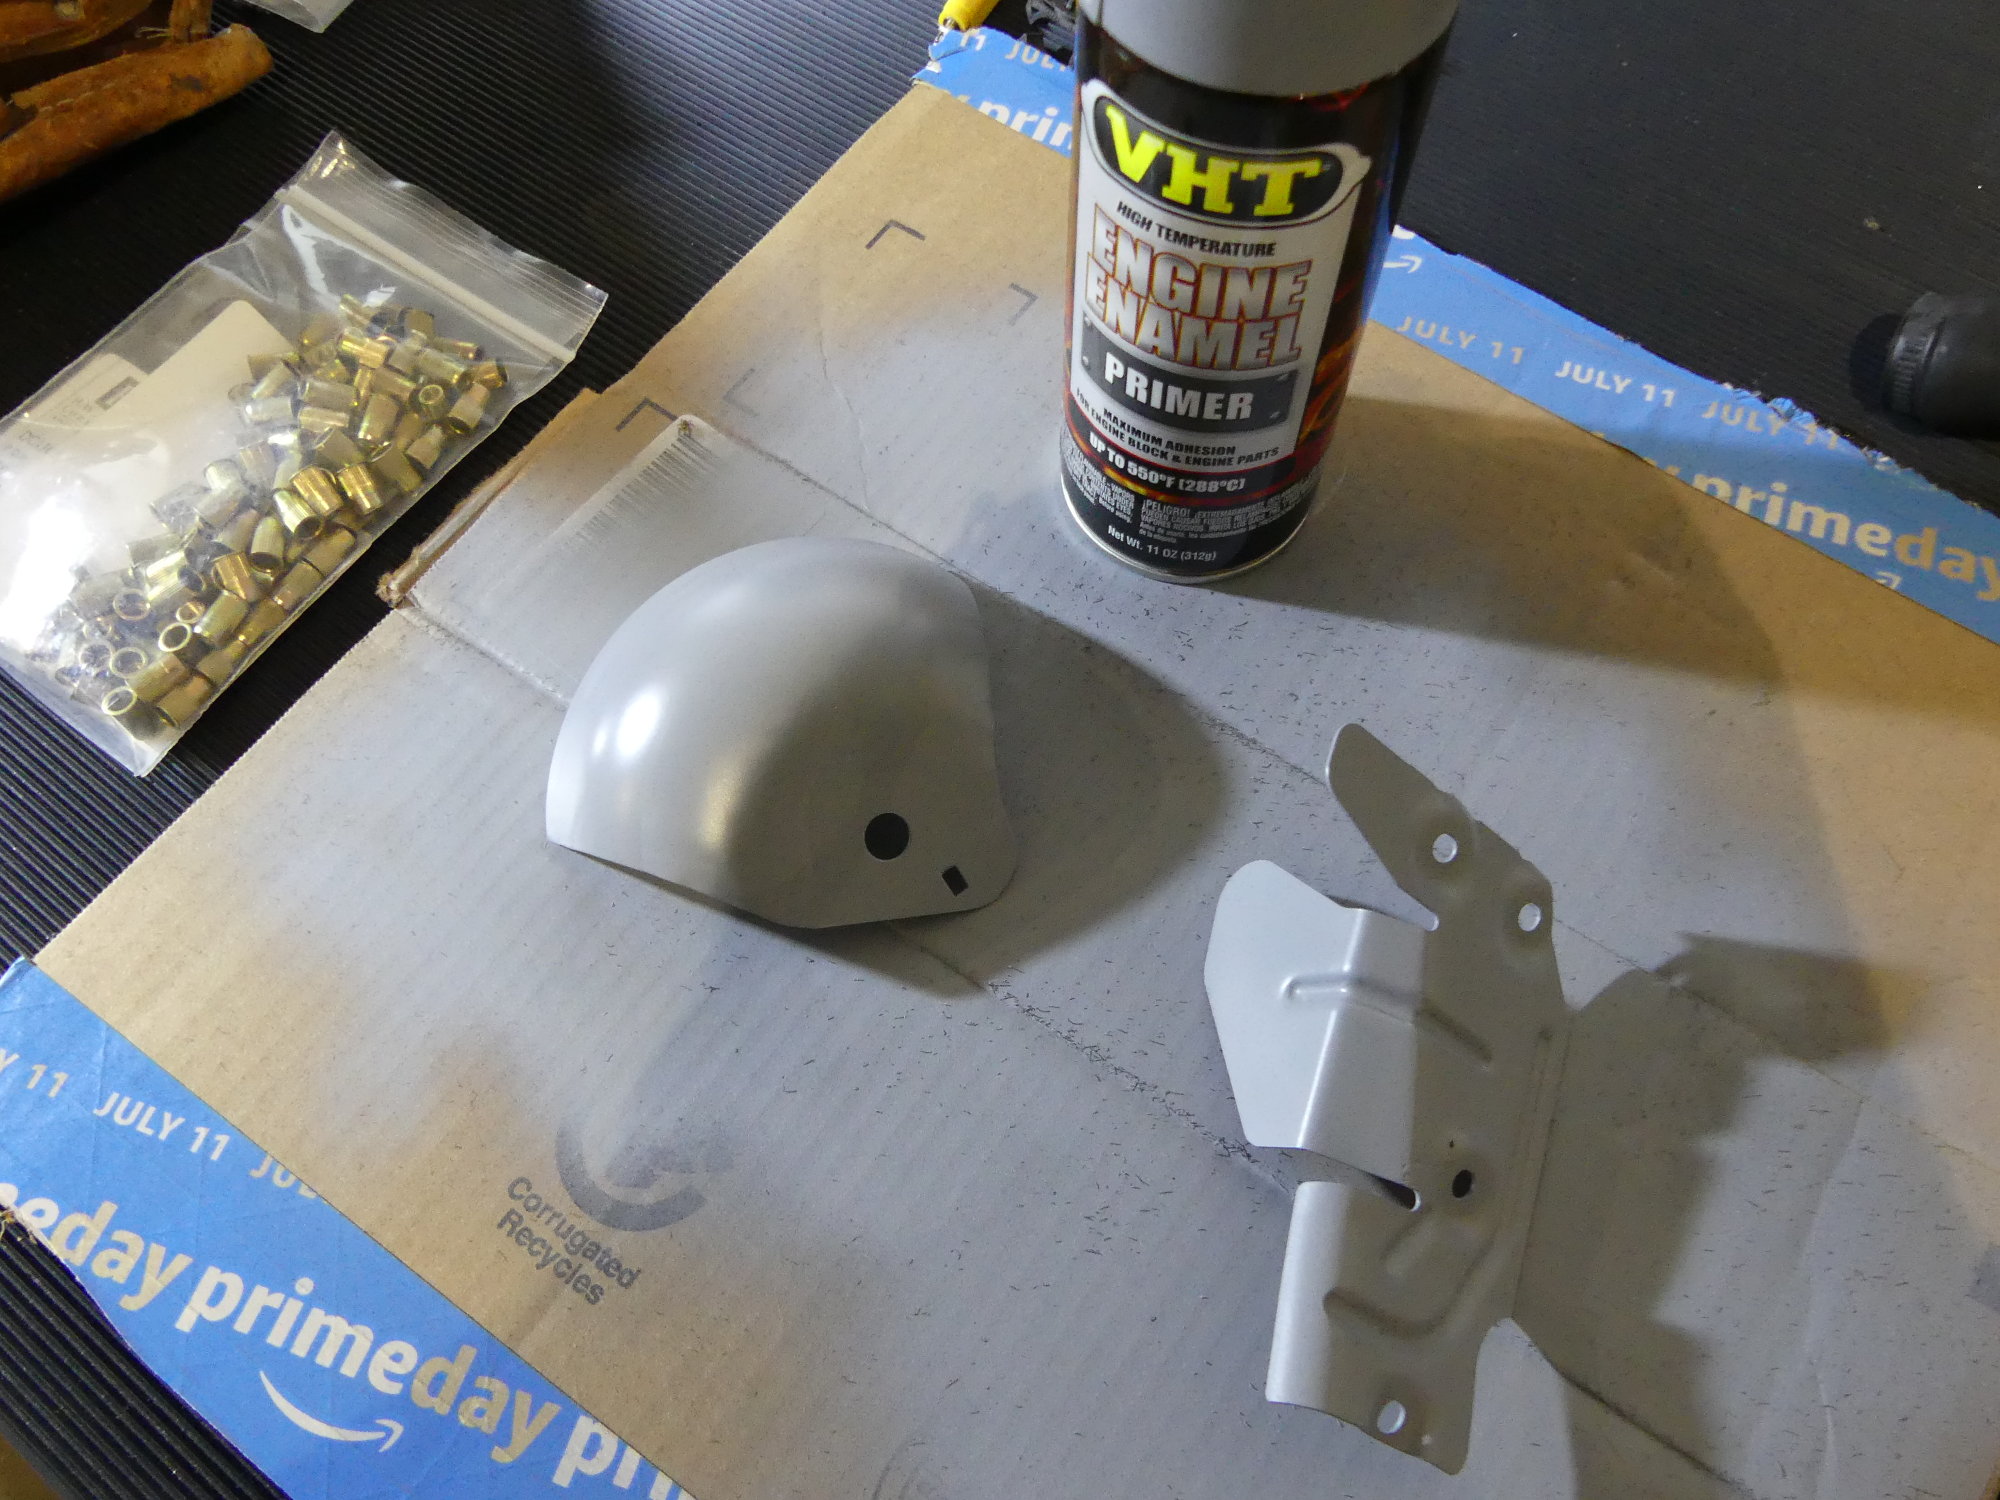 This is following application of two coats of VHT primer. Tomorrow I'll wrap these up by applying two coats of VHT "Cast Aluminum". The flat heat shield will be mounted to the engine support with new stainless bolts and the motor mount shield will be installed on the car. |
As expected the steel heat shields (one that mates with the engine support and another that protects the engine mount) were simply media blasted down to bare metal in order to remove all traces of rust. These pieces cleaned up far better than I expected, since they were heavily rusted. I brought them outside and painted them with two coats of VHT engine enamel primer. The instructions indicate that a second coat can be applied after 10 minutes and the finish coat must be applied at least 30 minutes after the last primer coat. They also indicate that the parts should be dry to the touch in 30 minutes and be completely dry in a couple hours. I found that to be the case. Tomorrow I'll apply two coats of VHT cast aluminum -- a bright silver color I specifically selected for its ability to reflect heat.
Polishing the Front End
While I waited for the heat shields to dry I decided to do some cleanup on the bumper cover and kidney grille support. I first cleaned each with water and towels to remove the bulk dirt. I then applied some Menzerna Final Finish (3000 grit) polish, wiped that off, and wrapped up with a coat of Power Lock Sealant inside and out. This really cleaned up both pieces and they are now ready to install. Well, mostly.
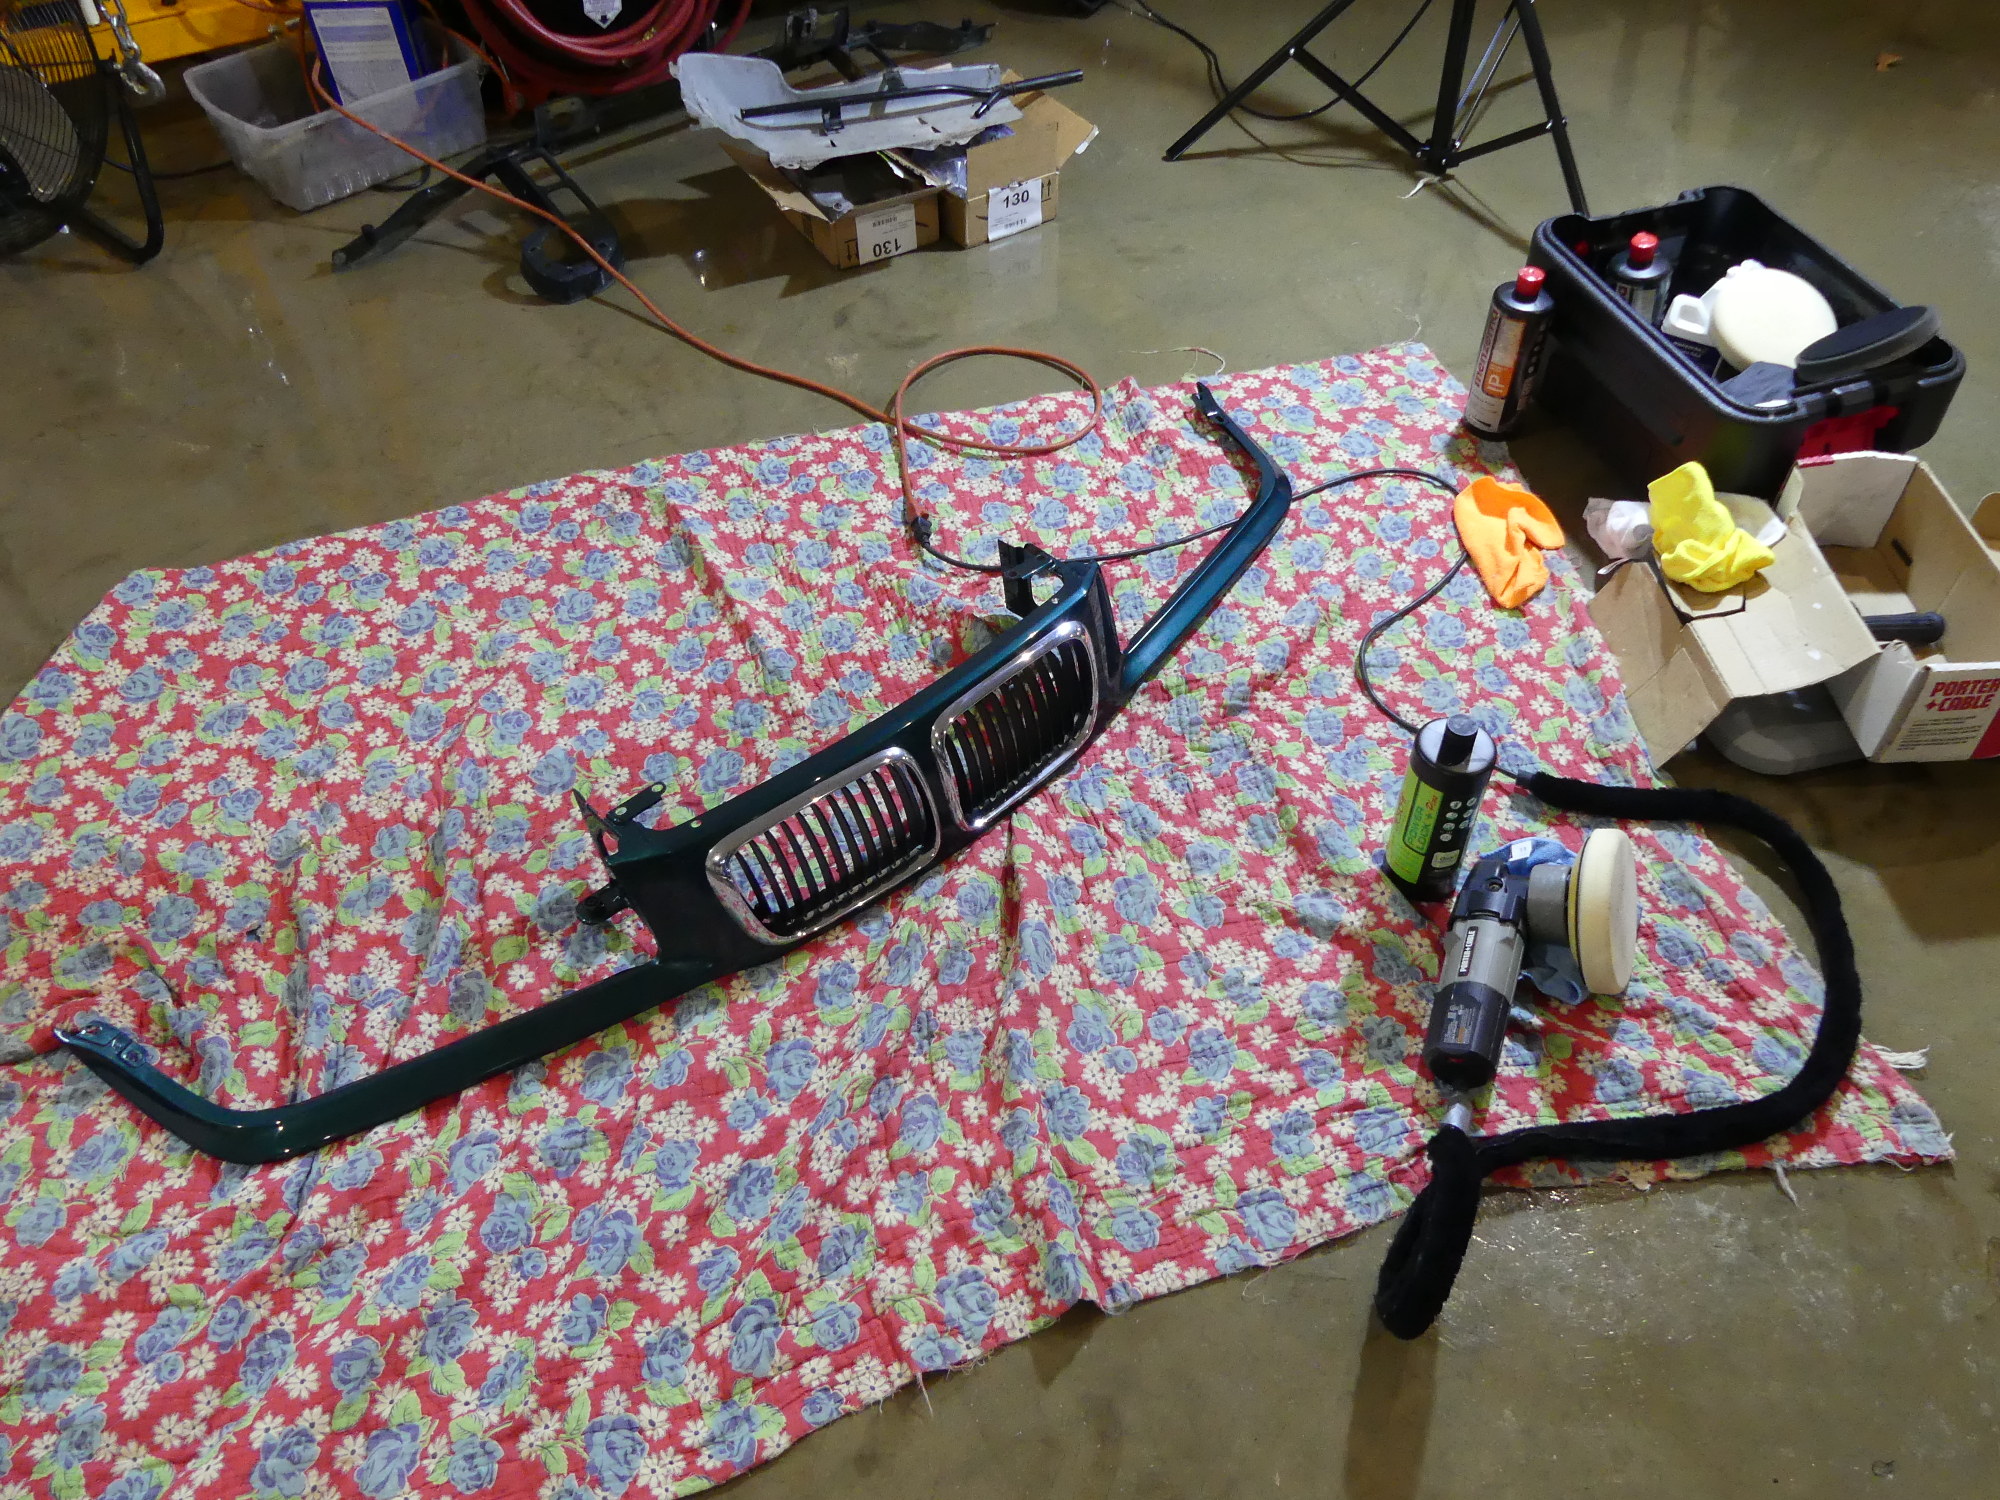 Dismantling the front end afforded an opportunity to thoroughly clean, polish and protect the grille support so I tackled that with my orbital, some Final Finish (3000 grit) and Power Lock Sealant. |
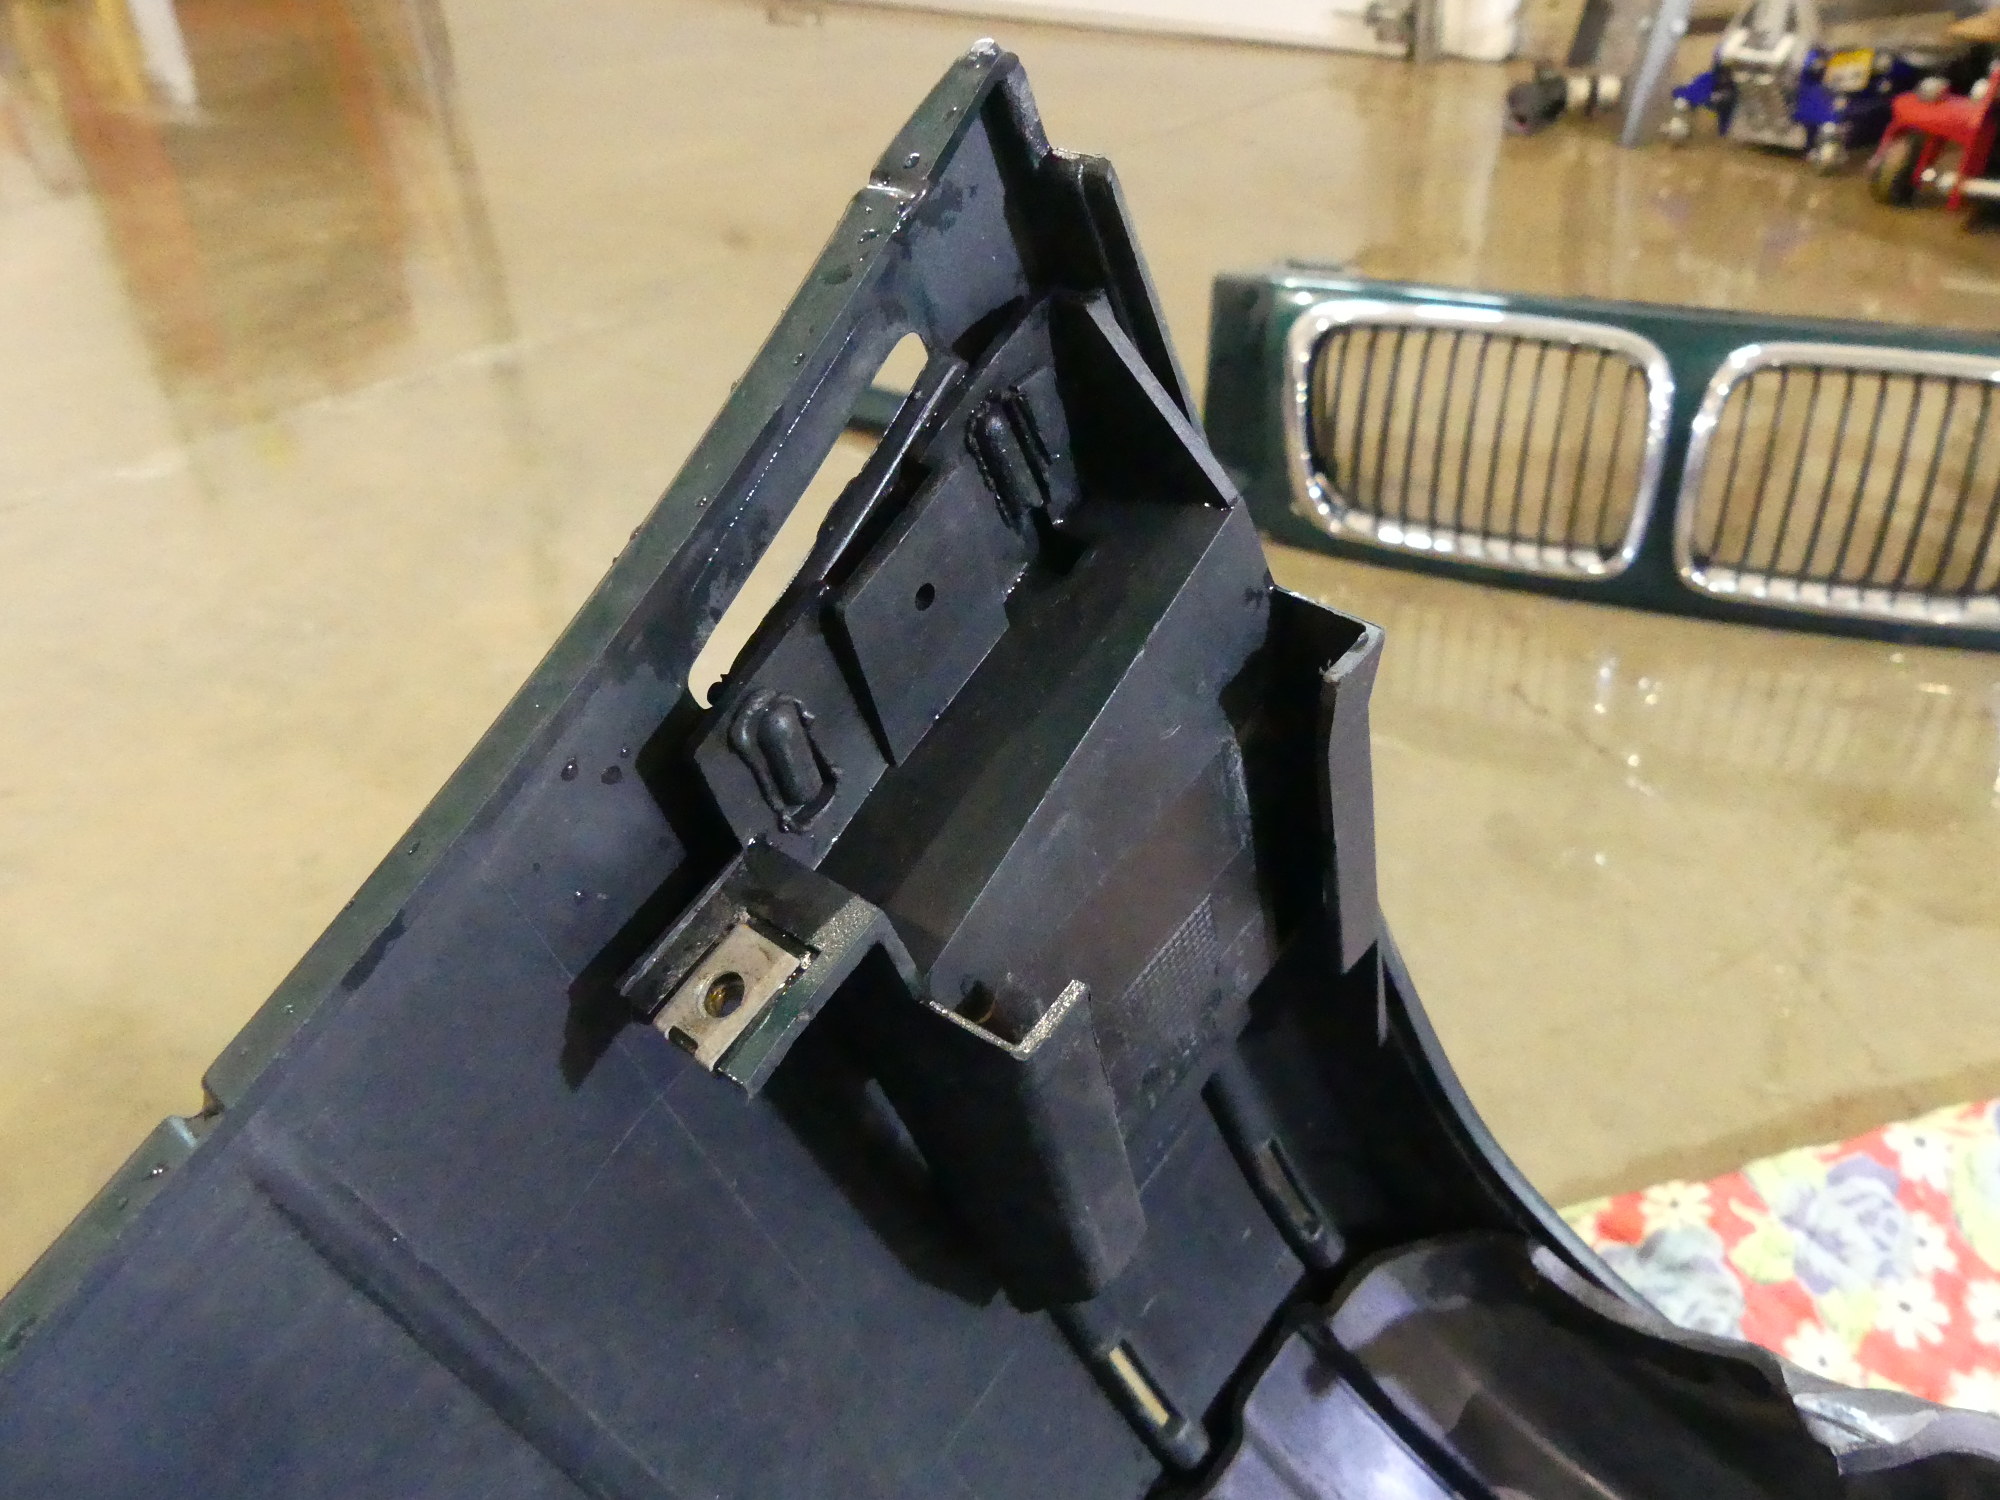 A closeup of the slot present on both sides of the bumper cover. The slot mates with a tab secured to the vehicle to assure vertical alignment, and the tinnerman clip accepts a common zinc plated hex screw inserted from inside the wheel well. |
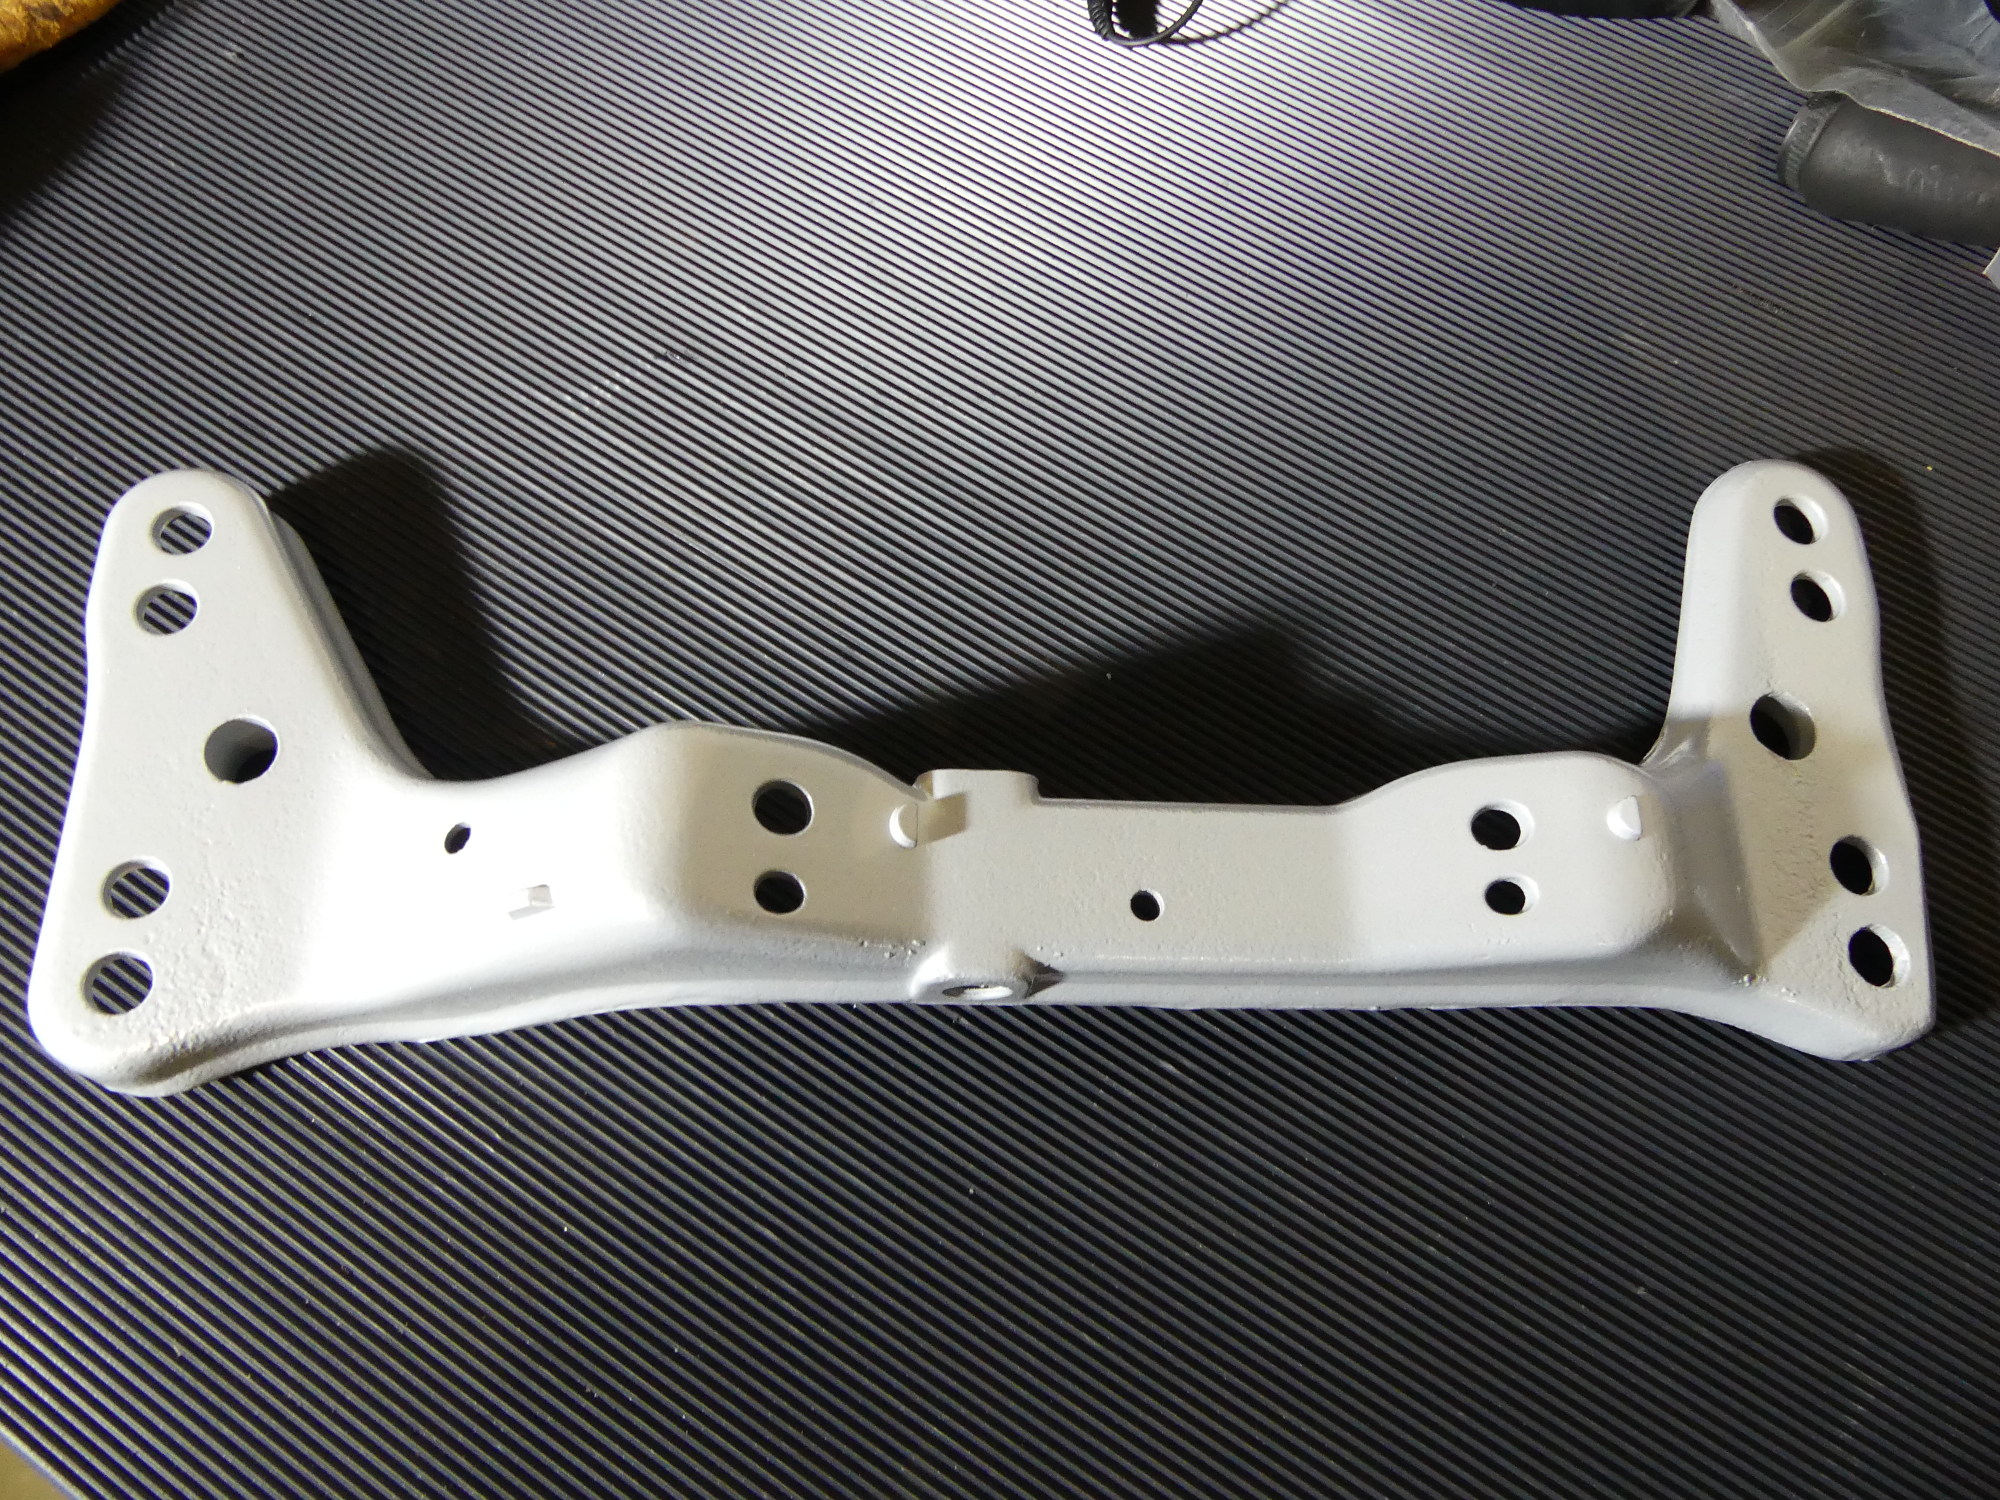
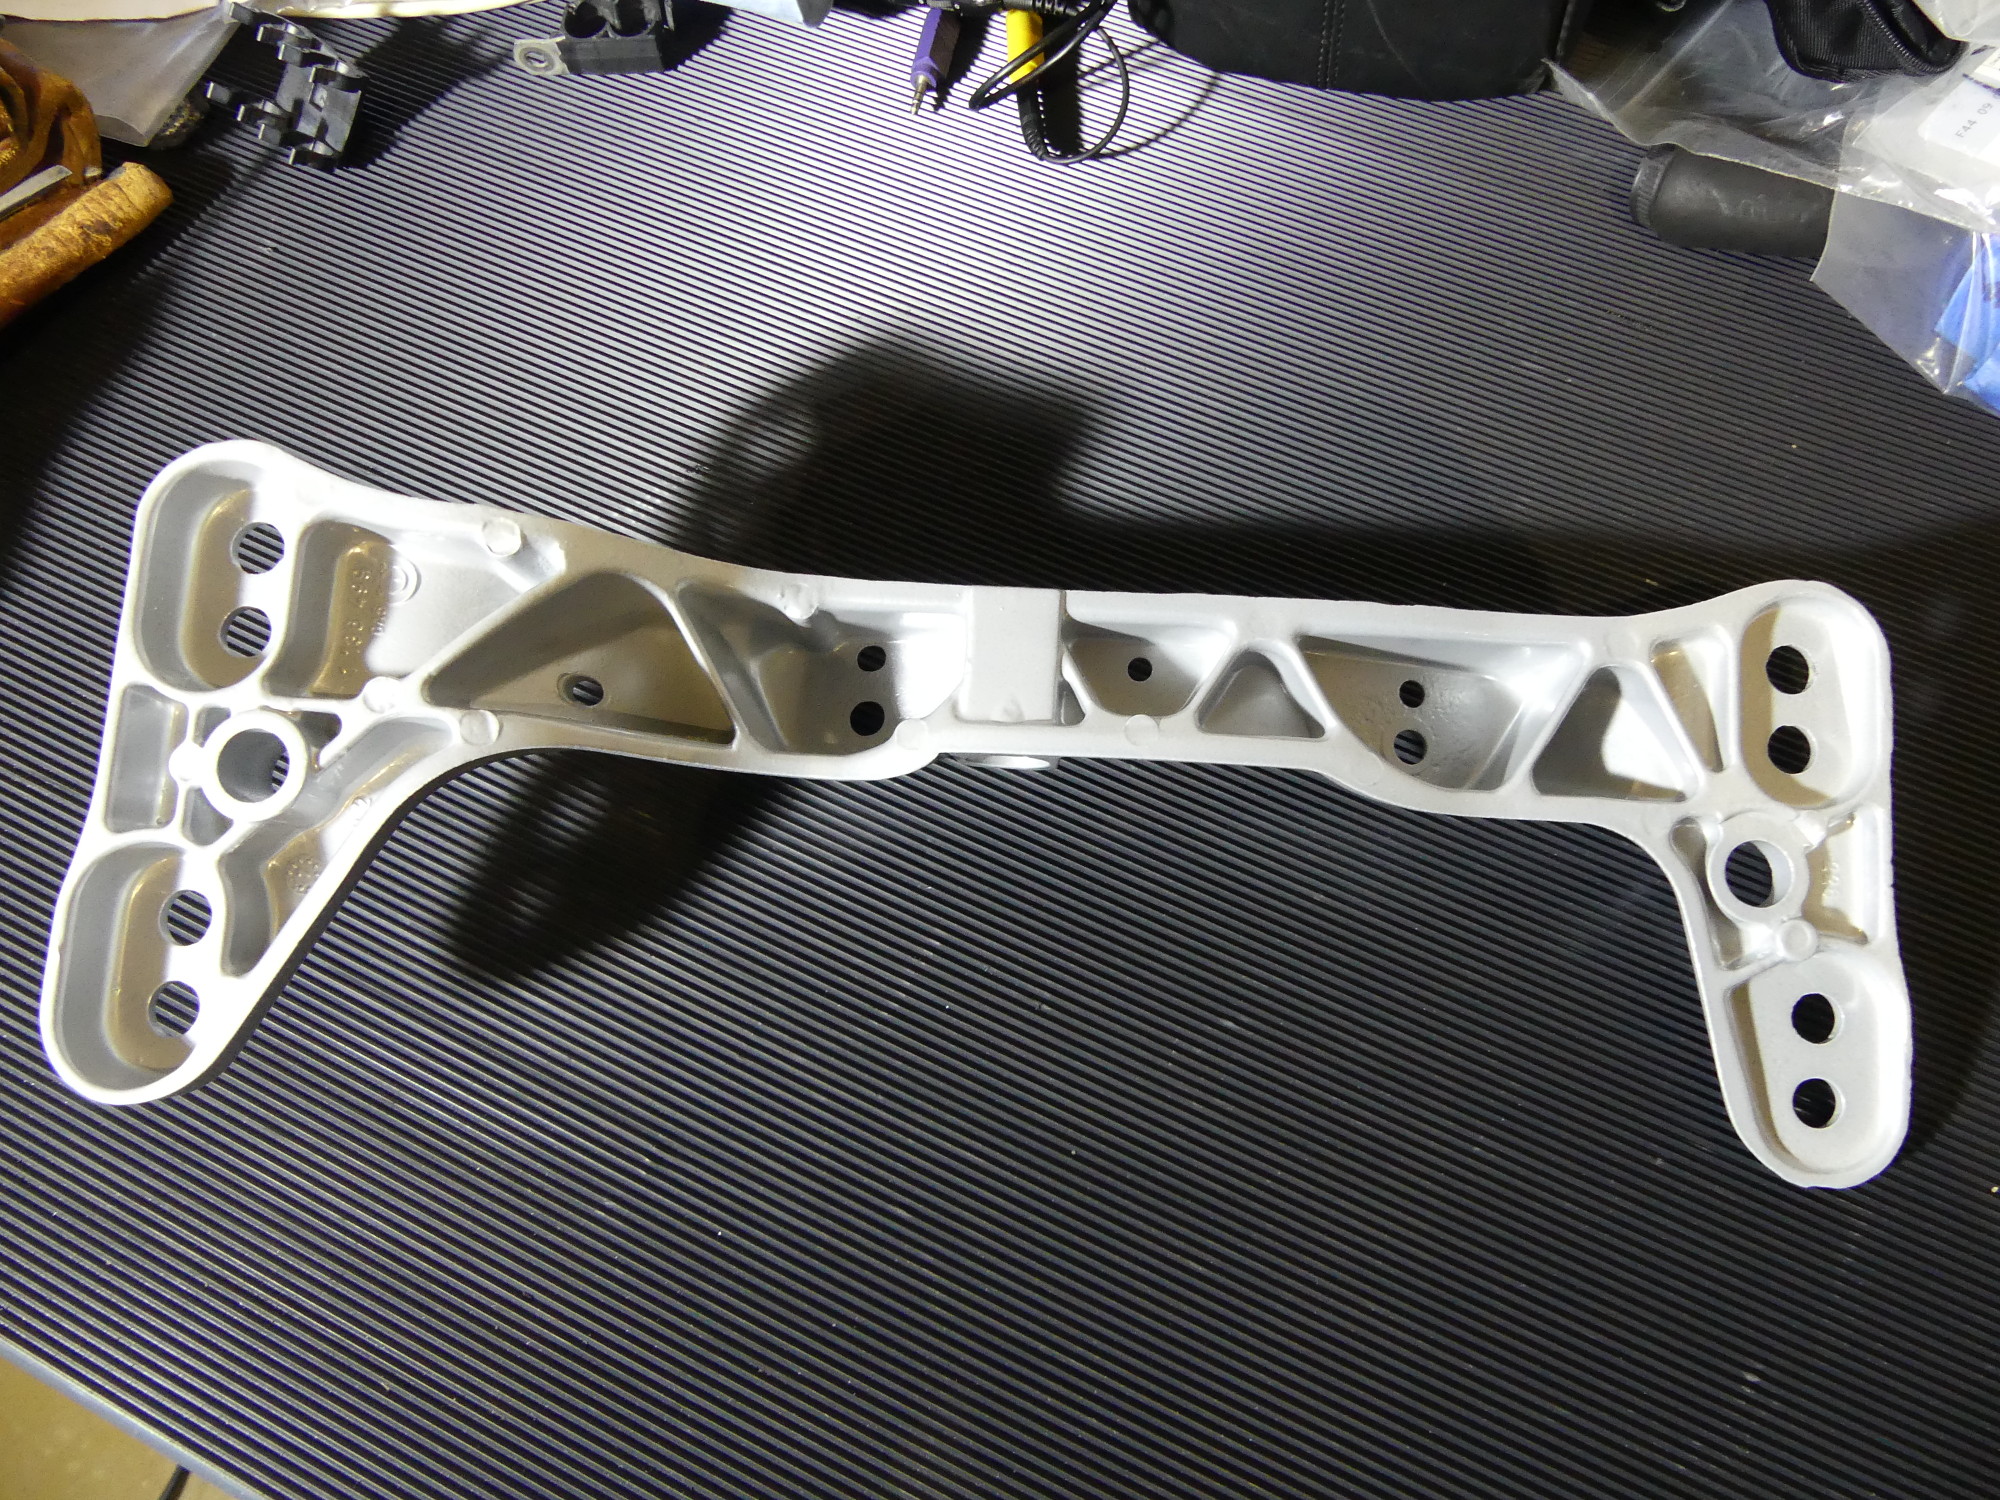
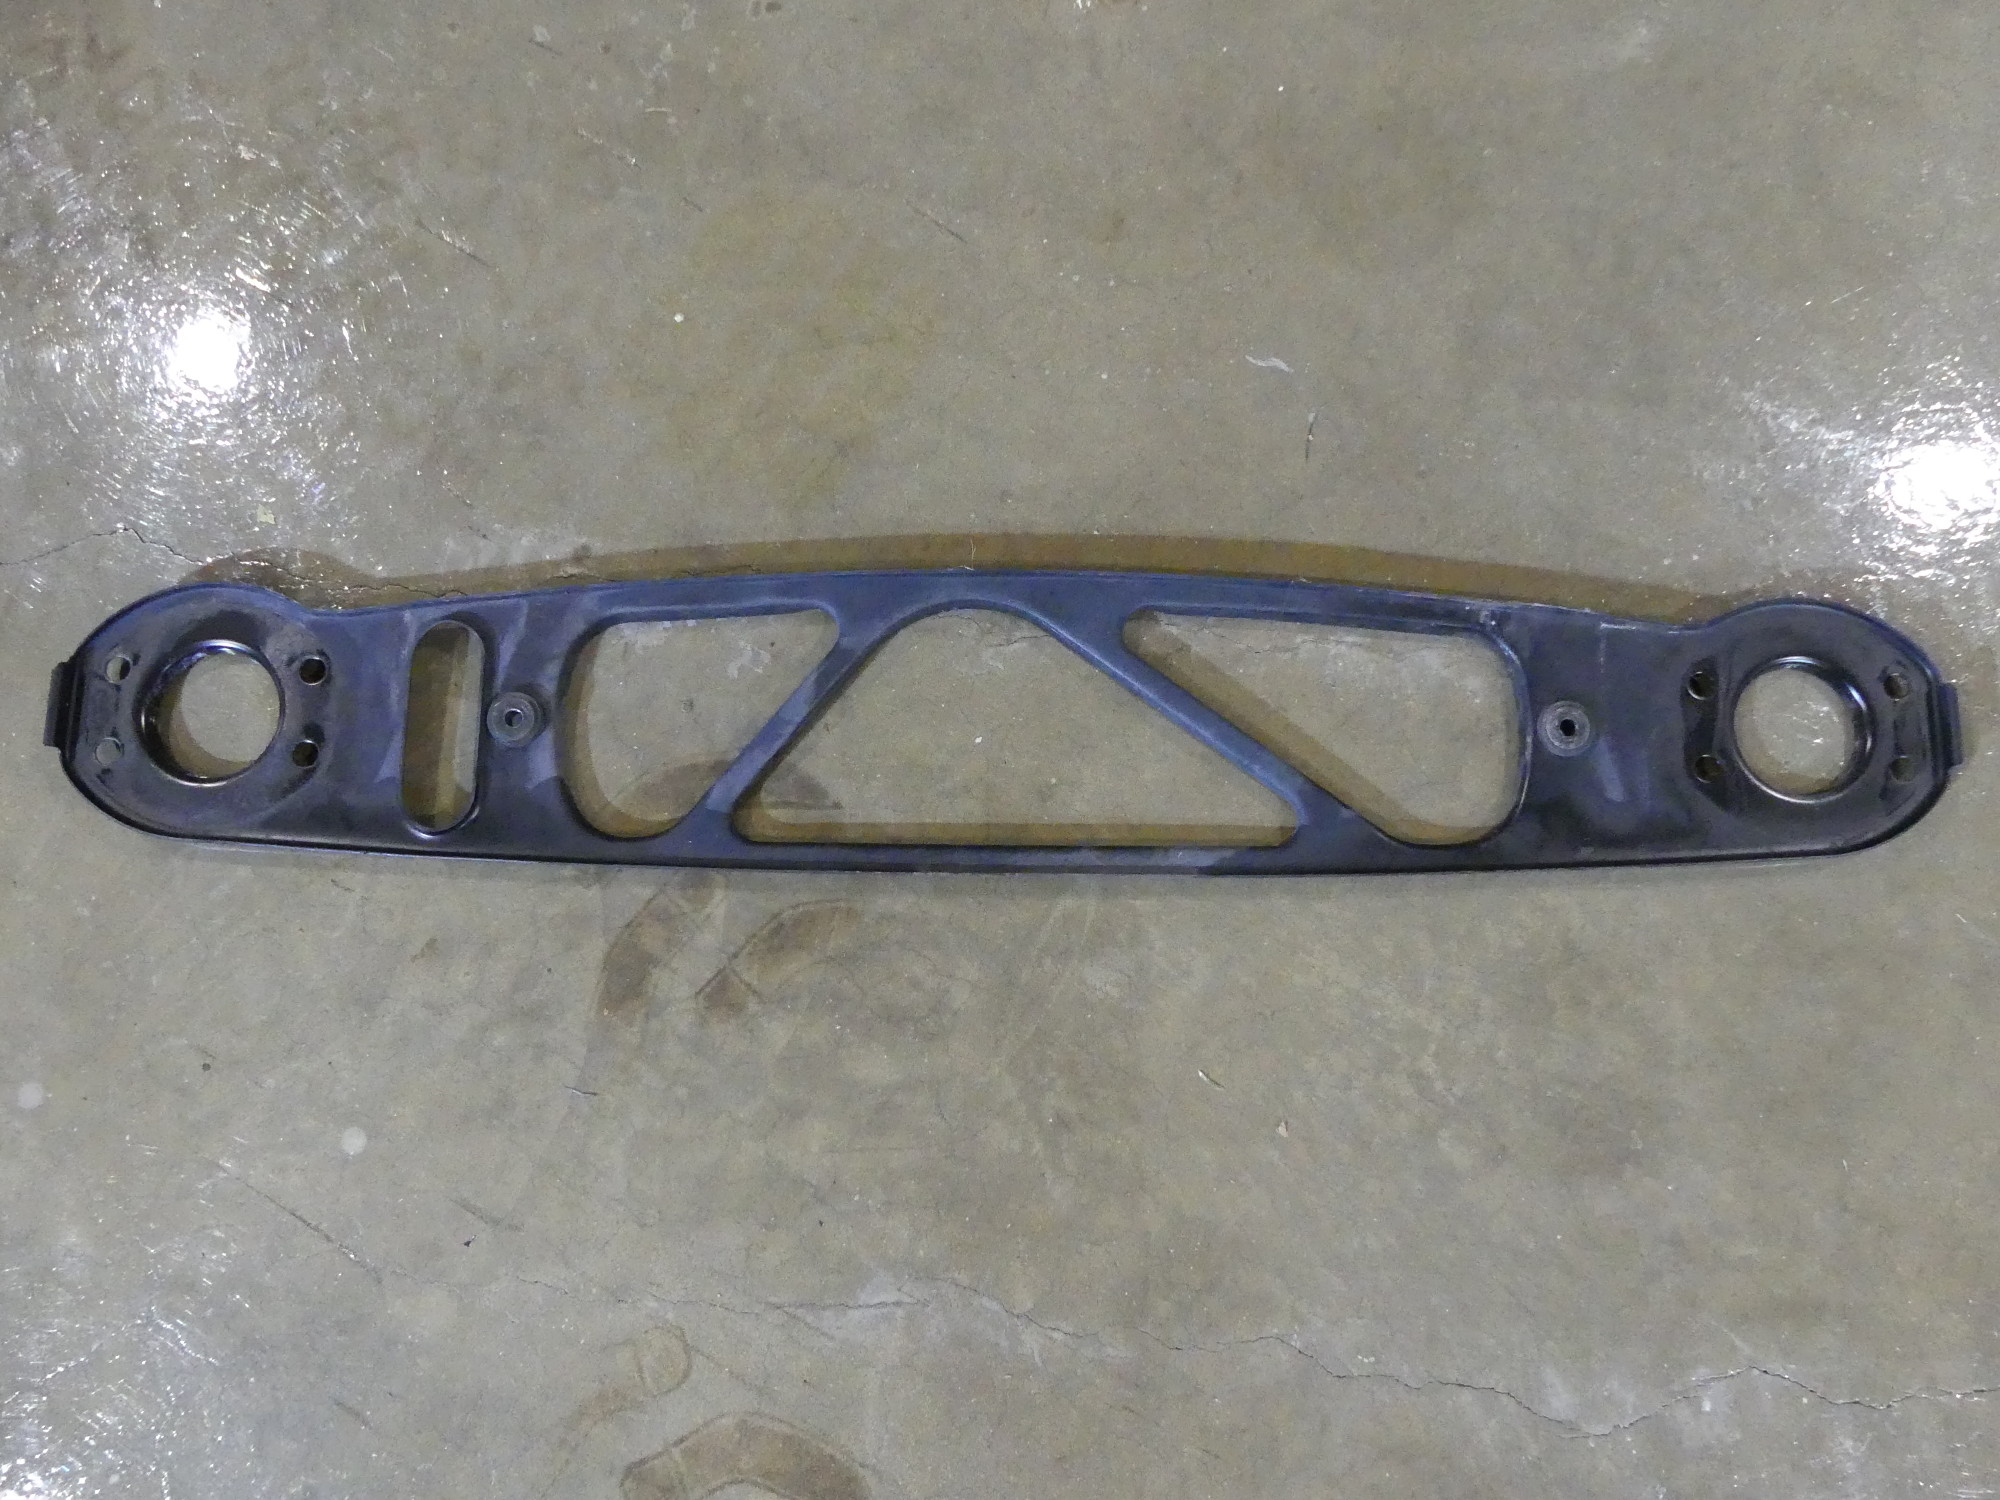 Just a before shot of the front horizontal truss support. I'm planning to take this to my powdercoater for blasting only. I'll then apply some VHT primer and a couple finish coats of VHT satin black. |
While removing the bumper I made the mistake of removing two of the expanding plastic rivets that hold the outer bumper cover (the painted part) to the aluminum bumper support. It turns out that is not required unless the intent is to replace the bumper cover itself. While I have several types of these rivets in stock I could not find the type required for this application so I will have to add that to the next parts order.
To clarify, the process to remove the front bumper on an E36 is quite simple:
-
Remove the trim
-
Remove the pork chops (bottom side pieces)
-
Remove the four nuts on the front (two on each side)
-
Remove the 8mm hex screw just inside of each wheel well. There is no need to remove the wheels.
The bumper cover is supported on the sides by a kind of rail system, so a single screw is all that's required. It's actually a pretty slick mounting system.
Preparing Next Batch For Powdercoating
Last week as I inspected more of the components my technician left in my trunk I realized that many of these pieces should probably be refinished, including:
-
Fuel Filter Cover: I hadn't planned to do anything with this as the powdercoat I applied in 2012 has held up reasonably well but it is rusting in areas and I discovered last week that the part is now made of unobtainium. Best to preserve it while there's something to preserve.
-
AC Support / Tensioner:I was originally planning to merely blast the AC support but I am considering coating it. The tensioners will simply be lightly abraded to improve their appearance.
-
Horizontal Support: I'm on the fence as to whether to have this powdercoated or just finish it with some VHT. My concern with powdercoating is that the finish may be a bit too thick and be compromised under compression of the mounting bolts, whereas a relatively thin coat of VHT shouldn't have the same issues.
Next Up
Now that the front end is off the car and I have a clear shot into the fender it's time to replace the hood release cable. Yes, really. After that it's time to begin work on the fuel lines, which will likely take a day or two.