


Wednesday, October 18, 2017
Chassis Wrap Up and Delivery
I put the chassis back on the lift on Sunday to wrap up a few items.
The first task was to see if I could remove the aero panels at the front corners of the fuel tank. These panels are secured to the car with one hex screw and a stamped metal nut. The hex screw is properly inserted into a plastic body nut, which largely prevents any galvanic reaction between the body and the screw. The stamped metal nuts, however, thread onto a stud welded to the body similar to the one for the fuel filter cover that broke off during disassembly, and since the nuts are cheaply plated with Zinc alone, it takes just a few years for the Zinc to disappear and the assembly to rust solid. My fear, of course, was that my technician would attempt to remove these panels in prep for dropping the fuel tank and one or both studs would break off, and then I'd have to pay him to install the nutserts. I'm happy to say that after a couple shots of PB blaster the nuts on both panels came off easily. I then used a small wire brush to prepare the studs before I applied the last of the VHT primer and black finish coat. After letting the paint dry I installed new aero panels and hardware.
Next up was replacement of the engine mounts. BMW now wants a ridiculous $118 each for these units, while the respected OEM Lemforder makes identical units without the BMW logo for less than half that, so I naturally picked up a set from Pelican Parts for about $100. I found it difficult to get my 1/2" drive ratchet and socket between the subframe and control arm and the reinforcements I had welded to the subframe several years ago didn't help the situation, but I managed to replace both engine mounts within a few minutes. A small perk of this job was that I had apparently purchased extra self-locking nuts for this application during the front suspension overhaul in 2012 so I was able to pull these items out of stock rather than buy yet more from my dealer. If you're wondering why I replaced these mounts after only five years in service it has to do with the vibration this engine was producing the last couple of years. Given how much the exhaust pipes were shaking I can't help but think that took a severe toll on the mounts. The new mounts will guarantee that the newly rebuilt engine has a stable footing.
With the chassis work complete I made arrangements yesterday morning to flatbed the car back to my technician and at the same time deliver several boxes of new parts he'll install over the next few days.
Engine Wrap Up
After I delivered the vehicle I came back to the garage to wrap up the top end of the engine by installing the valve cover (complete with RTV at the required locations), 15 new rubber seals, 11 new cap nuts and washers, the coils, and finally the coil wiring harness.
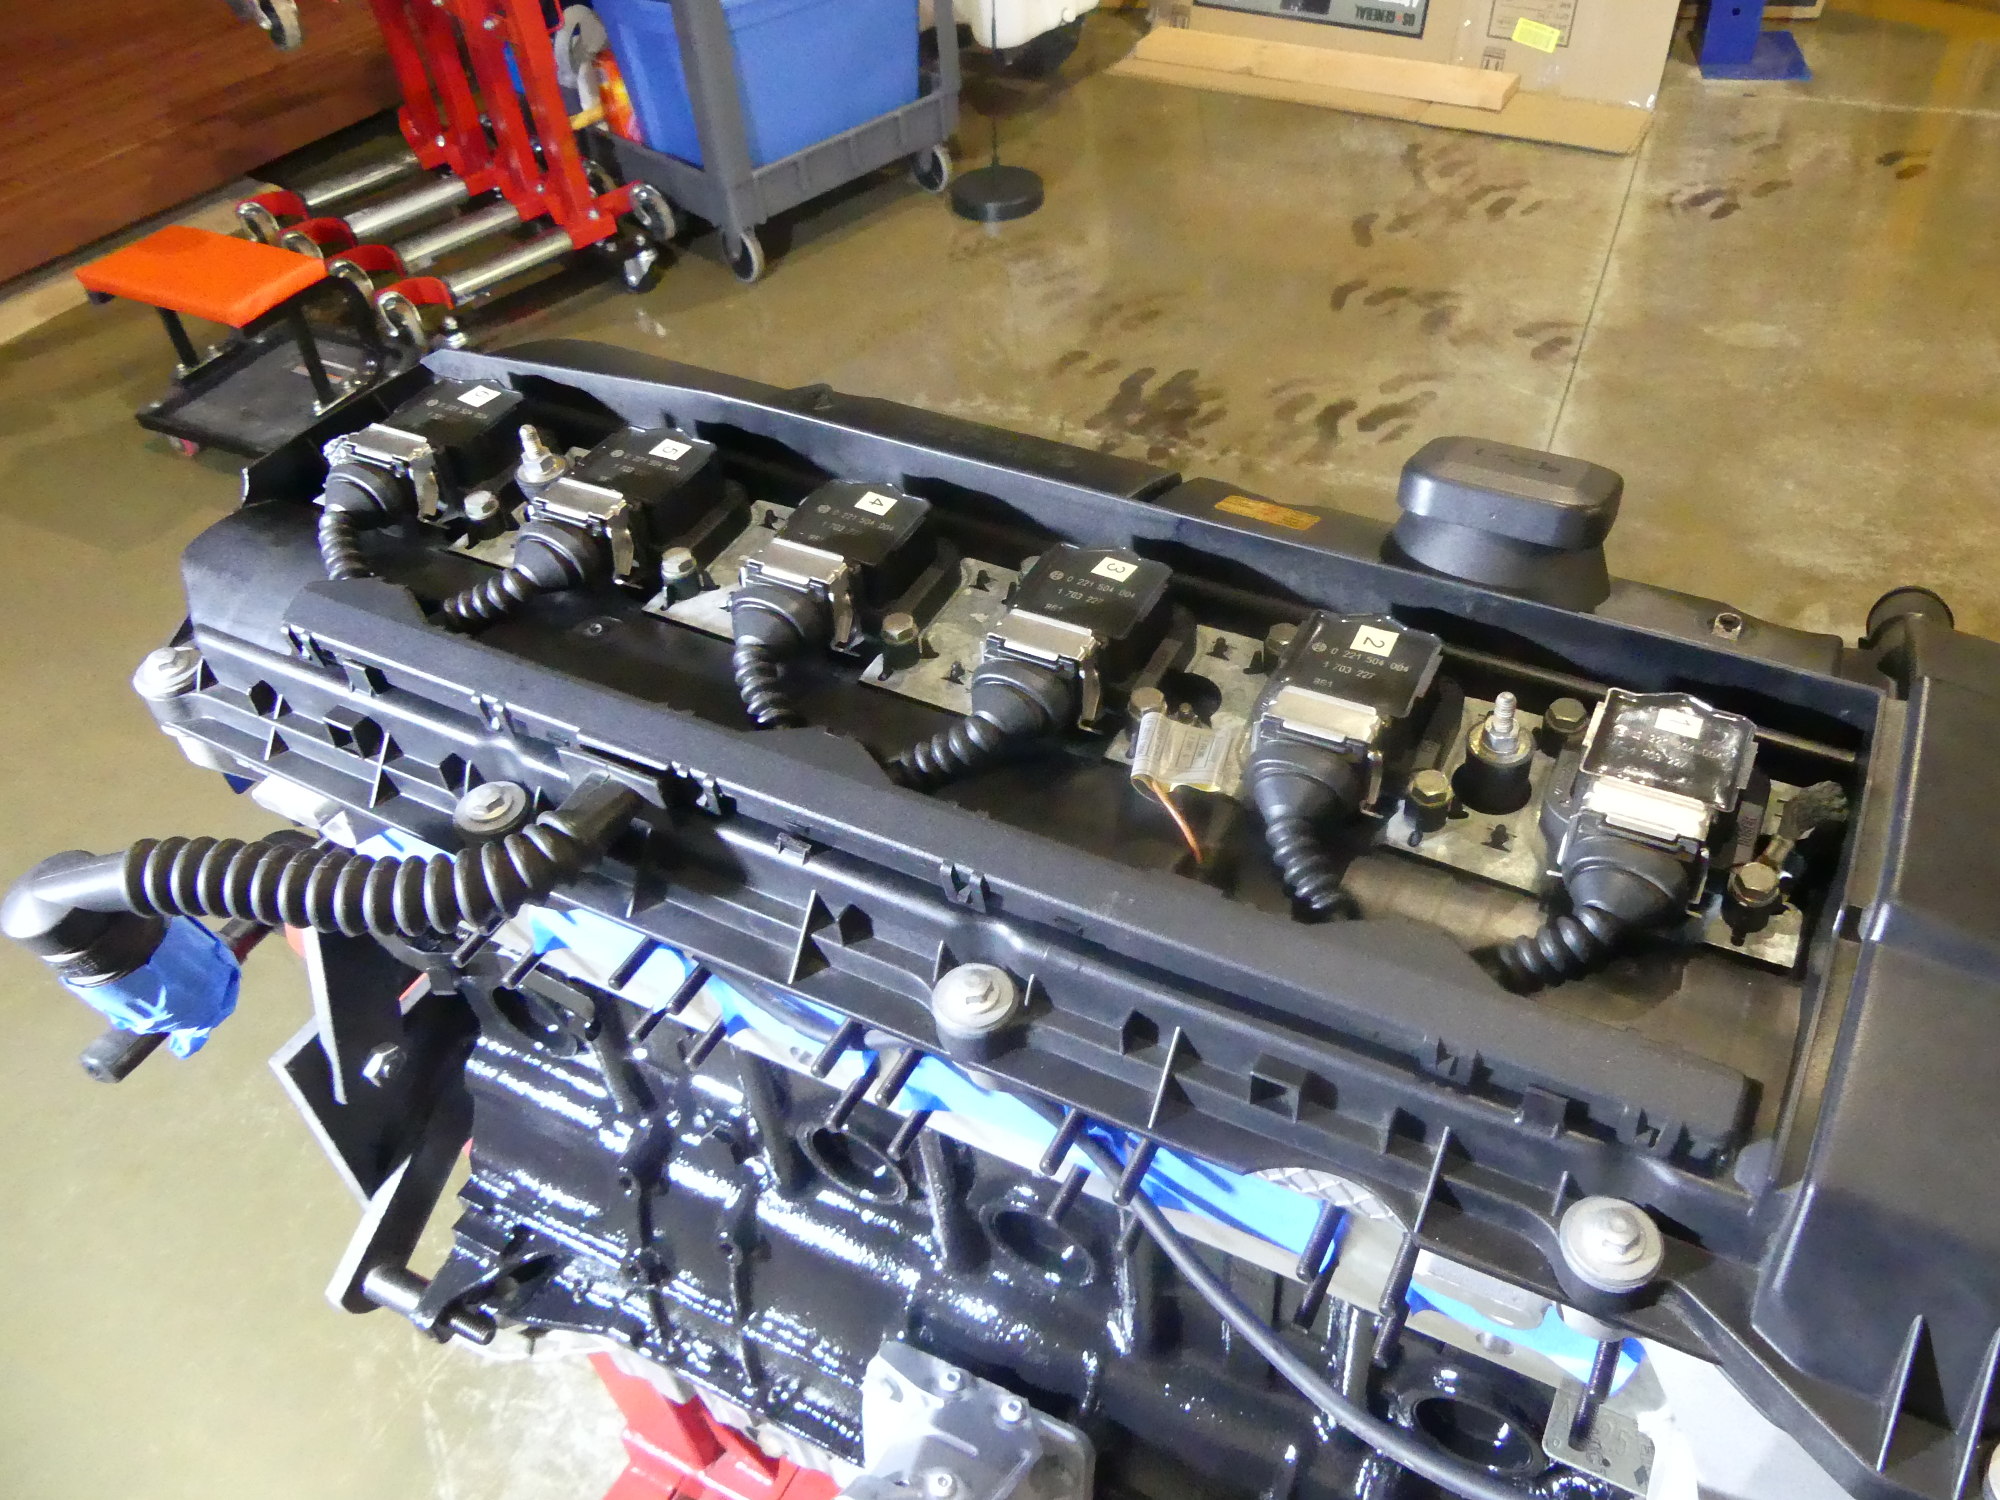 Today installed the valve cover gasket, valve cover, grounding straps, coils, coil wiring harness and main tensioner pulley. The engine is now ready for installation. |
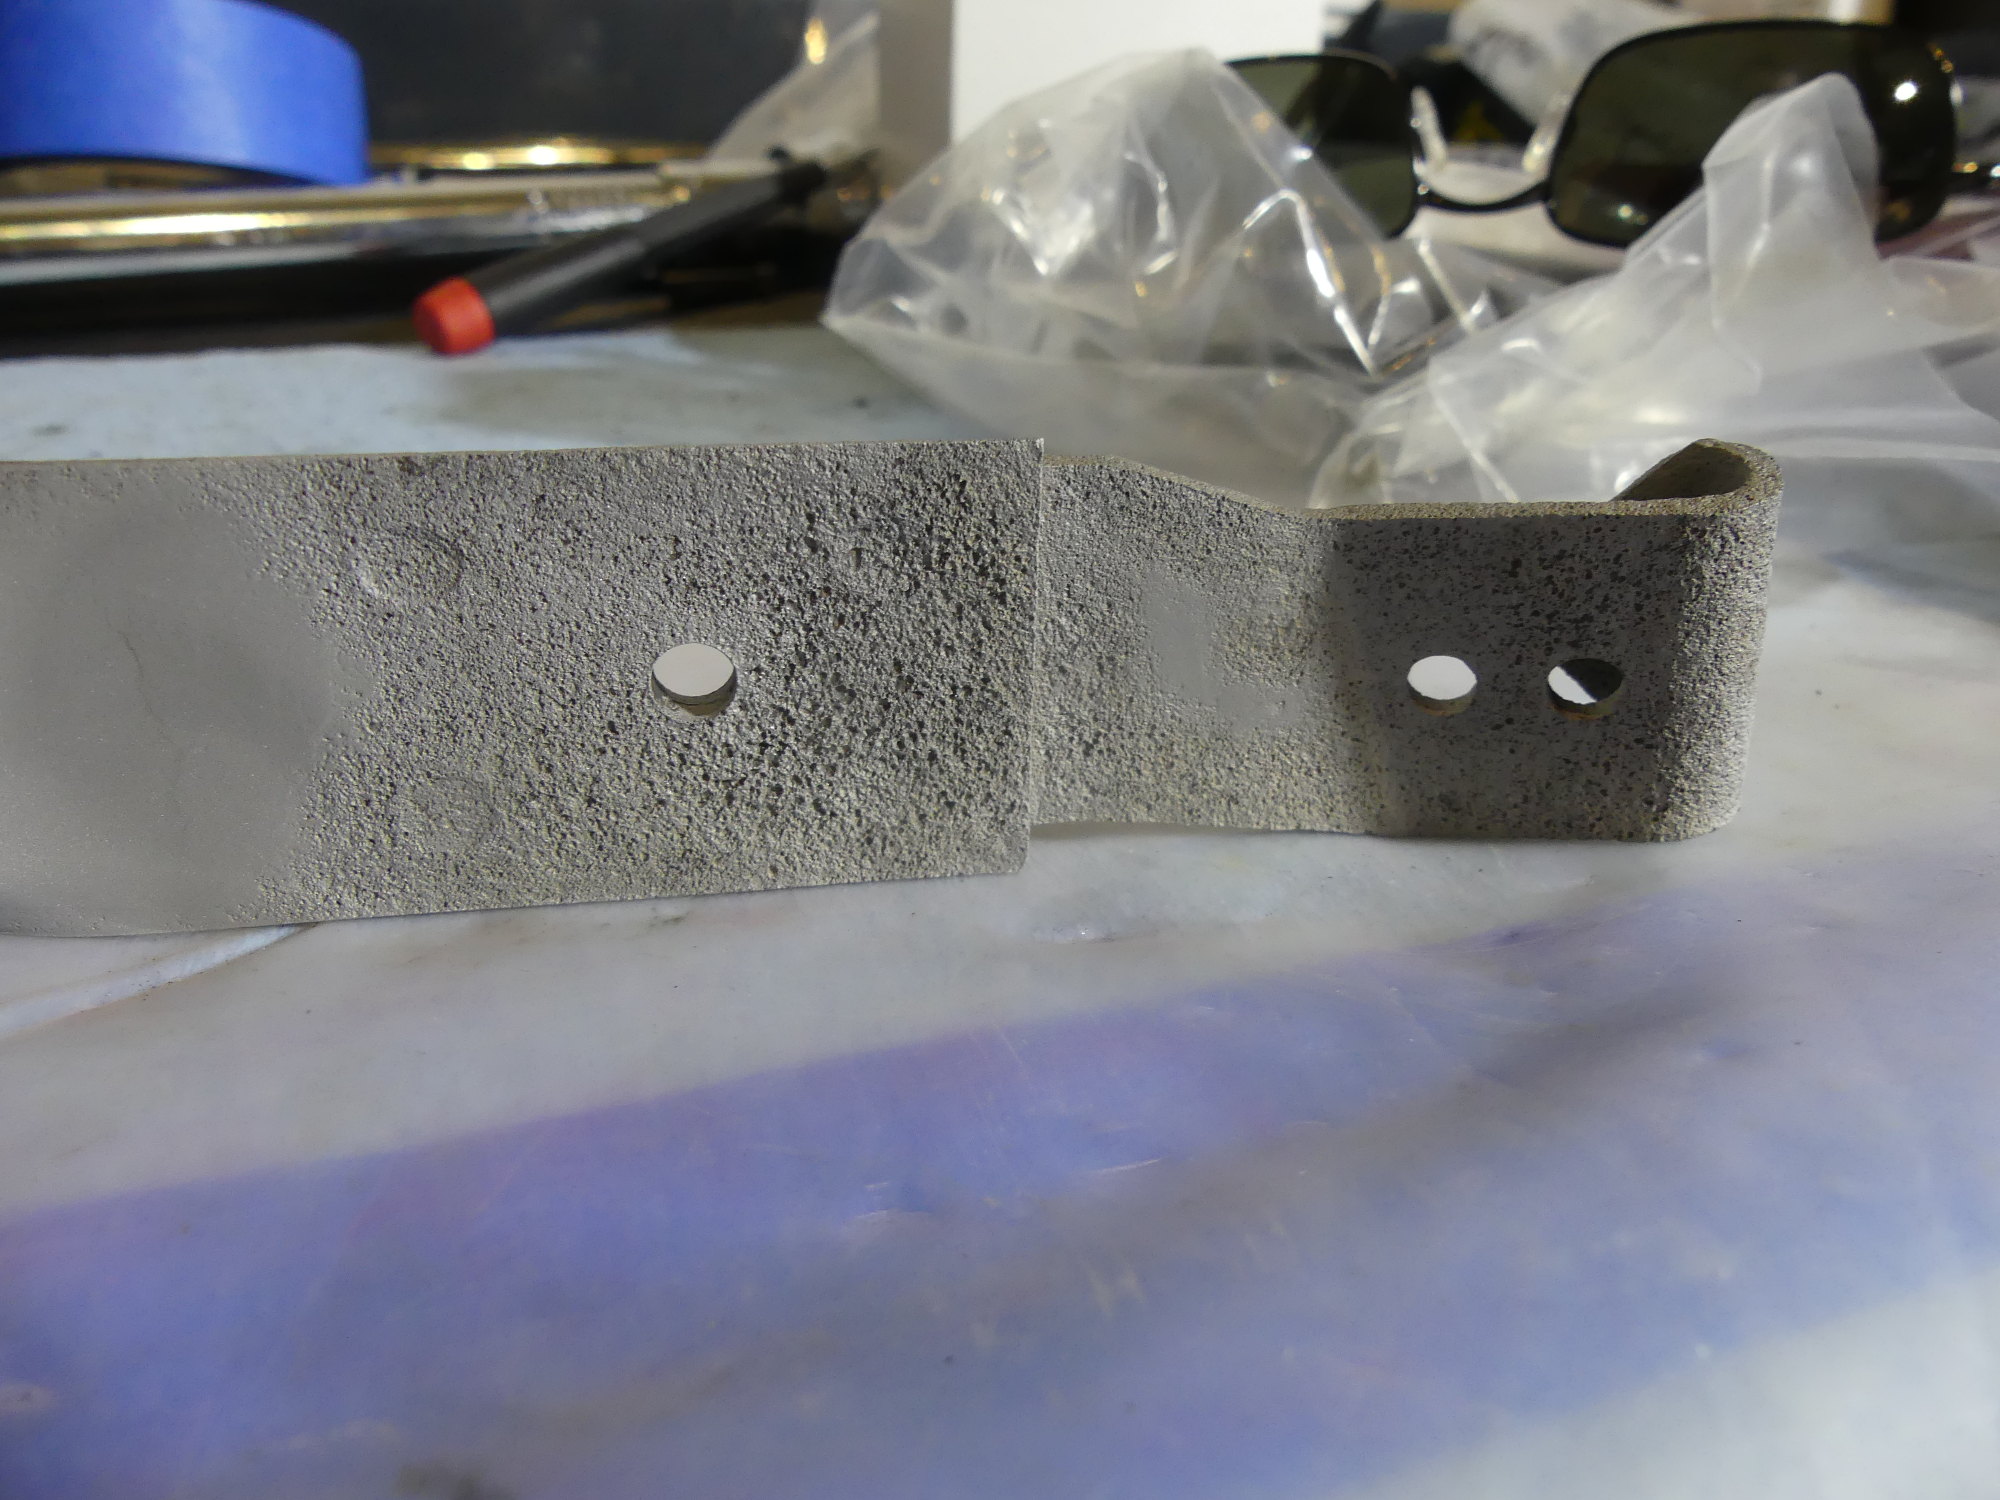 This is what extreme corrosion does to unprotected metal. The VHT primer and paint filled in most of these pits and should help prevent further corrosion, but the damage is done. The part needs to be replaced. |
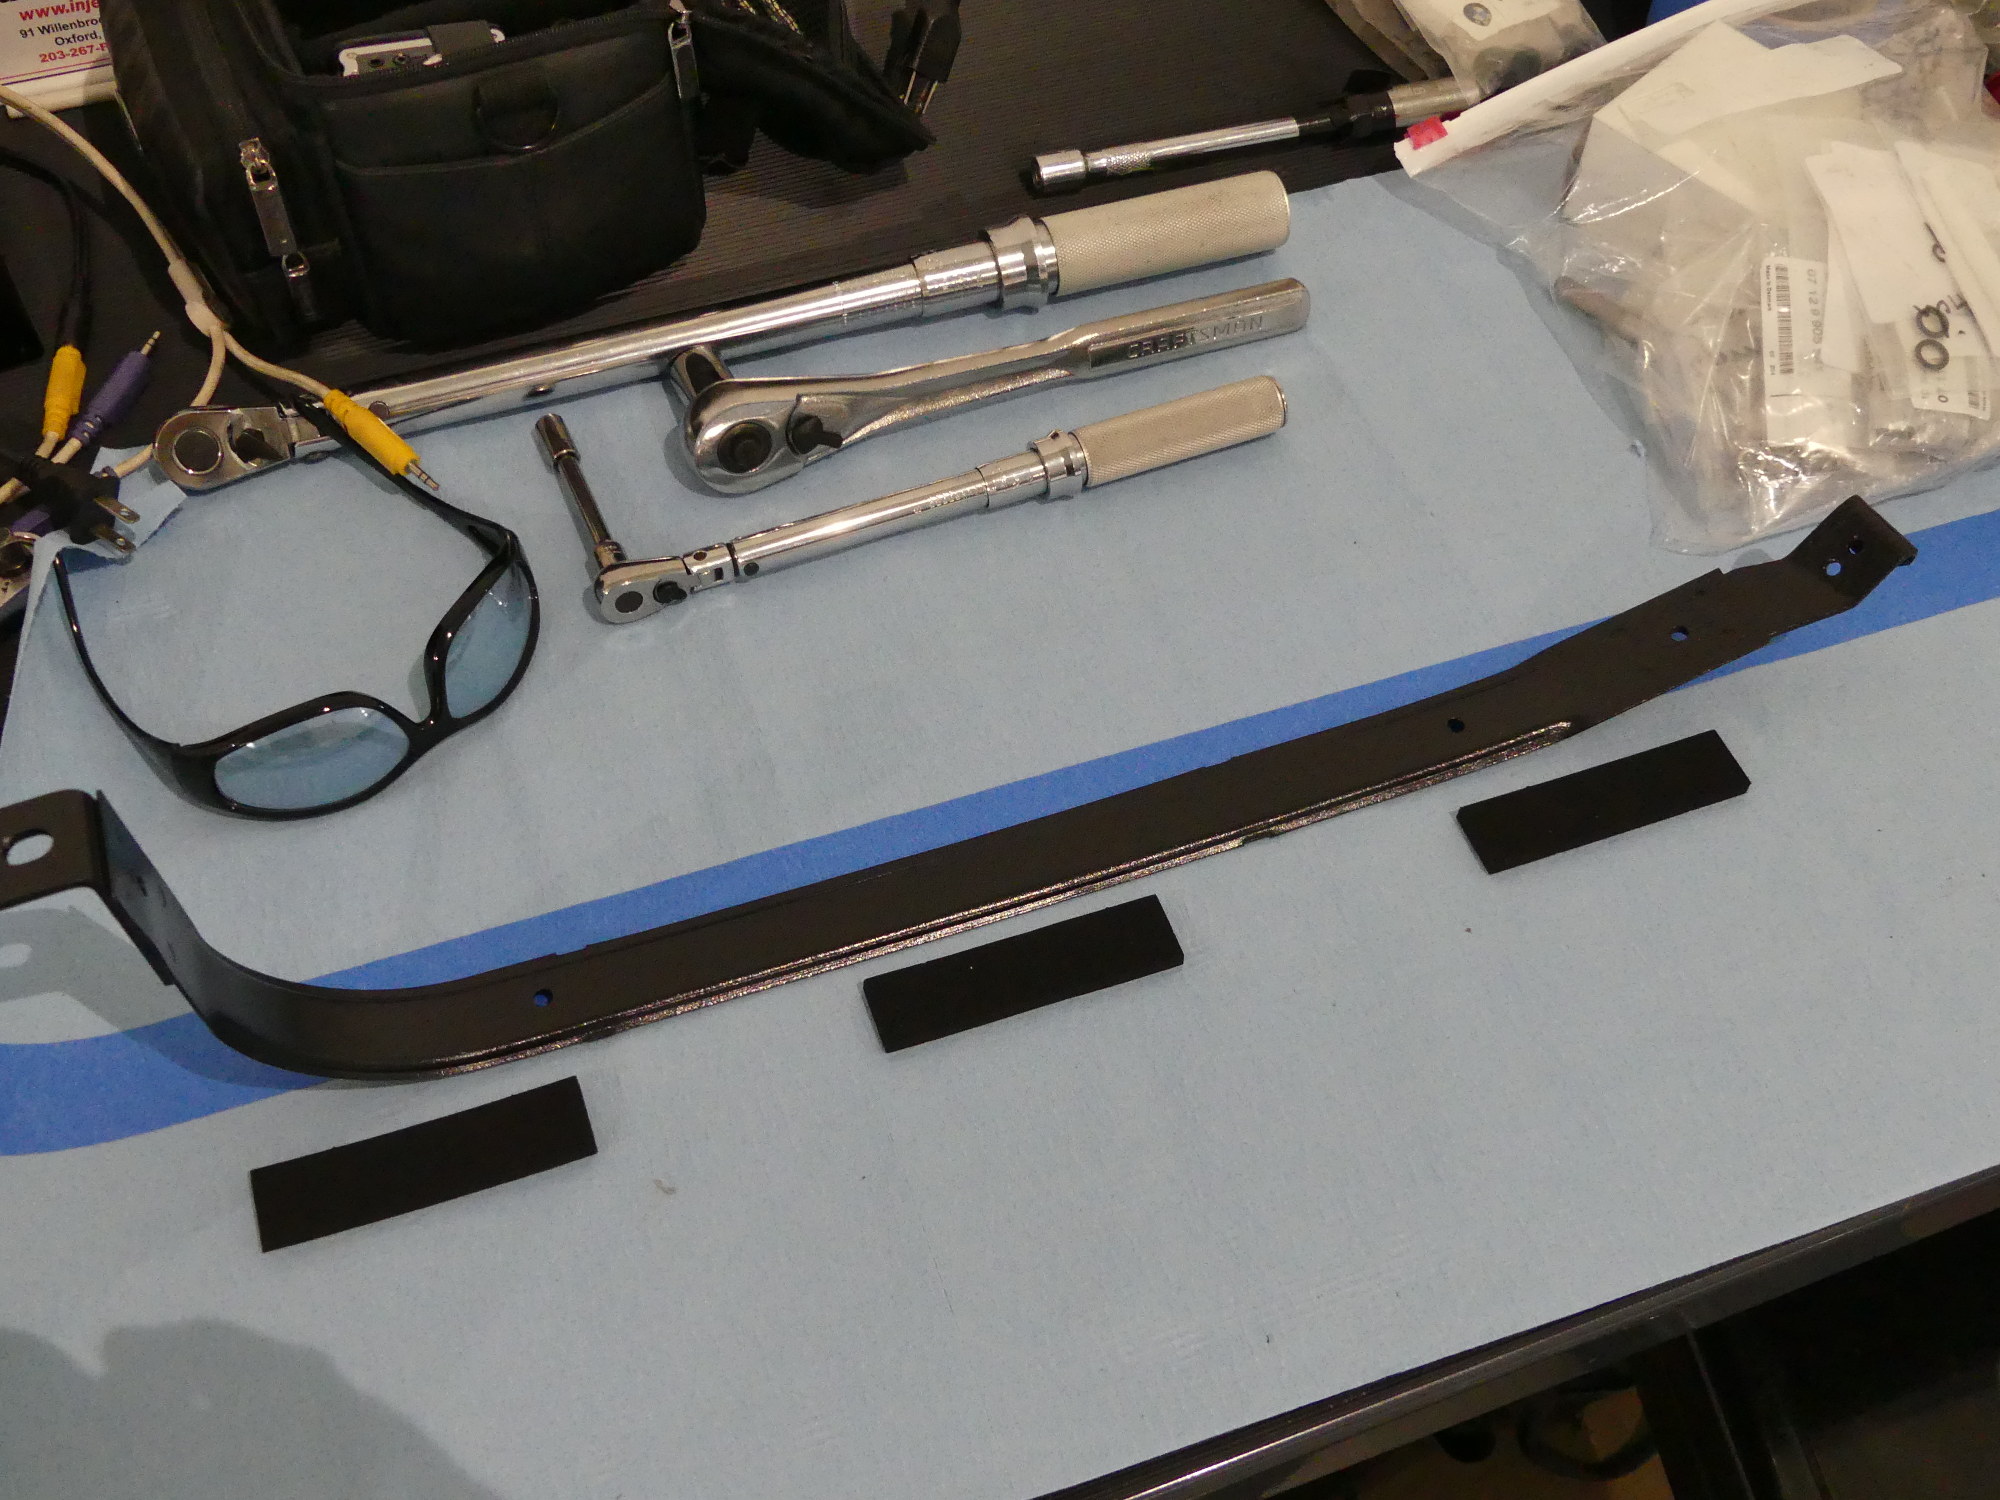 I'm letting two coats of VHT primer and a couple thin coats of VHT black dry overnight before I install these self-adhesive foam strips, which BMW sells for a ridiculous $10...each. |
About a month prior to the teardown I noticed noise coming from one of the pulleys shortly after start when the car was idling or slowly accelerating. Glancing at my maintenance schedule worksheet I realized the pulleys were at around 72K miles, or 12K miles beyond my recommended service interval of 60K. When I was disassmbling the engine I noticed that both the main tensioner and idler pulleys were spinning very freely and noisily. Usually the idler pulley goes first but this time it turned out to be the tensioner pulley. I recently ordered new idler and tensioner pulleys and today I installed the new tensioner pulley. My technician will install the idler pulley when it comes time to install the alternator, which I imagine will be after the engine and wiring harness are back in the car.
Center Fuel Tank Strap Restoration
Today I brought some additional items to my technician that wouldn't fit in the E46 yesterday, including the new vent line assembly he'll need to complete the fuel tank work. While under the vehicle discussing his plans for the assembly process I mentioned that although I was able to acquire new outer fuel tank straps the center strap is no longer available. I suggested that if it wouldn't slow him down I would like to take the center strap so I could refinish it. Wrapping his knuckles on the bottom of each section of the tank he quickly concluded "the driver side of the tank is mostly empty, so there isn't much weight on that side" and promptly proceeded to remove the strap and hand it to me.
After we wrapped up our discussion I drove a few miles up the road to my powdercoater to have the strap blasted. The good news is the blasting removed all of the existing paint, remnants of the foam pads, and rust. The bad news is this process revealed extensive pitting on one section of the strap where most of the rust had accumulated, so while I was able to take the part back to the garage and protect what's left of it with a couple coats of VHT primer and a black finish coat, I still think it needs to be replaced as the bent piece in particular is still at risk of breaking.
When the dust settles on this project I will likely talk to my parts rep to see if he can escalate the issue to BMW Classic, the organization within BMW responsible for supporting older vehicles. I want to replace the center strap, not only because the original is in questionable shape, but because the new parts are coated with a material that feels like a combination of rubber and silicone and I think that will prevent or at least limit corrosion on these critical parts.
Next Up
At this point in the project my job is mostly to wait for texts from my technician as he reaches various milestones so I can run over and take some pictures or video, and that's a welcome relief from my crazy schedule of the last two and a half months. My technician expects to wrap up the fuel tank, sound insulation and brake work early next week, at which point he'll text me to deliver the engine and transmission.