


Saturday, June 26, 2010
Rear Suspension Overhaul - Assembly Day Three
The last day of major assembly began with a minor repair to one of the fasteners on the heat shield that protects the driveshaft. The heat shield had broken free of the fastener so I bought some galvanized fender washers and sandwiched the shield material between them before reinstalling the screw.
Brakes were up next, and it was at this point that I felt most comfortable, since I had done this several times before. Still, installing the brakes took a solid hour and I almost freaked when I couldn't find the little spring clip that holds the brake wear sensor to the inboard pad. A few seconds of deductive reasoning led me to find it left behind on the old brake pad.
I decided to clean the swaybar of a bunch of old, dried cosmoline using some of the Zep degreasing fluid before installing it with new self-locking nuts. That took only a few minutes because I had done that recently too. Interestingly, I found the rubber in the swaybar links riddled with small cracks after only a few years in service. There was nothing I could do about it now, but I may wind up replacing those links again soon.
The muffler turned out to be relatively easy to install in spite of its weight, but I needed to leverage the jack to hold the heavy end of the muffler up so I could mate the pipes with the mid-section smoothly. As per BMW requirements, I used two new sealing rings and new hardware including copper self-locking nuts. There's no getting a torque wrench between the pipes so I fastened them with two box end wrenches (the bolt head is 13mm and the nuts are 12mm...which is a good thing since I don't have two of either size wrenches). They snugged up suddenly and I took that as a sign to stop tightening. Easy enough.
Removing the old (larger) sealing ring left behind on the pipe was as simple as placing a screwdriver on it and hitting the screwdriver with a hammer. The sealing ring is made of some kind of composite material and breaks easily. Graphite appears to be one of the ingredients because my finger tips were a nice shade of dark gray after handling it for only a few moments.
I installed the wheels temporarily (meaning, I did not torque the bolts) lowered the car to the ground and then torqued the axle nuts to 250 Nm (184 ft*lbs). Everyone complains about that torque but I had no problems applying it with my largest torque wrench and my 30mm impact socket. I couldn't stake the wheel nuts with the wheels on because the hub of the wheel got in the way so I jacked the rear up again, removed the wheels, and then staked the nuts before I reinstalled the wheels a final time.
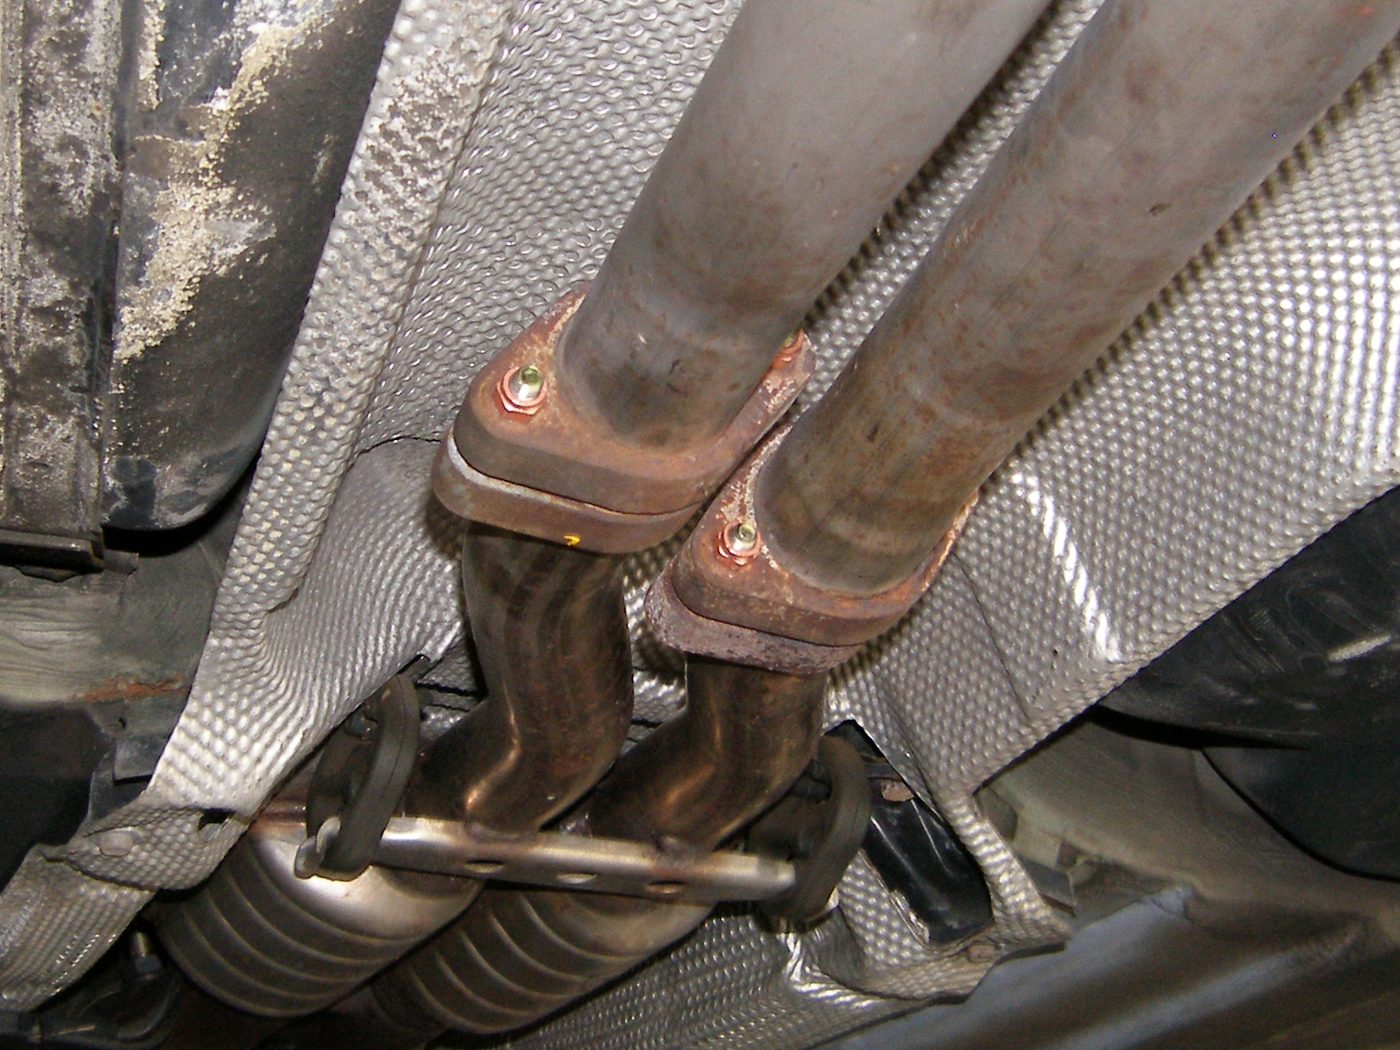 BMW requires new sealing rings, and new hardware is always a good idea when doing work on the exhaust. |
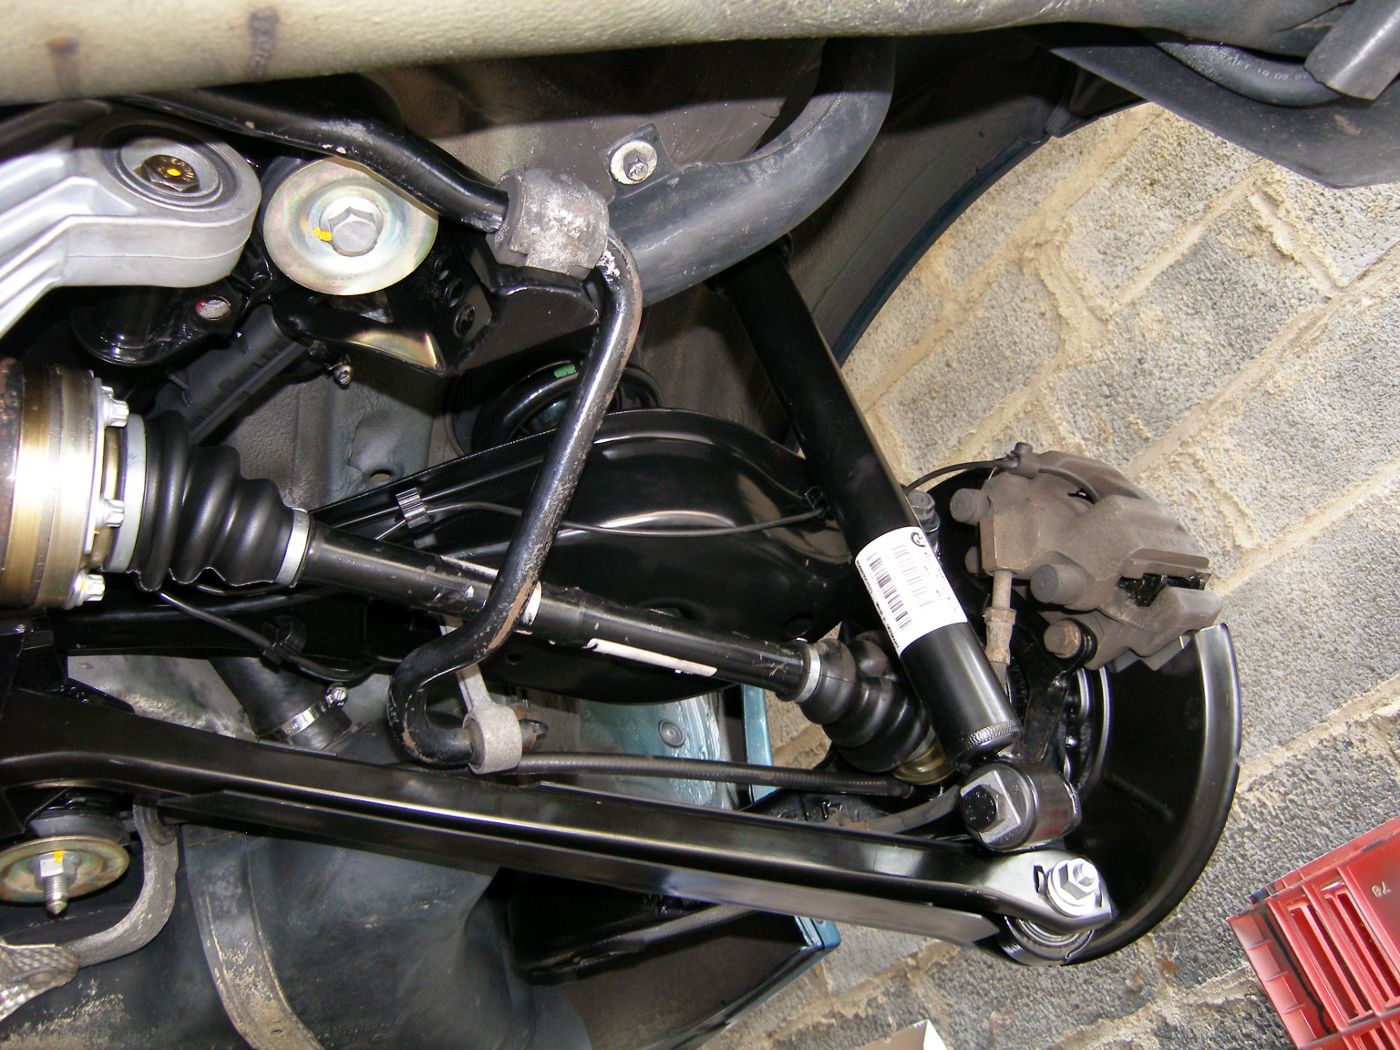 The state of the rear just before reattaching the wheels. Shows swaybar and brakes reinstalled. |
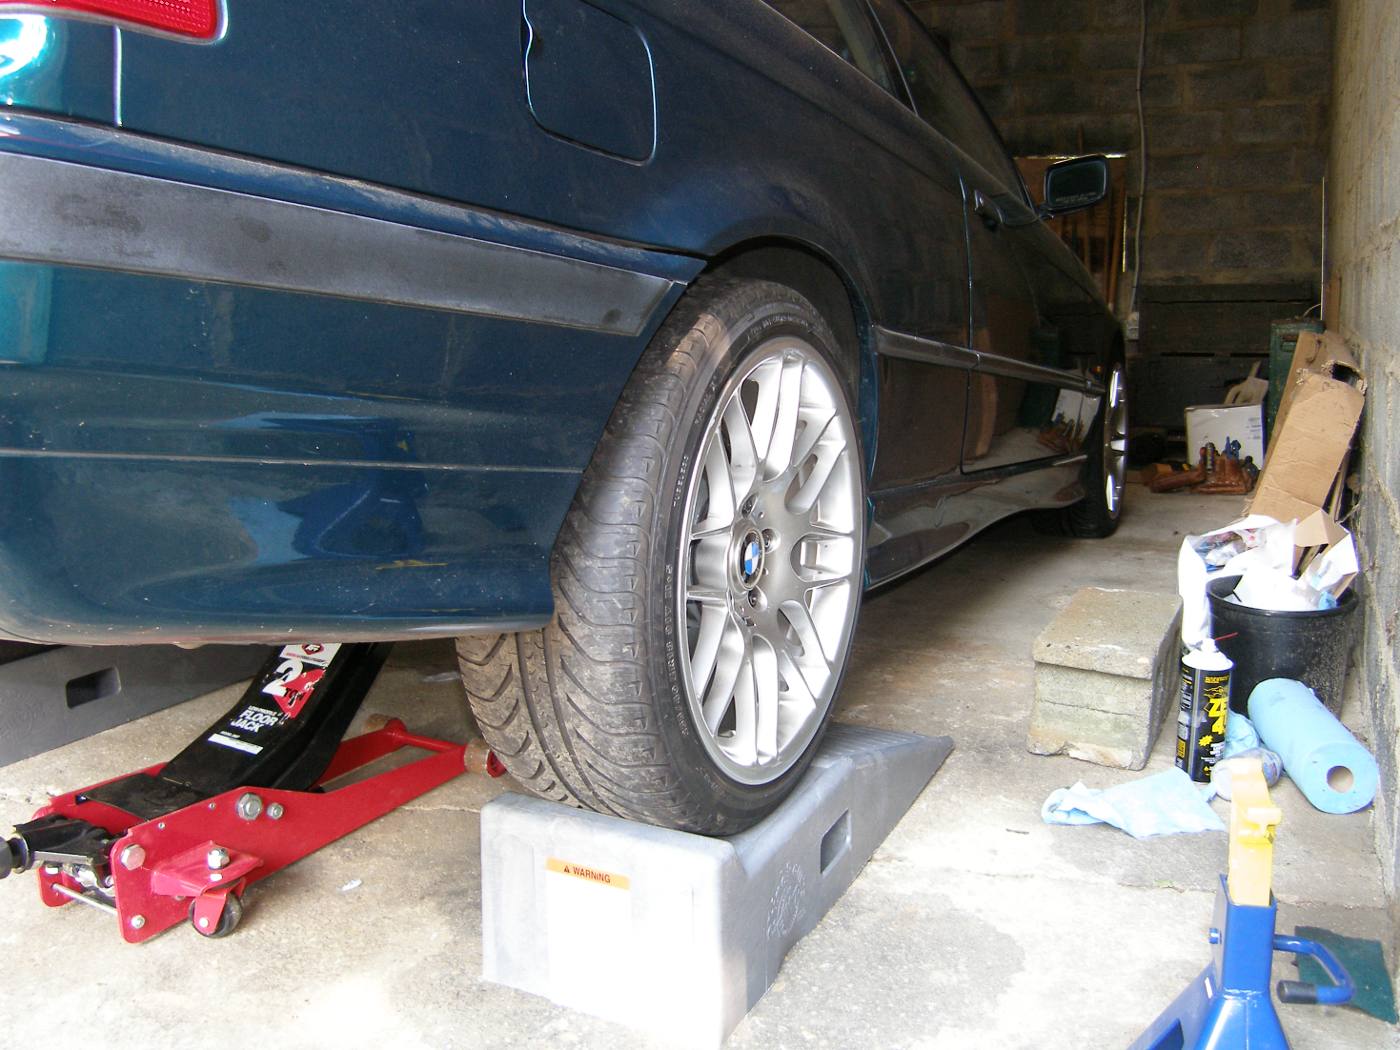 Some fasteners must be torqued at ride height, but the only way to get the clearance to do that is to put the vehicle on ramps. |
I then lowered the vehicle down on a set of ramps to achieve the normal normal ride height as required to apply a final torque to several fasteners including the bolts that attach the control arms to the subframe and the shocks to the trailing arms. I could not use a torque wrench on the control arm bolts due to clearance issues so I just torqued it by feel. I had sufficient clearance to swing the torque wrench on the shock fasteners, however, so those were torqued to specs without any problems.
With that out of the way, I conducted a last minute inspection before I lowered the vehicle down to solid earth and went to grab the key. The M52 engine can be somewhat finicky when it is started after being dormant but aside from a bit of stumbling on the first few cylinders it fired right up and settled into a smooth idle. And better yet, I saw no warning lights in the gauge cluster. I took this as a sign that it was ready for a test drive and I carefully pulled the car out of the garage for the first time in three weeks.
I got out of the car to conduct another inspection and immediately noticed the rear ride height was a bit higher than before but I expected that given that the new springs hadn't settled yet. I grabbed my cell phone (with my local wrecker's number in the address book just in case) and took the car around the block at normal residential speeds with the windows open to listen for any undue creaks or groans.
At about 25 MPH I conducted some shallow and then progressively more aggressive turns to get the body to roll a bit in an effort to help settle the springs. I also used the emergency brake to stop the vehicle a few times and thus completed the break-in process. Back at the garage I re-checked the ride height and saw it had settled down enough to call it "near normal". I also took into account the fact that the old springs may very well have been sagging a bit. In short, it looks great, and it drives well in spite of not being "officially" aligned yet.
After cleaning up the garage I called it a day after another five hours of work. Tomorrow I'll reinstall the interior and detail it. Then I'll bring it for alignment first thing Monday morning before I call the project complete.
Mileage: 193332, Parts: $5