


Sunday, December 5, 2010
Fog Light Bulb Replacement
One of the more annoying aspects of winter in the Northeast is that the days are shorter and I inevitably wind up driving home from work at night. Since the US version of the E36 low beam headlights generally suck I wind up driving with the fog lights on. They are not really designed for long distance illumination, but any additional light brought to bear on a dark country road is always helpful.
In any case, one night last week I realized that the lighting pattern was not symmetrical. It didn't take long to figure out one of the fog light bulbs had burnt out so the following morning I picked up a couple H1 halogen bulbs at the dealer (BMW part number 63-21-7-160-777) and installed them.
The procedure is simple:
- Push a long thin screwdriver into the upper hole in the grill adjacent to the fog light to release the fog light assembly. When successful, the inner side of the fog light will pop out as if the fog light is hinged on one side. It is not strictly necessary to unplug the vehicle's wiring from the fog light assembly. Avoid the extra work if possible.
- Grasp the reflector assembly in one hand while you use the other to twist the black cylindrical wiring connector counter clockwise until it unlocks (only an eighth of a turn is necessary). Then carefully separate the two components being careful not to stress the short wires.
- Grab the insulated terminal that provides power to the bulb and pull it off the bulb. Be careful to grab the actual spade connector and not just its protective rubber boot.
- Squeeze the two free ends of the bulb retainer clip together, pushing down as required to free them, then pull the arms up and allow the retainer clip to fold back and out of the way. This will release the bulb.
- Pull the old bulb out of the reflector assembly and replace it with a new bulb. Do NOT touch the glass of the new bulb (open the box carefully to figure out what end you're grabbing first) or it will fail prematurely.
- Replace the retaining clip and reattach the reflector to the wiring cap, being careful to insure that the orange sealing ring is seated properly in the cap before mating the two components and twisting the cap clockwise to lock it.
- Install the fog light assembly by seating the outer portion of the assembly with the vehicle first, and then press the inner portion of the glass to lock the assembly in place.
- Just to make sure the installation is secure, alternately push and attempt to pull the assembly out of the bumper. If it doesn't pop free the fog light is installed correctly.
- Test the lights. There is no need to start the vehicle to test the fog lights, but remember that the headlight switch must be turned on and the high beams disabled in order for the fog lights to work. Keep testing of lighting to a minimum with the engine off to avoid undue drain on the battery.
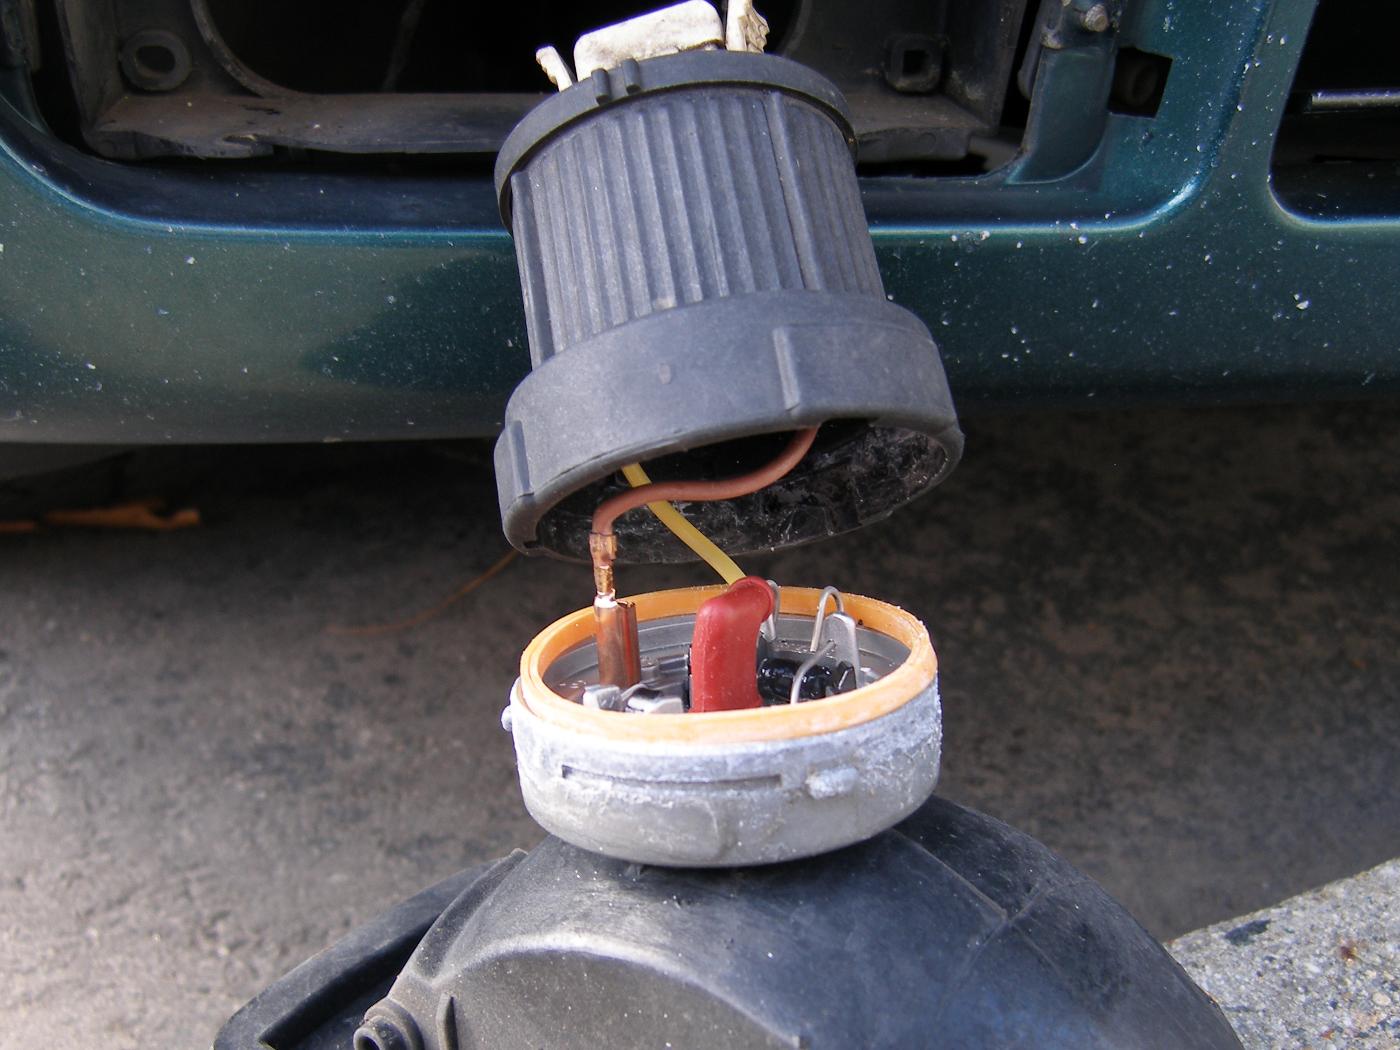 The orange sealing ring falls out of the cap during disassembly but should be neatly refitted to a recess in the cap prior to reinstallation. |
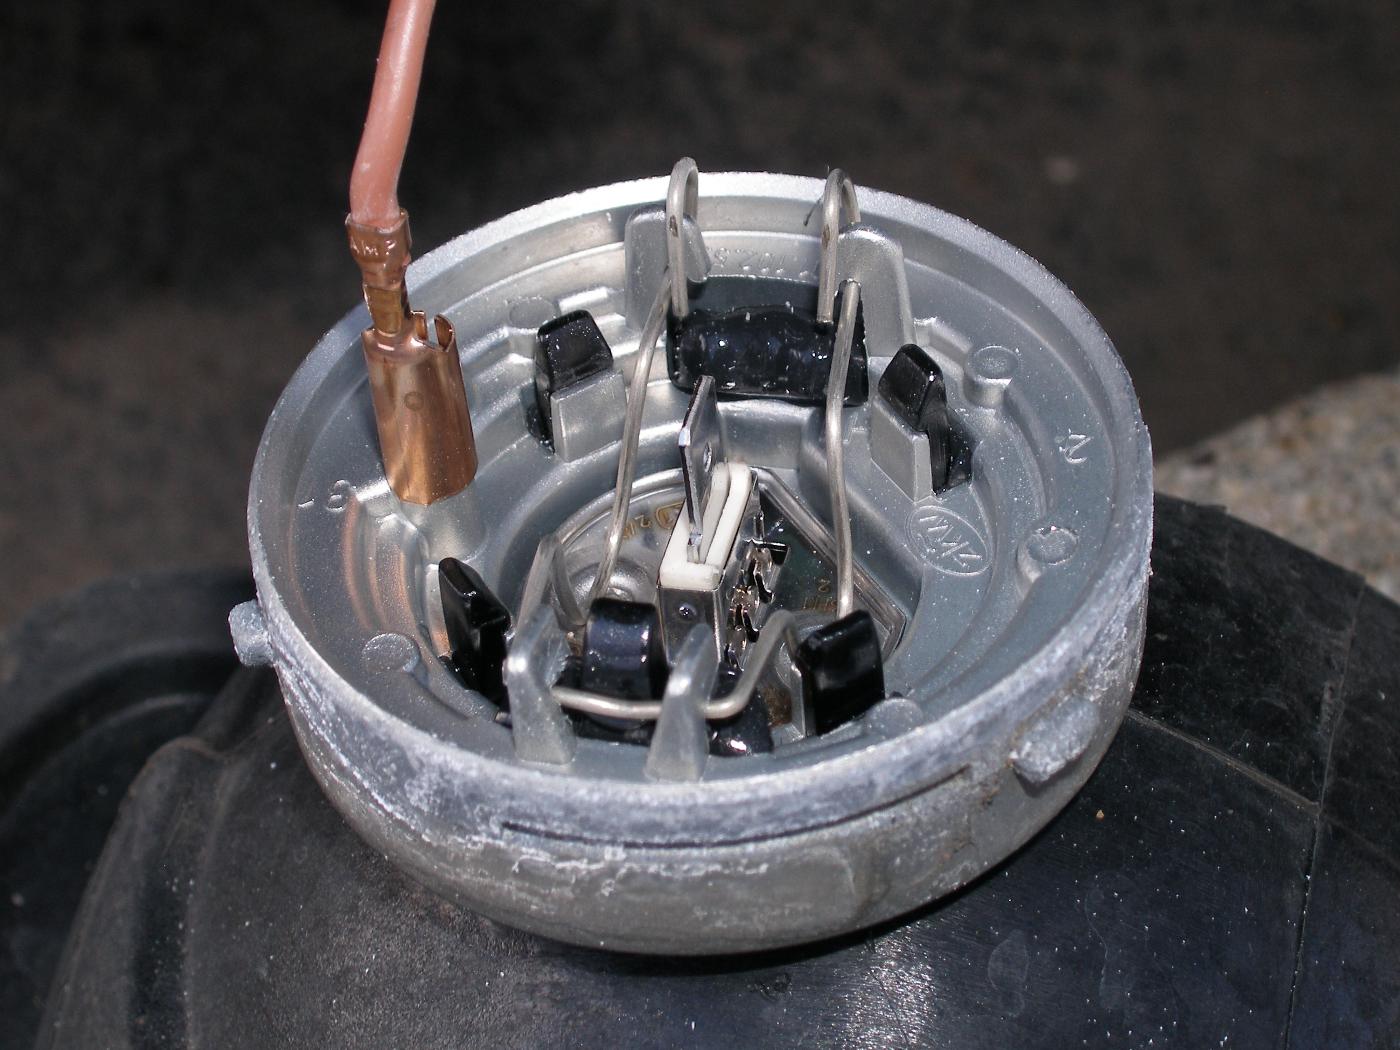 A closeup of the rear of the reflector assembly prior to removing the bulb. with the bulb retaining clip in the locked position. |
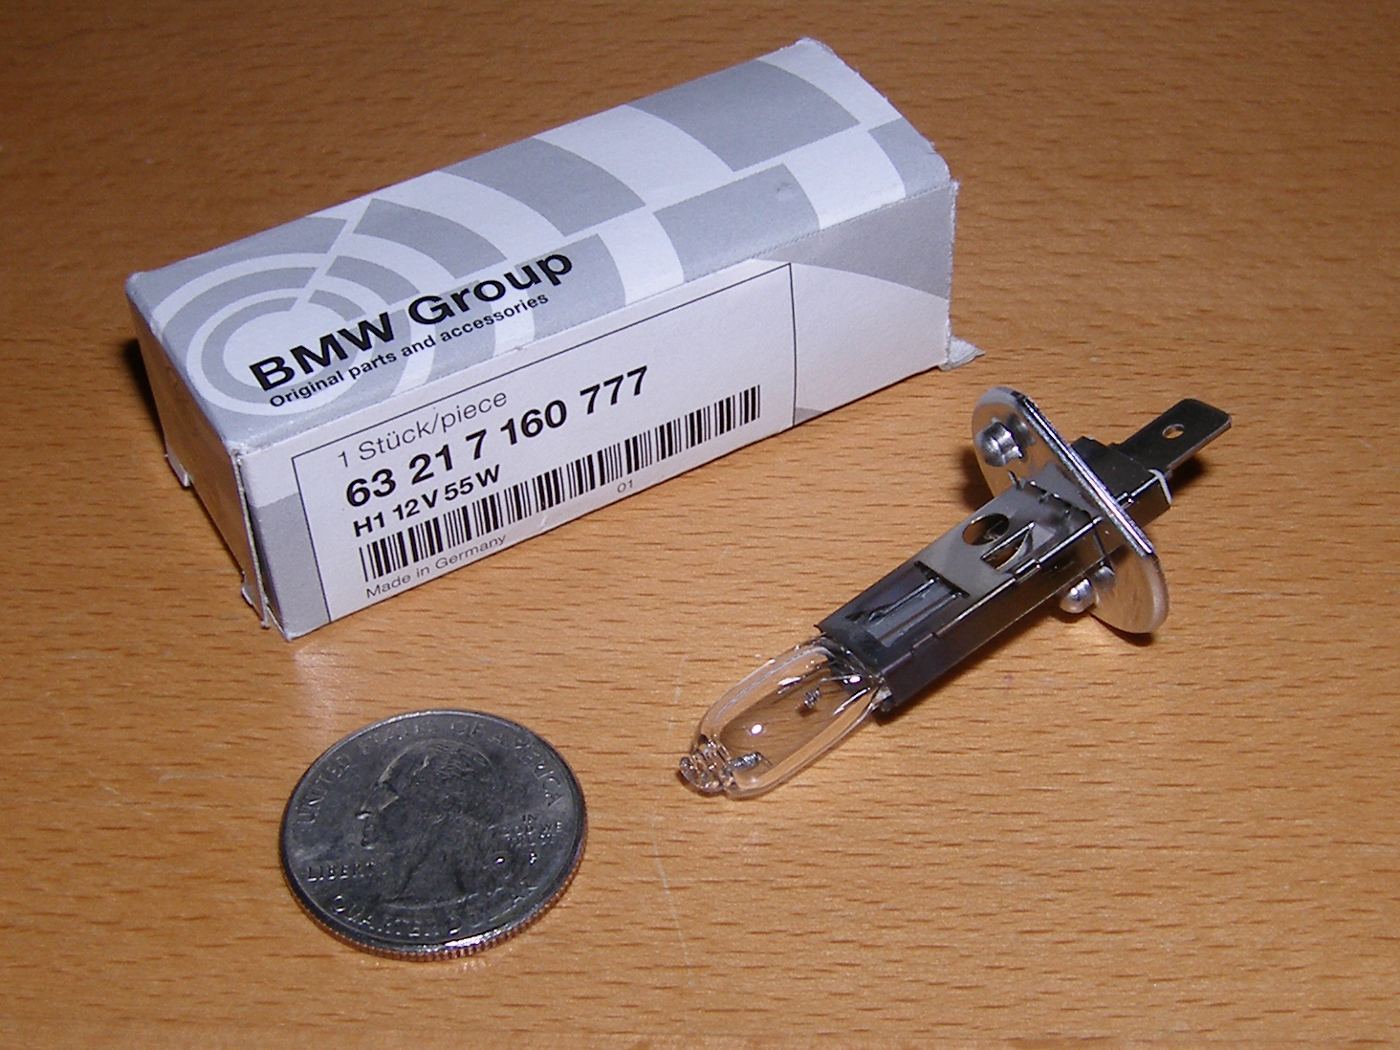 A closeup of the H1 Bulb used in fog light assemblies. |
The bulb that failed was provided as part of the new ZKW OEM fog light assemblies I installed back in 2007. Even though only one bulb had failed I replaced the pair because I tend to follow the "rule of bulbs", which is to say that in any combination of bulbs that shares the same duty cycle, where one has failed the remainder are sure to follow shortly.
Instrument Cluster Replacement Research
After some searching online and in the TIS, I discovered that the procedure to replace the instrument cluster in the E36 is pretty easy, and should not involve any coding at the dealer, but it does have a catch.
As it turns out the vehicle's mileage is stored, among other places, in the coding plug on the back of the cluster and inside the cluster itself. If the mileage stored inside the cluster does not match that in the coding plug the mileage shown will be whatever was previously stored inside the cluster and the tamper dot will illuminate to indicate the discrepancy.
The BMW TIS documents a procedure to synchronize the mileage stored inside the cluster with the mileage in the coding plug and remove the tamper dot. The catch, of course, is that this procedure only works as intended if the mileage stored in the replacement cluster is lower than that stored in the coding plug.
My current understanding is that new clusters ordered from BMW are set to 0 miles and this procedure will set the value to the current vehicle mileage without any extra coding. If true, that means I can replace the cluster myself and save at least $250 in labor and coding charges.
Mileage: 200700, Parts: $16