


Friday, October 21, 2011
Fabricated Custom Rear Window Sunshade
After spending a metric shitload of money refurbishing the upper half of the interior and contrasting the fresh fabric on the parcel shelf with that of the original, faded part, I decided to get serious about sunshades in my car.
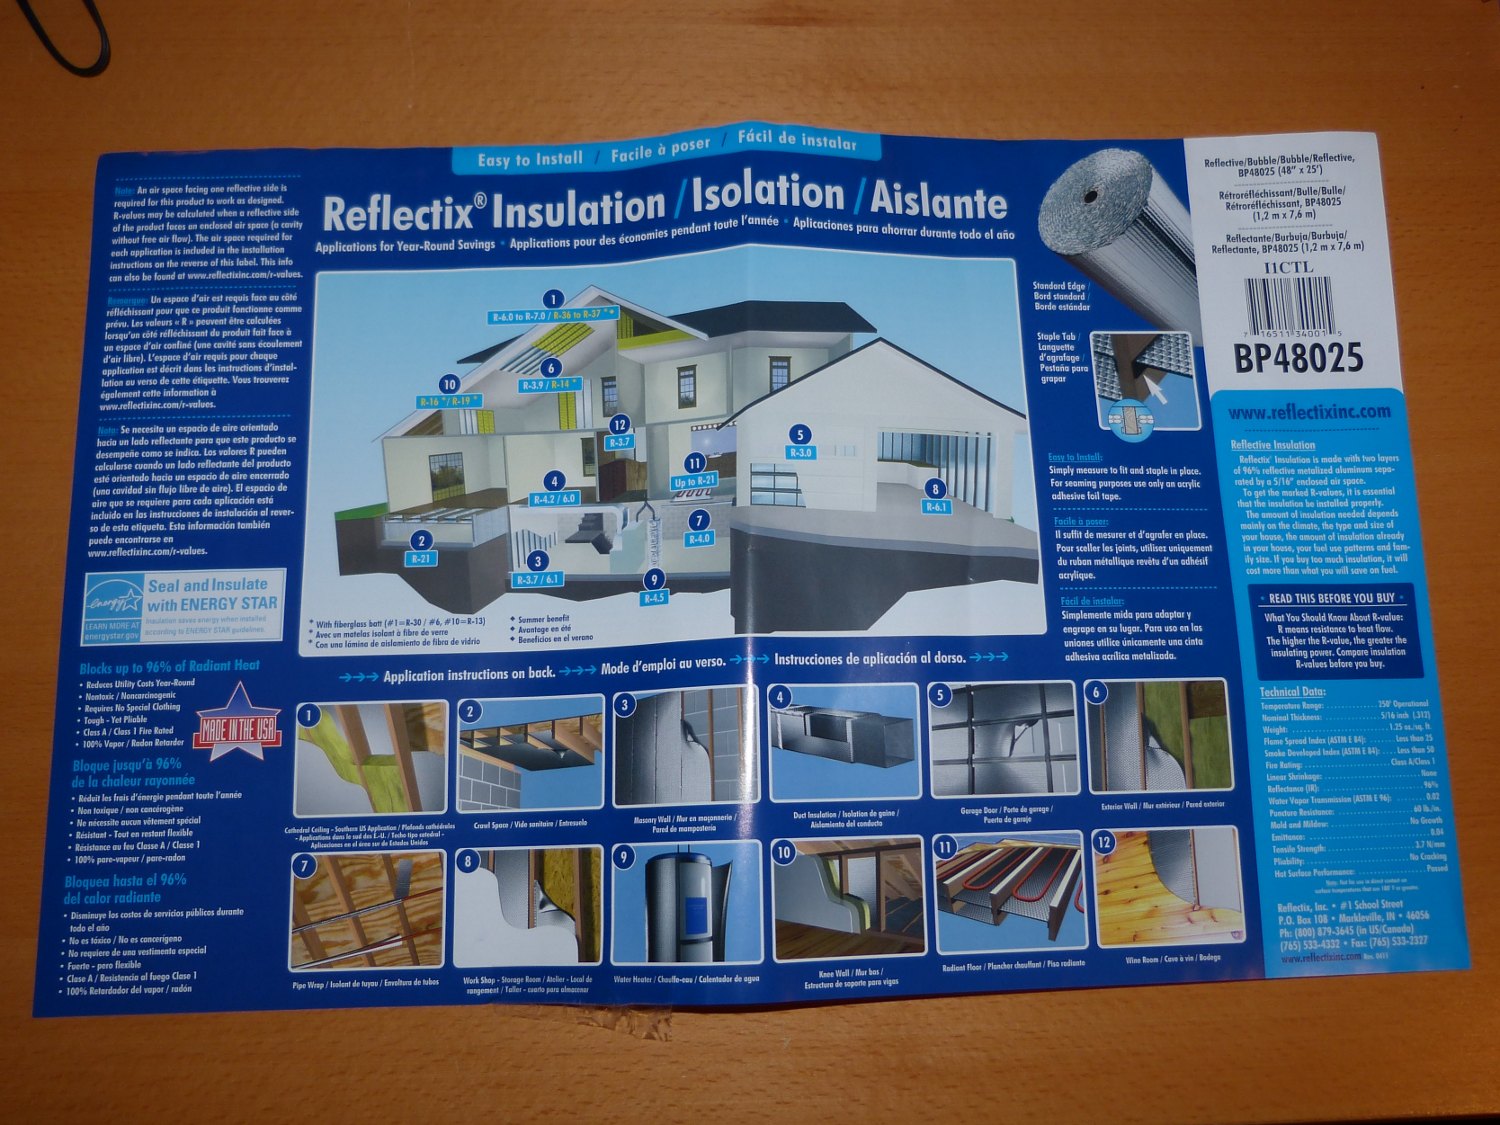
I have traditionally used those flexible, collapsible sunshades simply because they are more convenient to store behind the seats, but they don't fit the rear window particularly well because when fully expanded they take on the form of a rounded rectangle. Thus, they don't reach into the corners, and because of the interference of the third brake light enclosure, they always leave a good portion of the rear deck exposed to the sun. This will no longer do. I have long used custom-fit sunshades in airplanes so I got the idea this weekend to produce a custom rear window sunshade from commonly-available Reflectix foil backed insulation. I found a 48" wide x 25 foot roll at Lowes for the reasonable sum of $45.
I thought for a time how to cut the material to the exact dimensions of the window opening and upon closer inspection observed that the inside edge of the black border around the window pretty well matched the interior dimensions required for the part. I quickly figured out that I'd be better off developing a paper template than cutting the material directly, so I walked out to the car with a small stack of 8x11 copy paper, a roll of blue painter's tape, and a pair of scissors and got to work.
 Similar insulation is used for custom aircraft sun shades and I learned of this brand when researching insulation for my brother's toybox. |
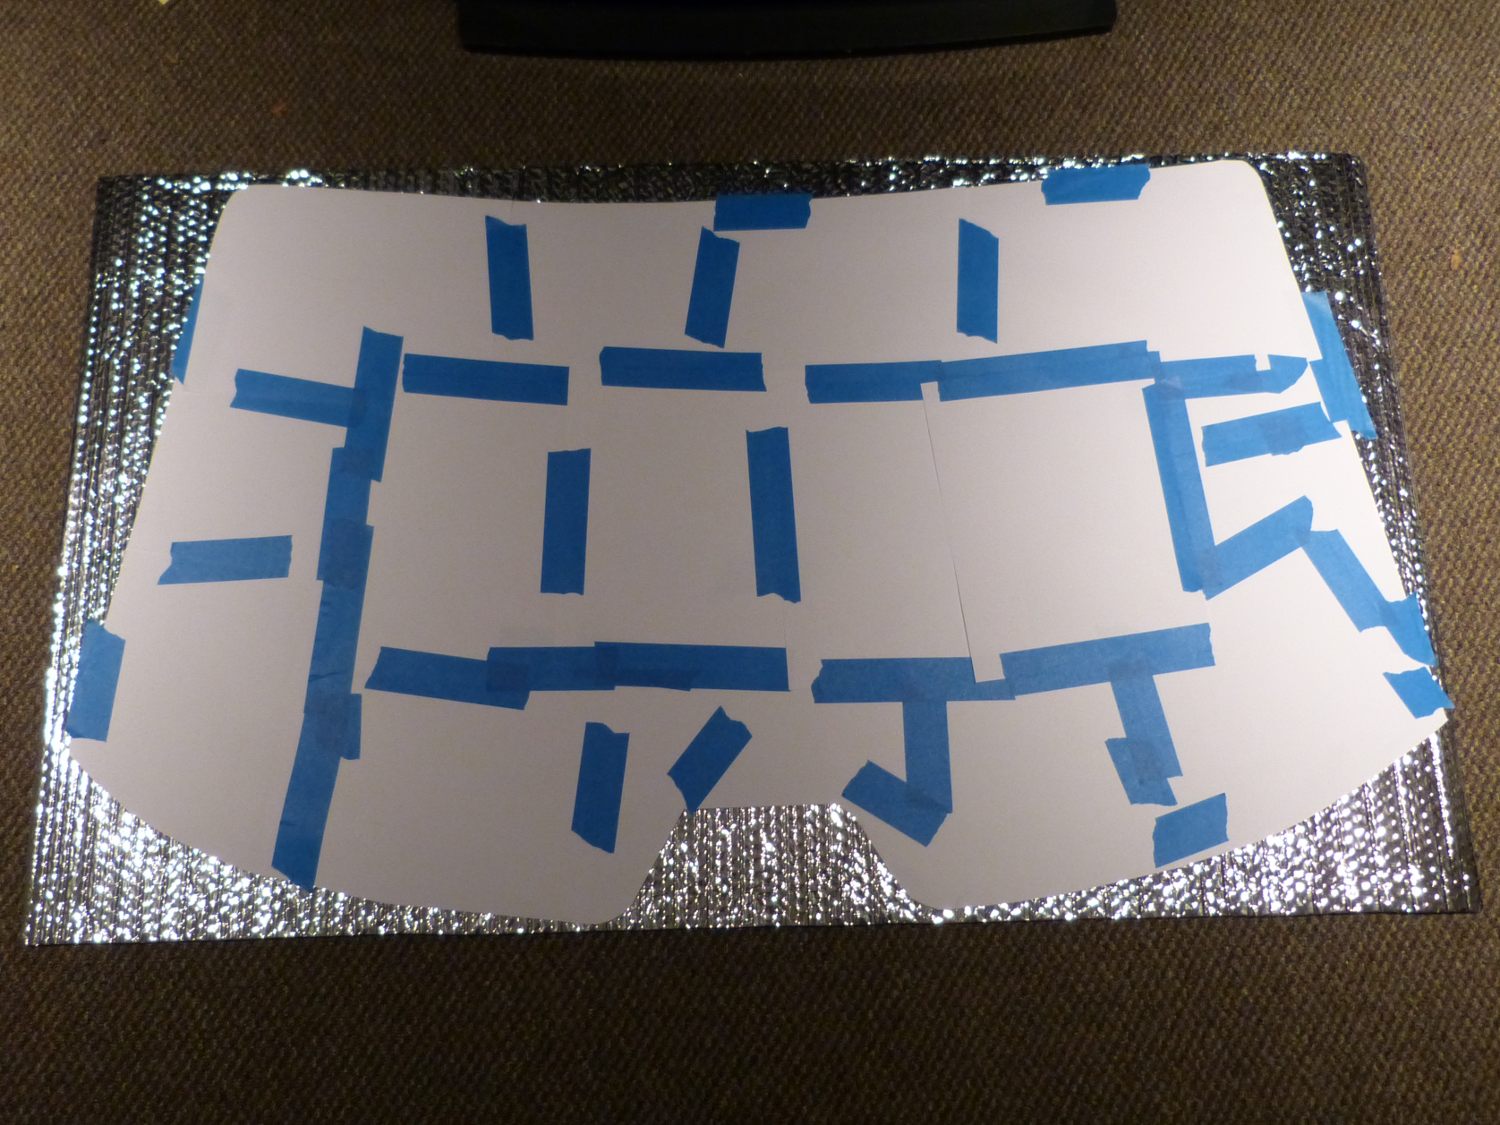 I laid the template over the 27x48 piece of insulation and simply cut it out. I can't imagine doing this without the template. |
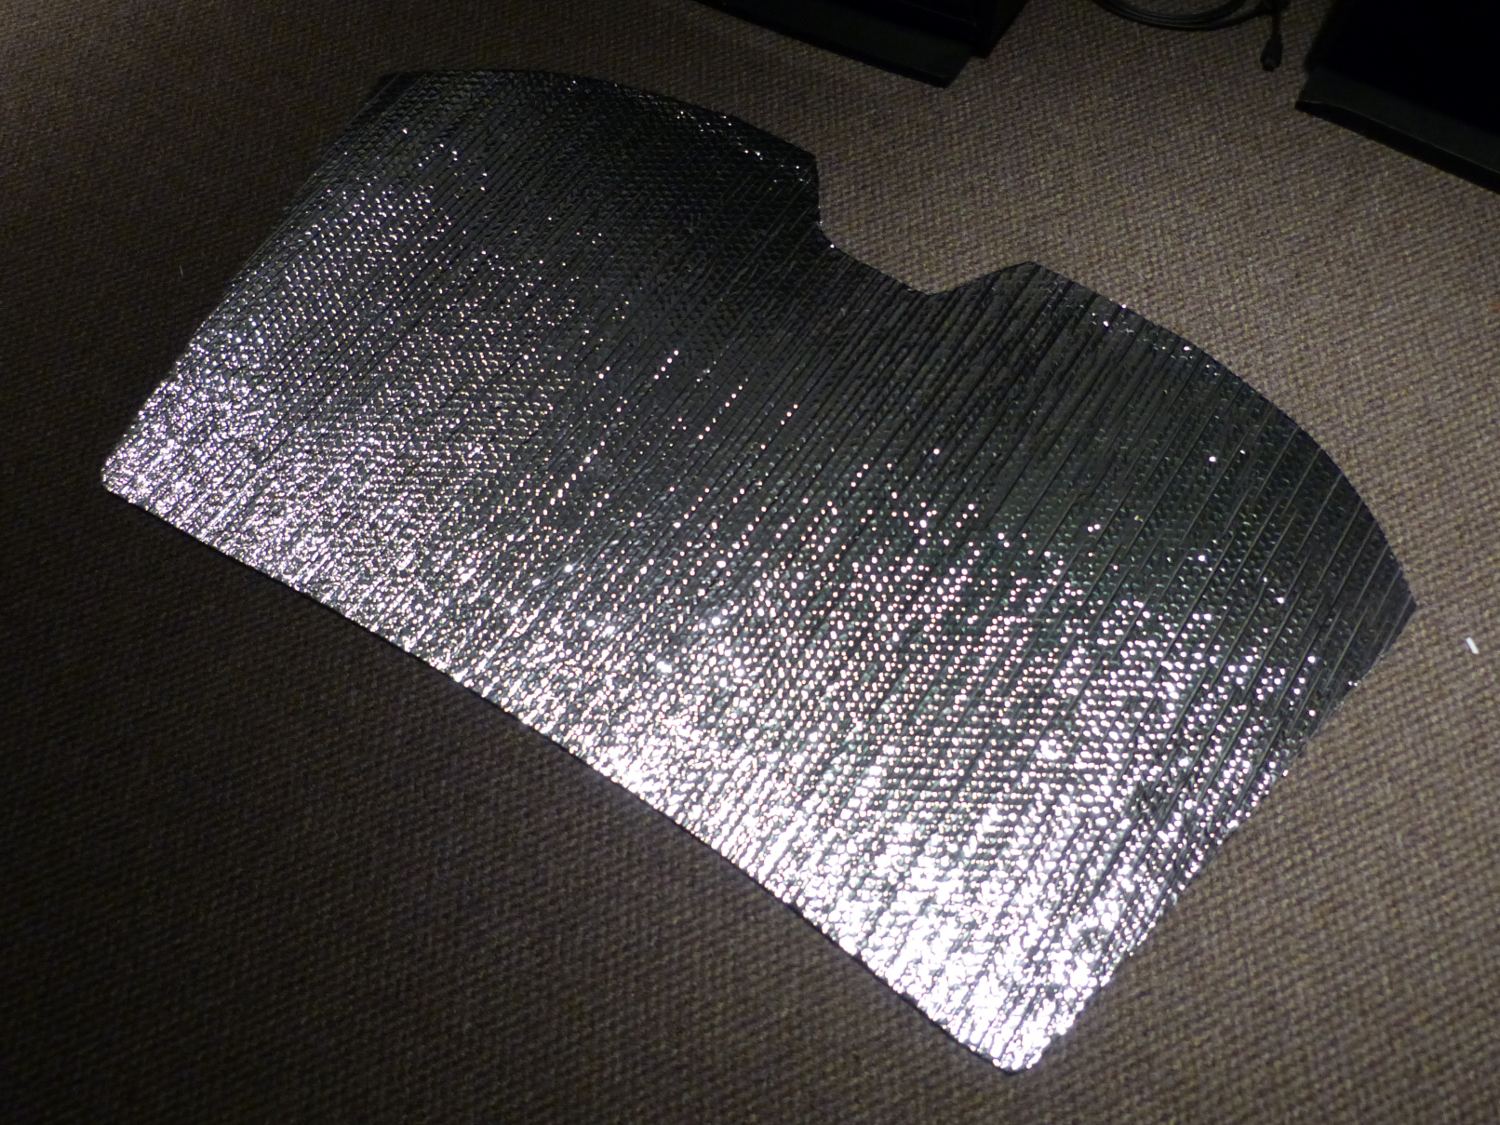 The finished shade ready for installation. I only had to make very minor modifications to get it to fit correctly. |
I started on one side of the window, aligned the piece of paper to the inside edge of the black border, and then applied a small piece of tape to hold the paper in place. I then added more paper, cutting it as required to conform to the window border, until I had paper fit around the entire window. To enhance the strength of the template before I removed it from the vehicle, I filled in the holes in the center of the template with more paper and tape. I then carefully removed the template from the car, took it inside and laid it over a 27" x 48" section of insulation. How did I come up with 27 inches you ask? That's the height of the window as measured at the center of the window, from the top to the bottom moldings.
While working my way around the edge of the paper with a sharp scissor I decided to tweak the cuts in a few places to ensure I wouldn't undercut the piece and have to start over. In less than two minutes I had the prototype shade complete and took it out to fit it to the car. I found the bottom of the shade mated perfectly with the third brake light housing and reached far enough down into the base of the window to protect the rear-most edge of the parcel shelf. It also fit conveniently into the small notch at the top of the window frame produced by the rounded edge of the headliner. I wound up cutting a few millimeters of the top of the shade to make it easier to remove from the notch but that was about it.
I used the shade all this week during some of the last warm days of the season and am pleased with the results. The shade is easily installed and removed within seconds and it conveniently rolls up to save space. Works for me!
Toybox Update
Several people emailed me to request a progress report on my brother's toybox so I figured I'd tease you with a few more pictures. Since the last report in late August, the roofing, siding, and garage doors have been installed so the structure is officially weathertight. My brother energized the primary electrical panel and a nearby receptacle required by code. Other wiring including a smaller subpanel has been installed but not energized due to a lack of time. The dry wells that were required by the town to accept runoff have been dug but not completed.
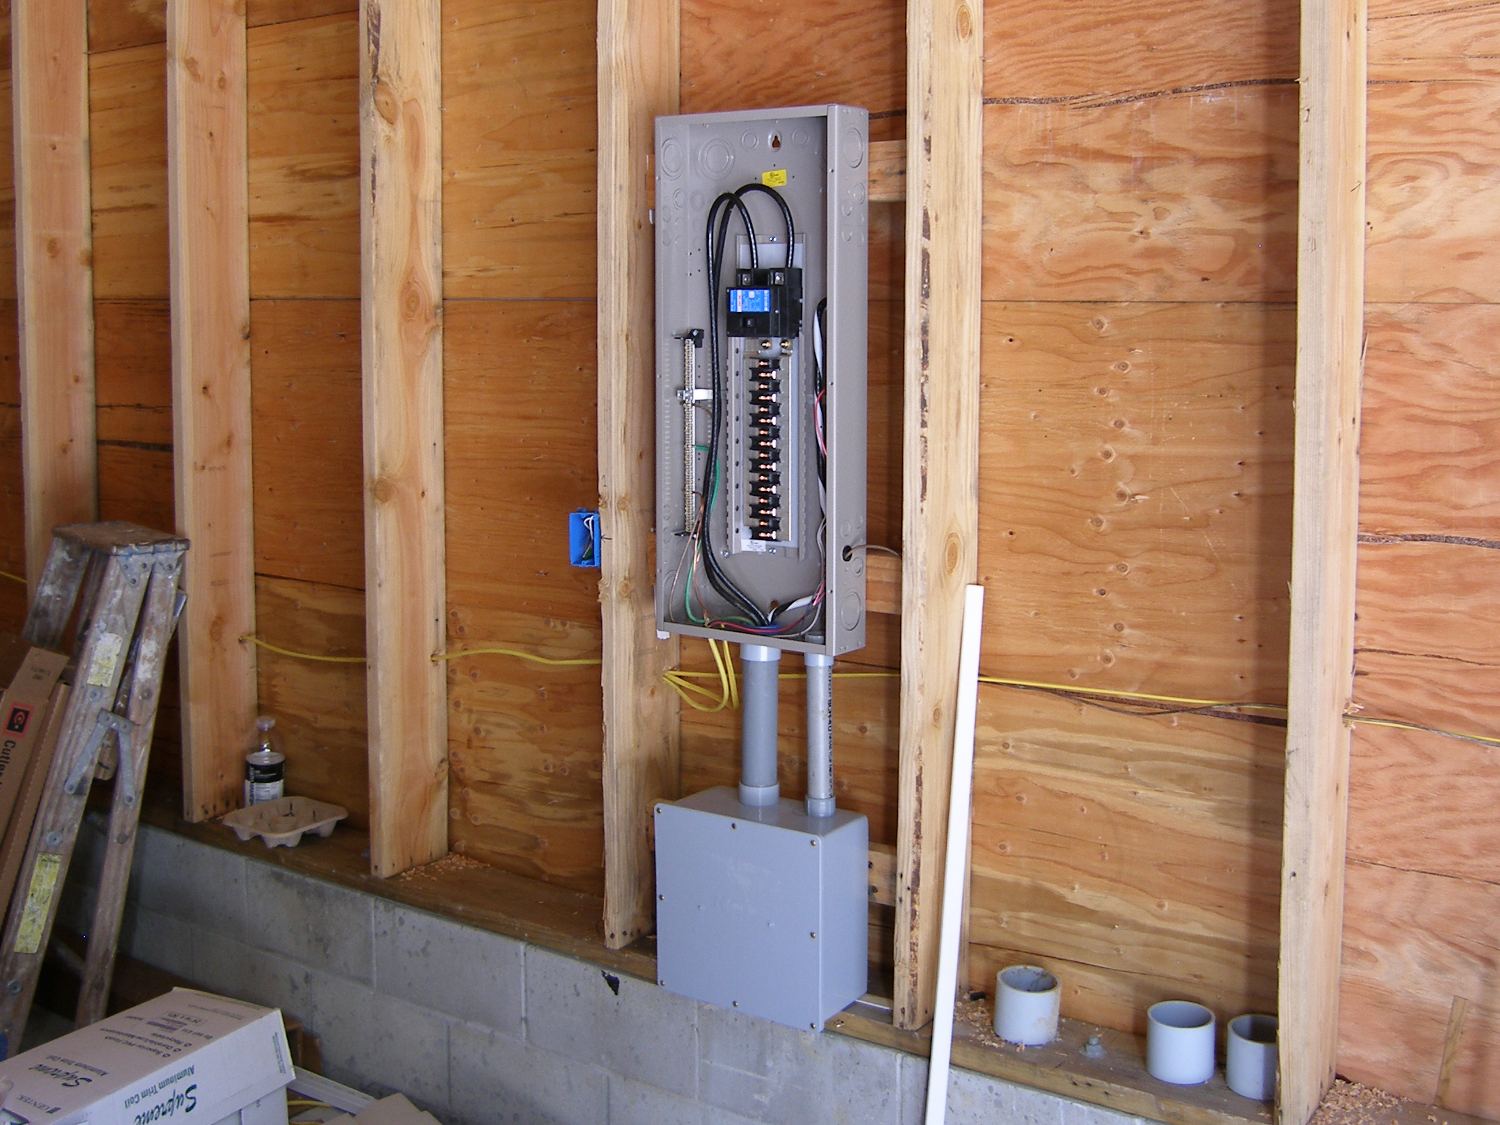 The main electrical panel in the building along with a trough for future integration with a solar array. |
 The sub panel on the other side of the building is really a sub-sub panel, since the building gets its power from the house. |
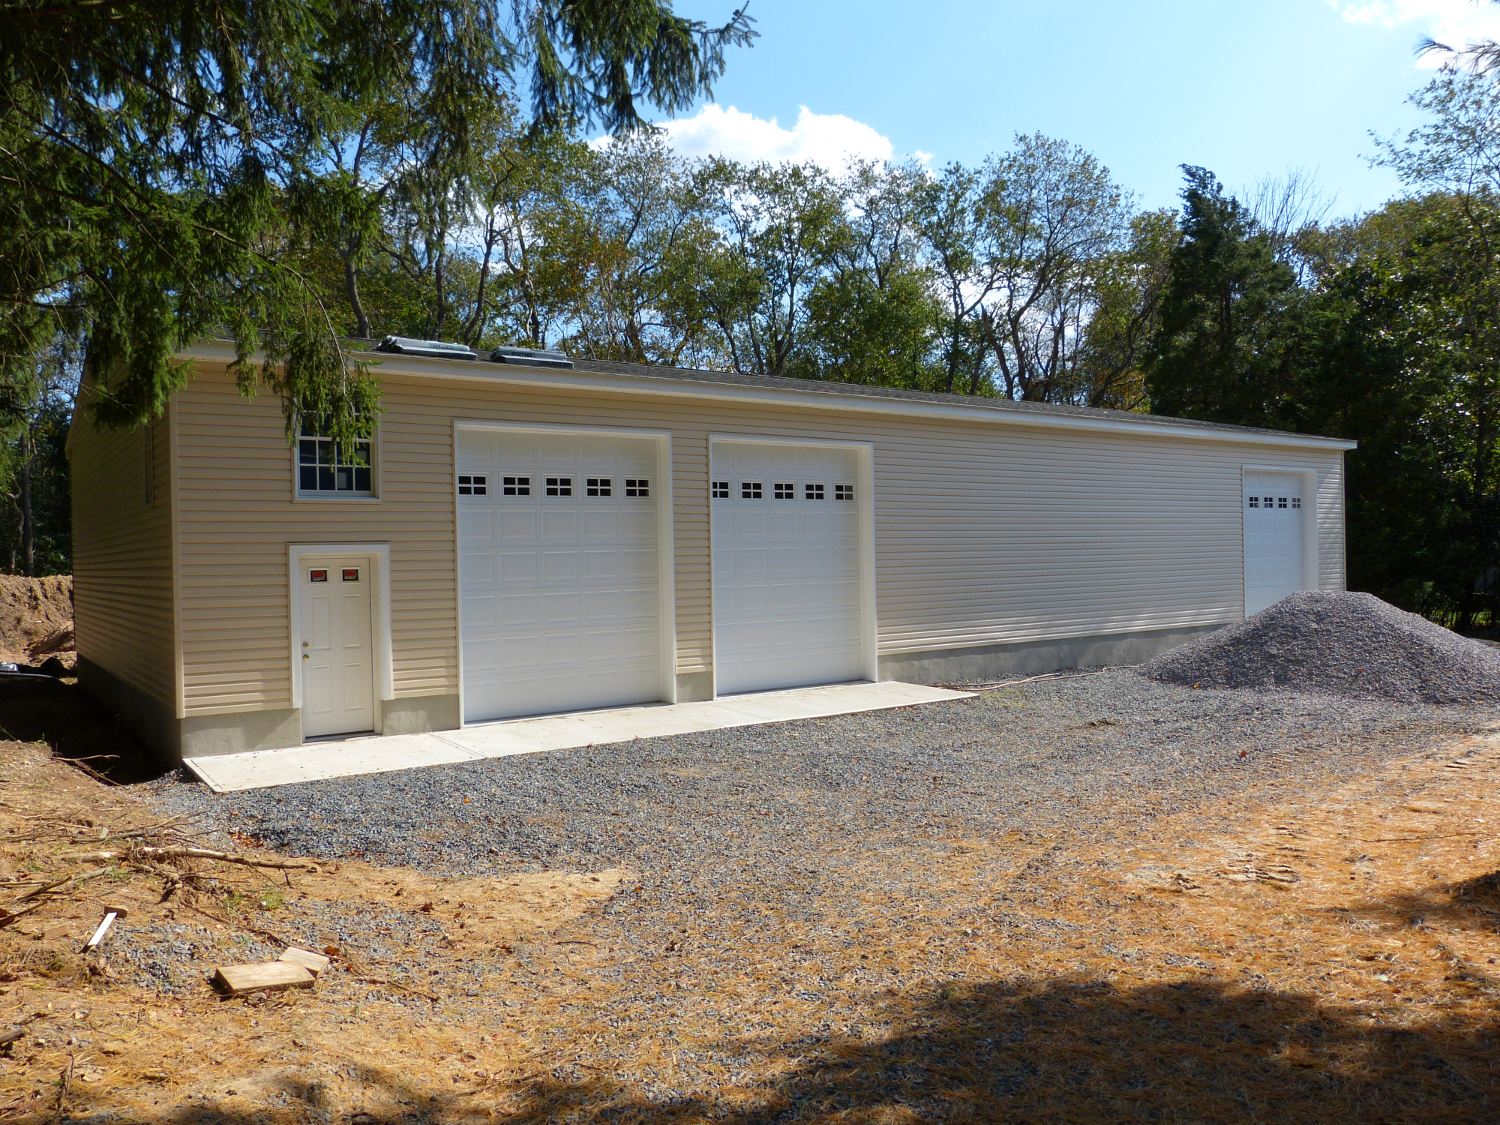 Not finished, but certainly weathertight, and not a moment too soon. The cold air is knocking at those doors! |
Next, the floor will be etched and sealed, and the electrical and security system wiring completed in preparation for insulation, sheetrock, and paint. My guess is that we probably won't see the lift installed until the end of the year, but the structure is now weathertight and power is available, which means it can be used for impromptu repairs, which is particularly comforting given that the cool air has arrived and winter is just around the corner.
Mileage: 212820, Parts: $45