


Saturday, October 1, 2011
Gahh Fabric and Leather Swatches Arrive
The Gahh fabric and leather swatches arrived this week.
The headliner fabric swatch has a noticeably different surface texture and color as compared to the new headliner. In fact, it looks much like the array of domestically available headliner fabrics I saw at my upholstery shop, except that the foam backing is 1/8" thick rather than 1/4" and the weave of the fabric is tighter and of generally higher quality. I don't think the fabric is ideal for my application, but I may not have a choice in the matter. I plan to contact BMW Classic this week to see if they can help source the correct fabric.
The leather swatches were a different story, fortunately. Taking into account fourteen years of bleaching courtesy of our neighborhood fusion reactor, the seats in my car nicely match what Gahh calls "sand" while, for the sake of comparison, the light beige inserts in the two-tone door panels closely match what Gahh calls "light sand". I can definitely see ordering new leather seat and headrest covers in "sand" from them next year.
Incidentally, Gahh's policy is to charge $15 for up to four swatches and then reimburse the customer when they make their first order. This explains why I picked up the leather swatches now. I fully expect to order something from them, so I'm considering the swatches "free".
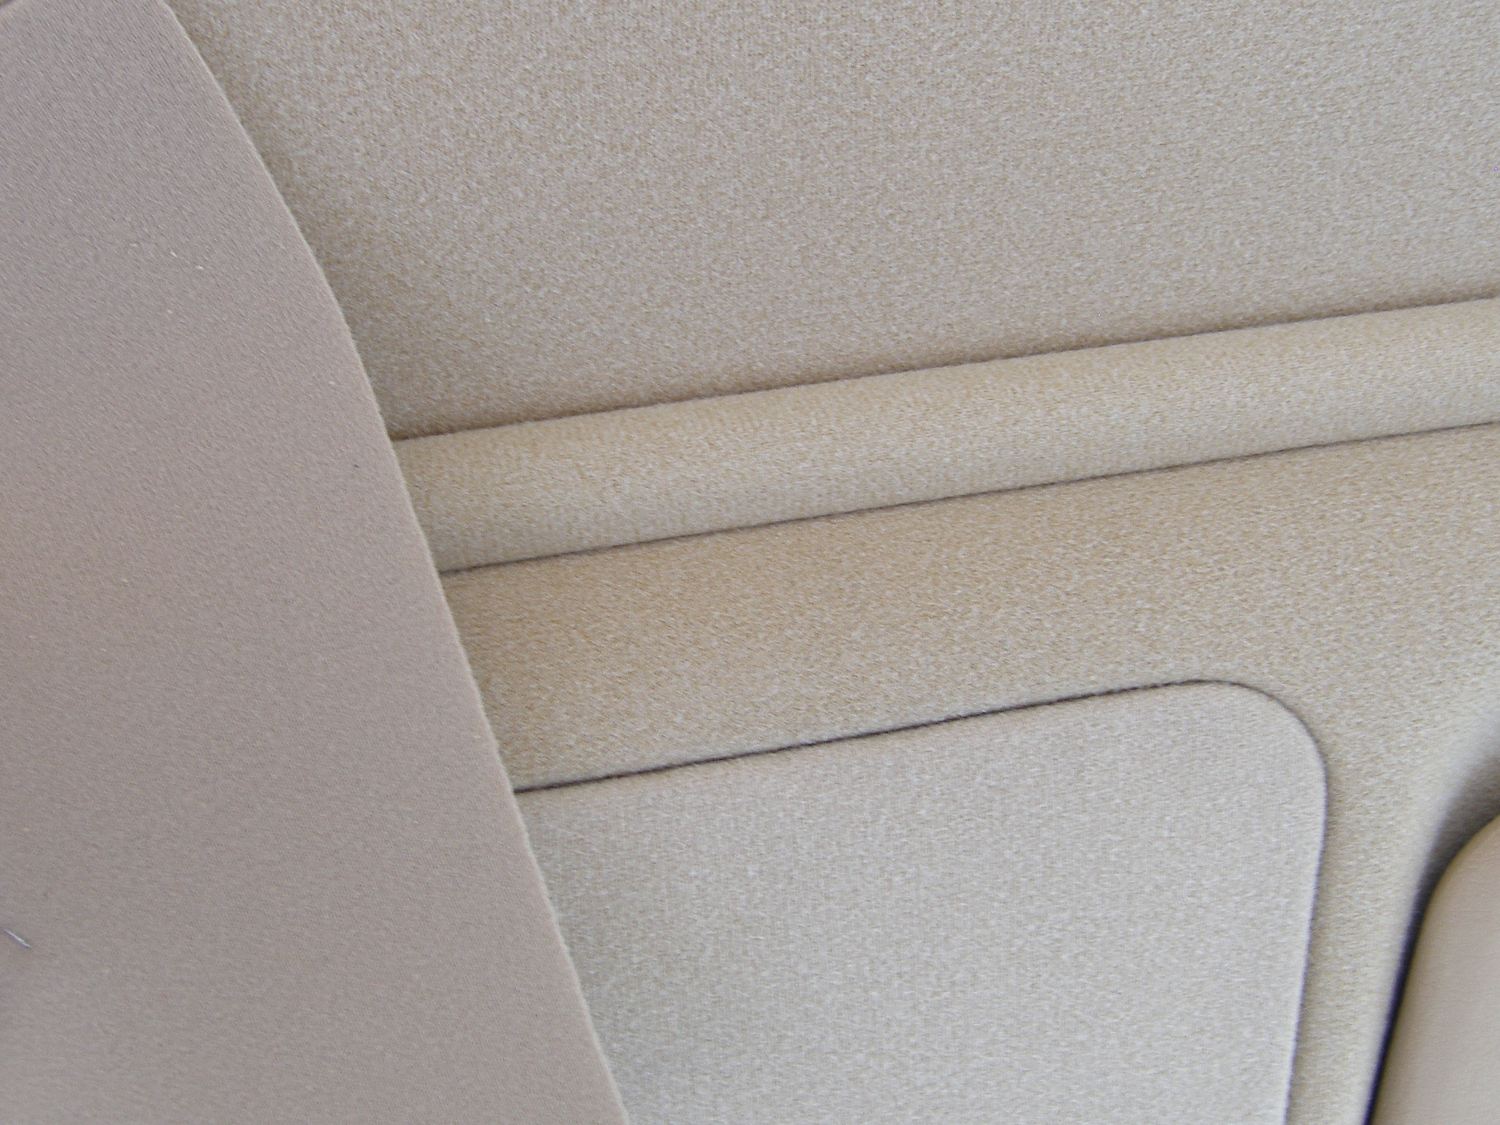 Closeup of the Gahh headliner fabric against the new headliner, new fabric panel and original (faded) sunroof switch panel. |
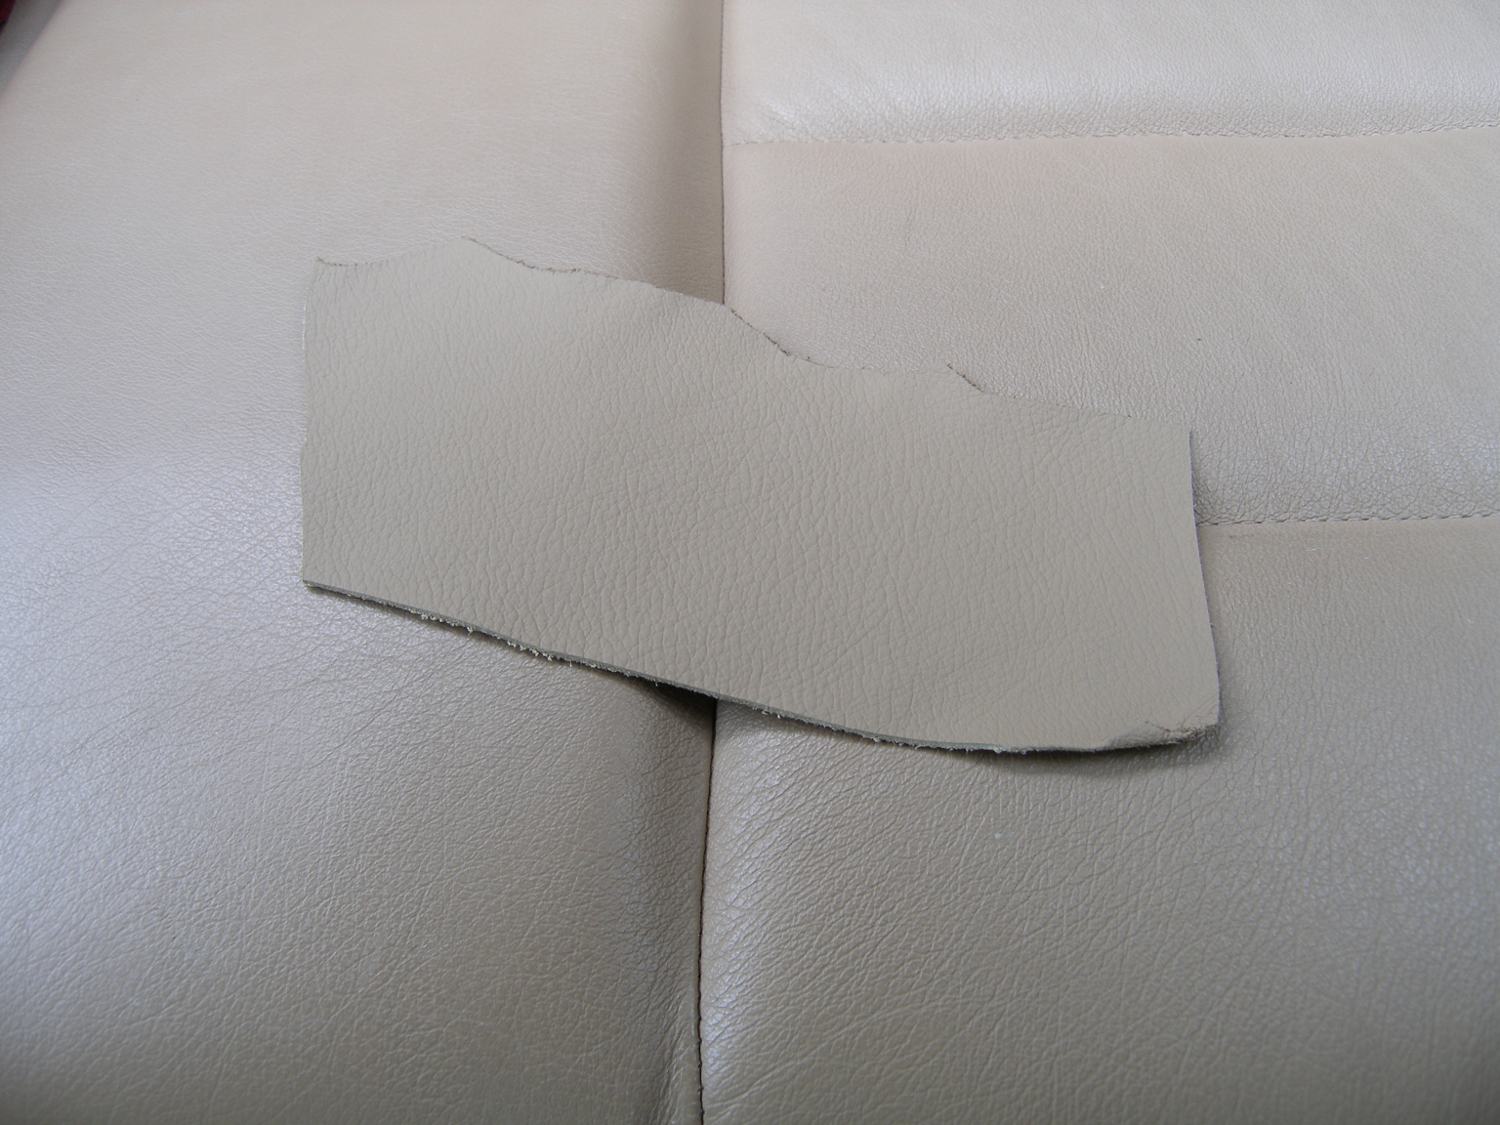 The Gahh sand beige leather swatch matches the rear seat almost perfectly, which bodes well for the front seat replacement next year. |
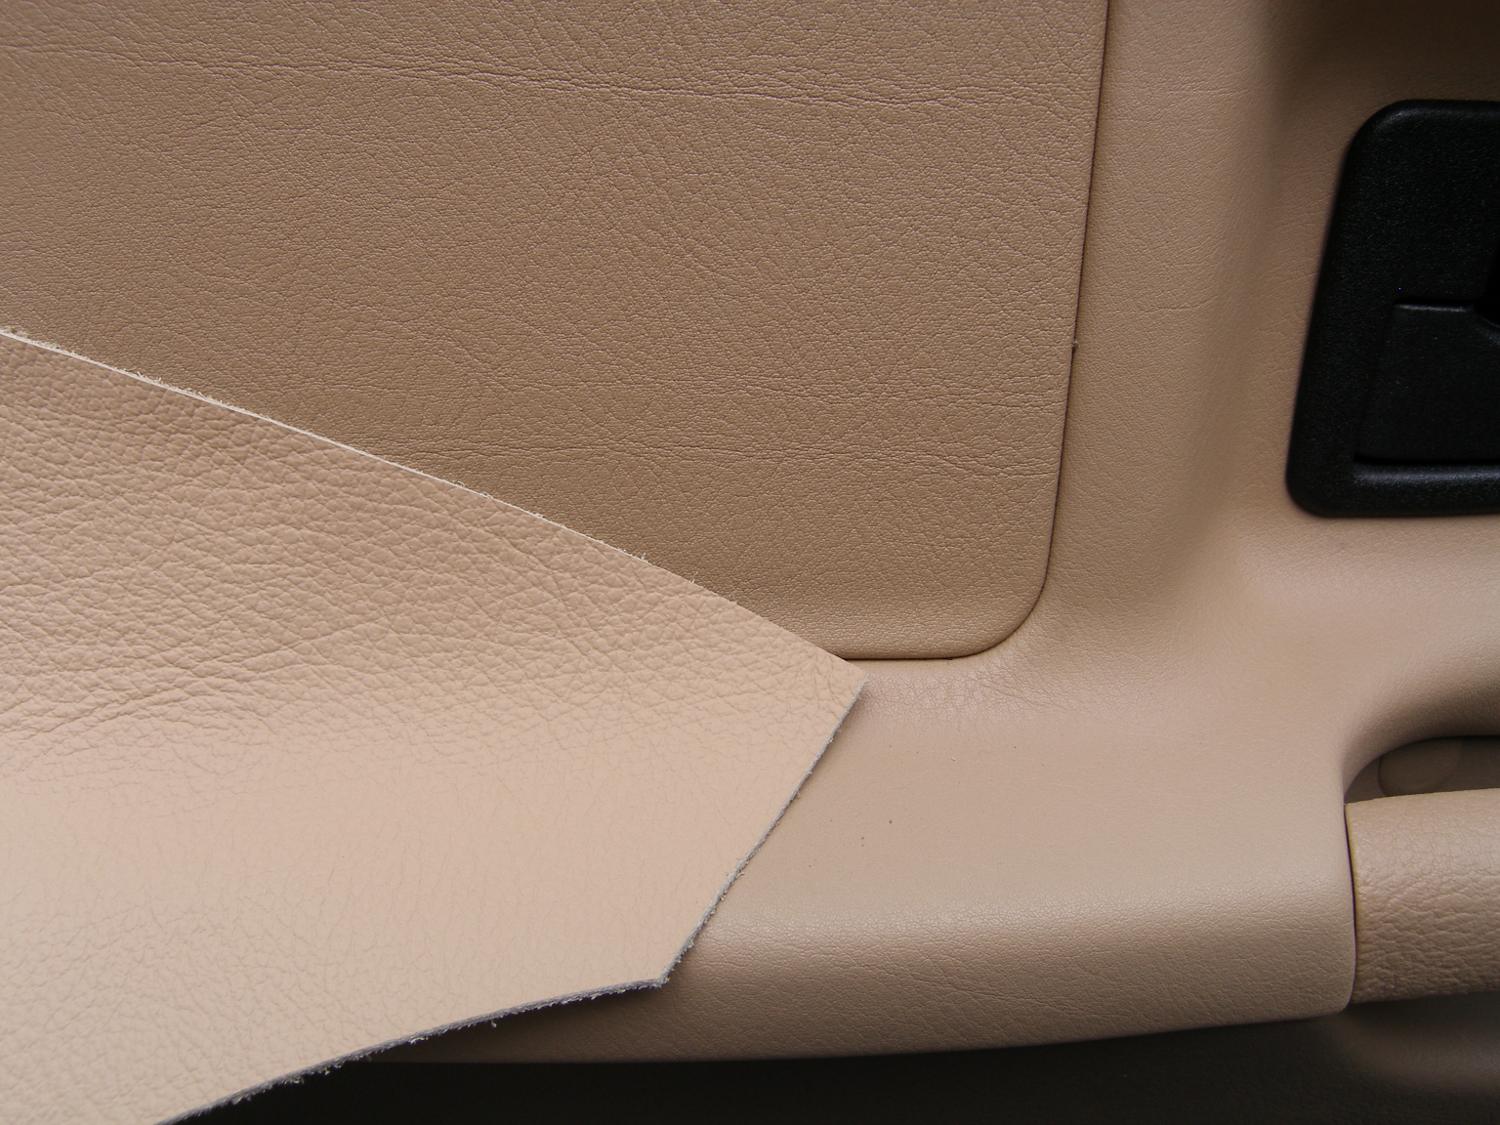 Although I don't have any plans to recover the door panels, if you are inclined to do that, remember the inset matches Gahh's light sand color. |
Interior Overhaul - Wrap Up
Yesterday I picked up a new sunroof seal and two E46 beige visor clips at the dealer. The parts guys told me that the black E36 visor clips I ordered are now officially backordered, which they suggested is BMW-speak for "they're no longer in production but we haven't updated our system with "ENDED yet". That means they may come in, but most likely will not. So I bought a couple E46 clips based on a hunch that they would work in the E36. Unfortunately, when I looked more closely at the E46 parts list, I realized that E46 visor clips do not come with an electrical contact because the E46 visor lights are wired differently. So the good news is I was able to get two visor clips in a color that perfectly matches my interior, and they are built more solidly than the E36 parts. The bad news is the electrically correct E36 parts are MIA and if I use the E46 parts my visor lights will no longer work. I've used those lights a handful of times in the 14 years I've owned the car so I'm not exactly in tears right now but I must admit the loss of functionality offends my OCD.
Today I went to the garage to wrap up this phase of the interior overhaul. The ultimate goal for the day was to return the E36 to service so I got to work replacing the sunroof seal. I went into this expecting the same hassle I experienced removing the original seal but as it turned out the seal just pulled off quickly and easily (especially in the corners) and took all of the "new" adhesive with it. Still, I didn't want to waste another seal so this time I brought out the heavy guns -- a blue towel and a can of brake cleaner, which is known to be an outstanding, if not exactly environmentally friendly, solvent. I gave the towel a few shots of cleaner and then carefully wiped the entire vertical edge of the roof panel. I paid particular attention to the corners and managed to remove a bit more adhesive residue left over from the original seal.
 This time I installed the external sunroof seal correctly by "pushing" the seal into the corners. |
 I'm forced to maintain my E36 with E46 parts. I've lost some functionality, but the part looks like it belongs here. |
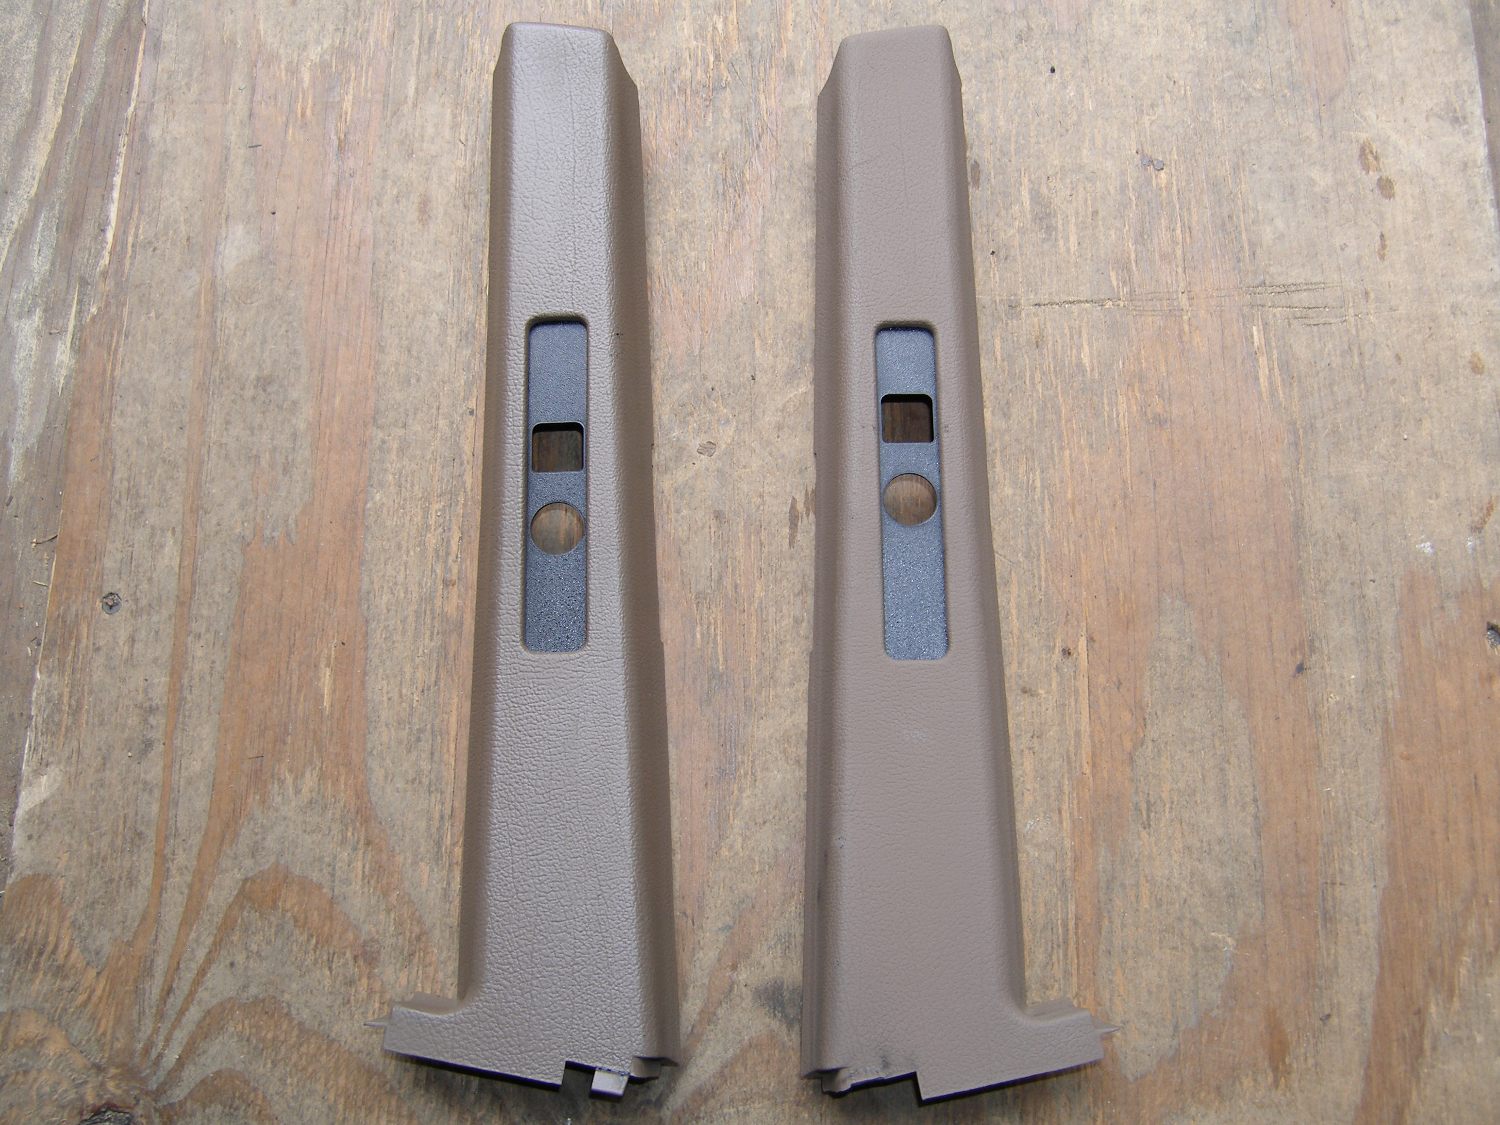 I cleaned up the B pillars with some leather cleaner I had handy even though it's an all plastic part. Left side is cleaned. |
When I was at the dealer yesterday I met up with my technician to say thanks for all the advice and I mentioned that everything went very smoothly...except for the sunroof seal. When I relayed the fact that the seal failed to adhere to the corners and seemed to be under tension, he knowingly smiled and reassured me "Don't worry about it....the guys down in Spartanburg are doing the same thing to the new X3's". The proper technique, he noted, was to "push" the seal into the corners rather than pull it around like I did. This is a very subtle difference in technique but it's clear that one technique works and the other doesn't. So today I used the "push" technique to install the new seal with outstanding results.
I should also point out that it is very easy to accidentally install the seal too high and in retrospect I did that on the last seal. This time I used a finger running along the roofline to ensure that the seal didn't ride up and the end result is far better in appearance. In fact, it looks exactly like the seal my technician installed many years ago. There is obviously some technique involved with the installation of the sunroof seal and it takes some practice to get it right. So if you're planning to install the seal yourself, best buy two. If you get it right the first time, rest assured that the backup part will keep in storage since it comes vacuum sealed.
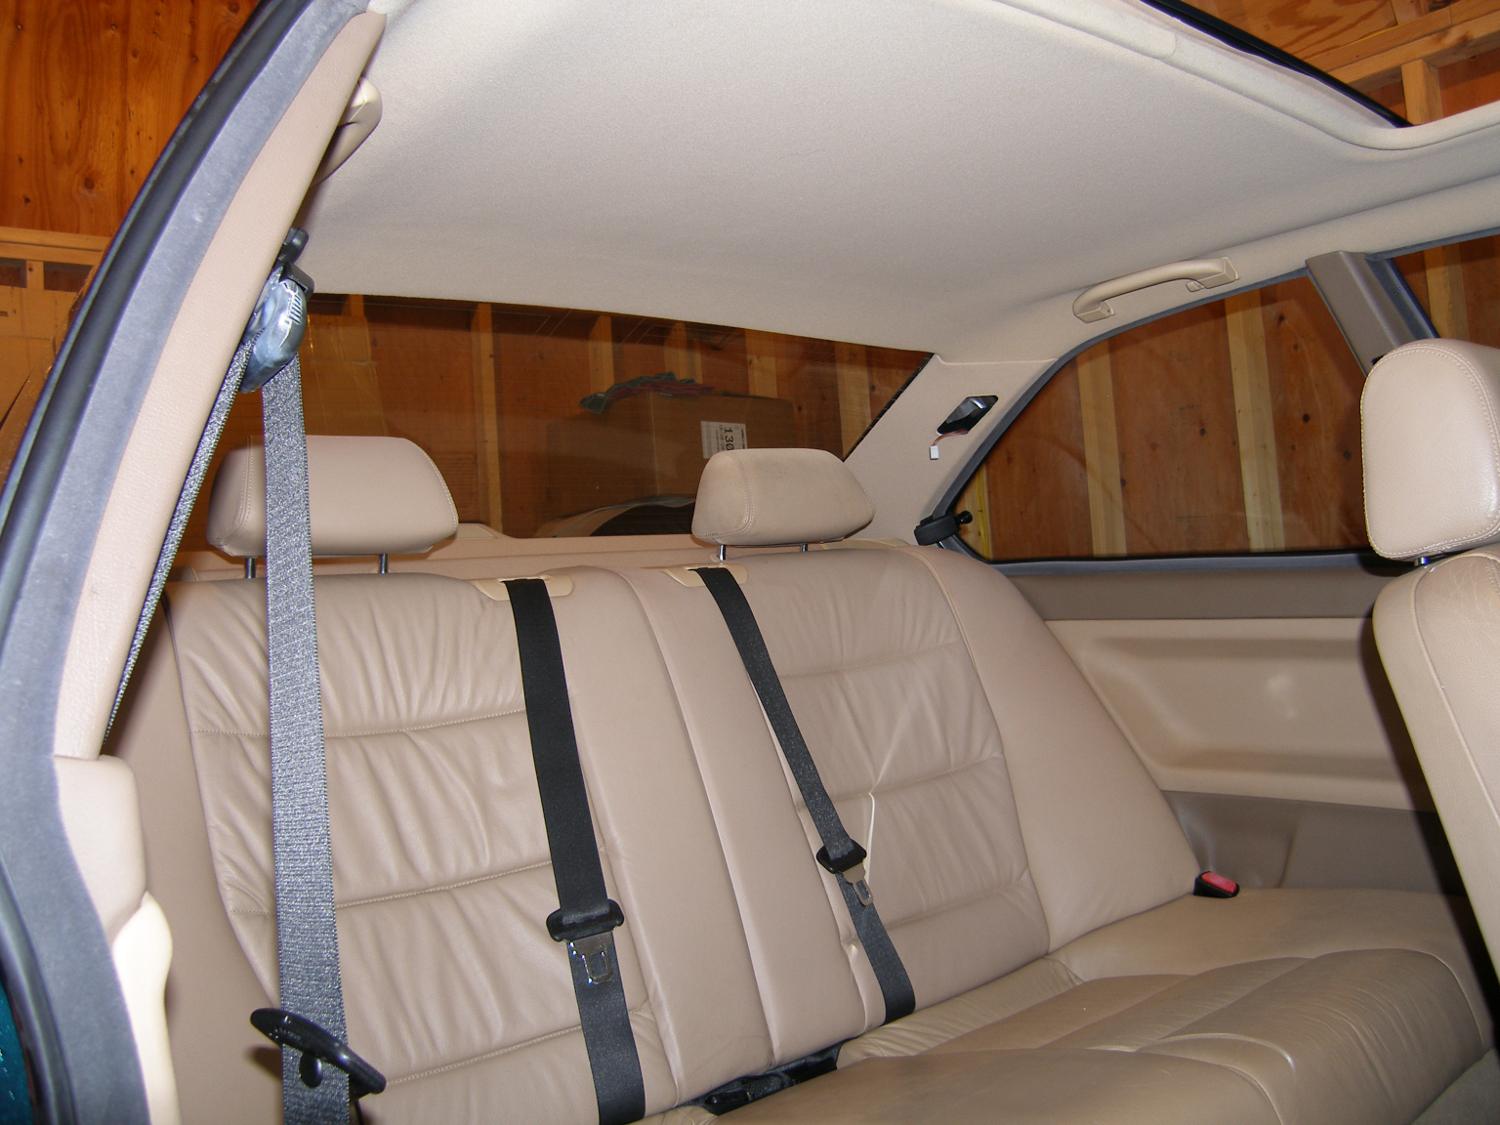 Another shot of the rear portion of the new headliner, this time with the pillars installed. |
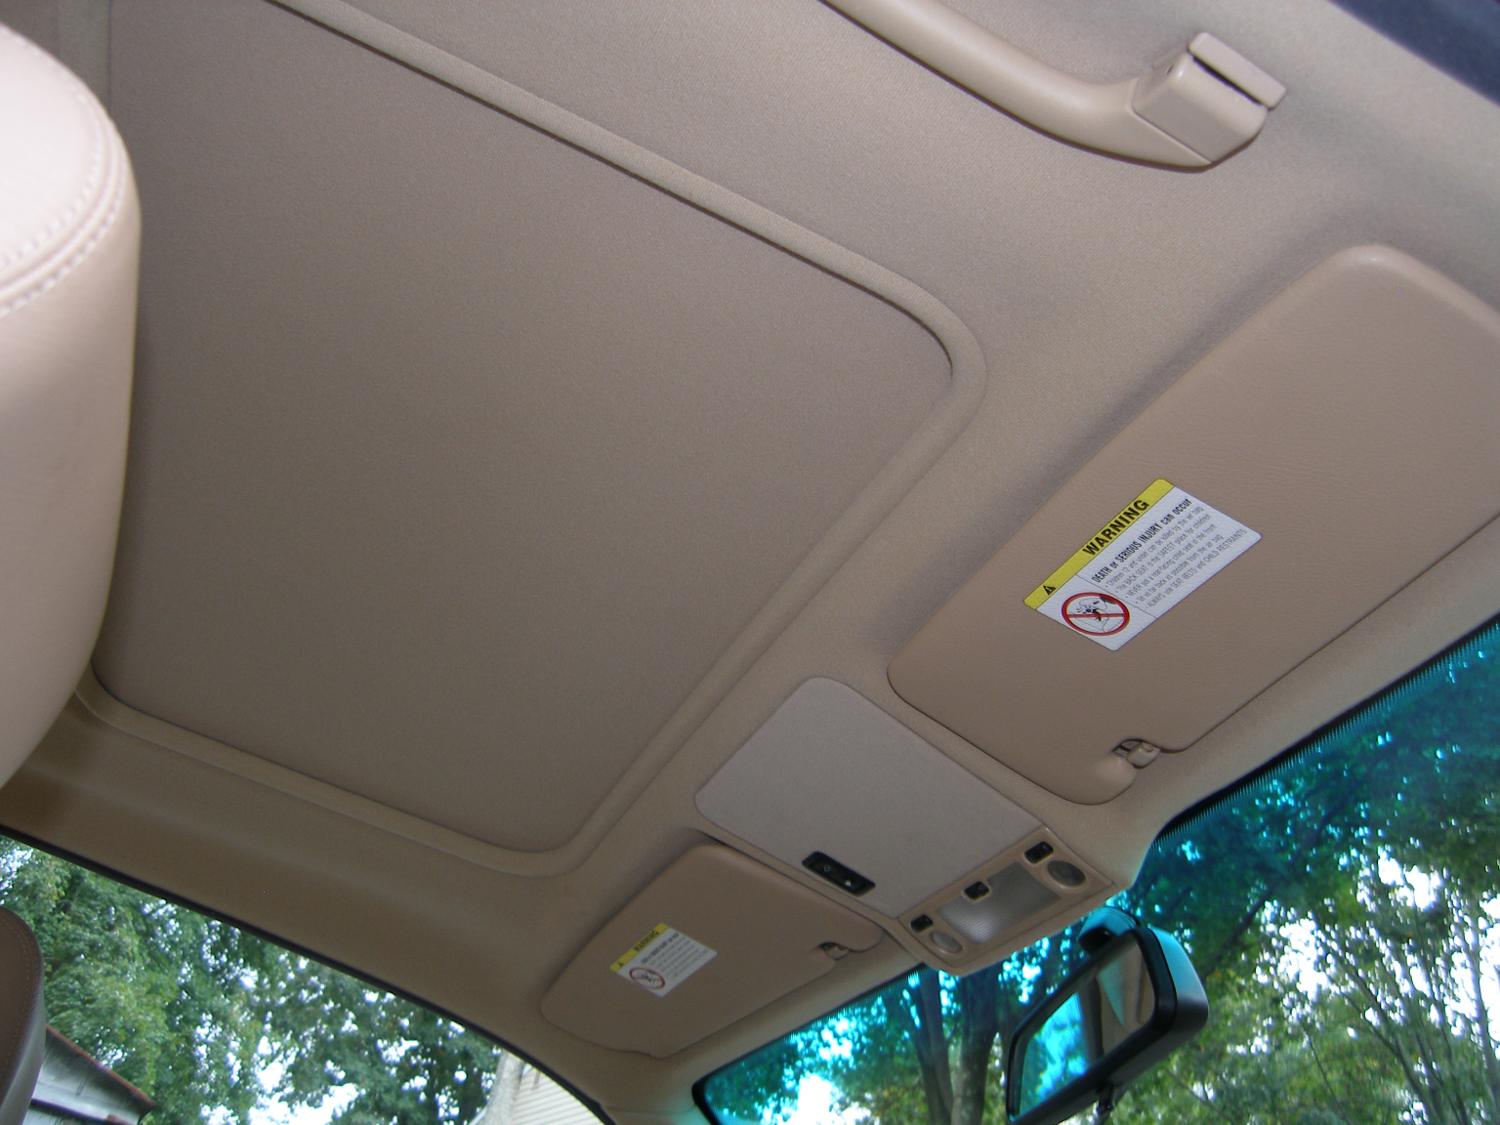 This shot of the front portion of the headliner shows how faded the sunroof panel fabric is. I wish BMW still provided that part, or at least the fabric by the yard. |
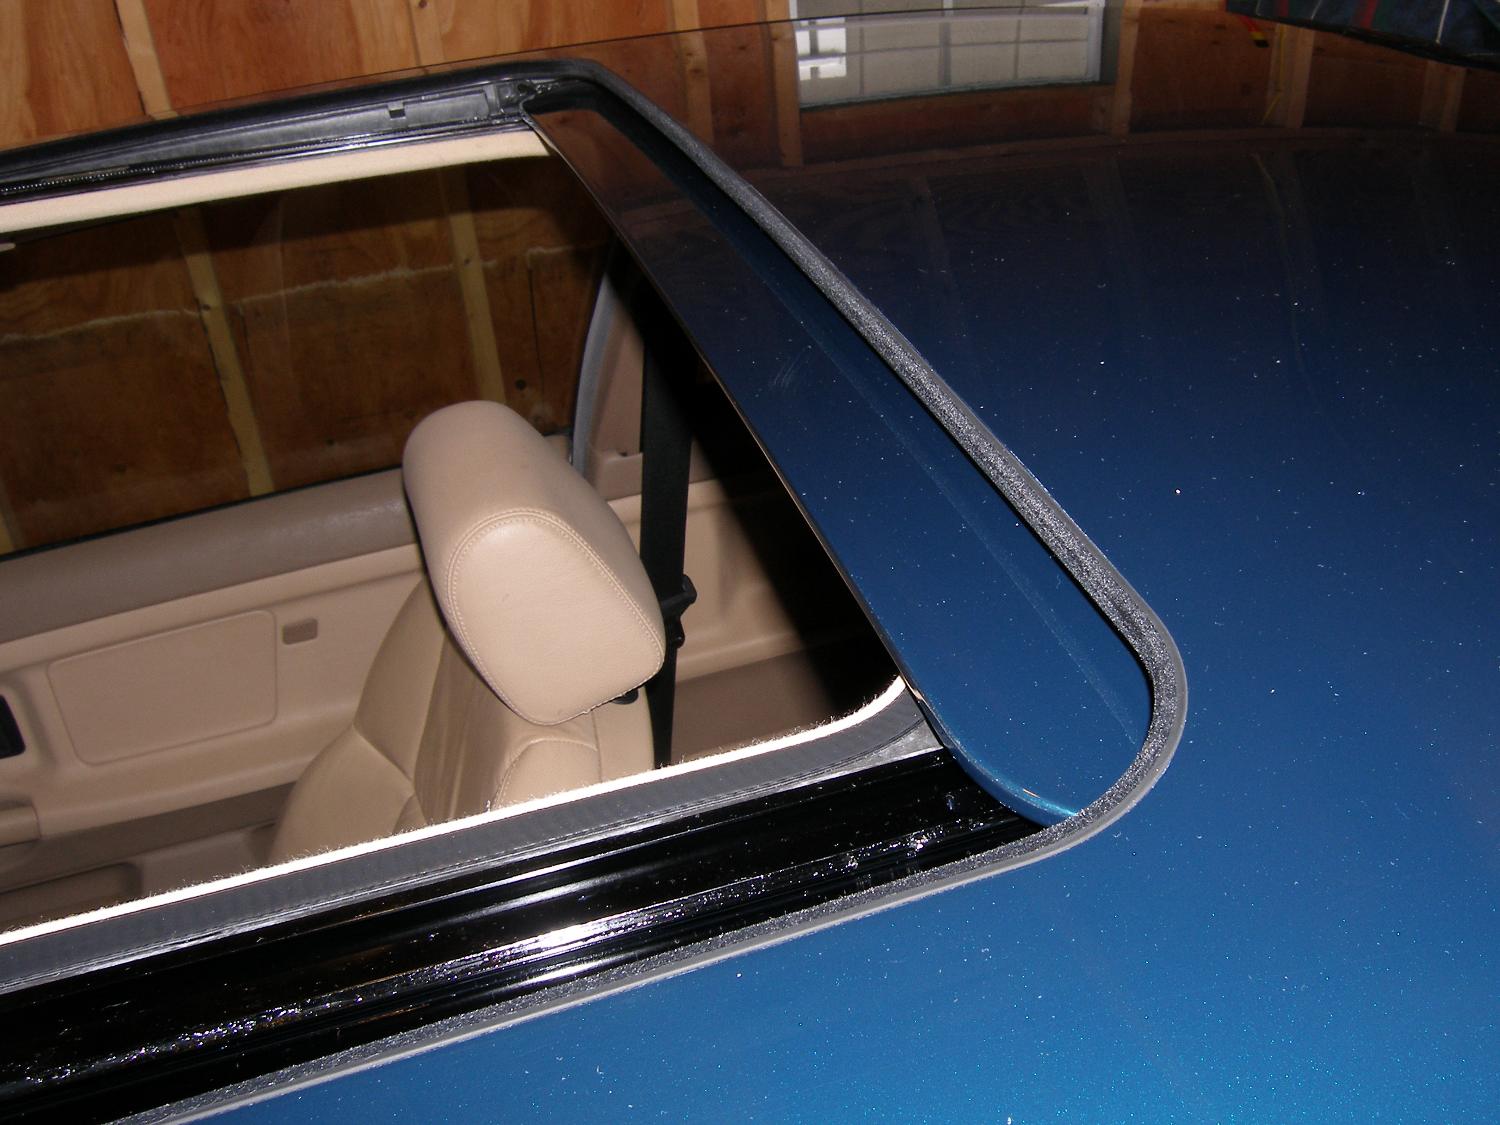
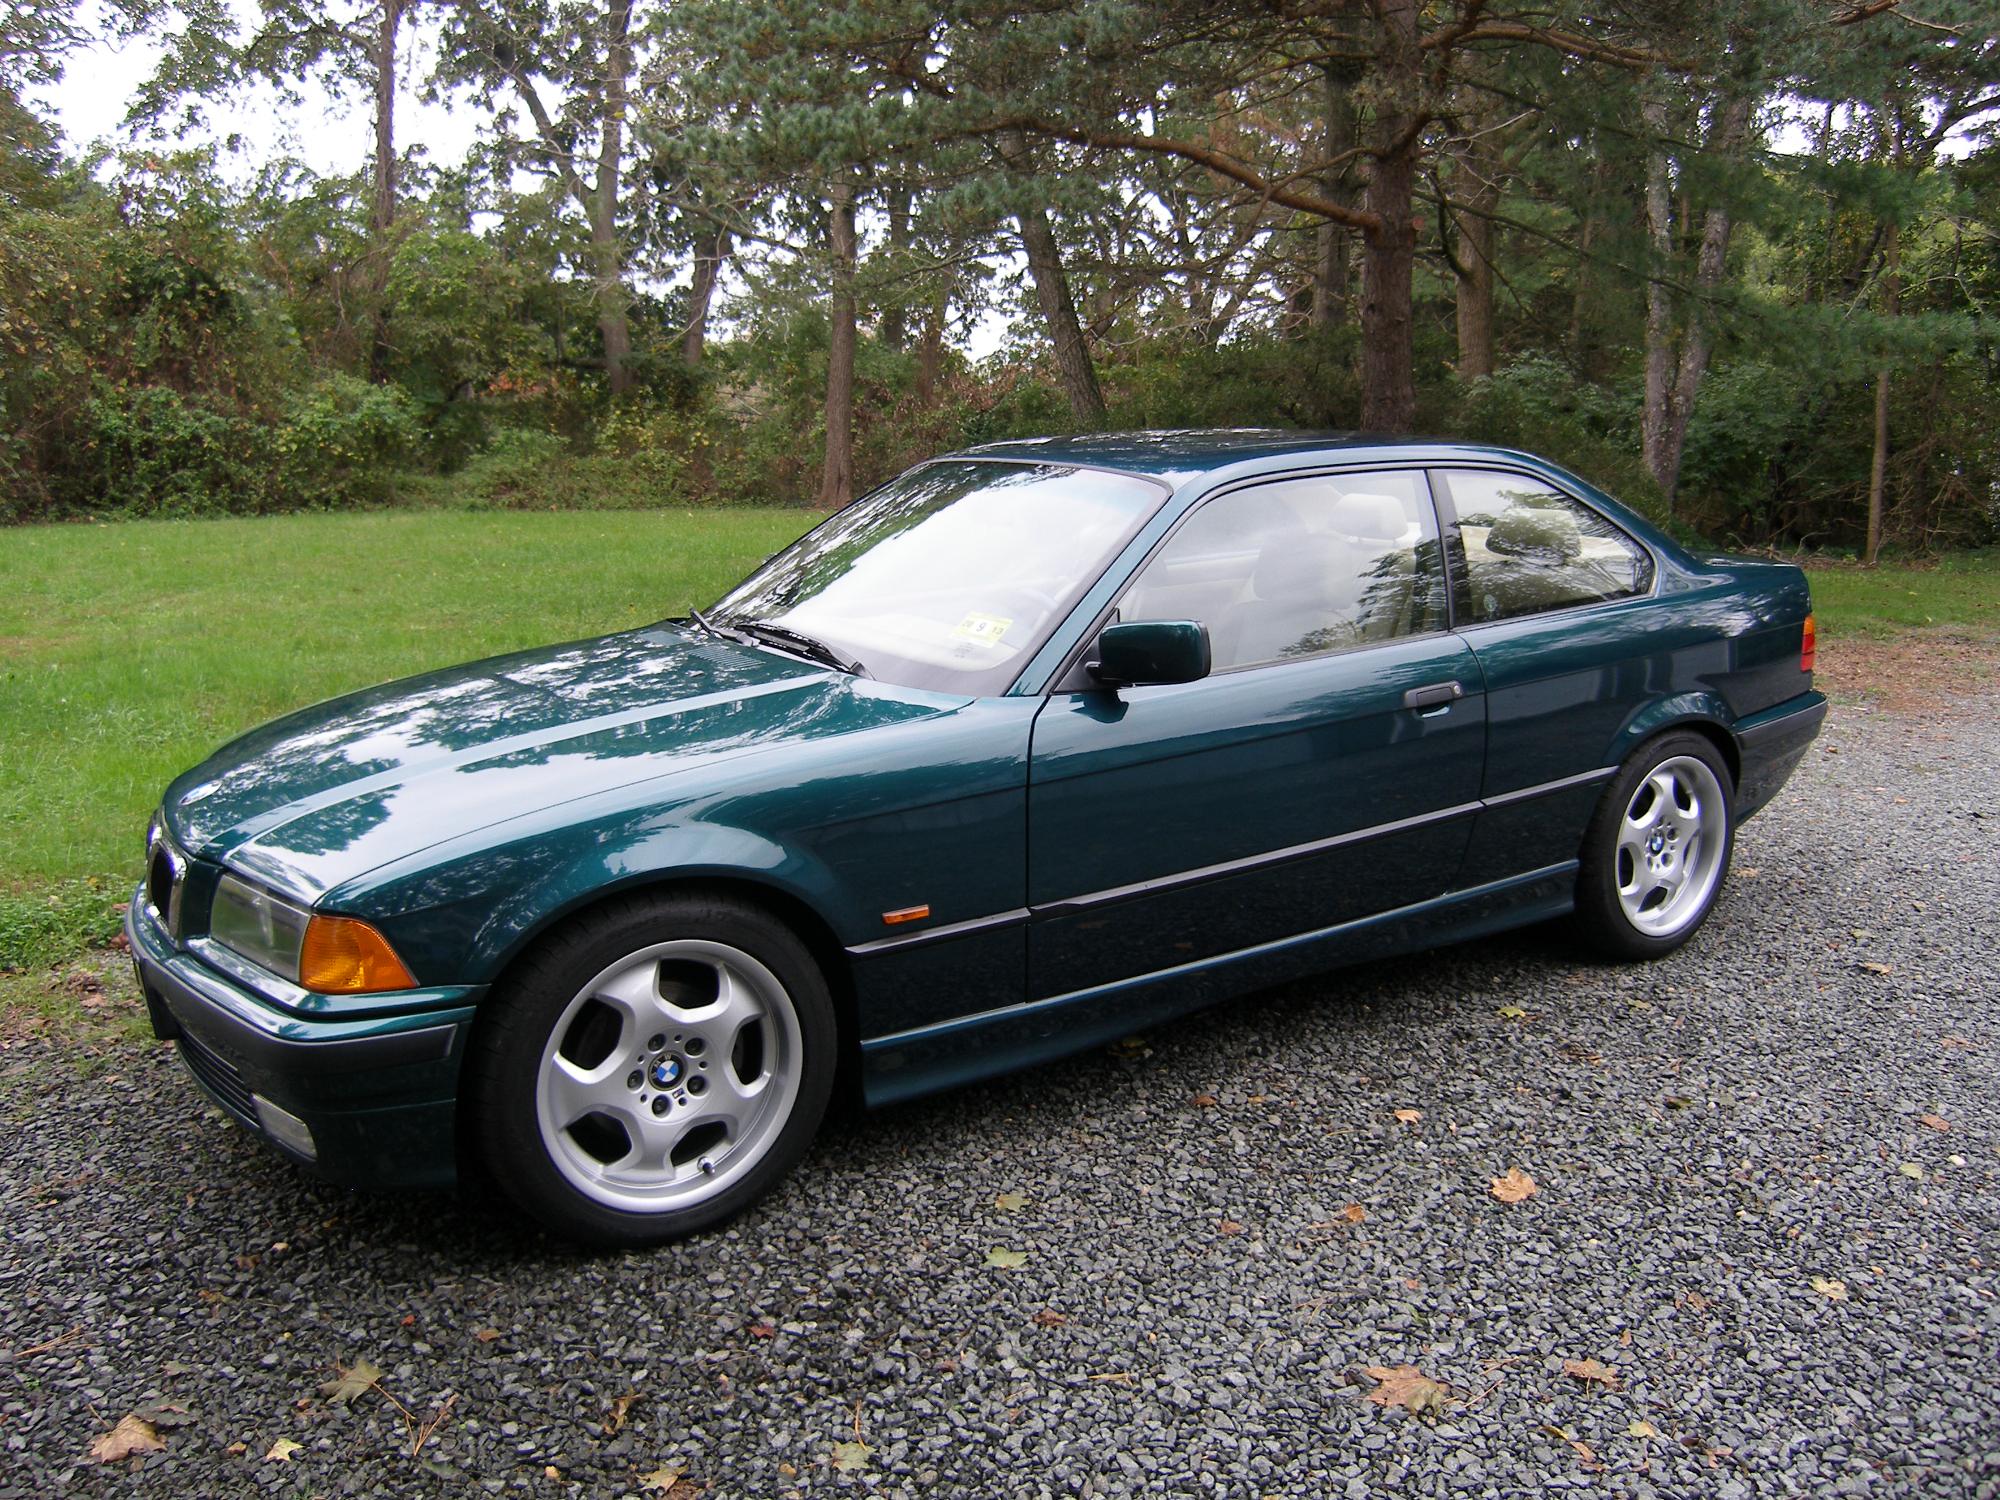 Why have I included a gratuitous picture of the exterior of the E36 when I just finished an INTERIOR overhaul? Because I can! :) |
With the seal out of the way I installed the E46 visor clips quickly and easily. As expected, they matched the screw pattern and pulled the front of the headliner up into its intended position. My visor lights didn't work, but all things considered I was happy that I was able to achieve an original-equipment look. Just as quickly, I cleaned up the B pillar trims and permanently installed them. Then I temporarily reinstalled the original A and C pillar trims. I found the A pillar trims easy to install but the C pillars were a pain in the ass because of the interference of the quarter window locking mechanism (yes, even with the window open). I'm still not exactly sure what the best technique is here but I expect to get a lot more practice on those old trims before I subject my new parts to any abuse.
I decided at the last minute that the rear of the metal sunroof panel was too high so I went through the ritual required to push the fabric panel back and adjust the wedges to reduce the panel height. Since the process requires opening the sunroof until the panel drops below the roofline by 2-3mm and it's ill-advised to move the sunroof mechanism while the fabric panel is pushed back into the cassette, this winds up being a trial-and-error process. Fortunately, with my wedges now squarely in the center of their adjustment envelope, I got the job done in one shot and the result is absolutely perfect.
For those really interested in the technical specifics here...there is no precise "one size fits all" wedge setting because as the sunroof mechanism approaches zero position, the height of the crossbar changes. Put another way, if the full adjustment range of the wedges does not bring the sunroof metal panel to the proper height, that's a pretty good indication that the sunroof mechanism is not at the true and correct zero position. Now, in the case where the metal panel is being removed for other reasons (say, a fabric panel replacement) but the sunroof mechanism is not being adjusted (meaning, the position of the sunroof mechanism is not changed), that's where the process of scribing the current position of the wedges on the crossbar comes into play. That simply helps avoid the trial-and-error approach to the metal panel alignment process.
To finish up the day I cleaned the interior before washing both cars, putting the E46 to bed and driving home in the E36, victorious. So with the exception of the sunroof panel and pillar trim recovering effort, I'll consider this phase of the interior overhaul project finished. Parts and materials totaled $2285. I didn't keep strict time records because time was the least of my concerns while working with thousands of dollars of potentially irreplaceable parts, but my guess is I invested around 30 hours including research. I don't know what a pro would have taken to do the same job but I think 15 hours is pretty conservative estimate. At an independent that's $1200 and at the dealer it's just under $2000, so as usual I'll just average it out and call it $1500 labor saved.
By the way, the old sunroof cassette is now for sale. If you're interested in it, let me know.
Mileage: 212050, Parts: $295, Parts Saved: $56 [Project Totals: Parts: $2285, Labor Saved: $1500]