


Monday, May 28, 2012
Front Suspension Overhaul - Day 2
Based on my relatively slow progress yesterday I was determined to get some serious work done today.
I began the day by blowing the dust off my special 16mm open end wrench I made way back in 2007 to replace the swaybar endlinks and promptly disconnected the endlinks from the bar. I followed up by pulling the four 13mm bolts on the mounting clamps that hold the bar to the frame rails before pulling the swaybar and setting it aside in my powder coating pile. The finish has held up remarkably well and I could probably leave well enough alone but I figured it would be nice to have the swaybar match all the other freshly powdercoated parts that will soon grace the front end.
I then pulled off the brakes to find the pads just starting to cause wear on the sensor so the timing for the overhaul couldn't have been better. The brakes will be replaced with everything else in the front end, and that will make for a lot nicer look when it comes time for the photo / video shoots when I wrap up the project.
Using a pickle fork in my air hammer bought many years ago for this very job, I was able to break the tie rod ball joints free of the kingpins. It took some work from different angles with the smallest pickle fork in the set but they eventually popped free. All in all, the biggest problem with this job was getting the pickle fork stuck a few times where I was hammering continously but the fork wasn't moving inward anymore. I used a hammer to gently tap the fork back out and attacked it from a different angle until I achieved the desired result. There's probably some technique here that I failed to utilize as I don't recall seeing others having so much trouble.
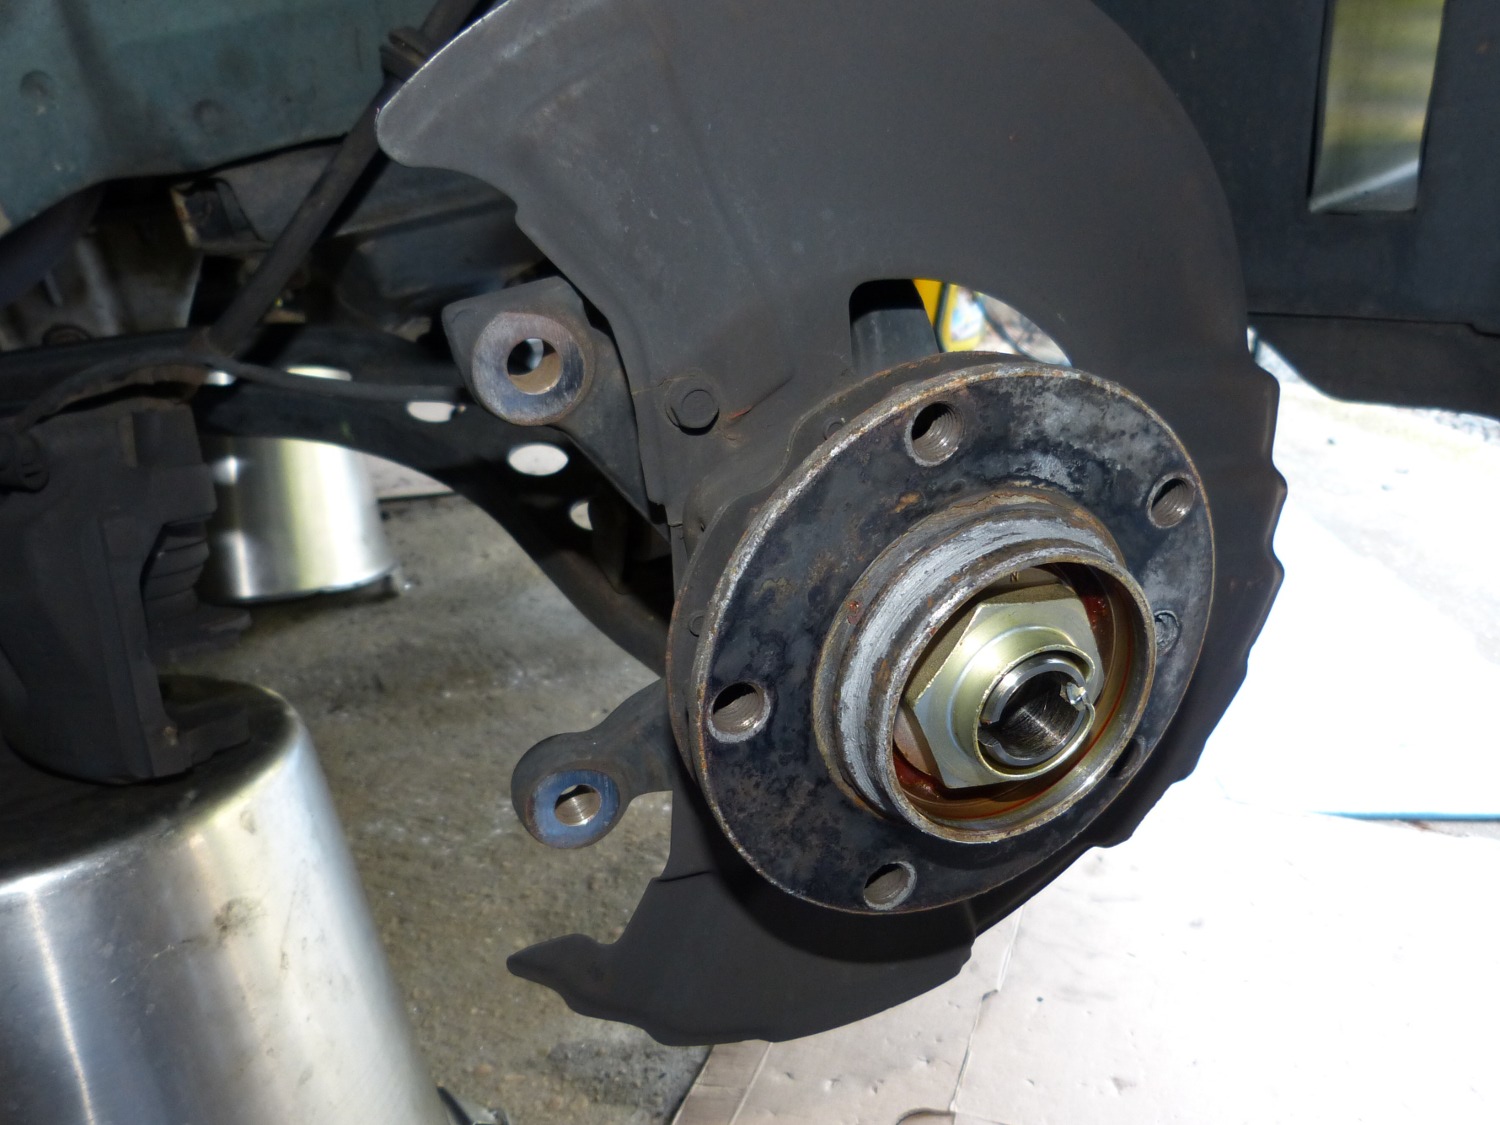 I removed the hub cover and was about to remove the hub nut when I realized the large socket was 3/4" drive and I didn't have an adapter. Guess I'll get one tomorrow. |
 The right front kingpin removed. The outer ball joint is beyond shot. I also managed to destroy both ball joint boots with my pickle fork. Pretty typical, and expected. |
 Another shot of the left side. This was a bit easier to achieve once I realized the correct sequence of disassembly. |
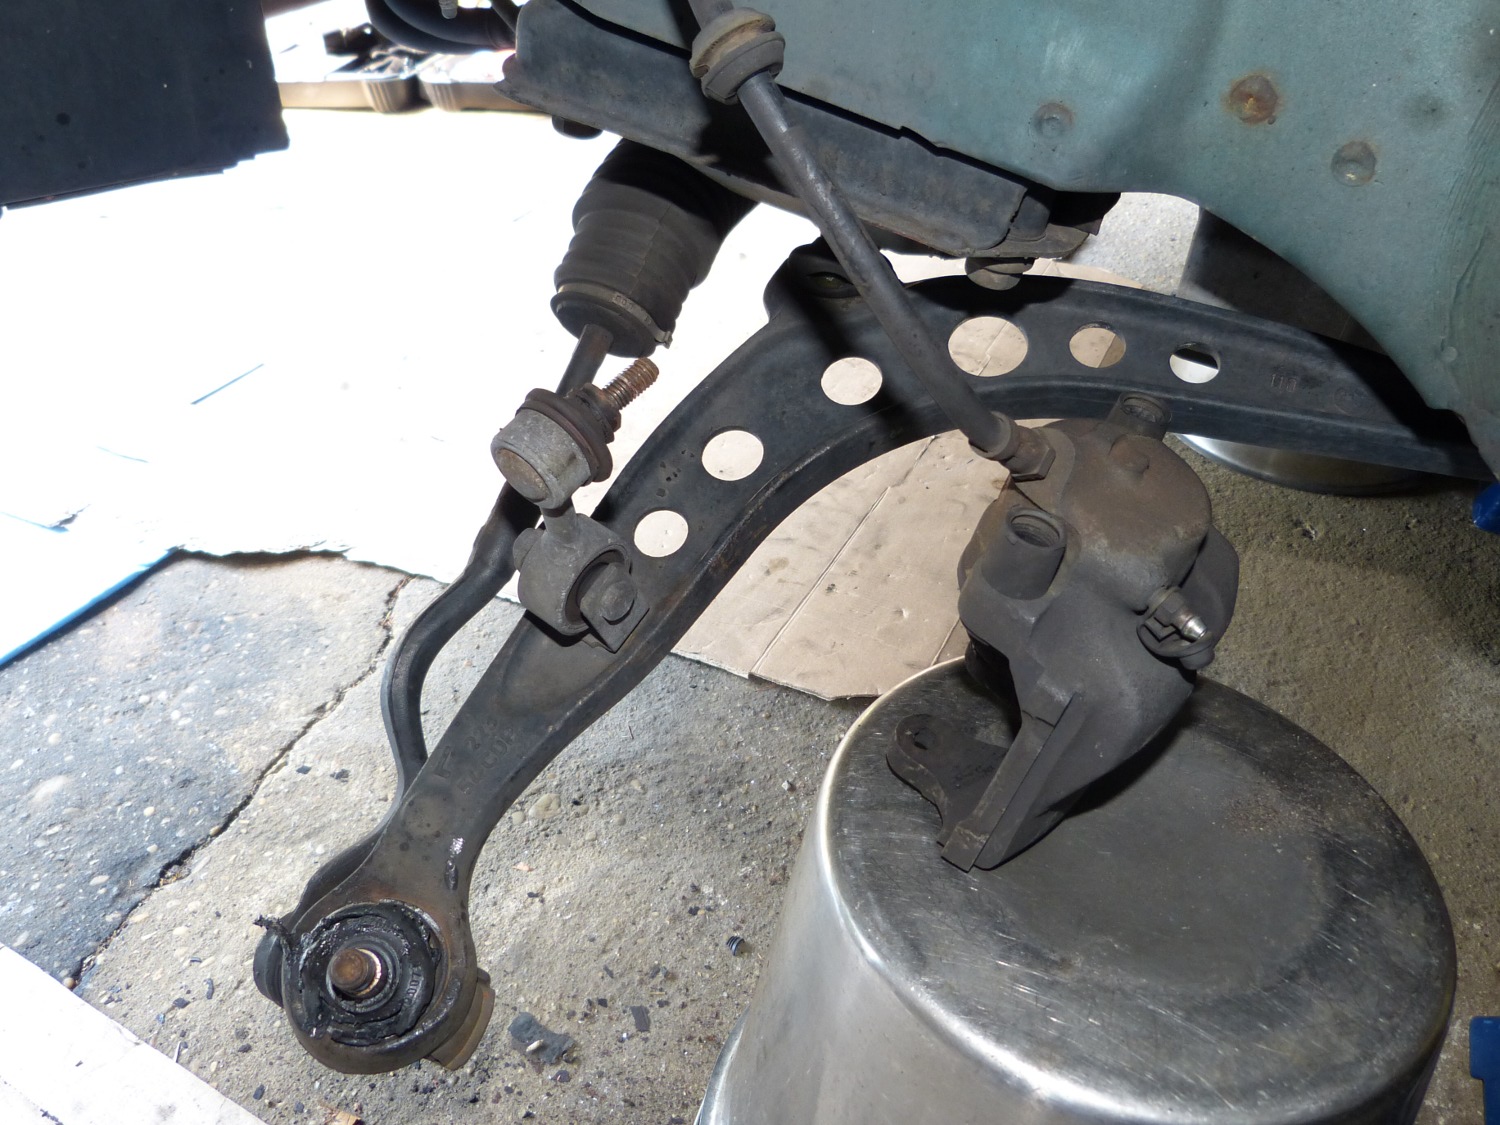
The nightmare of the day was without a doubt dealing with the outer lower control arm ball joints. Starting on the right side of the vehicle I planned to keep the strut fastened to the kingpin, at least for the moment, but I ultimately realized that due to the design of the strut I could not completely remove the nut holding the outer ball joint to the kingpin. The correct approach is, of course, to remove the strut from the kingpin first but I didn't do that initially. Instead, I loosened the bolt until it hit the strut and then used my pickle fork to separate the ball joint from the kingpin. That did little more than cause the ball joint to spin when I attempted to loosen the nut further.
To remedy the situation I had to place my floor jack under the end of the control arm and push the ball joint shaft back into the kingpin. This mated the ball joint shaft in the tapered bore of the kingpin and created enough friction to allow me to apply the necessary torque to fully loosen and remove the nut. Needless to say, when I got around to the left side I broke out my air wrench and quickly removed all the bolts holding the strut to the kingpin. This allowed me to fully remove the outer ball joint nut and then use the pickle fork to break the ball joint shaft free of the kingpin. No muss, no fuss.
I knew going into this that a pickle fork destroys the ball joint boots and this was true in all cases where I used it. This might have been a factor had I wanted to reuse the lower control arms or tie rods but that clearly wasn't the case here. As the videos vividly show, the outer lower control arm ball joints were absolutely shot. When I grabbed one of the rotors at nine and three and pushed and pulled, I was amazed at the amount of slop. On the other hand, I found the tie rod ball joints in surprisingly good shape for their age but given the scope of this project they will be replaced anyway.
Next up is to drain and disconnect the steering rack, remove it from the subframe, and then pull the subframe, remove the lower control arms and heave them mightily into the garbage can. Once that's done I have to take the subframe and other parts to Mr. M Car. His welder will then install the TMS reinforcement kit on the subframe while he assembles the struts and presses new 96-99 M3 control arm bushings into my existing lollypops. When the subframe work is complete I plan to take it and several other components over to my powder coater who will sandblast and refinish them with the same semi-gloss black I used on the rear suspension components. That work will probably take a couple of weeks so I expect the car to be out of service for the better part of a month. As usual, however, I'm not exactly hurting while driving the E46.
Videos:
- Outer balljoint condition after 220K miles
- Right outer balljoint removal issue
- Revised technique for removing outer ball joint from kingpin
- Closeup of 1995 M3 control arm
- Left side ball joint finally removed
Mileage: 222600