


Sunday, July 8, 2012
Front Suspension Overhaul - Day 15
The parts department had the swaybar to endlink nuts in stock so I picked those up yesterday. They did not have the power steering pump banjo fitting sealing rings so I ordered them.
While attempting to install the engine driven fan and top radiator cover on Friday I noticed that the plastic rivets that hold the two layers of the part together had failed on one side. This meant the part was not really sealing well enough to direct the proper ram airflow to the alternator. To solve this I ordered a new radiator cover as well as new blind nuts and fasteners for it.
I also noticed that I had apparently broken one of the mounts used to secure the end of the blue hardline used for fuel vapor recovery. I could not locate anything resembling that part in ETK and the part itself had no partial part number or other identifiable information printed on it so I decided to work up an alternate solution involving a BMW rubber isolation mount and an adel clamp. More on that when I install it.
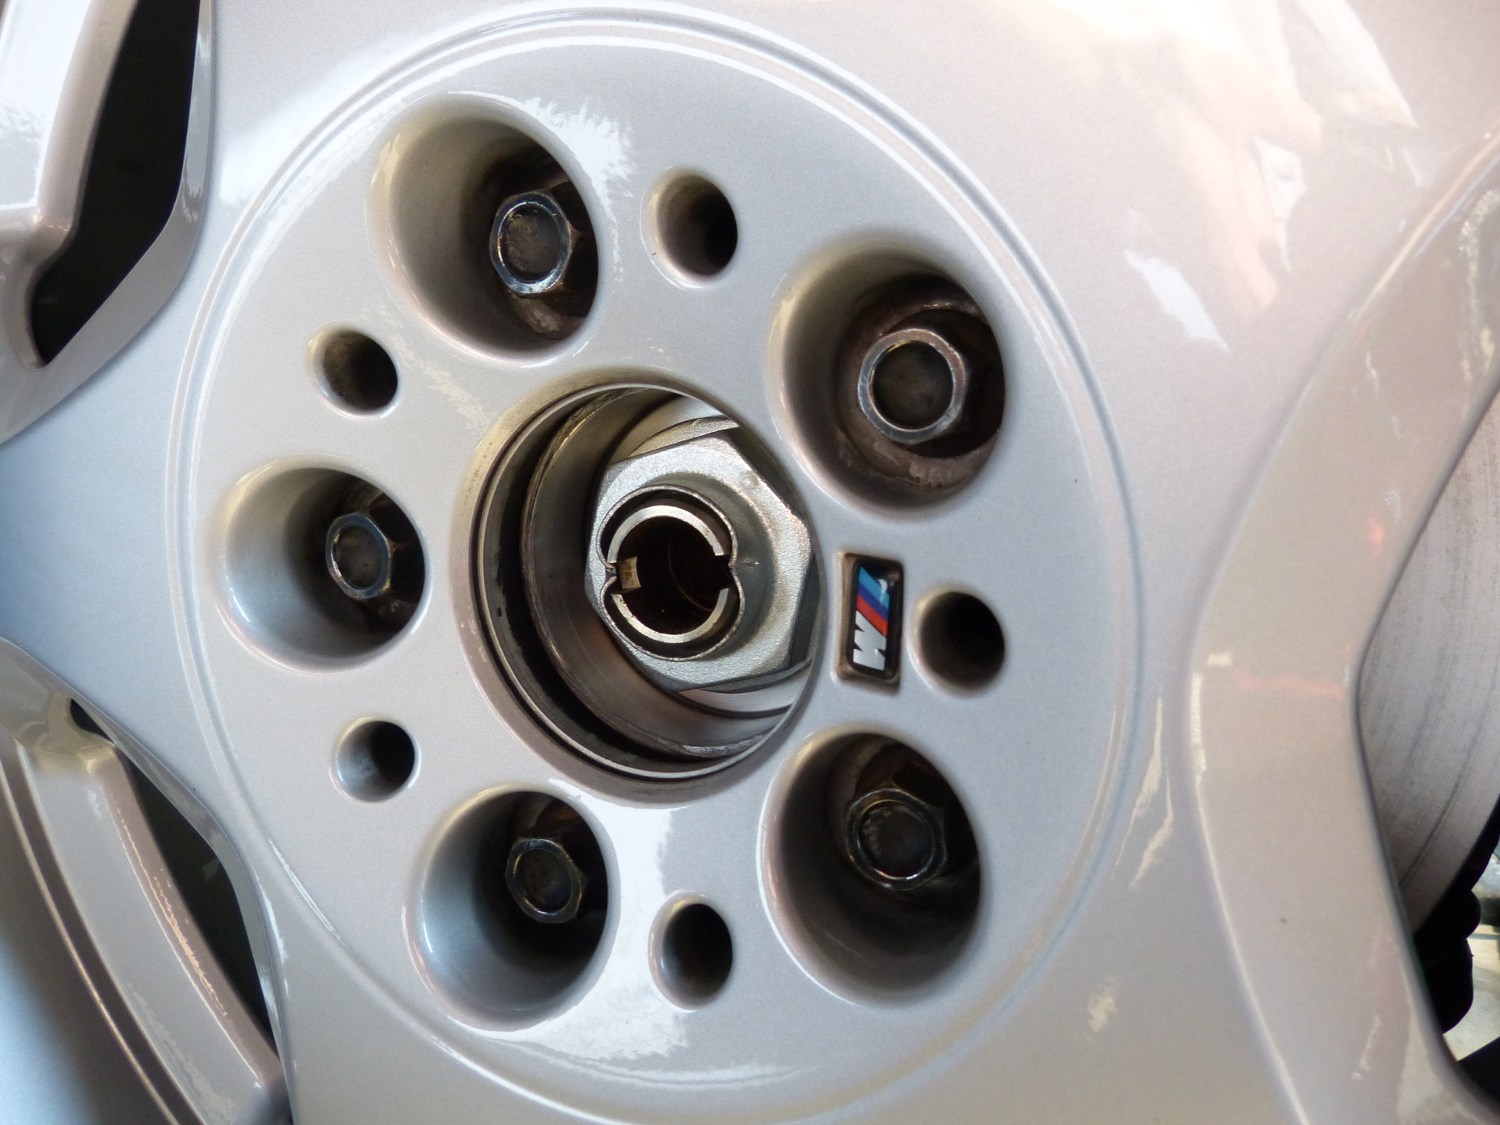 For the record I was able to (carefully) stake the axle nuts with the wheels on the car. |
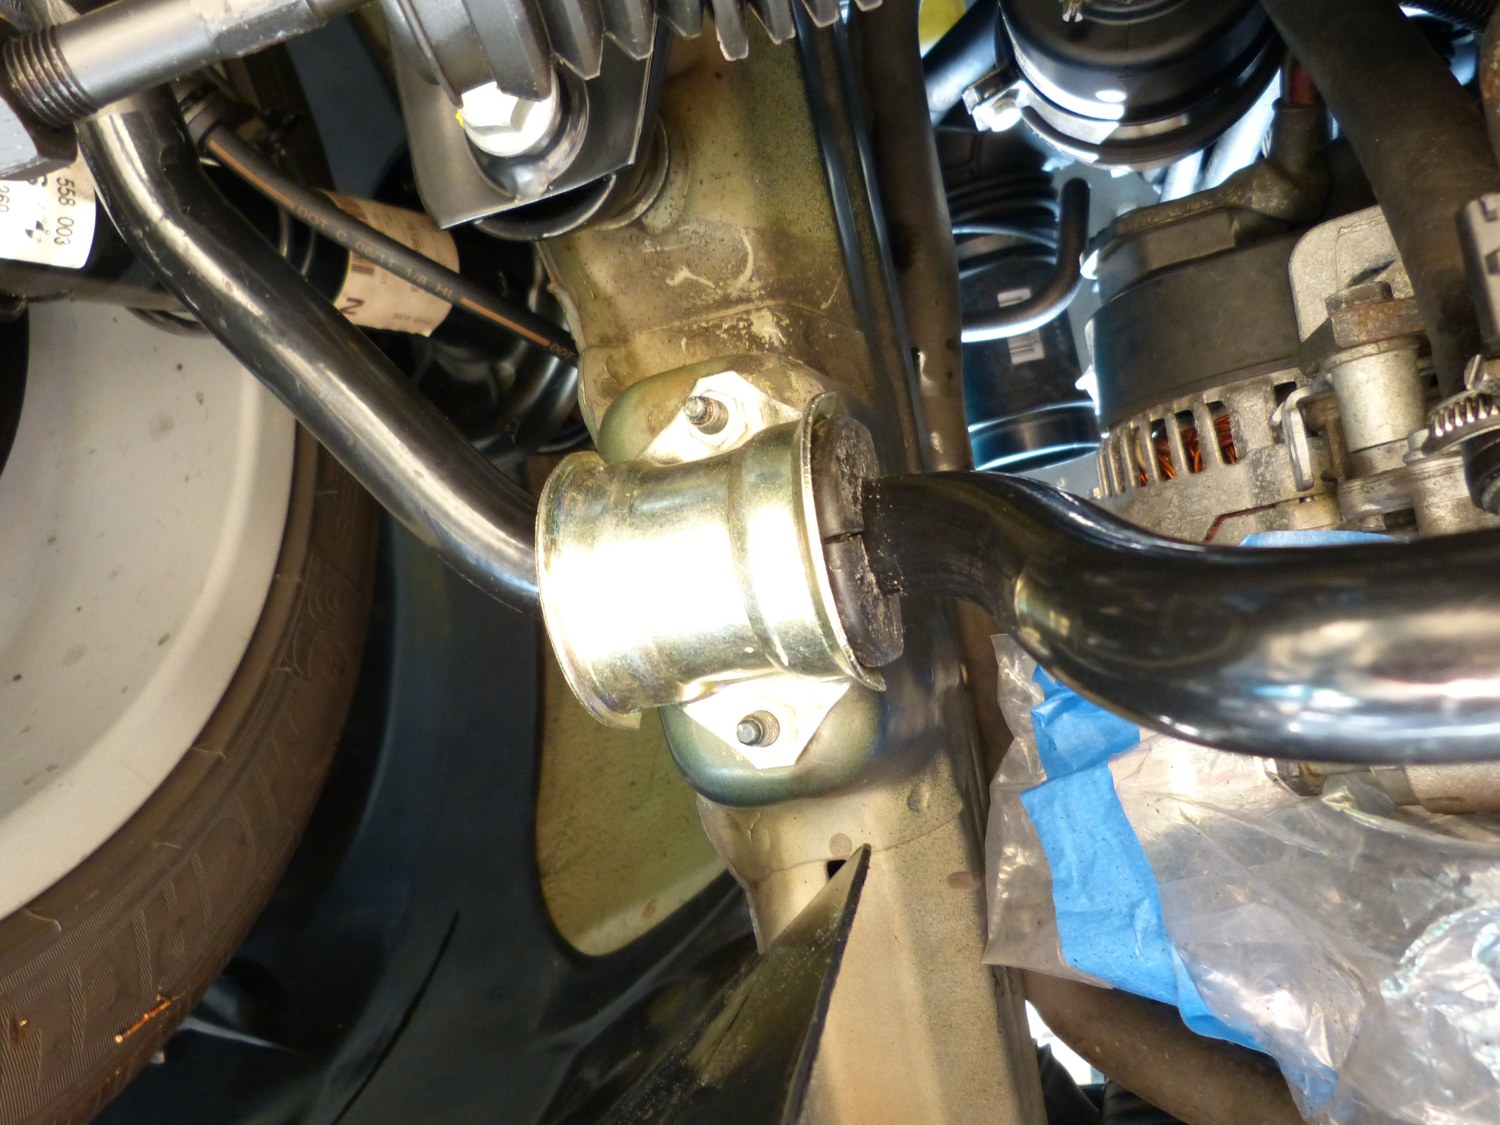 New swaybar, bushing, and cad-steel retaining clamp installed. |
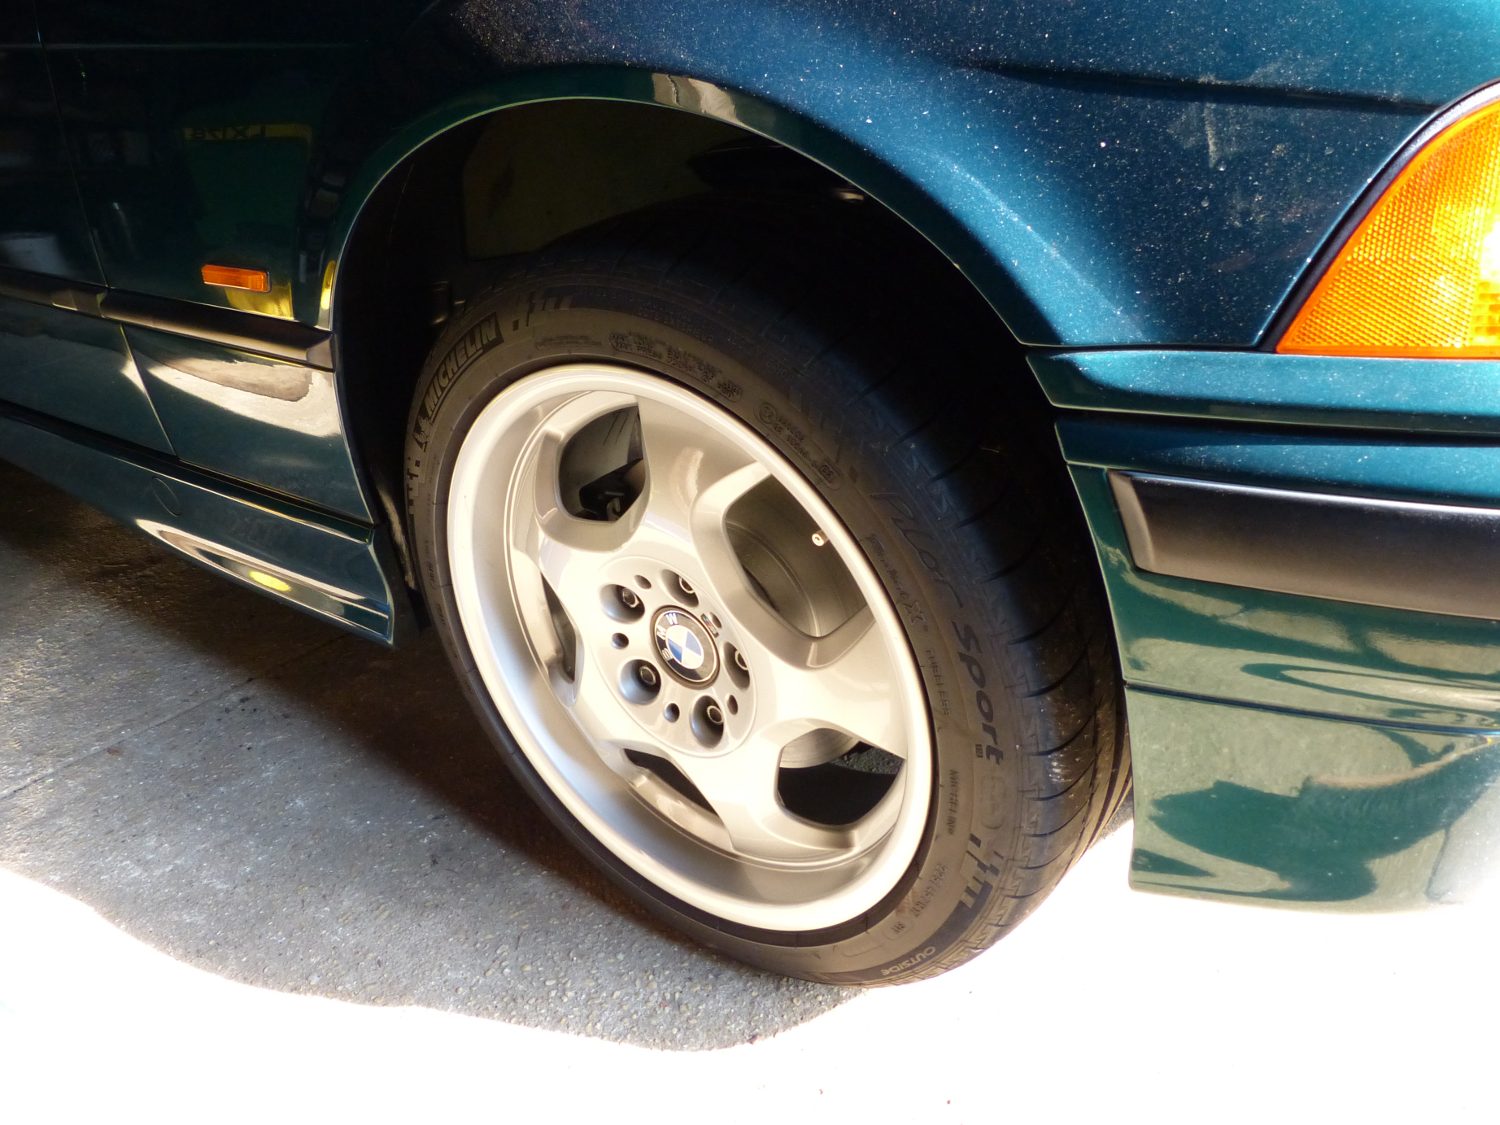
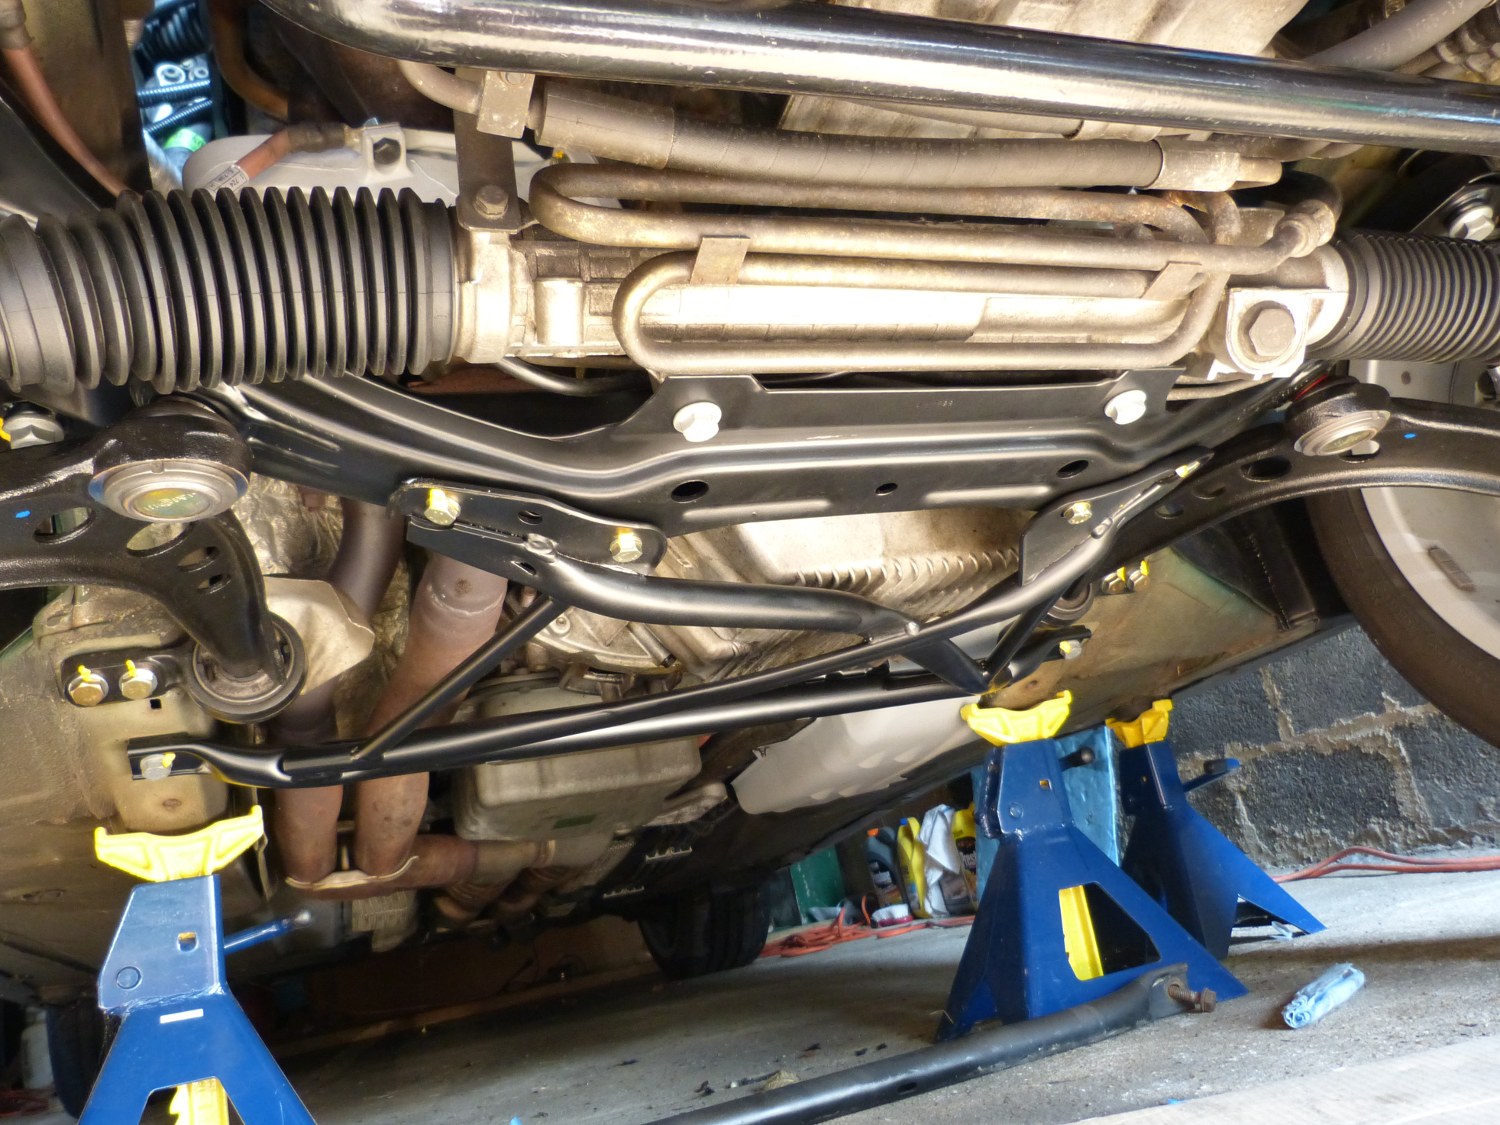 A nice perspective shot of the completed front end including the X-brace installed. |
Today I spent a couple hours at the garage doing what I could do with the parts on hand and installed the swaybar and X-brace. I even managed to pull the wheels, stake the axle nuts, and use the same piece of 2" PVC I used as a drift to press on the wheel bearing shields to press in the wheel bearing caps before installing the wheels and putting the car back on the ground.
You know you've been running a BMW website for a long time when you begin to reference your own on DIY articles, and I did exactly that when installing the swaybar. I made a point to remember to align the flats on the endlink ball joint before torquing it and all the other fasteners to spec and applying a bit of torque seal.
I had what some might think is an irrational fear that the holes on the front of the X-brace wouldn't perfectly line up with one or more nutserts in the subframe and for a moment I did struggle with one of the bolts, but I ultimately determined that was due to thread contamination rather than alignment. The recommended torque value for the AVK M8 inserts is 15.5 ft*lbs but I decided to torque to an even 15 ft*lbs and that's close enough. Research online indicated that the maximum torque before nutsert failure is about twice that value so 15 ft*lbs is quite conservative. The rear M10 bolts were torqued to an even 50 ft*lbs before I applied torque seal to both front and rear fasteners.
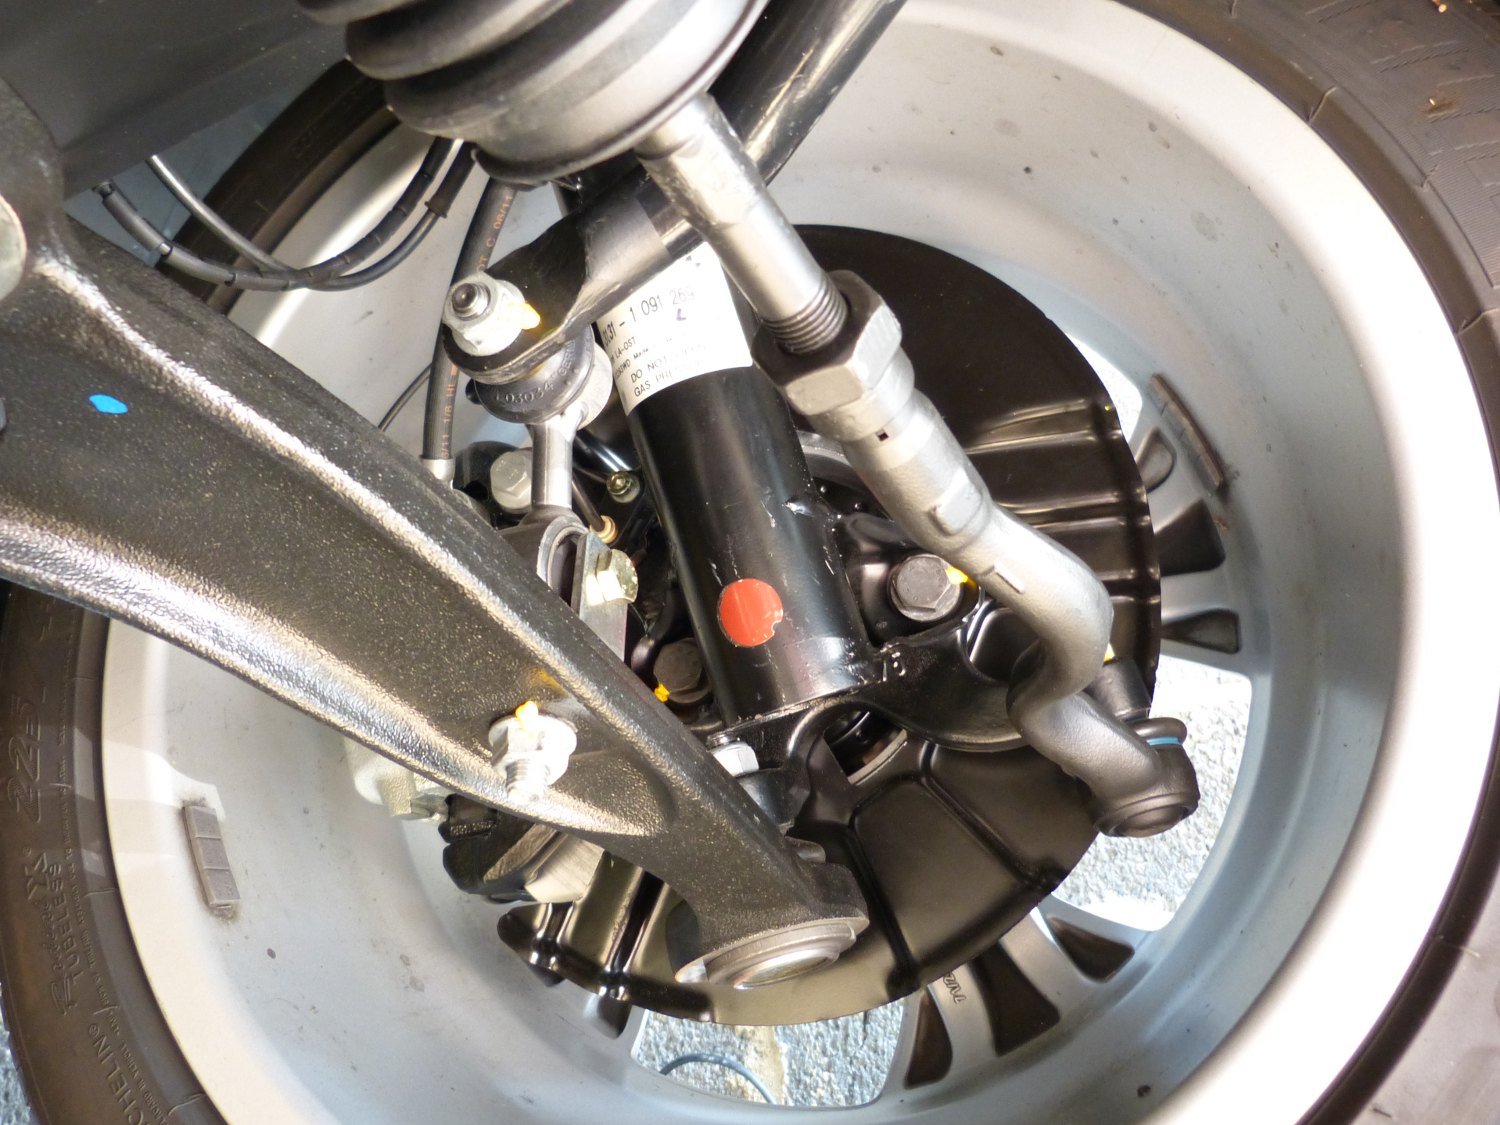 Another perspective shot of the inside left wheel area showing the new swaybar and endlink installed. |
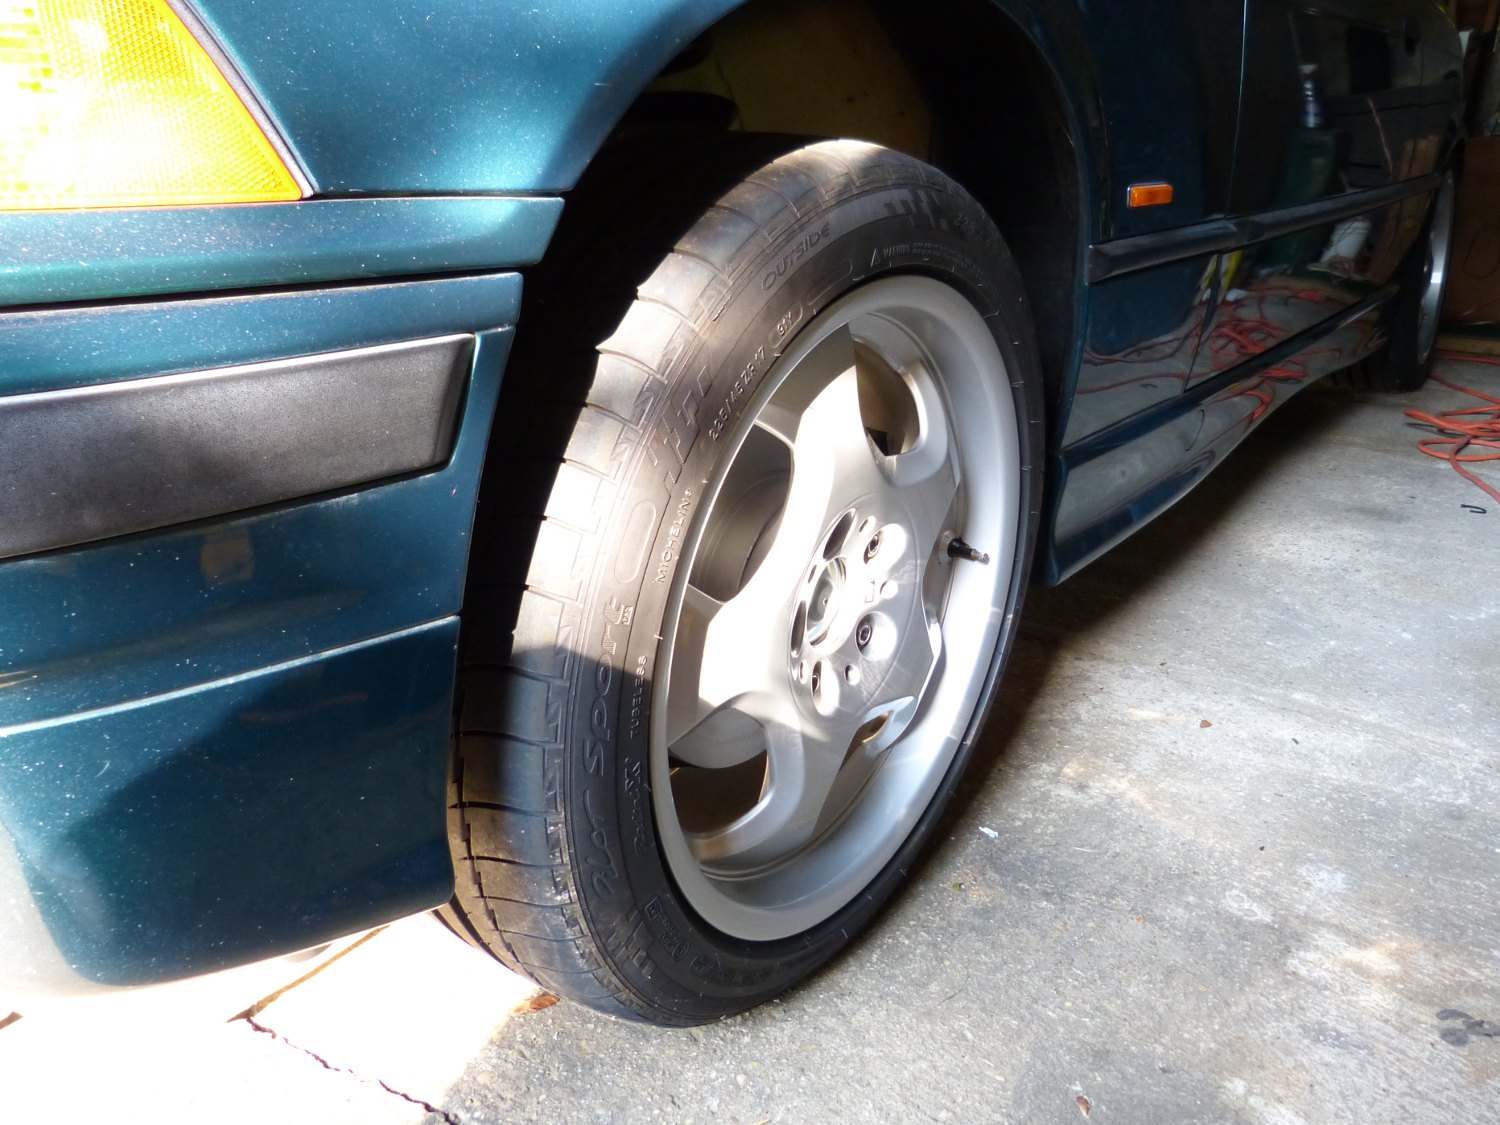 The huge left side wheel gap. This is about 1.0-1.5" too high, typical prior to settling. When I overhauled the rear end it was high like this as well. |
 The right side wheel gap. Normal gap is about four fingers, believe it or not, and this isn't much more than that. |
Incidentally, at least one X-brace DIY suggested using blue loctite on those fasteners. I did not want to risk tearing out the nutserts later so I did not apply any loctite. For this reason I plan to watch the torque seal on these fasteners particularly closely to ensure the bolts don't walk. If they do, I'll apply loctite at that time.
Next weekend I'll install the power steering system, new lock housing and tumbler, electrics and steering wheel. Then to wrap up the project I'll do the test drive and schedule the alignment with Don for the following week. Till then...
Mileage: 222600, Parts: $8