


Tuesday, August 9, 2016
Keeping the Covers
My goal this week was to remove the driver side seat base cover so I could send it out to GAHH along with the new seat base covers to fix what I initially viewed as an incorrect seam applied to the leather between the thigh rest and seat base.
After pondering my options I decided to look more closely at my E46 to see how BMW manufactured the later model seat covers. Sure enough, as I extended the thigh rest I found the same seam incorporated into that section of the leather. While the seam is not correct for the E36 the reality is it doesn't look that bad so I've decided to install the covers as is. Assuming I don't run into any fitment problems as I did with the rear seats I expect this to save some time.
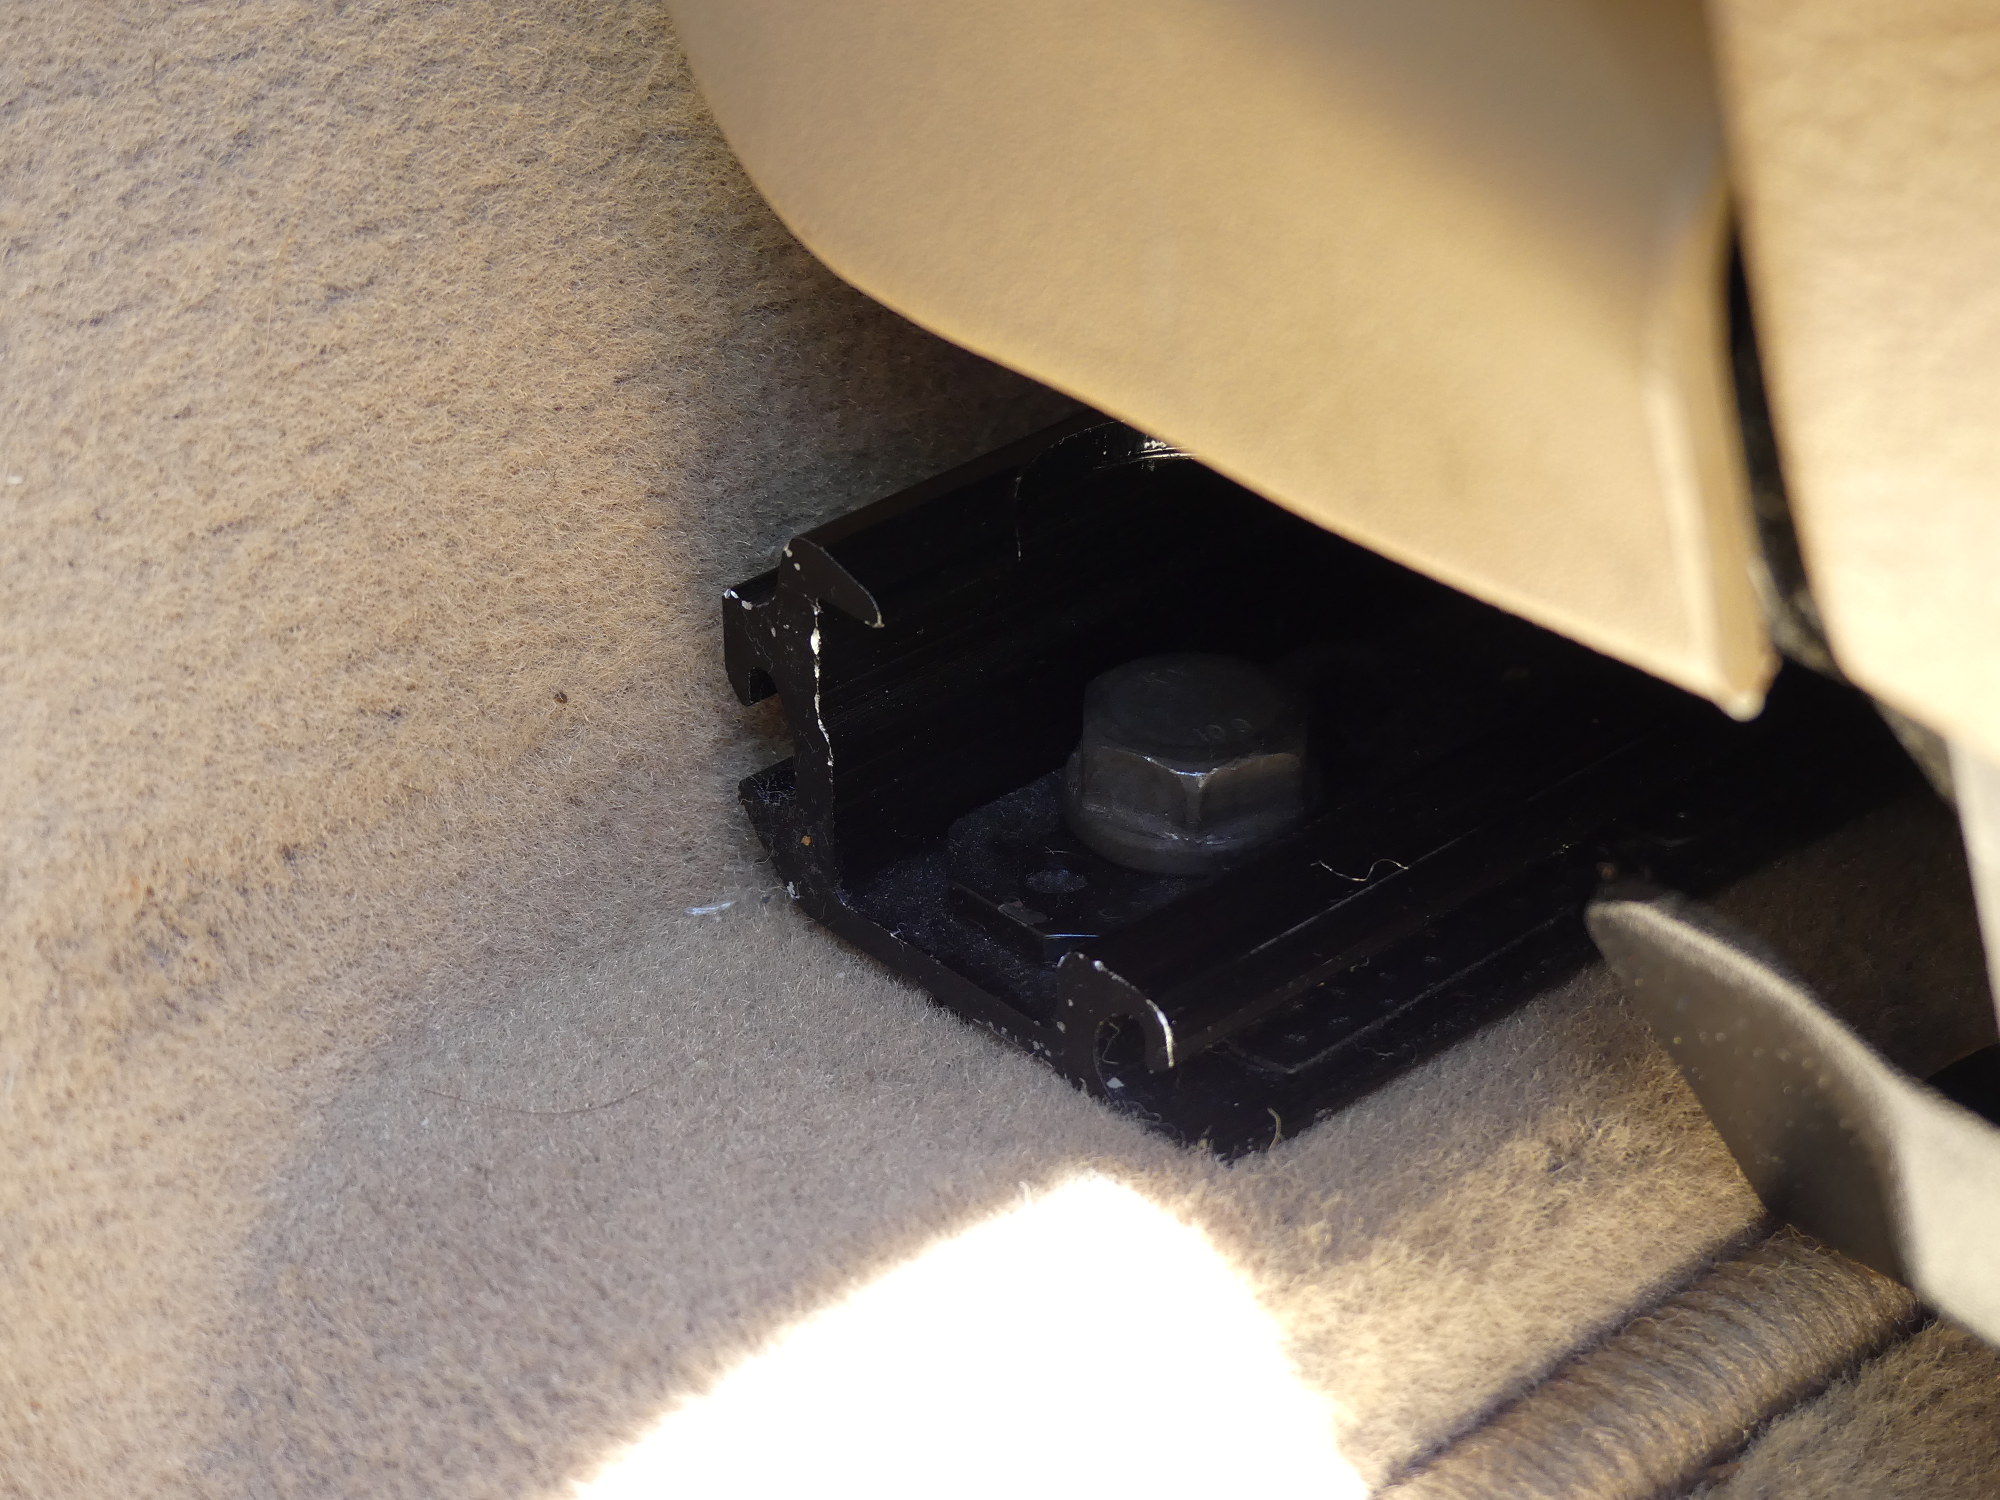 Removing the seats requires removal of two nuts and two bolts, which would be simple enough except that the inner rear bolt is inaccessible with a rachet. Time for a box end. |
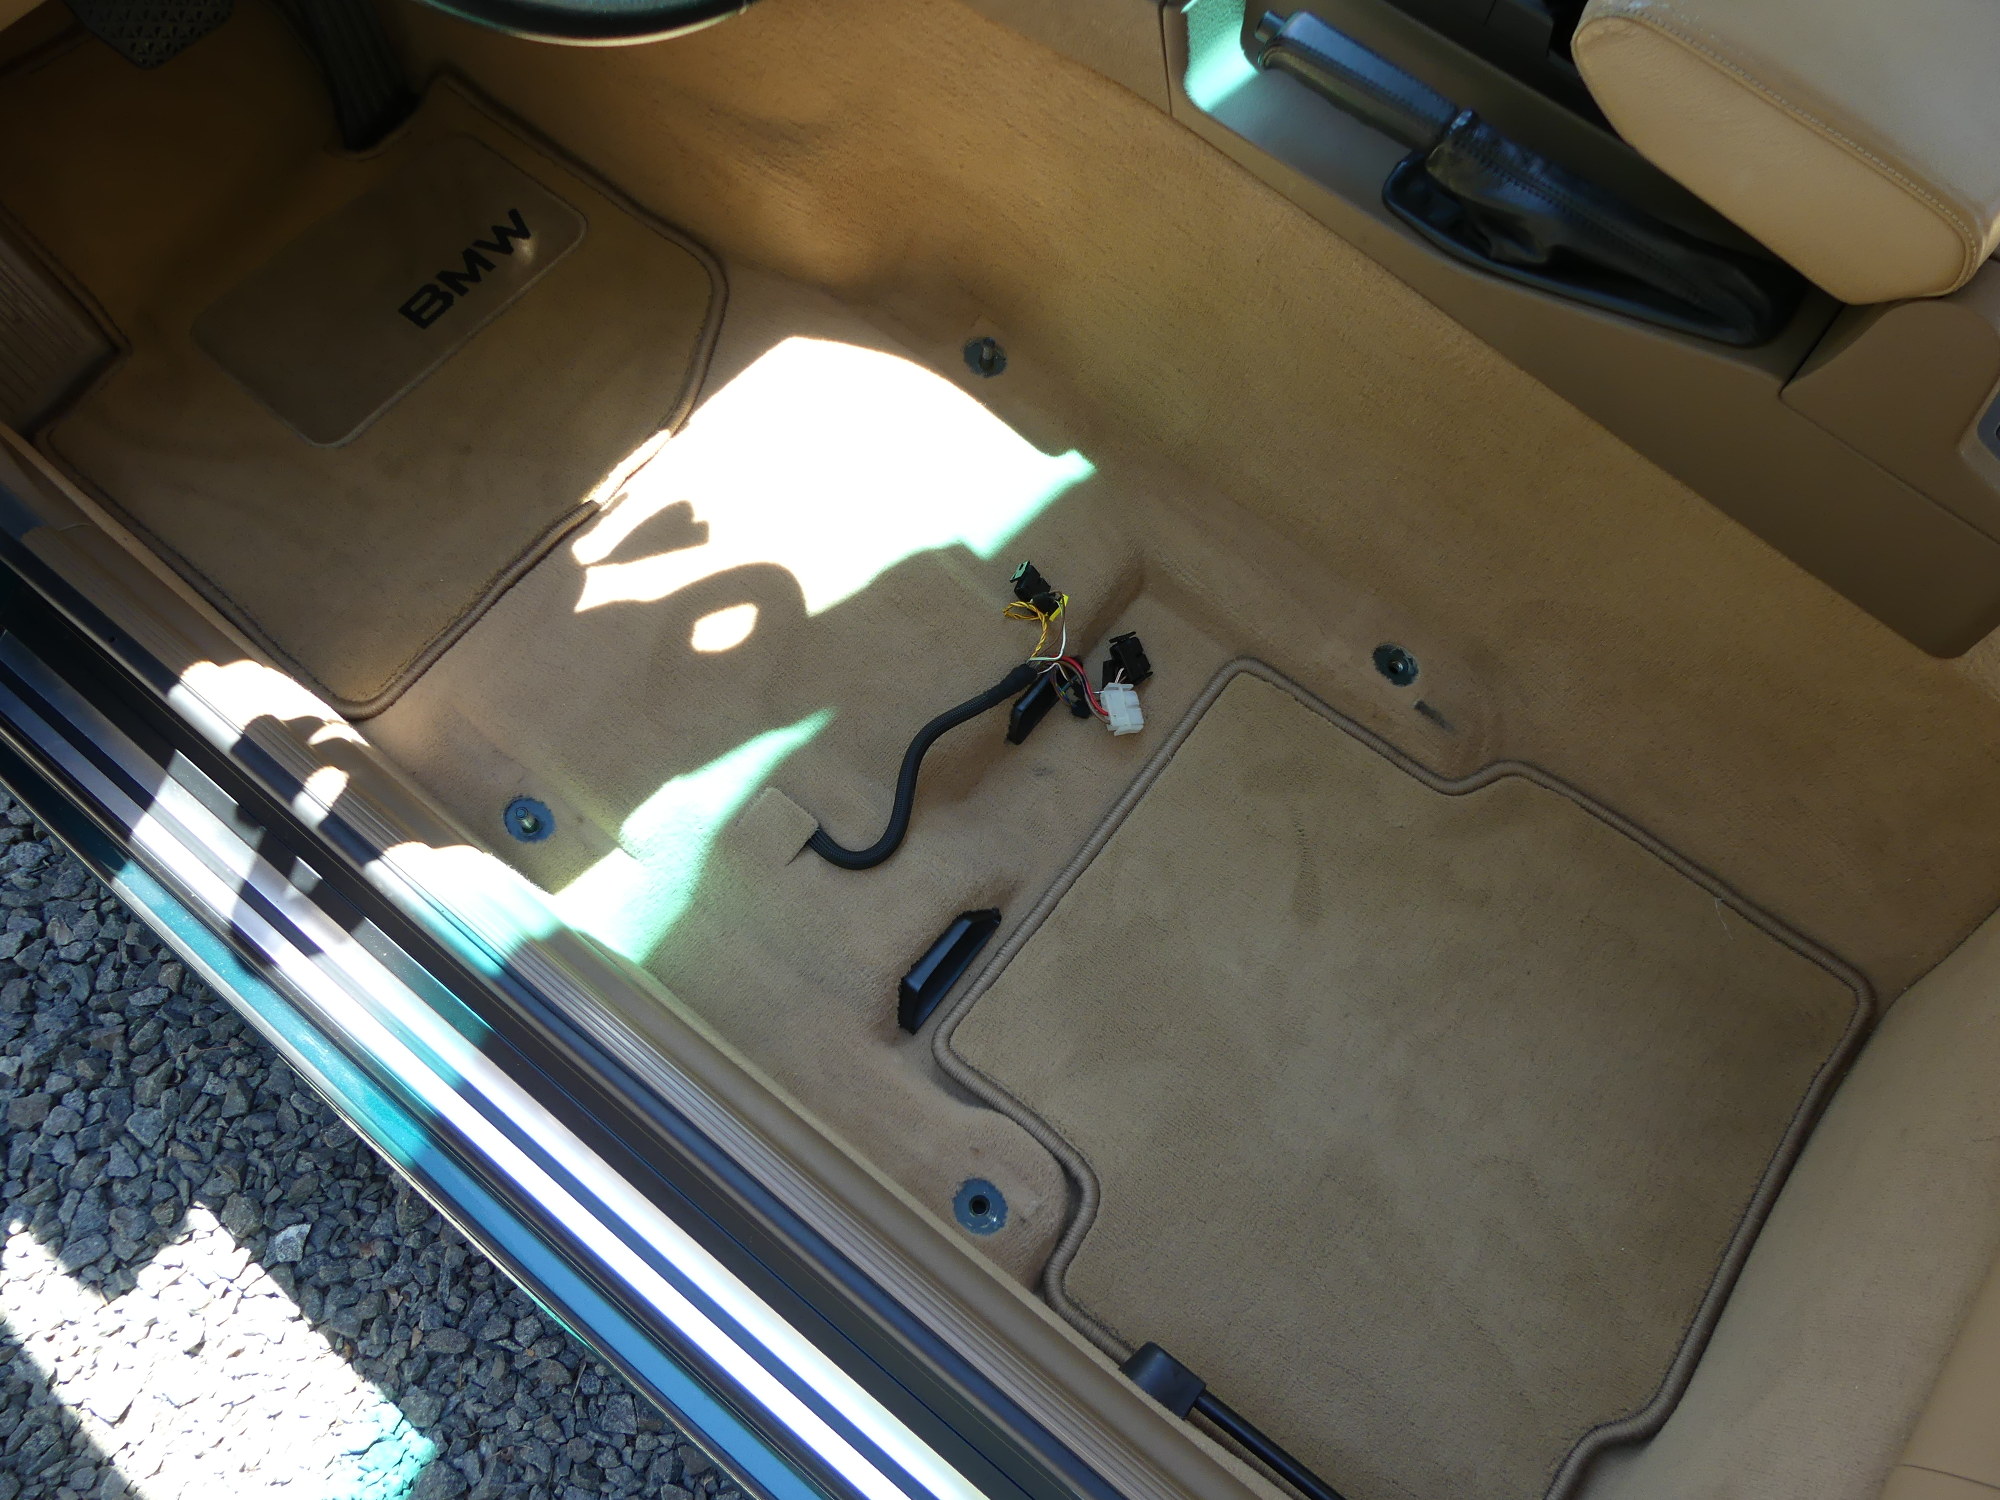 The shot I never got to take after my technician installed the new carpet but before he installed the seats. Only one wiring bundle but with five separate connections. Six on the passenger side. |
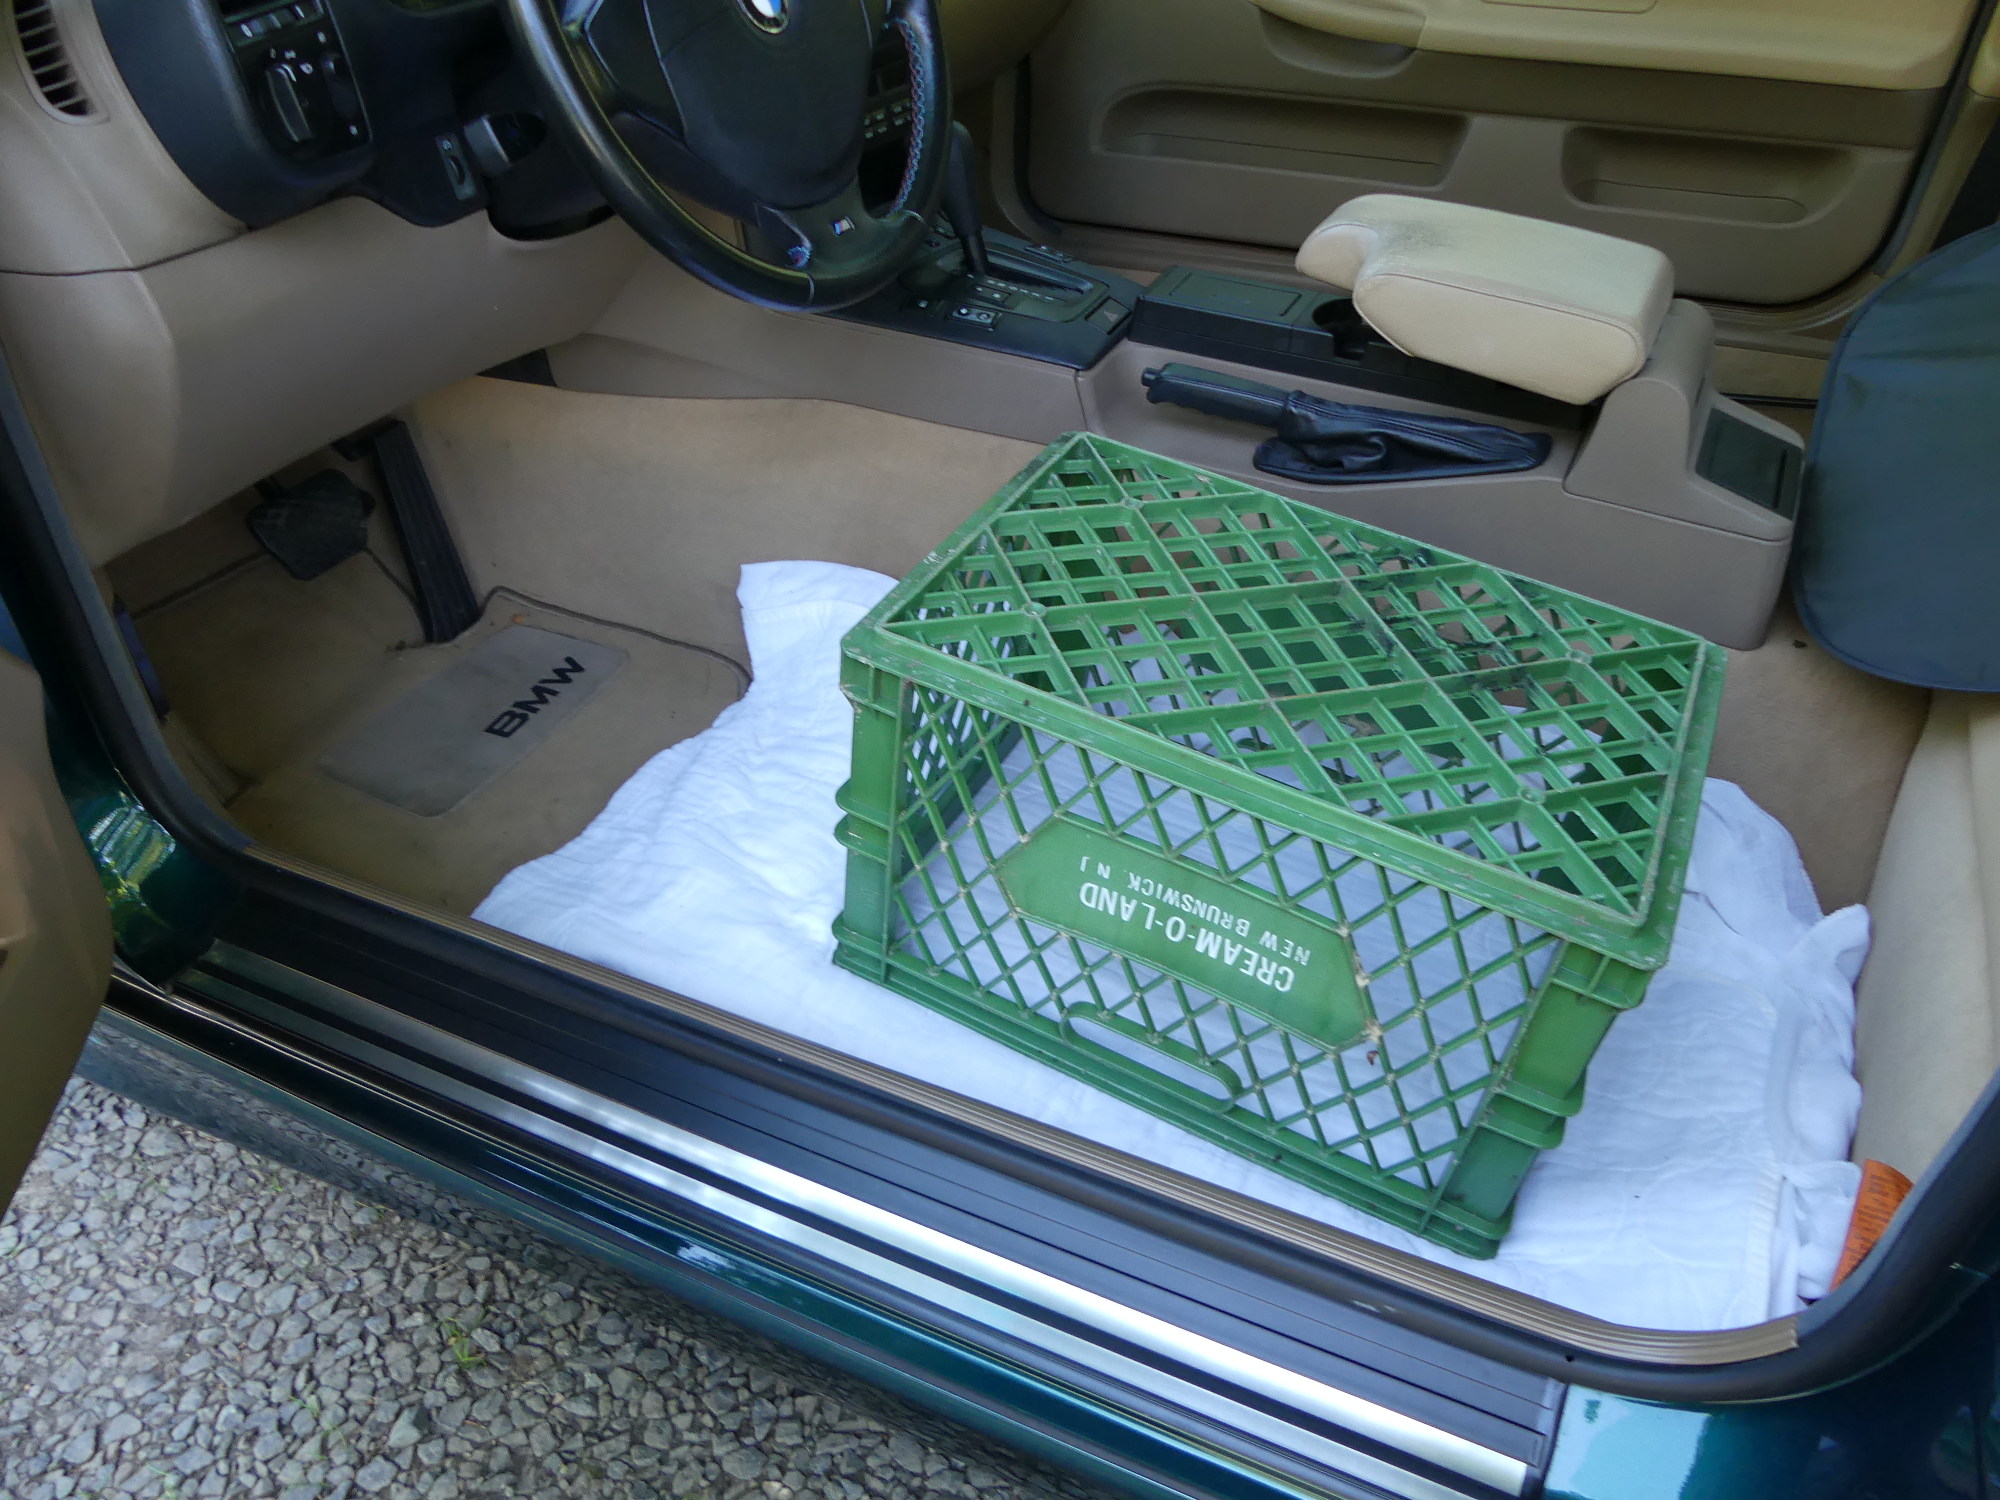 Forget refurbishment of my seats -- this new high performance aftermarket seat kicks ass. I expect it to really hold me tightly in those high-G turns. |
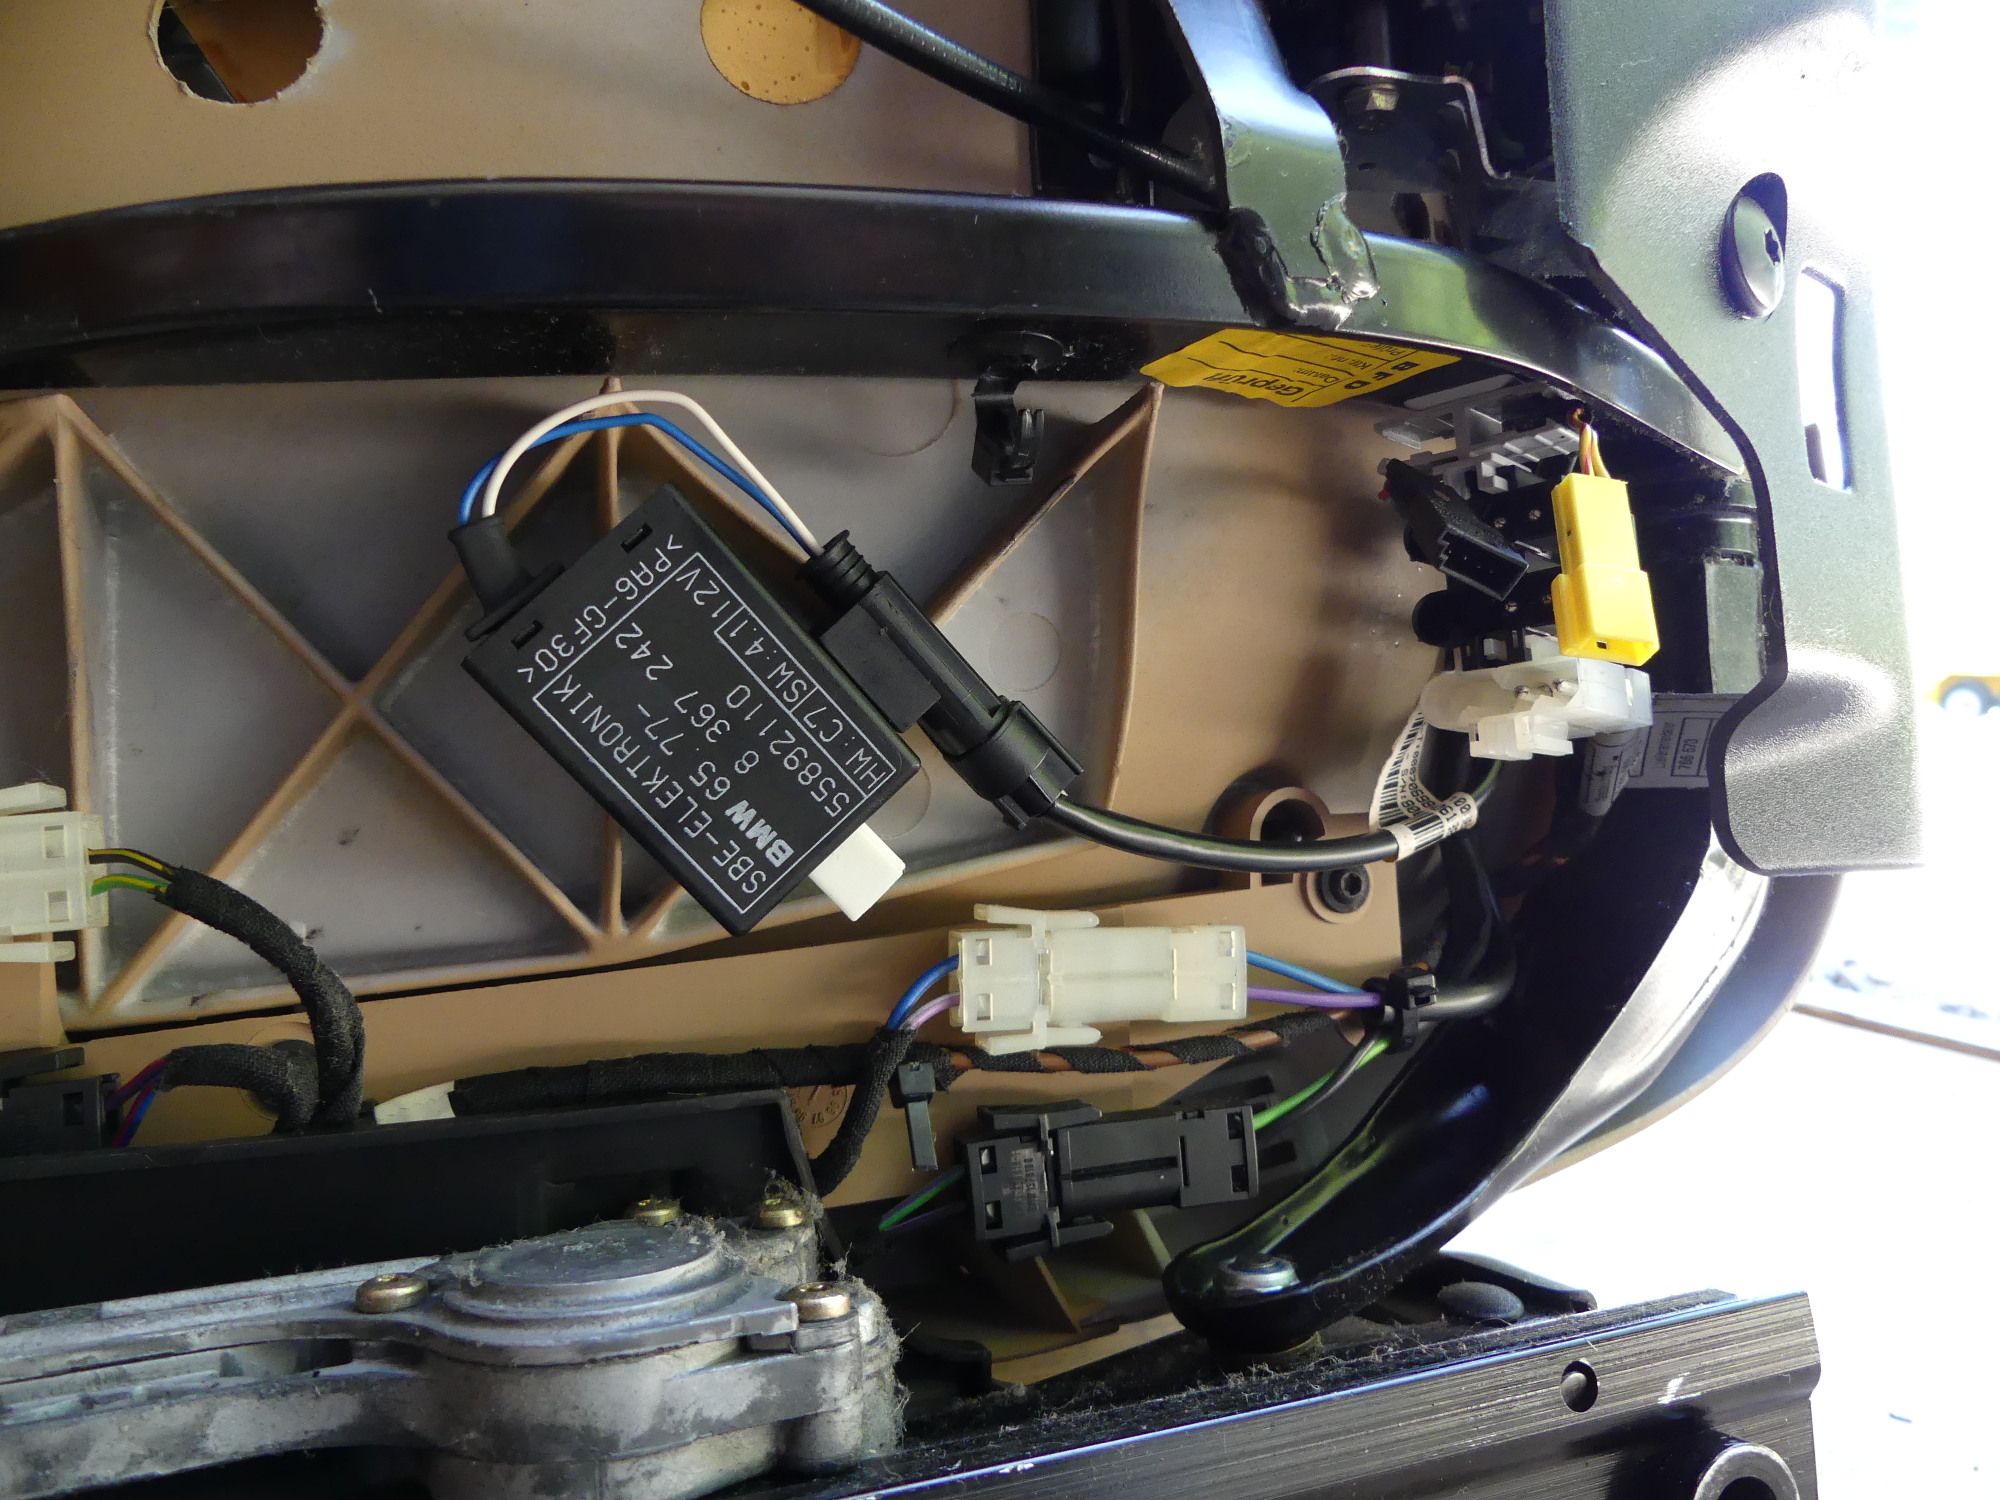
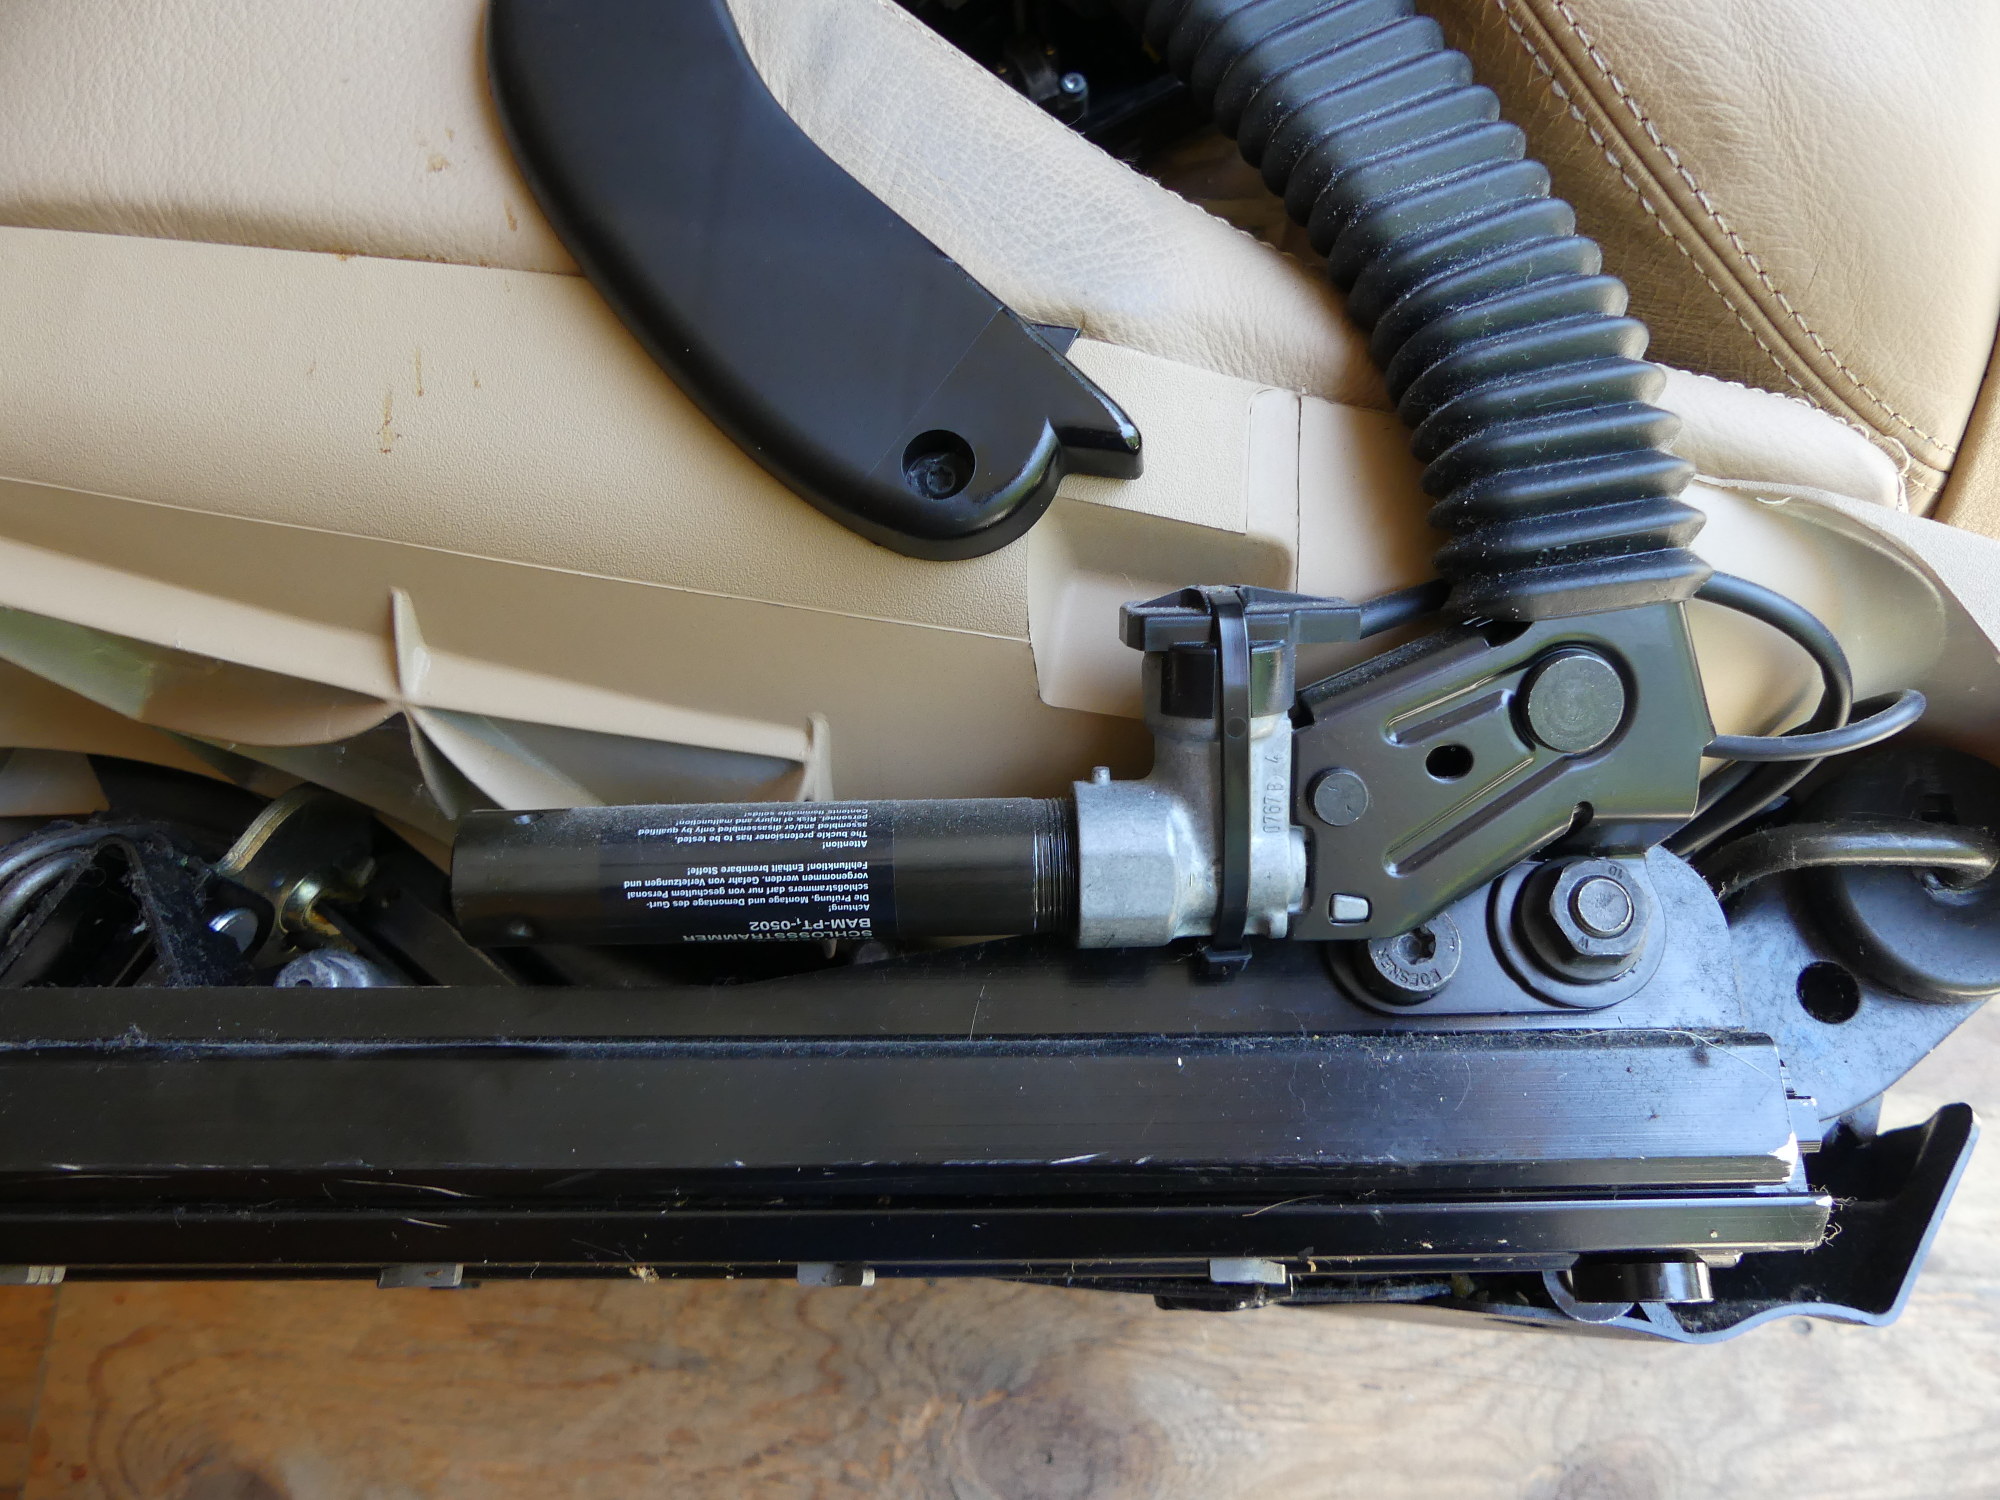 My late-model E36 is equipped with these electrically-fired pyrotechnic seat belt pretensioners, which tighten the belts to pull you into the seat at the instant of a crash. |
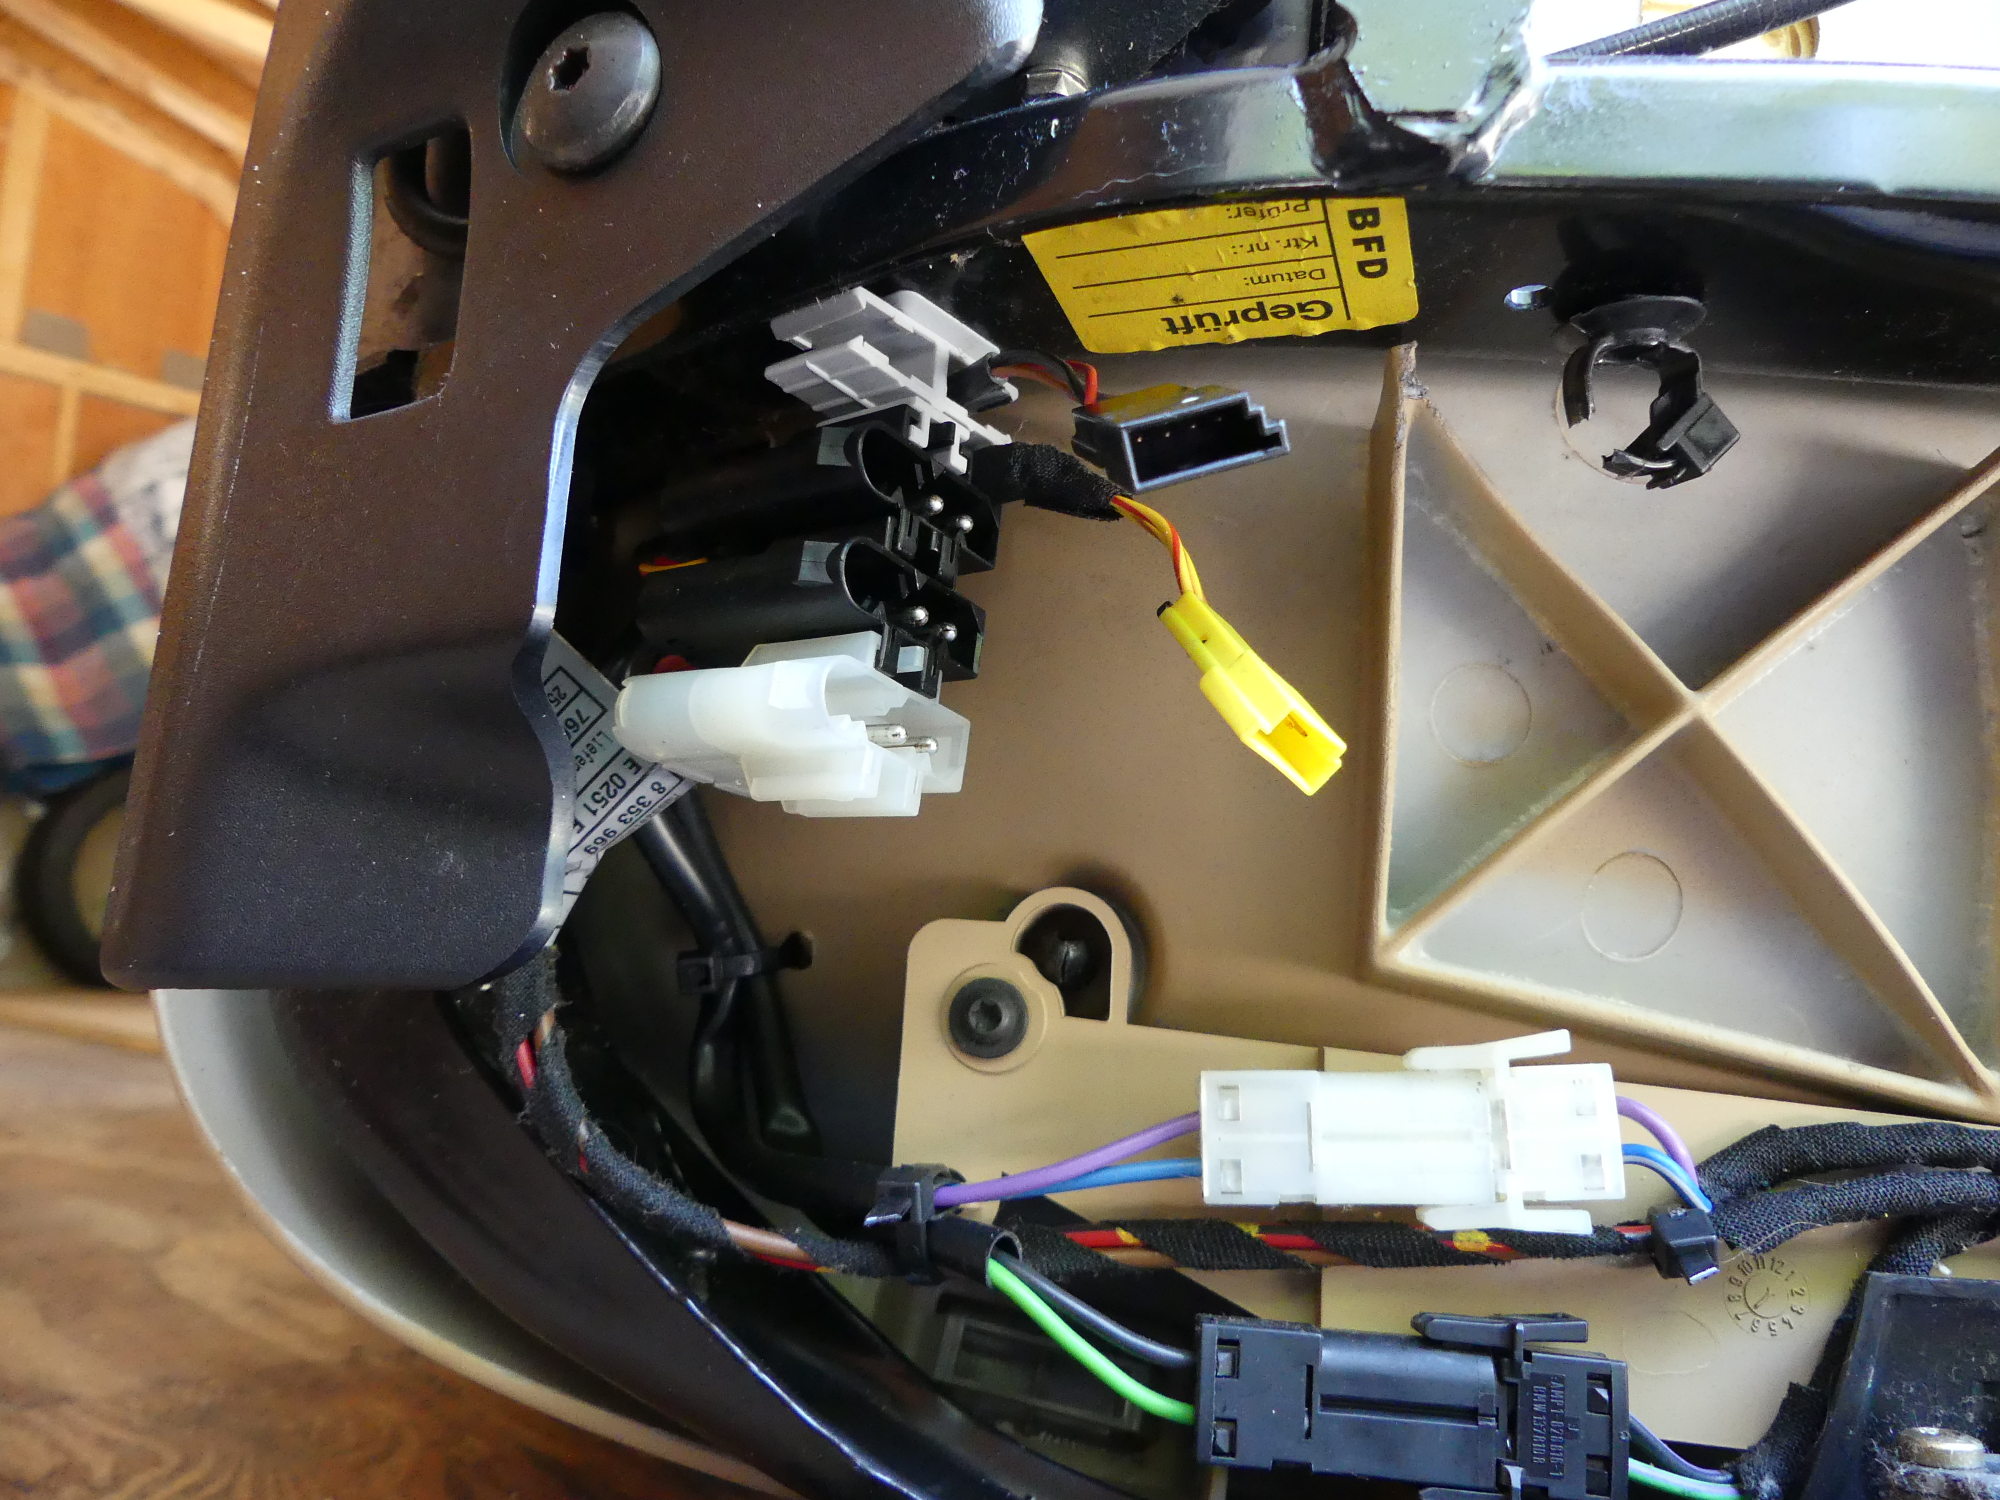 The neat thing about the connectors on the bottom of the seat is that they're all designed to interlock with each other. But unlike many such connectors they are easy to unlatch. |
 Present only on the passenger seat, this box serves as an interface between the SRS occupancy sensor and the wiring harness. I'm planning to replace the mat to correct an intermittent fault. |
Driver Side Seat Base Disassembly
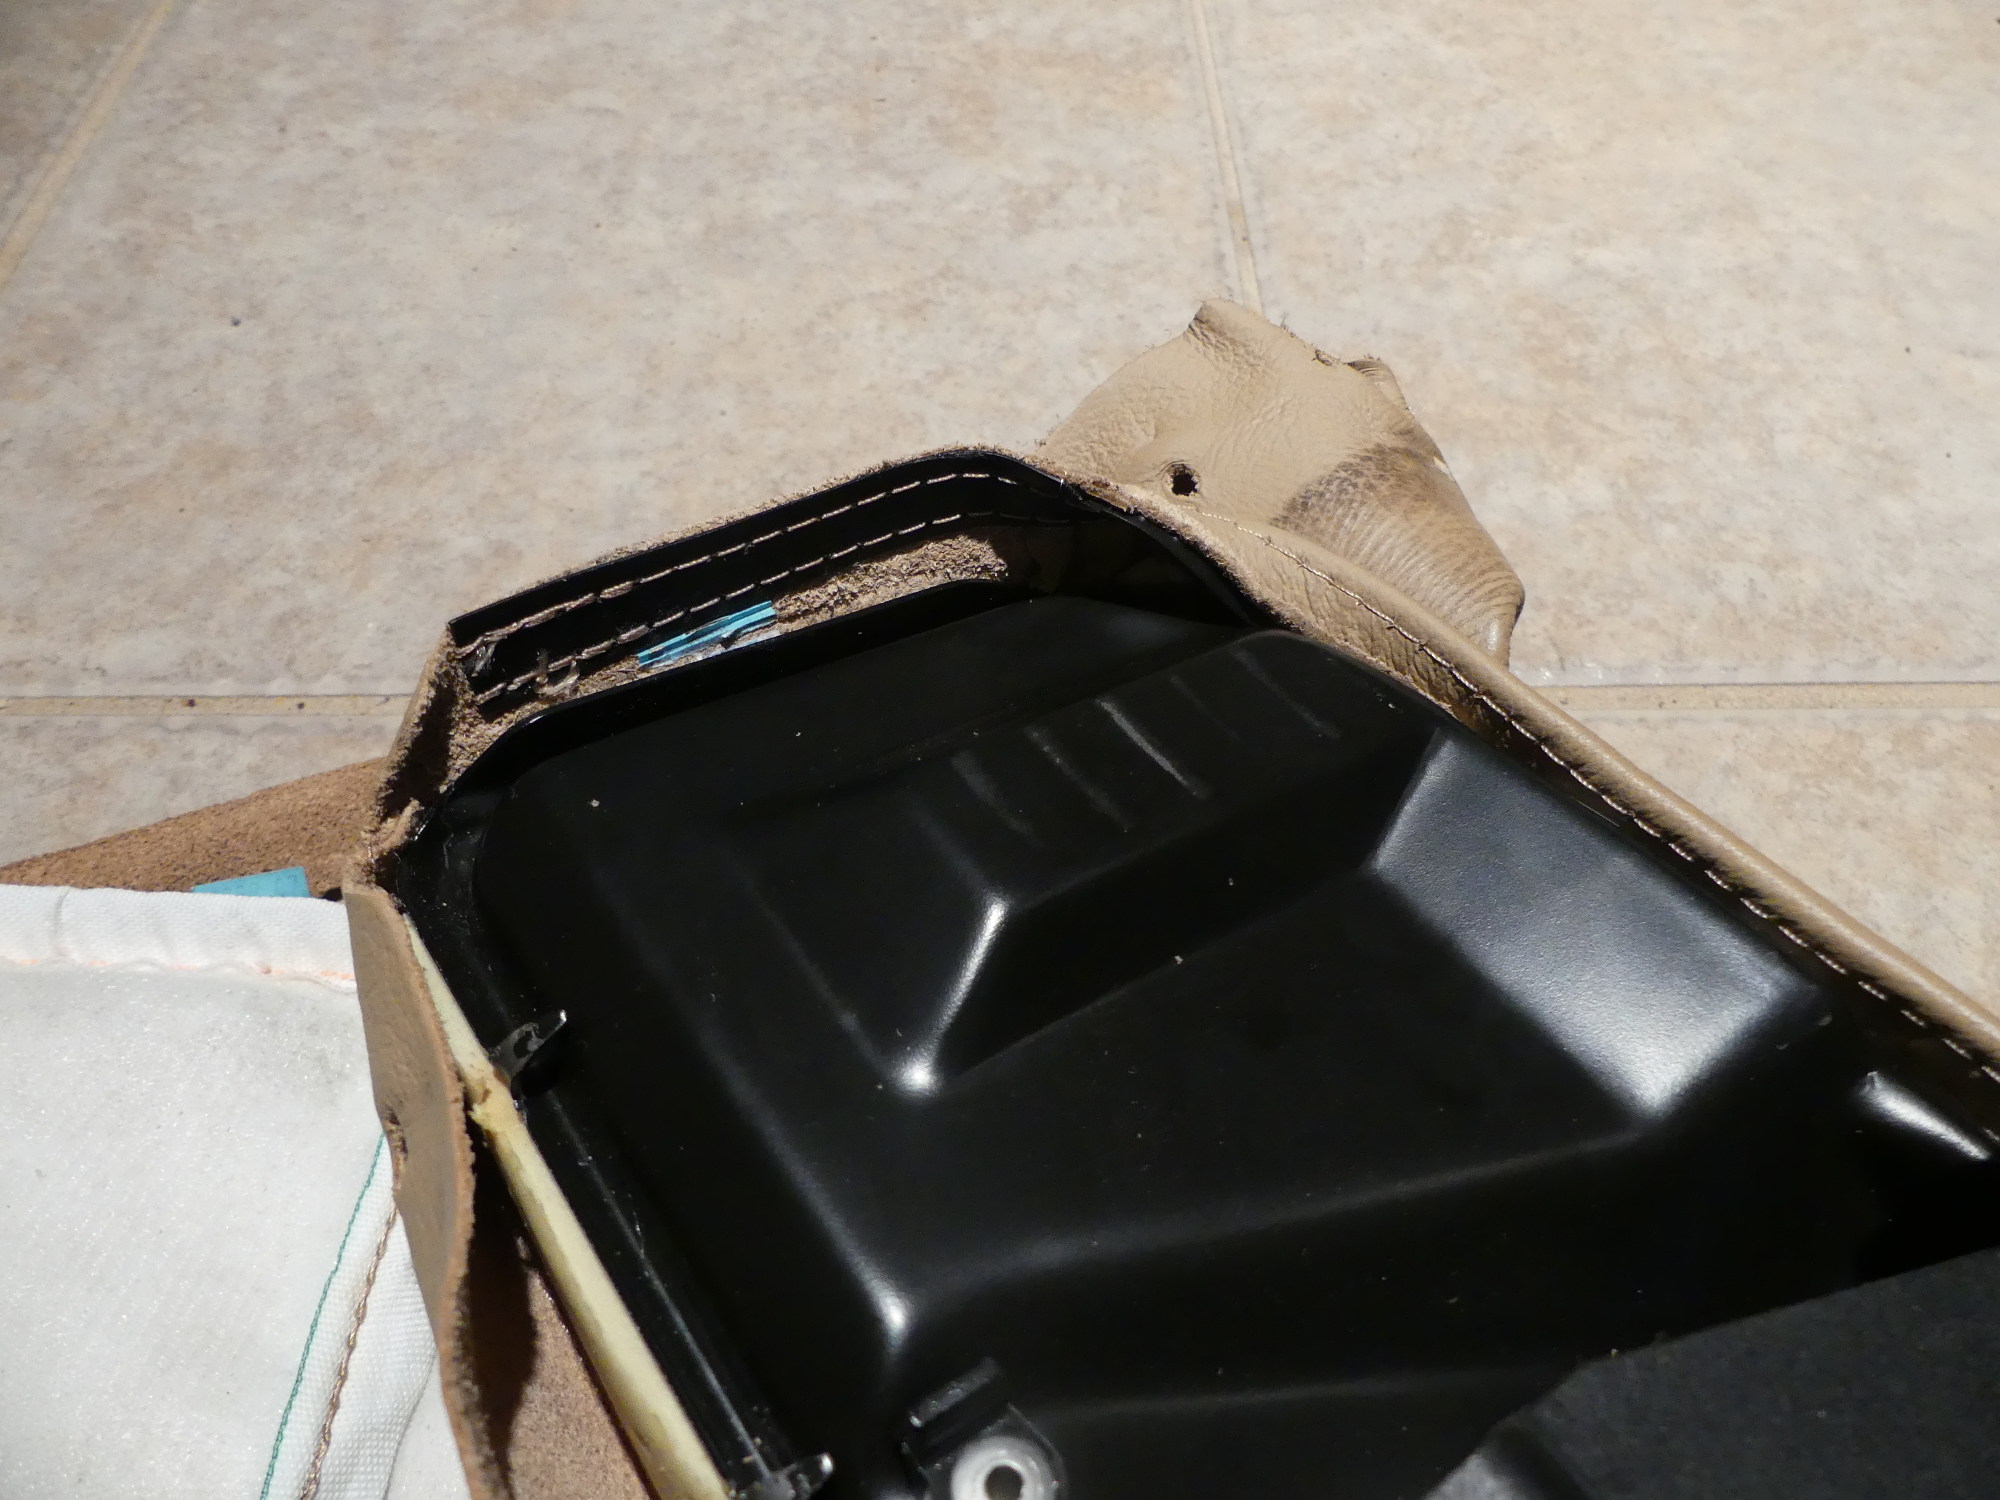
I began disassembly of the seat by disconnecting the seat base foam from the plastic seat shell. This mostly went according to the BMW procedures but I did find that the sport seat has two screws in the front and two one-time-use plastic barbed fasteners in the rear. Once the thigh rest mechanism was unscrewed from the plastic seat shell and the wiring snaked out of the hole in the shell the entire seat base foam and cover came out as a unit.
Removing the seat base leather cover turned out to be old hat, with a minor twist: I found some of the leather difficult to remove from the retaining posts. However, the hog ring cutters once again made very quick work of the 14 rings that held the top of the cover to the pad. These hog rings were bigger and thicker than the original factory units but that's because the cover was replaced when the car was a year old and the local shop obviously used whatever units they had on hand.
Incidentally, when I took delivery of the car following this work I remember thinking the cover didn't seem to be fitted as tightly to the seat as the original cover. Now I know why -- the larger hog rings didn't pull the cover support rods as tightly to the seat pad. The leather shrunk over time and tightened up the look, but the cover was still installed improperly. Advice to anyone doing this work -- do the job properly and use BMW original hog rings.
 A quick shot of how the sport seat thigh rest fastens with four bolts to the plastic seat base. Those are torx. I forget what size. You'll need more than a few torx on this project so buy a set! |
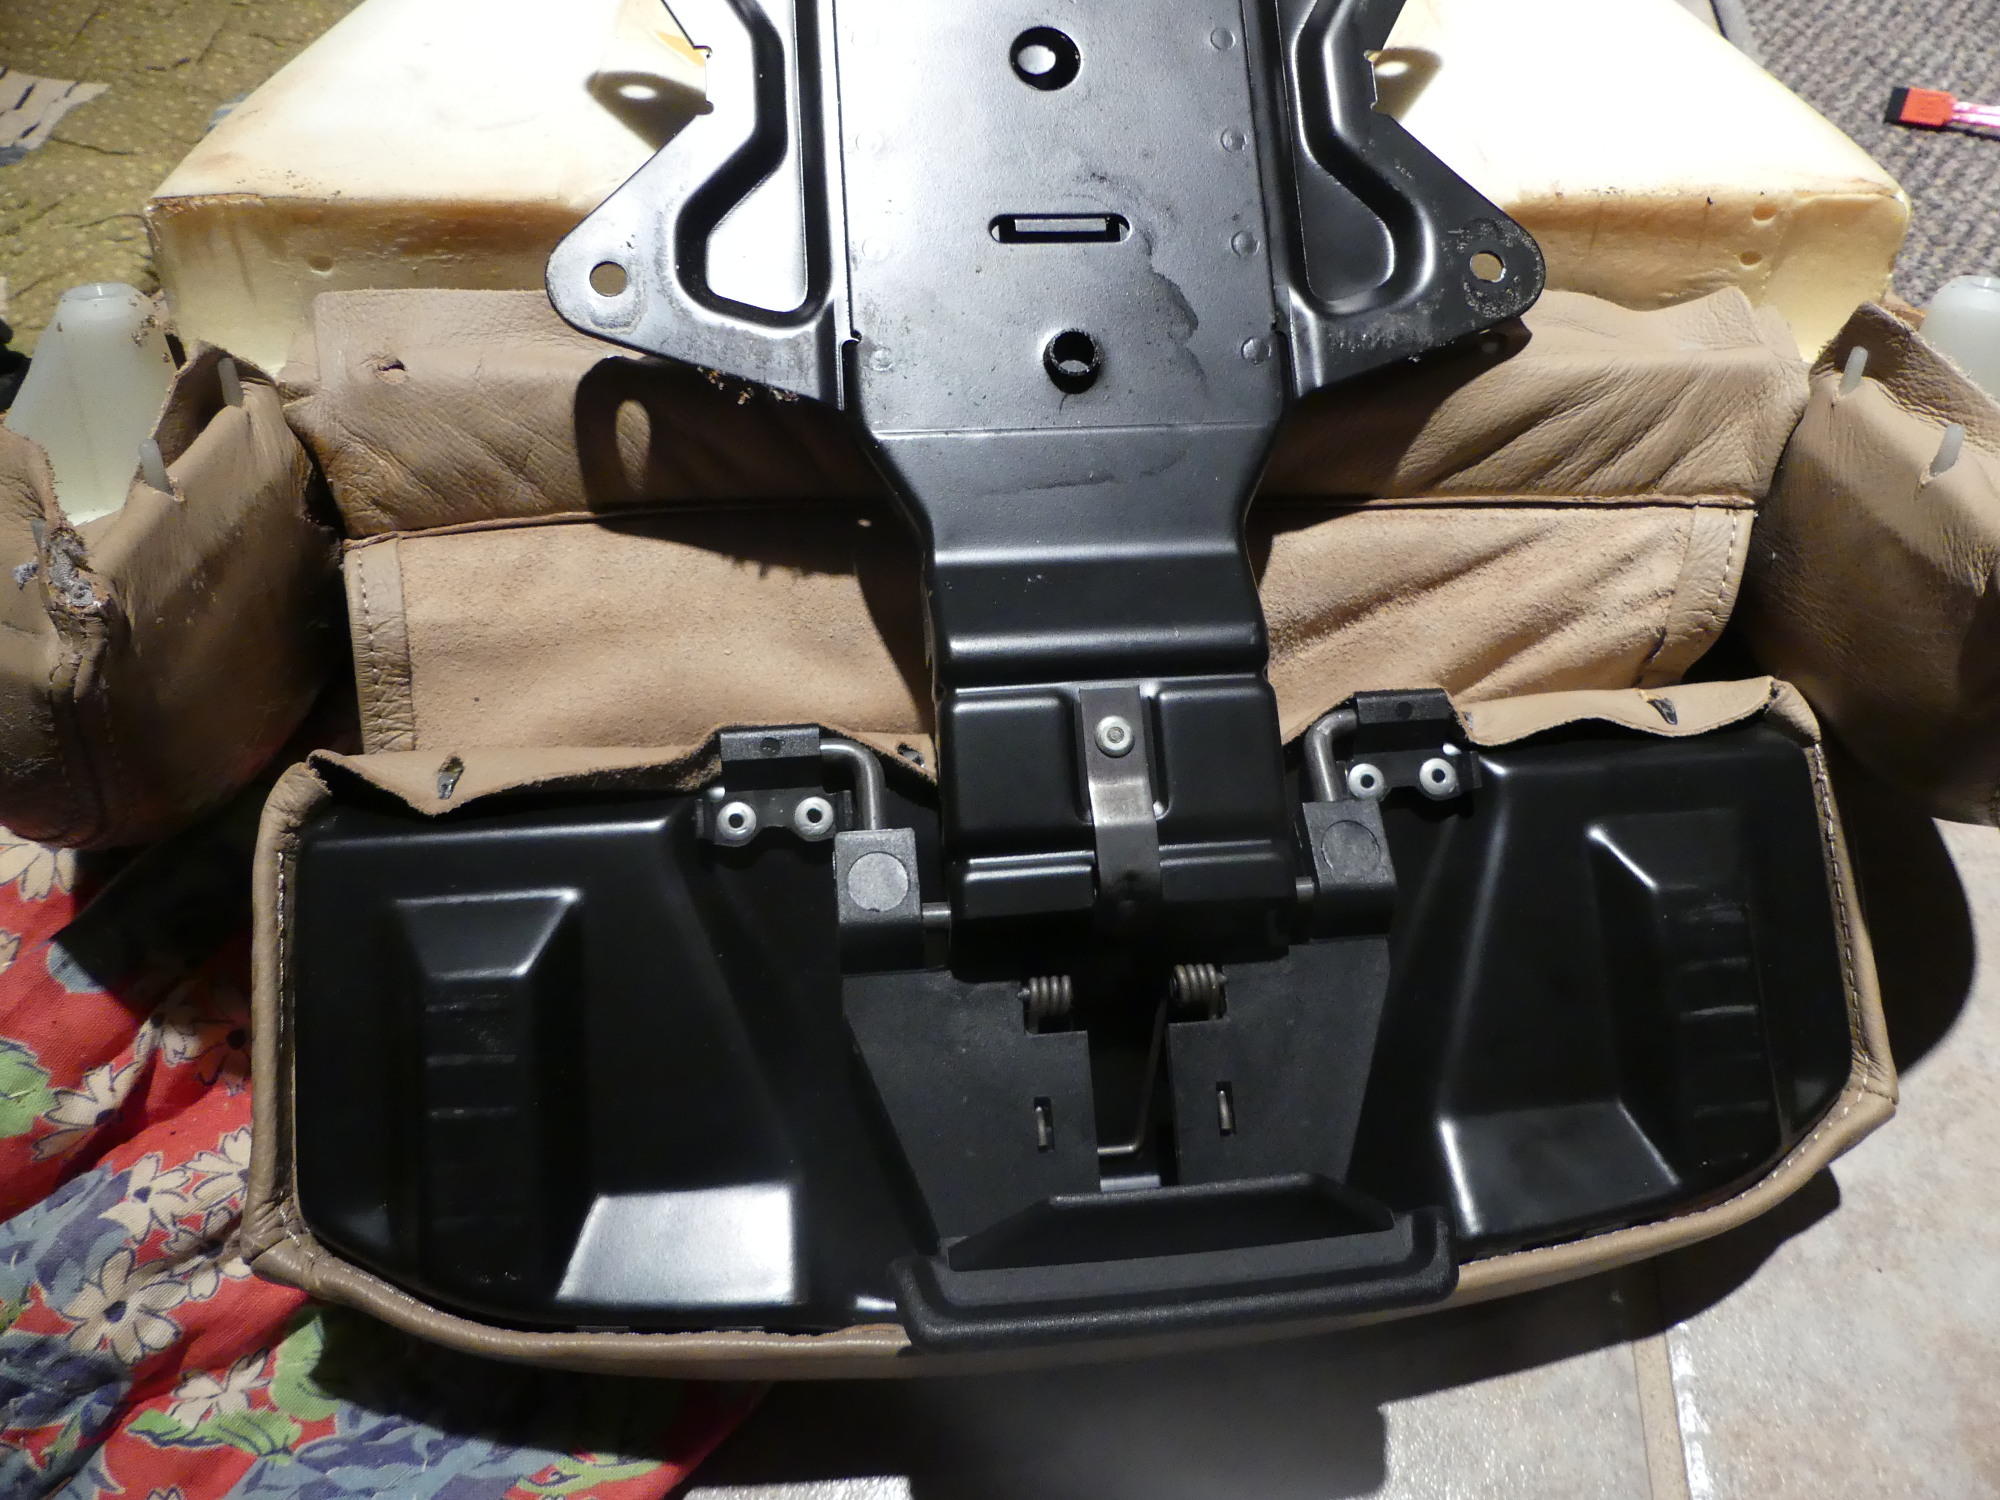 The underside of the thigh rest, which is surprisingly well built and stamped out of good old-fashioned metal. The leather cover folds over itself and the retaining strip snaps in place. |
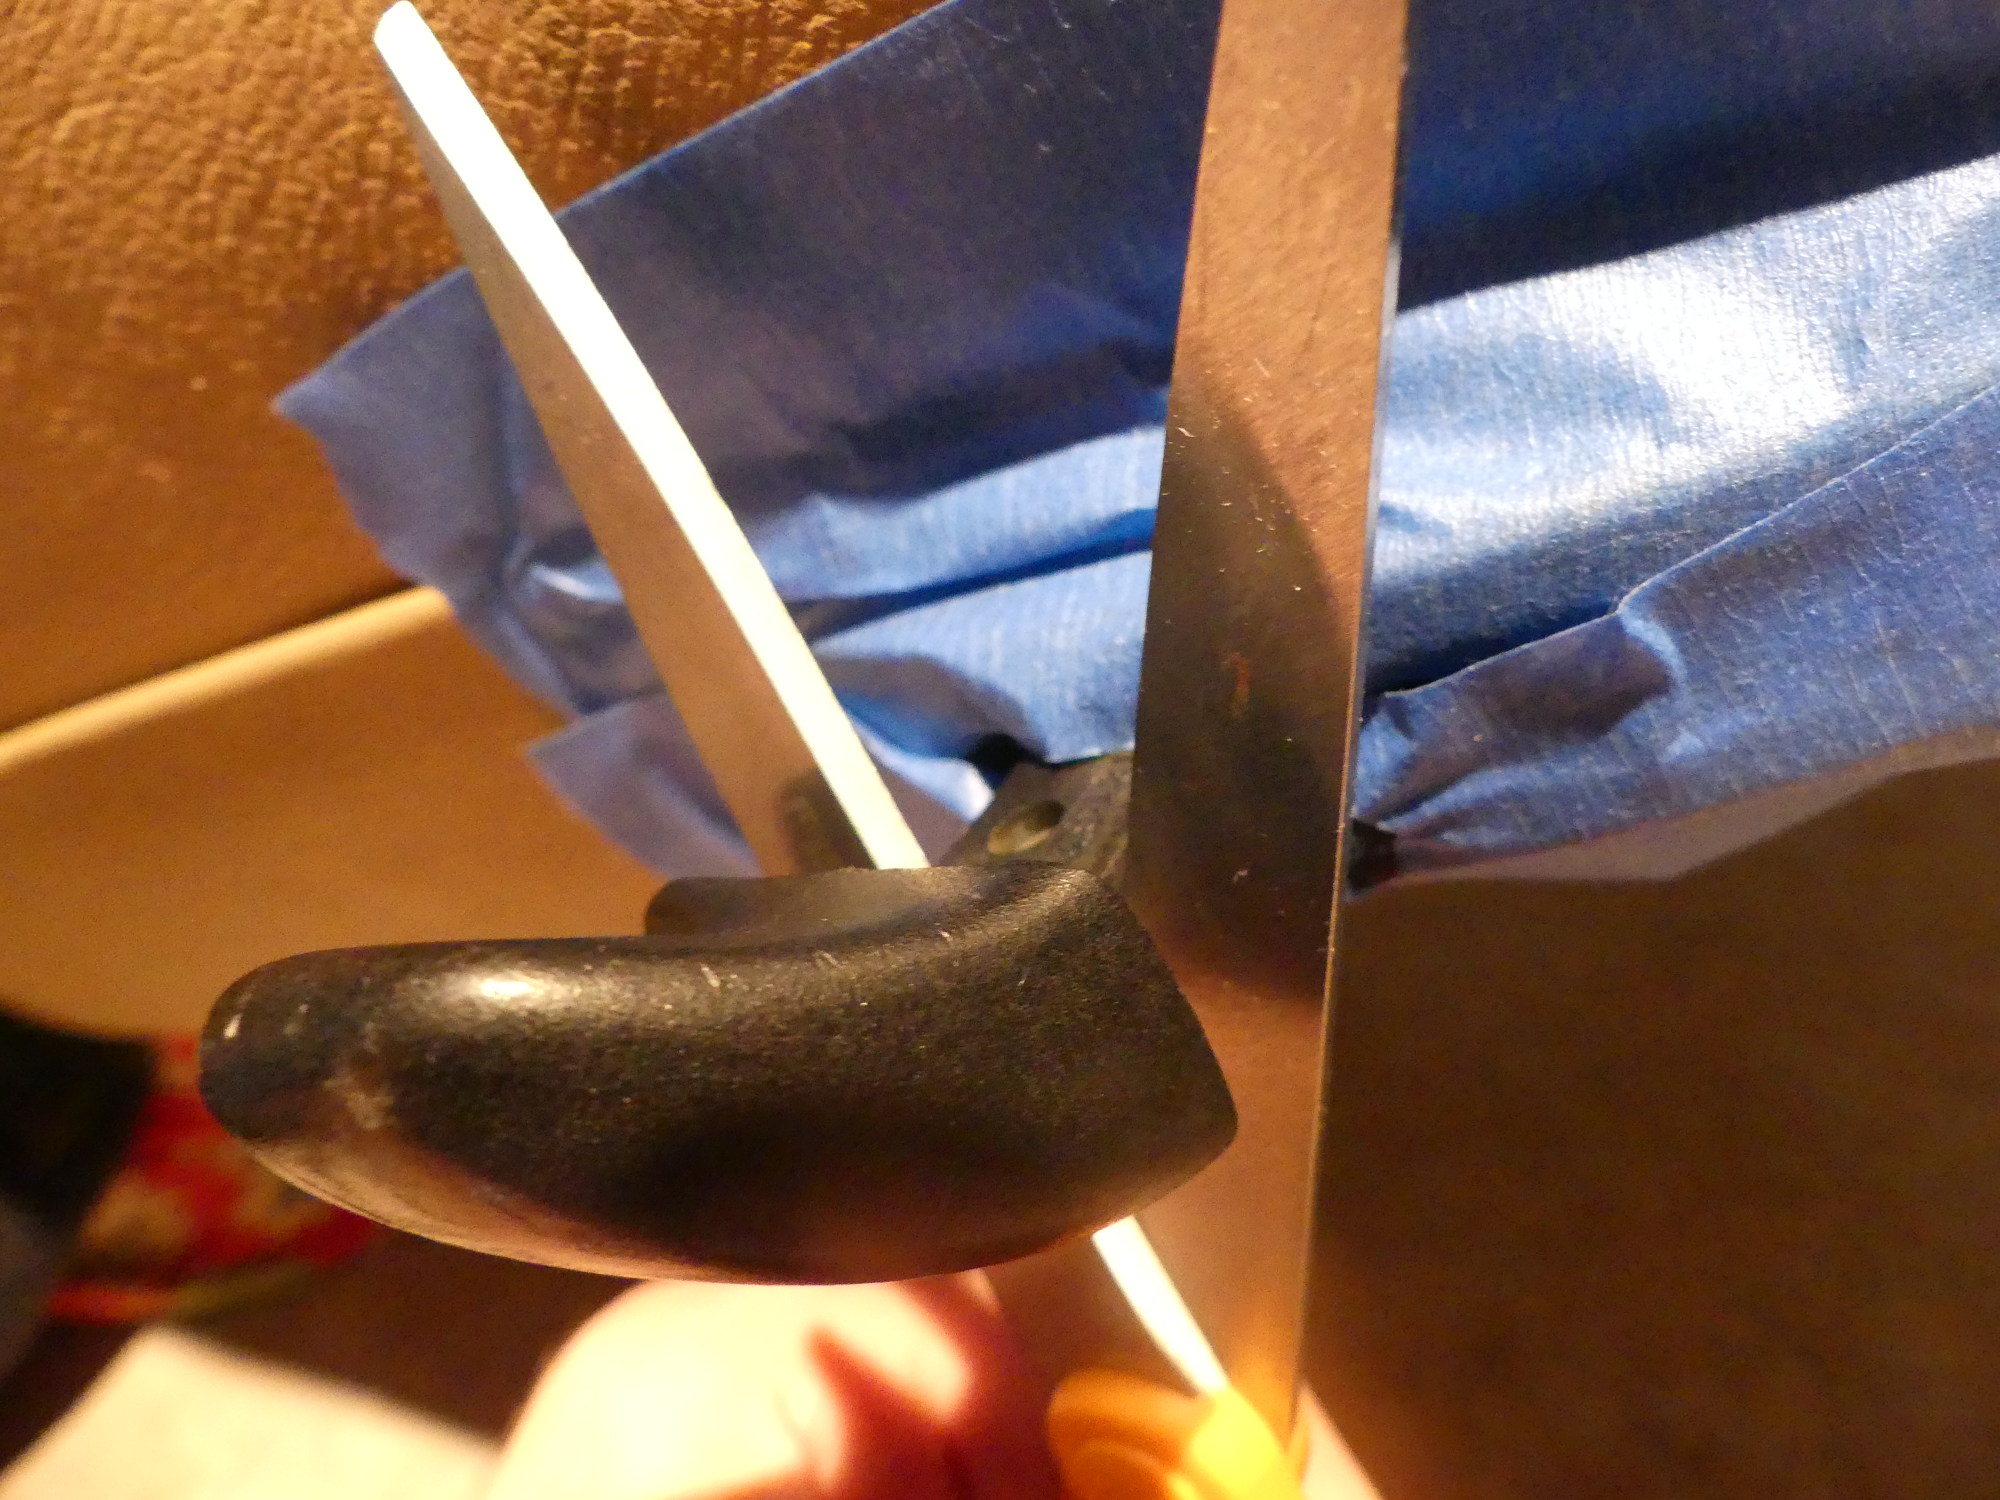
 A closeup of the retaining strip -- the same stuff used on the headrests. Here I've started to peal it up. Not an easy process to get started or remove in general, but necessary to remove the cover. |
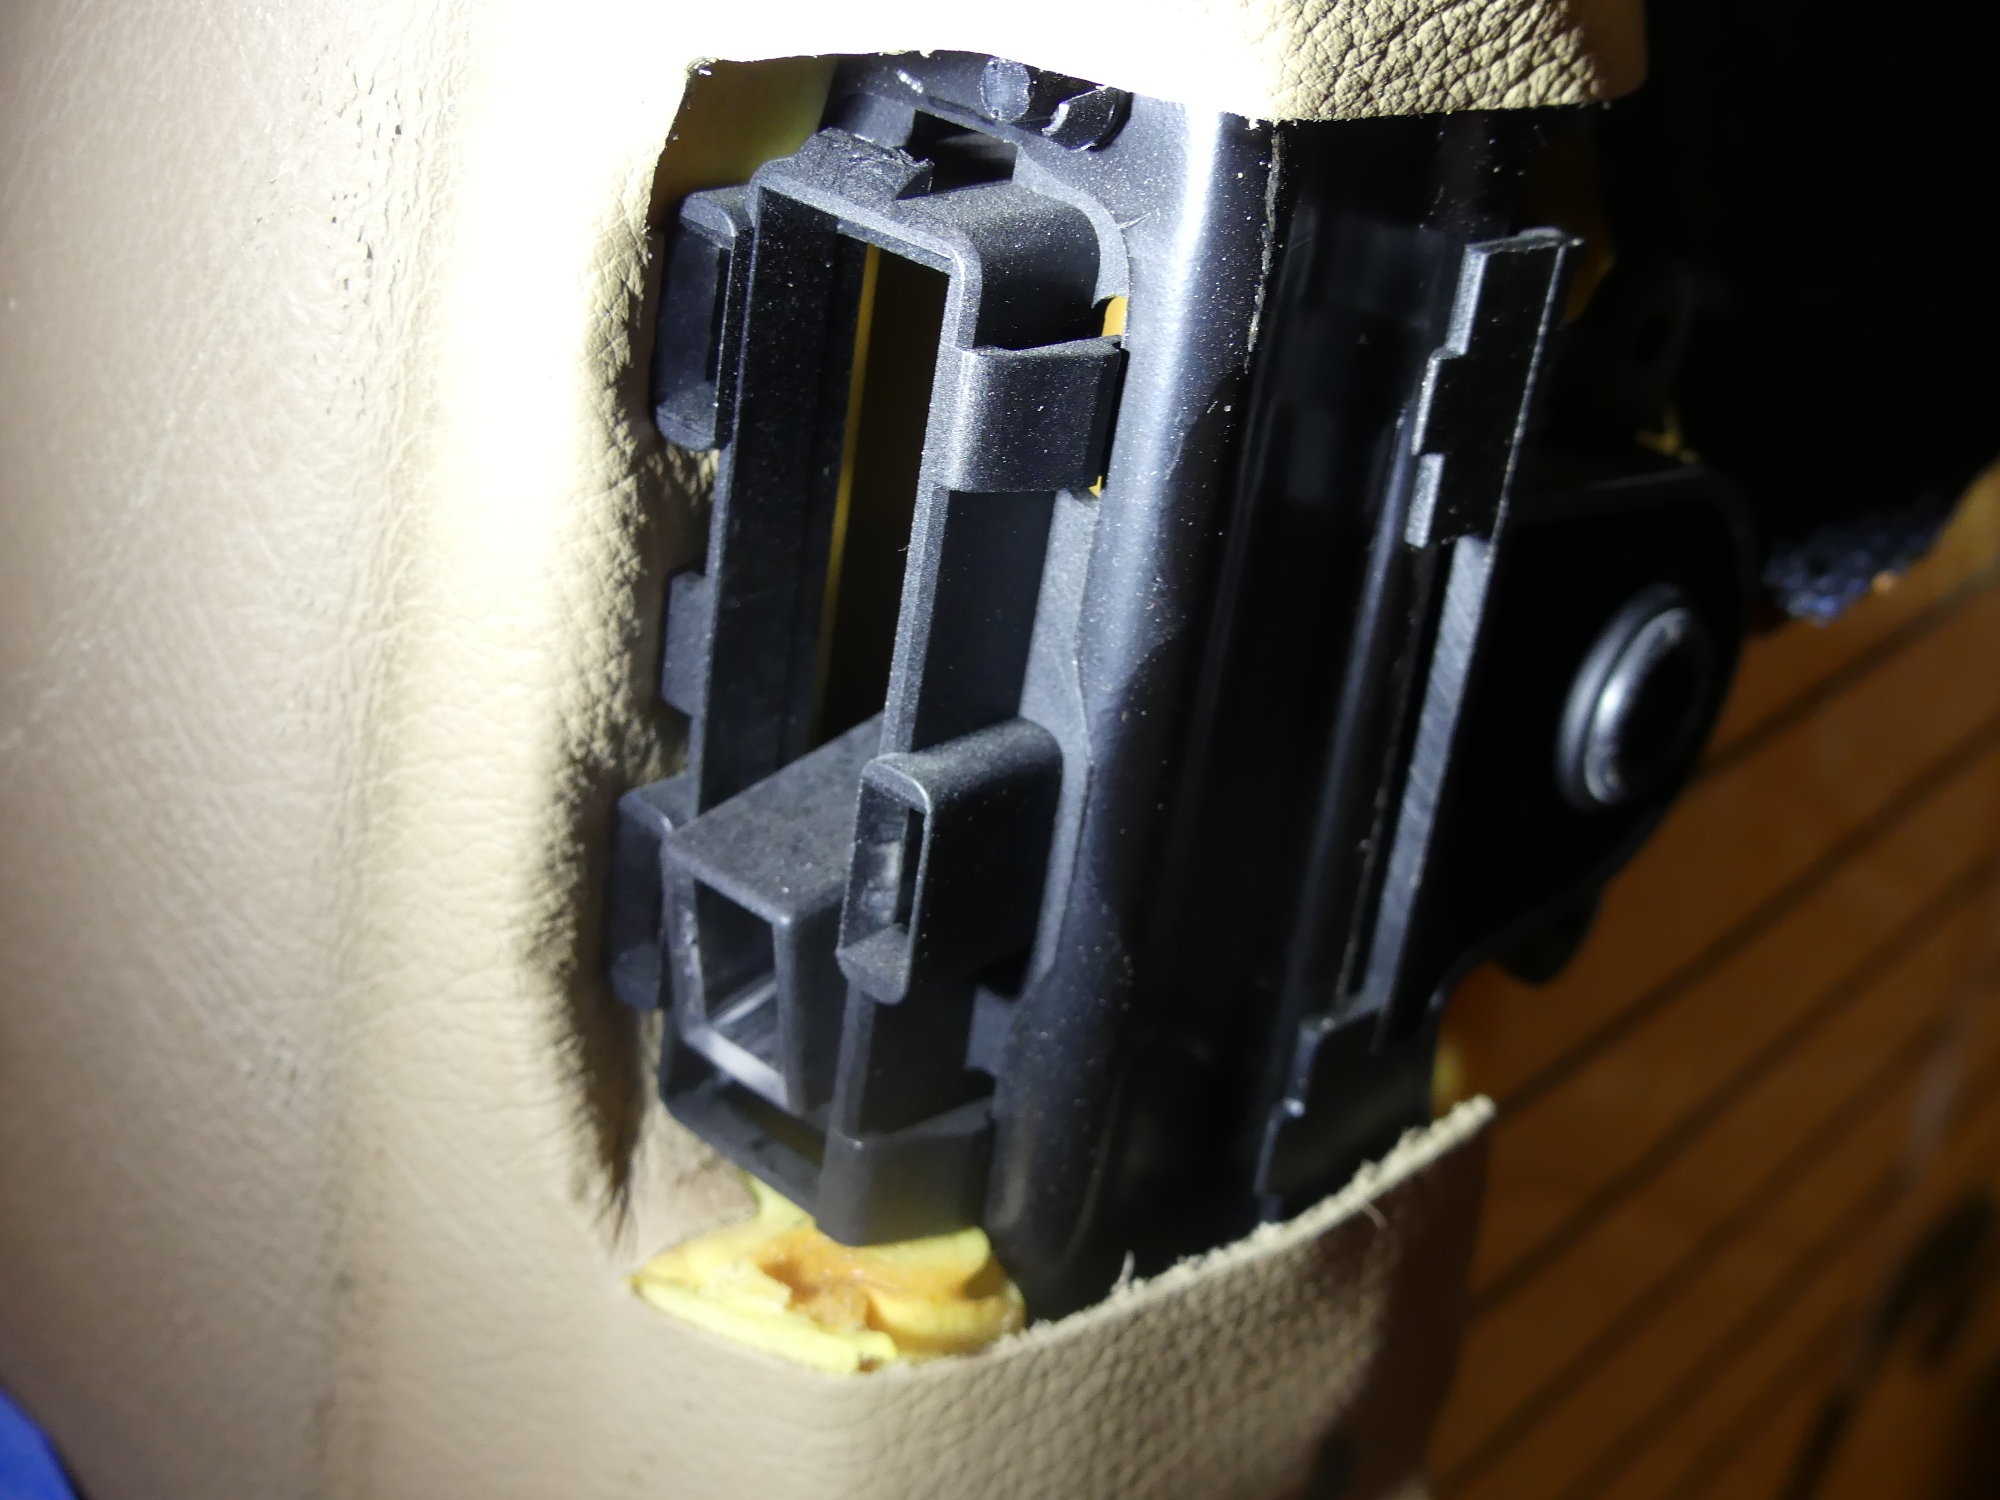
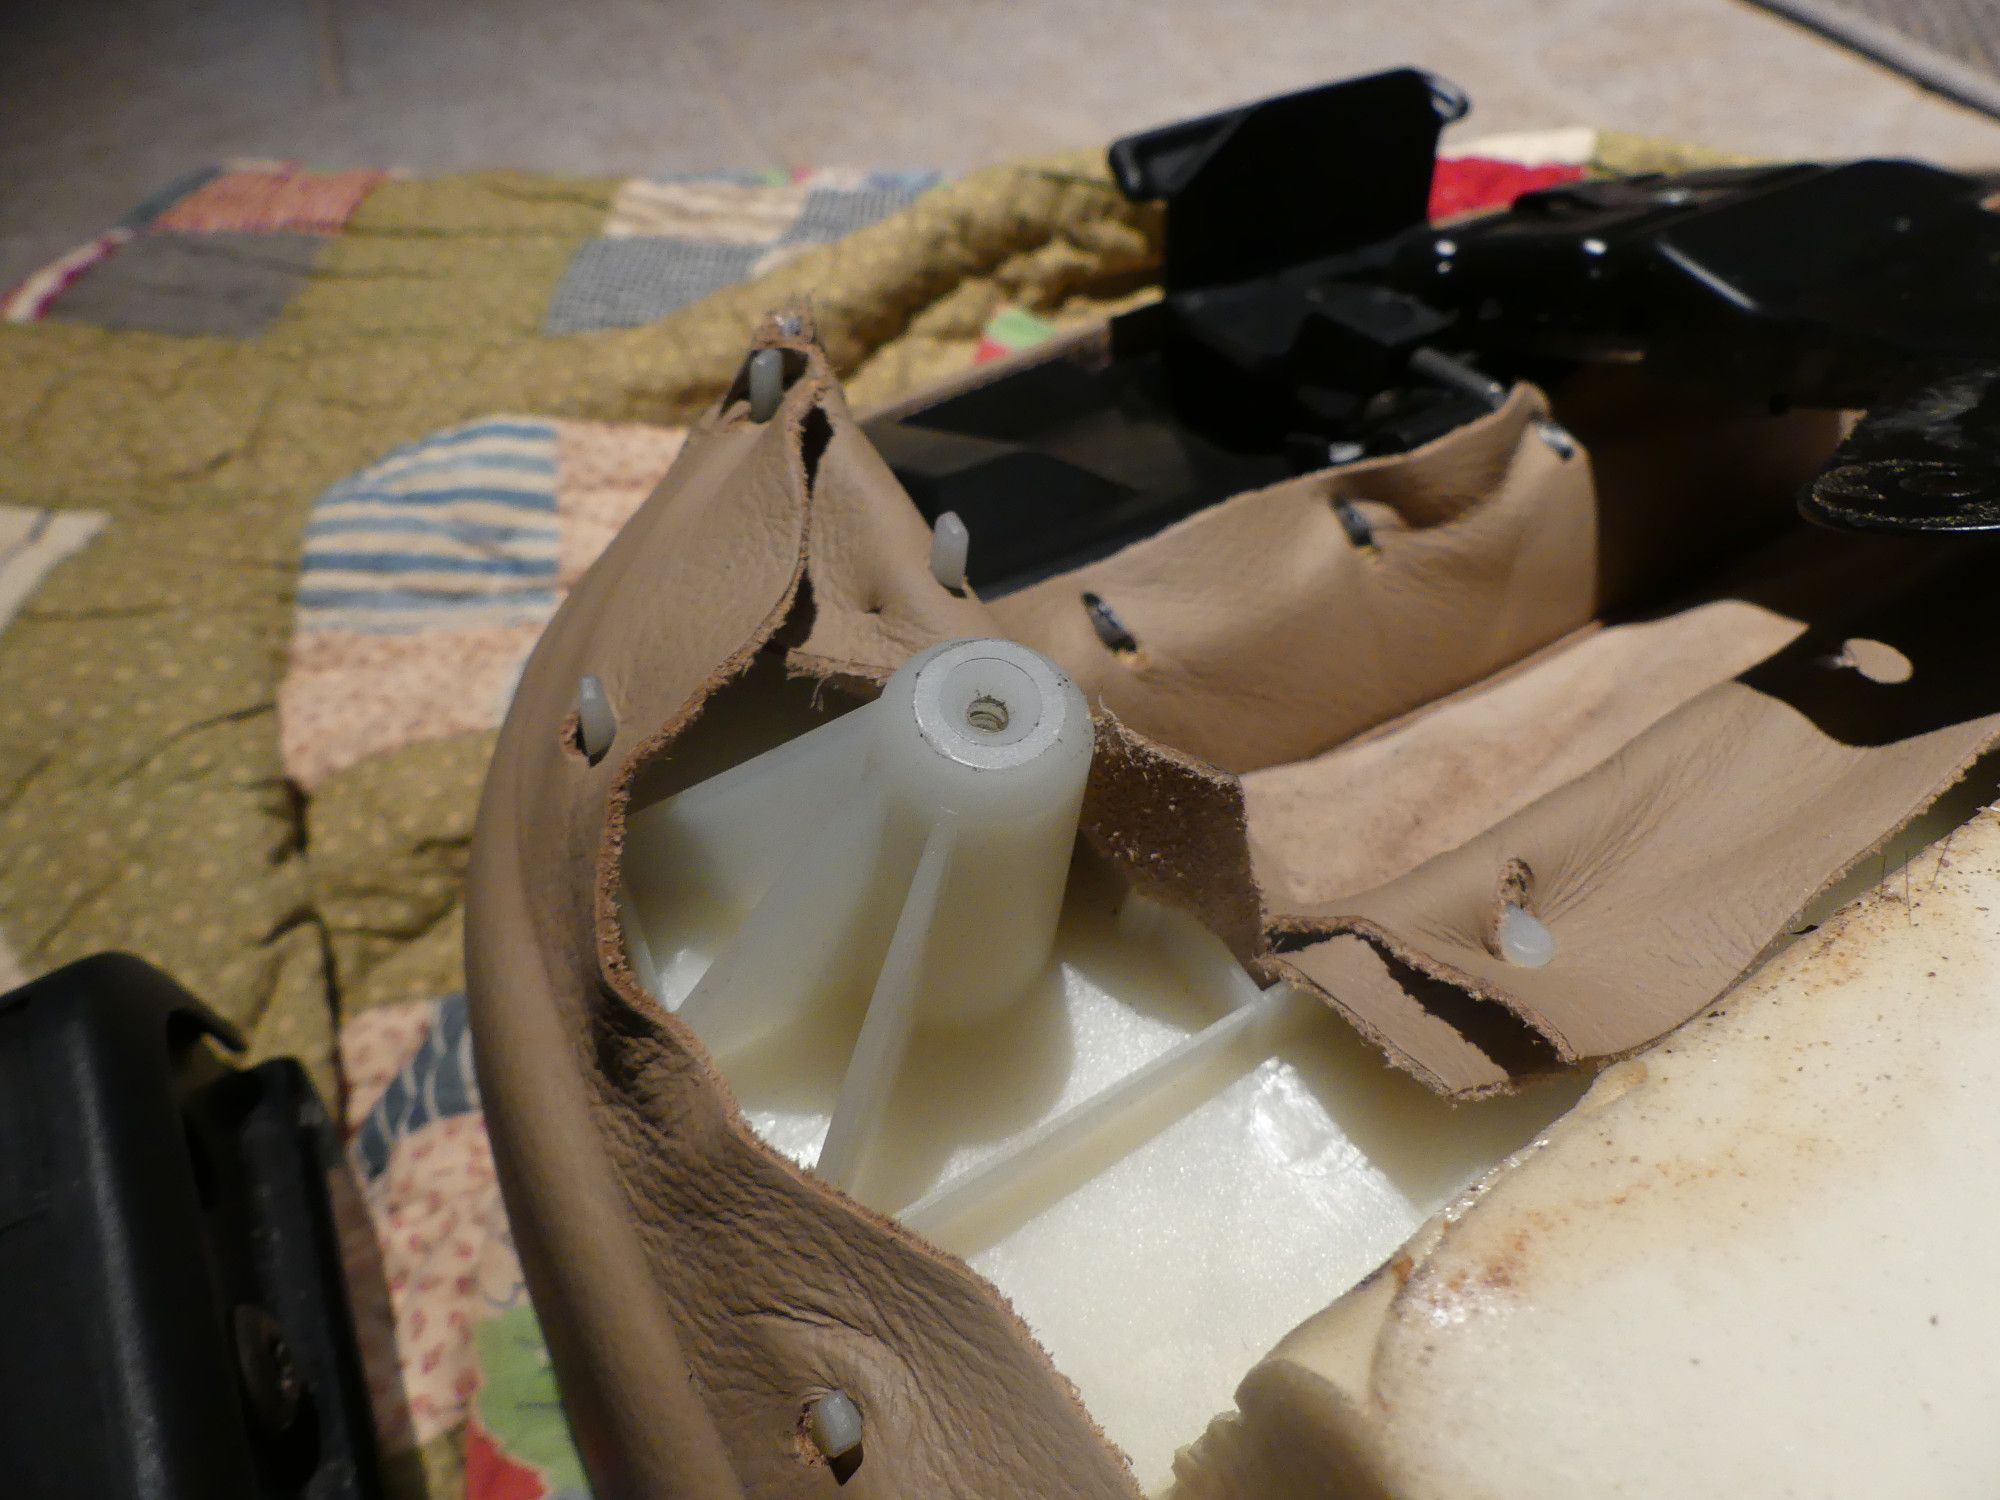 A closeup of the front seat base mounting boss. This one uses a screw. I could easily fault BMW for not using a threaded metal insert here. But then again, I could fault them for embedding plastic in the foam rather than stamped metal. |
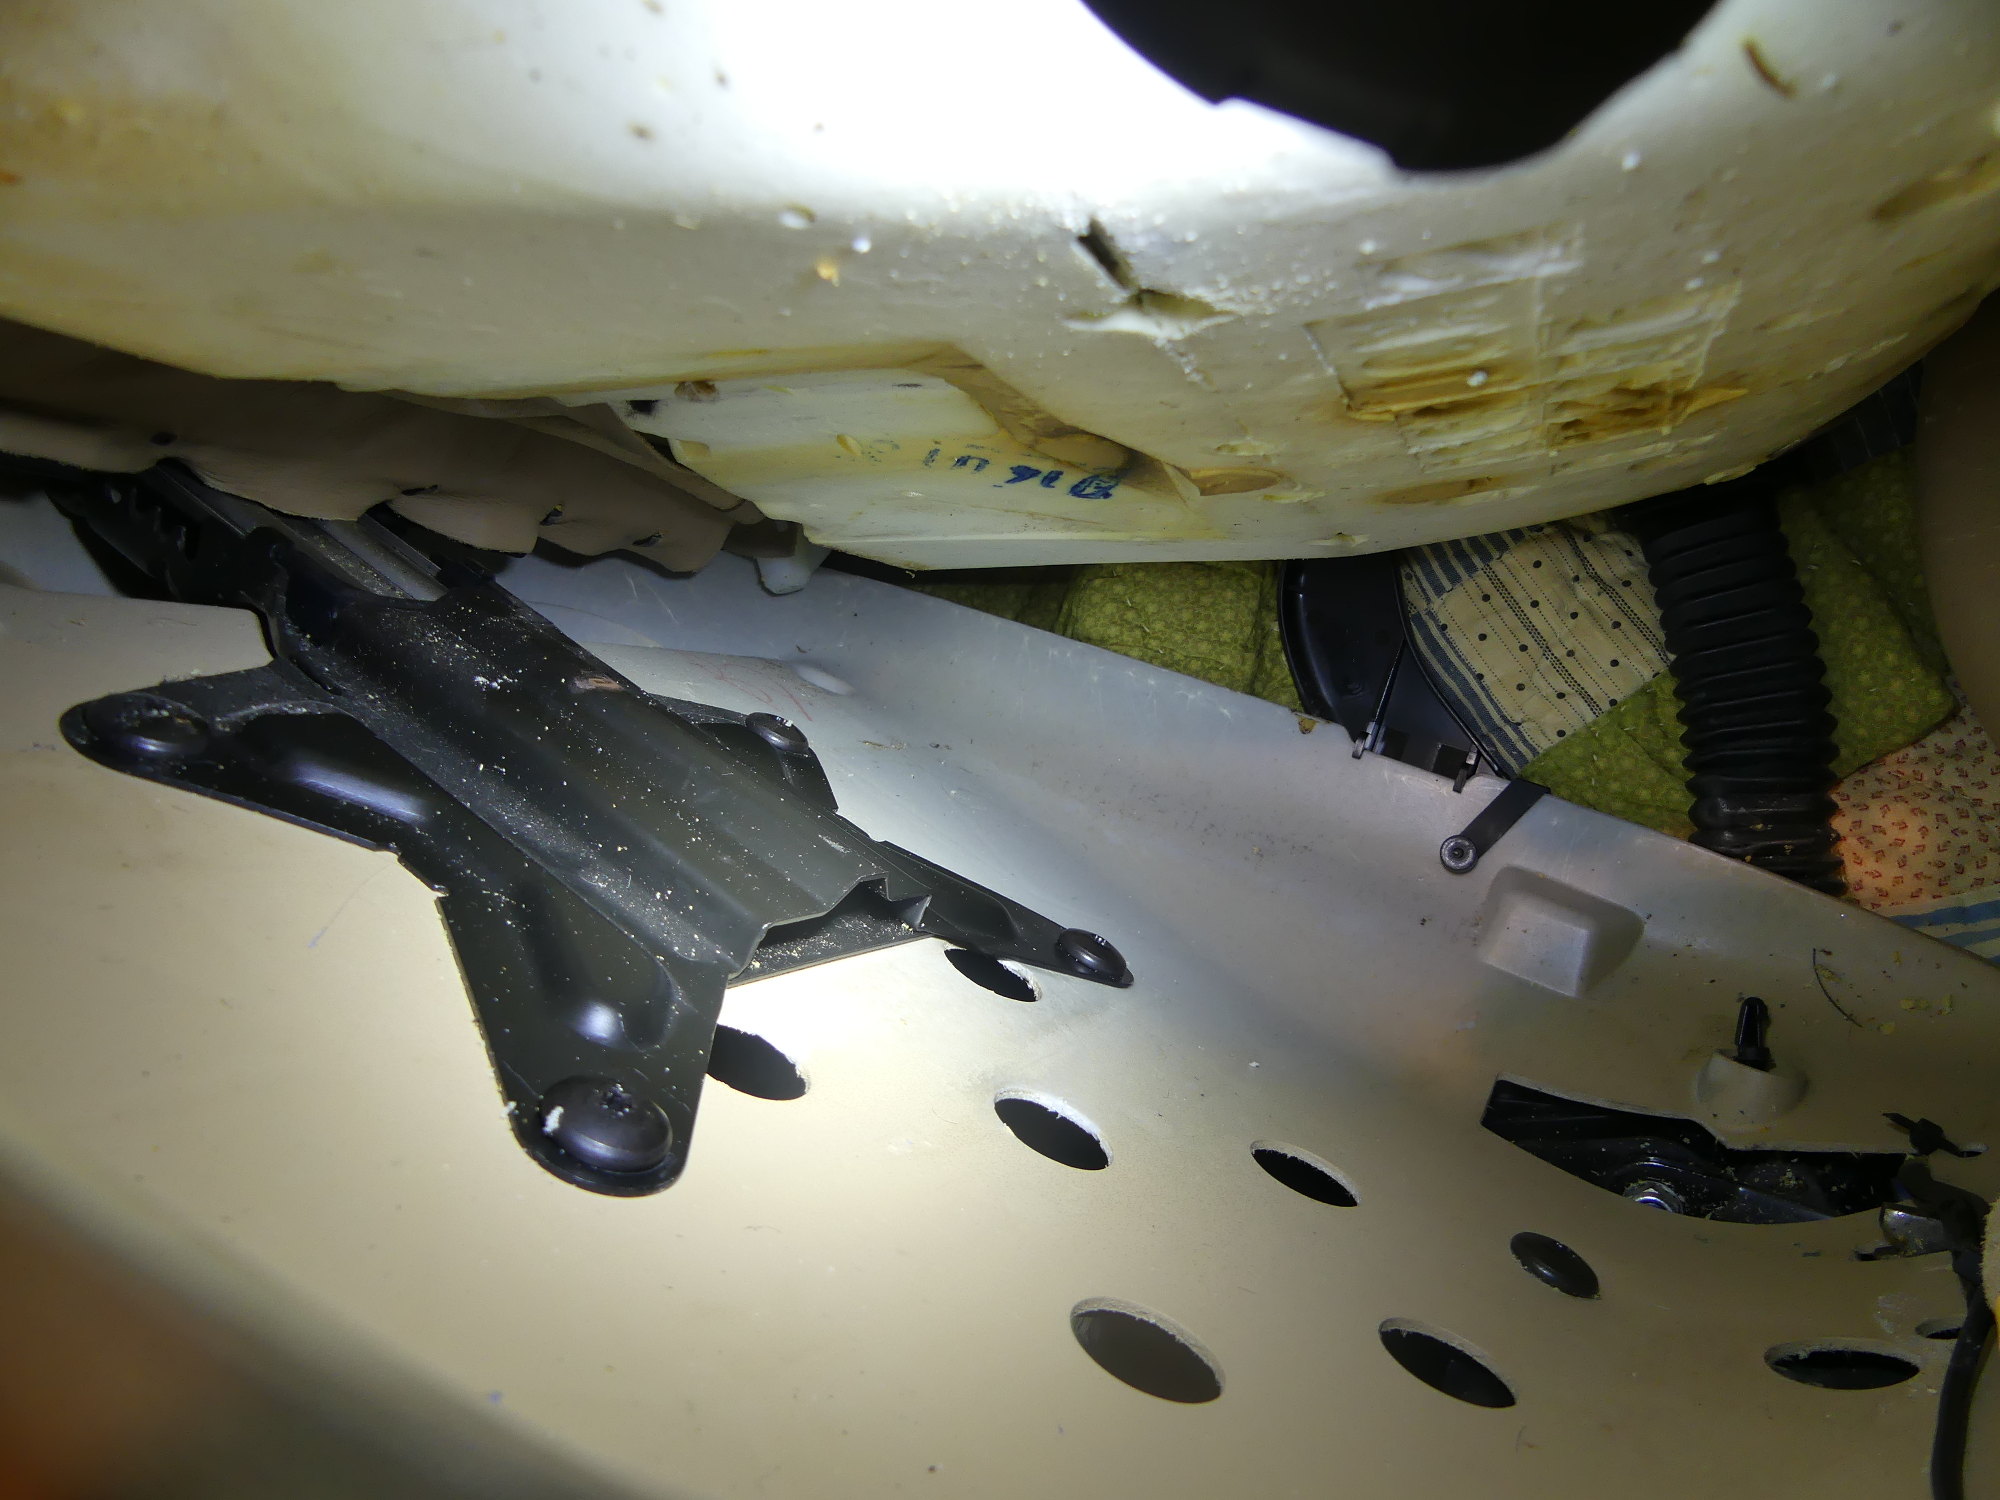
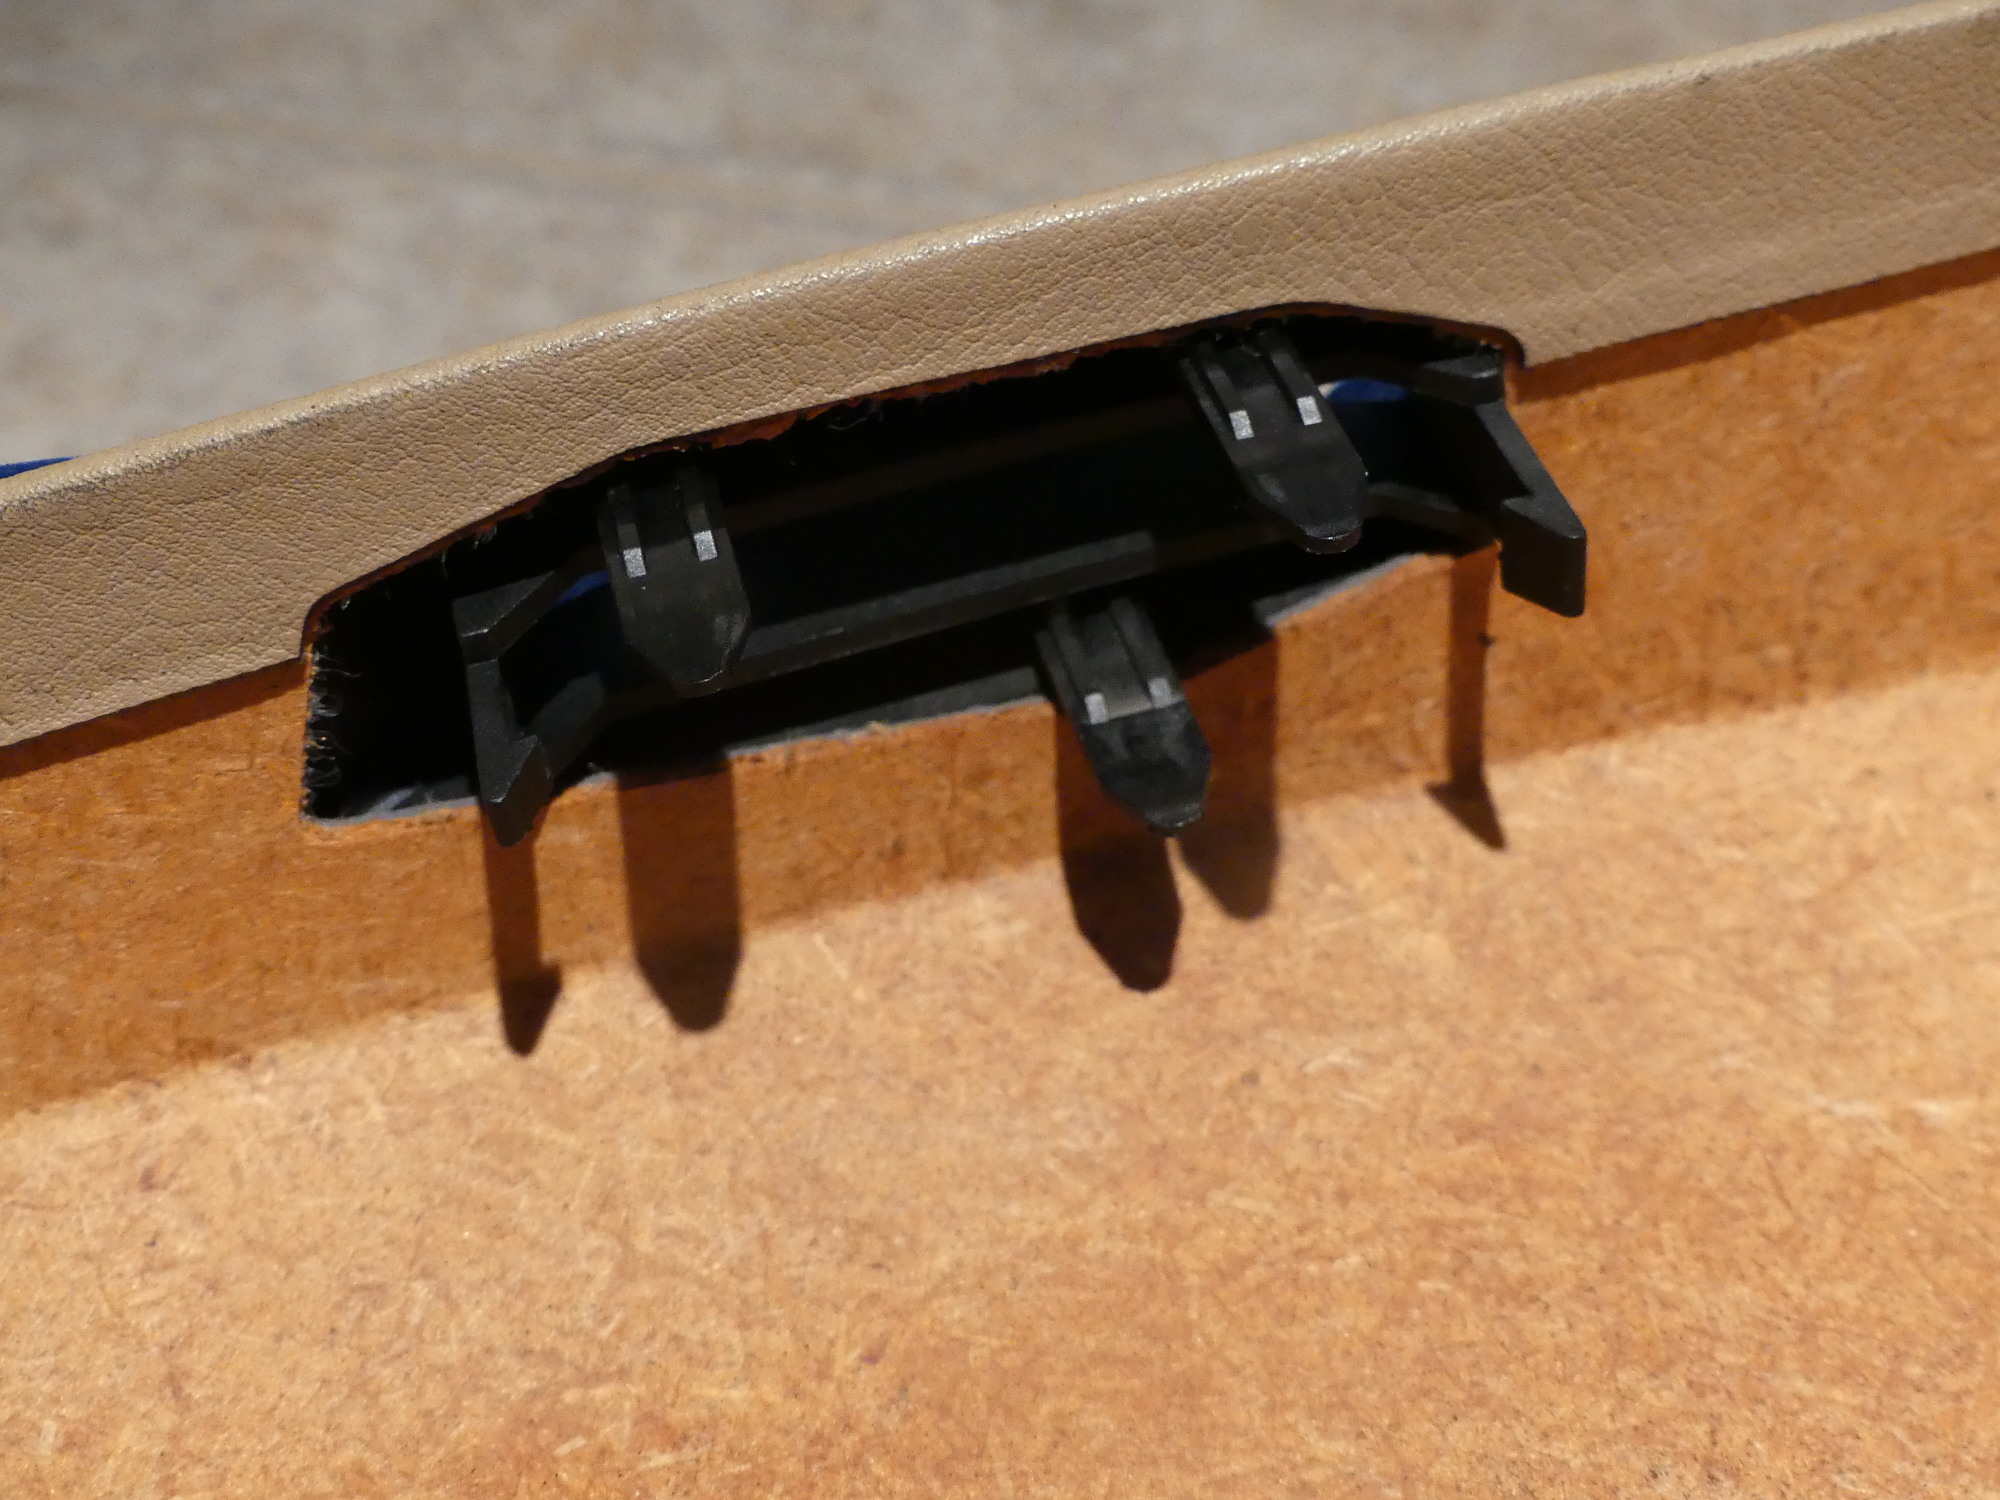
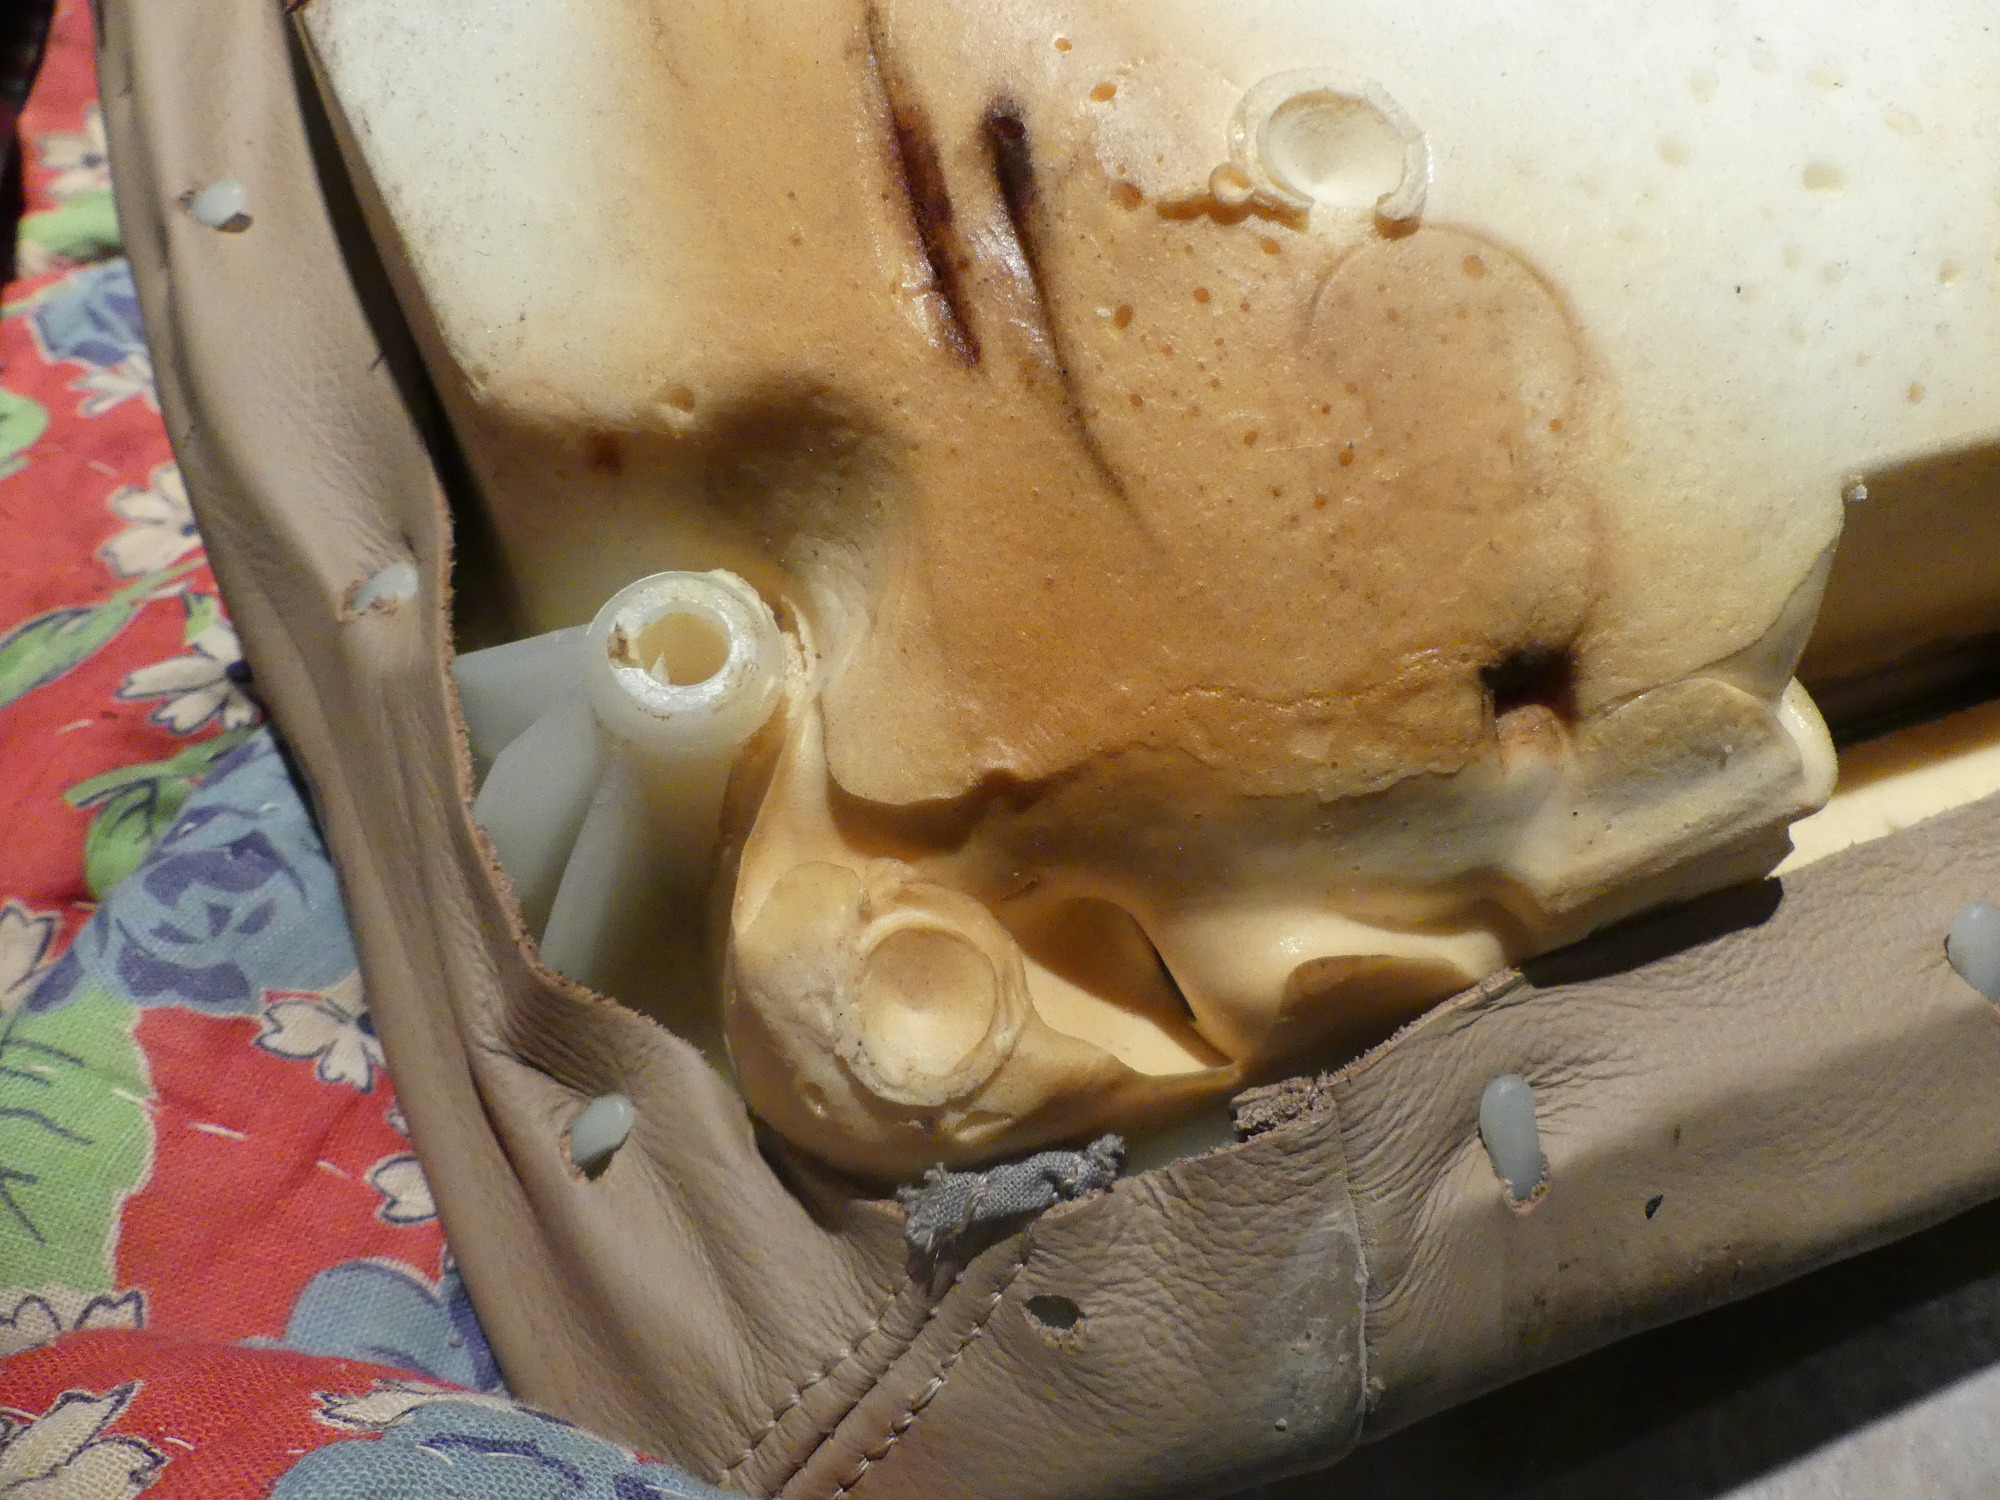 The rear seat base mounting boss uses a one-time-use barbed fastener apparently due to a lack of clearance for a screwdriver on the bottom of the seat. In fact, clearance is so bad I had trouble cutting the fastener to release the seat base. |
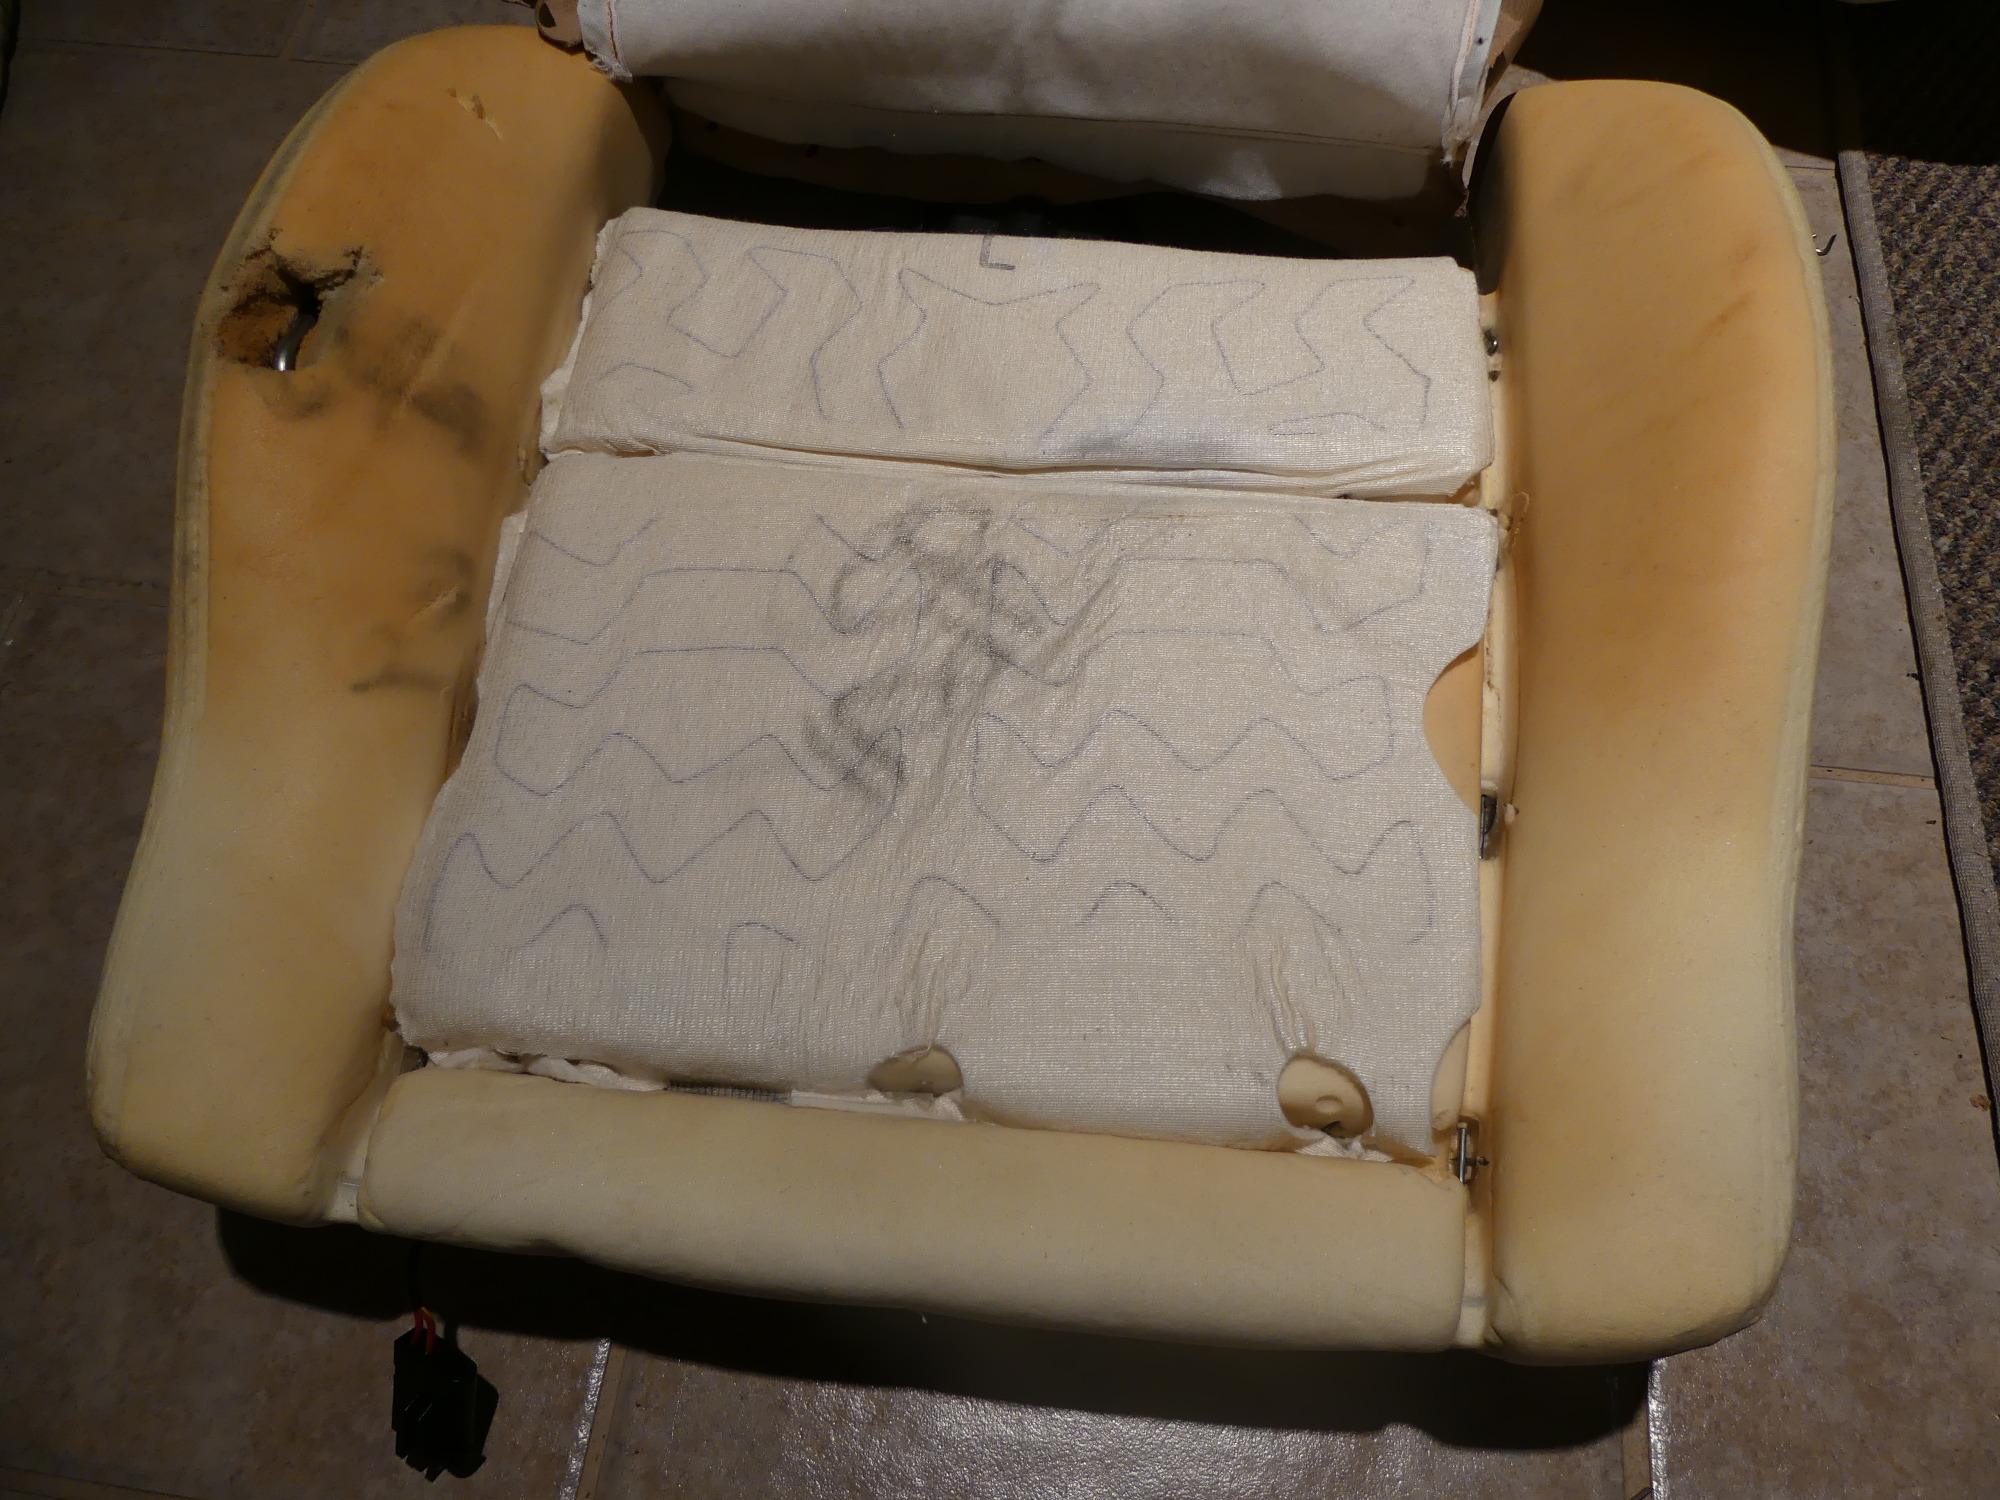 The condition of the base heating pad after the cover was removed. Not bad but it will be replaced because of potential wear on the heating elements themselves and because I never want to take the seat apart again. |
Driver Side Backrest Disassembly
The backrest shell is retained by two screws at the base of the shell. These fasteners are obvious and easy to reach. Unfortunately I ran into a snag that was not covered adequately in the BMW procedure -- the backrest shell is held captive by the tilt function handle (the black plastic handle on the side of the backrest that allows the seat to be pushed forward to facilitate access to the rear seats). The handle is designed to pull out of a rectangular receptacle but I pulled on this about as much as I felt comfortable, given all the old plastic parts involved, and yet was unable to remove it. So I decided to stop and consult with the oracle.
A visit with my technician confirmed that there were no instructions in BMW's technical literature explaining how to remove the handles, but my technician said they are held in with plastic barbs and the handle just needs to be pulled out. He cautioned me to protect the black plastic frame and backrest using some tape or other cloth, and then, if needed, pry only toward rear of the backshell rather than the front ridge, as the relatively small amount of material near the front would probably crack easily.
Taking a break from coding later that day I continued with the backrest disassembly. Sure enough, the tilt lever handle came out after I used a pair of scissors as a means to increase leverage and evenly apply force to the rear of the handle. Unfortunately this wasn't the last headache -- the fairing at the base of the handle was still attached to the cable assembly housing mounted inside the seat so I had to use a small flat blade screwdriver to gently release the plastic clips mating the two parts. After a few minutes of fiddling that suddenly popped free and released the backrest shell.
With the shell removed I had ready access to the attachment points for the leather cover and after about 10 minutes of stretching the leather and clipping a bunch of heavy-gauge hog rings I removed the cover and extracted the support rods. So the good news is the driver's seat is now bare.
The bad news is the backrest foam is in worse shape than I thought, and that's because the bolster isn't a solid piece of foam as it is on the seat base. Instead it's more or less hollow because it's designed to fit over the seat's metal support shell. The thinner foam was more vulnerable to wear and tear and as a result I have to go back to the drawing board and rethink my approach to this repair.
 Lifting up the heating pad exposes the part number I needed to order a new pad. The wiring must be pulled up through a hole in the foam. Thankfully the pad was not sewn into the cover as I've heard some covers are! |
 Taken after I had removed the tilt handle, this shows the general technique used to extract the handle. I put the blades behind the handle to increase leverage and it popped out. The tape protects the fairing from scrapes. |
 The next annoyance was releasing the fairing from the tilt housing. Here you can see the plastic bars (far left and right) that mate the two parts. Unless these are released, the backrest remains captive. |
 A closeup of the tilt housing. This is mounted to the seat frame and mates with the fairing. A small screwdriver must be inserted in the slot on the fairing after the handle is removed to disconnect the parts. |
 After the backrest is removed the leather cover attachment points are accessible. I can already tell this is going to be a somewhat imprecise process during which I will have to constantly verify tension of the leather as I punch it . Not looking forward to this. |
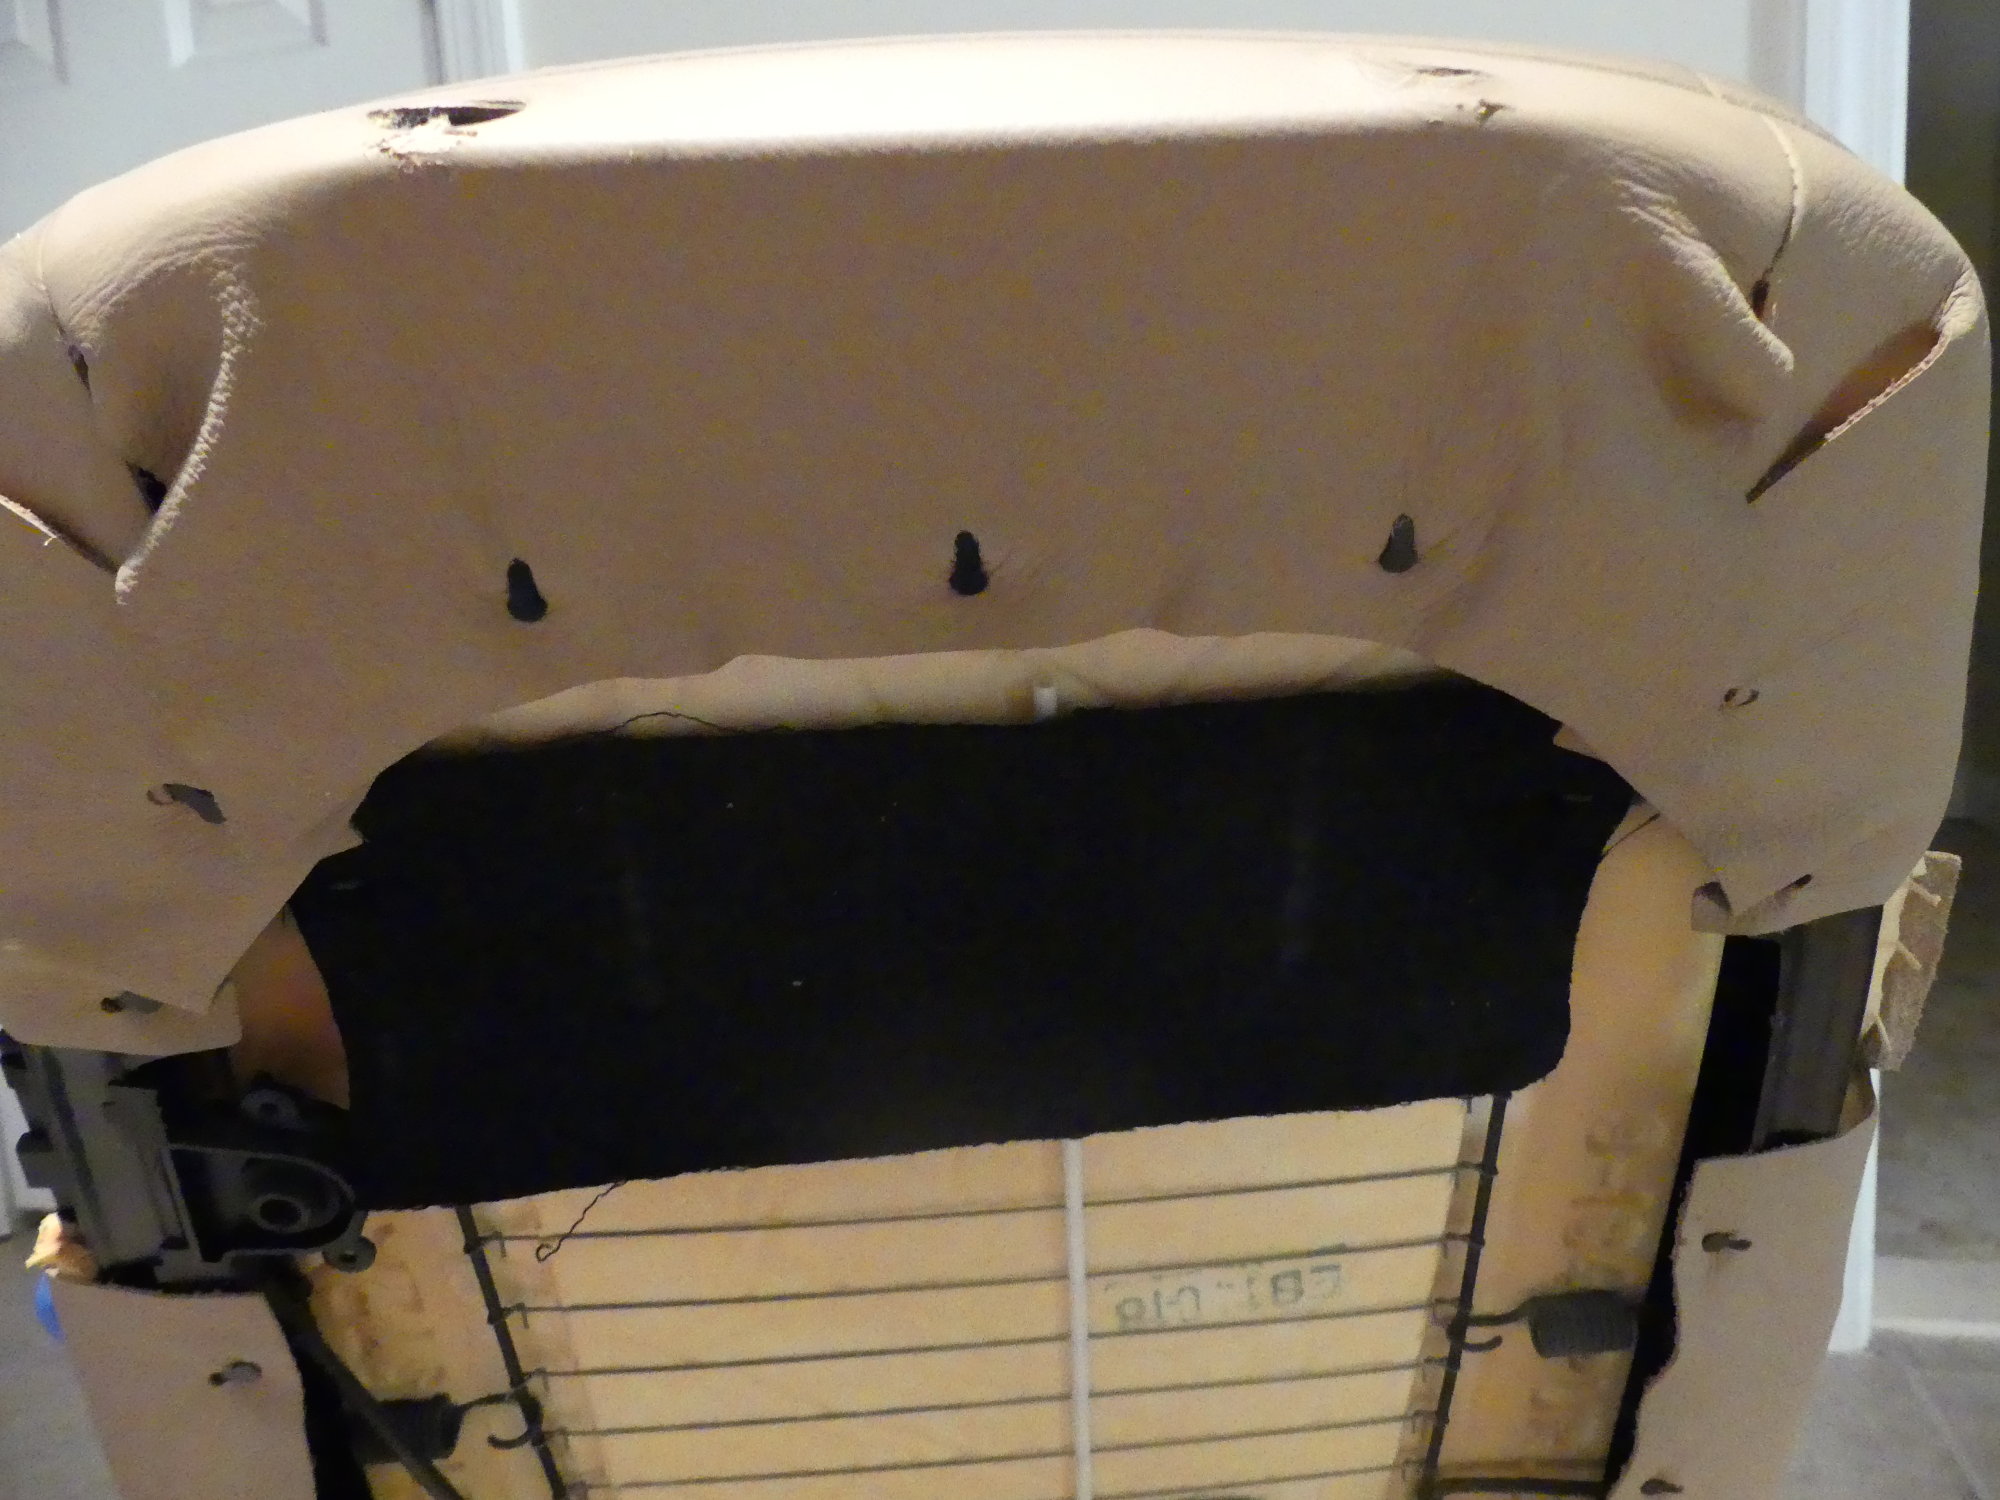
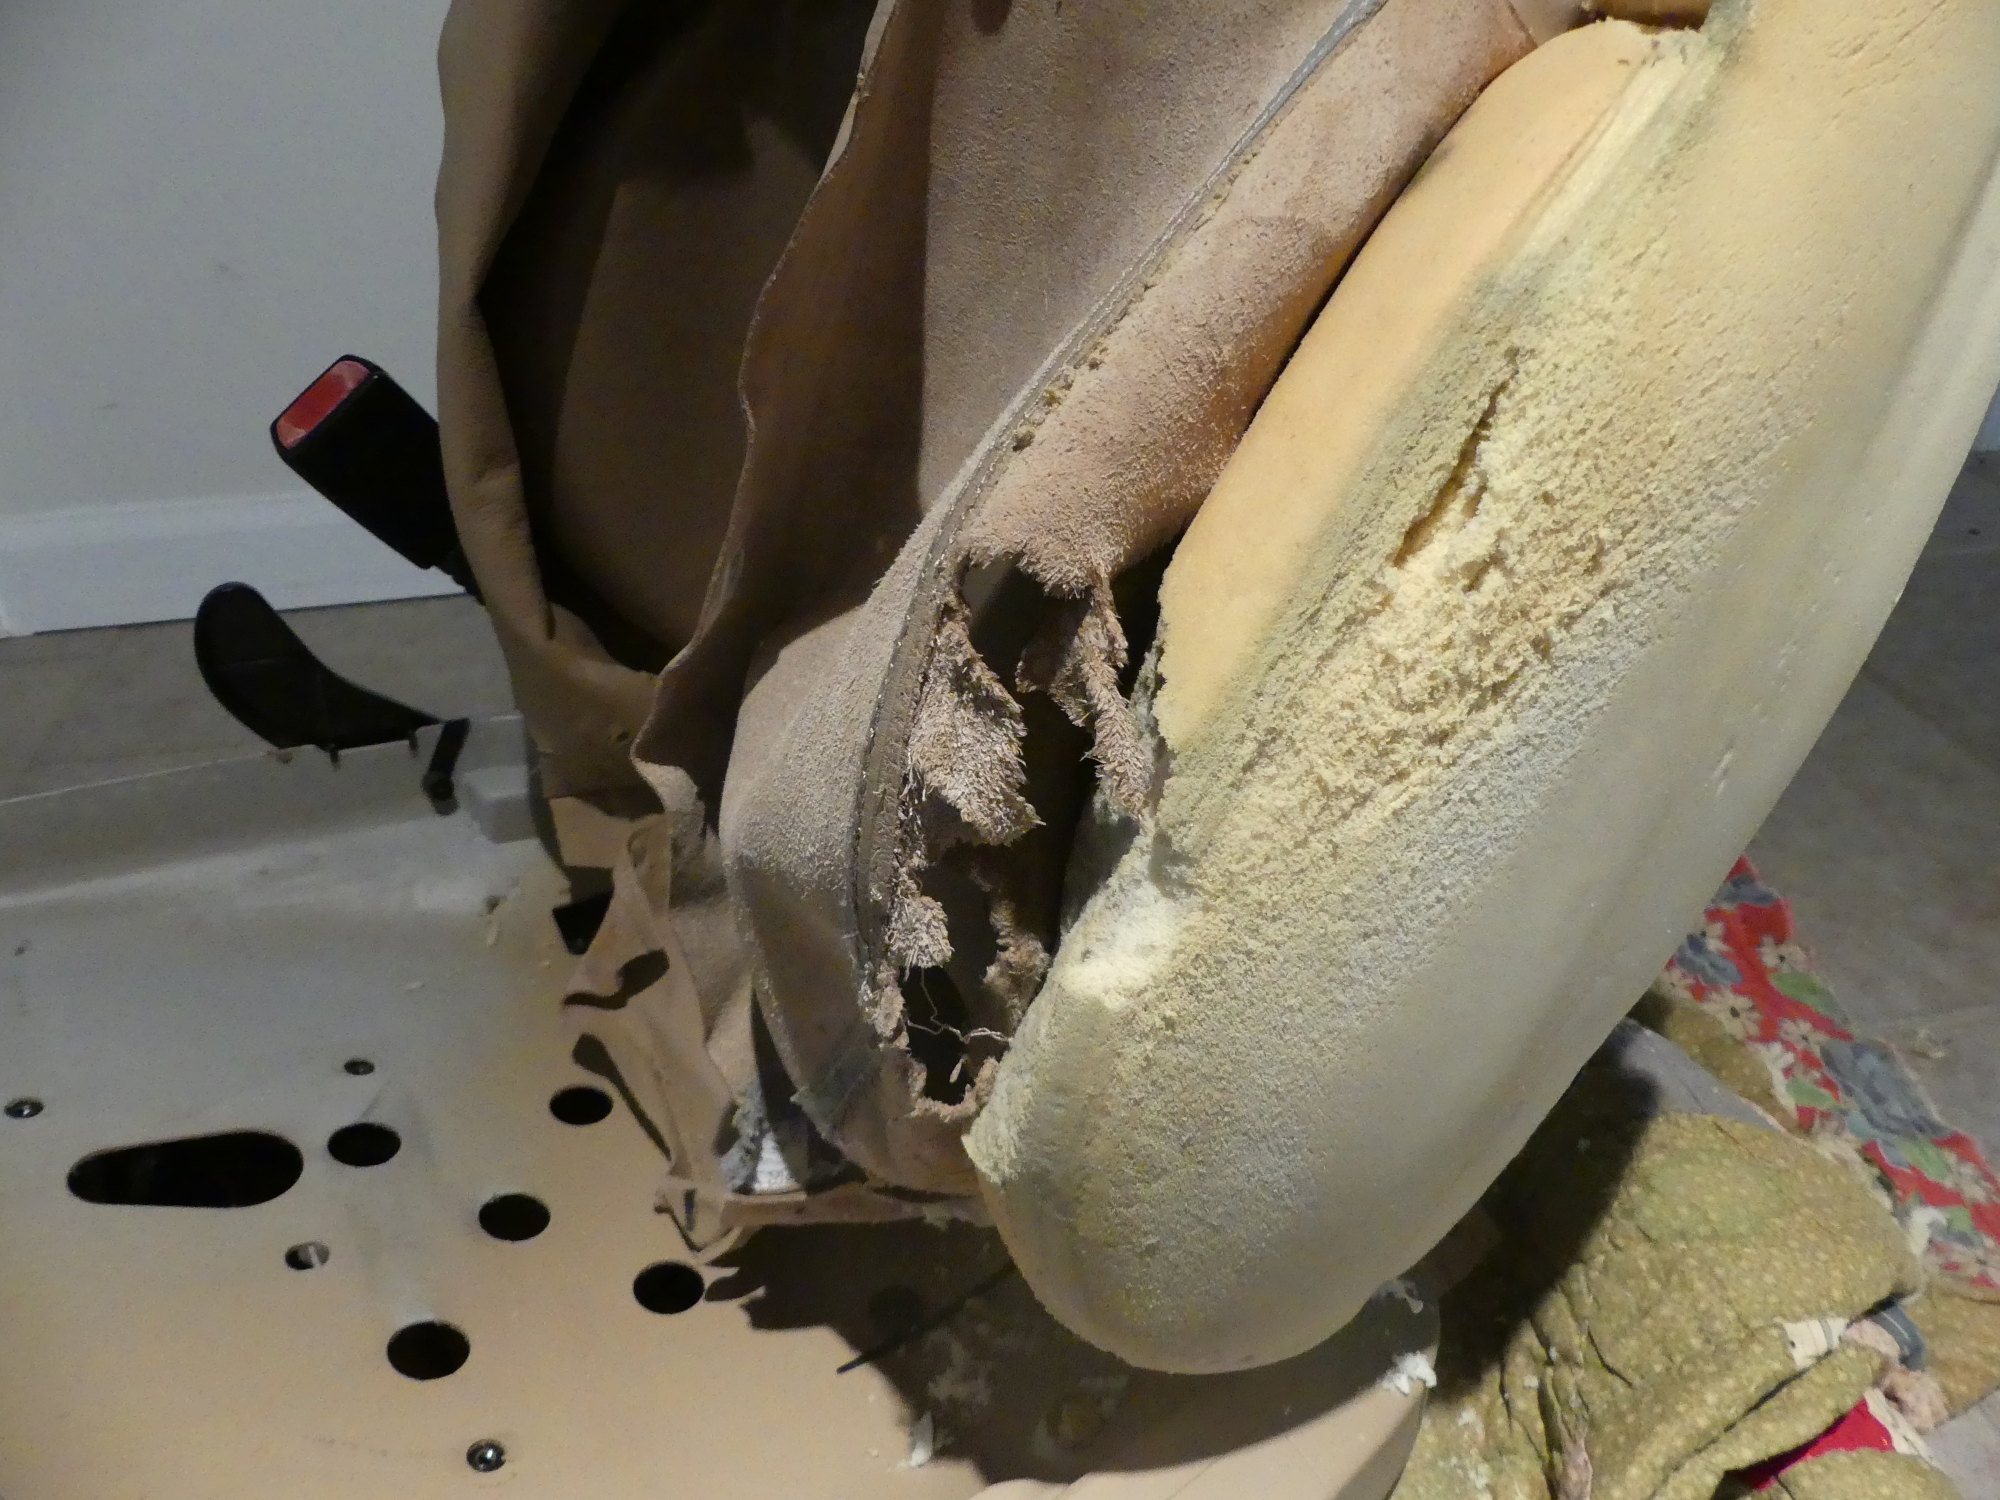 Behold the backrest bolster carnage. Not only is the leather destroyed, a bunch of material has worn off the bolster. I have my work cut out for me. This is not going to be easy to fix. I really wish I could just buy a new backrest but BMW long ago discontinued this part. |
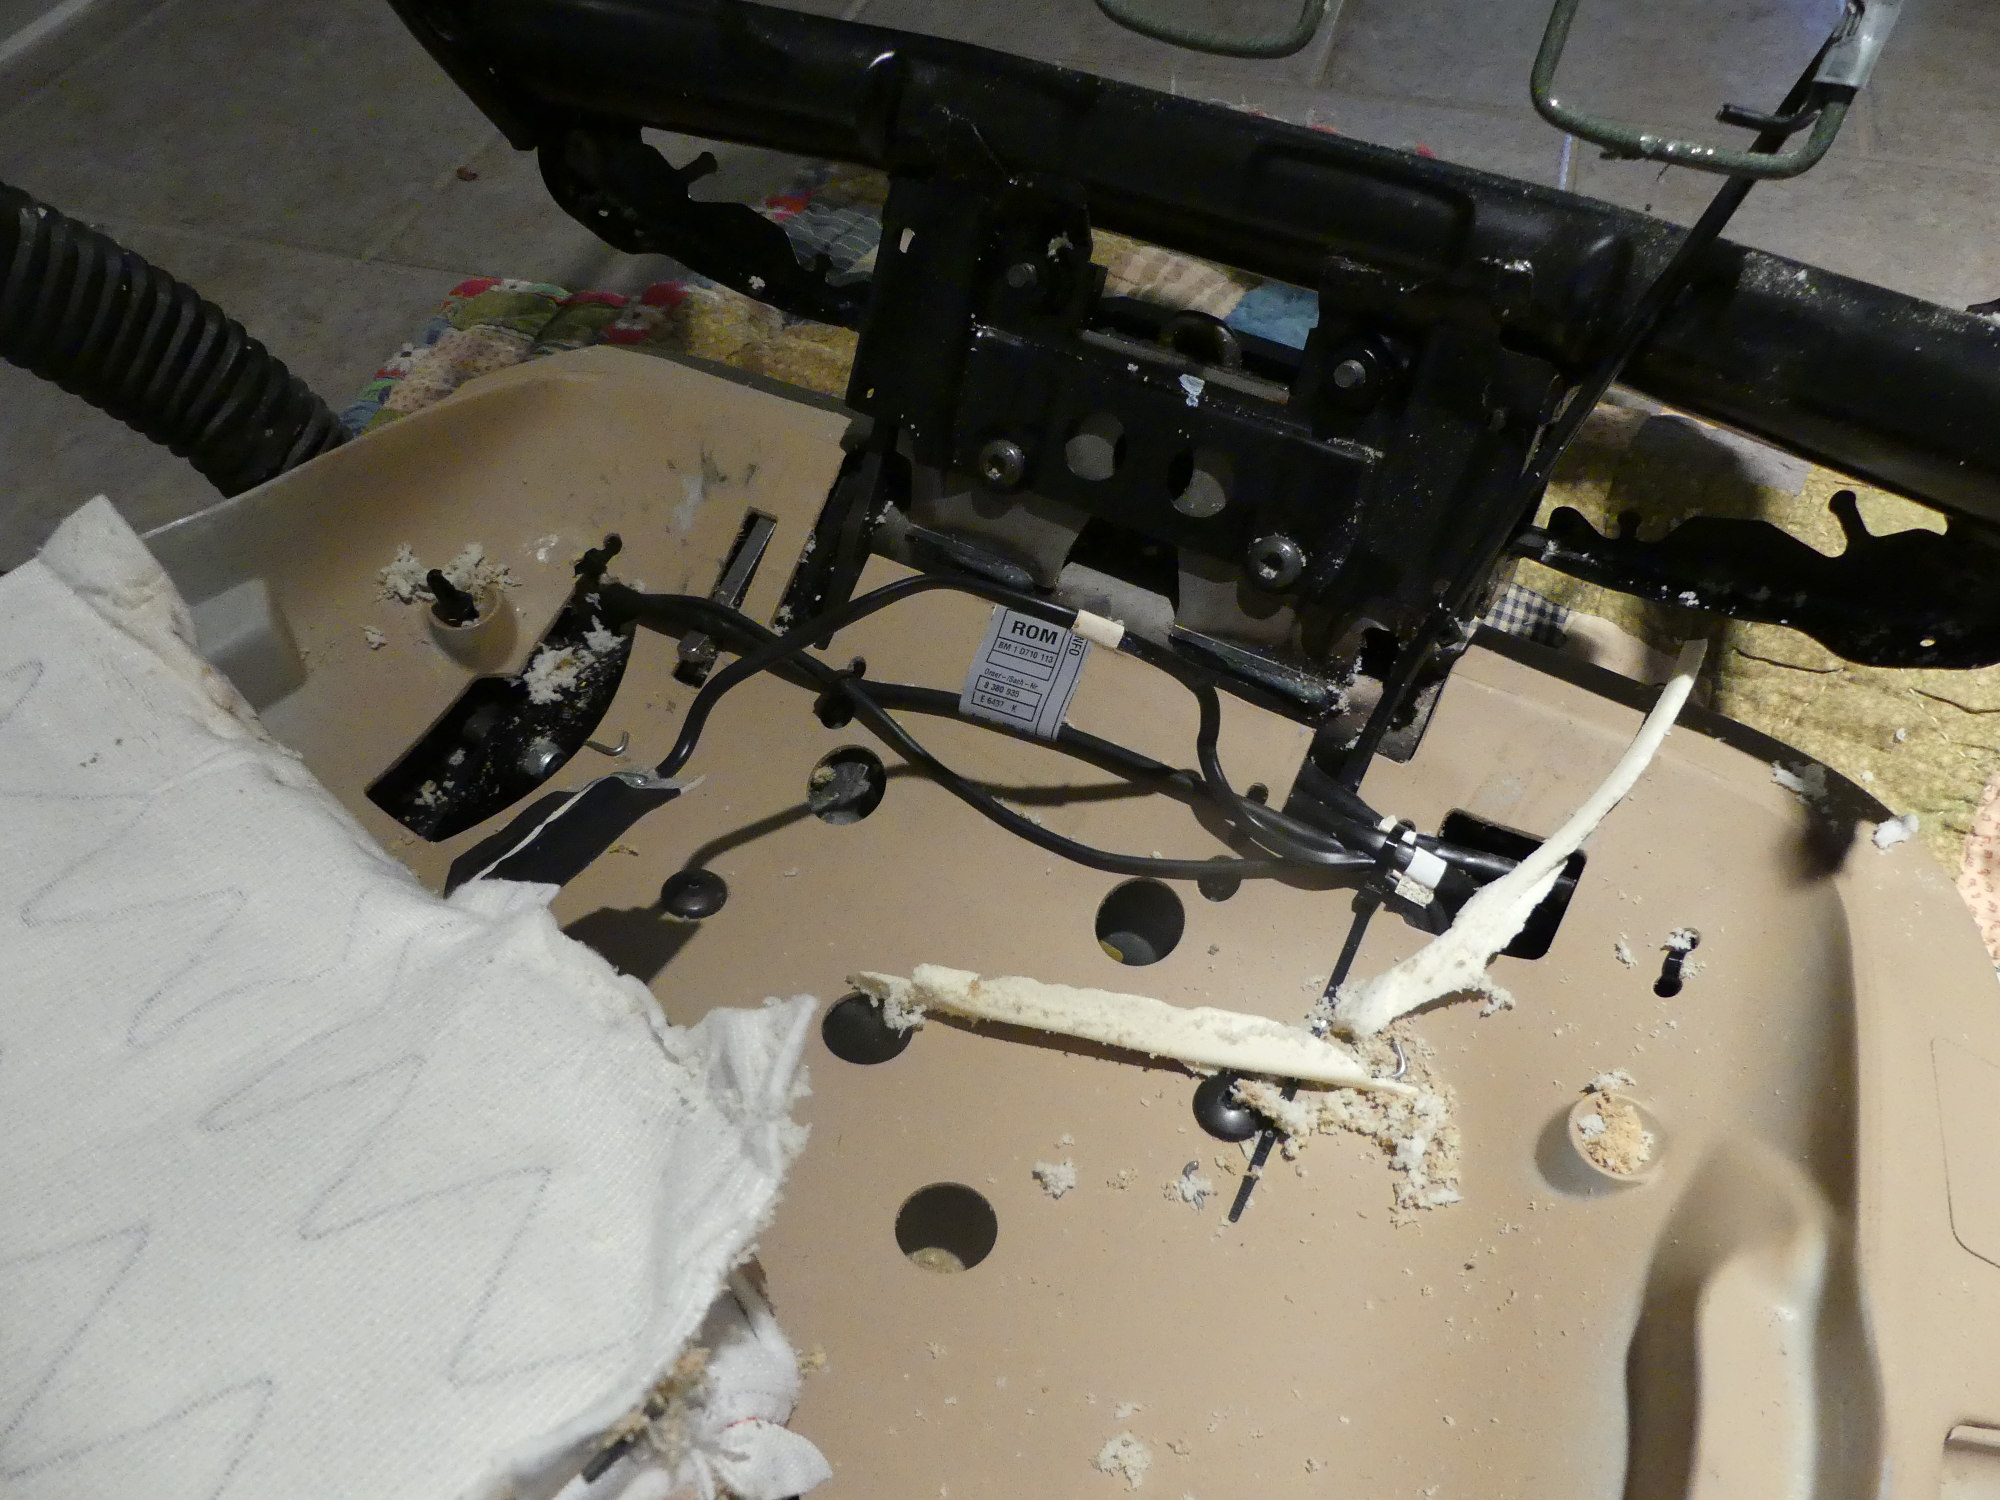 After the backrest foam was removed from the seat frame a bunch of foam particles and even strips fell down into the seat base. I vacuumed up the particles and set the strips aside for possible. use later. |
 A closeup of the seat backrest heating pad. I'm not planning on replacing this as I think it's in pretty good shape and has never had to support my full weight, hence the heating elements themselves should not be fatigued. |
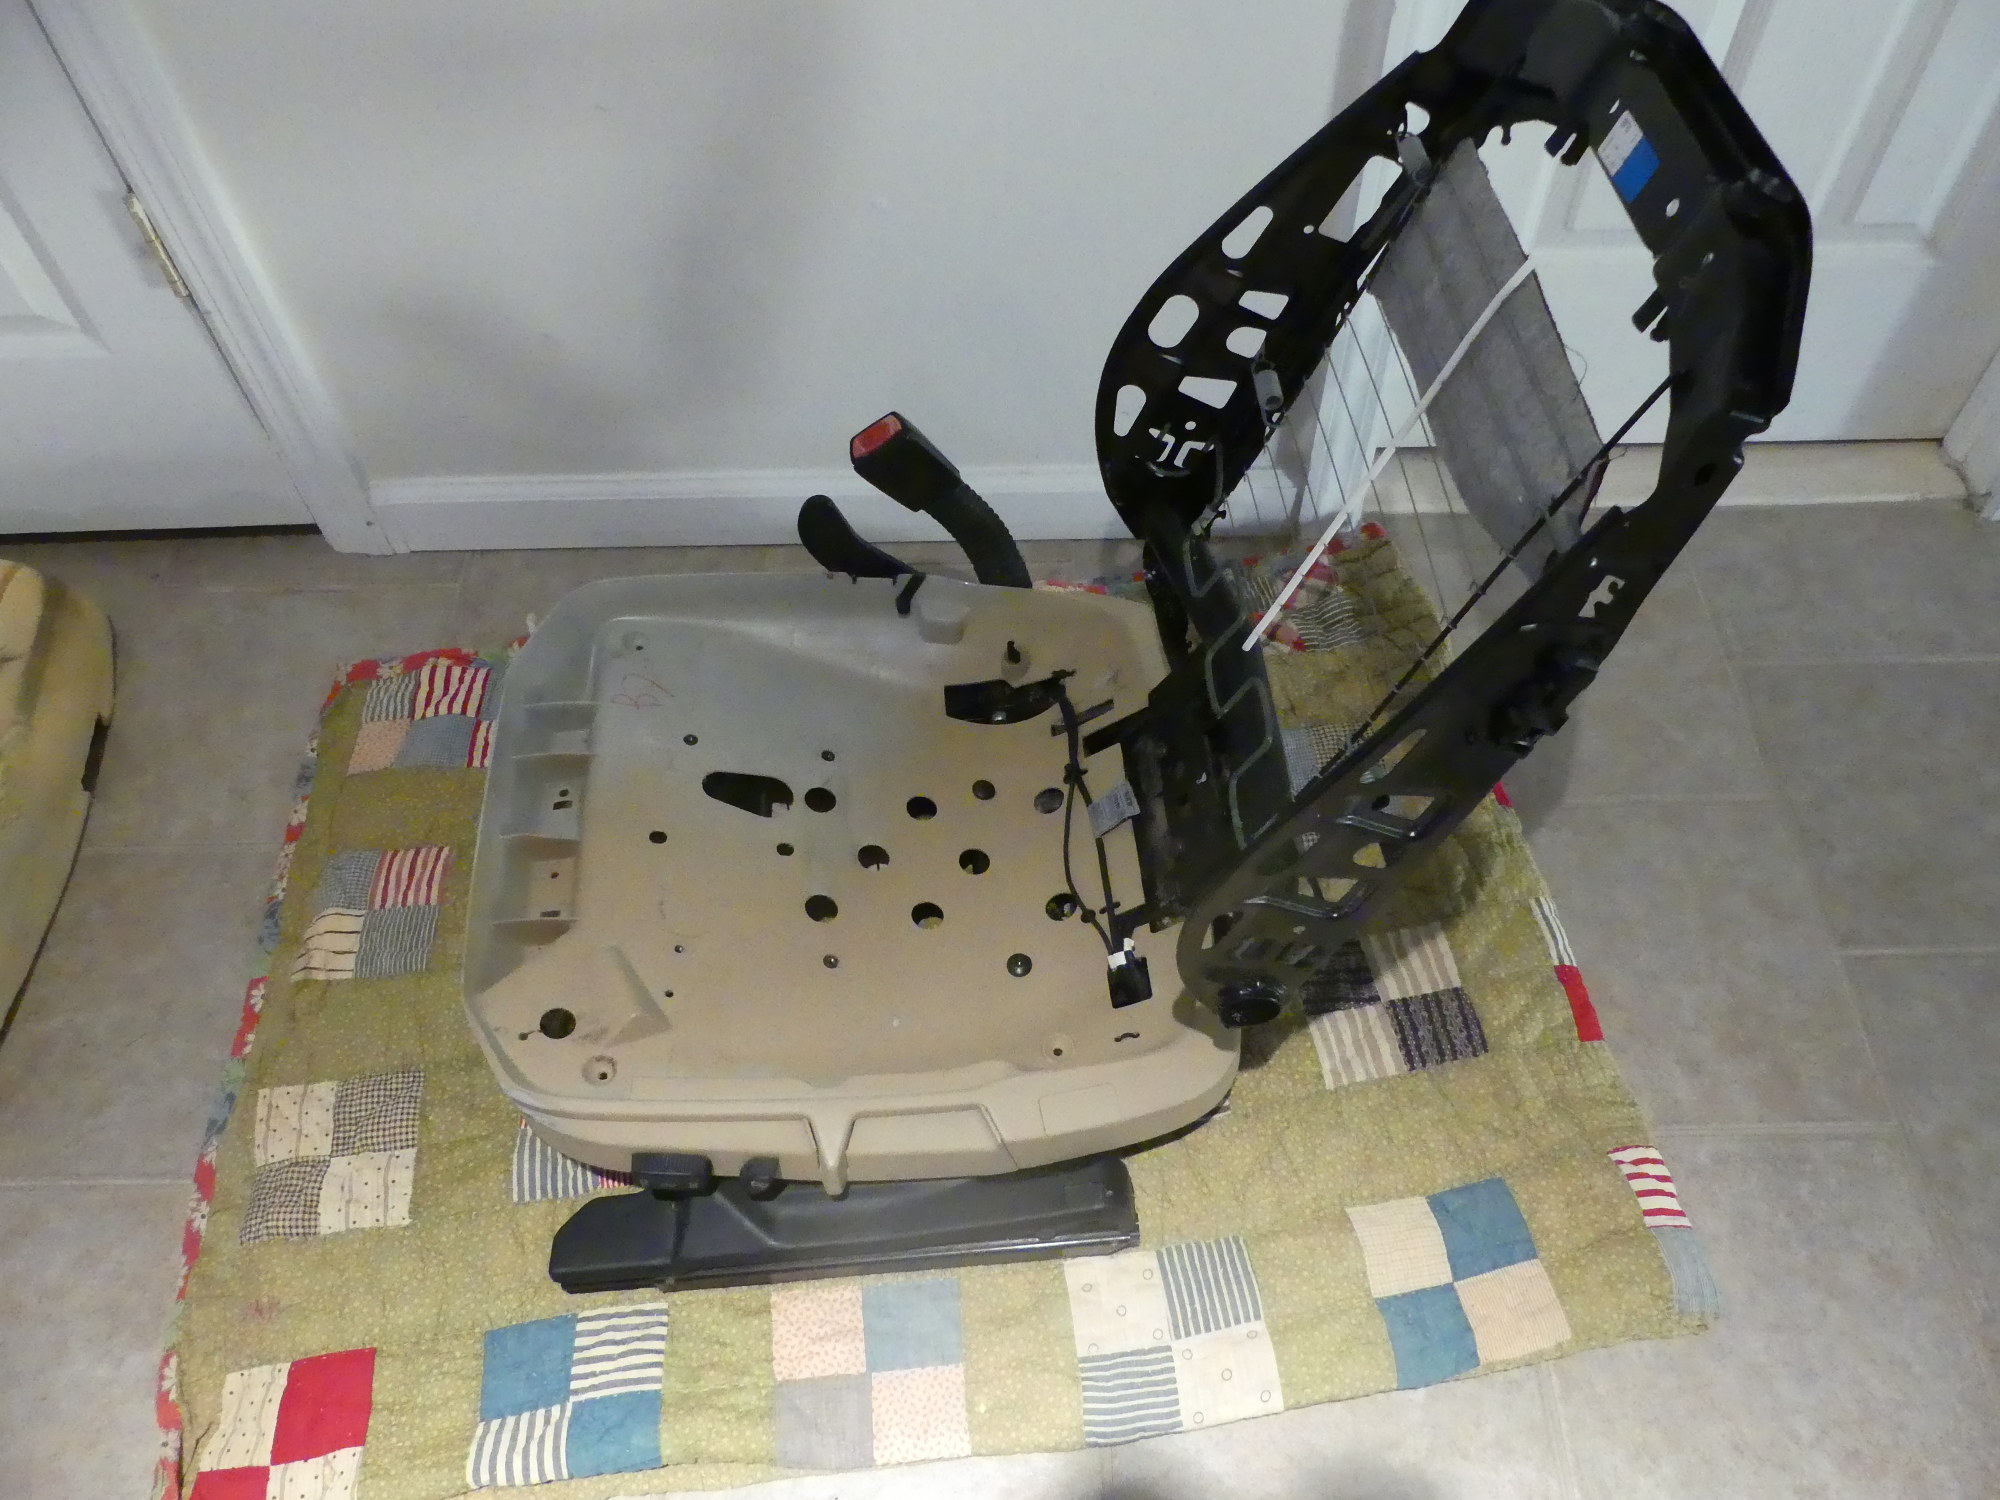 Behold the seat disassembled (mostly). Next step is removal of the plastic seat base for painting. I'll transfer the passenger side backrest and thigh foam to this seat and then take my time with the passenger side foam restoration. Oh joy. |
Foam Selected and Contouring Method Tested
With the need to repair the damaged thigh and backrest foam pads fast approaching I had to select the replacement foam and develop a means to contour it.
I ultimately decided on Super Lux, as it had the highest Identation Force Defection (IFD) specification (100) as well as a reasonably high density (1.8 LB/Ft^3). Although several of the other foams I sampled had densities approximately 50% higher than that of Super Lux, they did not feel anywhere near as dense or present as much resistance to compression as the either the Super Lux or the original factory foam, so this was an easy decision to make, at least in the context of the foams that were readily available for purchase in reasonable quantity.
That said, Super Lux does have notably different tactile properties as compared to the original foam but I am not too concerned about this as this repair is mostly for cosmetic reasons, rather than structural. In other words, I'm not sitting on it directly so I shouldn't notice the difference.
Super Lux is available in several thicknesses. I knew I could glue a stack of the 1/2" material together to create almost any thickness required but wondered whether the glue I had selected would tolerate the contouring operations (or perhaps more to the point, make a mess of them) so I bought the 1/2" material for the thigh rest and the 1" material for the backrest. Total? $25 + shipping for vastly more material than I will ever use.
I then did an experiment with the Super Lux sample I received earlier. I grabbed my Proxxon rotary tool equipped with a 120 grit sanding cylinder and tried to round over the sharp corners of the foam. Although it took some time the end result was acceptable. This technique should eliminate the need to purchase a miniature belt sander and expensive replacement belts, but only time will tell. If I have to do a much larger area I'll need the greater abrasive area of the belt sander or I'll be at this for weeks.
More Parts
The rear seatbelt receptacles and mechanism covers came in. The covers are unfortunately the same design but at least they're brand new and look great. Assuming they don't break as I'm installing them (yes, they are that fragile), they should nicely finish off the rear seat restoration.
My technician confirmed that there are indeed two types of seatbelt pretensioners in E36s - the older type that are fired mechanically, i.e. with a spring, and the newer pyrotechnic units that are fired electrically, much like the airbags. The mechanical versions must be disabled before the seats are removed from the vehicle, while the pyro versions cannot be disarmed...and don't need to be. Naturally, however, the pyro units must be treated with the same care as airbags, which can potentially fire if exposed to static electricity.
This lead to a discussion of the airbag campaign on my E46. I'll spare you the details but it did convince me anything pyrotechnic should probably be replaced at some point (and certainly more often than once every 18 years) if you expect it to work properly when the need arises. Given this as well as the cosmetic and mechanical wear on the existing receptacles I decided to order two new pretensioners. The driver's side seatbelt harness is still on the way from Germany so when that's installed I'll have a like-new restraint system -- a decided perk despite the fact that I would be more likely to die from the shock of seeing this car smashed than any blunt force trauma.
I also asked my technician for his opinion as to the reliability of the E36's seat heating elements. His long experience suggested that they did not commonly fail on the E36 so any replacement would be based on condition. Close inspection of the pads I removed shows both backrest and seat base units in relatively good shape but I have decided to replace the seat base pad due to the constant flexing that its thin elements have no doubt endured over the last 18 years and the fact that this is yet another part of the vehicle I never want to take apart again. The pad has been ordered and should be in at the end of the week.
Next up: I'm planning to dismantle the passenger seat, paint the seat bases and begin to reassemble the driver's seat when the heating pad and tensioners arrive.
Mileage: 264000