


Friday, August 19, 2016
Front Seat Refurbishment and Assembly
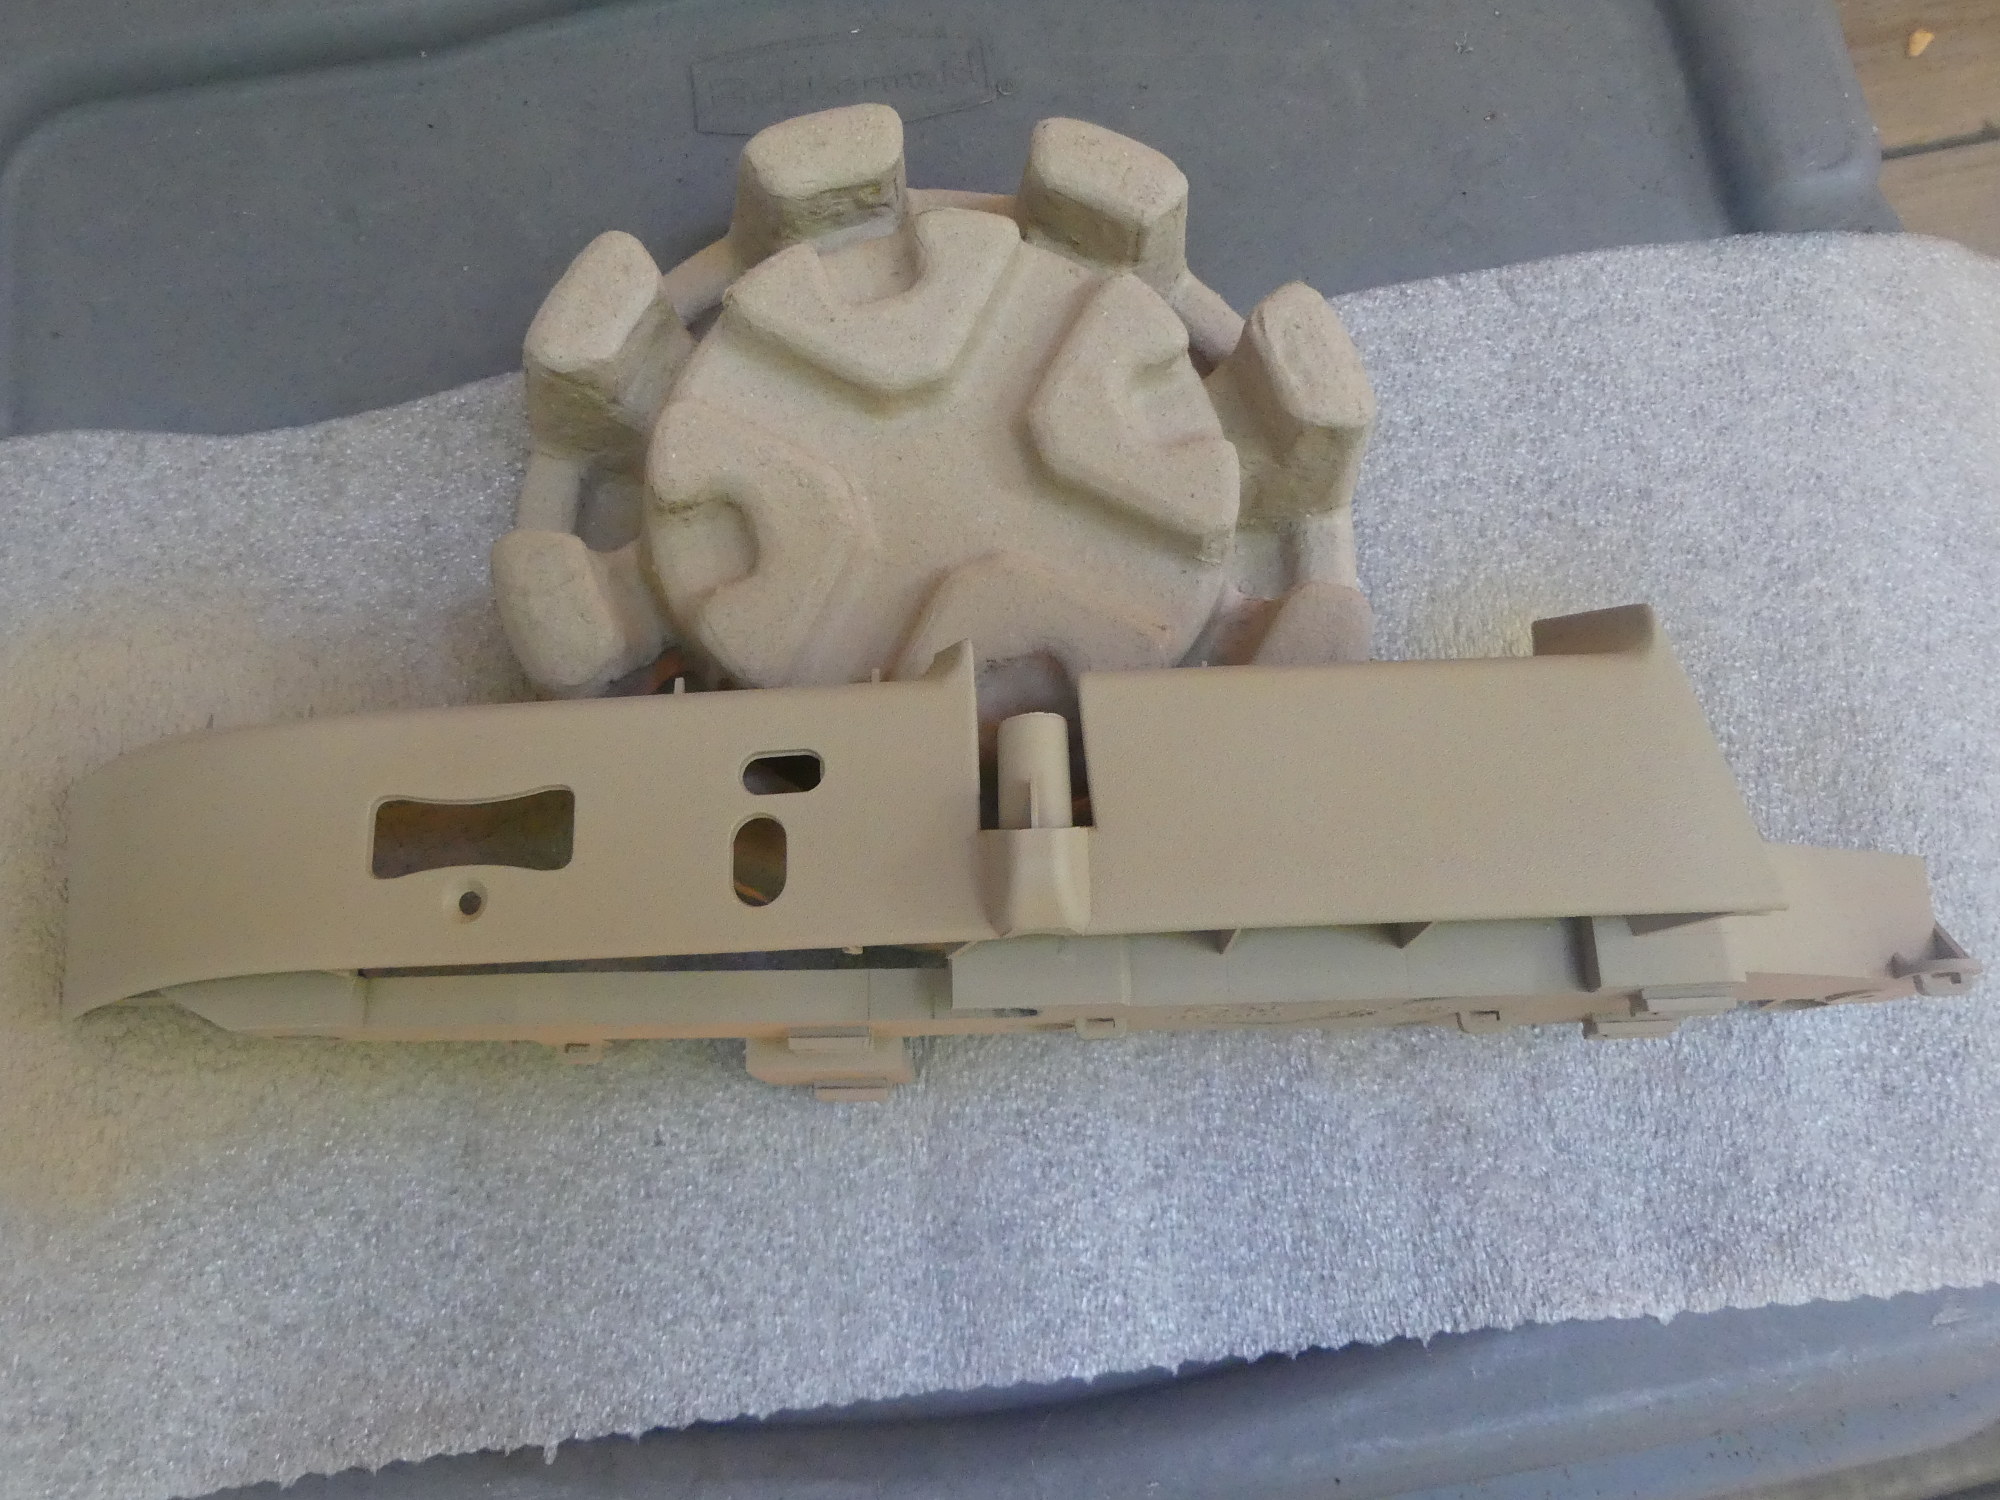
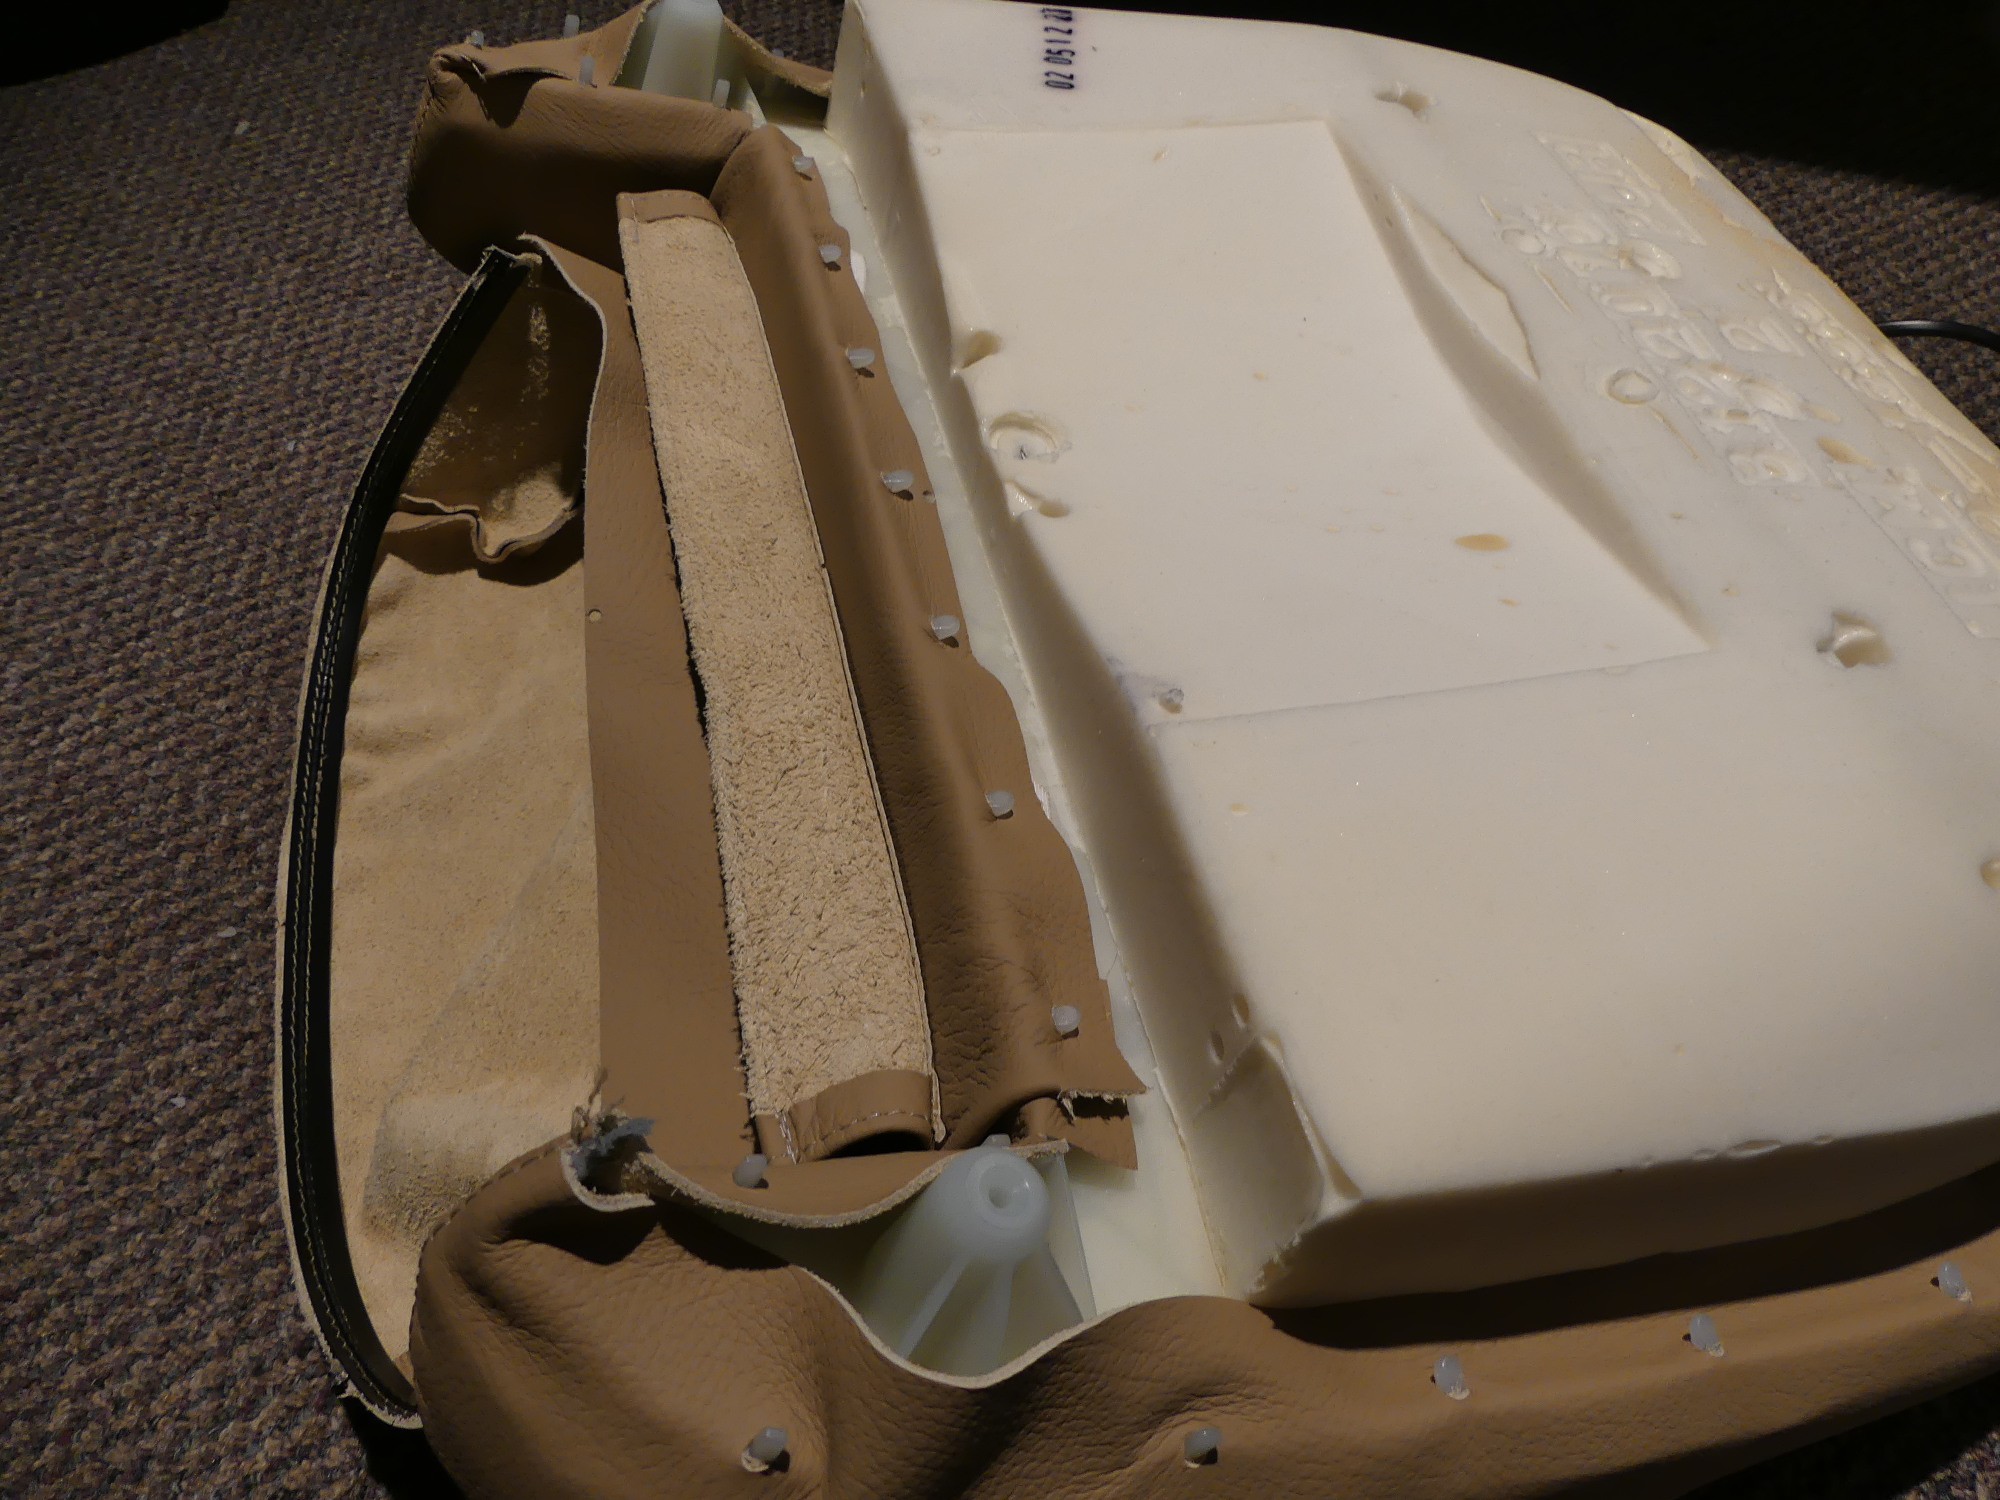
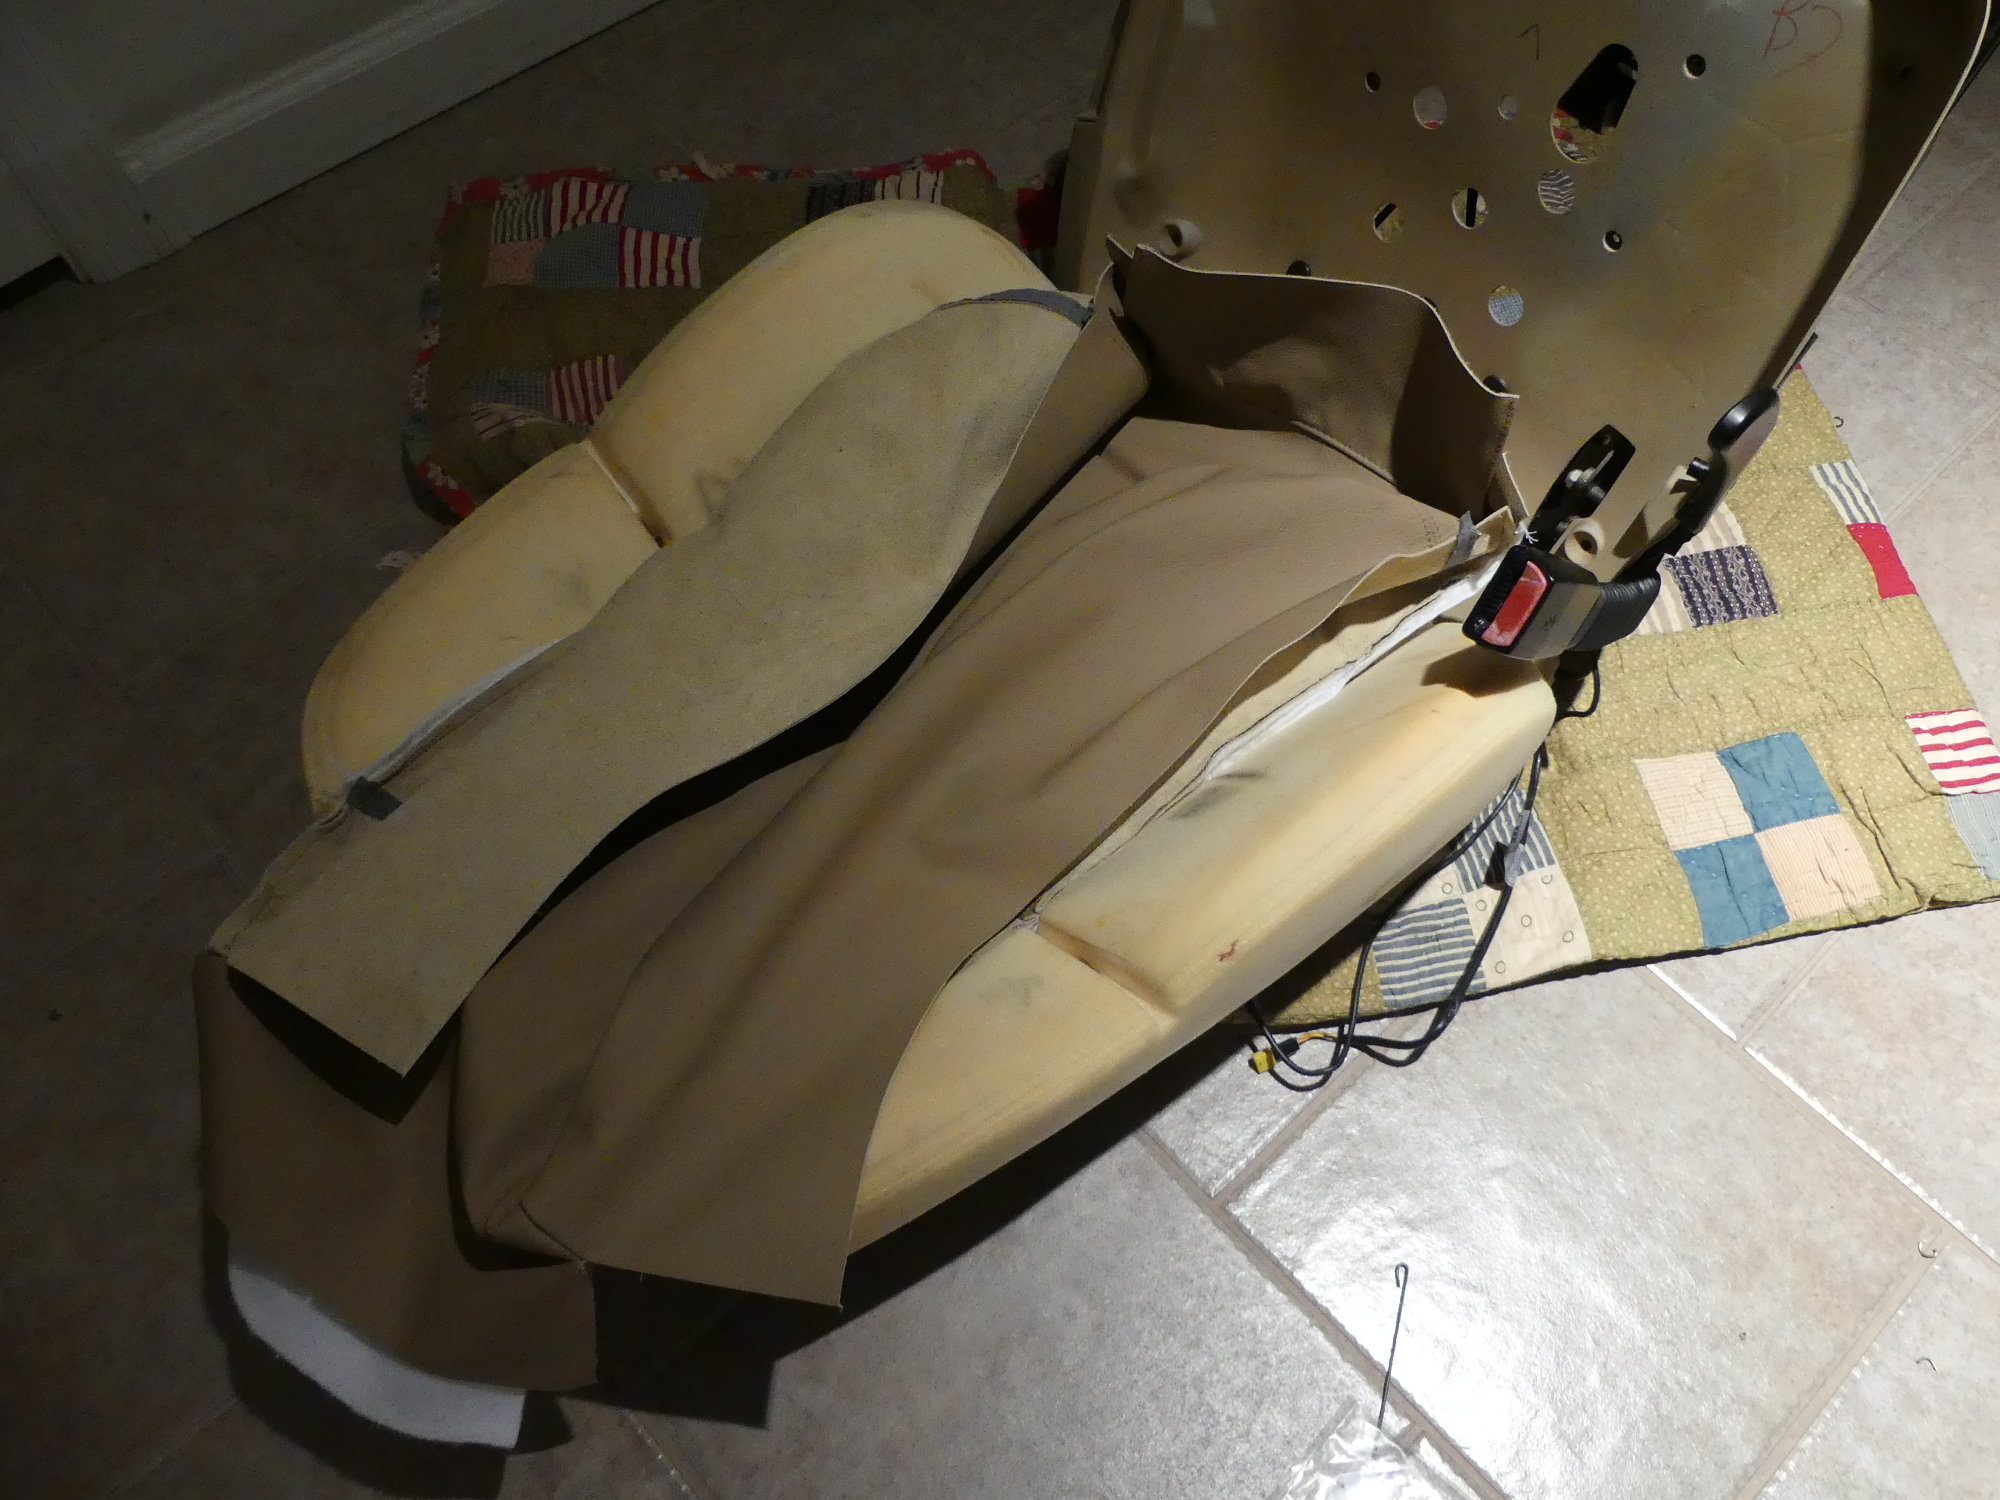
With the driver's seat base and backrest foam removed I was able to remove the plastic seat base from the seat frame for painting. Although at this point the base was only fastened to the frame with two torx screws I had to clip several tie wraps, disconnect several wiring connectors and ultimately unlatch those connectors from the base to remove it completely. Once separated from the frame I had to figure out how to remove the electrical switch panel assembly. It turns out the part is fastened to the base with four small torx screws, all of which are easily accessible with the base flipped upside down. Once the screws are removed the switch panel is then slid away from the base.
The subcontractor who designed the seat electrics was obviously (and some might argue, uncharacteristically) wearing their thinking cap. The switch assembly is elegantly held in by metal spring clips (no stupid failure-prone plastic garbage) and a single screw. They even went to the trouble of molding / embossing a removal diagram into the case of the switch assembly, which shows how to compress the springs with a small flat-bladed screwdriver and pop the switch assembly free of the switch panel.
At this point I took both the switch panel and base outside and hosed them down to remove all dust and dirt from all the nooks and crannies. I dried them with a towel and then used 99% IPA to wipe down all of the exterior surfaces I planned to paint, the goal of course being to remove any skin oils or other contaminants. At this point I was glad I never applied any Armor All or other silicone based "protectants" to this plastic, since that would have required yet more scrubbing. During this process I paid particular attention to cleaning the front left corner of the base where my size 11's had rubbed and removed the factory paint.
The painting process went about as quickly and smoothly as expected. The end result is a bit lighter than the original beige, but it looks new in my opinion, and since that was the goal I'm happy with the finished product. I waited about a day for the paint to dry before reinstalling the base on the seat frame, but it dried very quickly and I could have installed it earlier -- the delay was mostly due to my schedule.
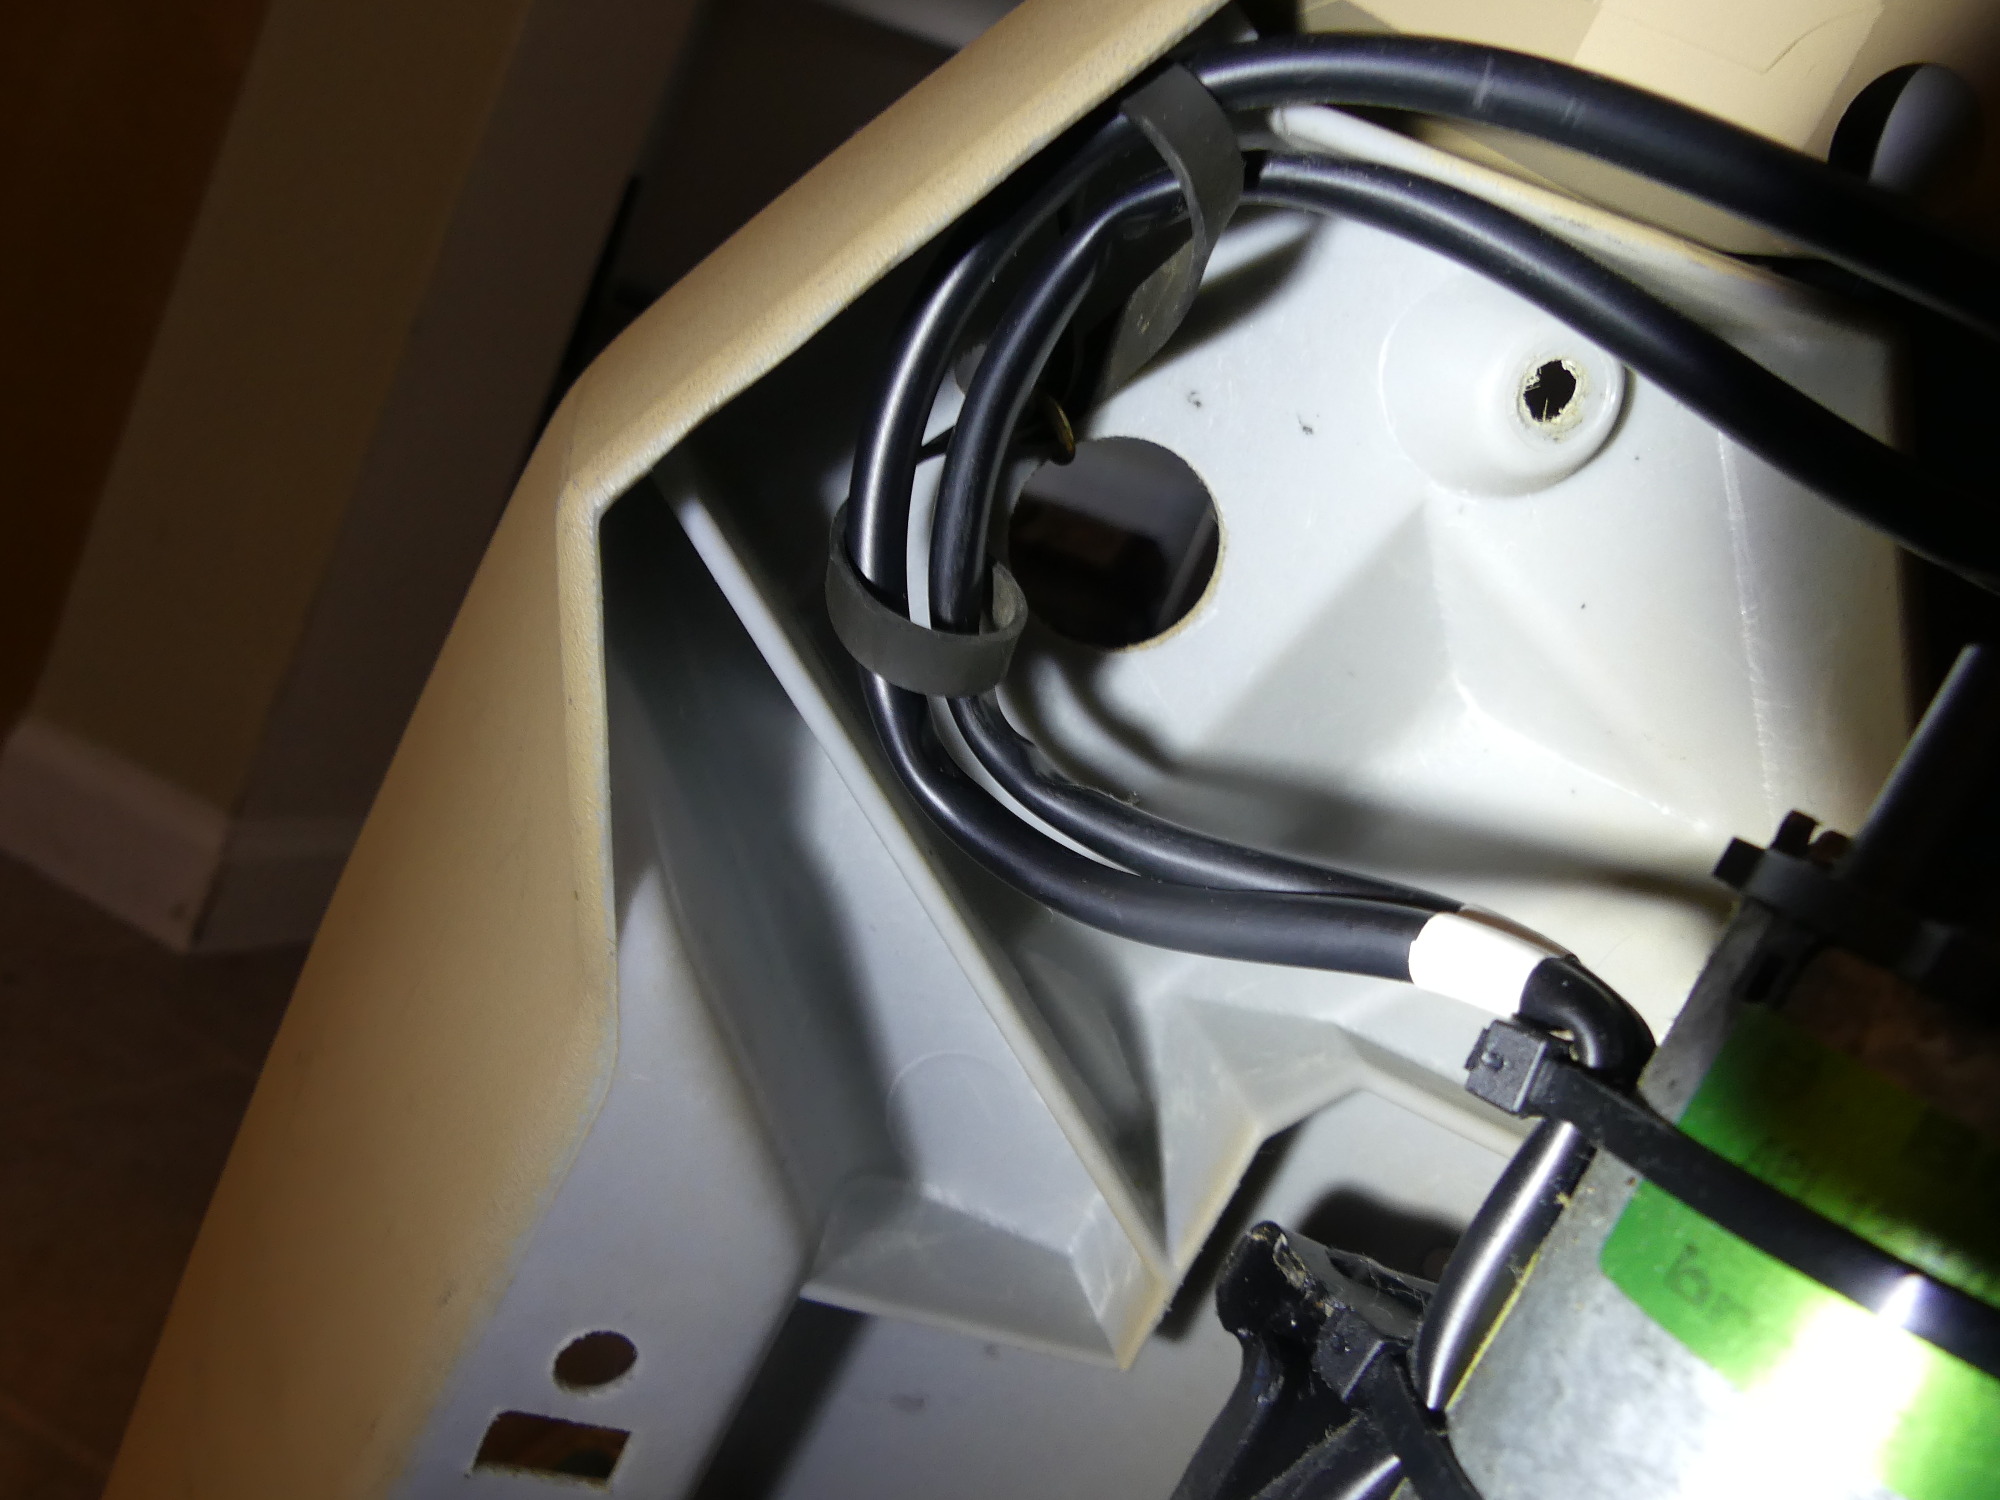 BMW used a variety of means to retain the wiring on the seat base. This rubber loop is fastened to the base with a hog ring. Rather than removing the hog ring I stretched the band and removed the connectors. |
 This shows the wires come from the switch assembly (black box on top) down to connectors that are fastened to the base. I disconnected both connectors and then removed the mating connectors from the base. |
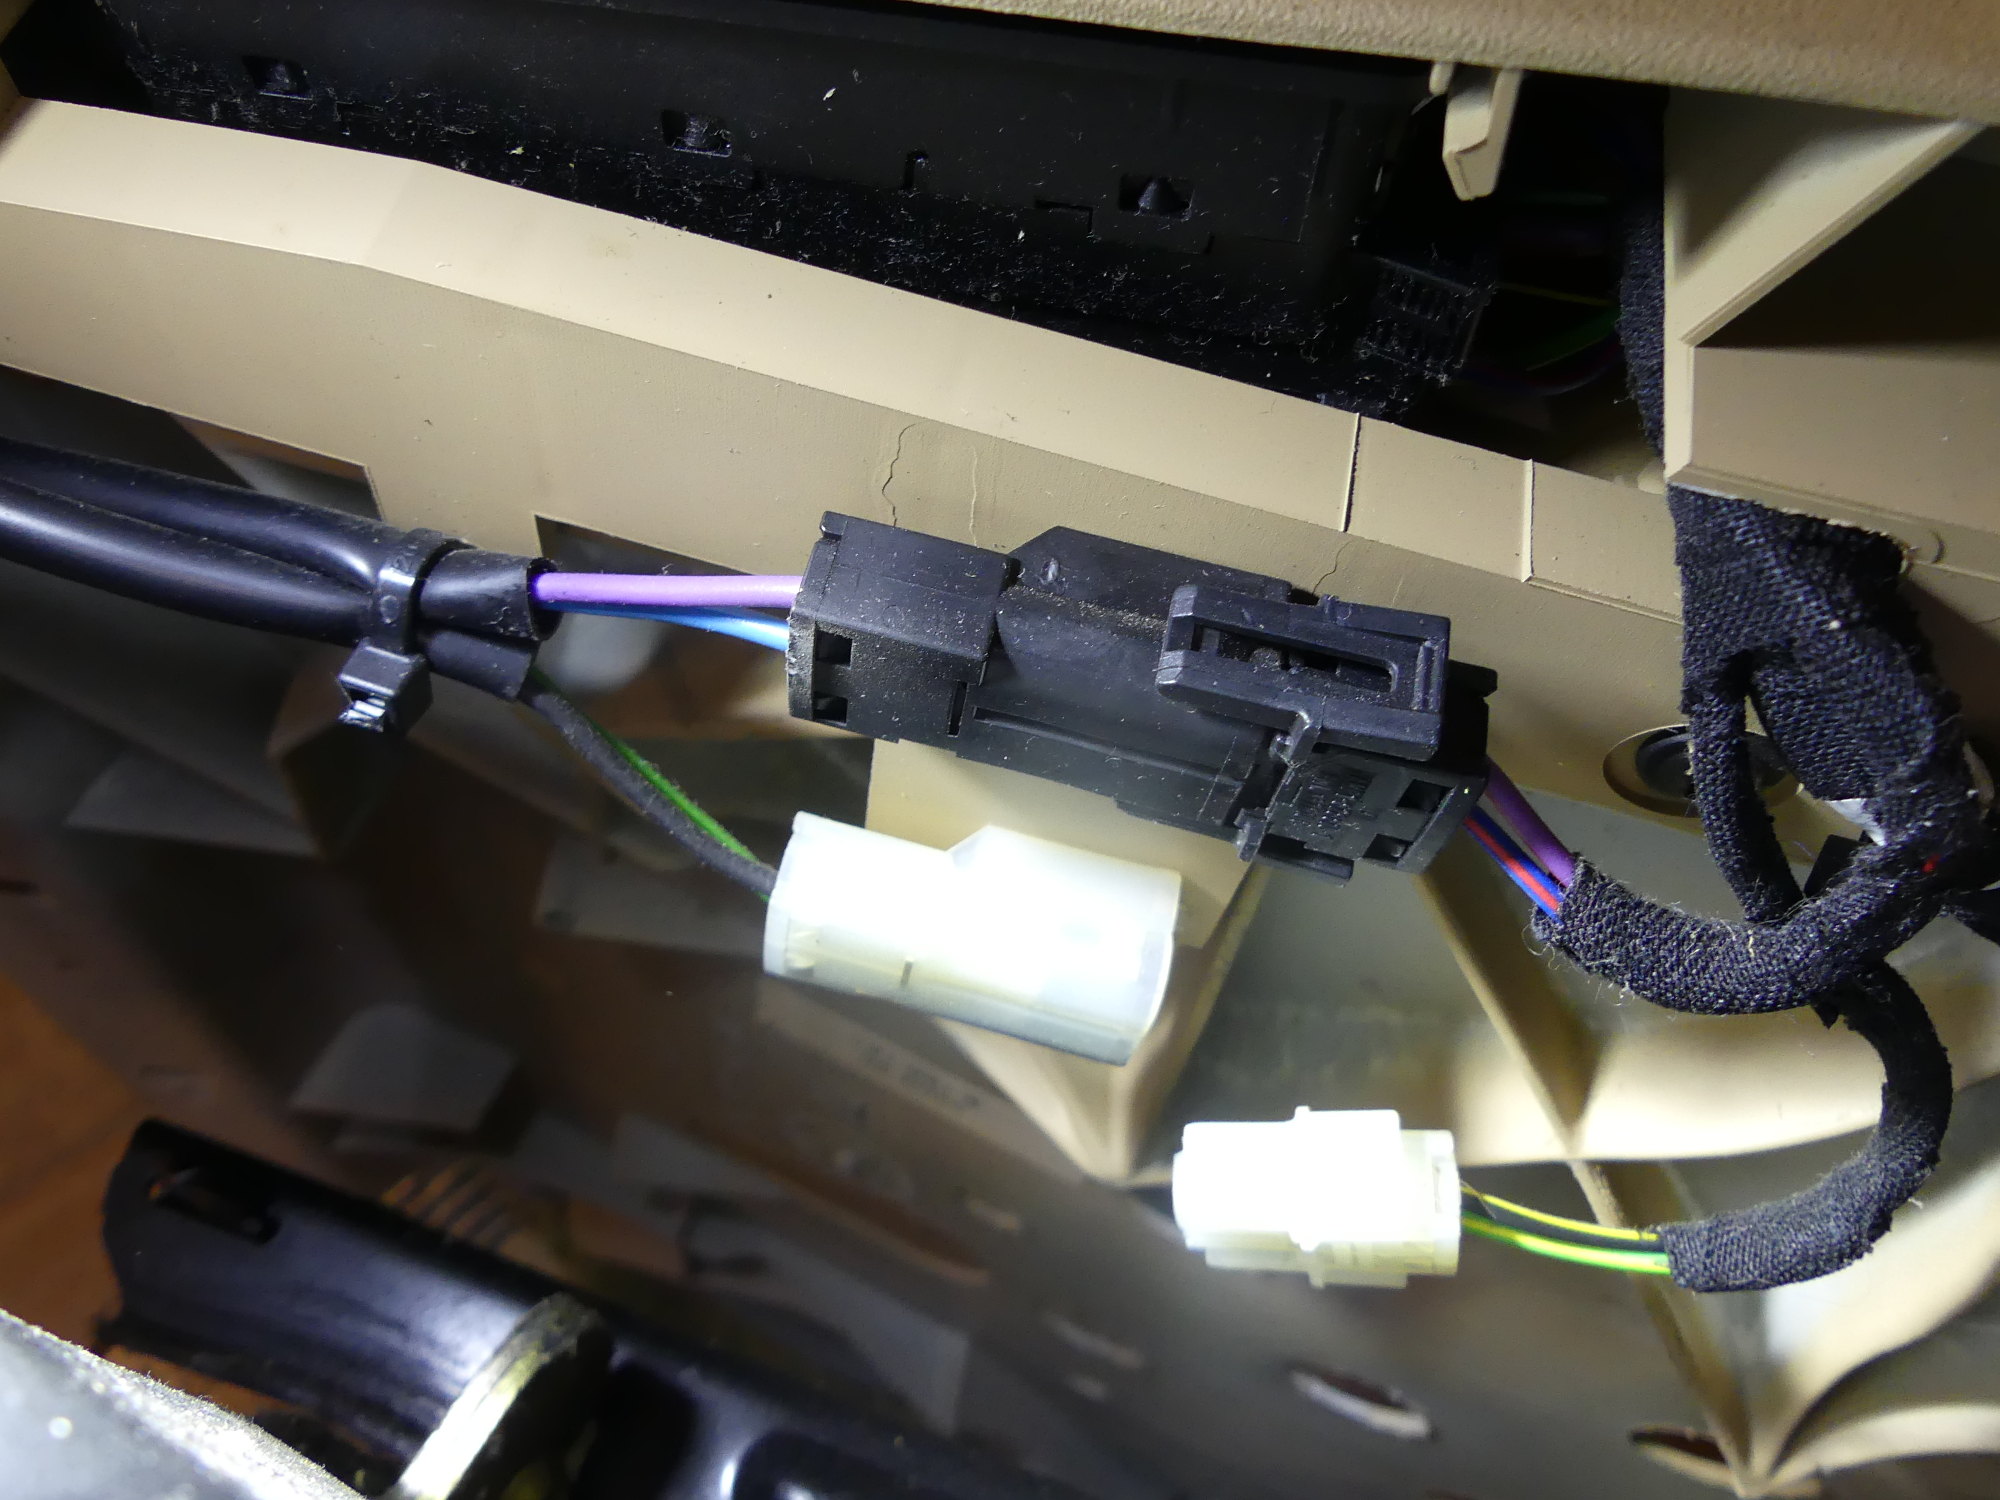
 This closeup shows the plastic barb that retains the connectors to the base. This must be pushed to the side before the connector will release. This operates much like the stacking connectors that mate with the vehicle harness. |
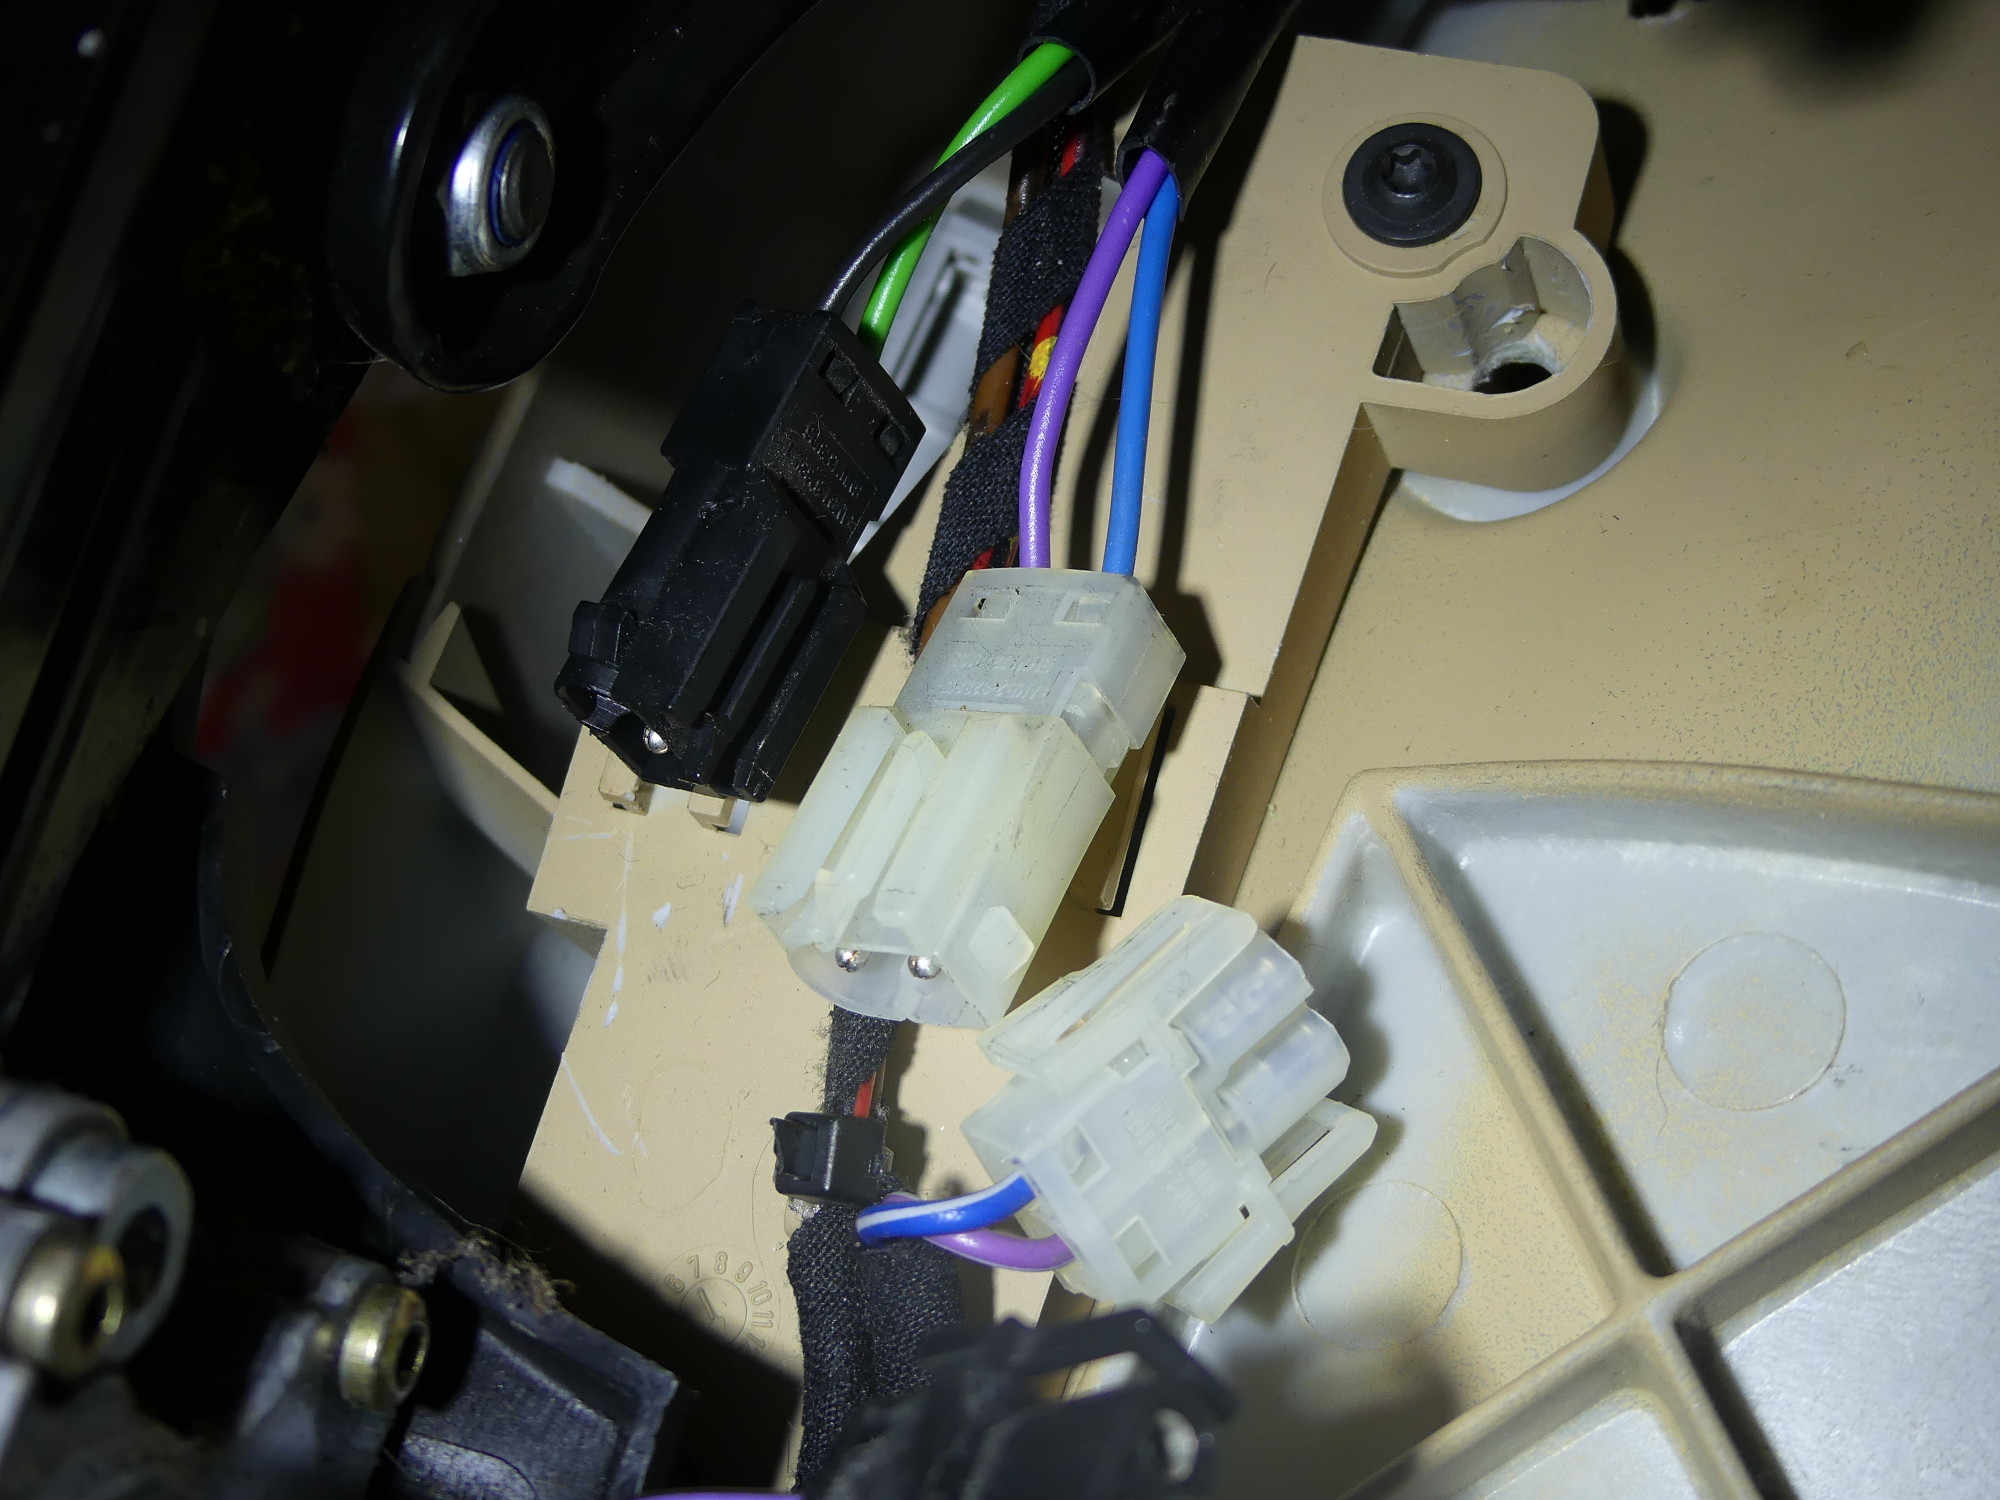
 With the base removed the switch panel assembly can then be removed. Note how the base is painted only in the essential areas. I saw no point to paint these areas so some of the original paint will remain. |
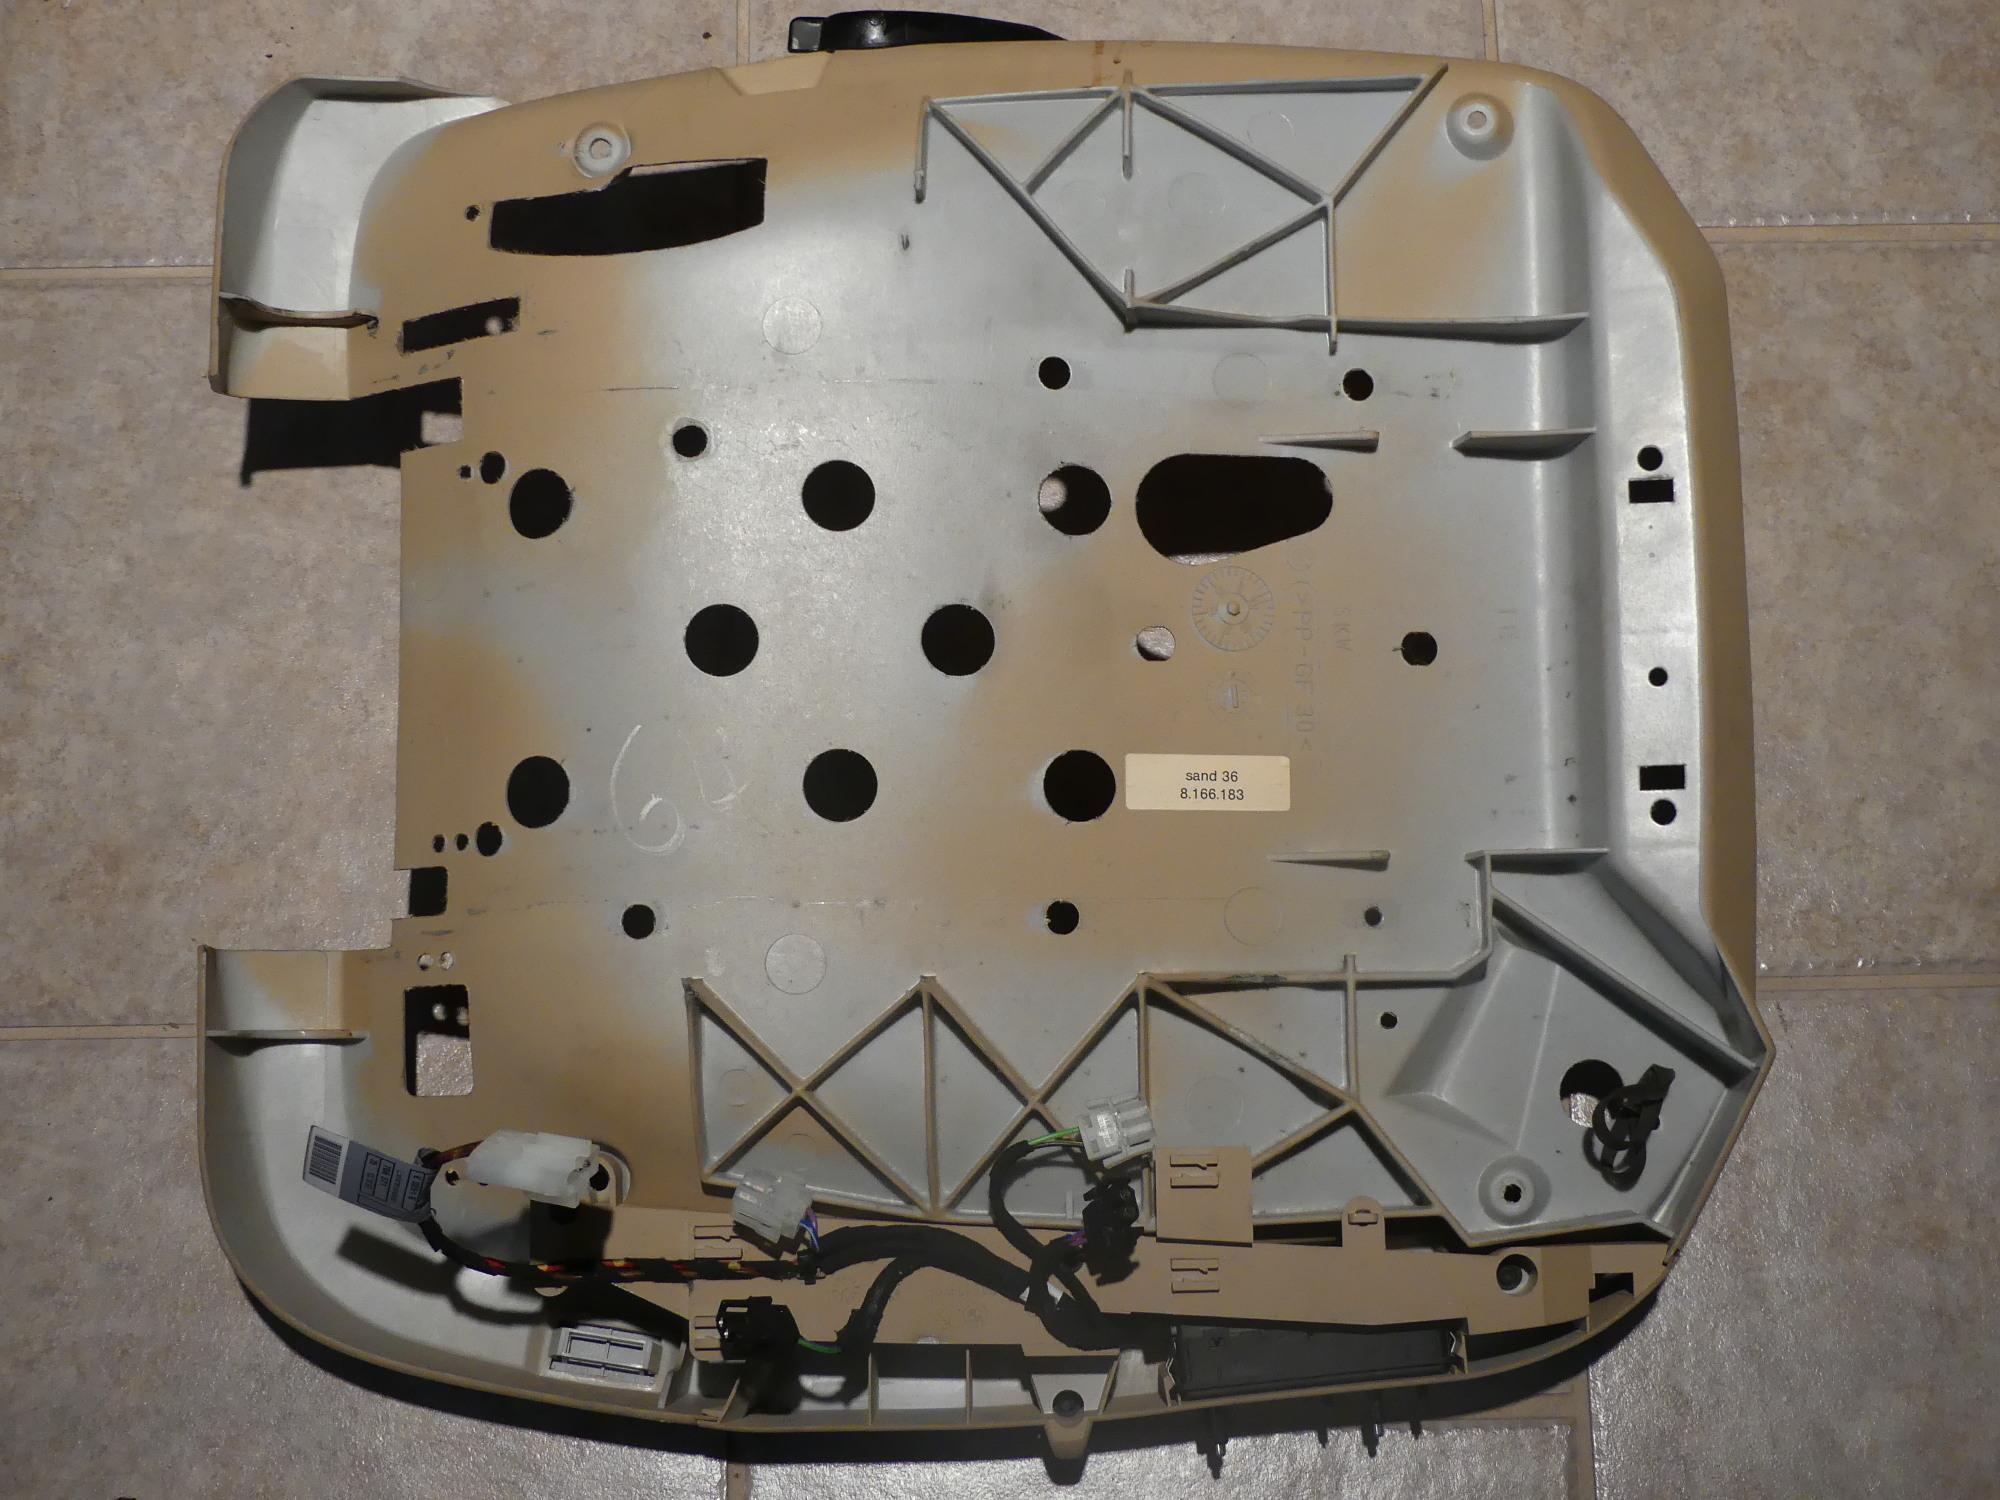
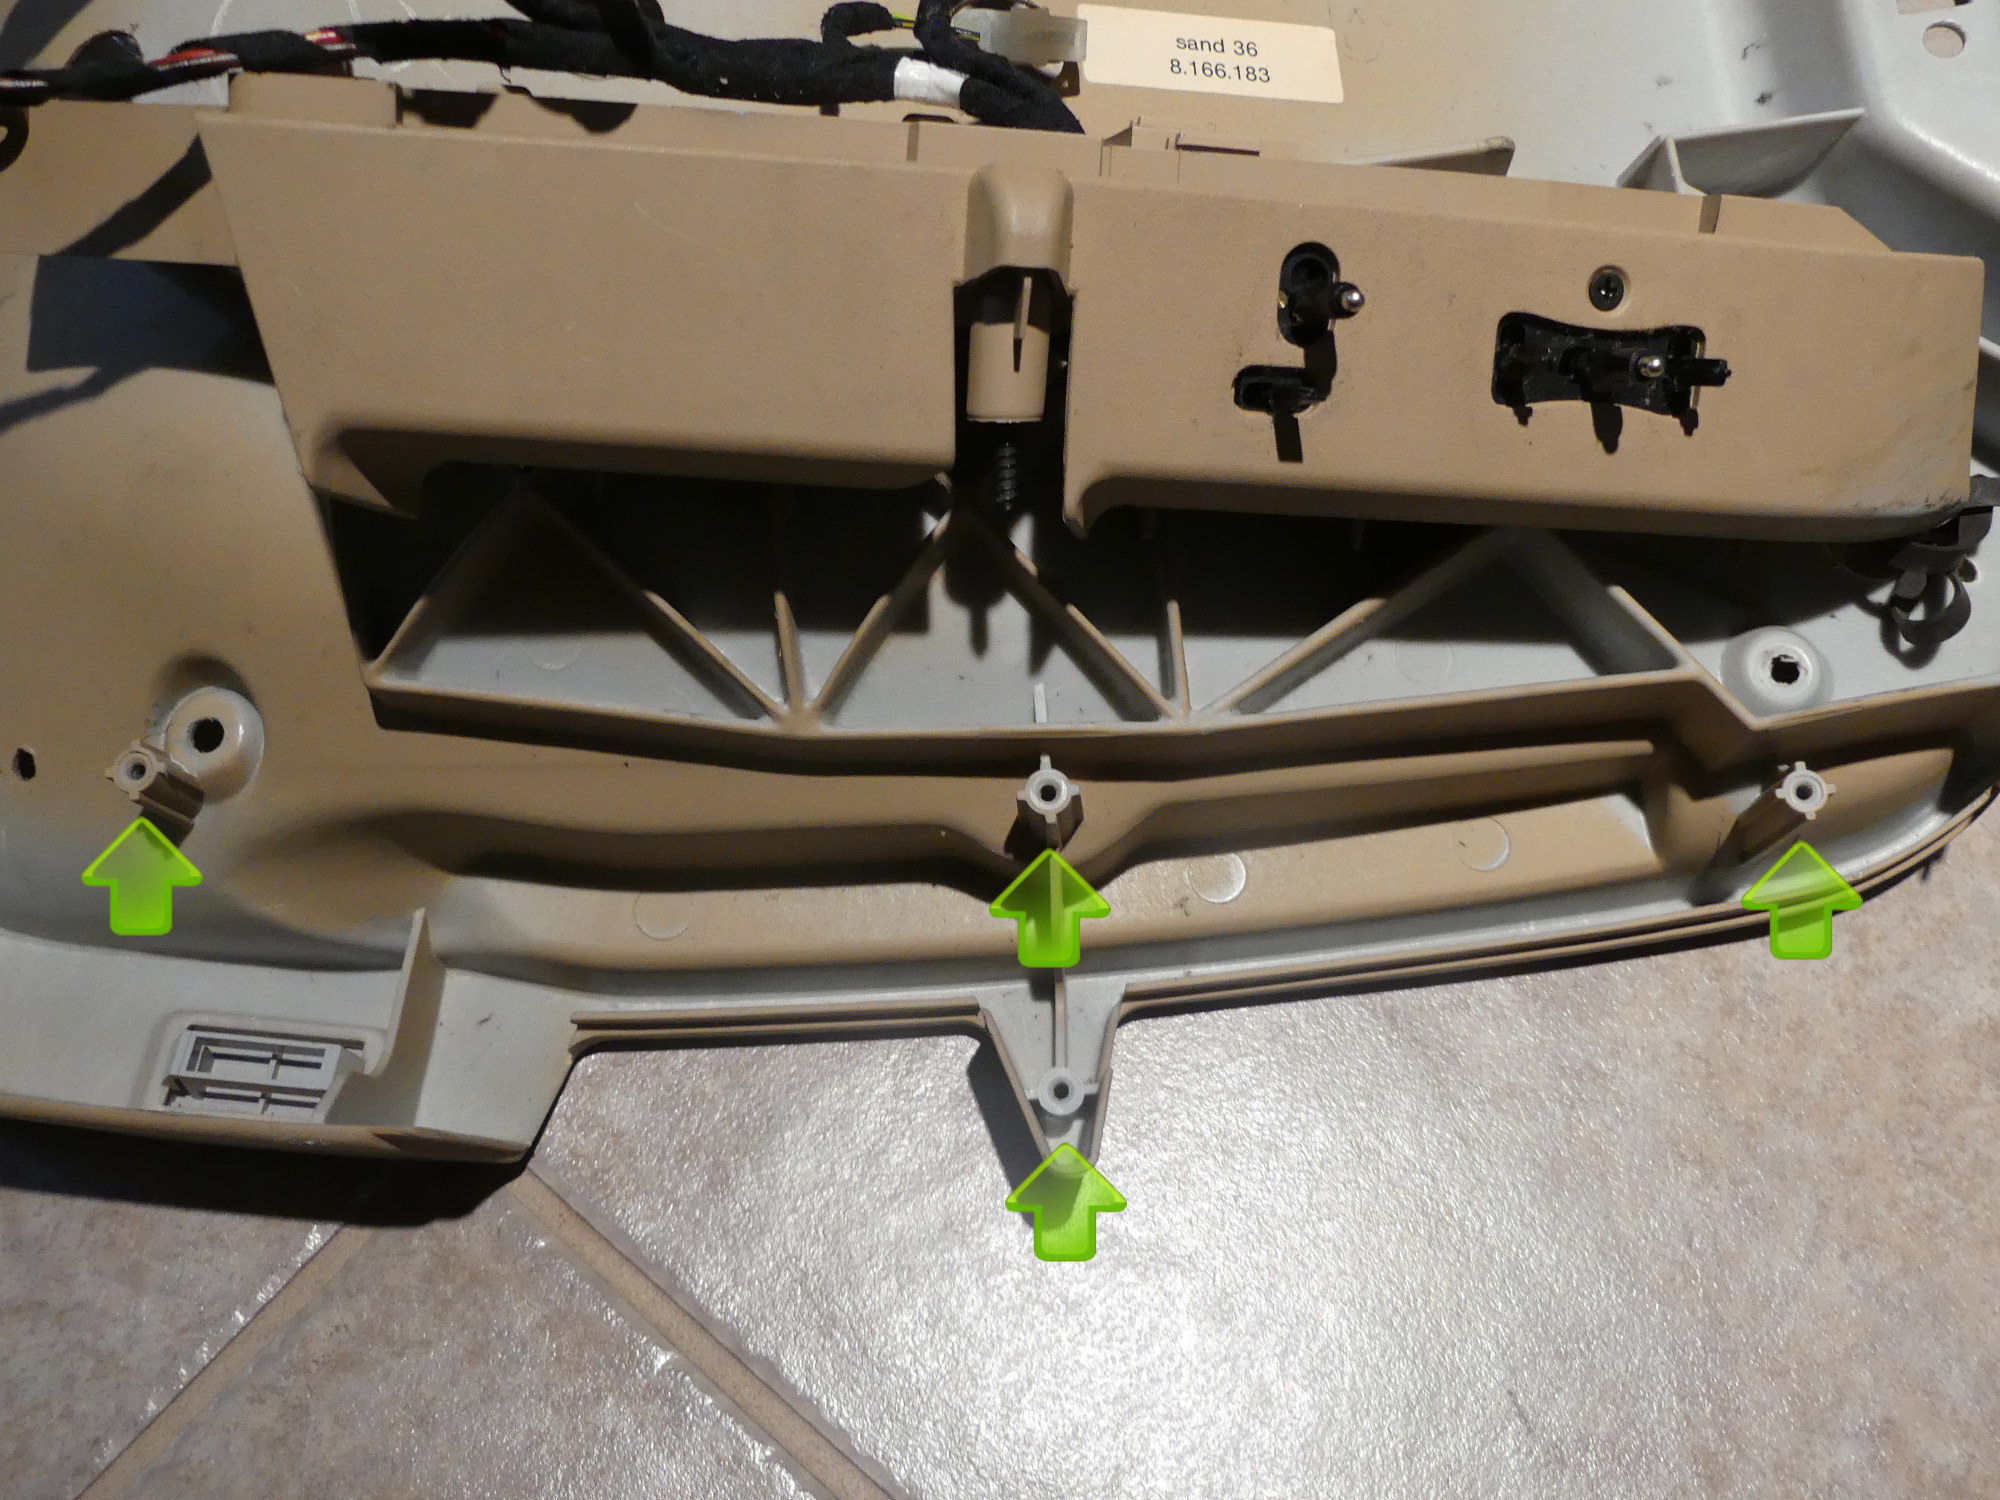 The switch panel assembly is held to the plastic base by four torx screws, the locations of which are highlighted by the arrows. This also shows the single screw on the switch panel that helps to retain the switch assembly. |
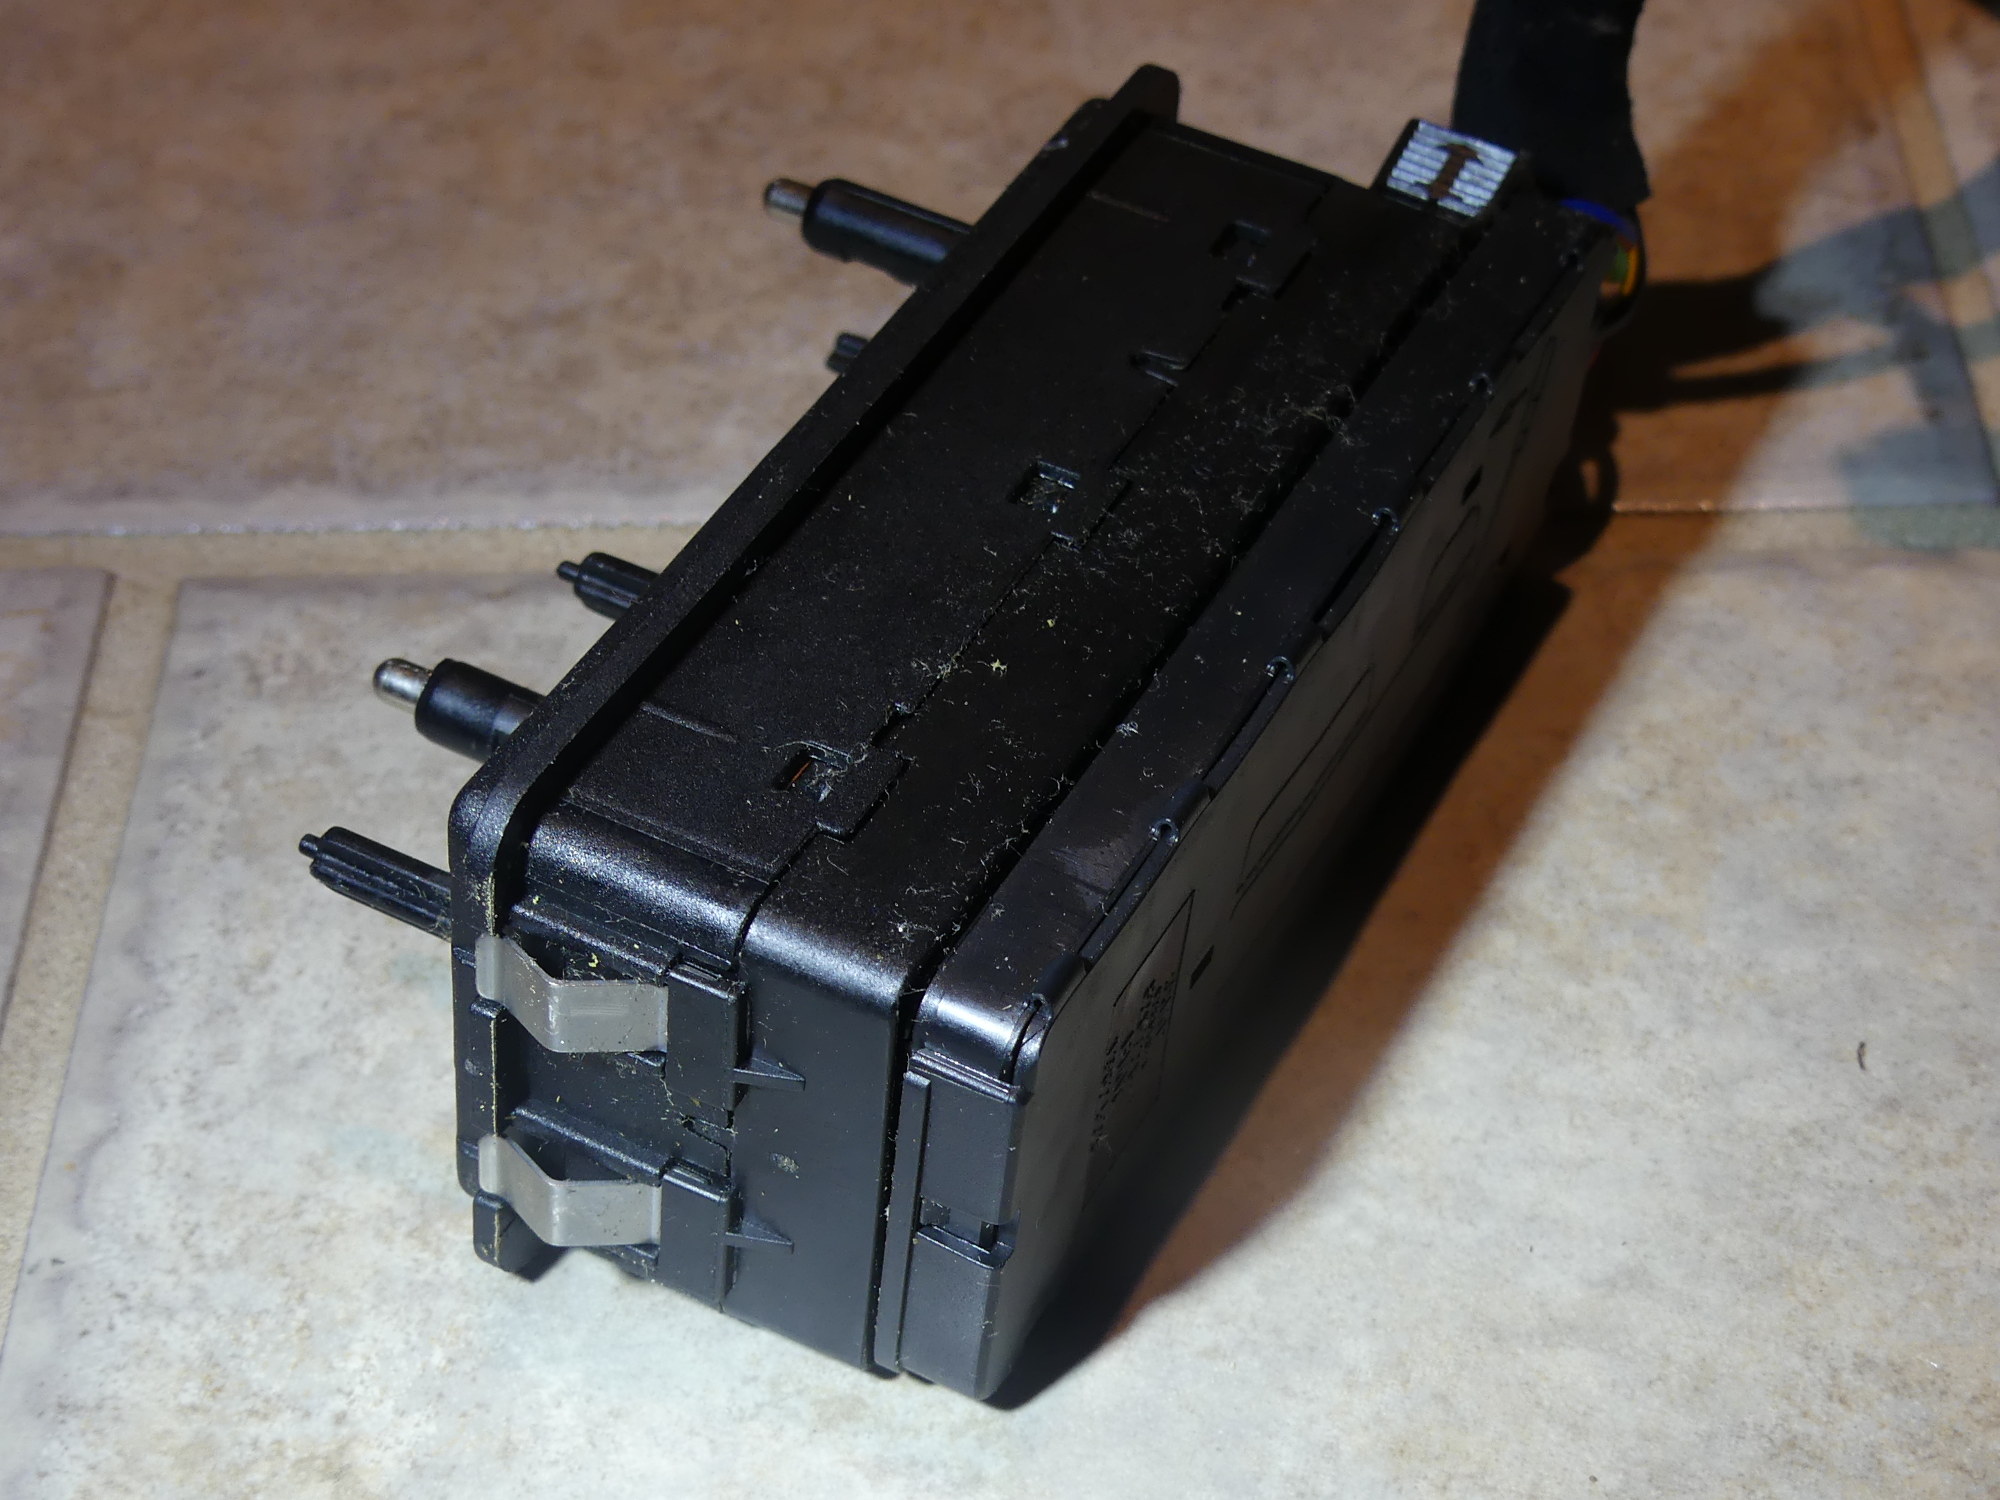 A closeup of the switch assembly showing the metal spring retaining clips. These are depressed with a screwdriver to release one side of the switch assembly. When the one side pops free, the entire unit comes out of the switch panel easily. |
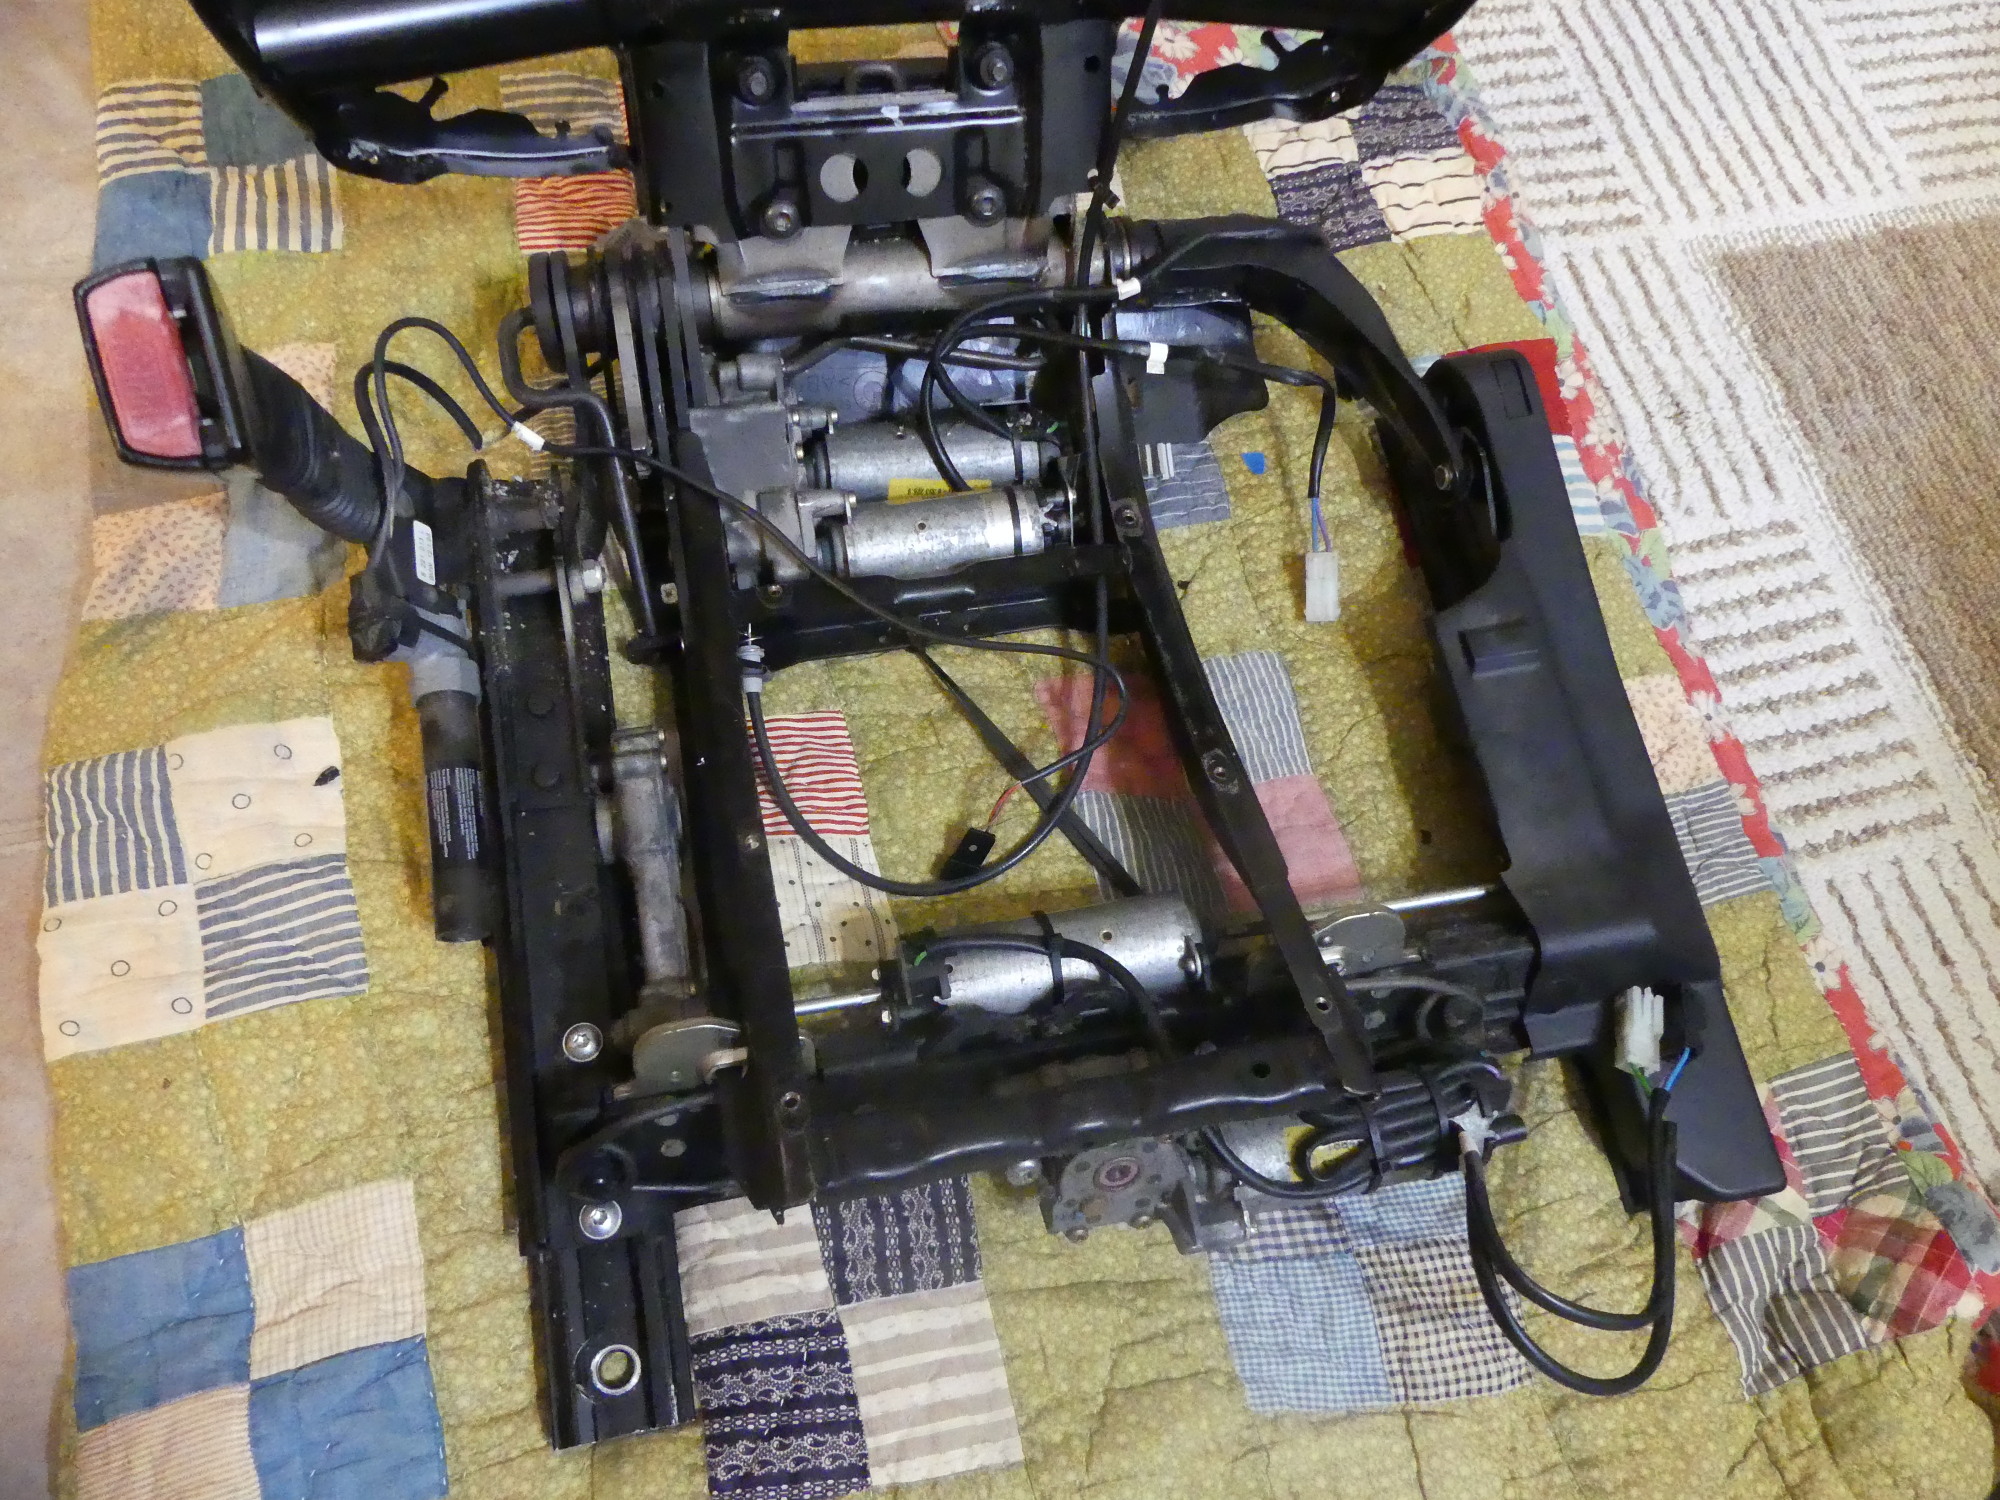 A glamour shot of the seat with the plastic base removed. If you have a manual seat this will be dominated by bowden cables rather than electric motors. |
 The front corner of the freshly painted switch panel shows the scuff marks from my Size 11's are now gone. Aside from a minor color shift it looks as good as new. |
 A top down shot of the entire switch panel. It may not be clear but the panel is elevated off of the thin foam I used to protect the work surface. I did this to ensure no hard paint edges that would be clearly visible when reinstalled. |
Installing Driver Side Front Seat Base Cover
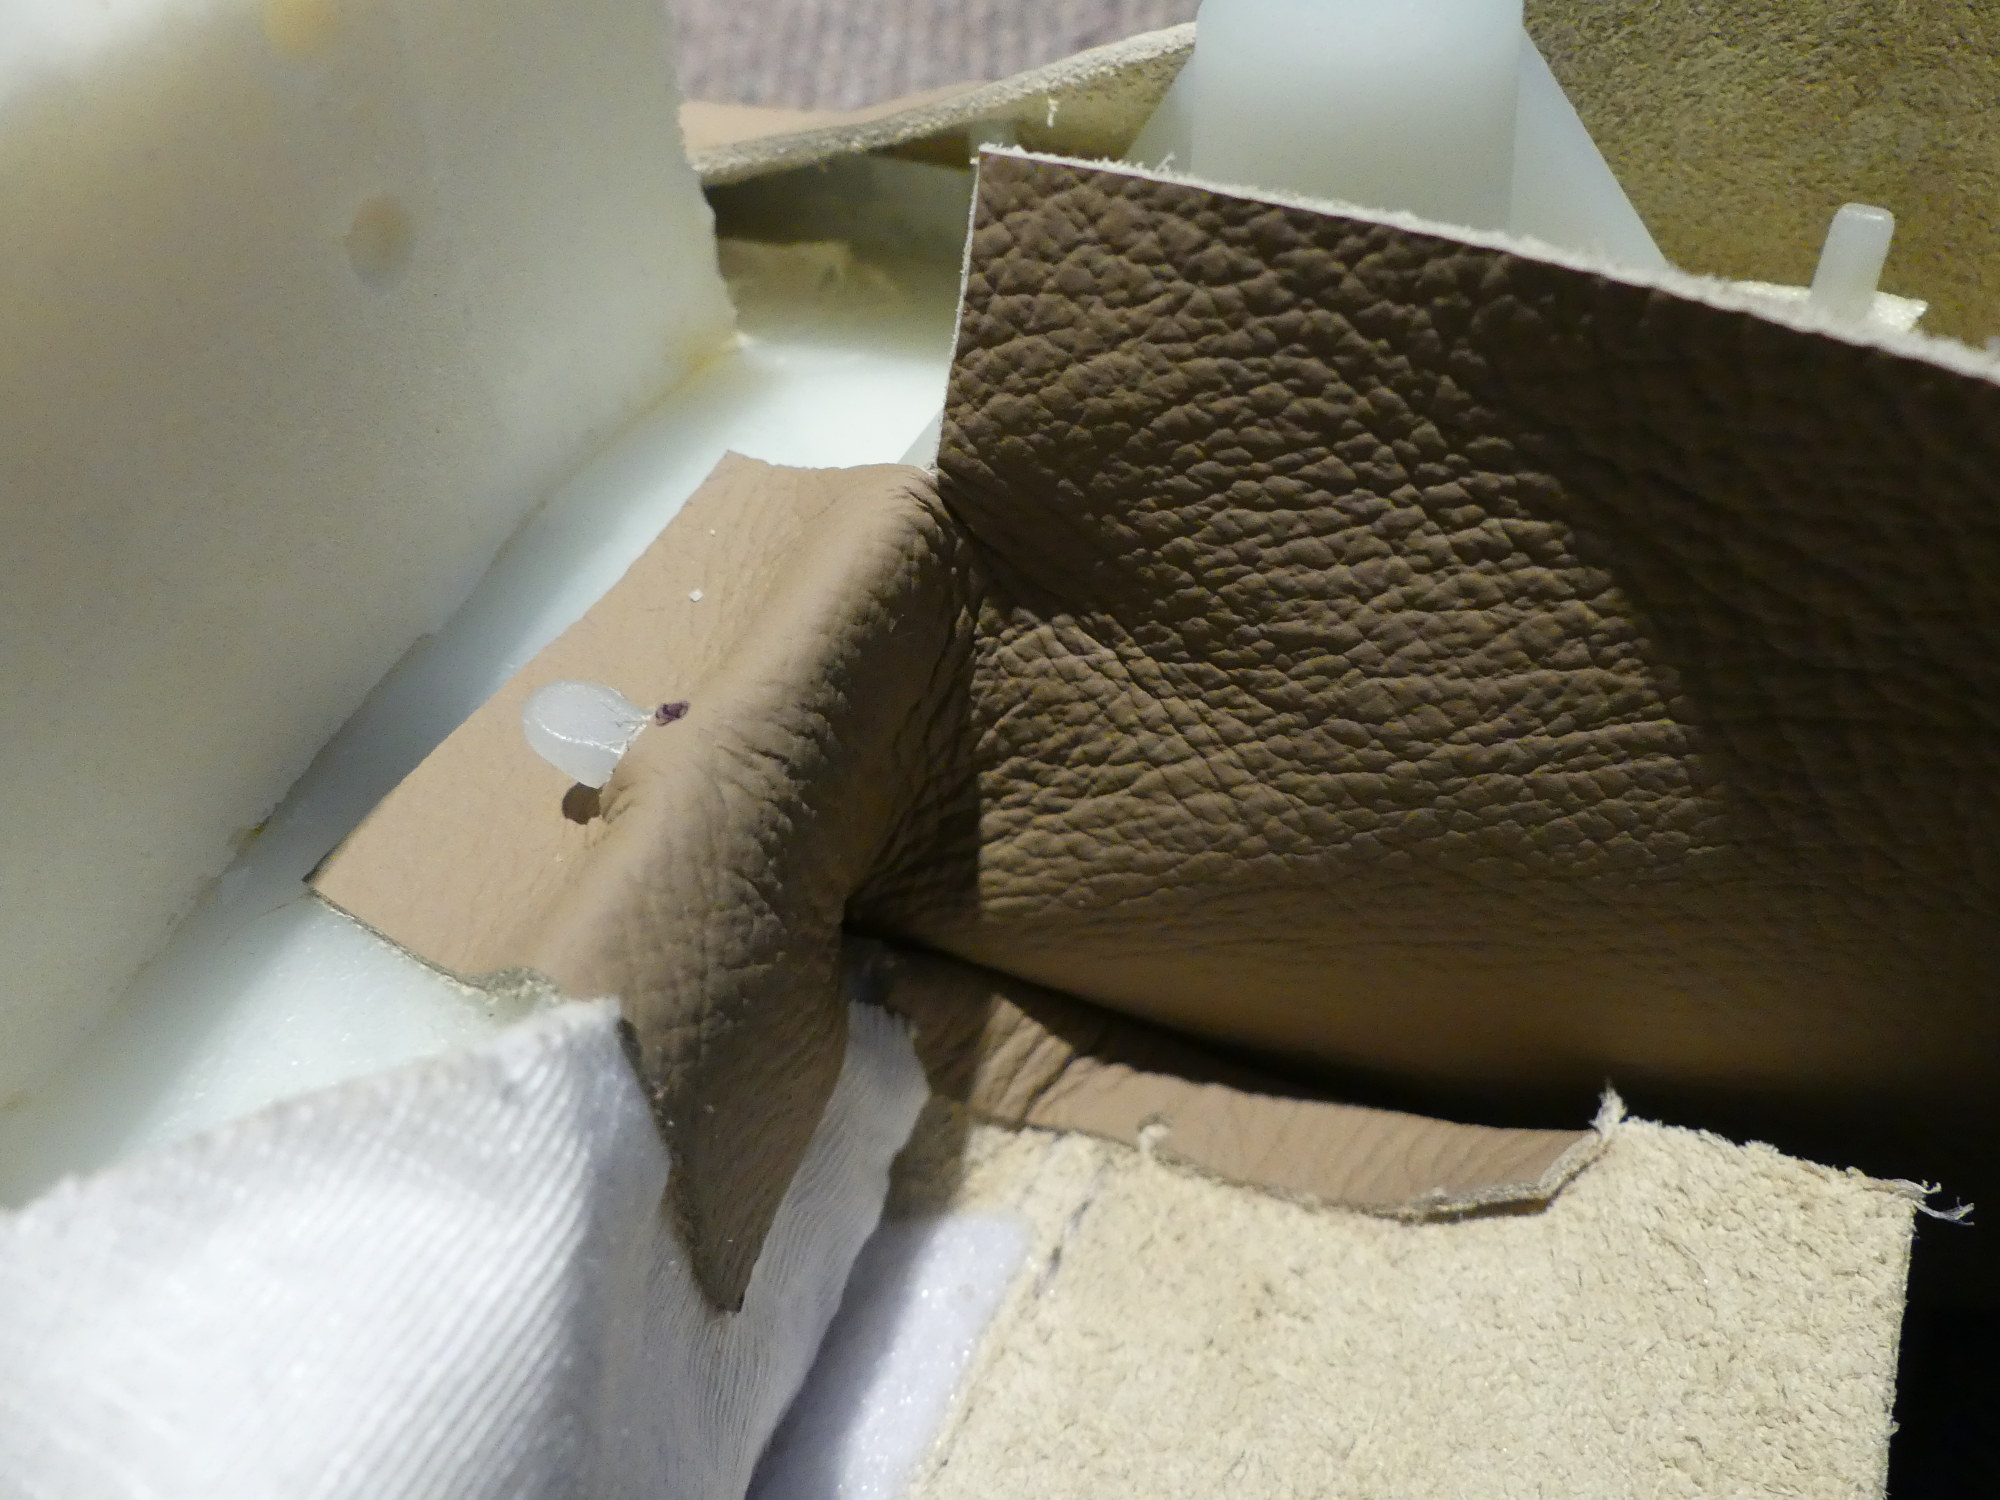
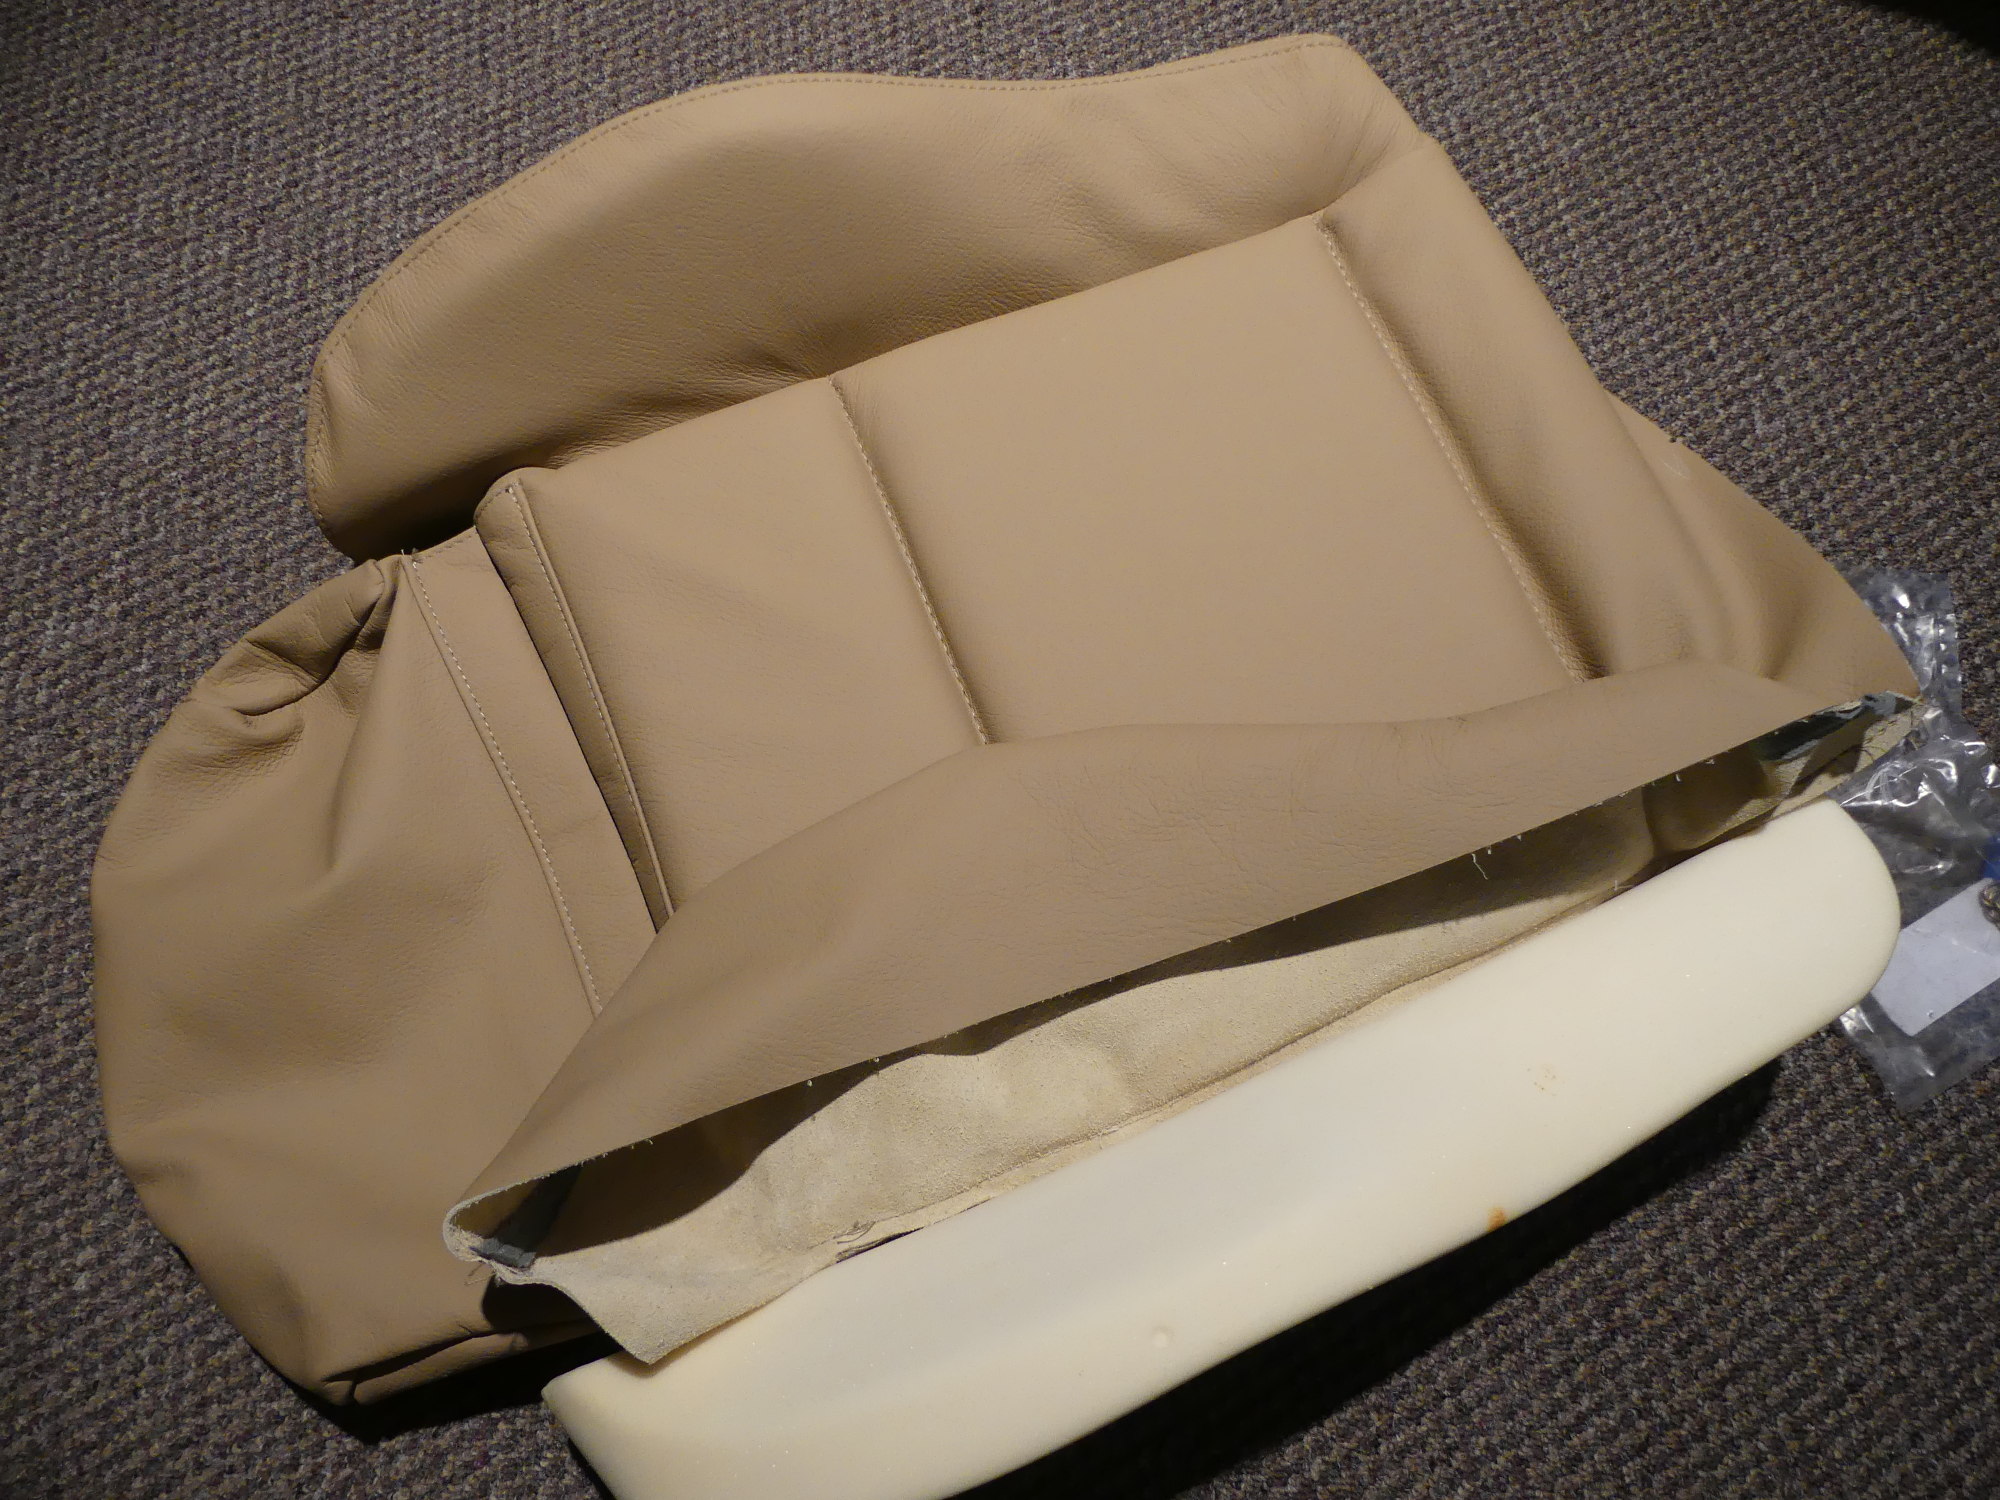
Arrival of a new heating pad cleared the way to install the new leather cover over the "new" foam seat base I purchased back in 2012. This installation process required a bit more attention to detail, as compared to the rear seats, because the rear seat covers were more or less plug and play with no adjustment possible. The front seat covers, however, are designed to be stretched over the foam, marked, and then punched so the hole fits over the retaining posts.
The center section of the seat base was mated to the foam in a familiar way -- the horizontal support wires were inserted and fastened, followed by the verticals. The material designed to cover the bolsters was then stretched over the bolsters. At this point I had to step back and look at the big picture to detect stretch marks or other patterns that would indicate whether the leather was properly fit before I pulled the leather down and around the base of the foam form to be marked, punched, and fastened around each retaining post. I took my time here and it paid off. It's not perfect, but I'm very happy with the result.
Interestingly, one of the areas that isn't cosmetically perfect is the rear of the right side bolster. No matter what I did was not able to remove all of the stretch marks in that area. I felt somewhat annoyed until I was running an errand in the E46 and just casually glanced over at the passenger seat....only to notice the same exact problem on the factory seat cover -- only worse. I suppose it's possible that the factory cover is not correctly cut, so that would mean the GAHH covers aren't correct either. Or it could be a simple matter how the foam is contoured. I recall that Recaro stopped doing custom leather on selected seats because they weren't happy with how the leather was laying down over parts of the seat.
The only modifications I had to make to the cover were two small cuts about 1" long in the leather flap designed to fit around the inside corners at the front of the cover. While this is easy enough to do, I'm surprised why GAHH did not cut this during the fabrication process. The more plug-n-play, the better.
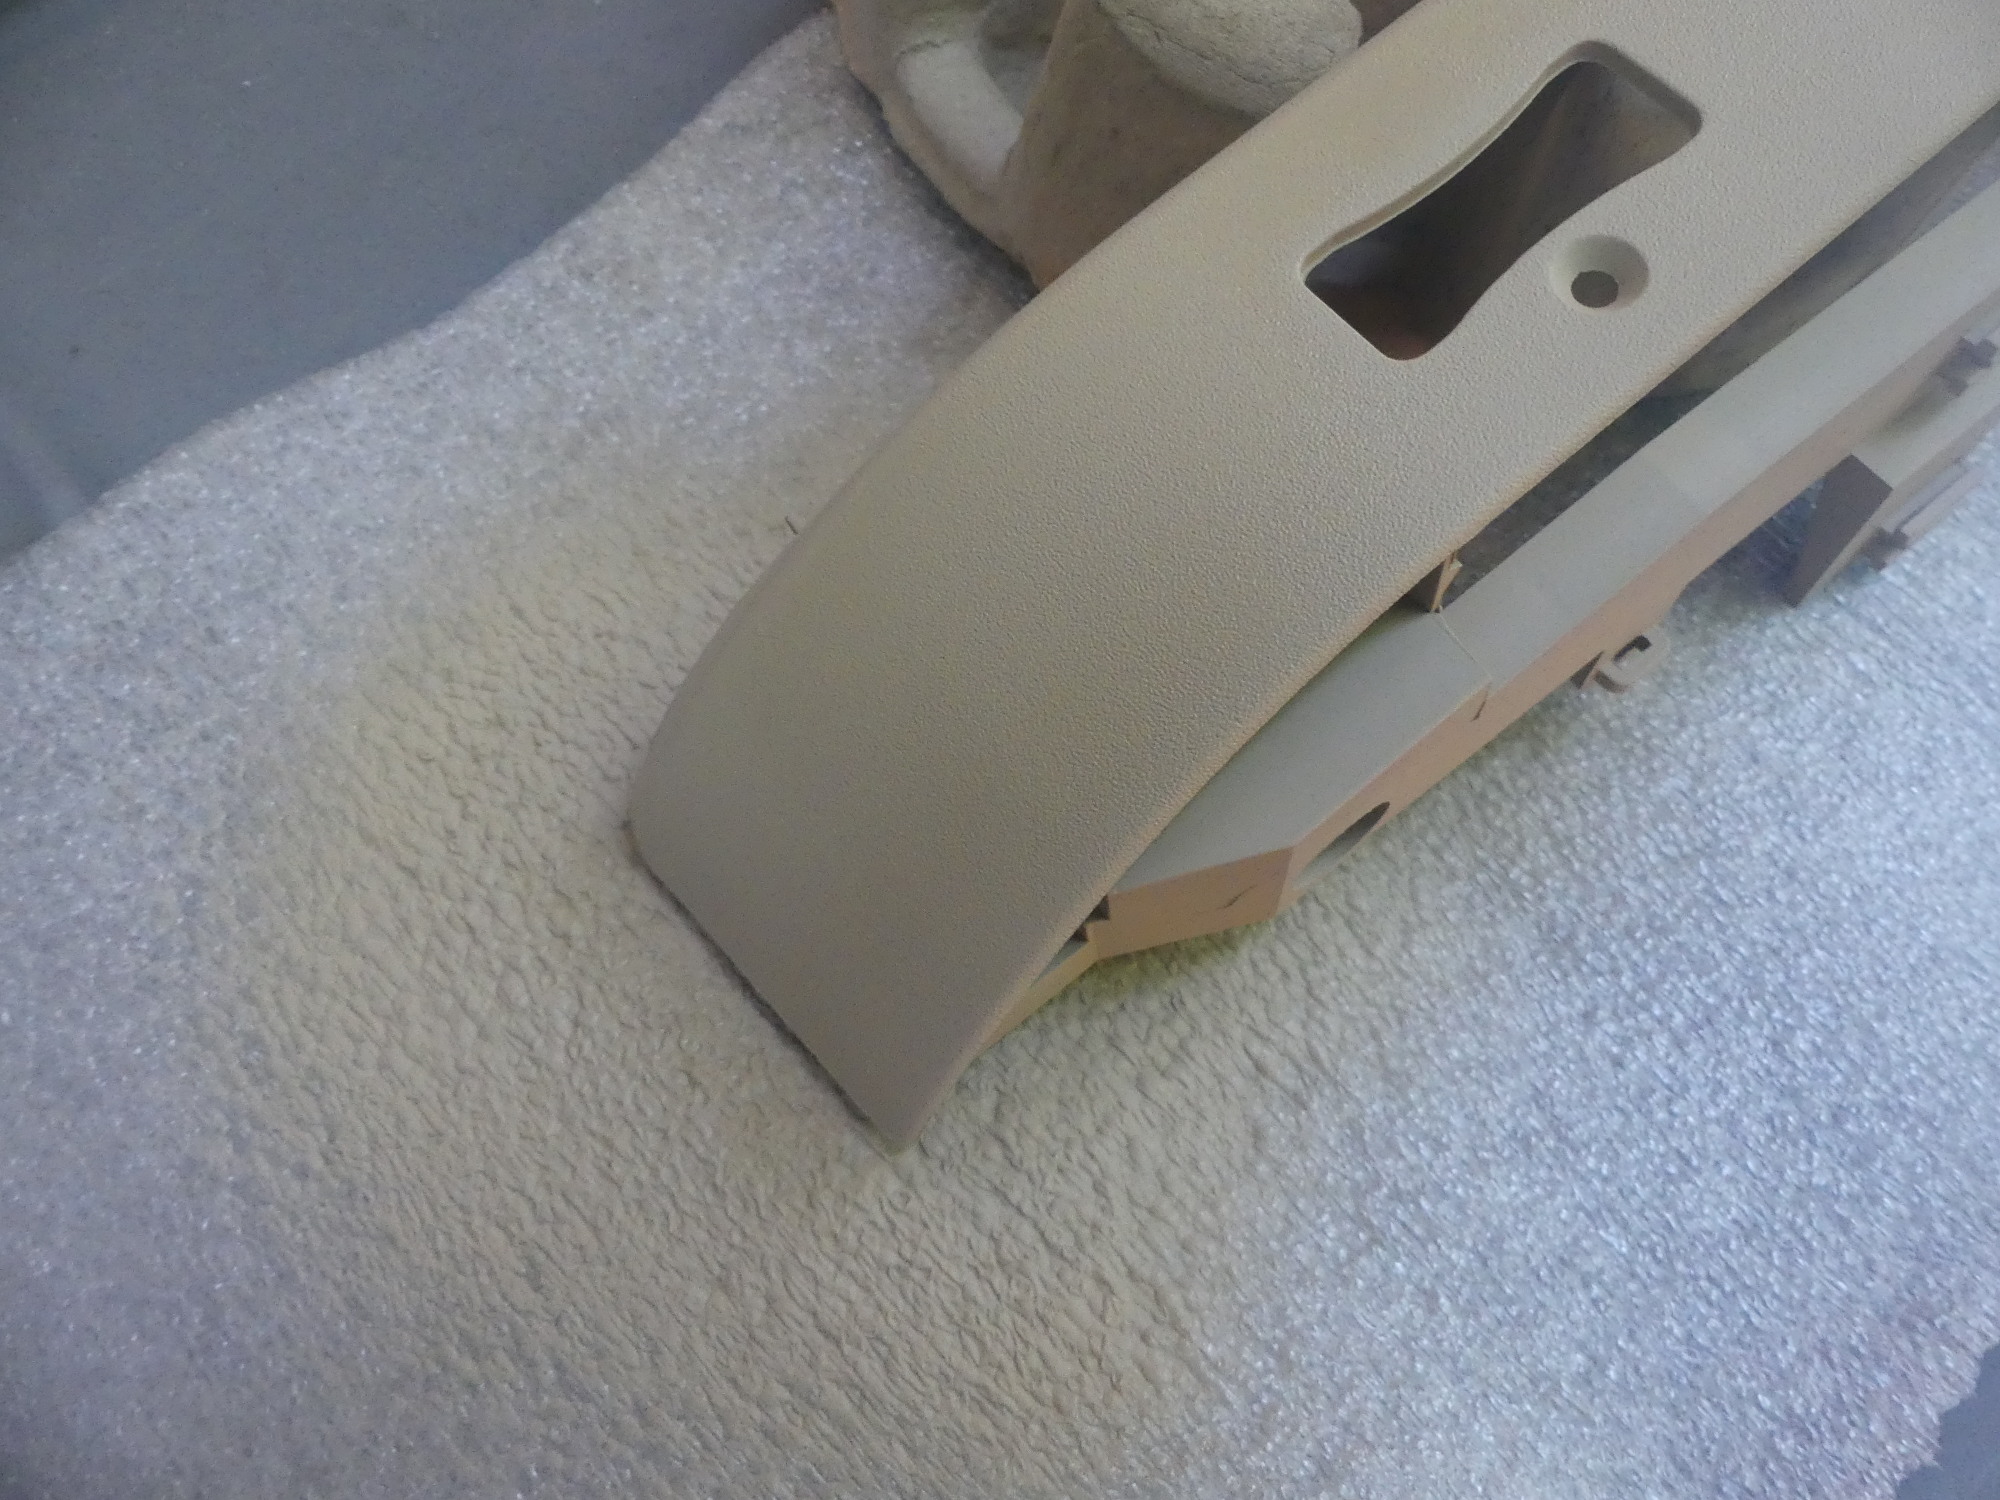
 A closeup of the small modification I needed to make to the seat base cover to ensure this inside corner was properly secured. I think GAHH should have done this in the process of manufacturing the cover but it was hardly an inconvenience. |
 Once again in the process of fastening the base cover to the face of the foam with hog rings. Here I've already secured the horizontal and vertical support rods and am starting to stretch the leather over the bolsters. |
 A small black dot marks where I intend to punch the leather. I did this for each and every retaining point as I worked. This cannot be done in bulk or ahead of time. |
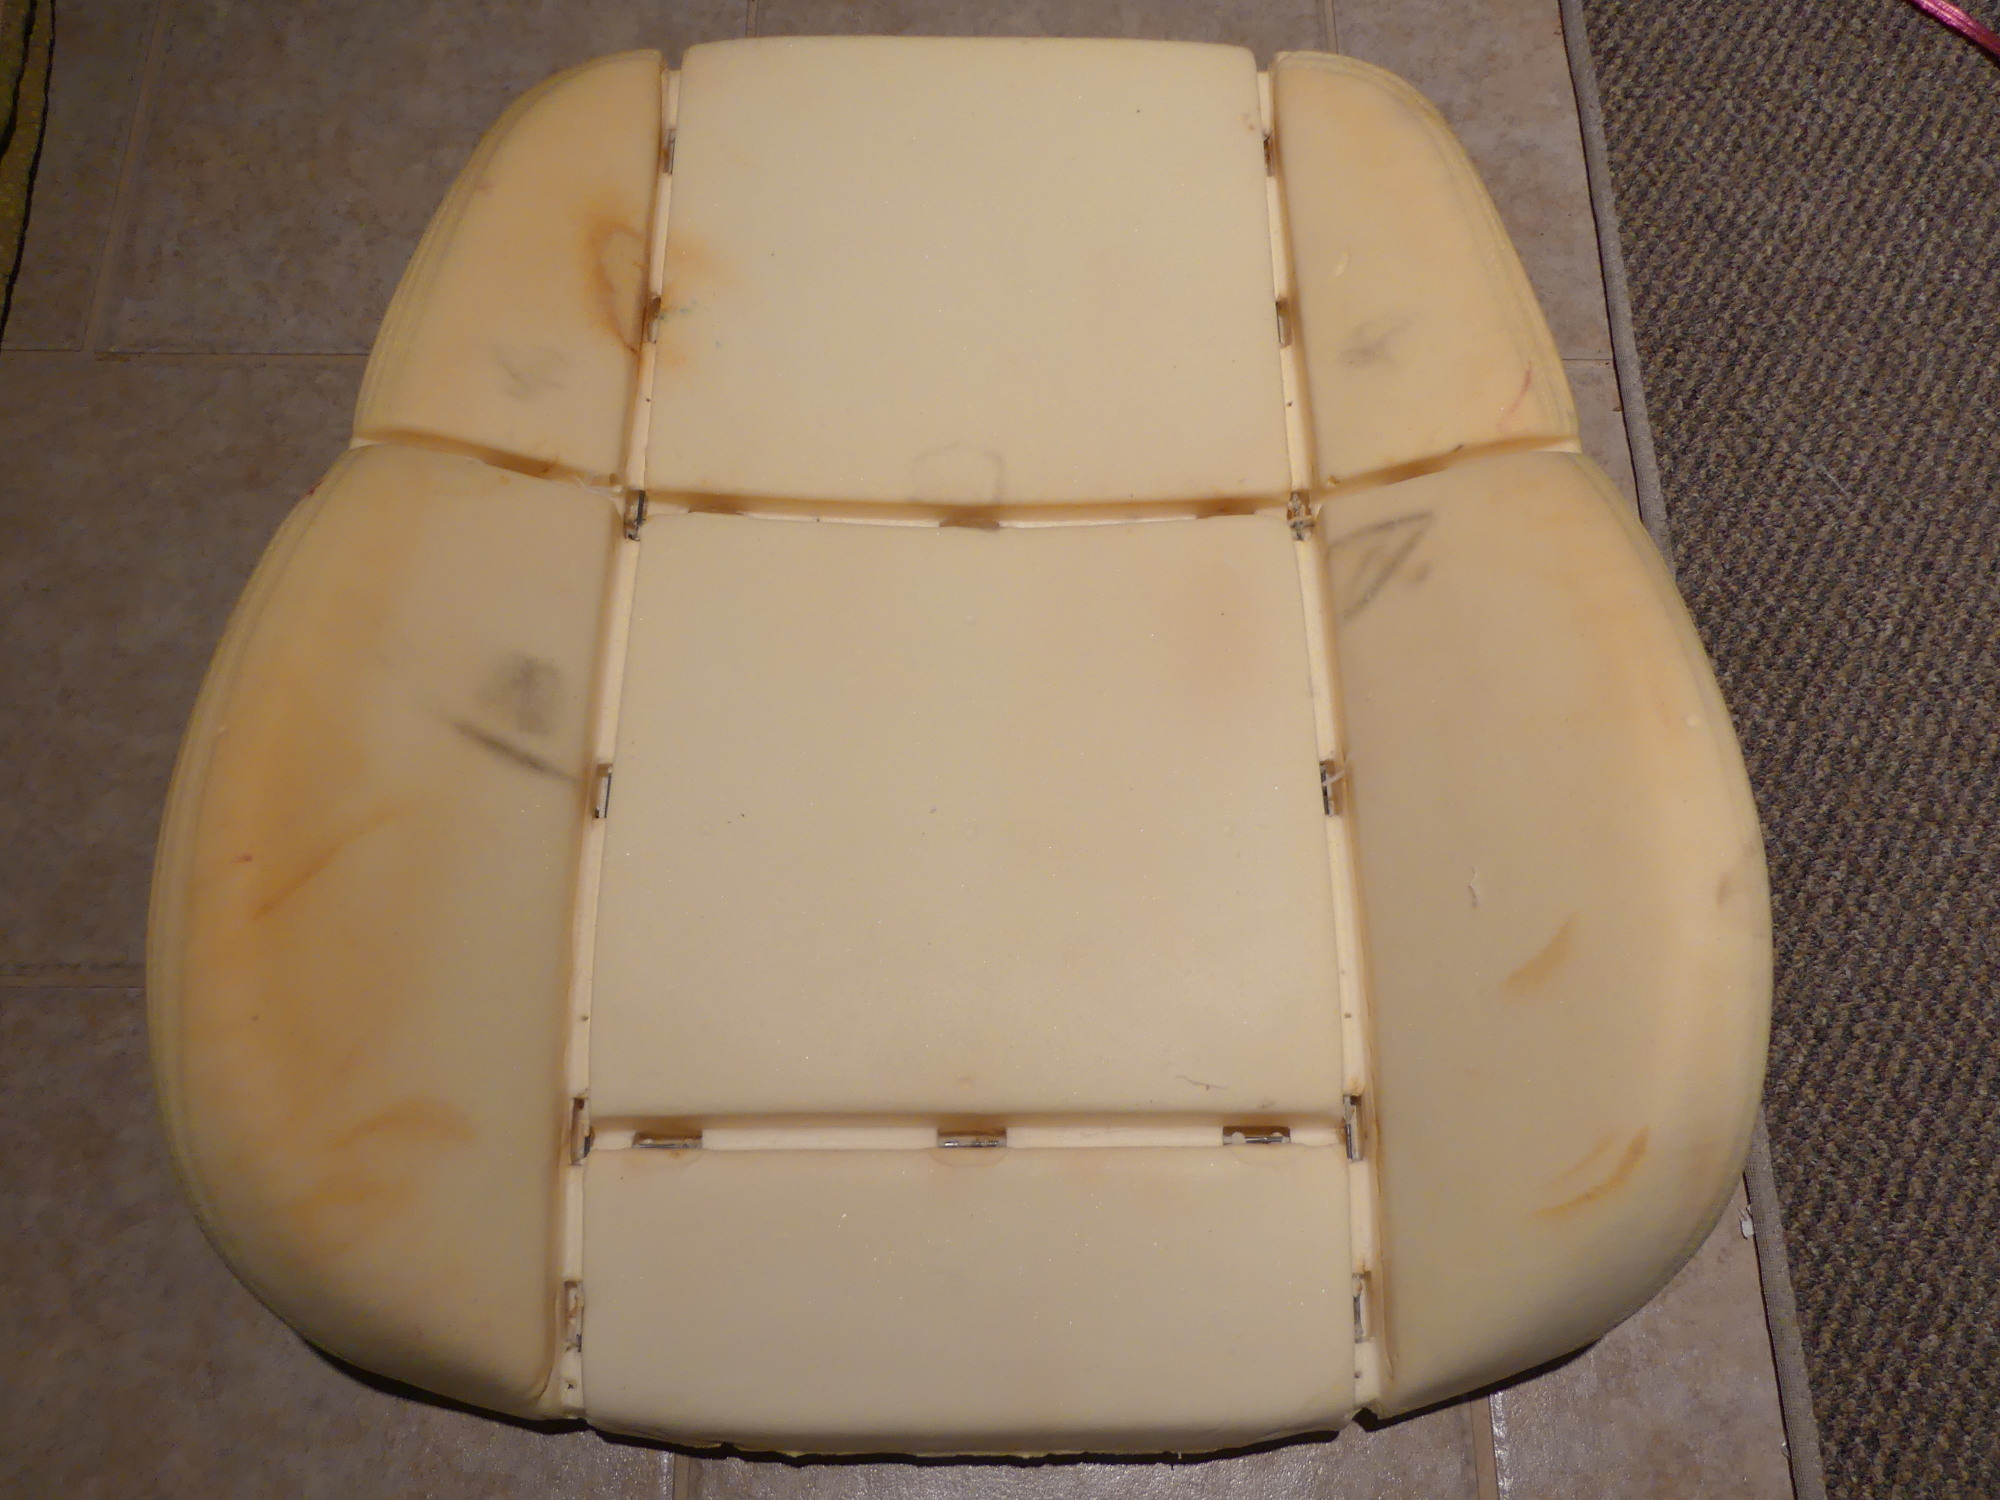
 The bottom of the seat base showing the cover punched and stretched over the retaining posts. I'm not happy that BMW chose to use plastic for this when the backrest uses metal equivalents. Metal bends, while plastic just breaks. And there's no way to repair these posts. |
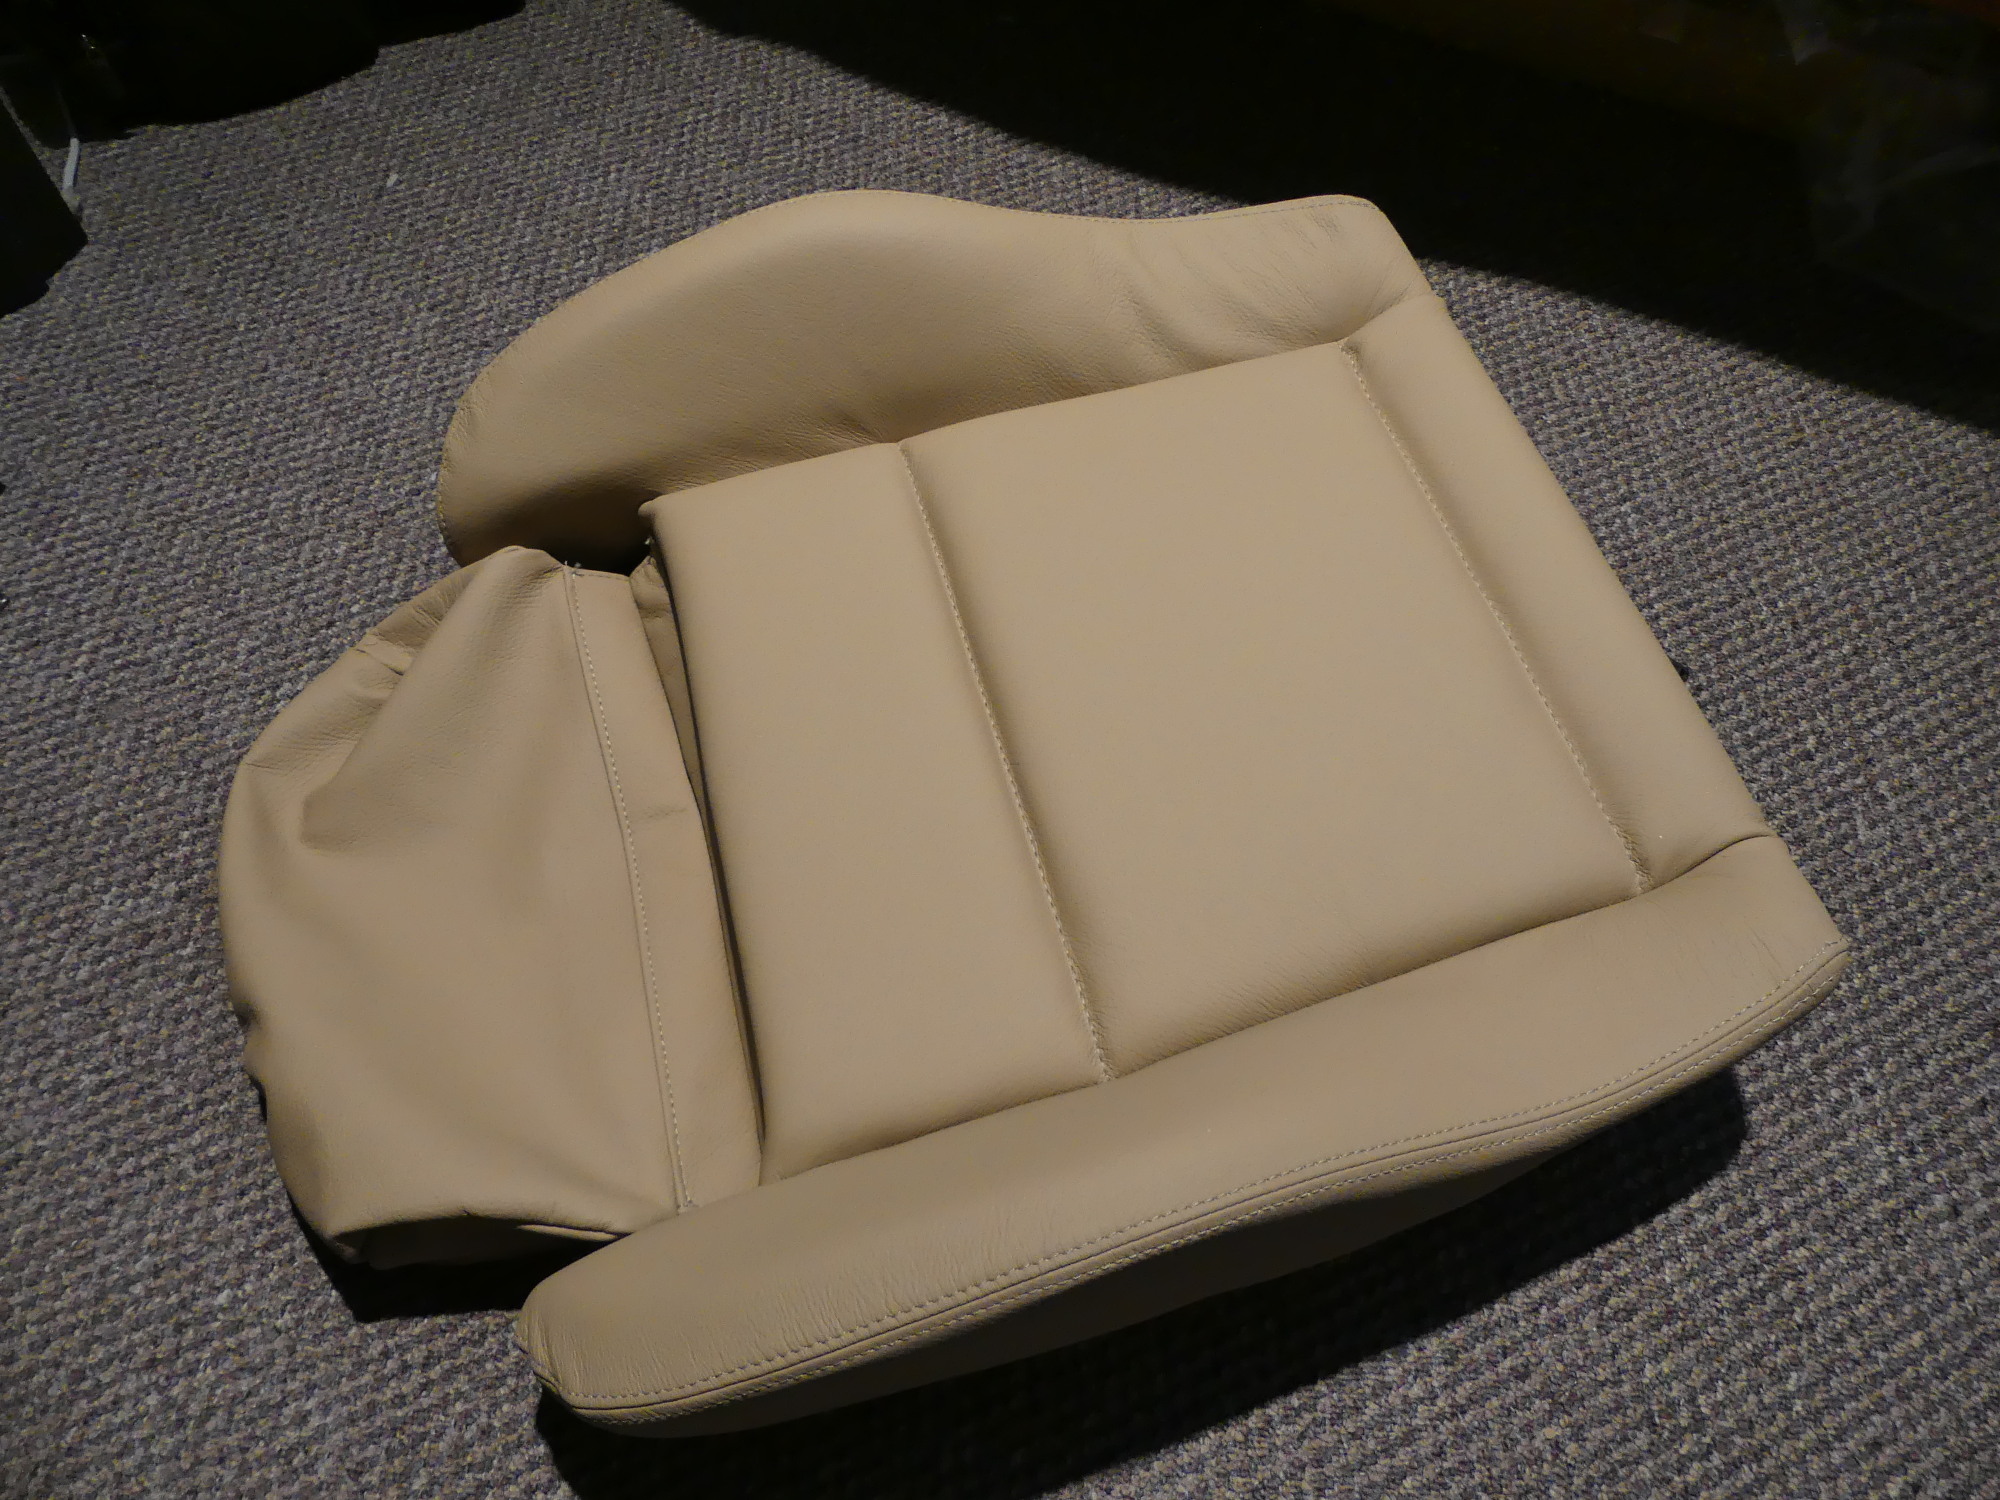 A glamour shot of the seat base cover installed, sans thigh rest. The stretch marks on the rear portion of the right bolster are apparently unavoidable due to a cover design issue that stems from BMW. |
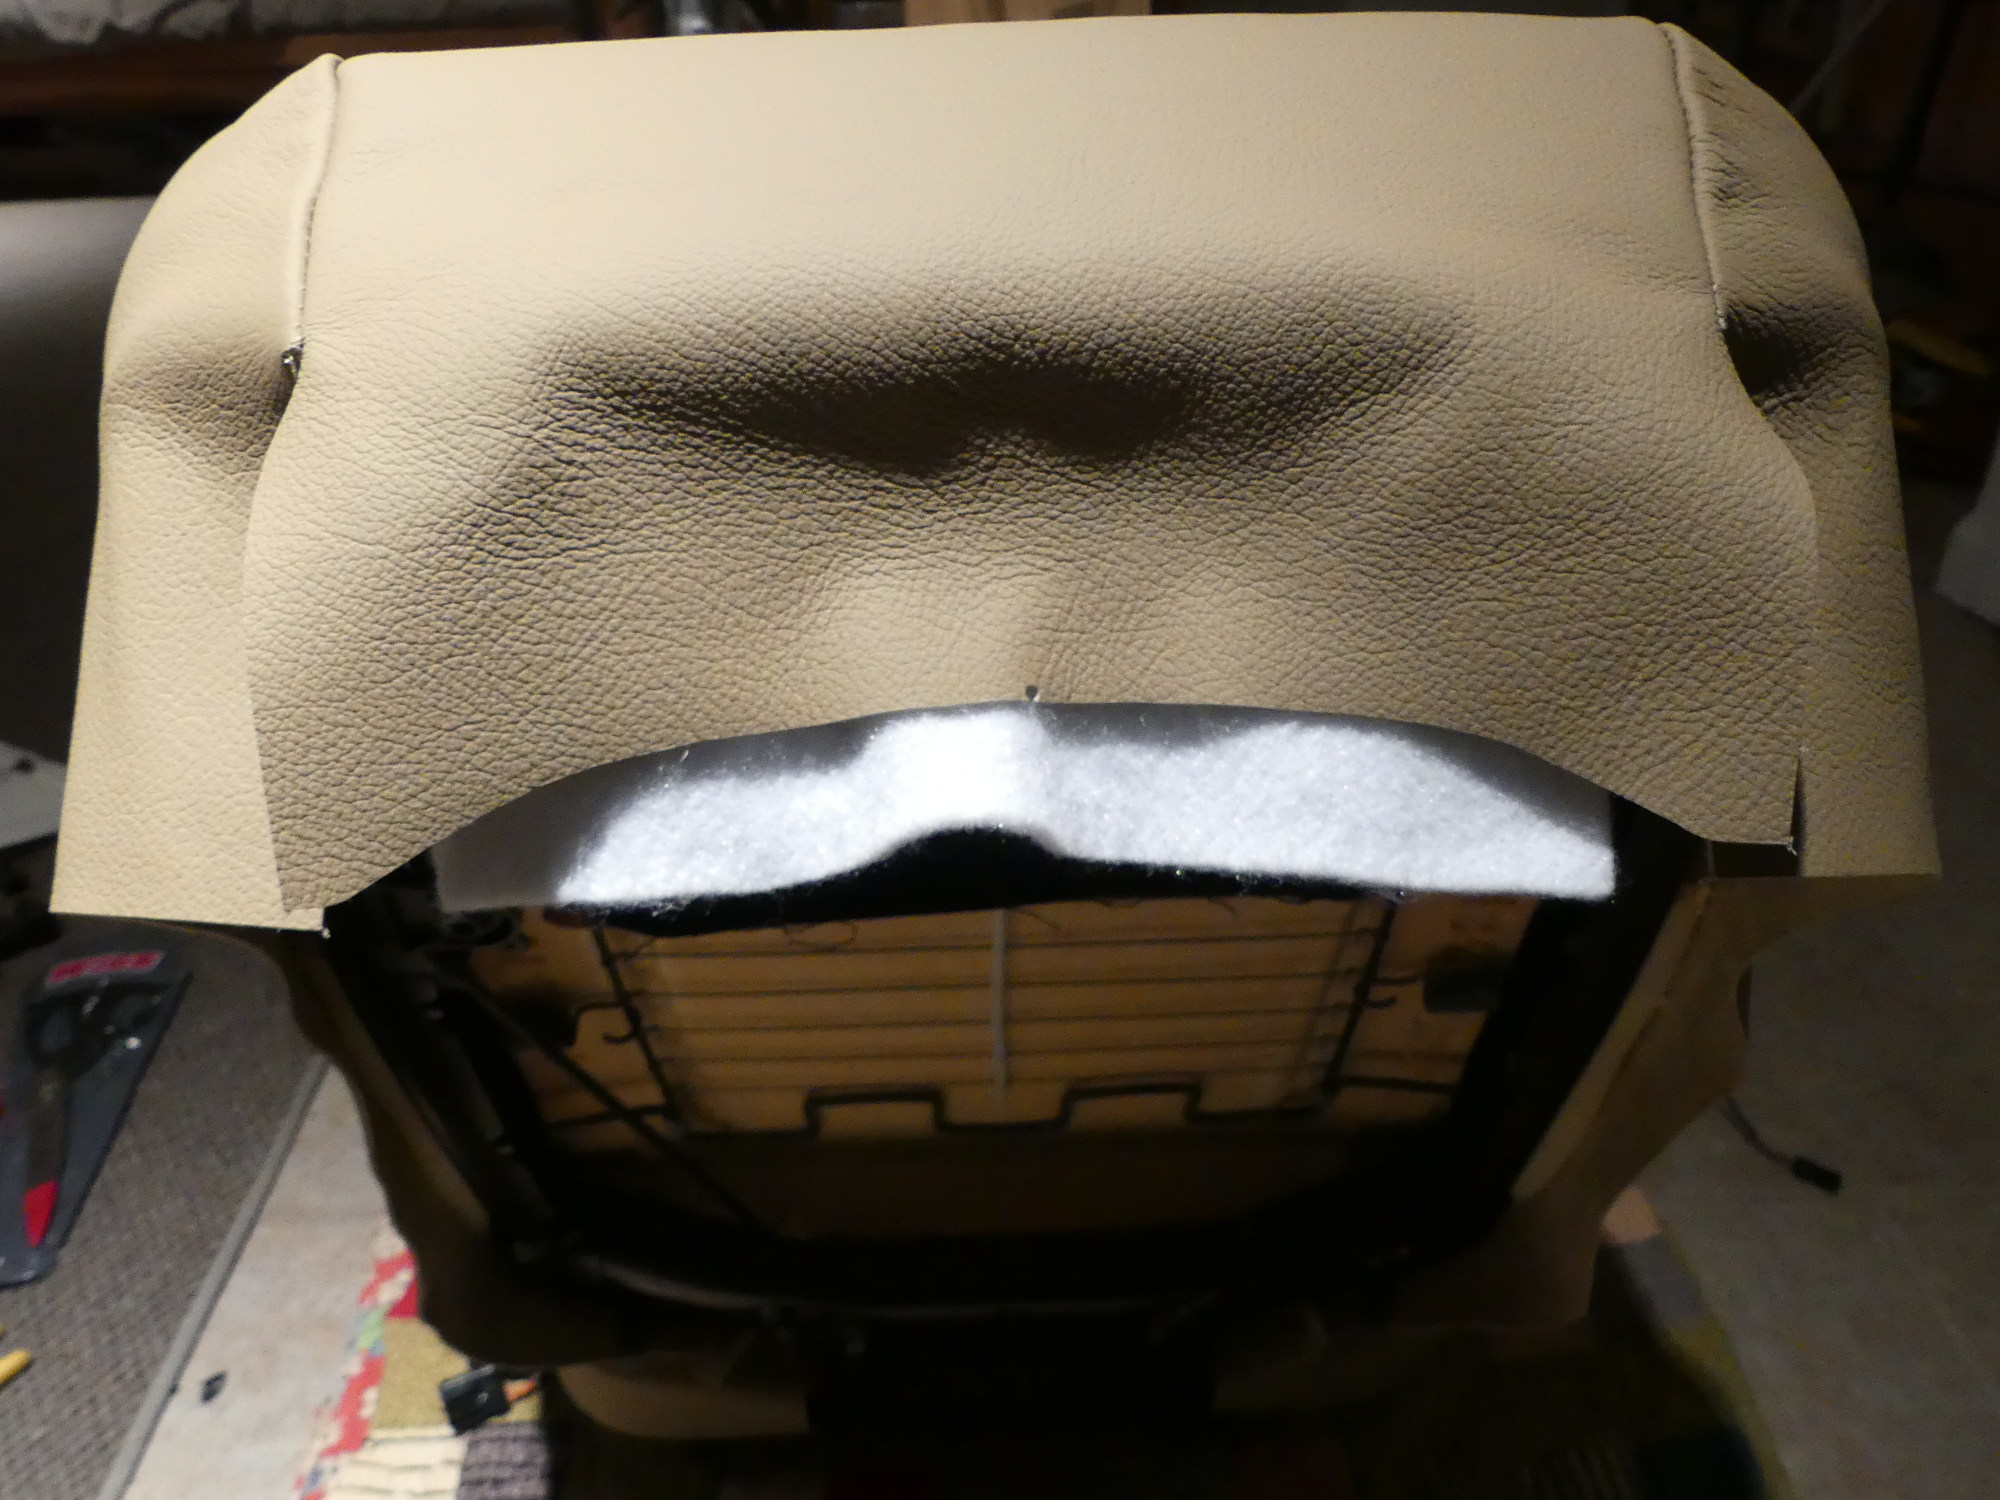
 I figured I'd show the outstanding condition of the front face of the backrest foam I obtained from my passenger seat. This will be installed in my driver's seat. |
Installing Driver Side Front Seat Backrest Foam and Cover
I disassembled the passenger seat and moved the backrest foam to the driver's seat frame so I could begin installation of the driver side backrest cover. To mate the front of the cover with the foam I followed the same procedure (horizontal first, followed by the vertical) developed for the other seats and quickly fastened all of the hog rings, including the two unique to the front seat backrest that help pull the leather into a horizontal seam in the bolster.
After tugging and massaging the leather into place around the bolsters I began to pull it around the rear of the backrest. I initially started punching and fastening each hole as I went, starting with the top flap. I noticed that stretching this flap had a fairly big impact on whether stretch marks formed in the upper center section on the front face of the seat. There wasn't much leather to spare on this flap so I couldn't leave it too loose, hence I did my best to compromise as needed before proceeding down one side.
When I got to mounting the cover near its base I found I could pull a good amount of leather backward and upward to the retaining posts. This caused several stretch marks to form along the side of the bolster as the cover had already been fastened in this area. Fortunately, most of the stretch marks seemed confined to the portion of the leather that would ultimately be covered by the backrest shell so I didn't do anything to remedy the problem. When I switched to the other side I started at the bottom this time and worked my way up. That resulted in a near perfect installation. So the correct procedure to install the backrest leather is to:
-
Secure the top flap (3 holes)
-
Secure the bottom on either side of the backrest centerpost (2 holes each side)
-
Select either side and start fastening from the bottom, working upward until done.
Note that I had to cut the leather in a couple places to make it fit like the factory cover:
-
A roughly 1.5" wide strip of leather must be created by cutting roughly 4" into the left and right flaps of leather near each top corner. This strip is pulled inward almost horizontally until it meets with the outer top retaining post which is shared with the top flap.
-
A small section of leather roughly 3 inches square must be removed to allow for access to the tilt mechanism / fairing / handle assembly. This must be cut after the cover is completely fit to the seat as stretching the leather will obviously change the location of the aperature relative to the cover. Note that the passenger seat has two tilt handles so two sections must be cut on that cover. I should also point out that the leather must be cut very closely around each mechanism, particularly on the front edge, because the backrest shell does not wrap that far around the seat and will not conceal any errors.
-
Small holes to accommodate each headrest post. These were cut last since their location is somewhat critical.
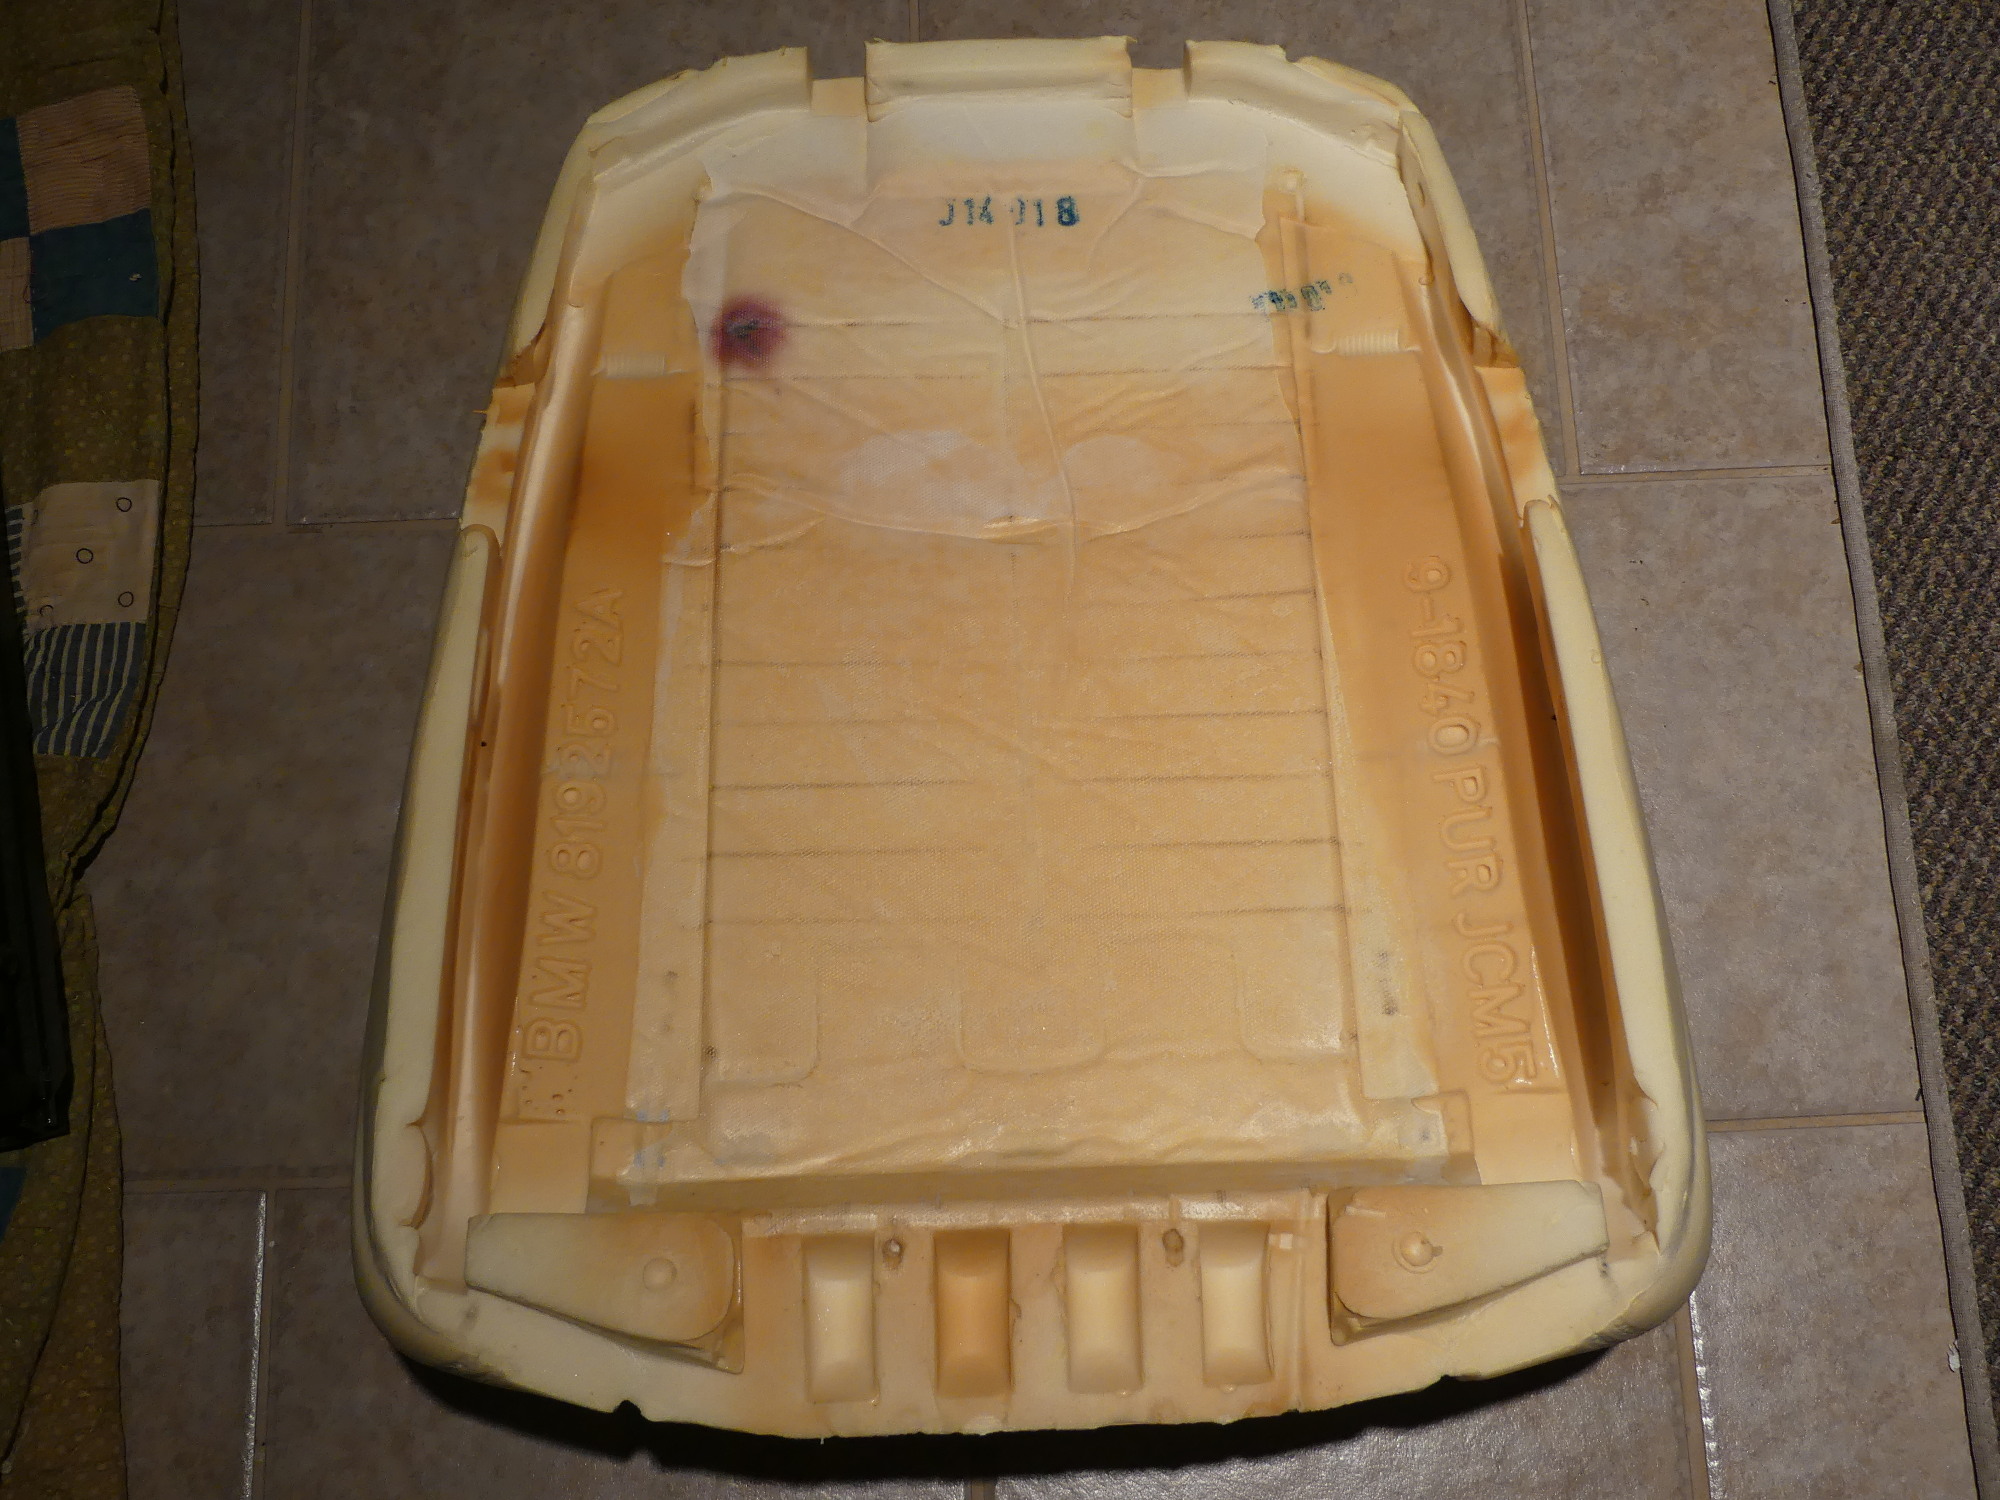 The rear of the passenger side backrest foam shows the slots molded to accept the lateral supports built into the seat support frame. That thin foam on either side does not hold up well. A design flaw, in my opinion. |
 Working to attach the backrest cover I found it was easier to flip the seat and rest the backrest on the floor because the hogring pliers must be pressed firmly into the foam to mate the support rods. |
 Here I've wrapped the cover around the backrest foam which is of course mounted to the seat frame. The top flap is punched three times and the flaps to either side are cut to create another flap that is designed to pull in the corners. |
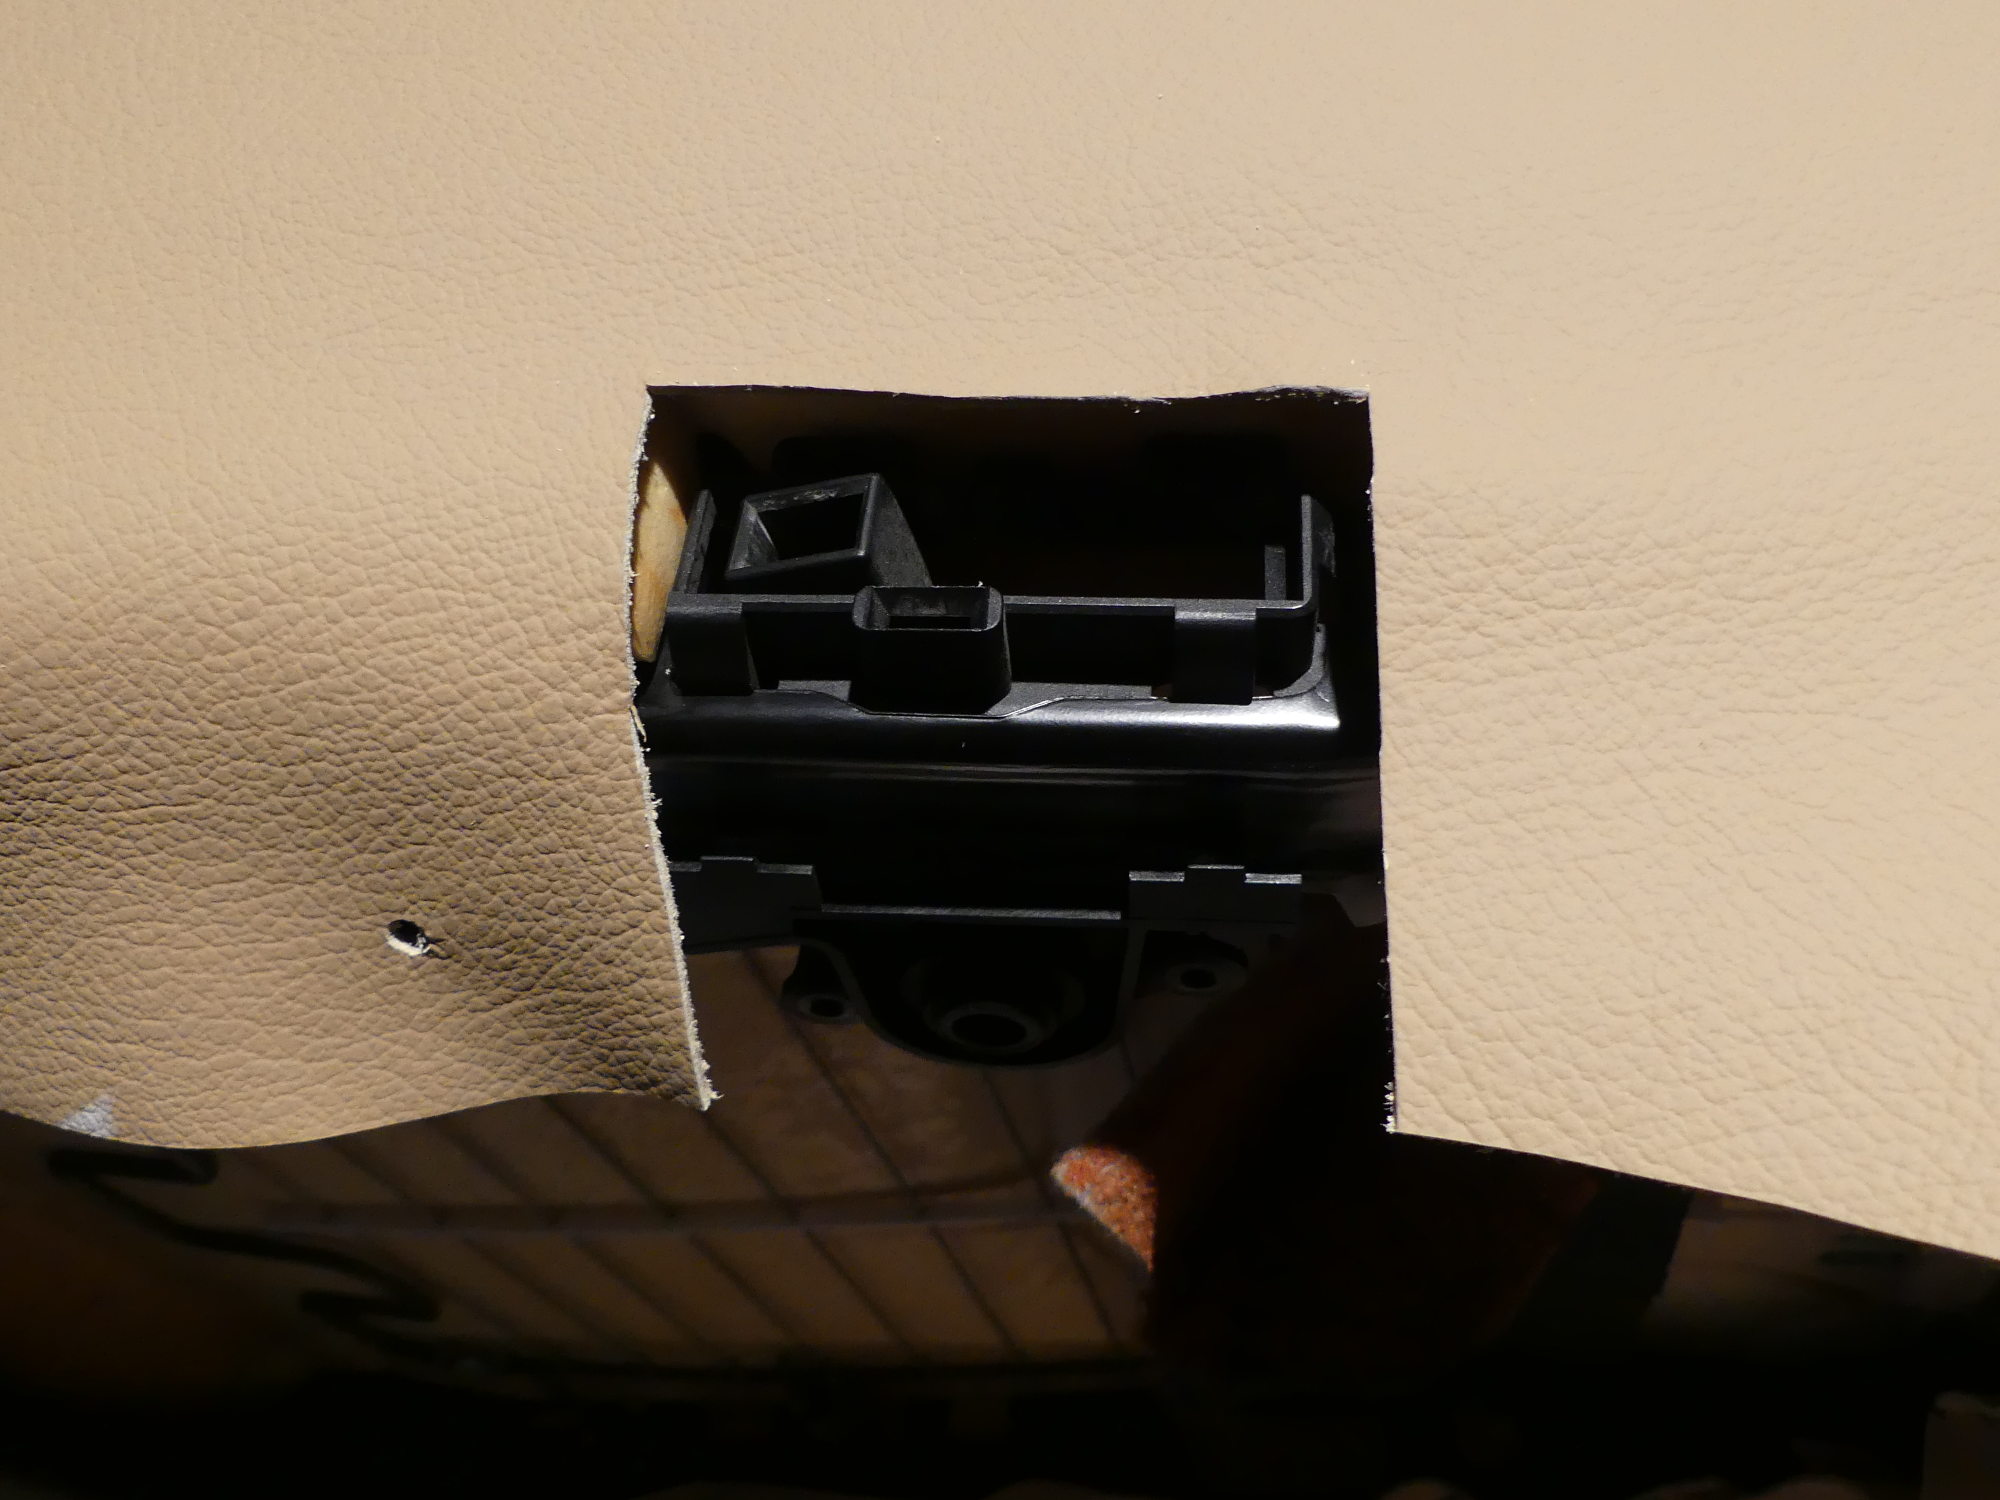 A square of leather must be cut out of the side flaps of the backrest cover to provide a relief for the tilt mechanism housing. The slot is kept tight to the front side of the housing so the backrest shell will cover the the cut. |
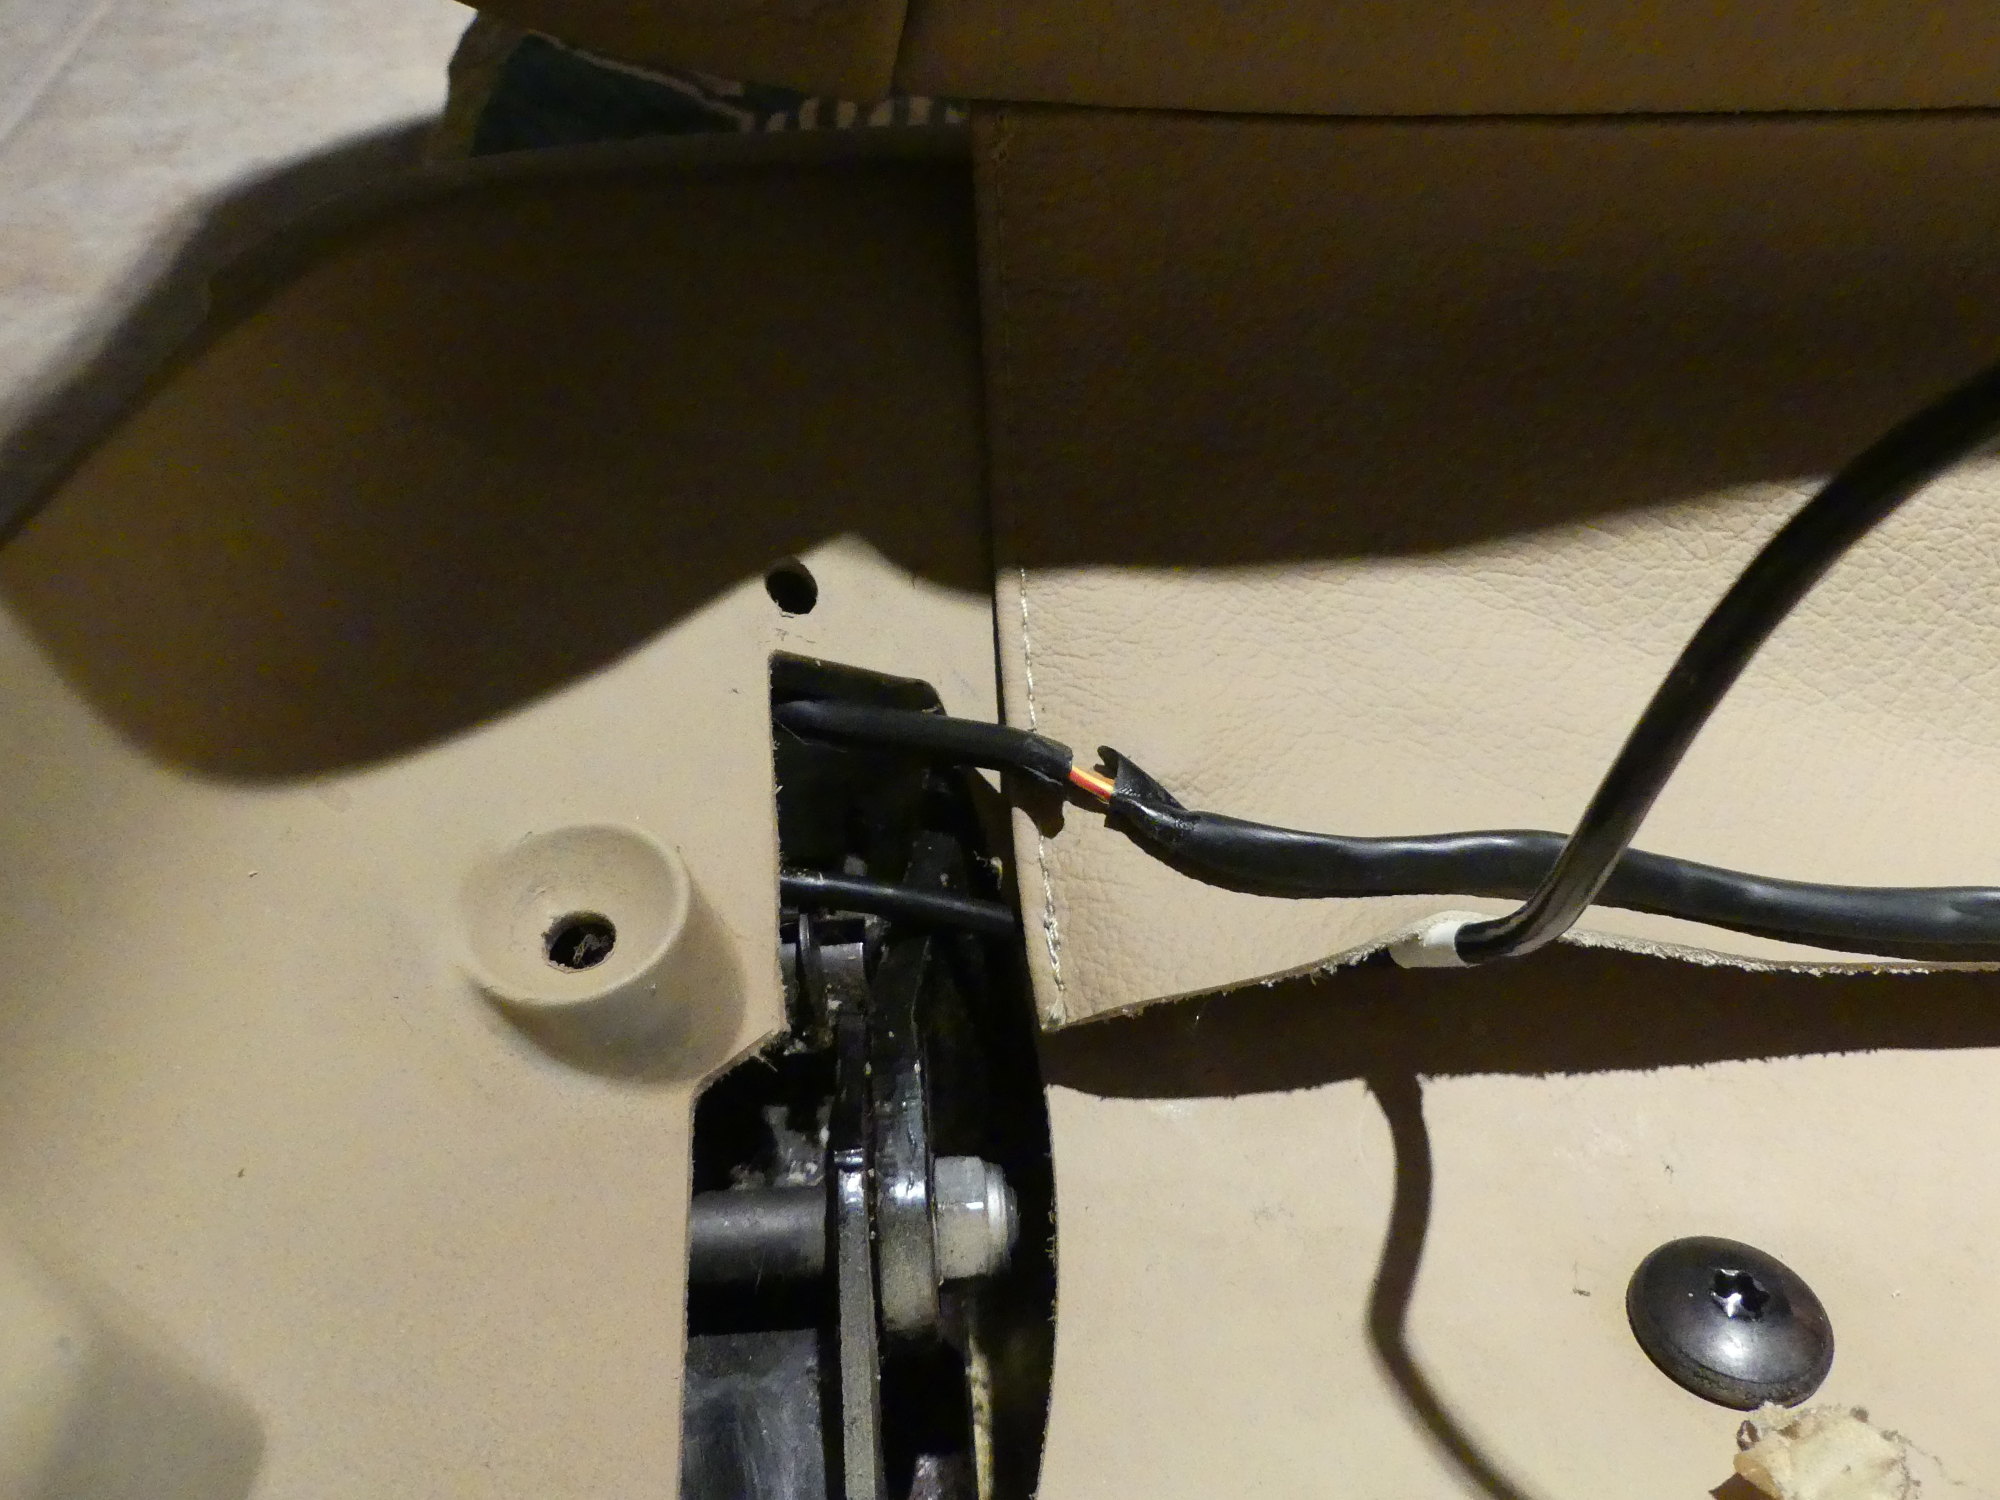 One surprise: broken insulation on the pretensioner trigger wire. I fixed this with multiple layers or protection including kapton tape, heatshrink, and fabric tape. I also routed the repaired wire such that it would no longer be pinched. |
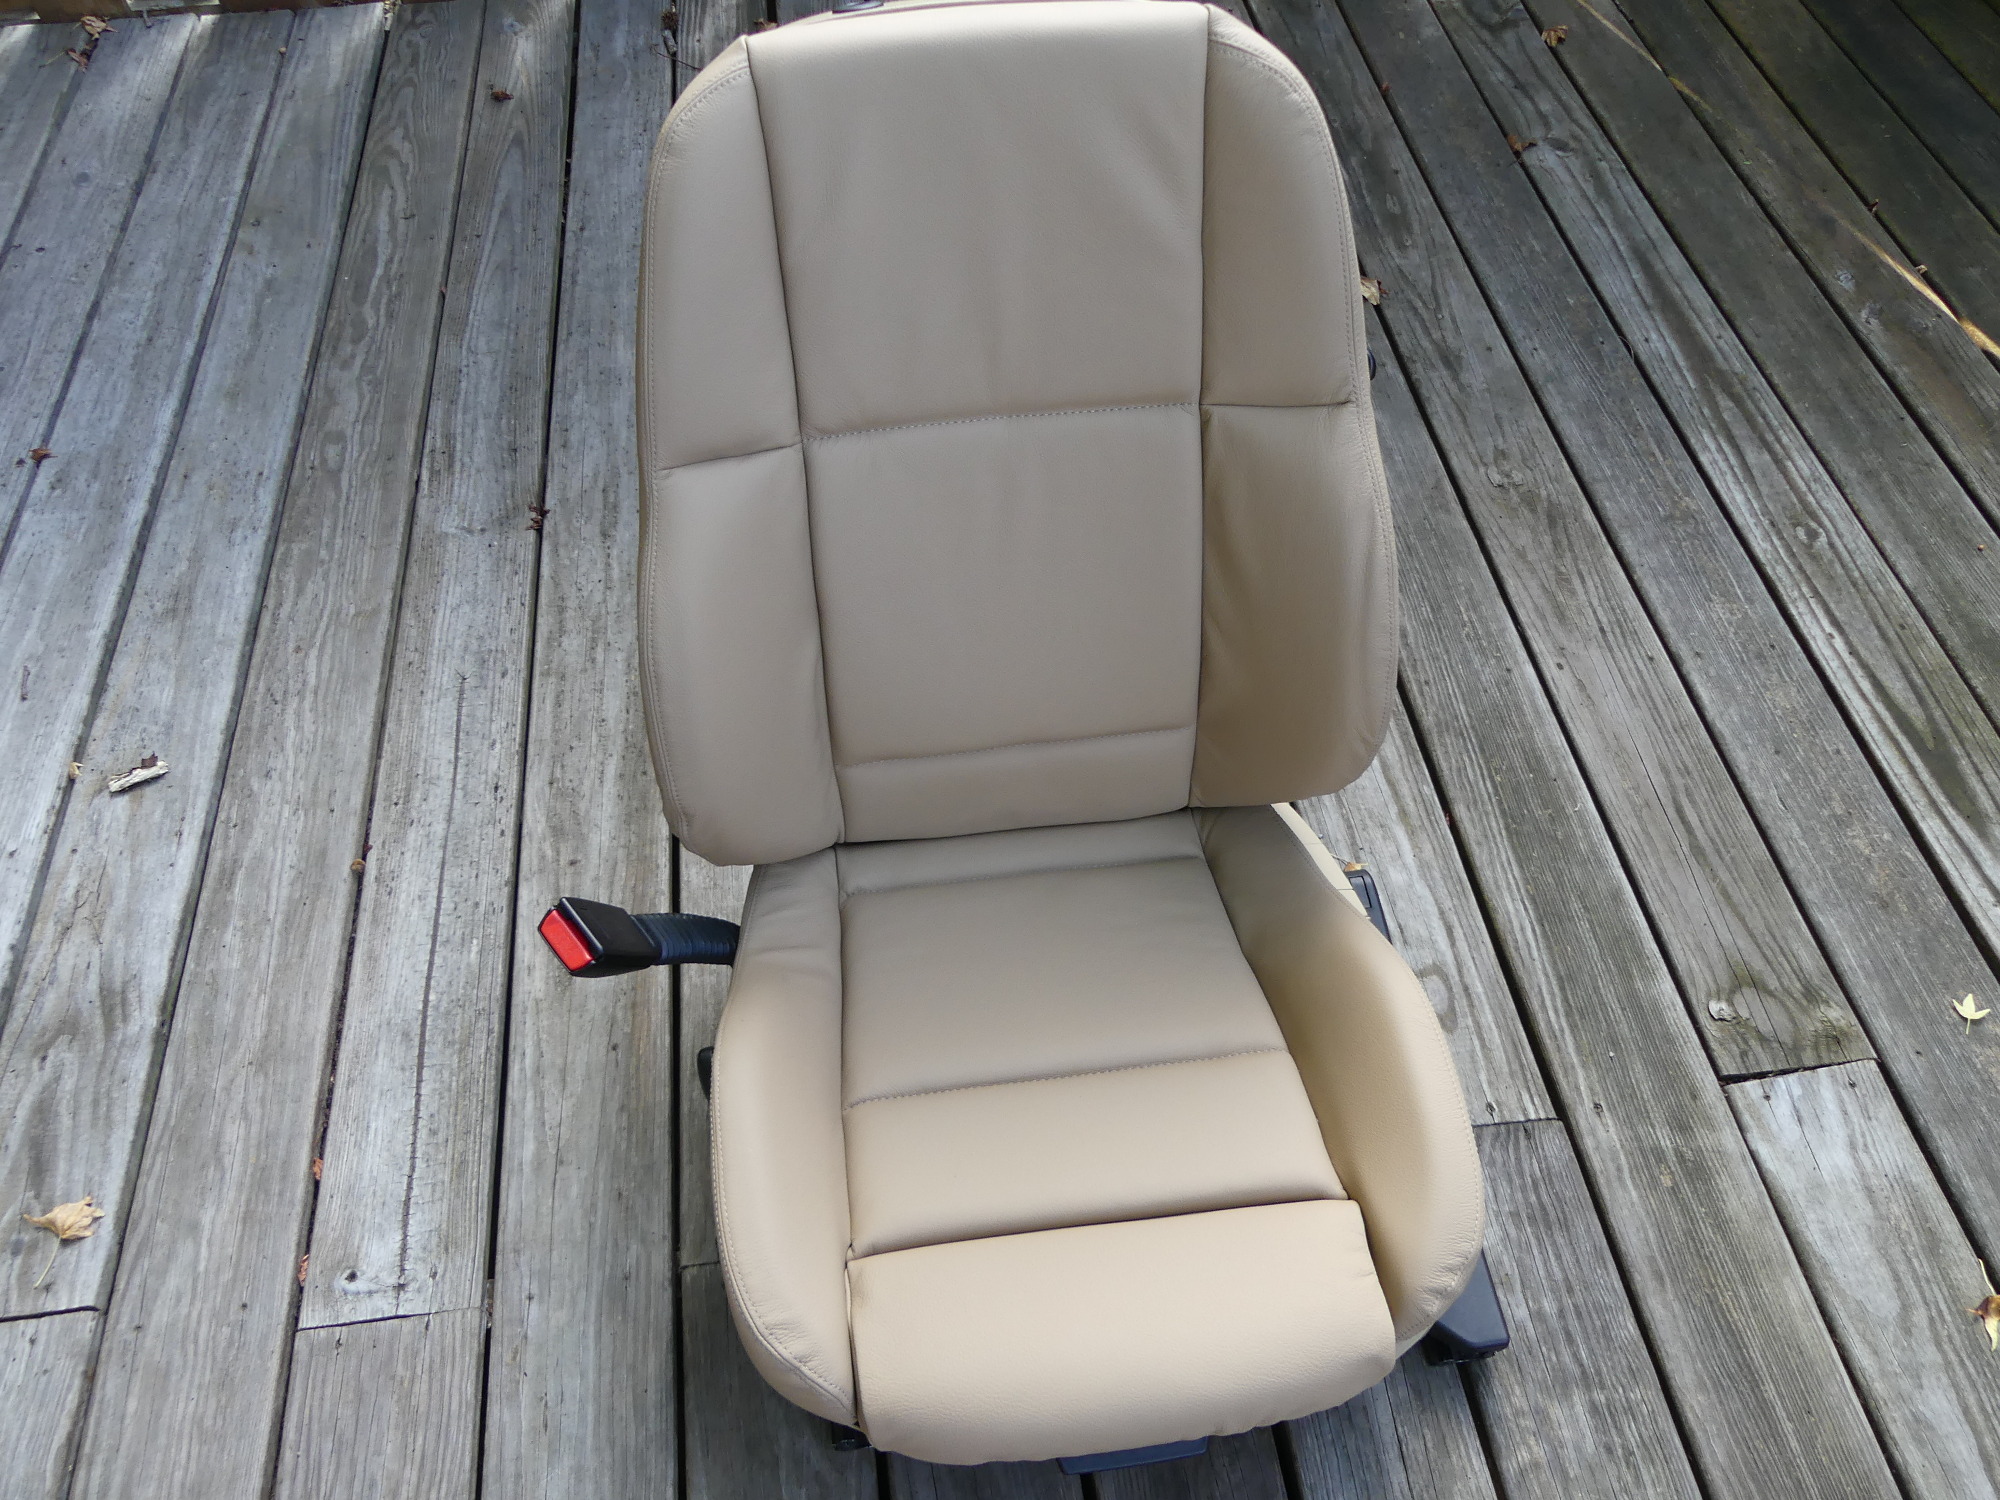 The best light is often outdoors, so I took the seat out onto my deck for the glamour shot. It will now be set aside so I can duplicate the effort on the passenger seat. I expect that to be done in a week or so, at which point they will be reinstalled. |
Mounting the Thigh Rest
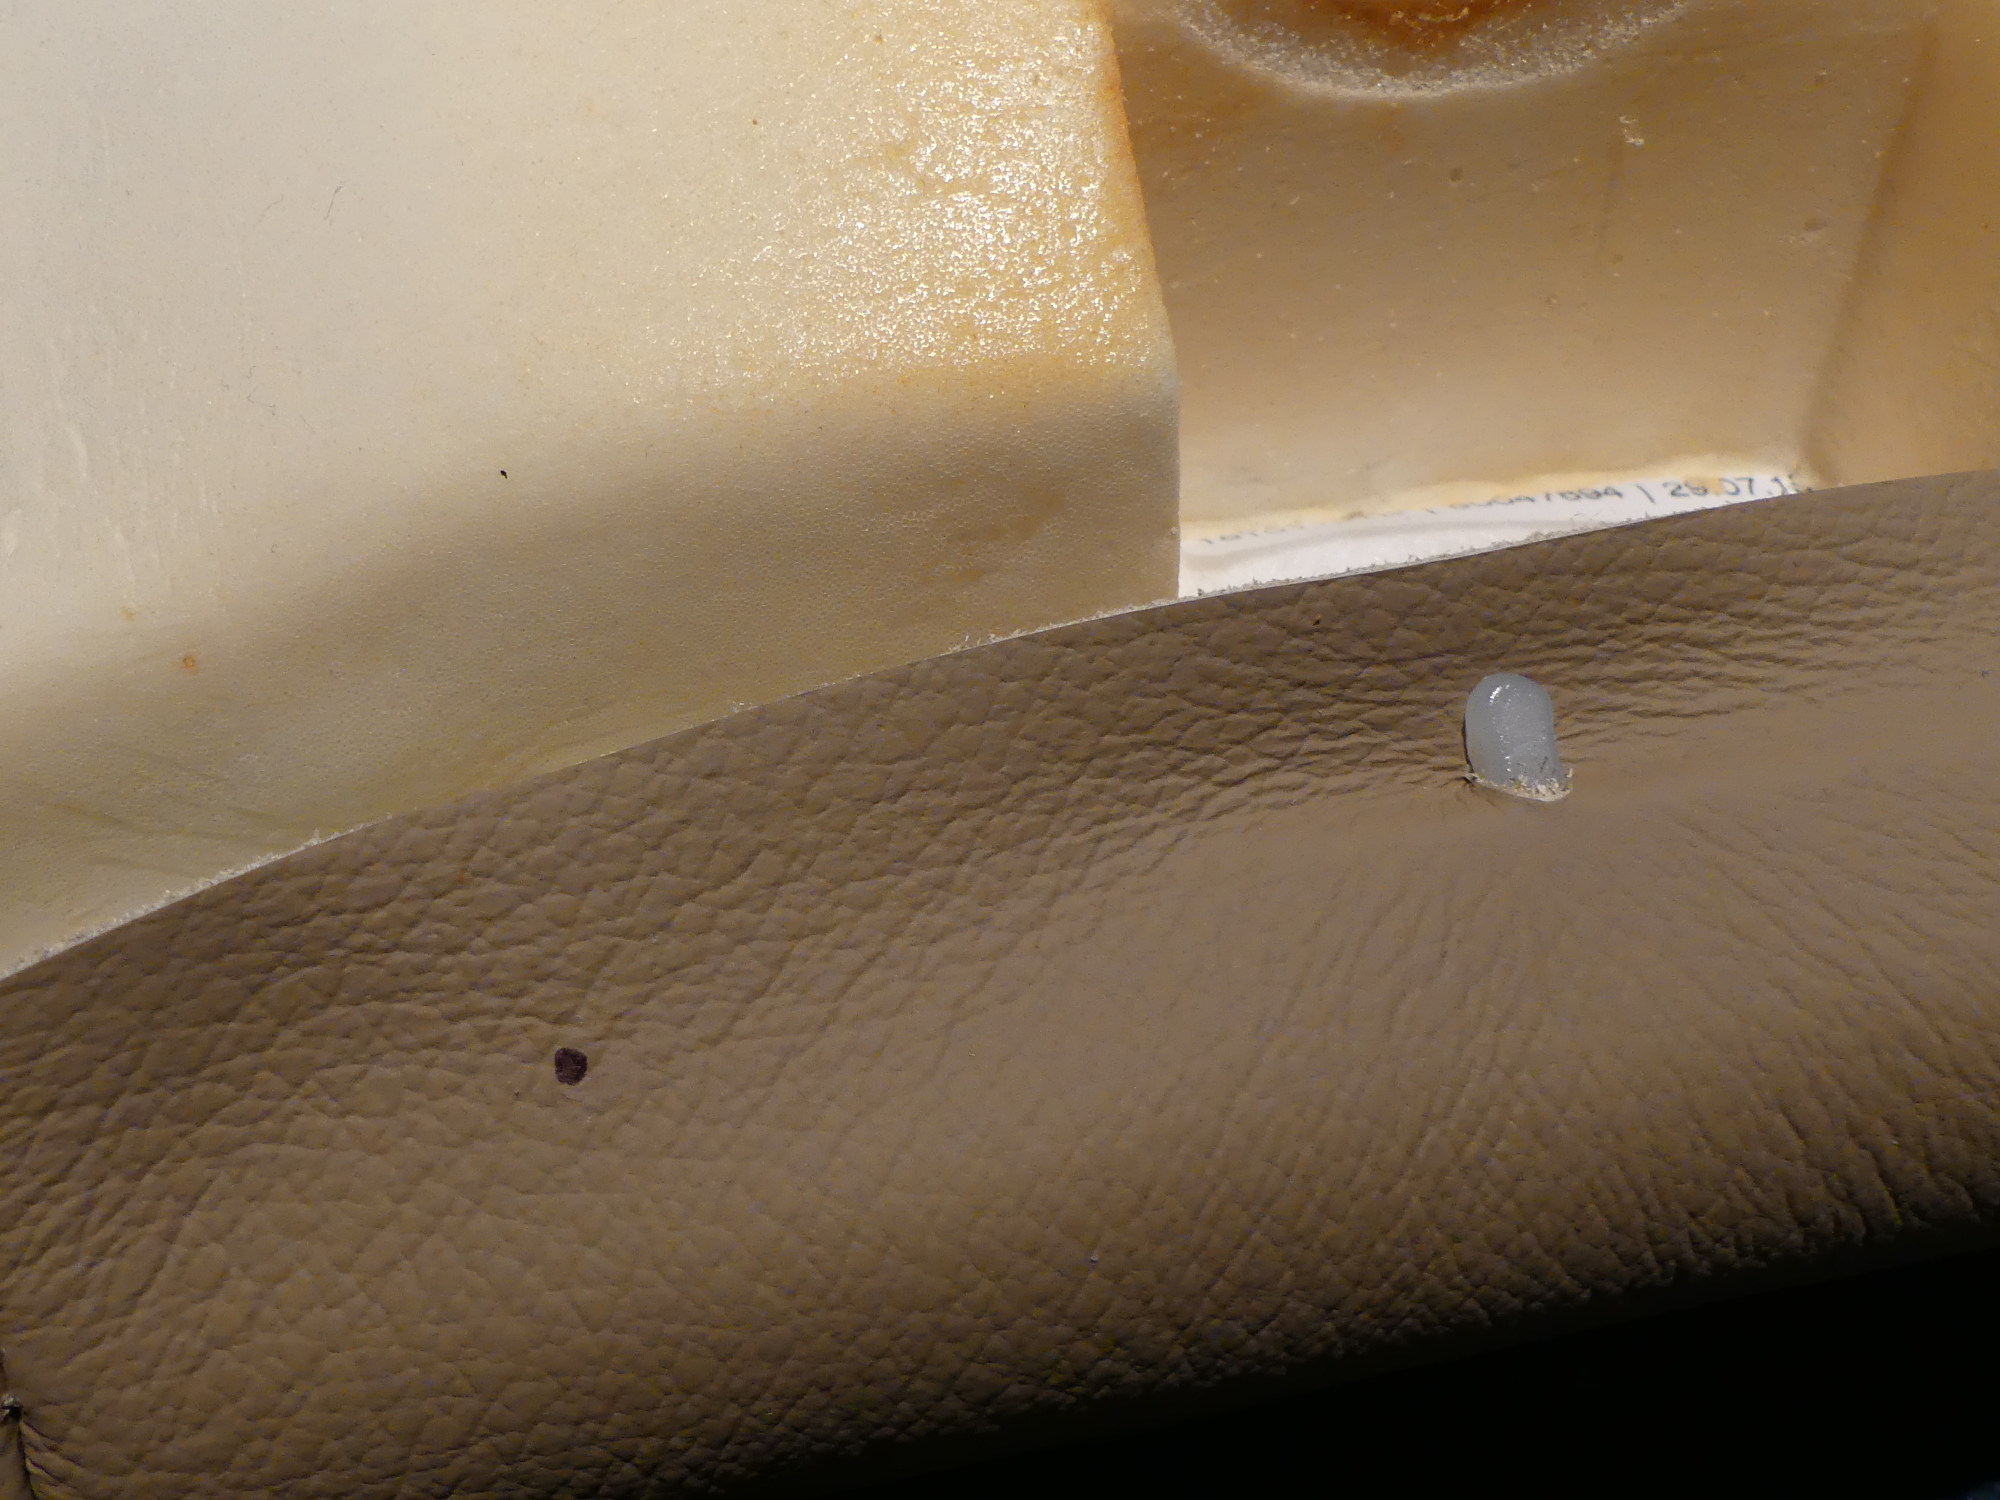
I saved this step until last because the thigh rest mechanism is heavy and, when connected to the seat base, makes handling it somewhat unwieldy. Before I got started I removed I replaced the tensioner with a new unit and routed the wires to the other side of the seat where they connect to vehicle harness.
The one surprise in this process was noticing a complete break in the insulation of the pretensioner activation wire. The break was adjacent to a metal gear-like structure that protrudes through the plastic seat base. I'm not sure how or when this happened, but I routed the wire (and its mate) in such a way to avoid the area of concern. While I was at it I applied some kapton tape I had handy, followed by some heatshrink, and then some 3M fabric electrical tape which coincidentally matches the fabric tape used on the electrical harness throughout the E36. The repair looks good to me and the wires themselves did not appear broken, but I'll be on pins and needles until my technician connects the diagnostic system and reports all clear.
When it came time to wrap the cover around the thigh rest I put the four metal retaining clips on the cover, rather than insert them into the slot in the thigh rest and attempt to push the cover retaining strip into the clips. I did this mostly based on experience with similar clips on the rear seat backrest covers -- it's simply easier to do it the way I selected. I was not particularly happy with how difficult the cover was to install in the slot in the thigh rest frame. It never seemed to positively snap in anywhere.
With the thigh rest mated to the seat base I reinstalled the four screws in the thigh rest mounting plate, routed the seat heating wiring through the hole in the base, installed two barbed fasteners, and pushed down the two rear corners to secure it in the front and then installed the remaining two torx screws in the front.
Backrest Shell Installation
To wrap up the driver side leather installation I cut out two holes roughly 3/4" in diameter on top of the seat to accommodate the headrest posts, and then installed the backrest shell before reinstalling the tilt handle fairing and handle. Considering all the work done so far, this was positively anti-climactic.
A Reader To The Rescue
Last week I received an email from a reader in California who said that he had just recently replaced his E36's front seats with some aftermarket units and would be willing to provide me with the backrest and thigh rest foam from his passenger seat. The pictures he sent showed the foam in good shape so we worked out a great deal.
As I was putting the finishing touches on this entry the foam arrived in good shape. During a close examination I discovered a crack in the foam in the left side "slot" molded in the rear of the part that accepts the metal backrest support but that should be easily repairable with some of the 3M spray adhesive I used to repair some tears in the rear seat base foam. The most important thing is that the exterior faces of the bolsters are in fine shape, which means the leather cover will not print any defects and I will save quite a few hours repairing my existing foam. Thanks Alex!
Interesting side note: this foam came from a M3 sedan. I originally thought all M3s came with Vaders but apparently not. Either this was a sedan thing or part of the premium package. So the point is, if you're crazy enough to attempt what I've done here, don't discount M3s as a potential source of foam.
Next Up
Lather, Rinse, Repeat for the passenger seat. I'm expecting this to be similar to the work I did on the driver's seat with a couple exceptions: I will have to install a new occupancy sensor (as the old one was experiencing an intermittent short) and clean up after a small liquid spill that occurred in 2000 when the car was a mere two years old.
Videos:
Mileage: 264000