


Wednesday, October 19, 2016
Sometimes I hate the fact that I built my maintenance schedule worksheet. It serves as a constant reminder at how far behind I often get with the maintenance on this car. So you can imagine my consternation as I reviewed it once again (I really need to stop doing this) and saw several red items, some of which have been red for far too long. Presented this week with the last few warm days of the season I decided to tackle as many of the items as possible.
Oil Service
This was a bit ahead of schedule (2700 miles) but as I don't drive the car that much anymore oil services are now more governed by calendar time vs. mileage.
This went pretty much as expected, though I noticed considerably more oil and dirt on the bottom of the engine, which is consistent with the oil stains that the car is now leaving in my driveway. I cleaned off what I could in the hope of pinpointing the leak at some point but I doubt that will do me much good. Even if it turned out to be something as simple as an oil pan gasket, I wouldn't waste my time trying to fix that. If I pull the oil pan gasket it will be as part of an overhaul.
I did not take an oil sample this time for several reasons, the most important of which is that I already know what's going on in the engine and what I have to do to fix it. It's no longer a question of WHAT but WHEN. I also must admit to punishing Blackstone a bit over their recent decision to raise samples to $25. That's too much IMO.
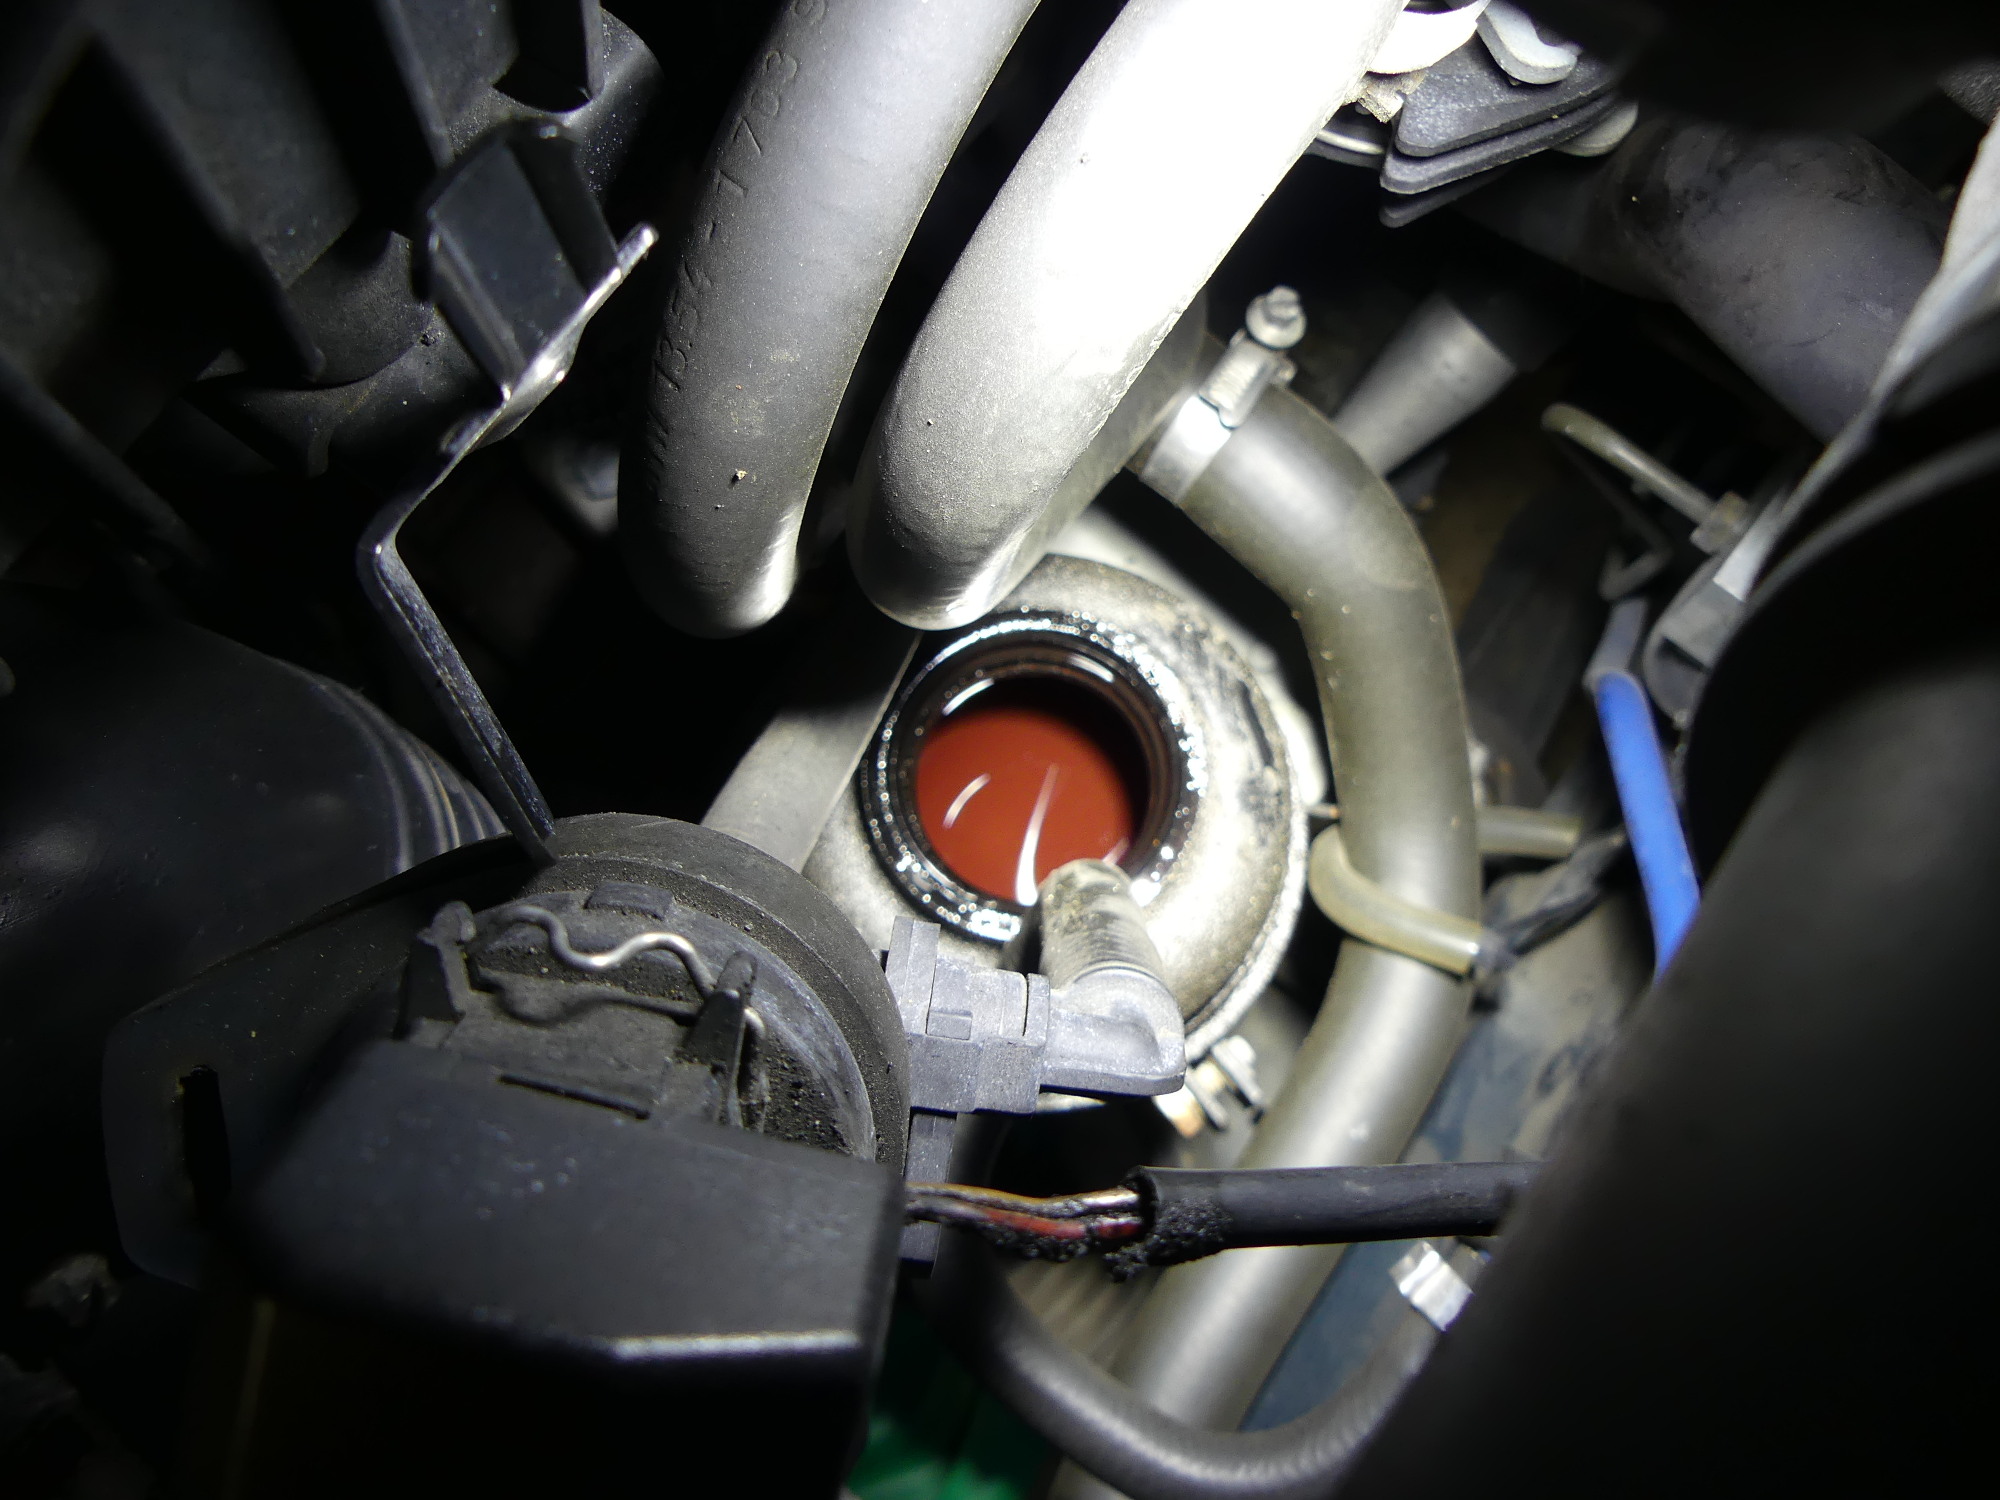 Old power steering fluid showing mostly reddish color. Although this would ideally be transparent as in the case of new fluid as long as it is predominantly red and not black or brown, it's fine. |
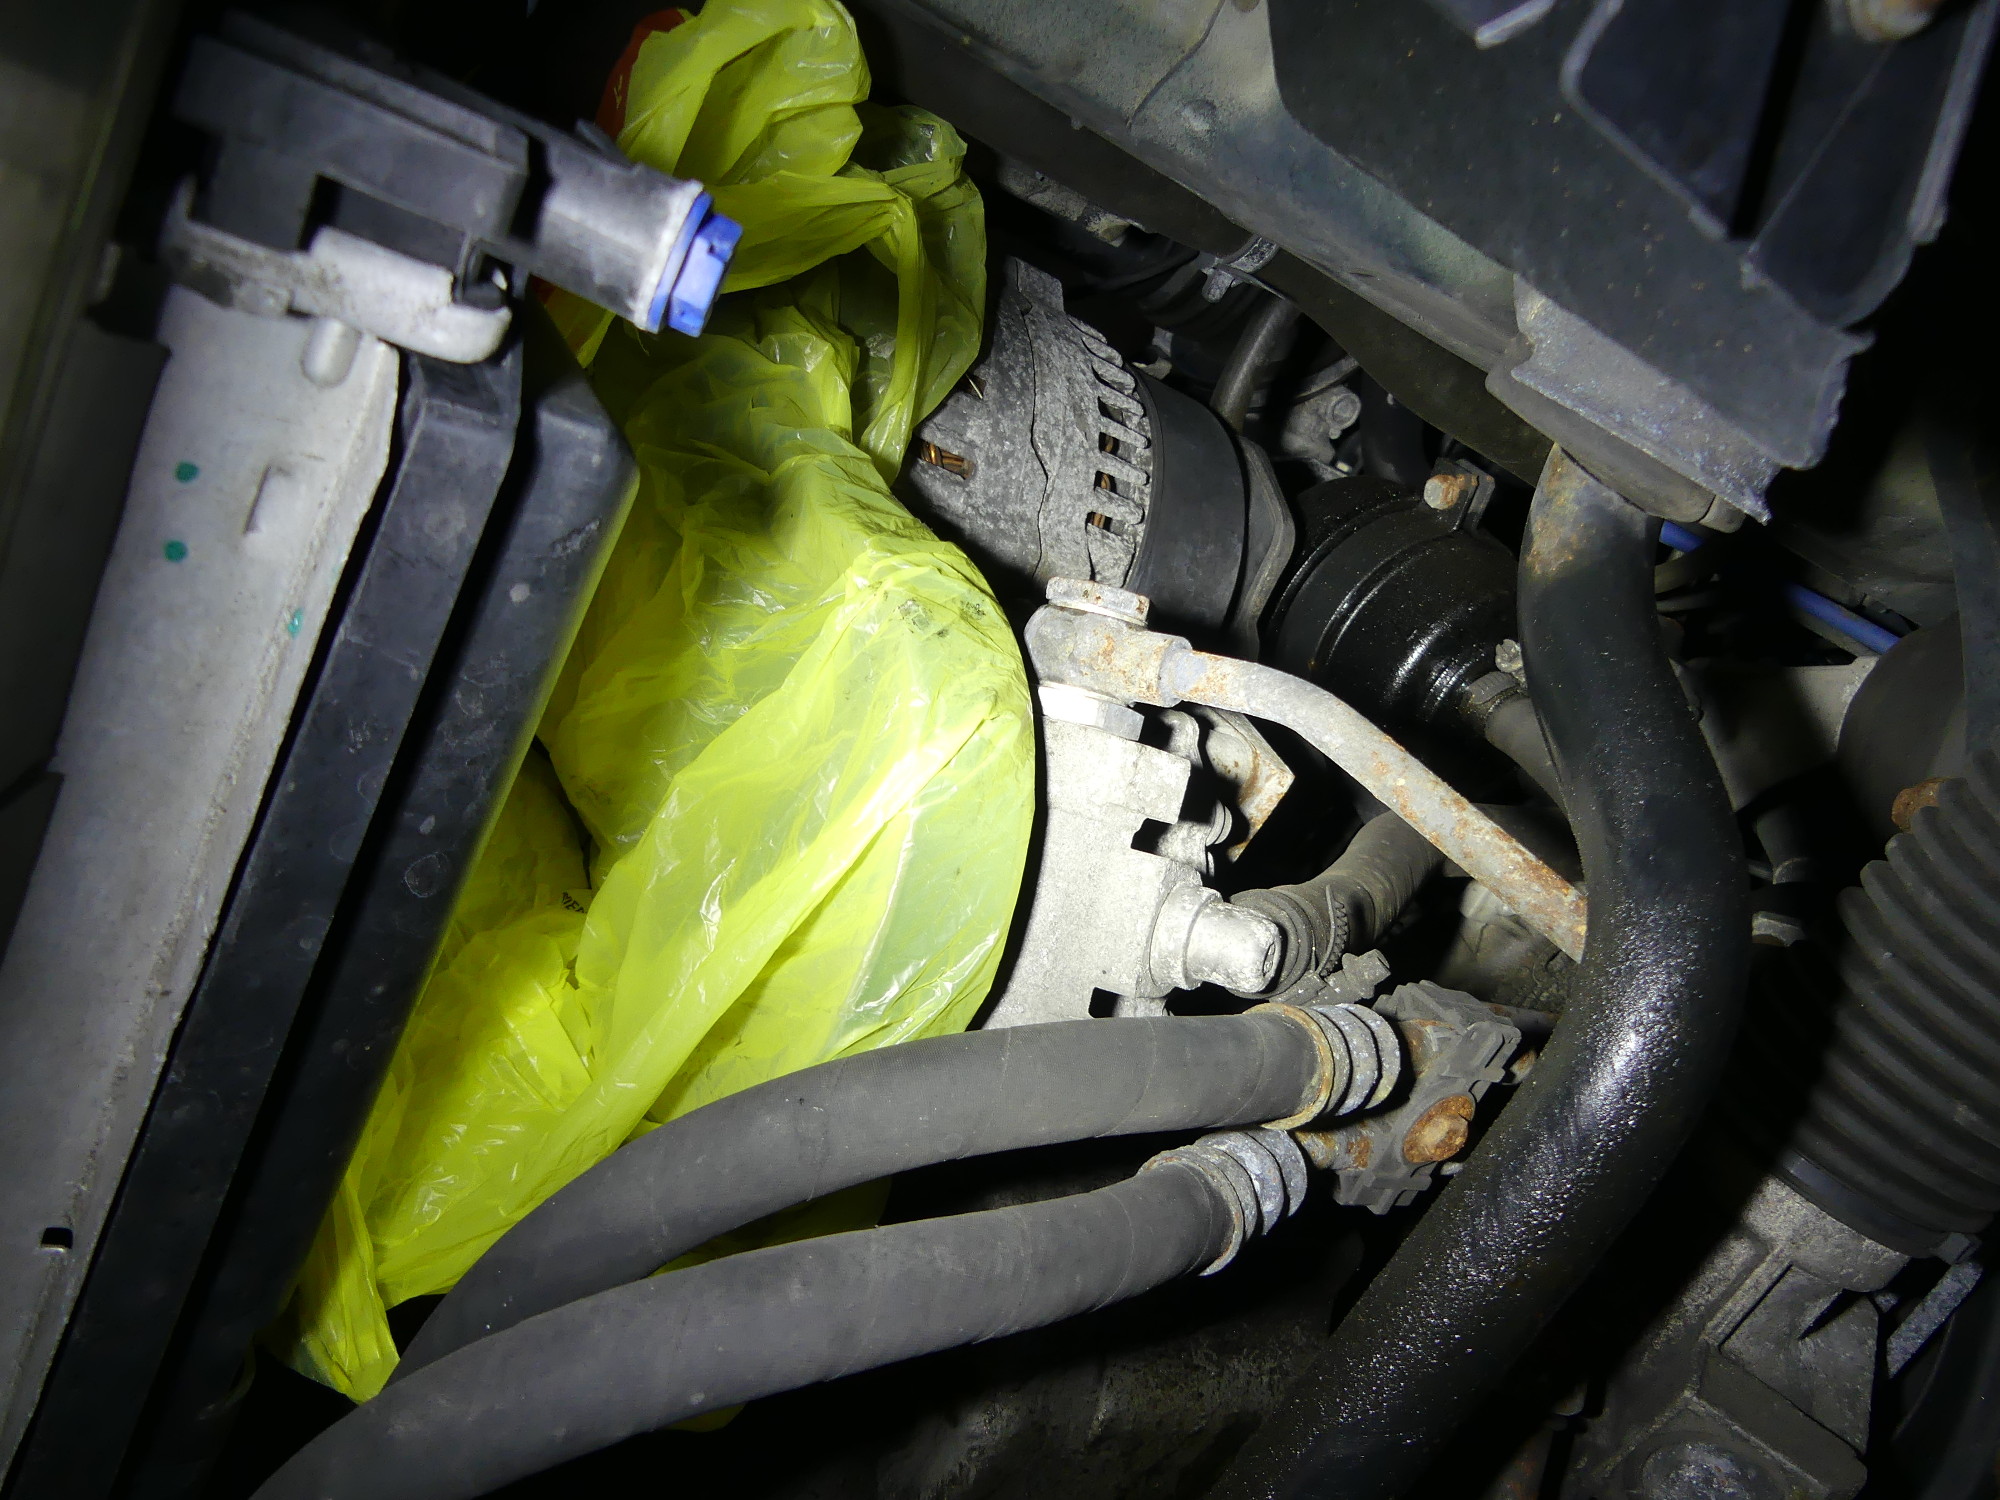 Just showing how I use a spare plastic bag to protect the pulley and belt from any fluid that might splash during the draining process. Definitely more environmentally friendly than using a bunch of brake cleaner. |
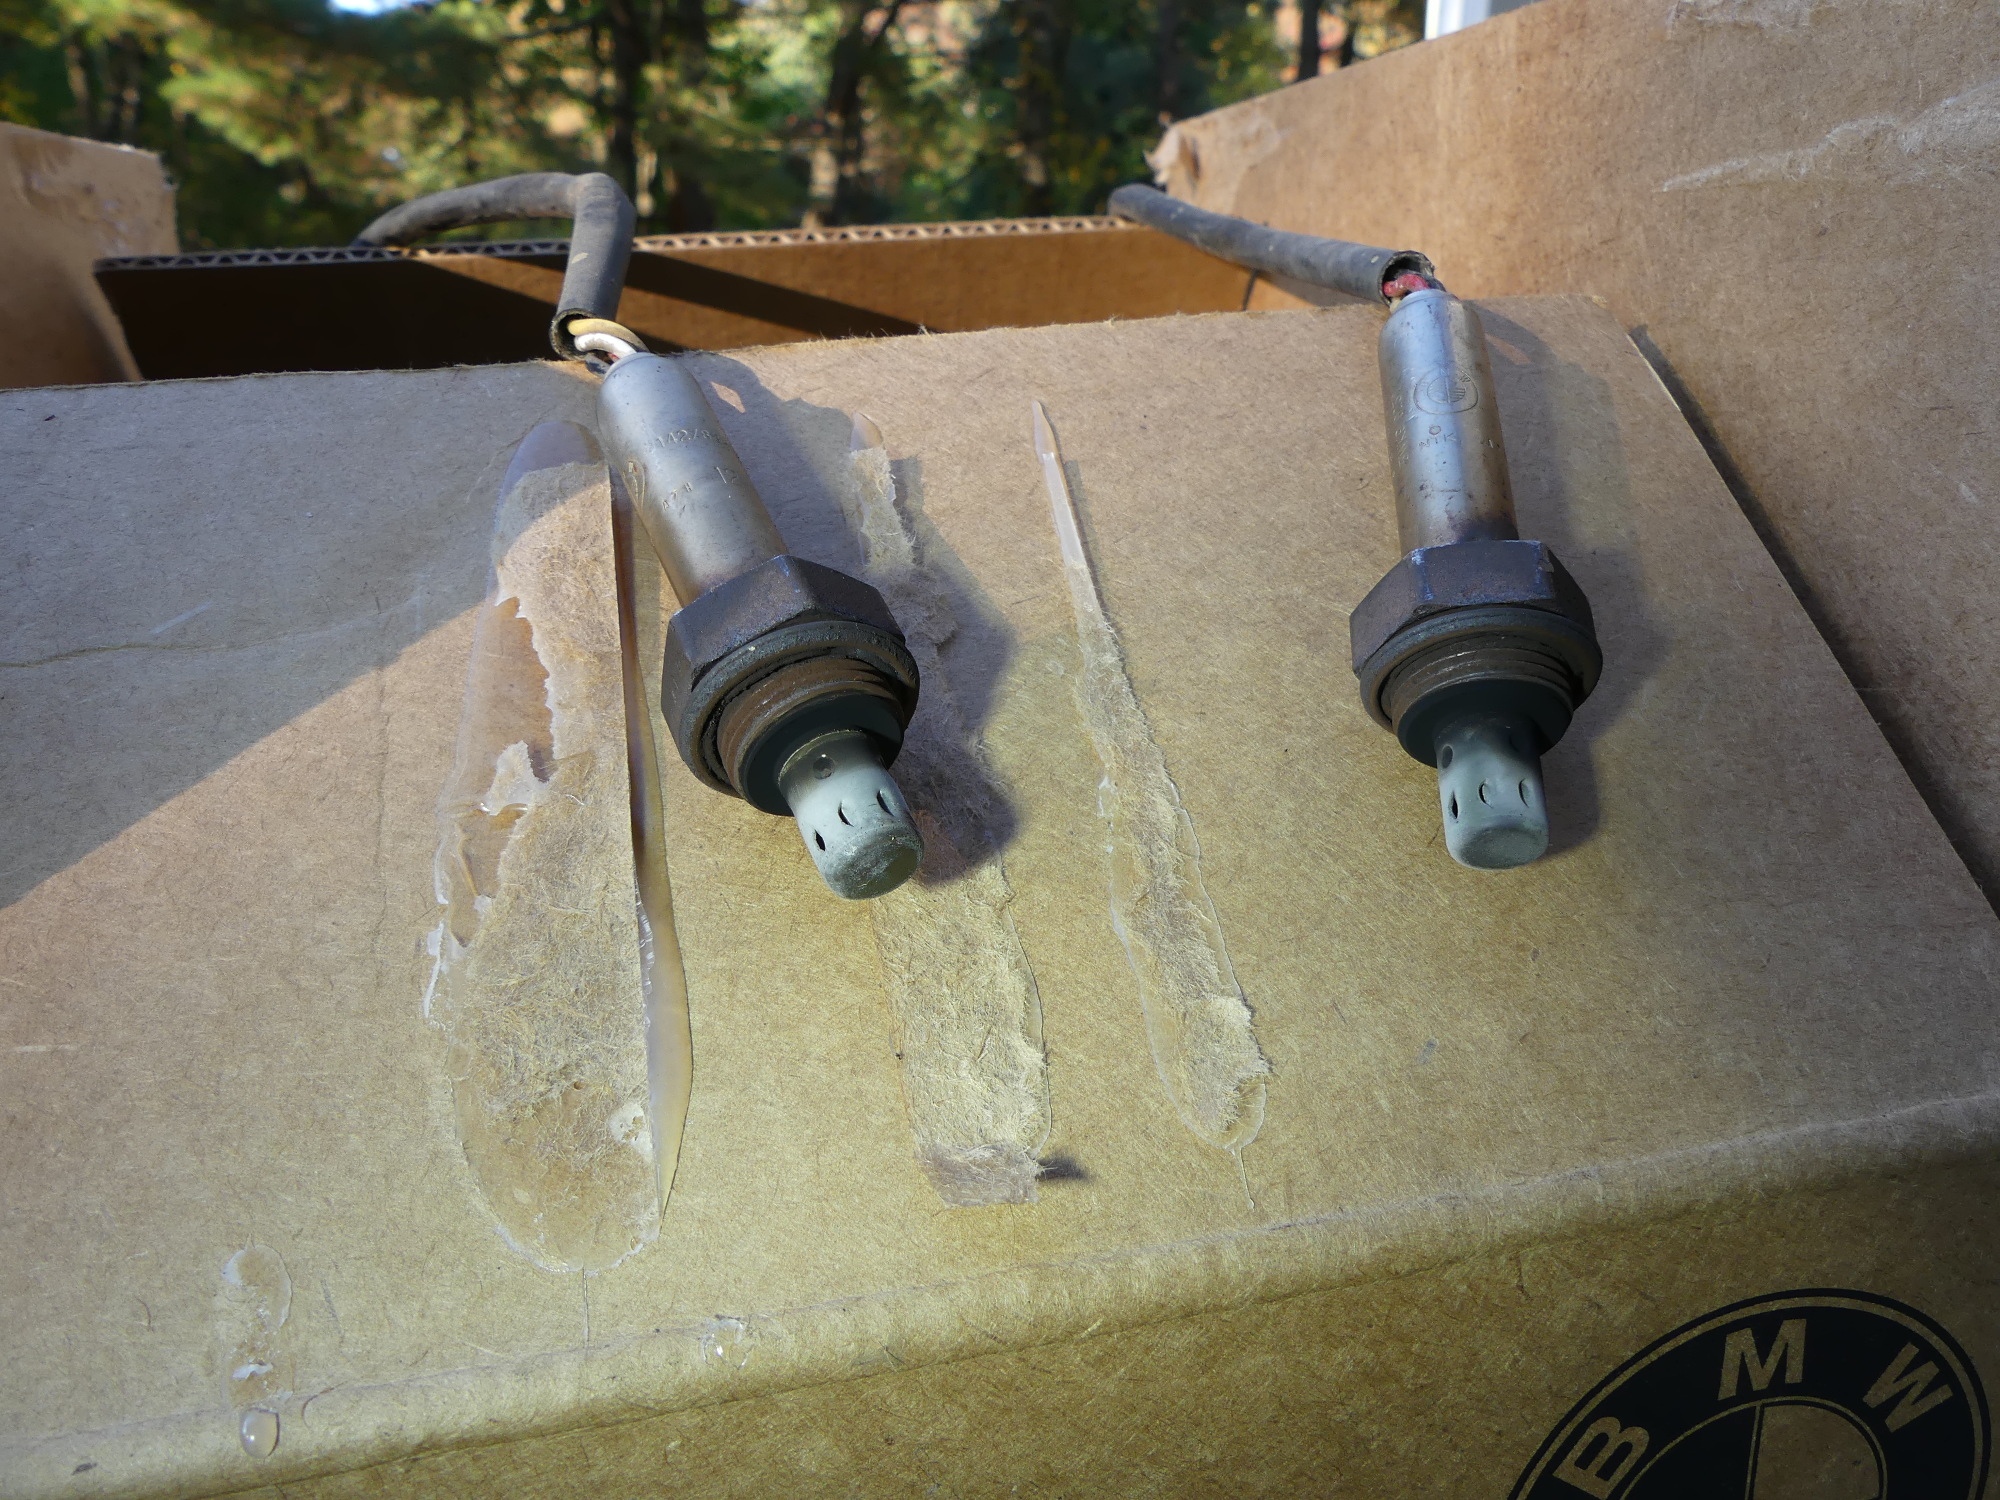 The old sensors look a bit better than the ones I replaced at 140k. A bit less carbon with a white frosted tip which indicates generally good combustion. The black is carbon and replacing the sensors prevents that from plugging up the catalyst over time. |
Power Steering Flush
The last time I did this was during the front end overhaul in 2012 and I was already about 6K over my 36K service interval. I normally use garden variety $2/quart ATF for the power steering system because it's not that critical but as I had a case of Redline D4 synthetic ATF in the garage in advance of the transmission flush I decided to use a quart of that instead.
This time around I took a lot more time to experiment with turning the wheels back and forth at varying rates to see if I could flush more fluid out of the system and I think I was pretty successful because not only did it take more than I remember (nearly a full quart) to refill the system, I noticed that the rack took a bit longer to "firm up" as I was filling the reservoir with the engine off and turning the wheel back and forth, indicating more air in the rack than usual. Of course, that's the point of this exercise so I'm not complaining.
This time around I did not suck fluid out of the reservoir because I knew it would ultimately drain out once I removed the banjo fitting from the pump. And when it came time to fill the system I added as much fluid to the reservoir as I felt appropriate to reach the desired level and then started the car with the reservoir cap off. This allowed me to keep the long funnel I use for this purpose inserted in the reservoir and use a bright light to monitor the level as I added more fluid. The point to take home here is that despite the high pressure present in the power steering hoses when the engine is running the fluid does not spray out of the reservoir when the engine is running so it's safe to keep the cap off until you need to check the level at the end of the process.
Replace Fan Clutch
This one was diagnosed by my technician rather accidentally last time I visited to clear a CEL (which revisited my cluster on the way to the garage today...but more about that later). Sure enough, when I removed the fan clutch it was covered with oily dirt. To verify the diagnosis I turned the nut on the back of the clutch with the clutch in the horizontal position (not its usual orientation) and was surprised when it turned with some significant resistance, as it should if it were in good shape. I then turned the clutch vertical (proper orientation) and continued to spin it. A few turns later I heard a gurgling noise come from within the unit and then the nut began to spin freely. Bingo.
I make it practice to replace all fasteners when I have the opportunity but the three torx bolts that fasten the fan to the clutch were in pretty good shape. While quite dirty, the oil or whatever came out of the clutch seemed to protect the bolts from corrosion so I just reused them.
One interesting aspect of the new clutch was the presence of cured black sealant oozing out of the interface between the two halves of the clutch. I did not see this on any of the previous clutches I have purchased so I hope this is Behr's attempt to fix what is clearly a faulty seal in these units. Fan clutches should not fail (lose their fluid) in 60-70K miles as mine clearly did.
 A bit of dry dirt on the fan clutch is normal. Oily dirt is not. This means the viscous fluid has leaked out of the clutch. Spinning the clutch nut caused no resistance -- problem diagnosed. |
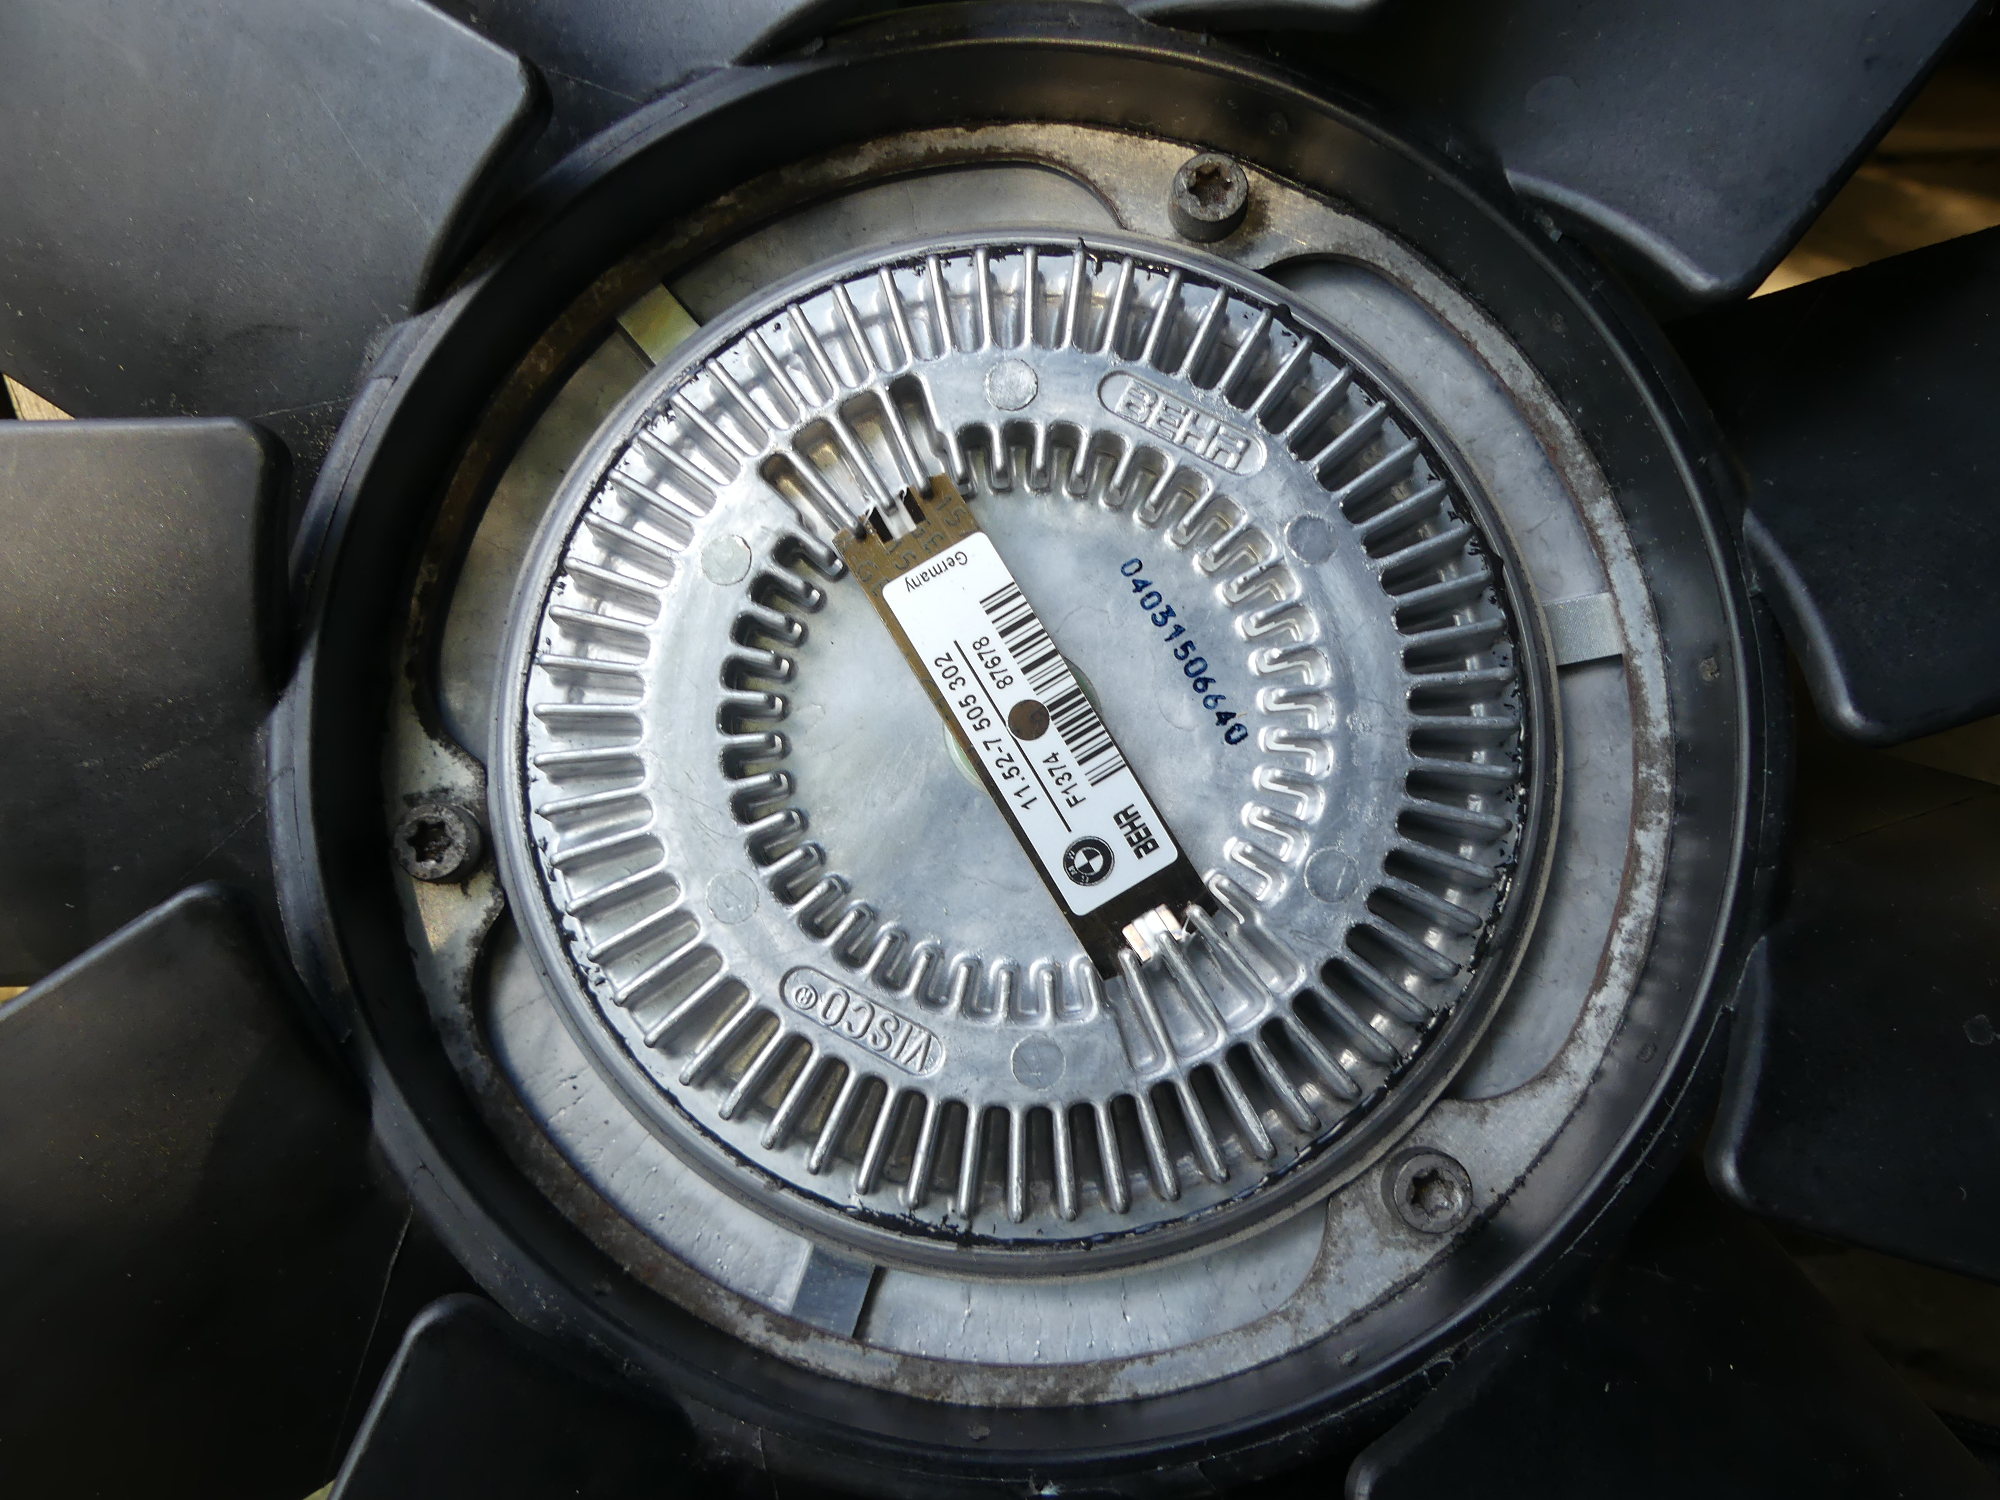 If you look closely at the new fan clutch you can see a bit of black sealant oozing out from the seam. I'm hoping that is a normal byproduct of the manufacturing process and perhaps an indication that Behr is attempting to fix the premature failure of these units. |
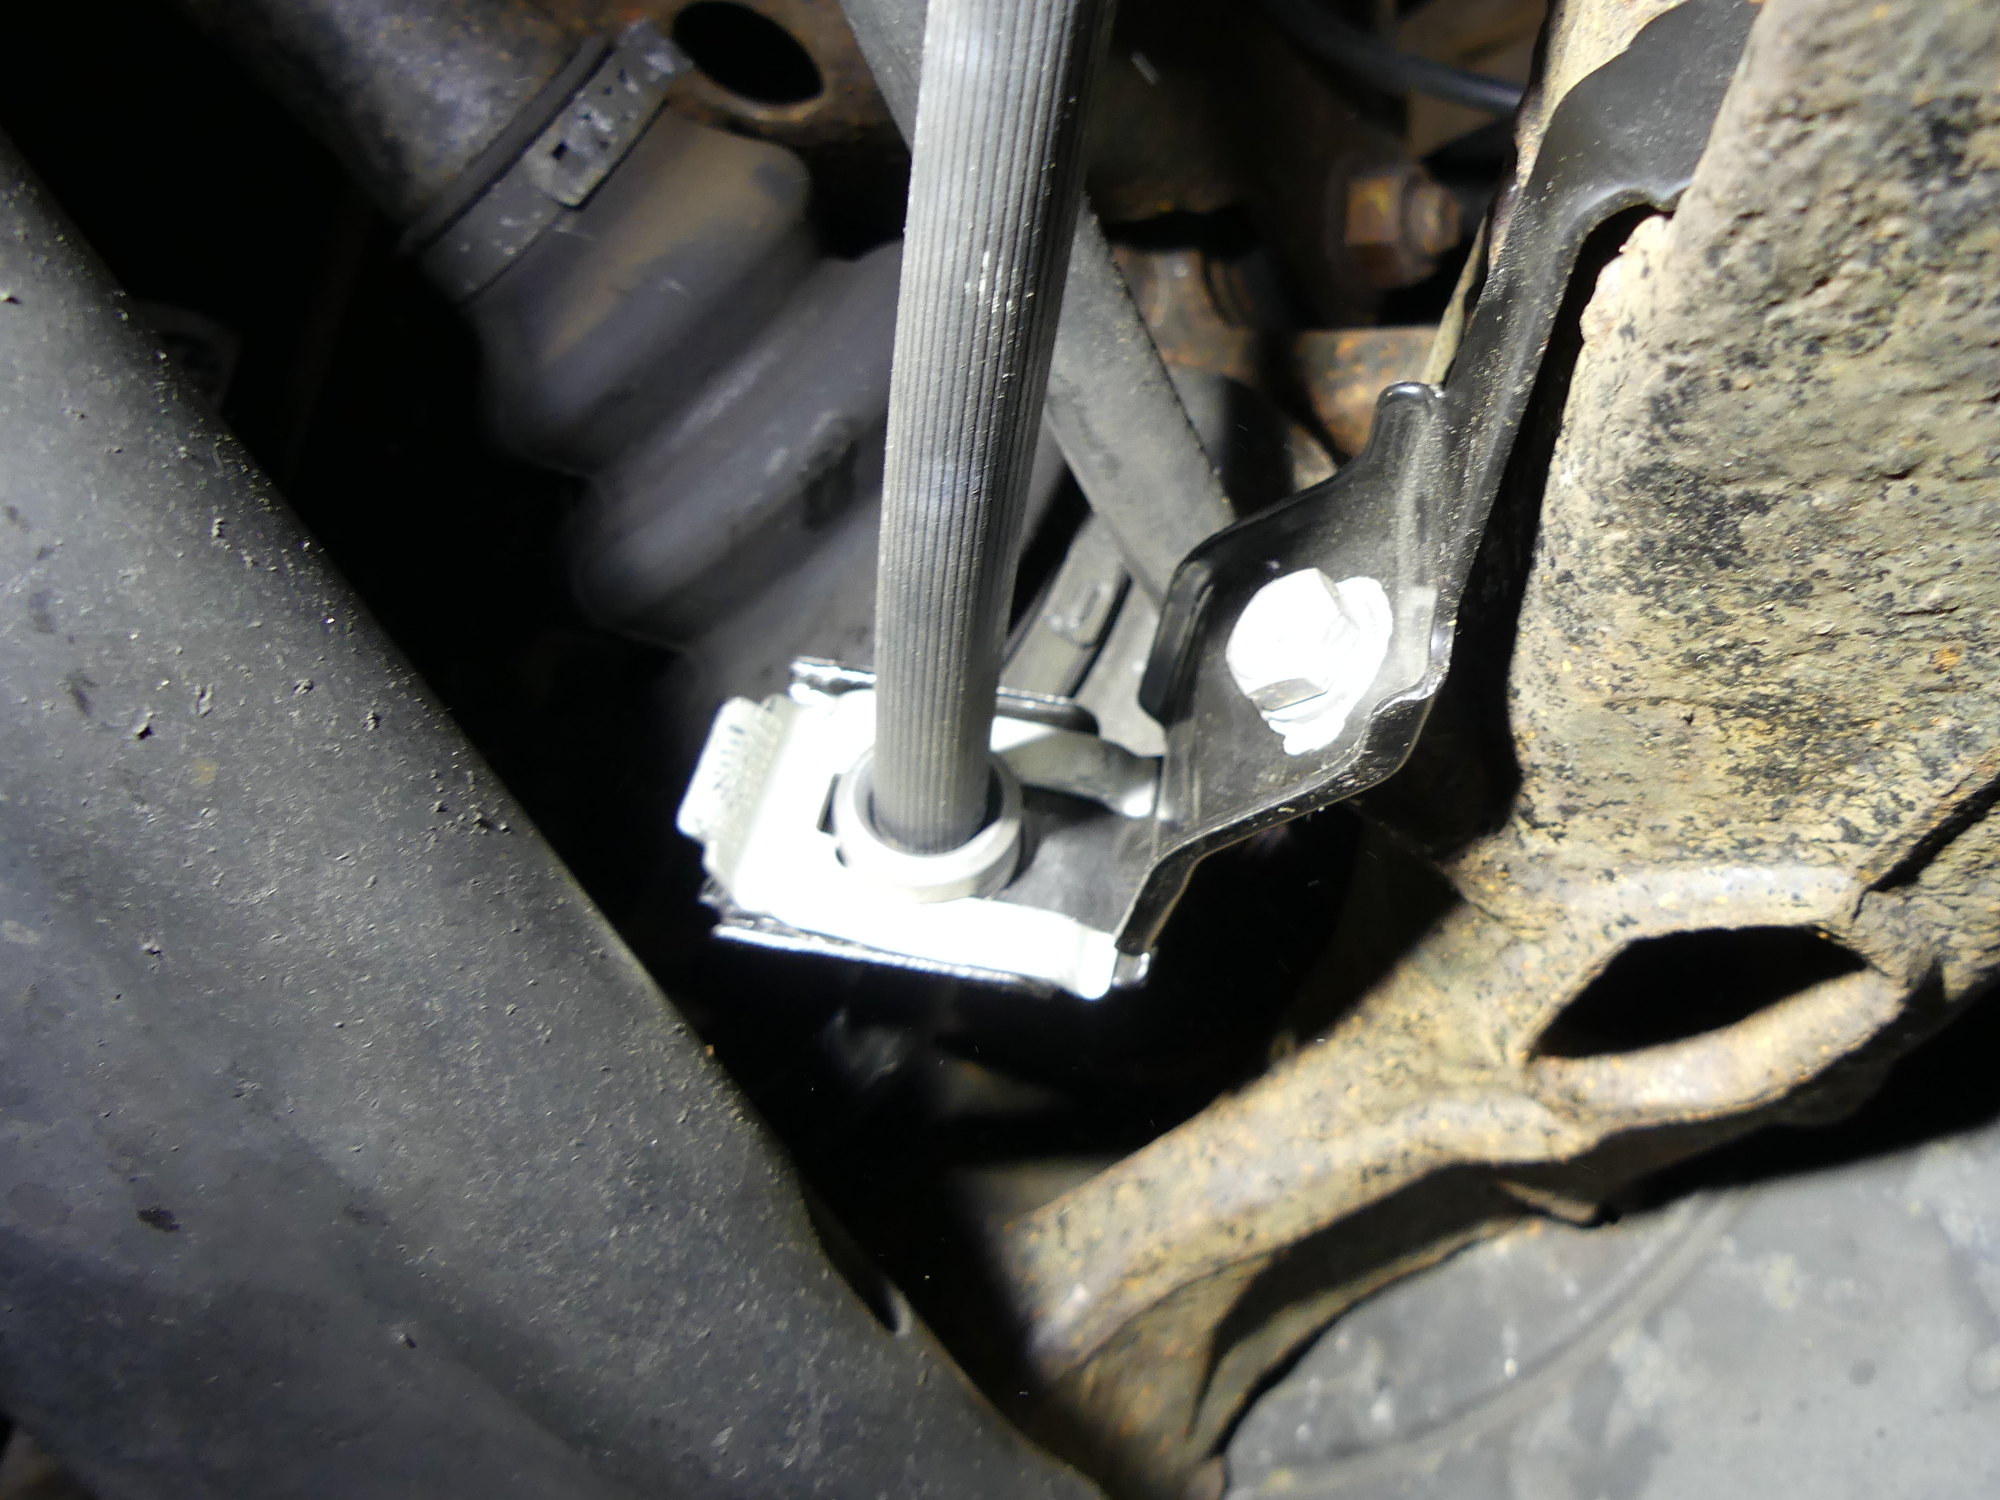 The rear brake line retaining clips go in two ways -- the easy way and the hard way. As usual, the hard way is the correct way. I swore at these things terribly until I flattened them just a bit as required to tap them into place. |
Pre-Cat O2 Sensors
I bought a couple O2 sensors for the car several years ago when I had reached the recommended 100K service interval. Unfortunately with everything else going on in my life and all the higher-priority projects going on with the car I neglected to install these parts...until today. My maintenance schedule revealed that I replaced the original sensors at 140K miles back in 2007. This time I managed to ring up 126K on the clock before replacement. Over the last couple of years my driving habits have changed somewhat so my MPG numbers are suspect but my fueling notes show a gradual decline of MPG to around 21.5 (or 2 MPG lower than expected with the 17 inch wheels installed). I'm expecting this number to improve as the fuel trims adjust to the new sensors.
This job went pretty much as expected except for one surprise -- the paint that once protected the engine block had bonded with a layer of cast iron and lifted from the surface of the block. Every time I accidentally touched the block large chips of paint and cast iron would drop off the block and onto me. While I was wearing safety glasses (never -- I repeat, NEVER -- go under a car without wearing them), these don't seal perfectly around the face like a pair of goggles would so I took the time to actively press on this material and remove it before getting back under the car to remove the sensors. This would have been kind of satisfying if it was not such a huge reminder that the engine needs to be pulled and completely refurbished.
I used my O2 sensor socket I bought 10 years ago for the second time in conjunction with a 3/8" breaker bar to remove the sensors, which surprisingly came loose with a minimum of fuss despite the limited clearance in that area. The odd thing was how difficult I found the units to install -- I worked on one of them for several minutes before I could get the threads to catch. I'm not sure why, though some of it no doubt had to do with the fact that once I put my hand in the way I could only feel, and not see, the sensor and its alignment to the exhaust bung. I eventually got the new sensors in and started the car.
The pleasant result of this work is something I discovered quite accidentally. While refilling the power steering system with the engine running (prior to the O2 sensor replacement) I temporarily set the quart of fluid on the top of the engine and noticed the bottle shaking. This engine hasn't been smooth for a long time, so that's not news, but I'd never noticed how bad the vibration had become until now. After starting the engine with the new O2 sensors installed the idle sounded smoother so strictly out of curiosity I grabbed the bottle of ATF and put it back on the engine. It was still vibrating a bit, but a lot less than before. Did the now correct fuel trims smooth out the idle? Apparently.
Fix Brake Line Retaining Clips
This was a leftover I forgot to do in my rush to wrap up the rear brake assembly. The clips that keep the brake line attached to the trailing arm mounting bracket can go in two ways. The way I put them in first seems intuitively correct, particularly since they fit easily that way and did not seem to want to go in the other way. However, it's essential to install the clips correctly (the hard way) because that is the only way they stay tight and keep the brake line in its place. Obviously it would really suck to lose that retaining clip, have the brake line come loose, and then chafe on all those nice sharp edges on the training arm mounting bracket.
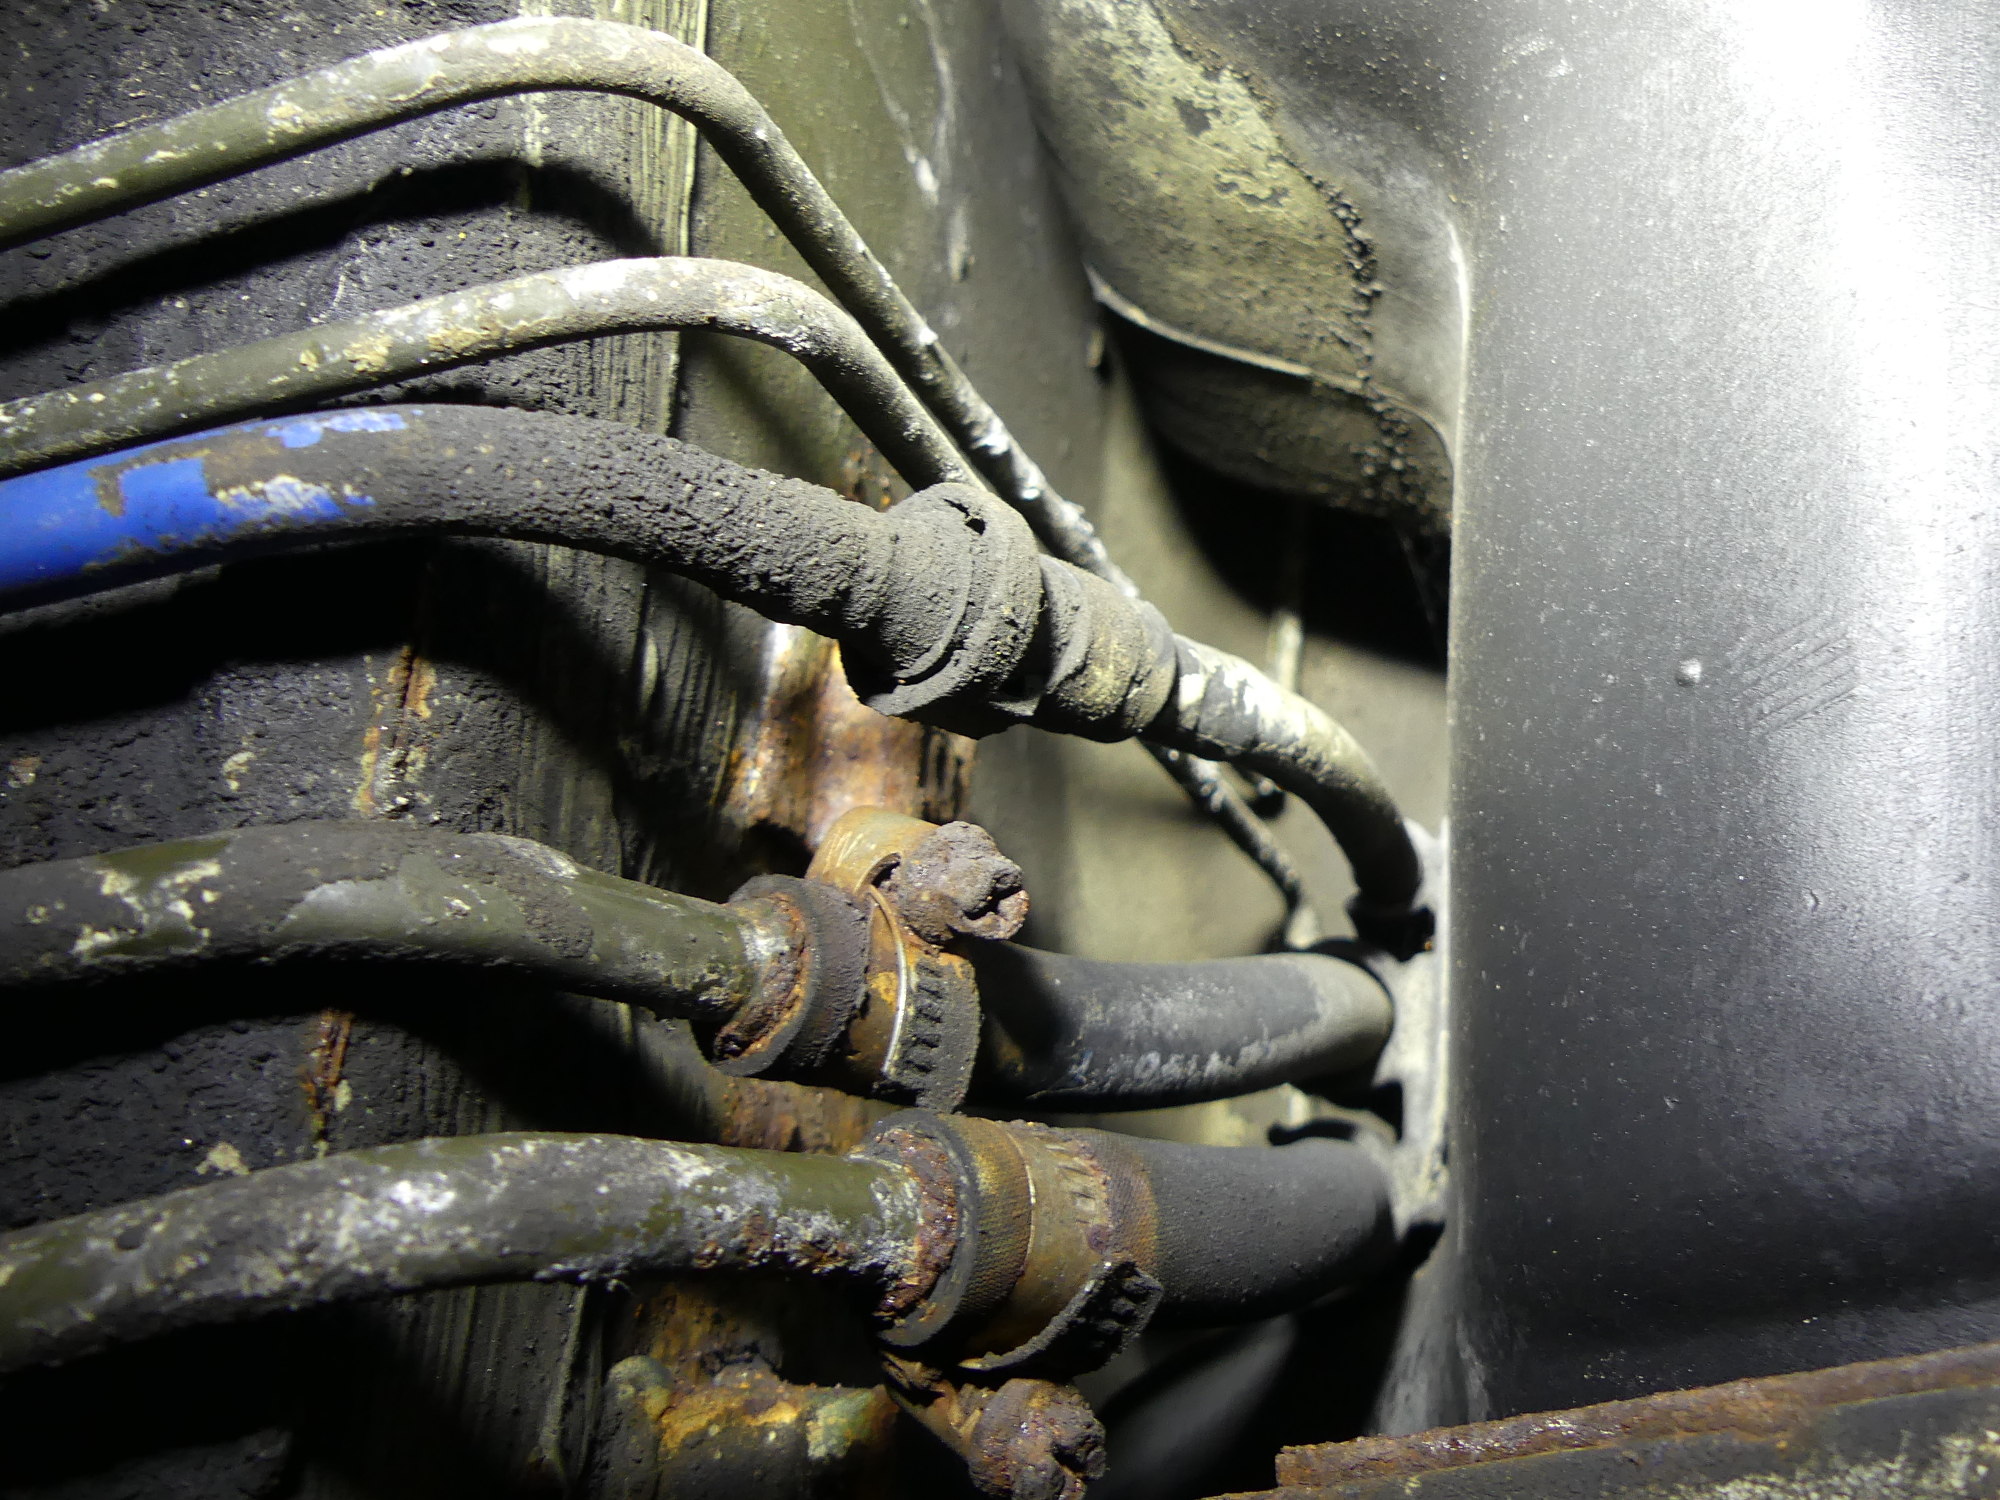 A closeup of the fuel lines as they transition from the hardlines under the vehicle to flexible rubber lines leading up to the top of the fuel tank. These aren't exactly new-looking but don't appear to be leaking. Not sure what is causing the CEL yet. |
 I can't believe BMW didn't engineer any proper hold-downs for the post-cat O2 sensor wires. Mine were just flopping around on the top of the exhaust pipes. My little hack here will likely cause some dissimilar metal corrosion but it just has to last until the engine overhaul. |
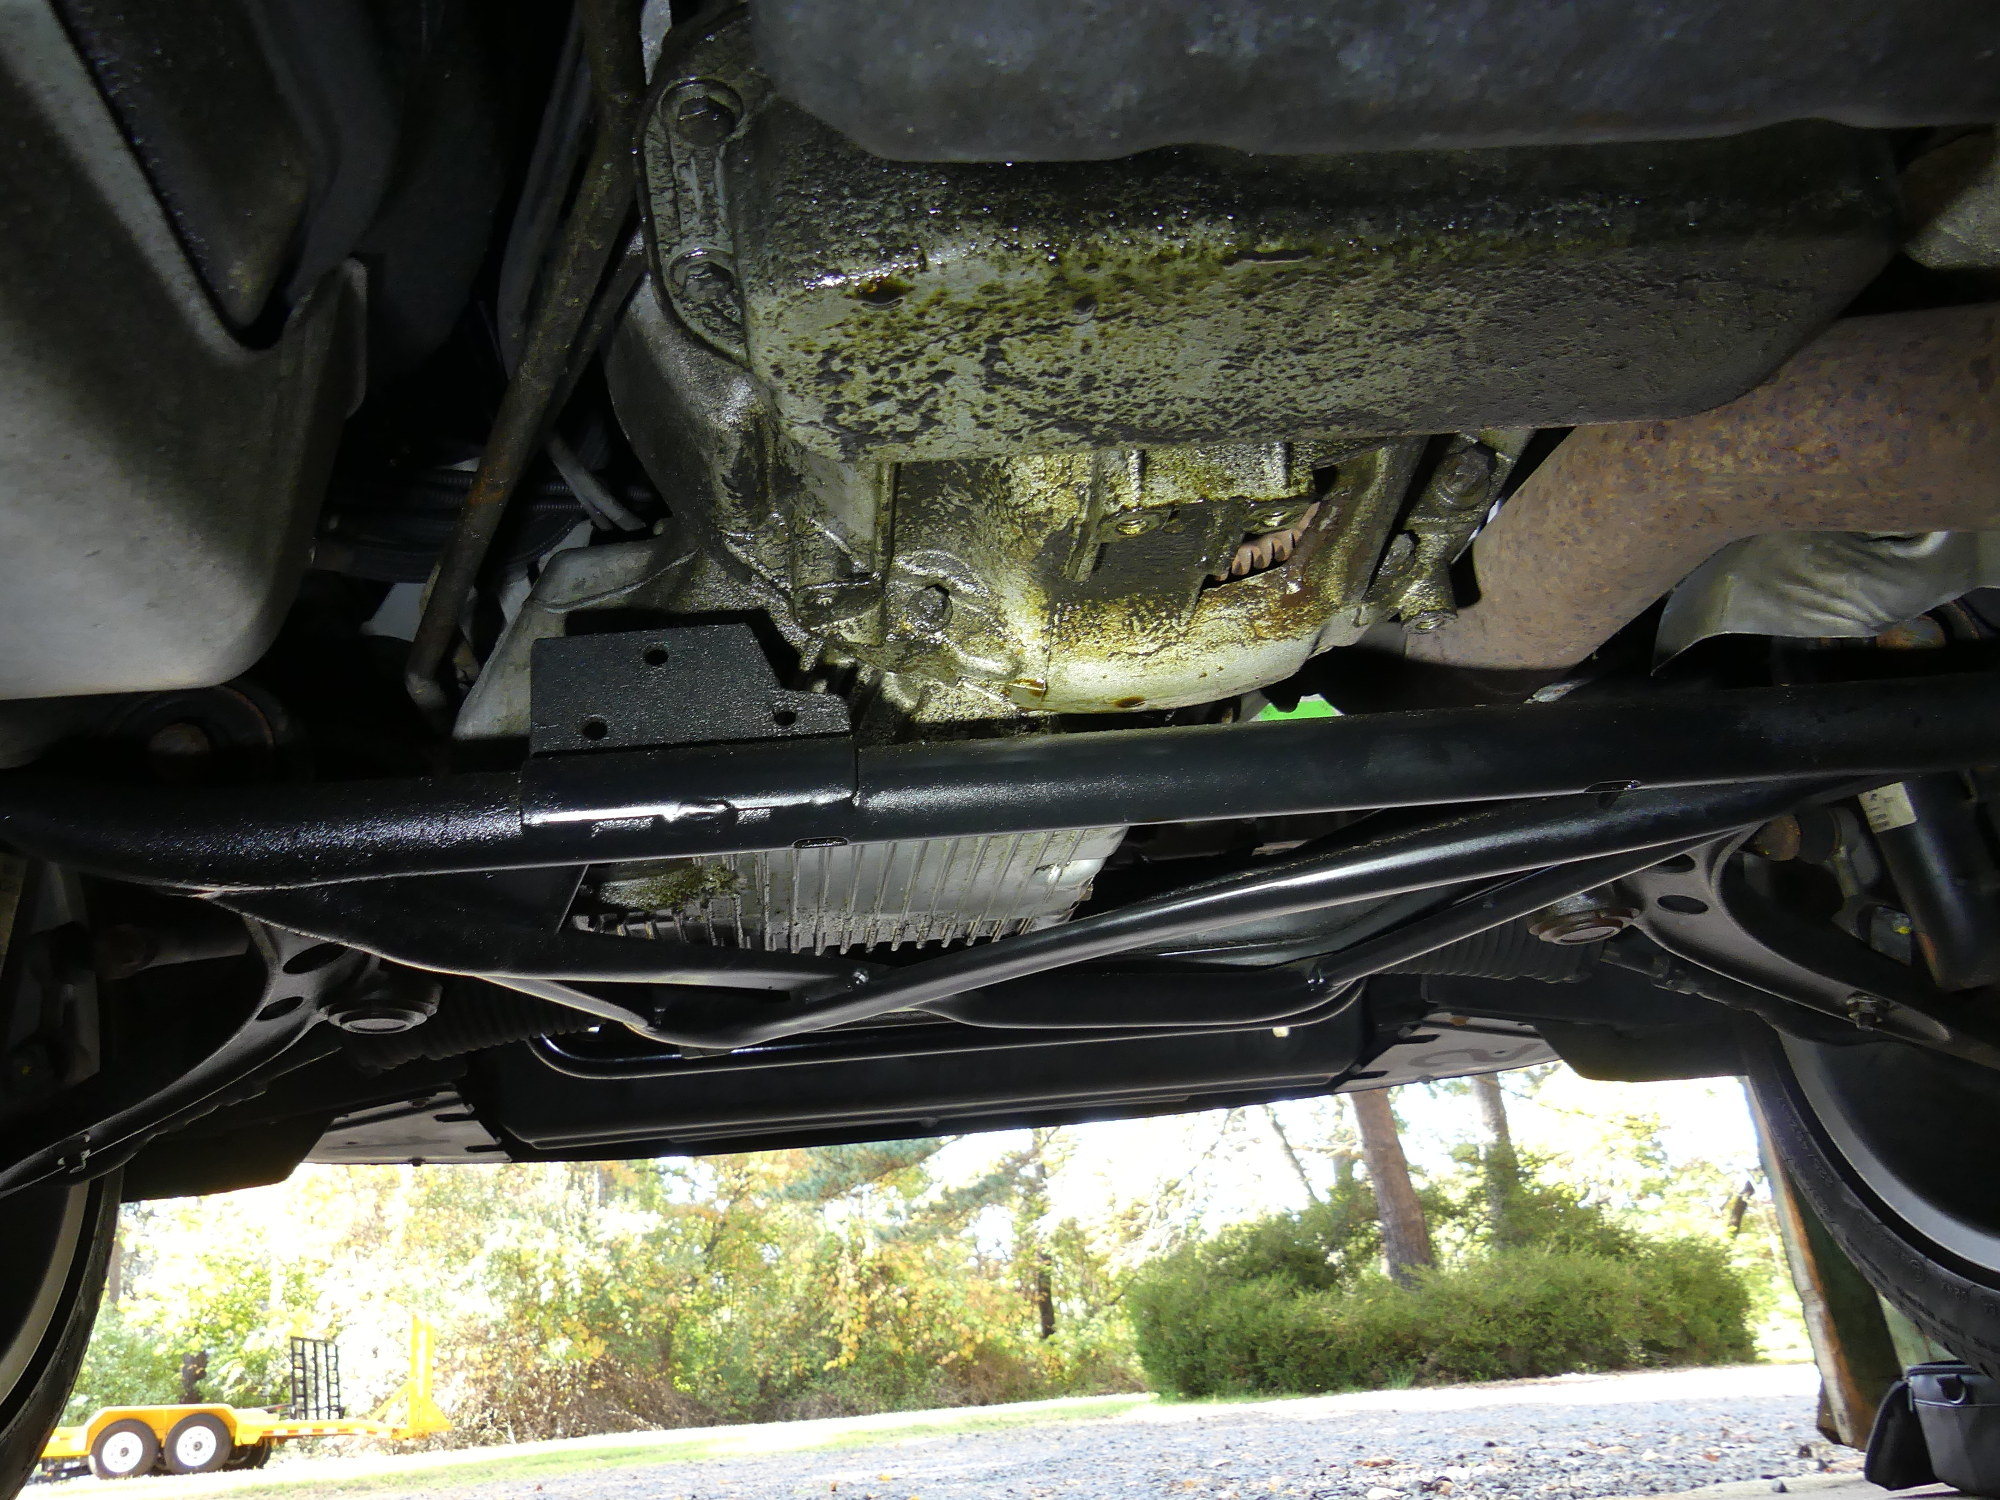 The one major change I've noticed over the last couple of oil changes is the increased oil (and dirt) all over the bottom of the engine and transmission. It does not seem to have a single source so it's probably a leaking pan gasket. That will be replaced during the overhaul, obviously. |
Inspect Exhaust Mounts
The vehicle has been experiencing a slight exhaust rattle when at idle under load (i.e. standing still with my foot on the brake and the transmission in Drive). While most of this I attribute to the general lack of smoothness that's developed in this engine over time I did not want to rule out a possible loose heat shield or some other problem so I decided to spend some time inspecting the exhaust stem to stern.
In this process I found two issues -- the two rear nuts holding the muffler to the body were a bit loose. As these are self locking nuts they didn't loosen over time so my guess is the clamps shifted along the flange of the muffler and this allowed them to move closer together. This, in turn, opened up a bit of a gap between the nut and the clamp....something I quickly remedied with a couple turns of a ratchet and a 13mm socket.
The second issue was a bit more troubling -- with the pre-cat sensor wire routing fresh in my mind I decided to inspect the post-cat wiring and found the silicone outer tubing worn out in a couple spots. This was clearly caused by the wires sitting loosely on top of the exhaust pipes and coming into contact with them repeatedly. The fact that this occurred demonstrates BMW has clearly forgotten their roots in aviation, where this kind of shit would never be permitted. Look under a aircraft cowling sometime. There's a damn good reason everything (particularly stuff near the exhaust headers) is secured with adel clamps with silicone liners.
Knowing full well that no common ty-wrap would survive the temperatures present near the exhaust I instead used a piece of copper wire (with no insulation because that wouldn't survive either) to secure the wires to the heat shield. However, I'm not proud of this solution because copper in direct contact with the aluminum shielding will no doubt cause dissimilar metal corrosion. As a result I expect it to break off in the not to distant future. But all it really needs to do is hold the sensor cables until I can come up with a better solution...or until I tear out the mid section during the drivetrain overhaul.
Fuel System Inspection (CEL Troubleshooting)
After several drive cycles since I cleared the CEL related to the evap system fault and replaced the gas cap, the CEL reappeared. I don't know the cause as of this writing but my guess is it's a repeat of the prior fault.
So I decided to allocate some time to inspect the fuel lines under the car. Long story short: while some of the lines are a bit rusty, particularly where they go through the supports, I did not see any obvious signs of fuel dripping or weeping. The short rubber pieces connecting the hardlines under the car to the top of the tank tank are definitely showing age, but those are to my knowledge impossible to replace unless the tank is pulled -- something I consciously avoided during the rear end overhaul in 2010, but may need to do sooner rather than later. I would hate to lose this car to a gas fueled fire.
Postponed Items
Unfortunately I was forced to delay replacement of the hood release cable due to a lack of parts and, frankly, knowledge. After some research it turns out replacing the cable requires either fishing the new cable through the fender using the old as a snake (yes, I'm already having flashbacks to my days as an electrician) or removing the entire front of the car and the driver side fender. Needless to say I'm going to stick with option 1 if at all possible. It also turns out the dealers charge big money for this job...and if they follow option 2 I'm not surprised.
I also had every intention of replacing the driver side window motor with a unit I've had on my bench for the better part of two years but I simply ran out of time. I allocated only a couple afternoons to this work and needed to get back to things that make money, rather than merely preventing an expense. That said, I estimate I saved about $800 in labor doing this work myself. If I take into account the parts markup that most people pay when they walk in and hand the dealership their keys and credit card I could easily justify a $900-1000 DIY dividend. A reasonable use of my time, for sure.
M52 Long Blocks NLA
As I was making an edit to this article I sent email to my dealer asking them to quote a reman M52 long block, transmission, and driveshaft with center bearing. The unfortunate news is the M52 long blocks are NO LONGER AVAILBLE from BMW. So it appears that if I want to overhaul the engine I will need to do it the old fashioned way.
I recall reading a commentary in which the author suggested one of the many things a well-rounded man should do at least once in his life is rebuild an engine, so I'd certainly like to try. But as with everything the devil is in the details and this would very likely be a multi-month project. I'm not sure what I'll do yet but as long as the engine holds together for the next few months I'll have the luxury of considering all options.
Mileage 264400