


Sunday, July 23, 2017
Drivetrain Disassembly Begins
This week got off a bit slower than planned as my technician was out of the office a few more days than expected, but the good news is I finally delivered the car on Thursday and he began the disassembly process.
Although I told him the vehicle will be in my garage for the duration he's taking the time to tape up all hoses, protect electrical connectors, etc. His justification for doing this is based on long experience. He's seen cars sit for a while, only to come back to him with connectors corroded, hoses plugged with pests, etc., and this usually causes intermittent faults that can be time-consuming to troubleshoot. This extra bit of work now should save a lot of time and aggravation later.
I again emphasized that I wanted to replace all of the "soft parts" (rubber, plastic) in the engine bay and that prompted him to ask for a list of parts I had purchased already so he'd know what to order. My tendency to keep meticulous records came in handy here, as I simply gave him a printout of the parts worksheet I developed for the project.
I'm expecting delivery of the car (in pieces) mid-week. Despite the late start, assuming all the vendors get their work done on time and I don't run into any major problems in my own build process I'm still on target to wrap up this project around the end of August.
While visiting my tech I took a short video showing his progress in the engine bay so far.
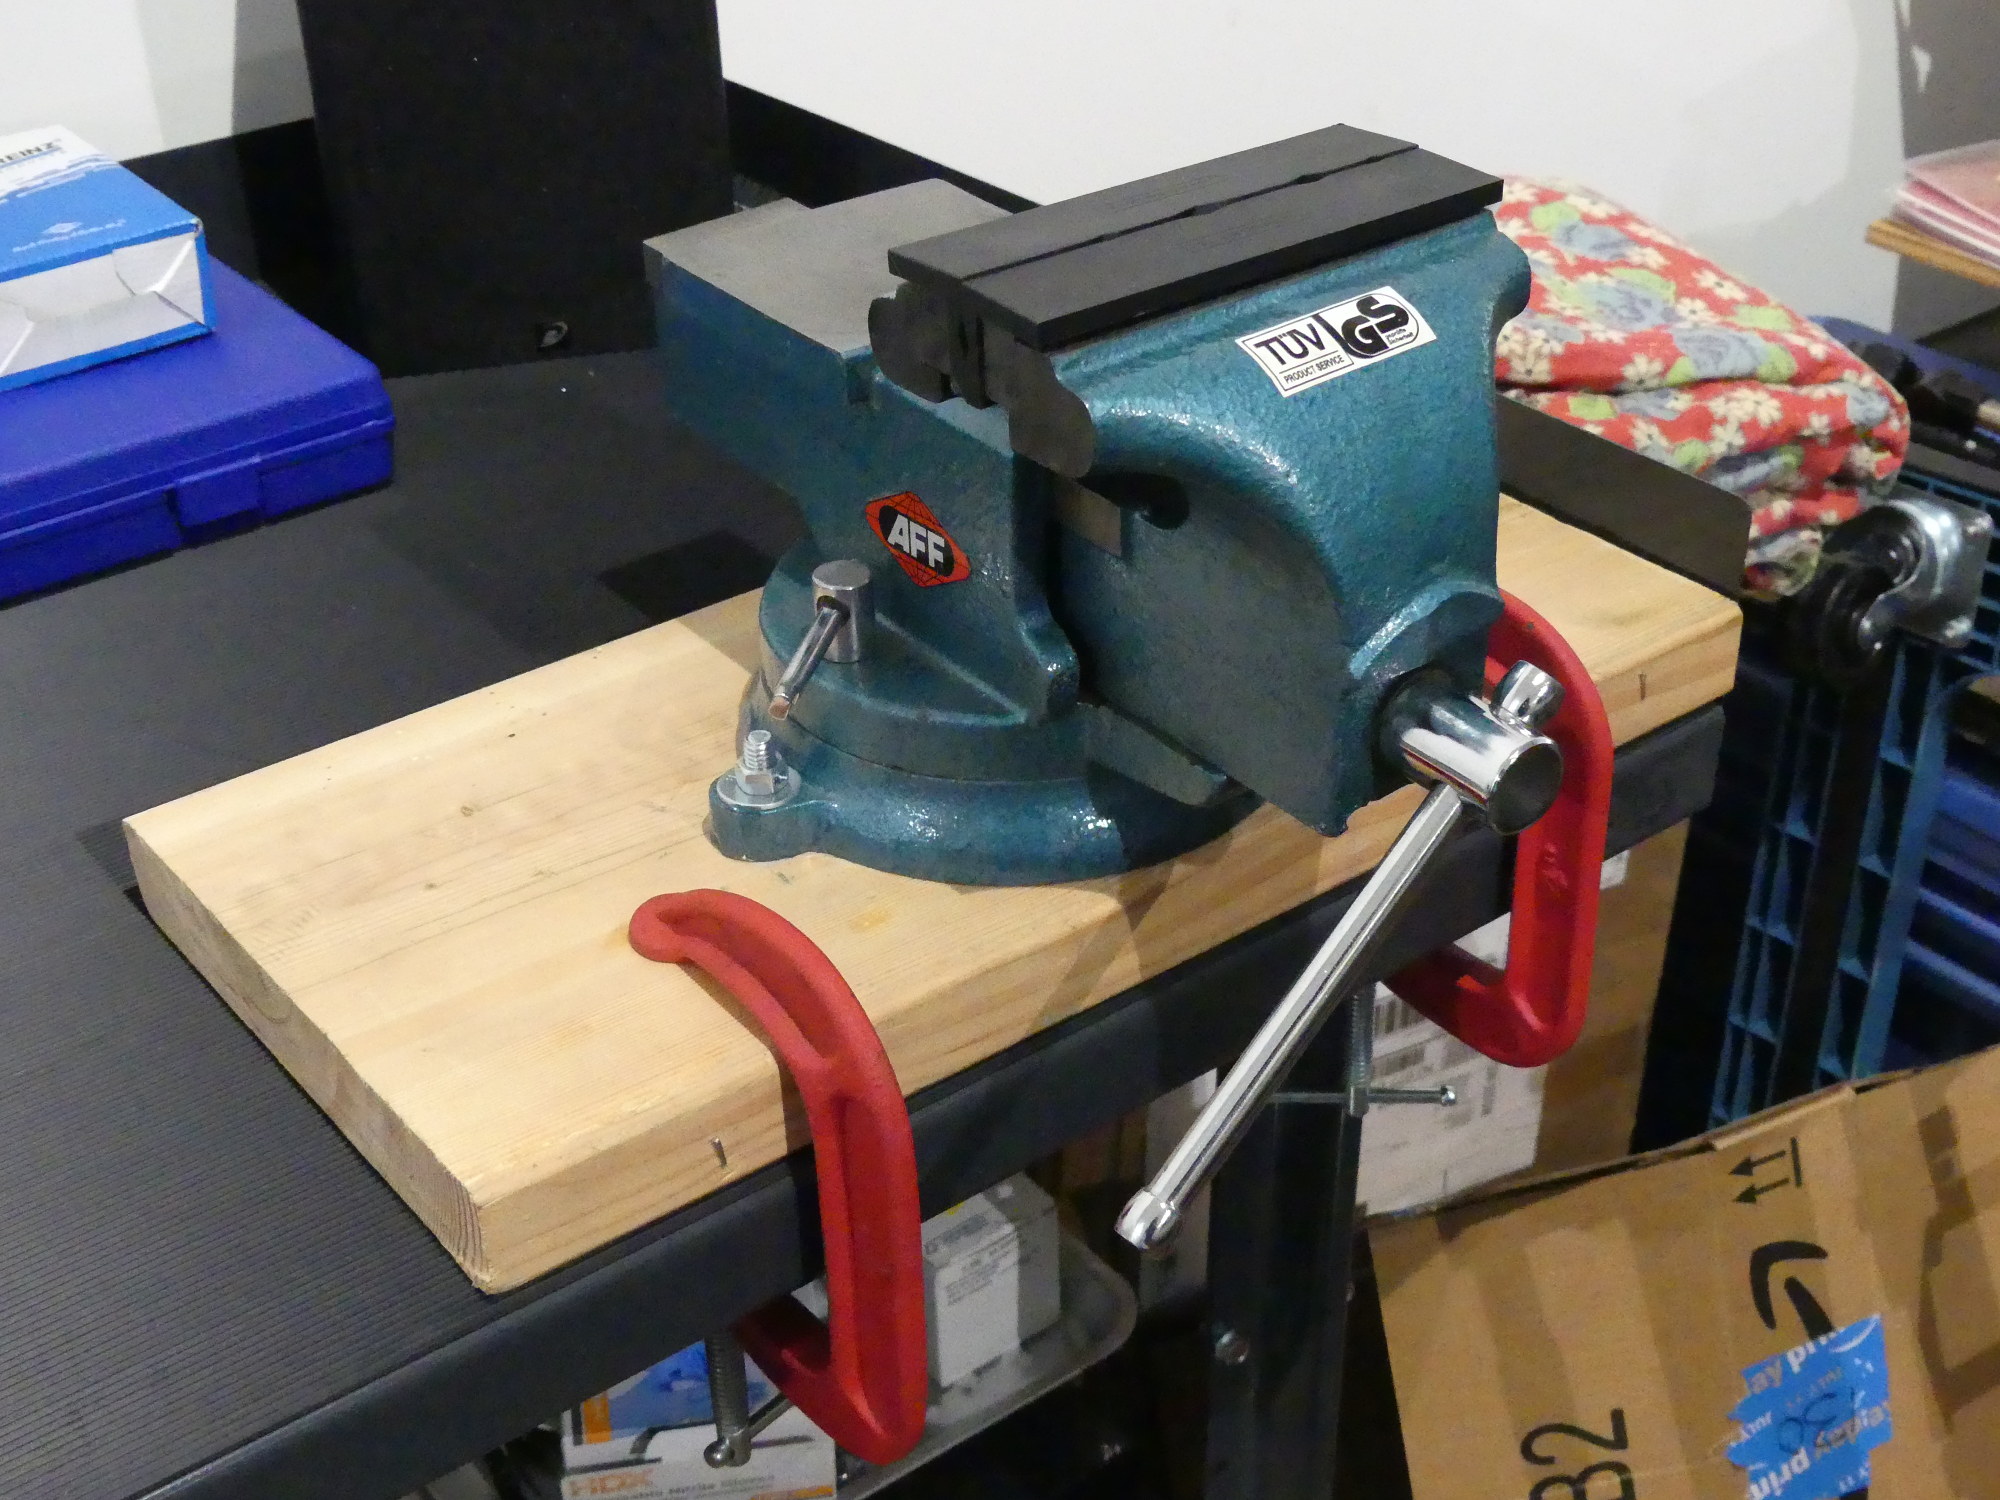
Vise Base Construction
I determined some time ago that I would need a vise to do a few things on this project but I didn't want to permanently attach it to the table so I came up with a simple mounting system based on a spare section of 2x10. While passing the local home center I decided to pick up the necessary hardware and get this small project done today.
I test fit the vise to the 2x10, marked and drilled the holes with a 10mm bi. I then used a 1" spade bit to bore a recess into which the bolt head and washer would fit before mounting the vise to the board. Years ago I bought a couple 4" metal clamps for use in brake jobs and I managed to repurpose those to secure the mount to the table.
The picture shows the vise with the magnetic soft jaws installed. These are required to hold the vanos piston safely so the cap can be removed.