


Wednesday, August 23, 2017
Front Support Nutsert Installation
Today I picked up the last order at the dealer which included mostly hoses, but most importantly, the new front support. I then took the support to the local body shop I spoke to last week. Their quote was for a mere $75 and delivery in two days or less. I was pleasantly surprised at the price, but that's what happens when you don't clear a part. The rep I spoke to said that they (and the manufacturers) typically don't apply a common urethane clear over parts destined for the engine bay because of its low heat tolerance. I asked what the temperature tolerance of modern clear is and suggested I'd read it was somewhere around 200F. He replied with a knowing "on a good day".
I would have given the part to him right then and there, as that would have saved me another trip to the shop, but as I had just picked up the part, had not installed the nutserts and wanted the exterior of the nutserts completely encapsulated in primer and paint to protect them from corrosion, I took the part back to the garage for the installation.
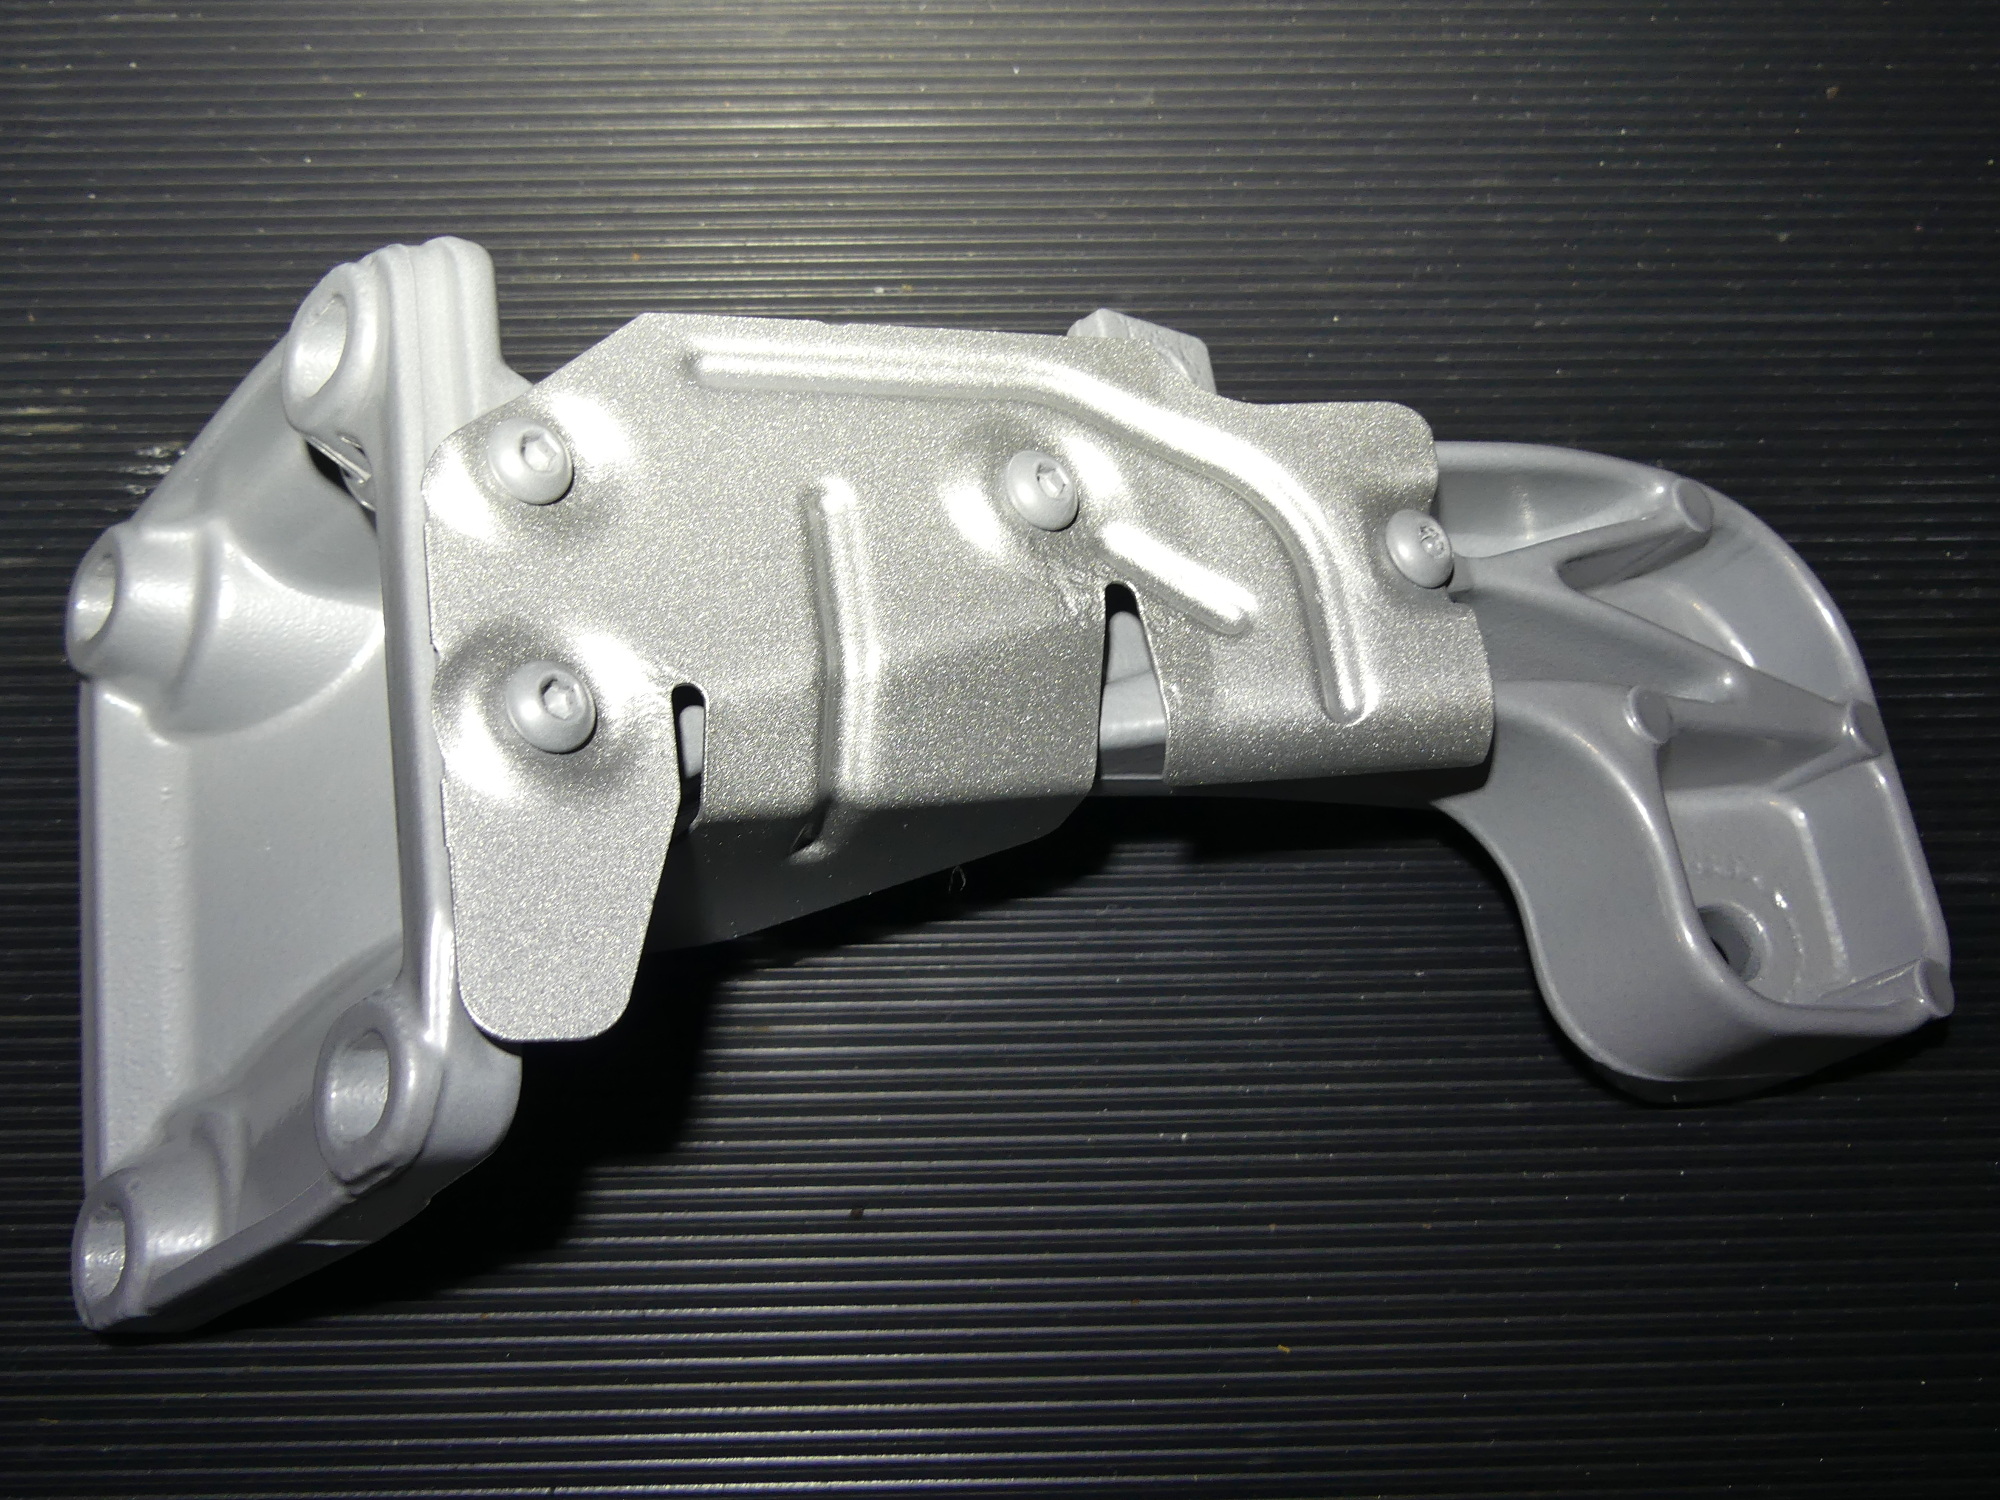
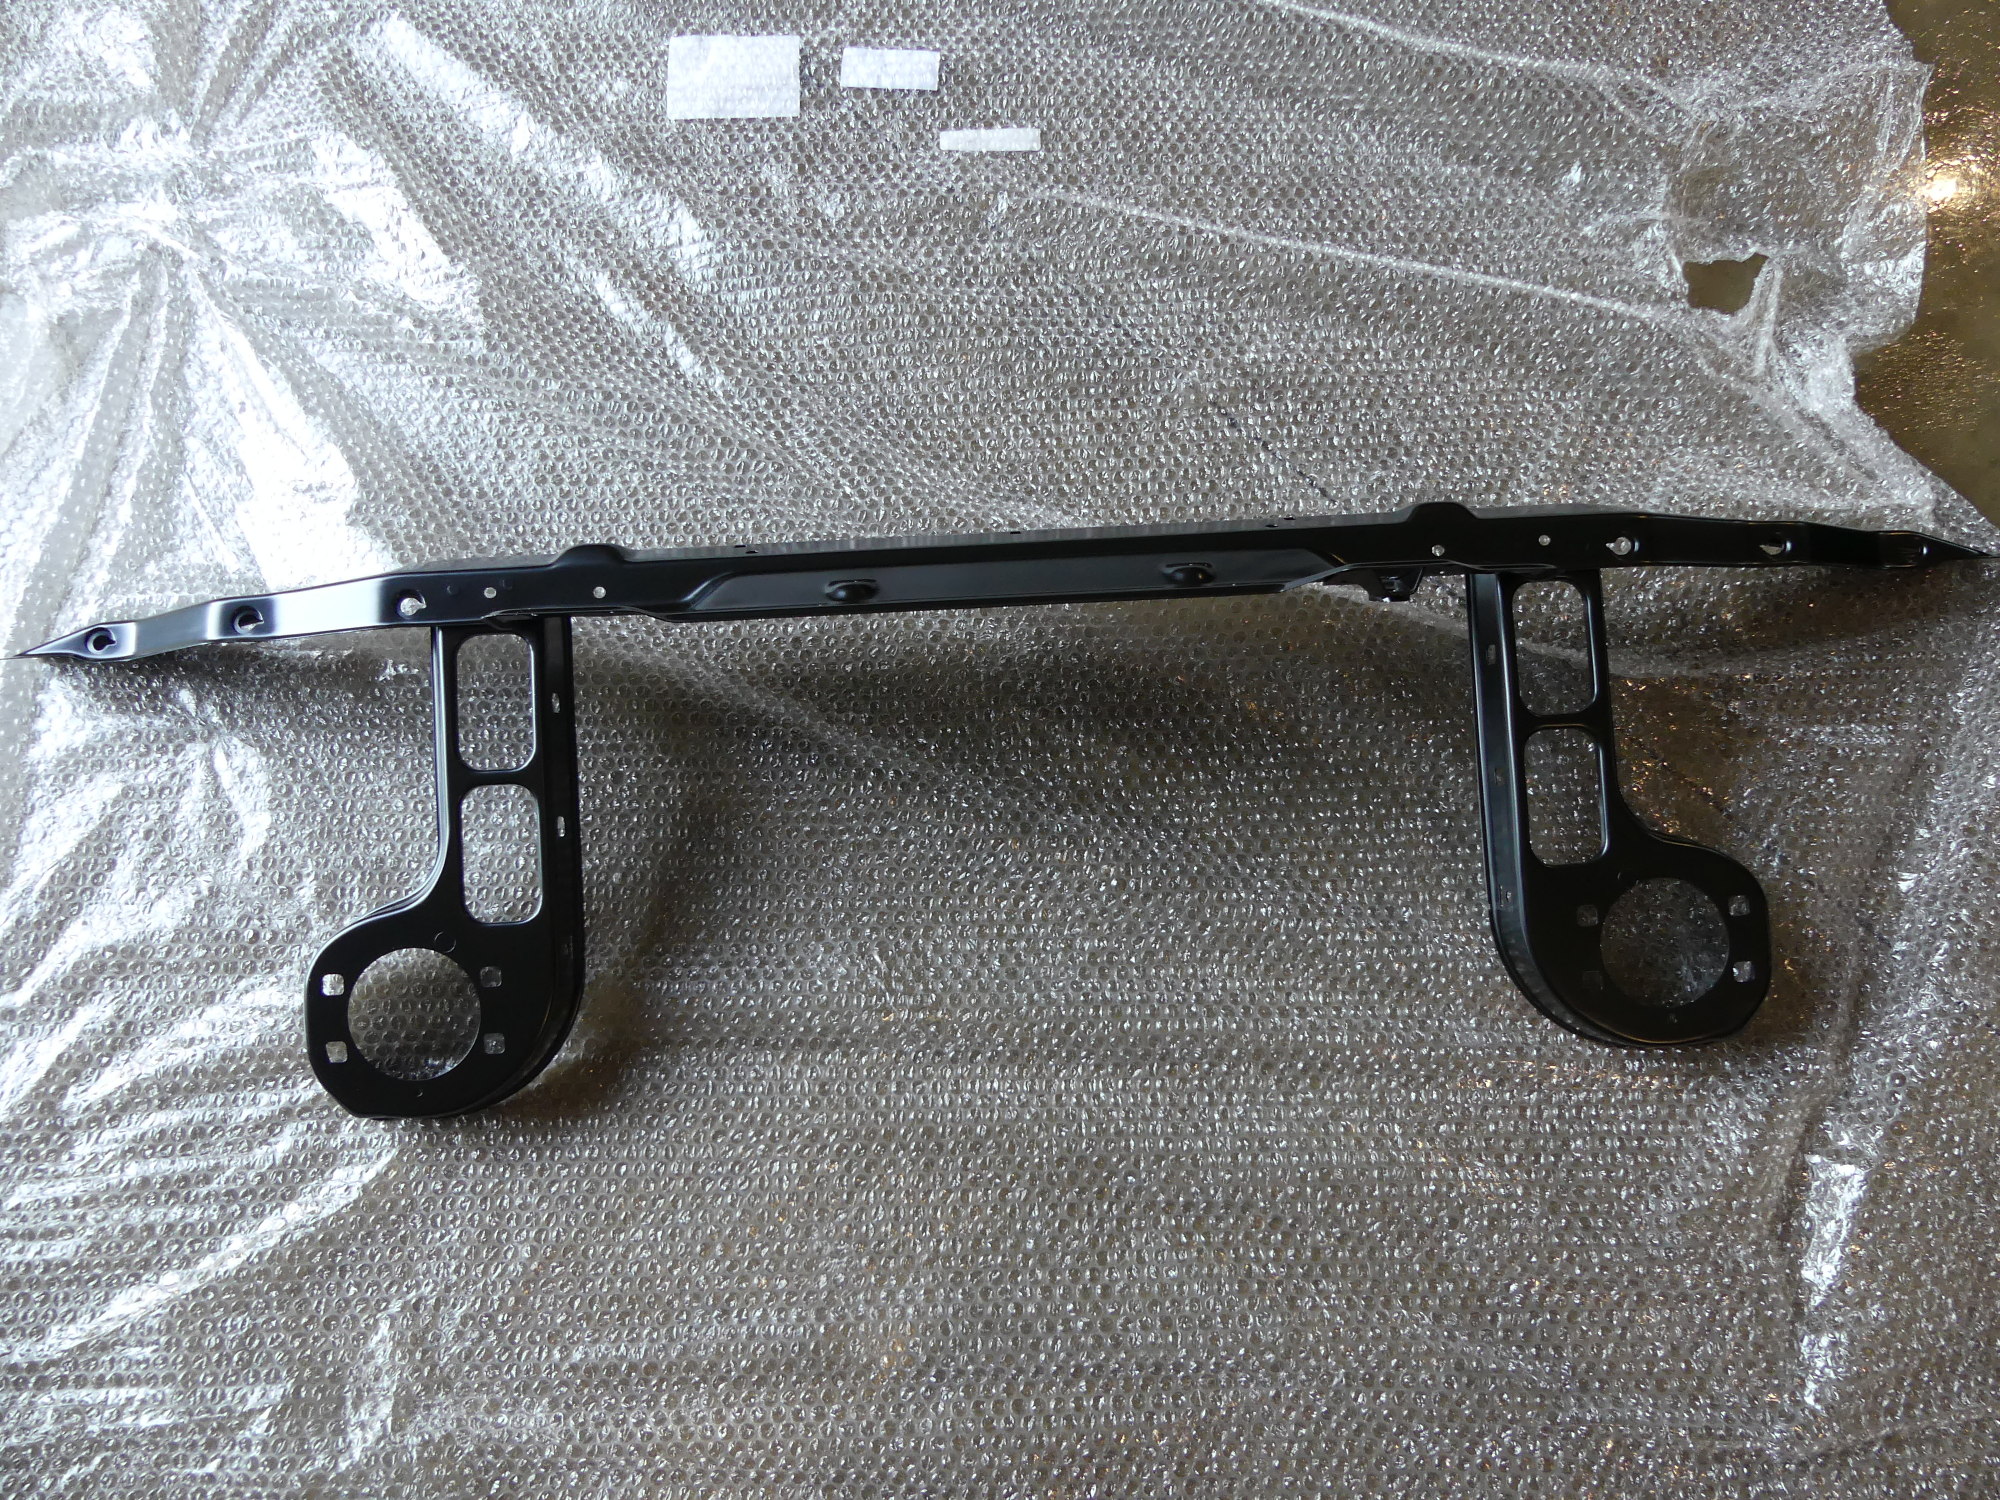 A brand new support from BMW. My parts rep came to the rescue again and gave this to me for $18 over cost. I ultimately determined it was cheaper to buy new vs refurb the old one because labor is expensive. |
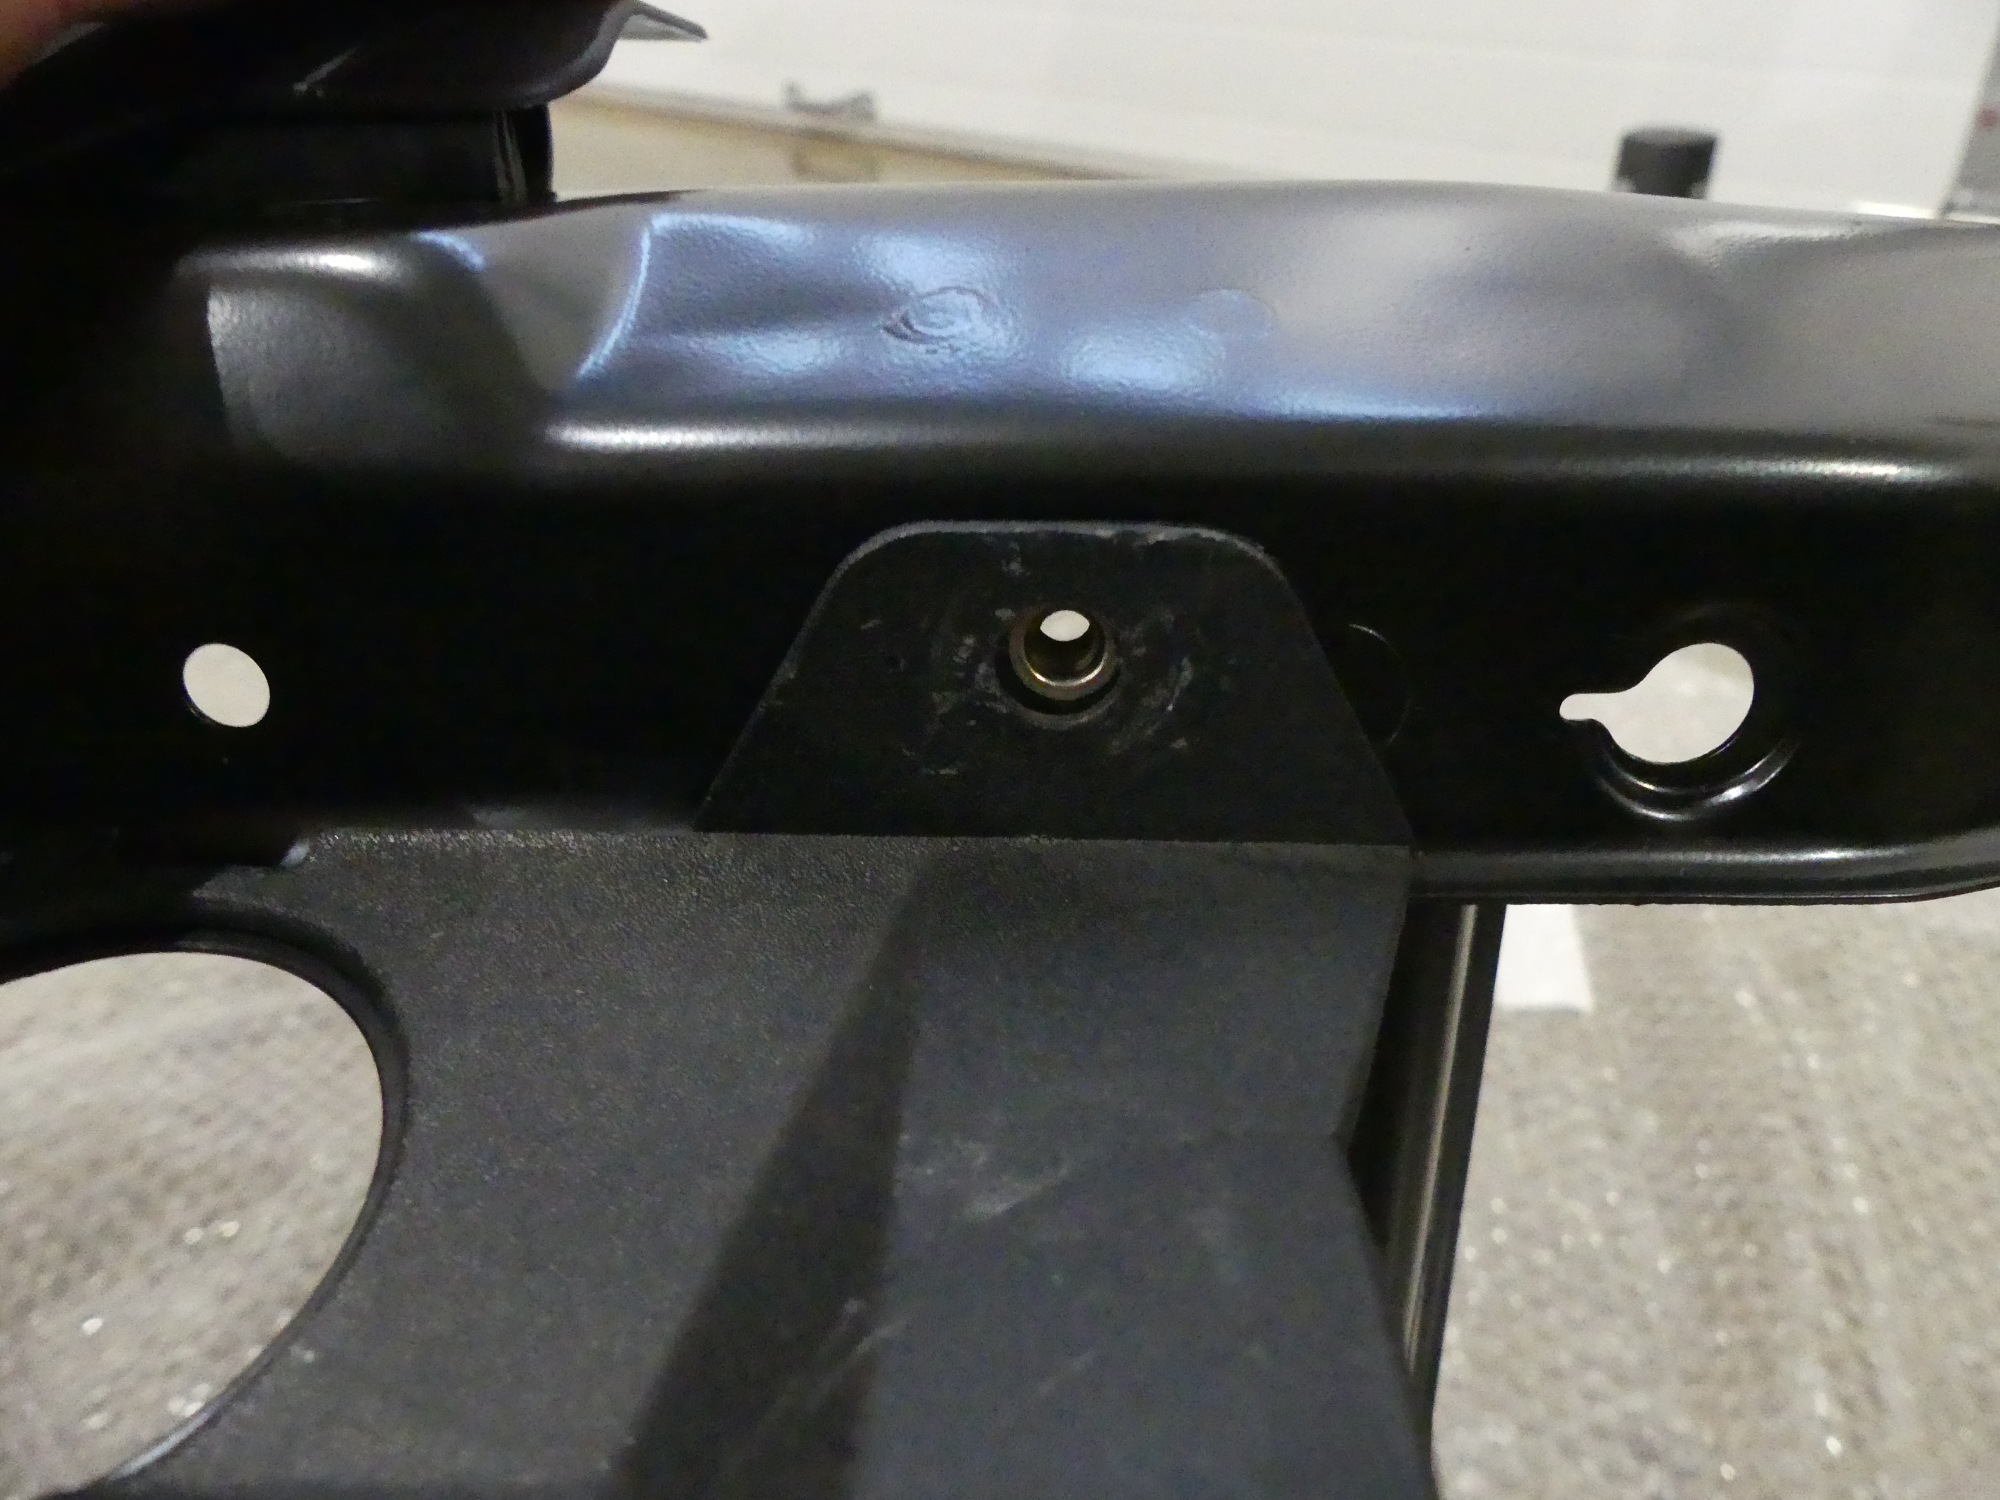
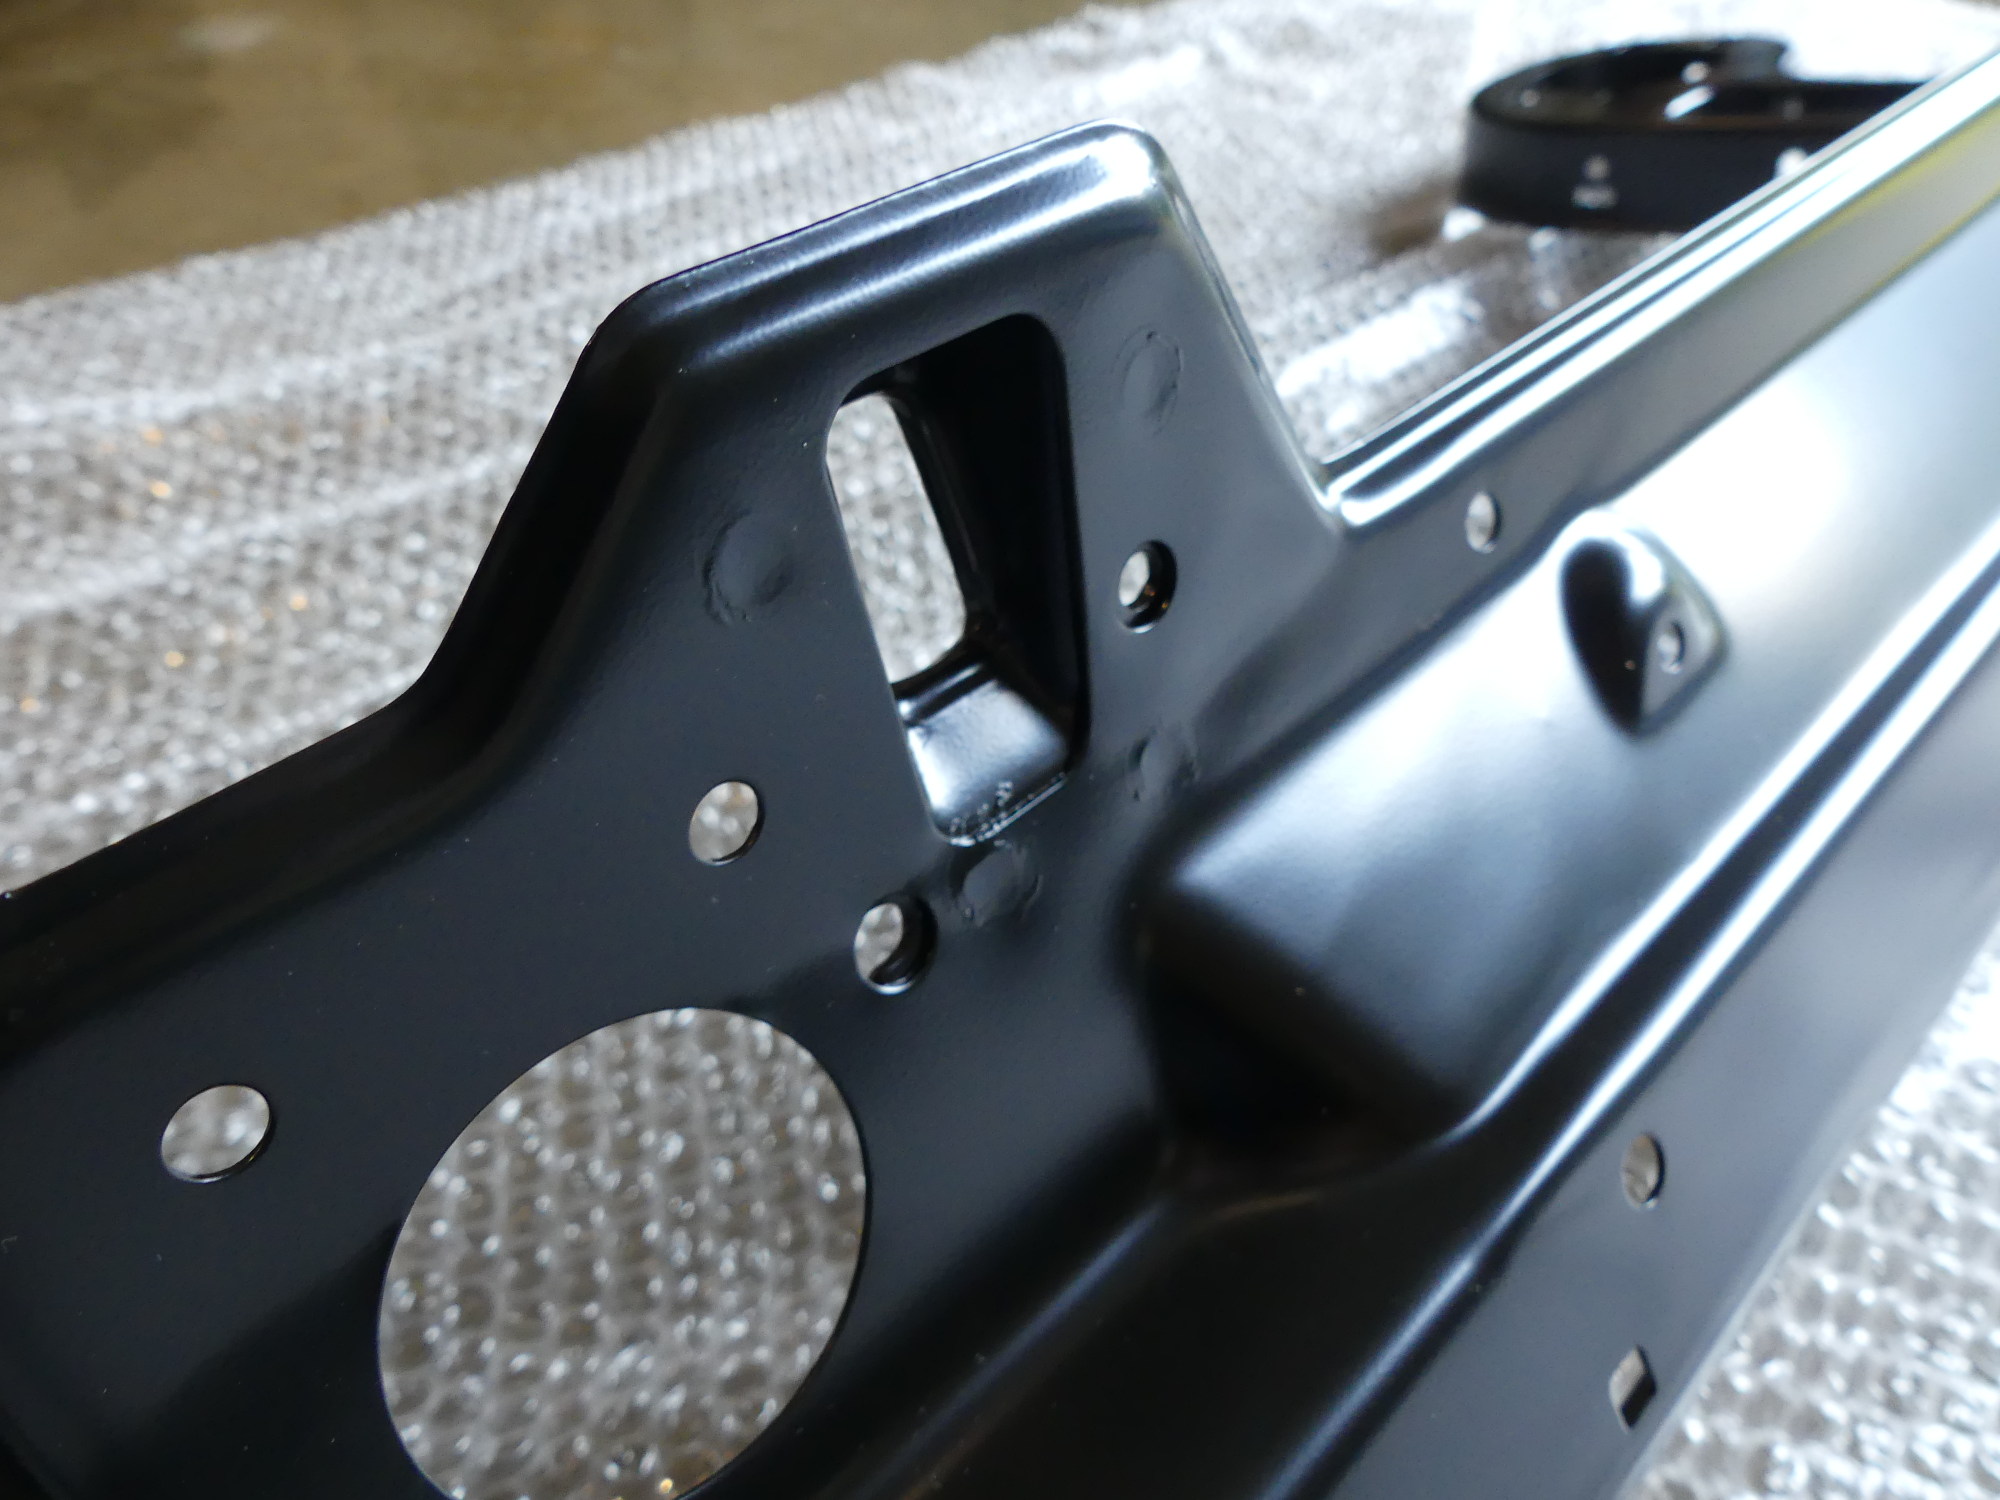 A closeup of the hood latch area of the new support. My old one has a hard plastic protective film on it but this one doesn't...perhaps because later versions of the alternator duct cover overhang this area. |
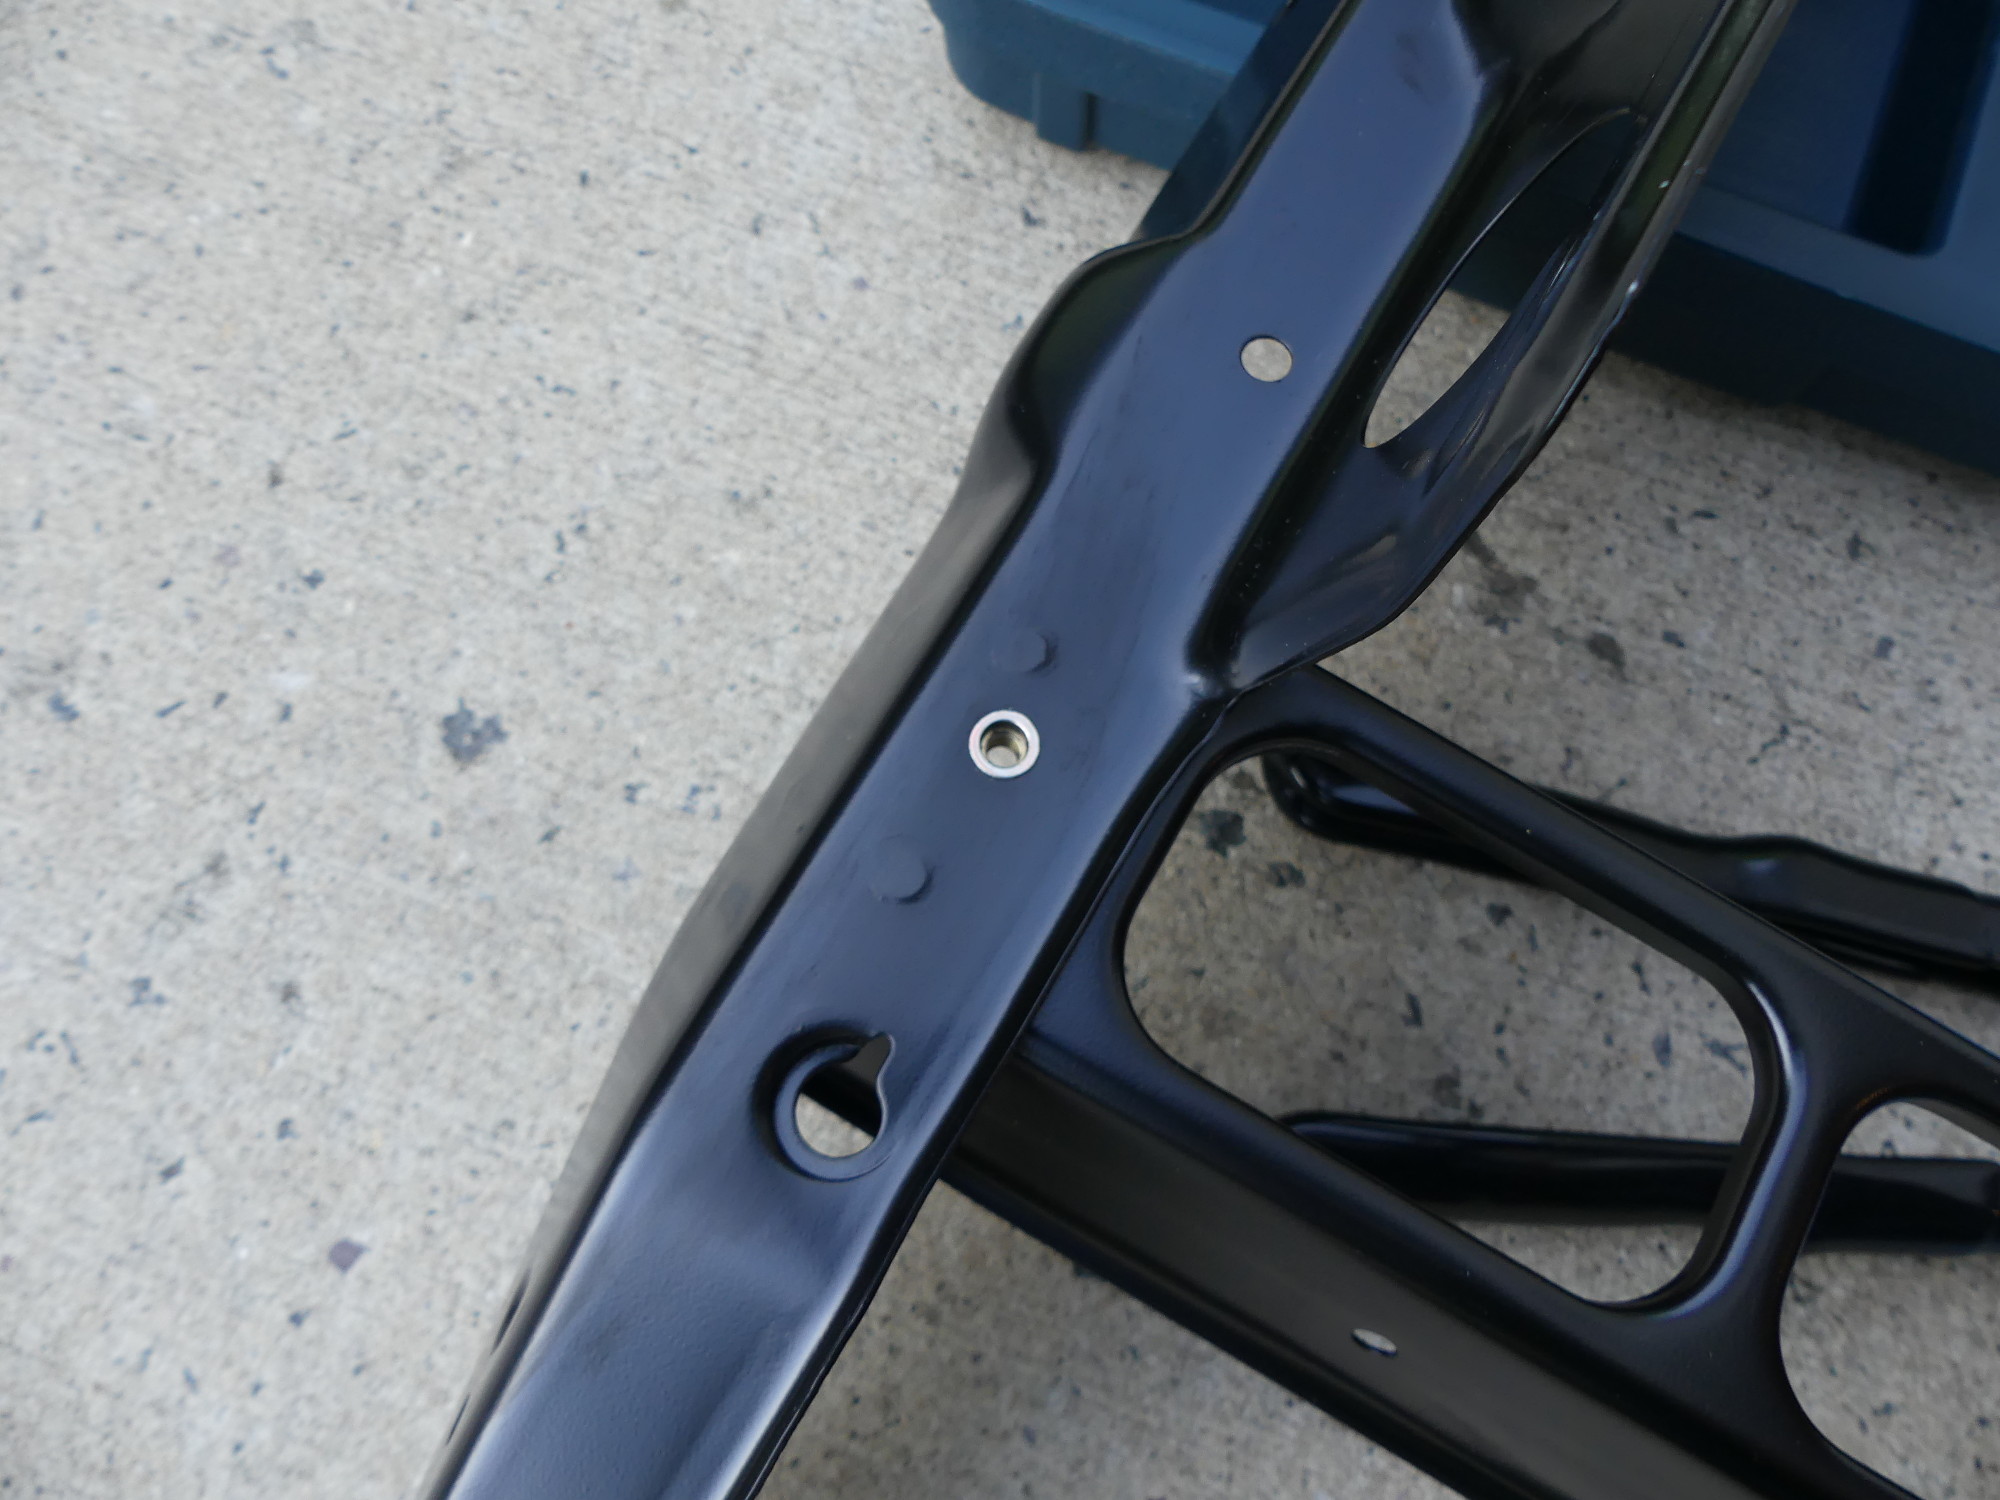 The first nutsert installed. While you can't see it, the bare metal inside the newly drilled hole has been primed, as has the exterior face of the nutsert. I don't know if this really matters, but I'm paranoid about corrosion. |
 Another closeup of the second nutsert. If you look carefully you can see some of the primer that was left behind. These nutserts are designed to be almost flush. Not all nutserts have this feature. |
 A test fit of the cover fit over the new support. A simple stainless M5 bolt with a washer (or flange head) will be installed here to secure the cover. Good riddance to those annoying plastic rivets! |
 With the VHT on the heat shield now dry I performed a test fitting on the engine support. I didn't have the new stainless bolts handy so I used the originals I sent along to protect the threads during powdercoating. |
One of the perks of having a new support was having the original to serve as a testbed of sorts for the nutsert installation. So I started with the old support first, drilling the two holes oversize with a 7.6mm bit (yes, I bought this specific size bit for this application). Then I grabbed the installation tool I bought back in 2012 to do the nutserts on the front subframe, assembled it with the M5 nutsert conversion kit, and screwed the nutsert on the tool. With the nutsert in the target hole I pulled the handles closed until I could pull no longer. Although this task was considerably easier than with the M8 nutserts used on the subframe I remain completely unimpressed with this tool. If I had to do it all over again I'd buy the bigger tool with large handles that provides a lot more leverage. It's easier on the hands.
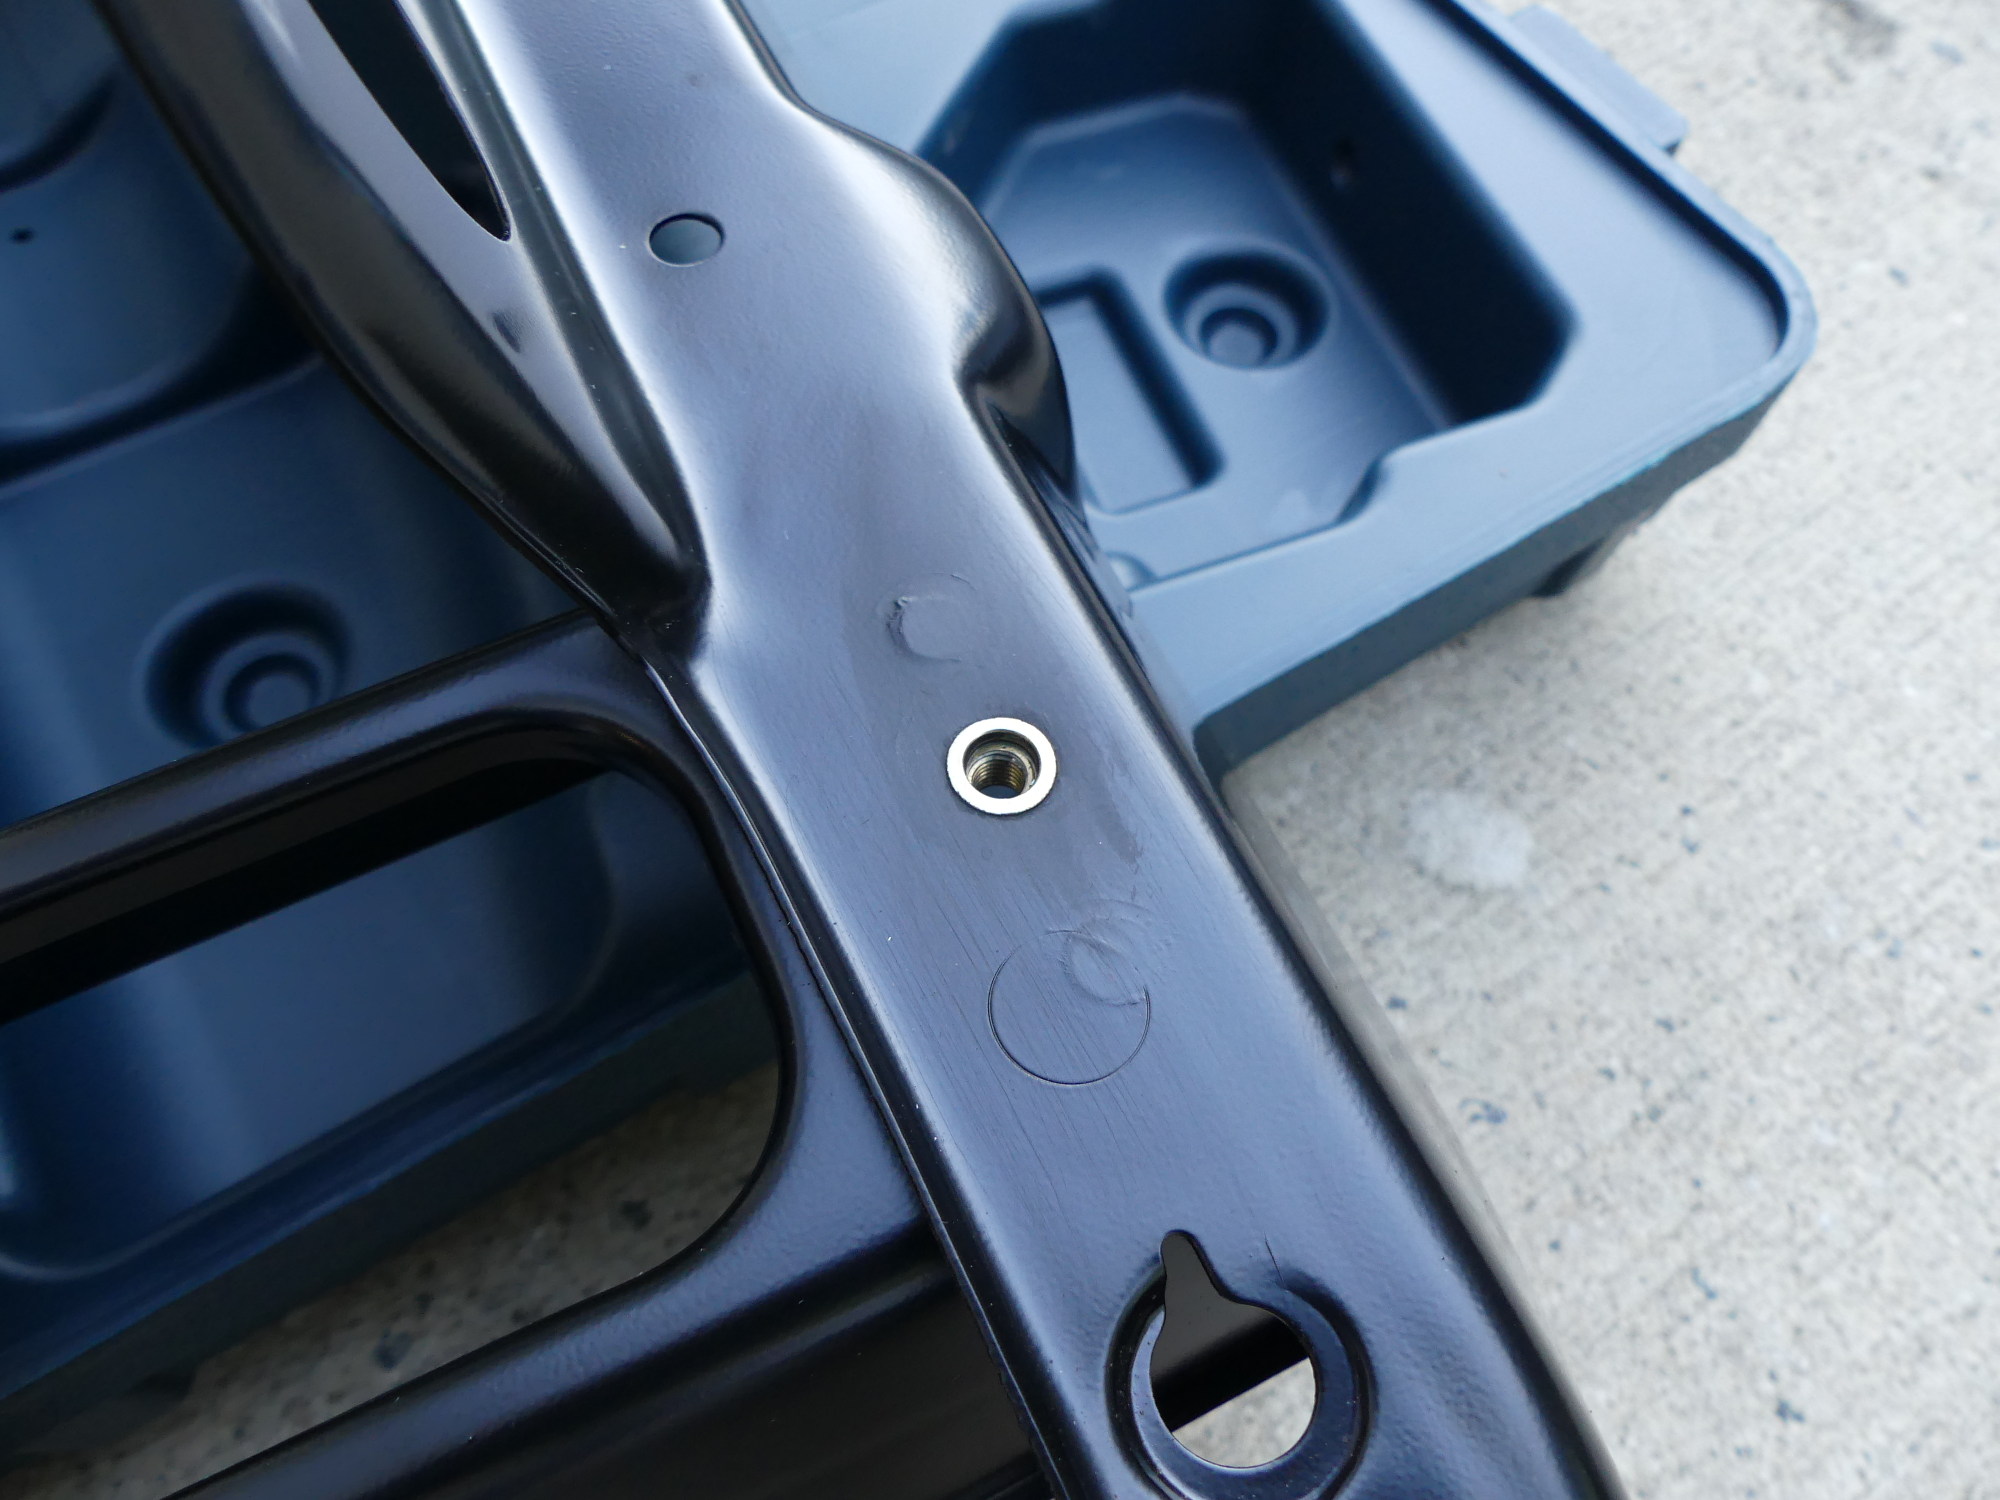
With the nutserts installed successfully in the old support it was time to repeat the process for the new support. I began by washing the nutserts in some mineral spirits to remove any tooling oils. Then I primed the raw metal of the newly drilled holes using some automotive rattle can primer. To apply the primer without overspray I grabbed a spare acid brush and clipped off half of its bristles as required to fit in the hole. I then sprayed the primer into a blue towel until it pooled (since I didn't have any cups handy), dipped the brush in the paint and wiped it on the ID of the holes as well as exterior of the nutserts close to the flanges (the part that crushes). With the extra prep complete I installed the nutserts. The end result was a factory appearance. All I can say is good riddance to those stupid plastic rivets.
More Painting
I also spent some time at the garage assembling the VHT painted heat shield with the right side engine support, as well as applying the first finish coat of VHT Cast Aluminum to the tensioner parts, which looked pretty good. More pictures to come when those parts are reassembled.
Next Up
I plan to deliver the support to the body shop tomorrow, which hopefully will get it back to me by Friday or worst case Monday. That in combination with a parts order for miscellaneous hardware will allow me to begin reassembly of the front end and thus get back on track to doing the work I originally set out to do -- my nemesis, the hood release cable.