


Thursday, August 24, 2017
Front Support Sent to Paint
This morning I dropped off the front support at the body shop. As with all the vendors I've used on this project I provided a set of instructions including my contact information to effectively communicate the job I want done. The instructions mirrored the discussion I had with the body shop rep yesterday with some additional warnings like "Do not support the part using the hex bolts installed in the nutserts" because I don't want the nutserts damaged or the metal surrounding them bent. The only thing I neglected to provide initially was the VIN, but only because he didn't say anything about that yesterday and I assumed he could look up the paint code by the year / make / model I provided. So I wrote the VIN in manually and handed the paper to him.
Before I left I told the rep that this wasn't a rush job and that if he had to push delivery until next week that was fine. So "this was a rush job" cannot be used as an excuse for screwing this up and costing me more time and money.
Cams Received and Another Assembly Parts Order
After I left the body shop my parts rep let me know the cams and carriers had arrived so I picked those up on the way home. There I spent a couple hours compiling my next parts order, which consisted mostly of miscellaneous hardware, harness clips, and other components I'll need to reassemble the front end and tackle some additional repairs.
I finally found the correct hardware that is supposed to tie the grille support to the vertical supports. As I surmised the proper bolts integrate a washer which is designed to keep the head of the bolt from grinding against the square holes in the vertical support. Why do the vertical supports have square holes? No one including my tech seems to know. His guess is that it's BMW's way of providing a means of tolerance and/or adjustment. If that's true, I'll need to pay a hell of a lot more attention during assembly of the front end than I did when I pulled it apart.
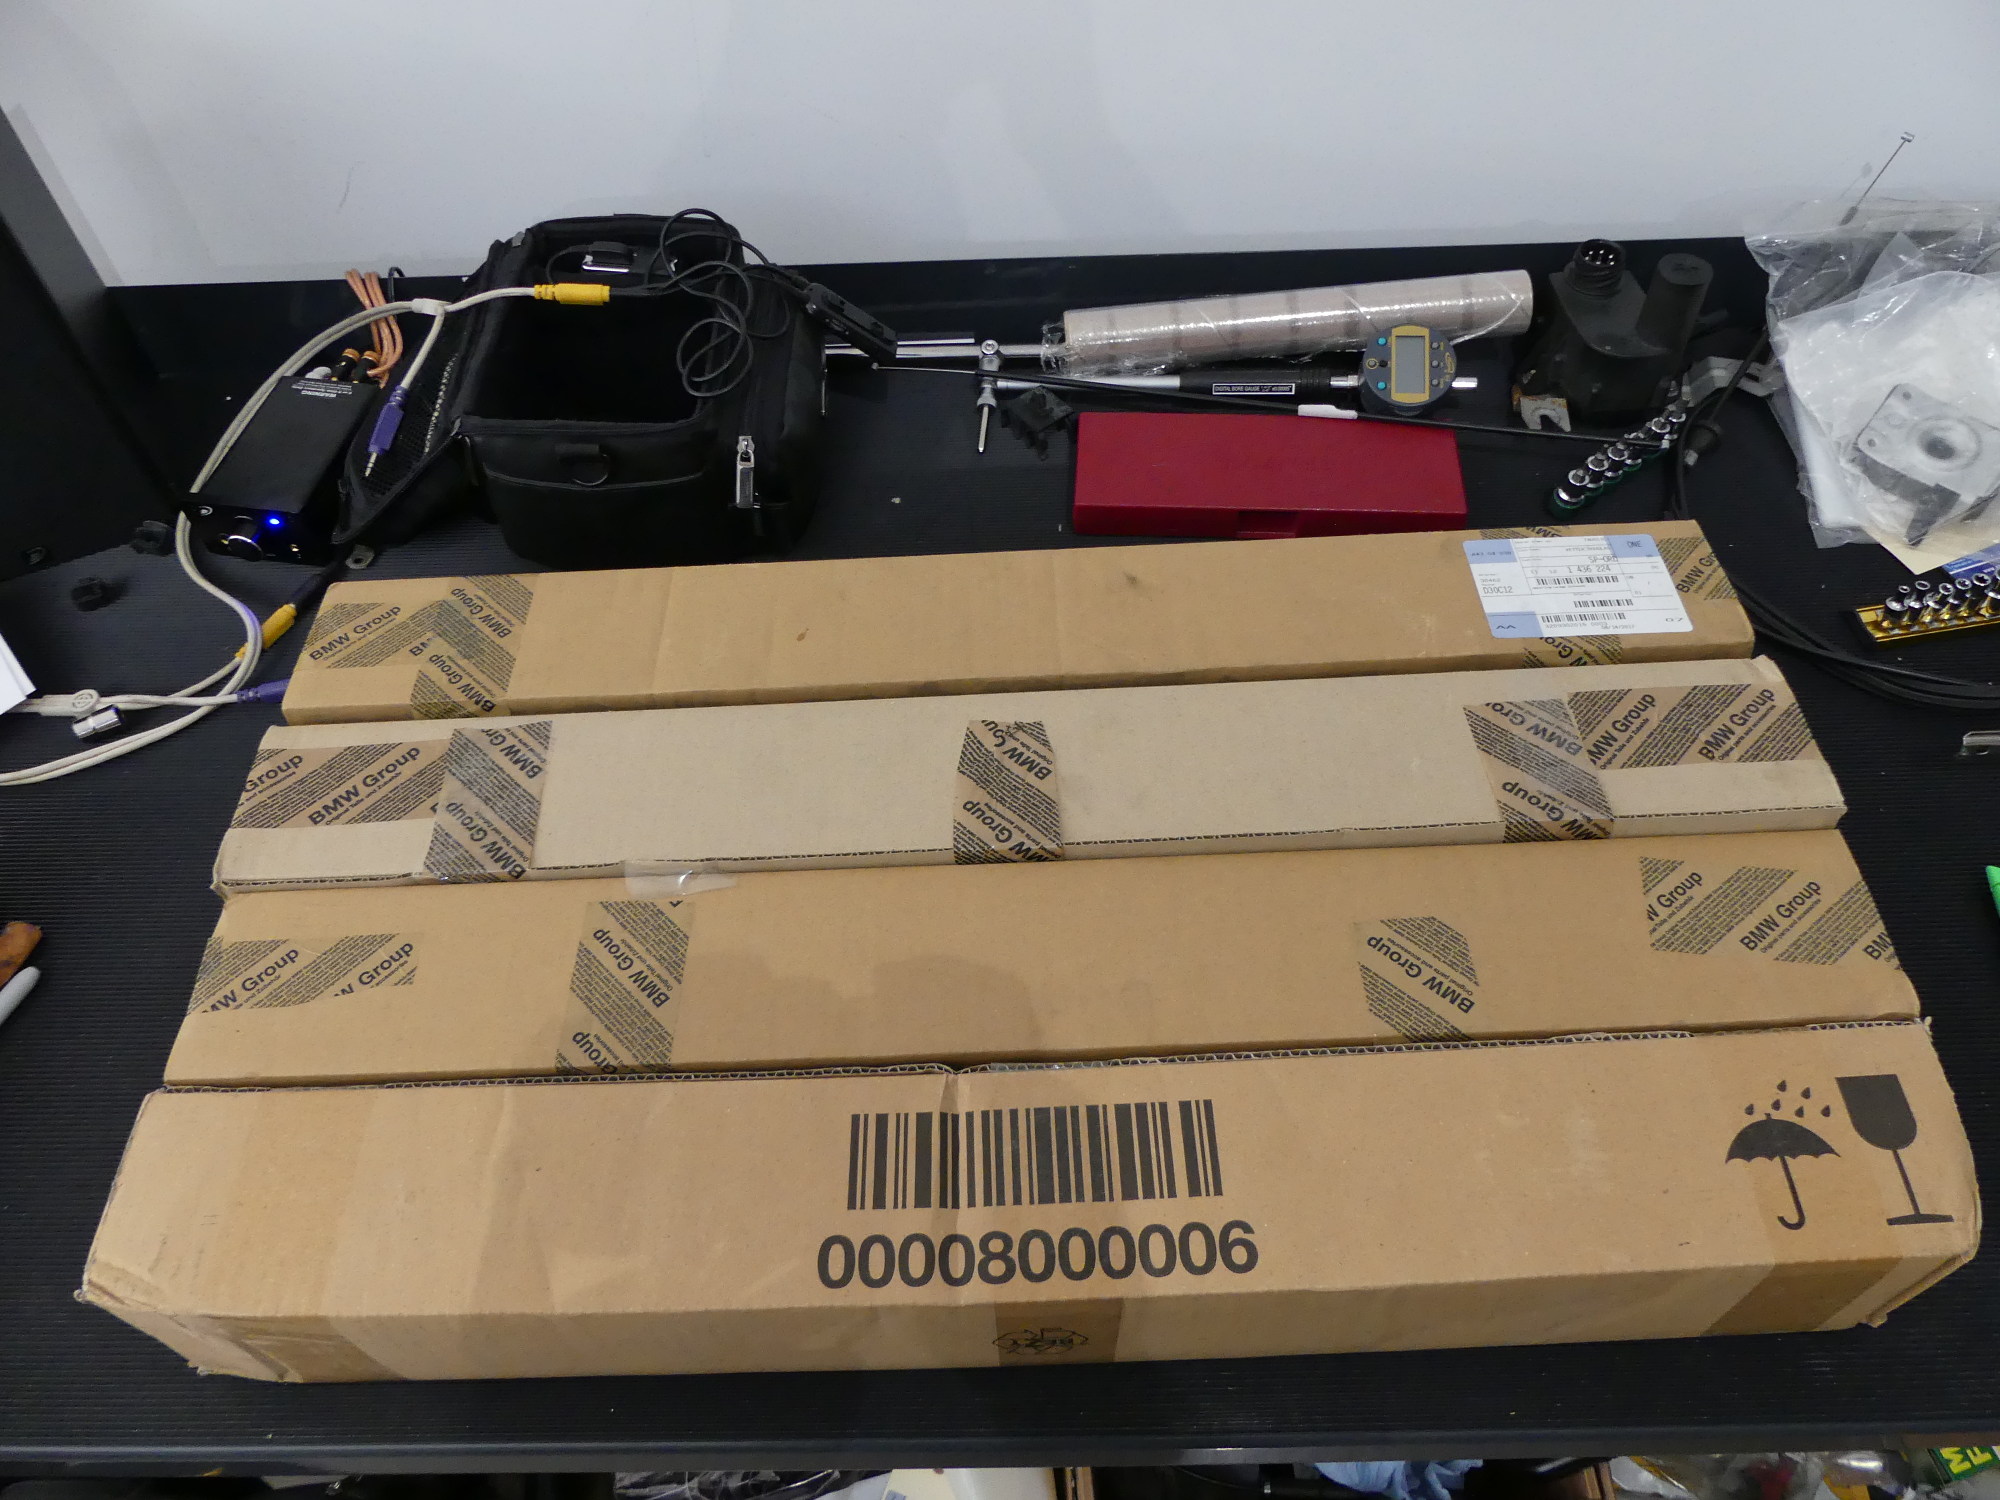 $2000 in new camshafts and cam carriers. And yes, that's with a rather substantial discount. While I hesitated to replace them it seemed short-sighted to replace everything else and then risk the cams making metal a short time later. |
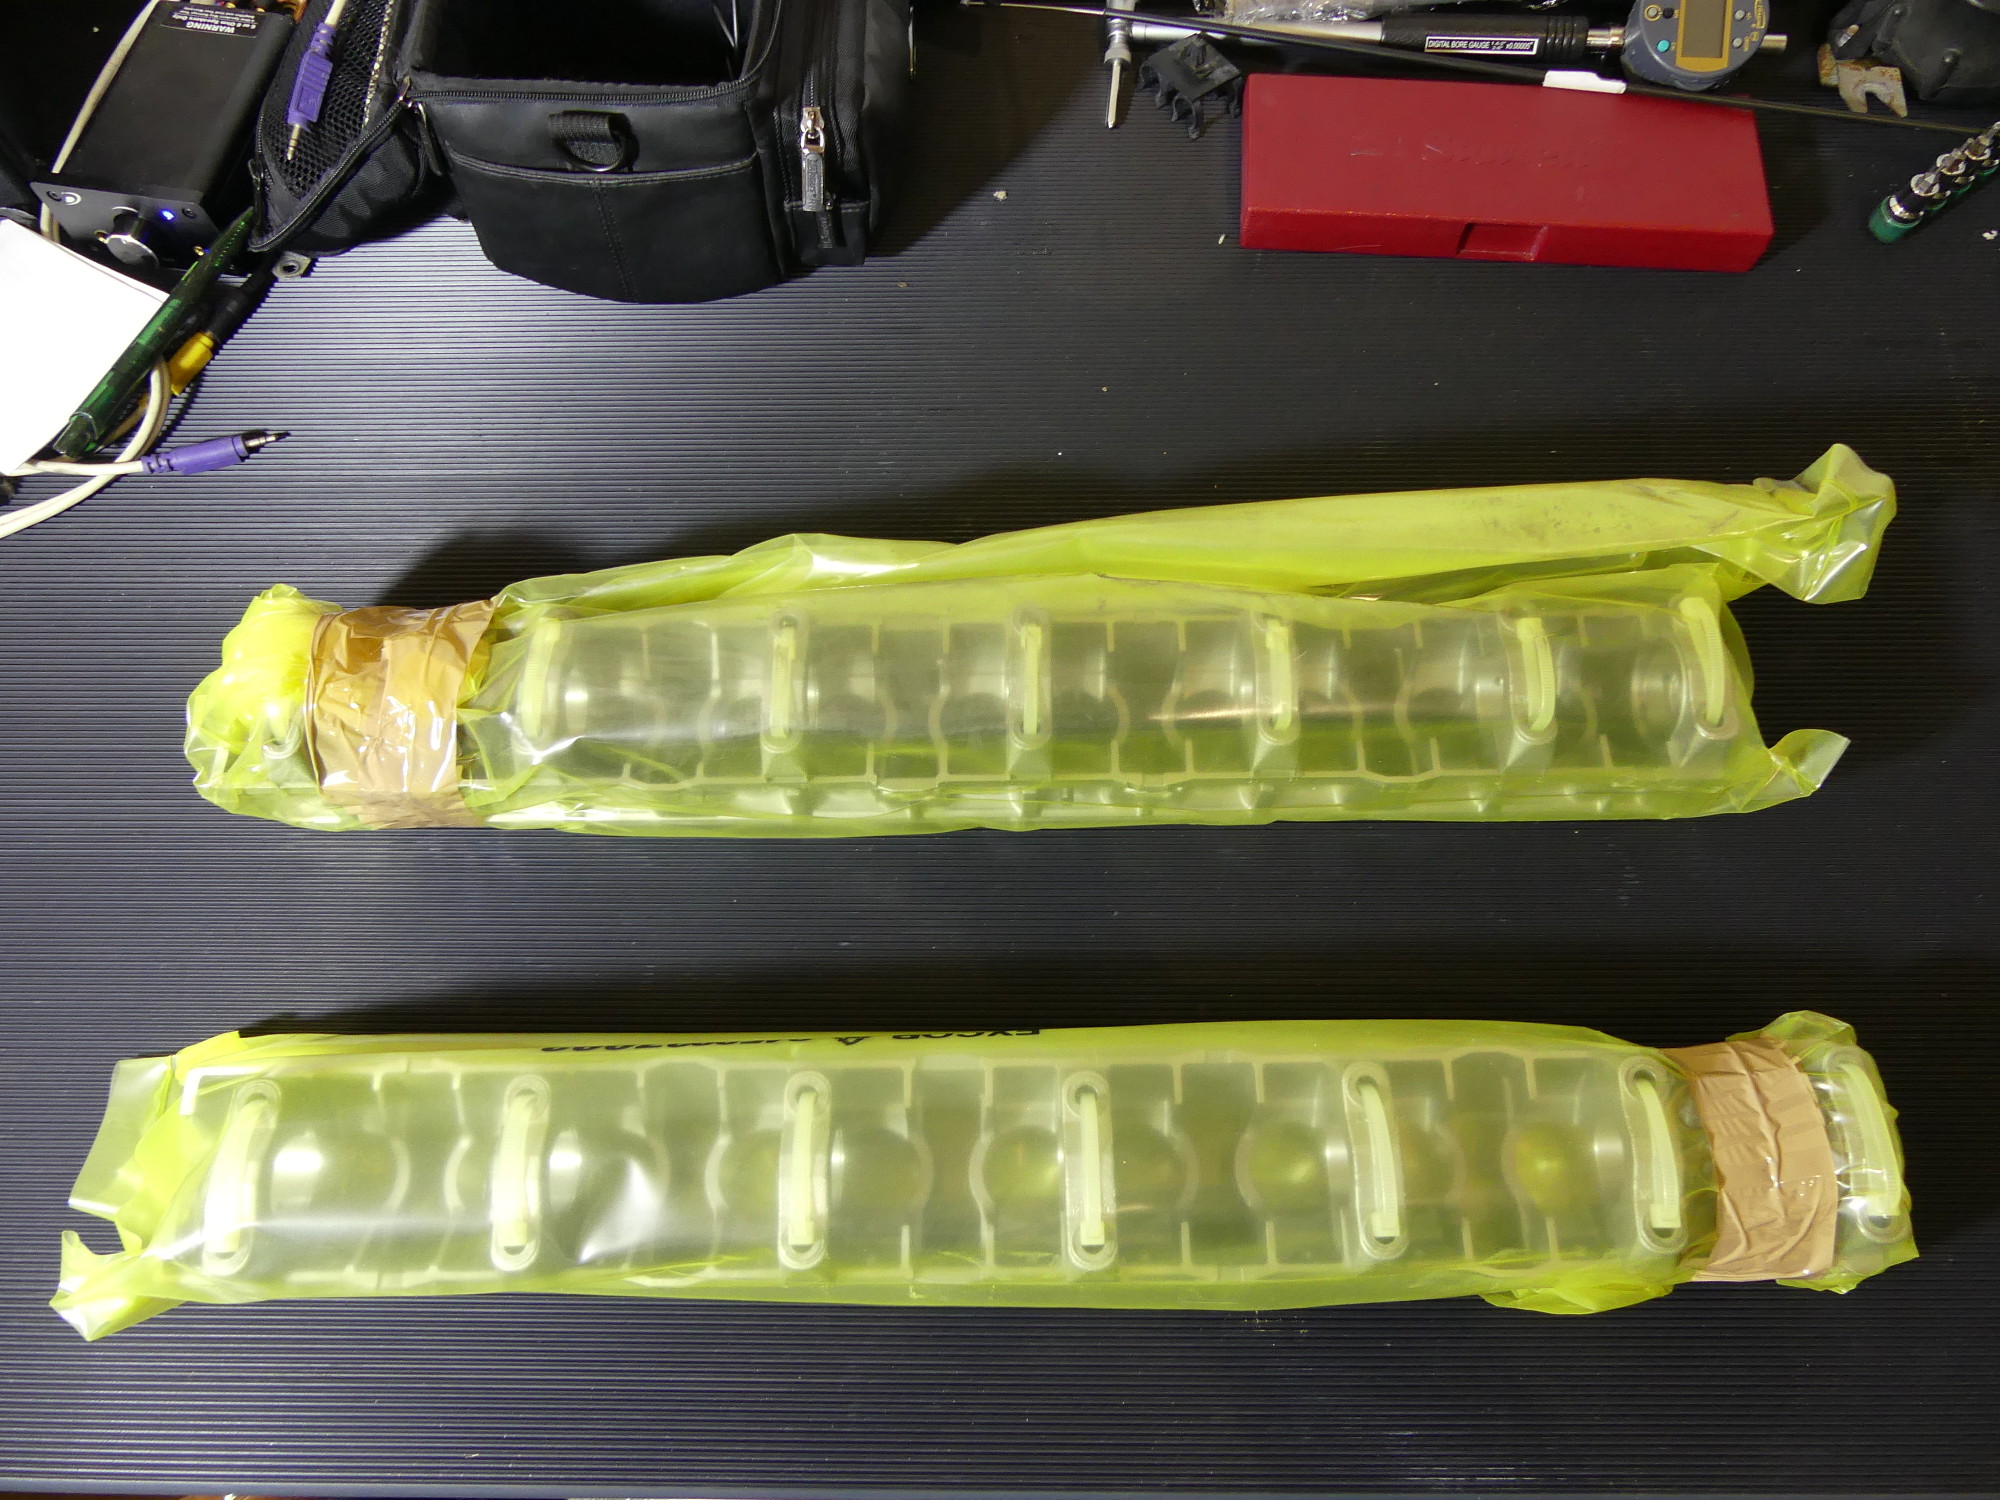 New cam carriers. Mine were in pretty good shape but as discussed at length earlier I thought new carriers would be a good idea on a build of this cost. The AMC carriers included with my new head will be sold to help offset the cost of these units. |
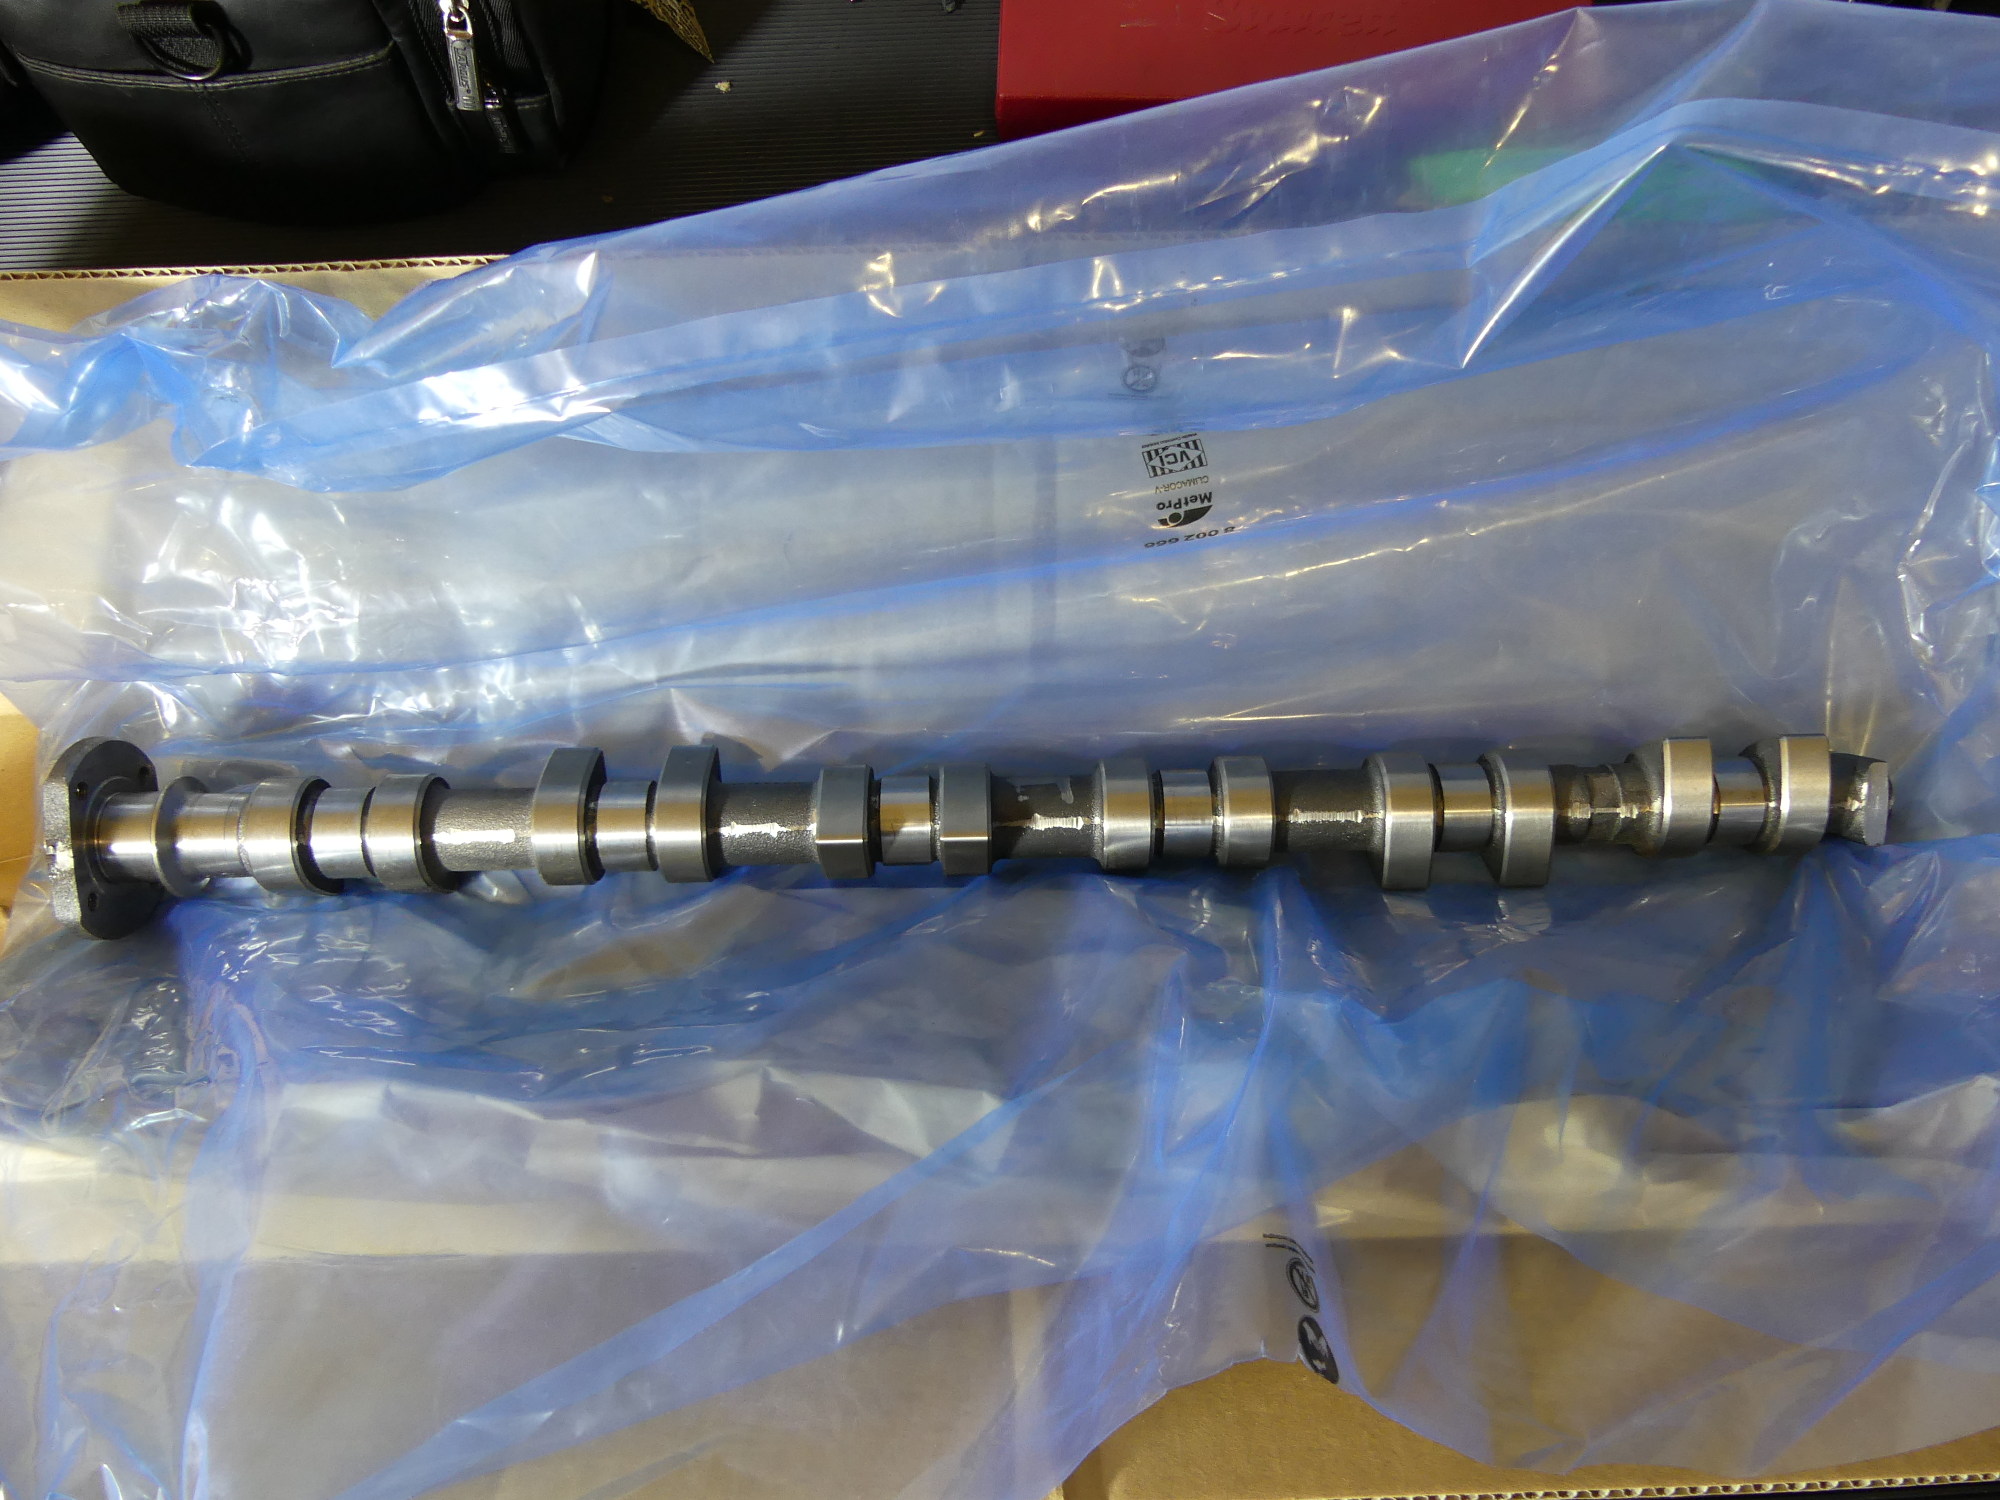 The new exhaust cam. I was annoyed that it was not as well packaged as the intake cam, which came wrapped in anti-corrosion paper. I looked carefully at this thinking it may have been repackaged as used, but it does appear to be brand new. |
I also found the wire harness clips that had eluded prior searches of the ETK. I'll need these to replace the parts that snapped like kindling in order to fasten the headlamp harness to the horizontal beam of the front support. The only mounting clip that still eludes me, my tech, and parts rep is the one that holds the two fuel rail hoses together and binds them to some bracket somewhere (perhaps on the underside of the intake manifold). I asked my parts rep to see if the tech line could find it and he said that while they likely won't know, they should be able to escalate to the BMW Classic group -- an entire organization within BMW whose purpose is to support older cars. They have about three weeks to come up with an answer and get the part to me. If they don't I'll be forced to reuse my existing clip.
While inspecting the underside of the vehicle the other day I realized that the fuel tank straps were a bit too rusty for my taste so I added those and the related hardware to the order. The straps were around $11 on realoem.com (which is admittedly out of date), but as I've found with all too many parts the current price was a lot higher -- around $45. While I'm glad that BMW still produces many parts for the E36 and older vehicles I just wish they could use their power in manufacturing to keep prices low. These simple metal straps should be no more than $20 each.
I have also decided to replace what BMW somewhat confusingly refers to as the "SOUND INSULATING DASH PANEL ENGINE ROOM" (part number 51481977019). This is a special blanket that lines the firewall and the adjacent section of the tunnel. While my original blanket is torn I might describe its overall condition as passable. So why am I replacing it? Because it can't be replaced later with the engine, transmission, and wiring harness installed. For example, if you look at the picture you'll note that the transmission selector cable runs through a hole right in the middle of the blanket. So now is clearly the time to do this. The downside is my parts rep told me this has to come from Germany, which means a 7-10 day delay, but I have enough to keep me busy in that time.
Open Floor Pan Closures
After I submitted the parts order I went to the garage to drop off the cams, wrap up the painting of the tensioners and perform a more intensive inspection of the underside of the vehicle to make sure I hadn't neglected to order any parts. The surprise here was the two small (4cm diameter) closures near the front of the vehicle (green arrows in picture) I found sort of hovering over the holes in the floor pan leaving my interior and underside of the carpet exposed to the elements.
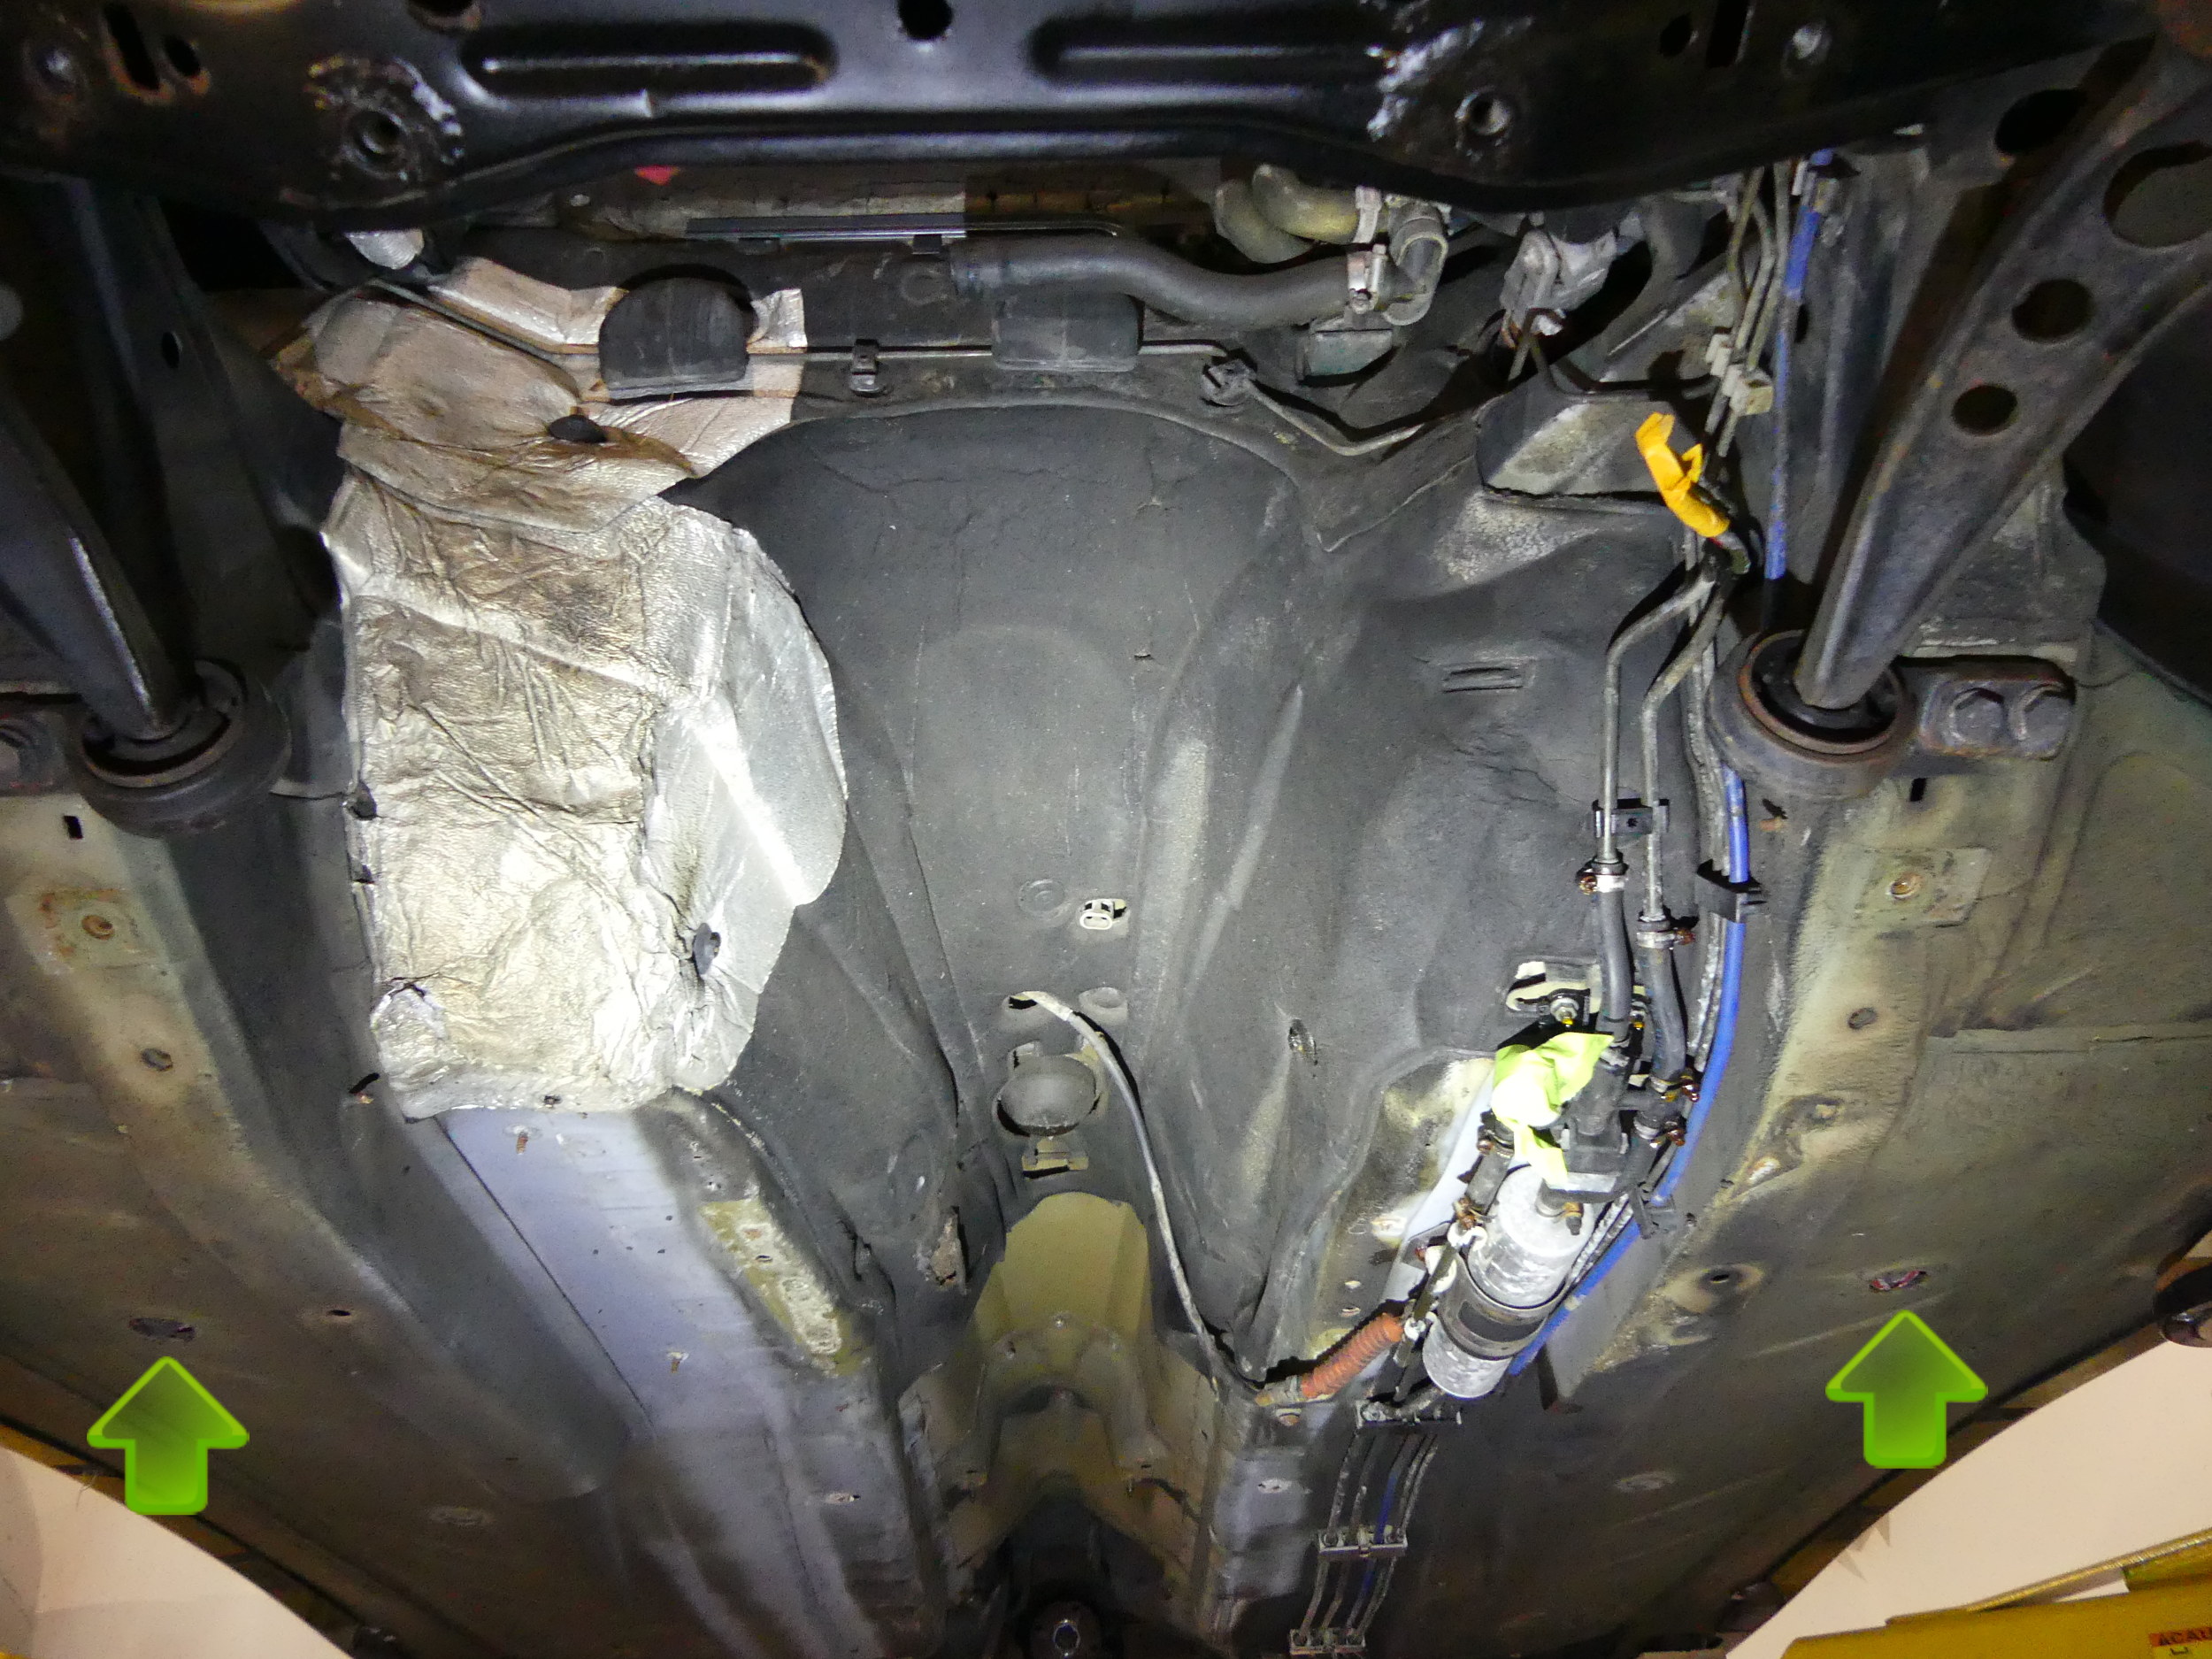
These closures are similar to those I used to plug knockouts in electrical panels. They are designed to be pressed into the floor from the top, which in this case is beneath the new carpet I installed a couple years ago. I was frankly annoyed that I hadn't caught this sooner and my blood practically boiled when I shined a light into the driver's side hole and saw one of the wiring harnesses. This is the stuff of intermittent electrical nightmares. Fortunately I have not been driving the car in the rain and the closures hadn't migrated away from the holes to any great extent so no damage has occurred. For example, looking at the harness I could see the colors as bright as day - they were not dirty, which would have indicated prolonged exposure.
After my blood pressure dropped a few points I grabbed a couple pair of longnose pliers, realigned the closures in the holes and seated them by pulling on the only thing I could -- the bendable metal tabs. This was trickier than it sounds, as the closures really aren't designed to be installed this way but I have had to do this kind of thing on occasion in the electrical trade so I had a bit of practice. I was lucky enough to get both closures reinstalled without breaking any of the tabs but they are not yet sealed to the floor. This of course led me to remember the seam sealer my tech gave me the other day. I am now planning to use that to seal the all of the closures on the floor pan for good measure.
Reading the instructions on the tube of seam sealer I noted that it requires the surface to be free of dirt and grease so I decided to attempt to clean the area surrounding the closures, simply to see how difficult it would be. That came out well enough that it got me to thinking (always a dangerous thing) that I should take this opportunity to scrub the bottom of the vehicle looking for areas of rust so I can address them. Oh well. There goes another afternoon.
Next Up
By now you should know what I have to do next and yet keep avoiding (either intentionally or subliminally -- I haven't figured out which). I'll get to it eventually -- probably this weekend -- as my hope is to have the latest assembly parts order in hand on Monday and the newly painted support returned a day or so later. When the support arrives, it's go time -- I need to get the front end reinstalled ASAP so I'm ready to start the engine assembly process next week.