


Saturday, October 7, 2017
Gasket and Studs Picked Up
This morning I dropped by the dealer to pick up the oversize head gasket and the vanos mounting studs. Aside from being thicker the gasket was nothing to write home about. The studs, however, were a different story, as I found them to be fully threaded. Clearly the ETK cave scribblings did not represent the studs accurately. While this is nothing new under the sun I can usually fault the drawings for having less detail than desired. I imagine it took more effort to draw the parts as partially threaded, so my guess is that at one time the studs were partially threaded, but no more. In any case, this means I'll need to figure out how to stop them from rotating as I install the nuts. Adding to the confusion, I realized that the M8 stud that was shown as applicable to my car is in fact replaced by a bolt which coincidentally provides an anchor point for the engine lift bracket.
On the upside, I've eliminated the bent stud, and the stud I received for the exhaust side of the head is 5mm longer than the one provided with the head. Technically I didn't have to replace the remainder of the studs which appeared more or less identical except for the plating, but I did anyway.
Head Installed
To install the head I began to prep the block. I first used compressed air to blow any excess oil out of each head bolt hole in the block. These holes are blind, which means there is nowhere for excess oil to go and if I did not remove it this could, in an extreme case, lead to a crack in the block while installing the head bolts. Fortunately only a little oil spattered out of a couple of the holes. With that task complete I wiped down the deck and used compressed air to blow out the cylinders as well as remove any lint I left behind. With a hammer I installed two new alignment dowels in the deck, taking care not to hammer them in crooked. They are a press fit and appear all too willing to go in sideways. Lastly, I installed the oversize head gasket, which I found fit tightly over the alignment dowels.
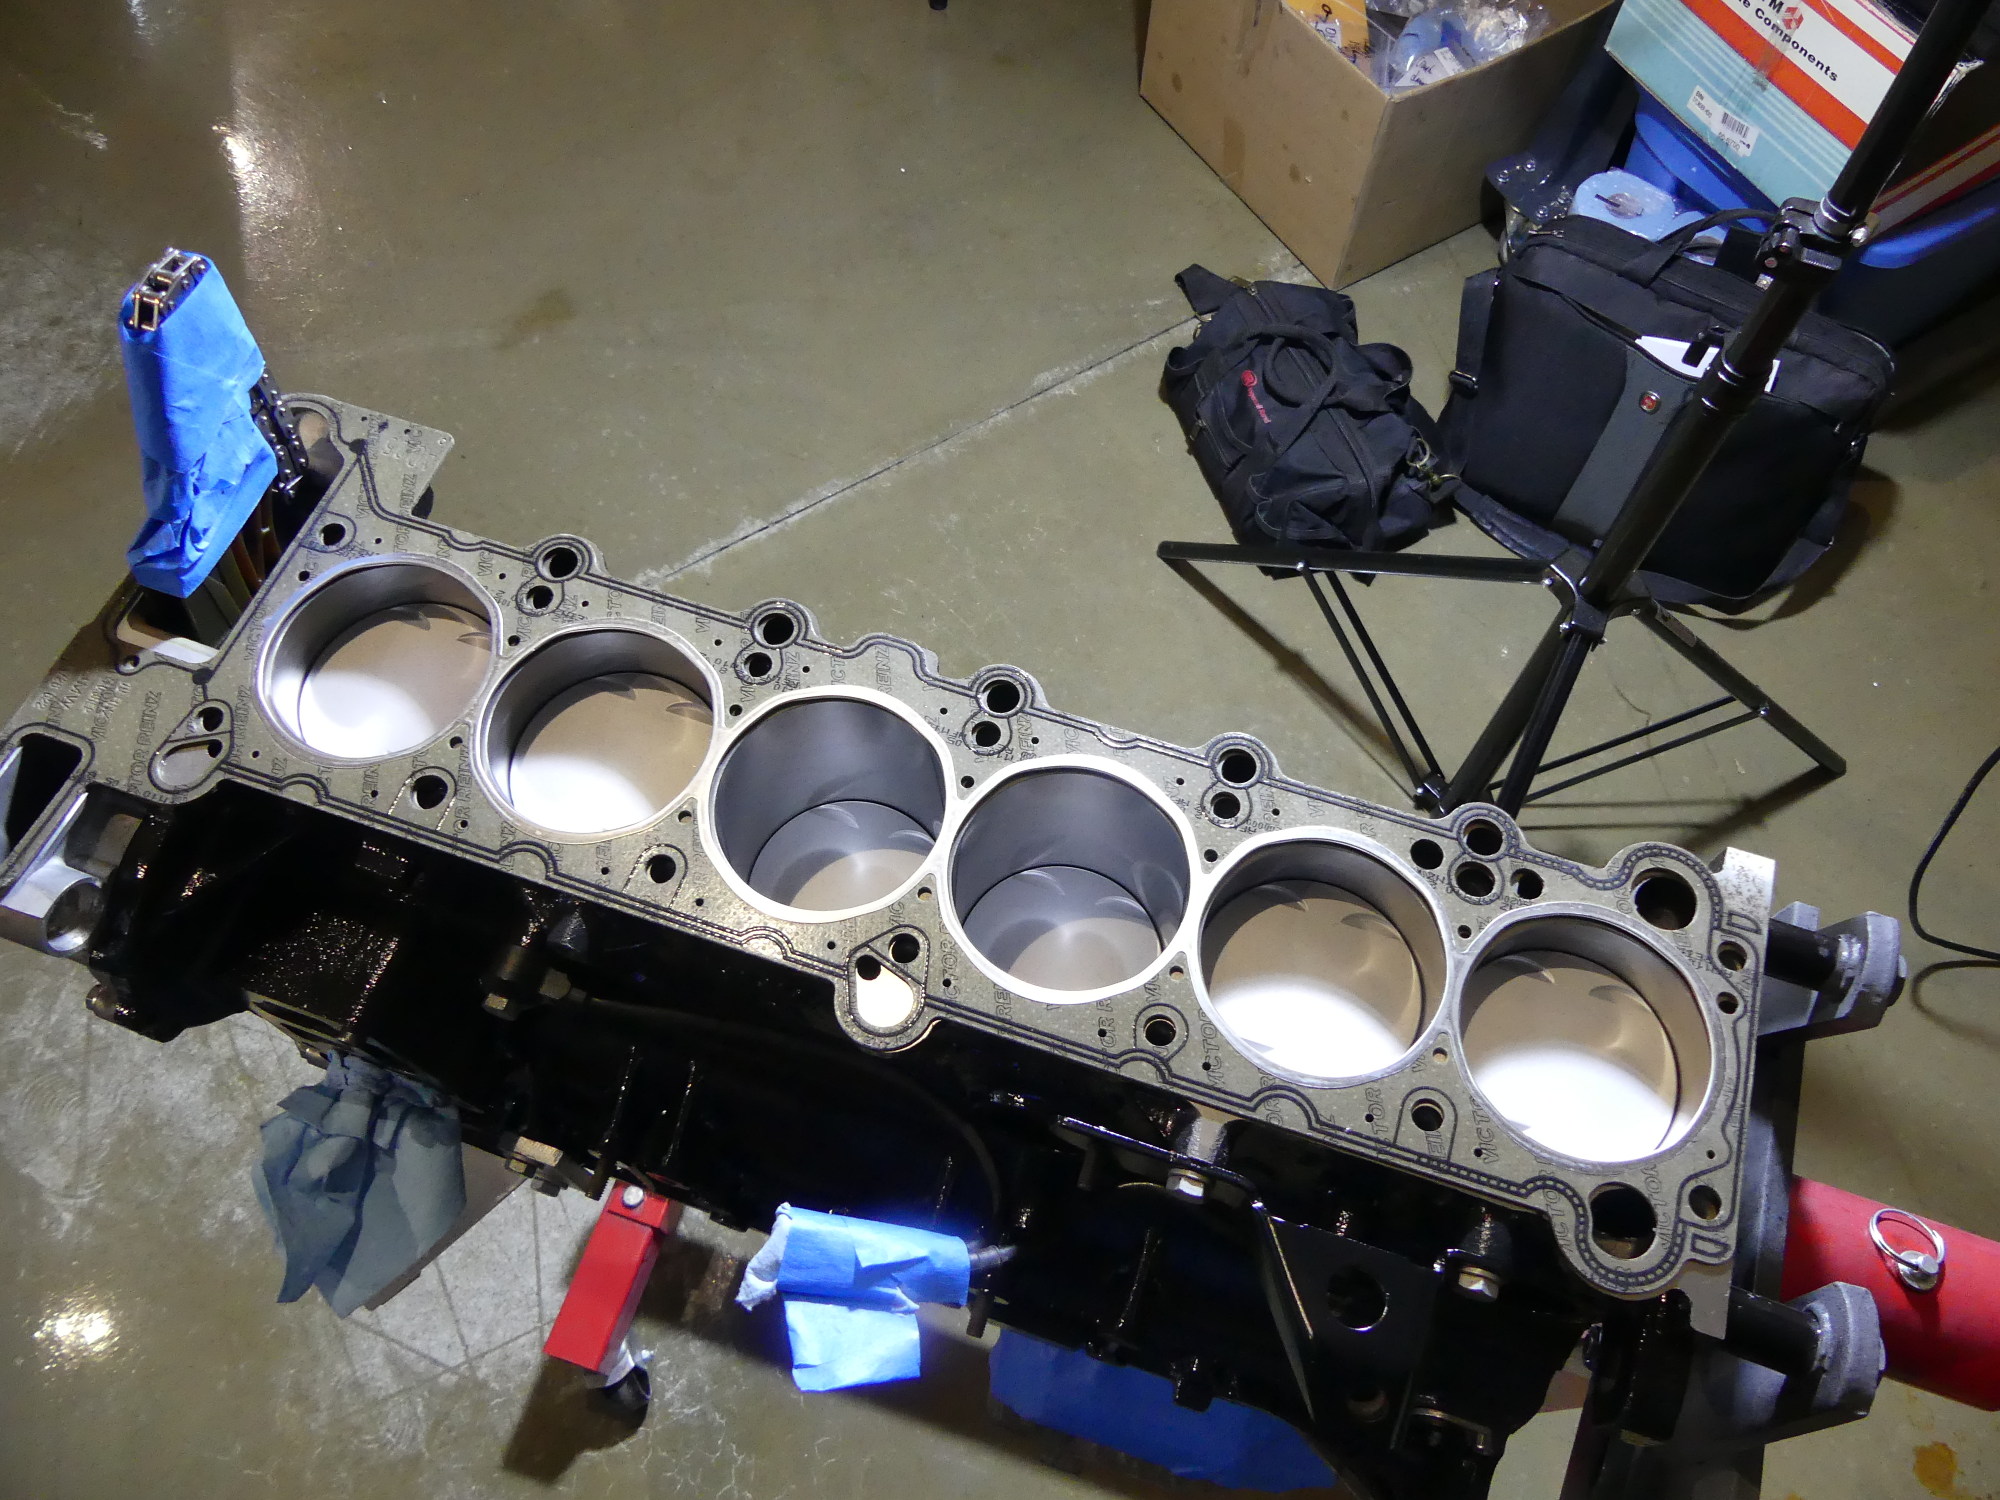 This shows a test fitting of the BMW oversize head gasket. While made by Victor Reinz, the same company that manufactured the aftermarket gasket I used for my torque plate application, this is definitely a different part manufactured to BMW's standards. |
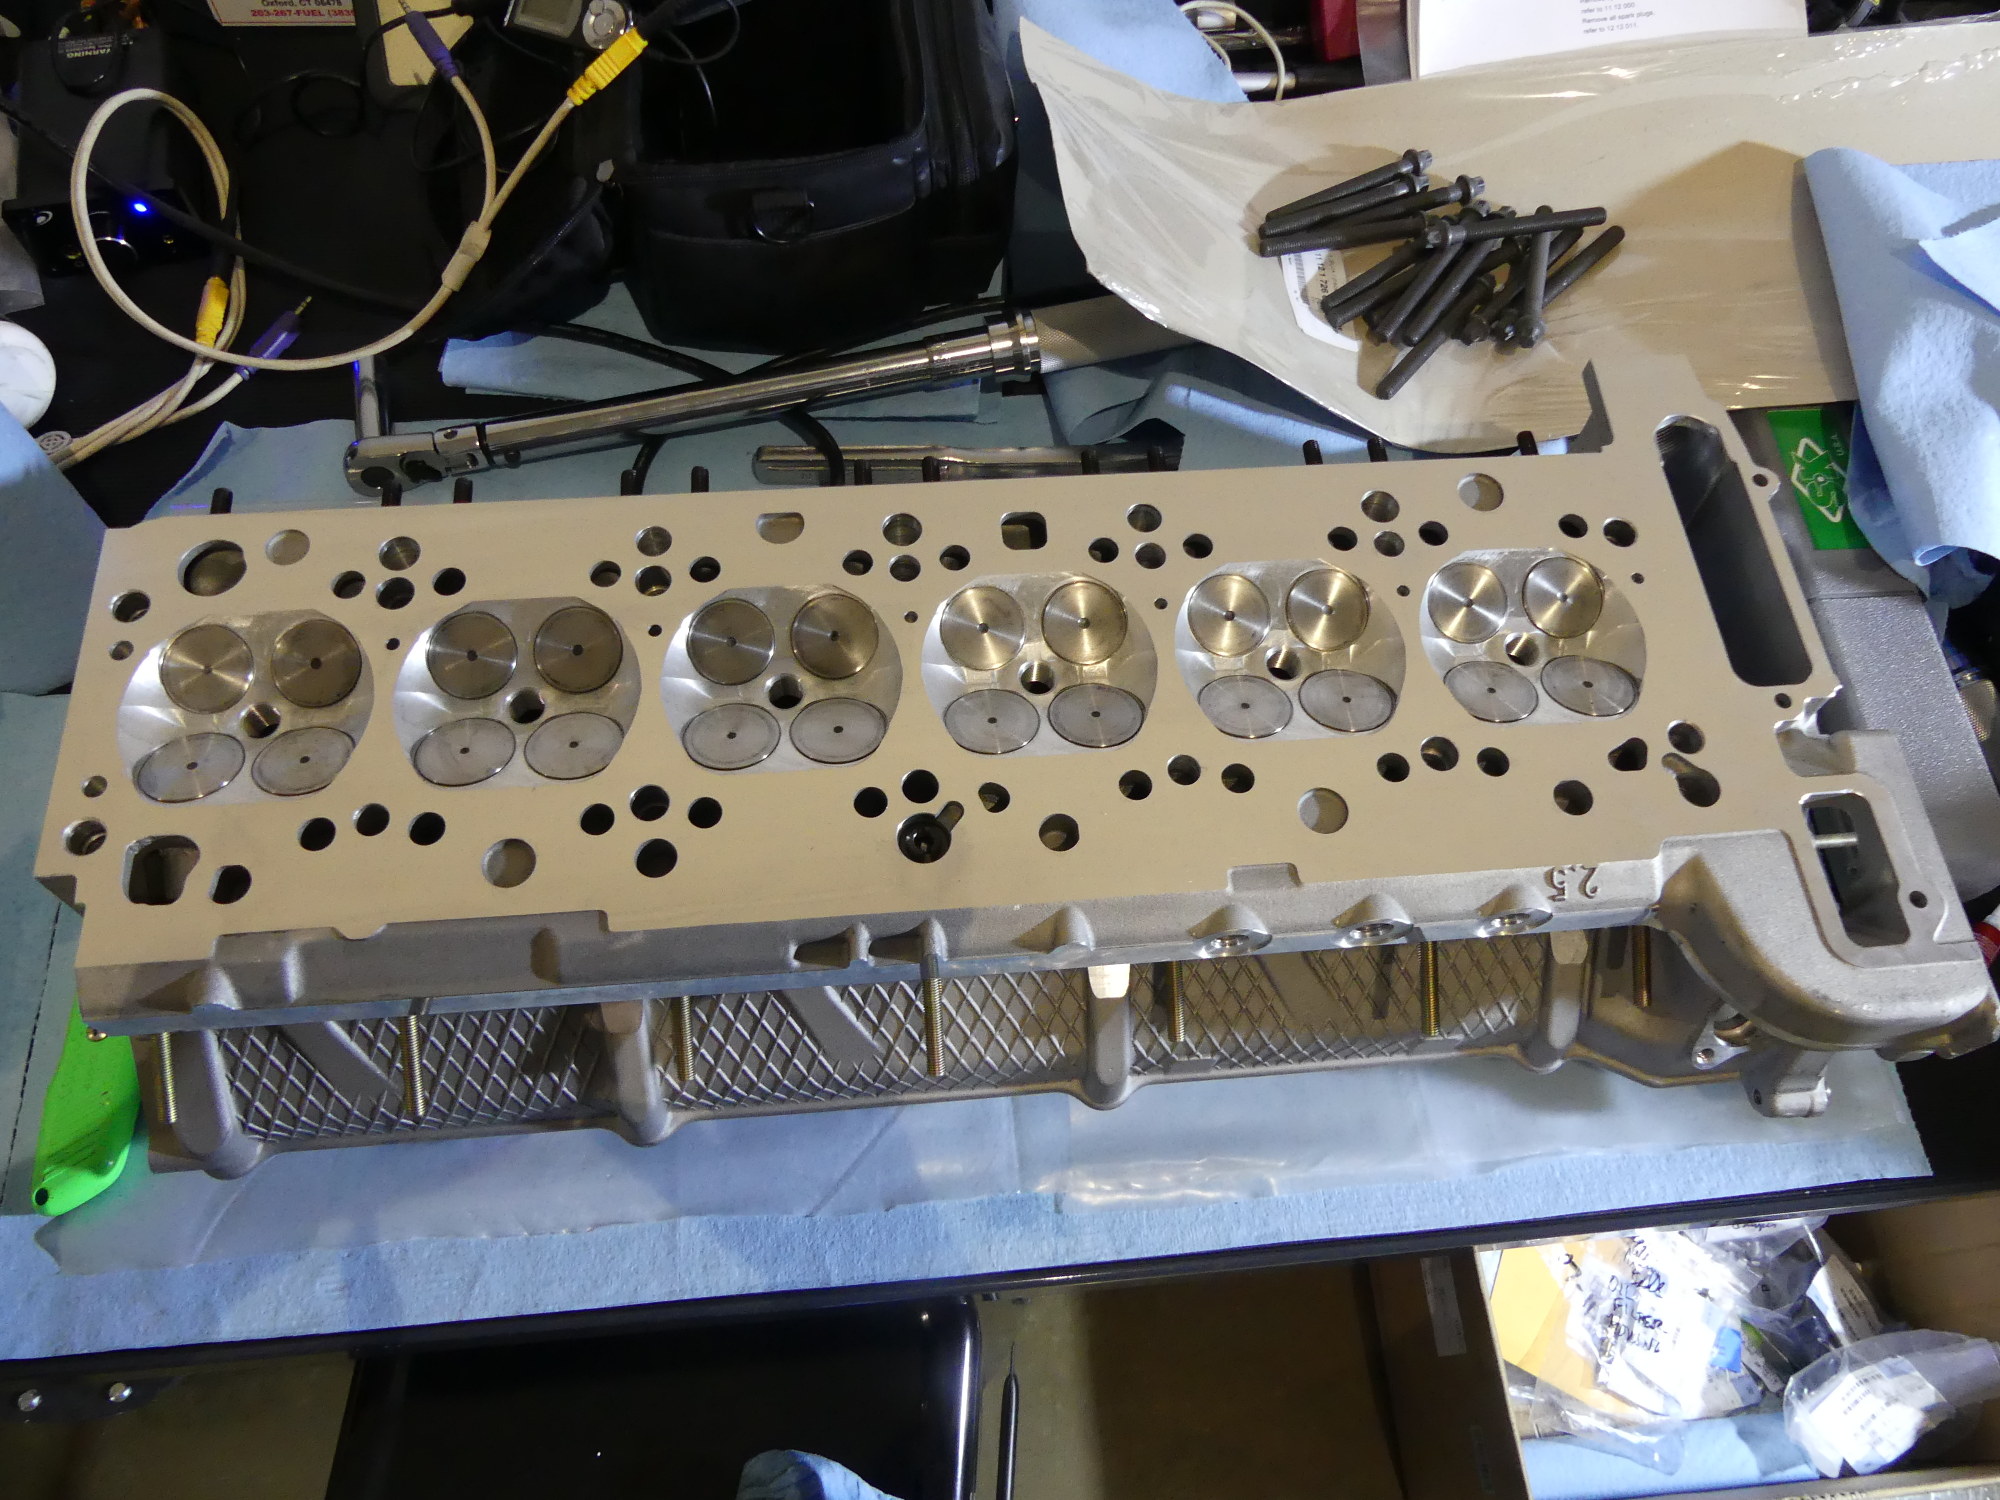 I did not like the fact that my head arrived quite dirty, but I managed to correct the problem. In this case I've flipped the head over and have cleaned the grime from the bottom with mineral spirits. It's looking quite good now. |
 I brought my TDC ruler out of hibernation to double-check that all cylinders were still below TDC with the head installed. This is showing that the face of the cylinder is approximately 20mm below TDC. |
Over at the bench I used more mineral spirits to clean the underside of the head, including the combustion chambers. I used a few towels for this as it was surprisingly dirty brand new out of the box. I then used compressed air to completely blow away any lint, and for good measure sent a stream of air through all the holes in the head, including the intake and exhaust ports, to ensure there were no more styrofoam pellets remaining in the head.
With the block and head prepped I some time to put my camera in a better position (at the top of a tall ladder looking down on the head) so I could use this critical video to double-check that I had correctly torqued all of the head bolts. With the camera rolling I dropped the cleaned and oiled washers into the head before repeating the process with the cleaned and thoroughly oiled head bolts. Based on my experience installing the torque plate I made sure the full length of the bolts (including the underside of their heads) were coated with oil.
Then I used my 3/8" drive torque wrench with an adapter to attach the 1/2" drive special E12 socket and applied the initial 30Nm (22 ft*lbs) fixing torque to all of the bolts in the order specified in the TIS. While the TIS did not advise to do so, I decided to wait a good 10 minutes and come back to retorque these fasteners at 30 Nm and I'm glad I did. Several of the bolts took additional torque to reach 30Nm again, indicating that the head gasket was beginning to compress. Thereafter I figured the bolts were ready to accept the first 90 degrees.
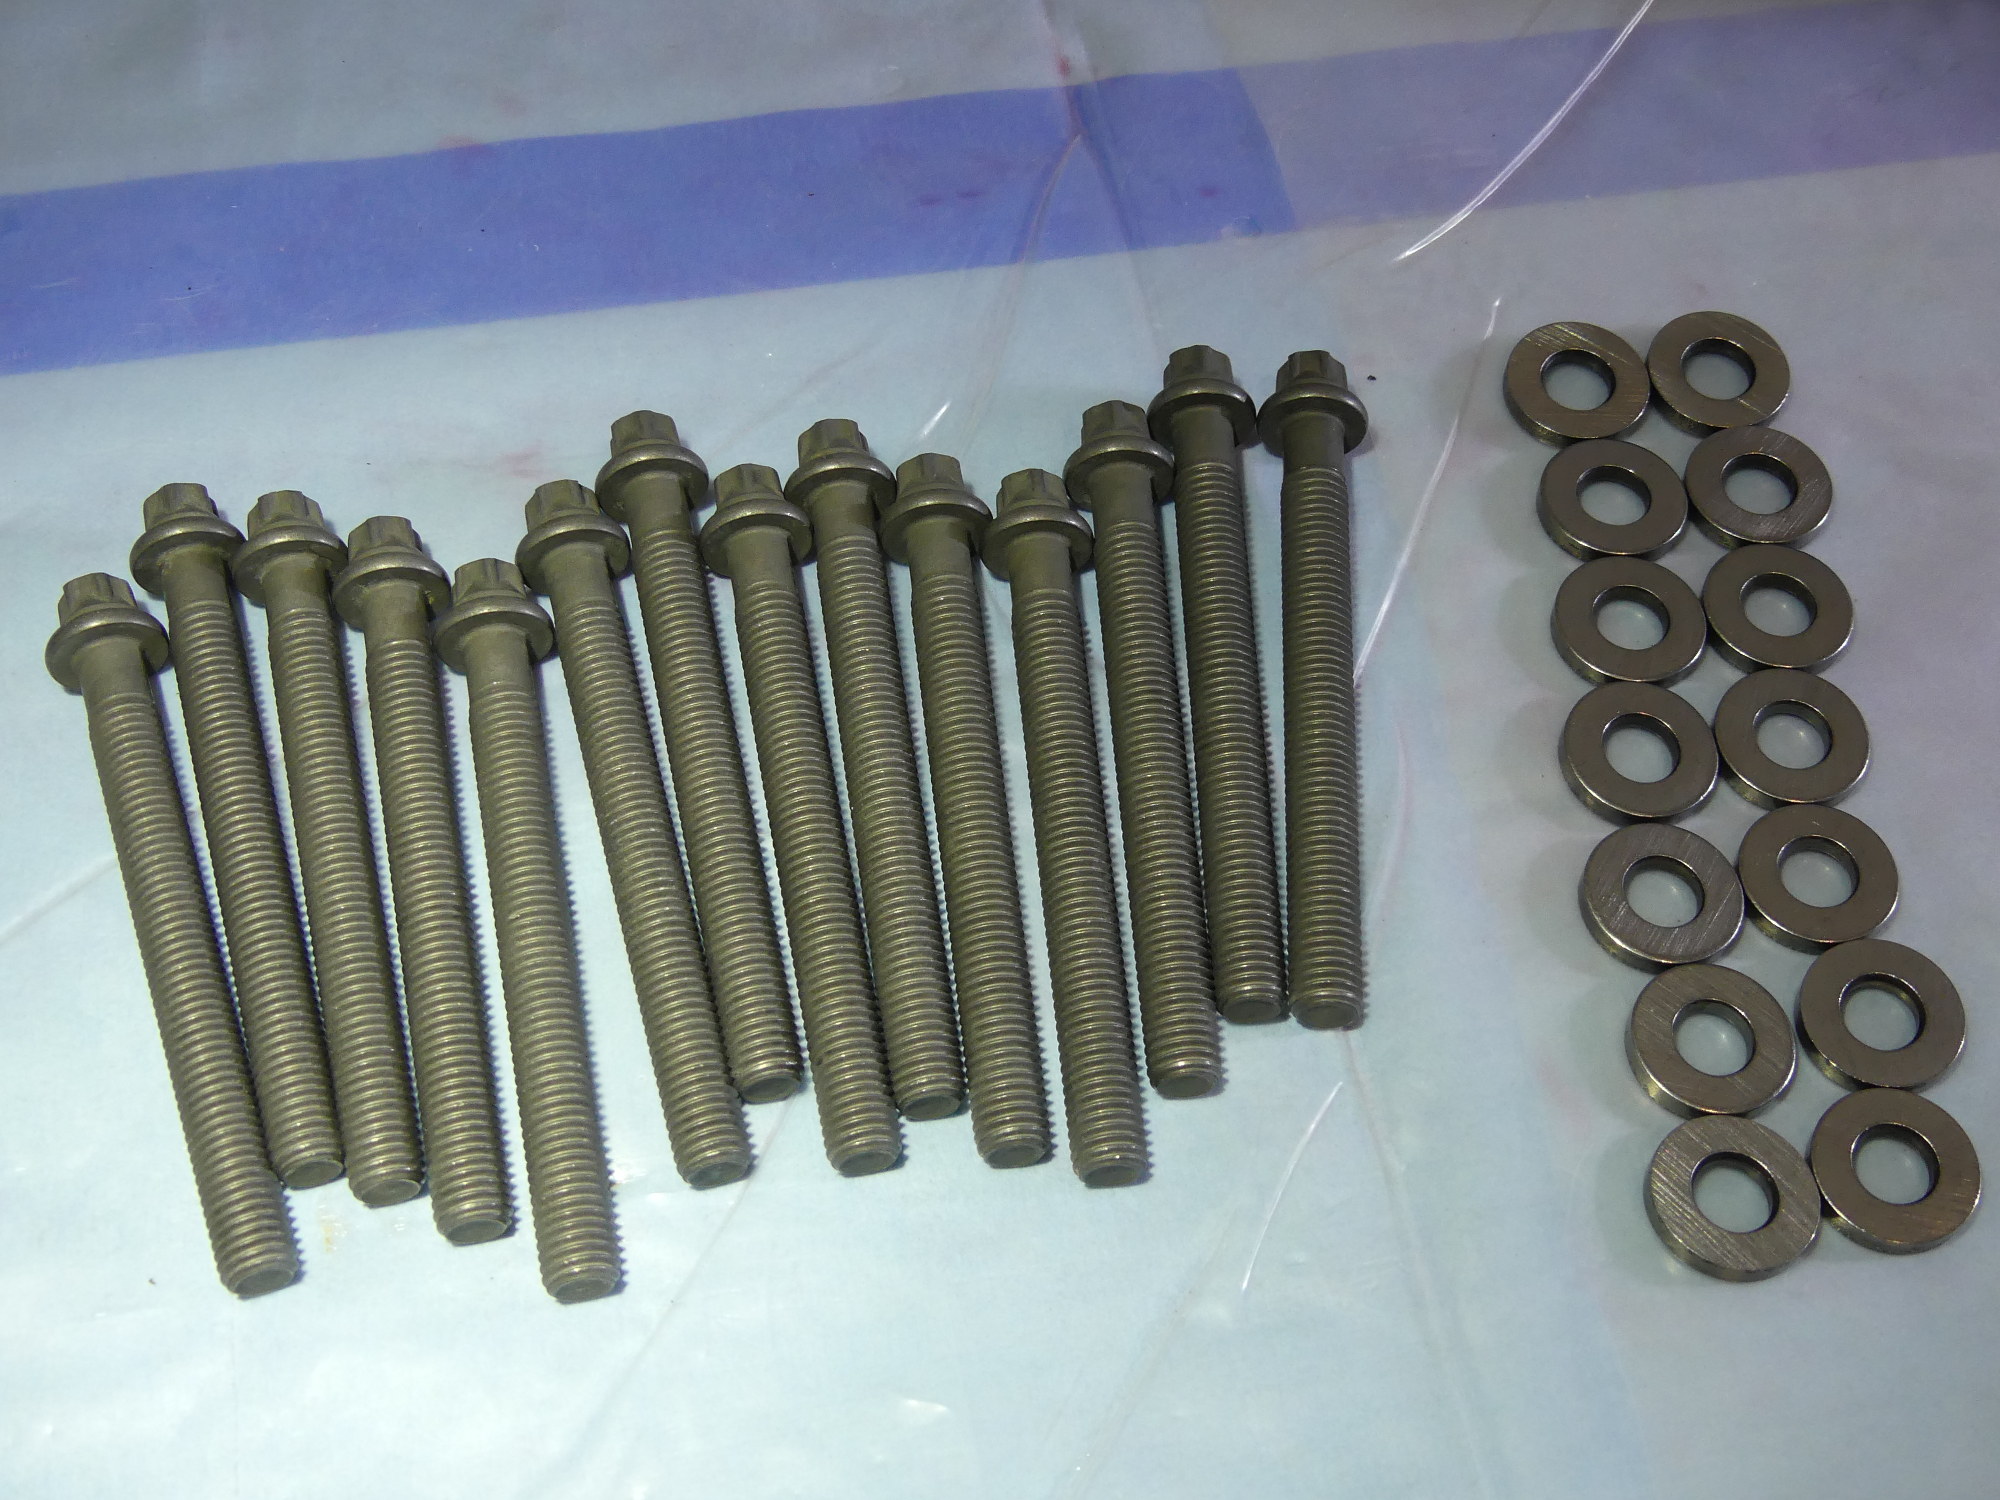 Although I used aftermarket head bolts for installation of the torque plate to save money I bought factory bolts for the final installation of the head and based on my experience installing them I think I made the right call. |
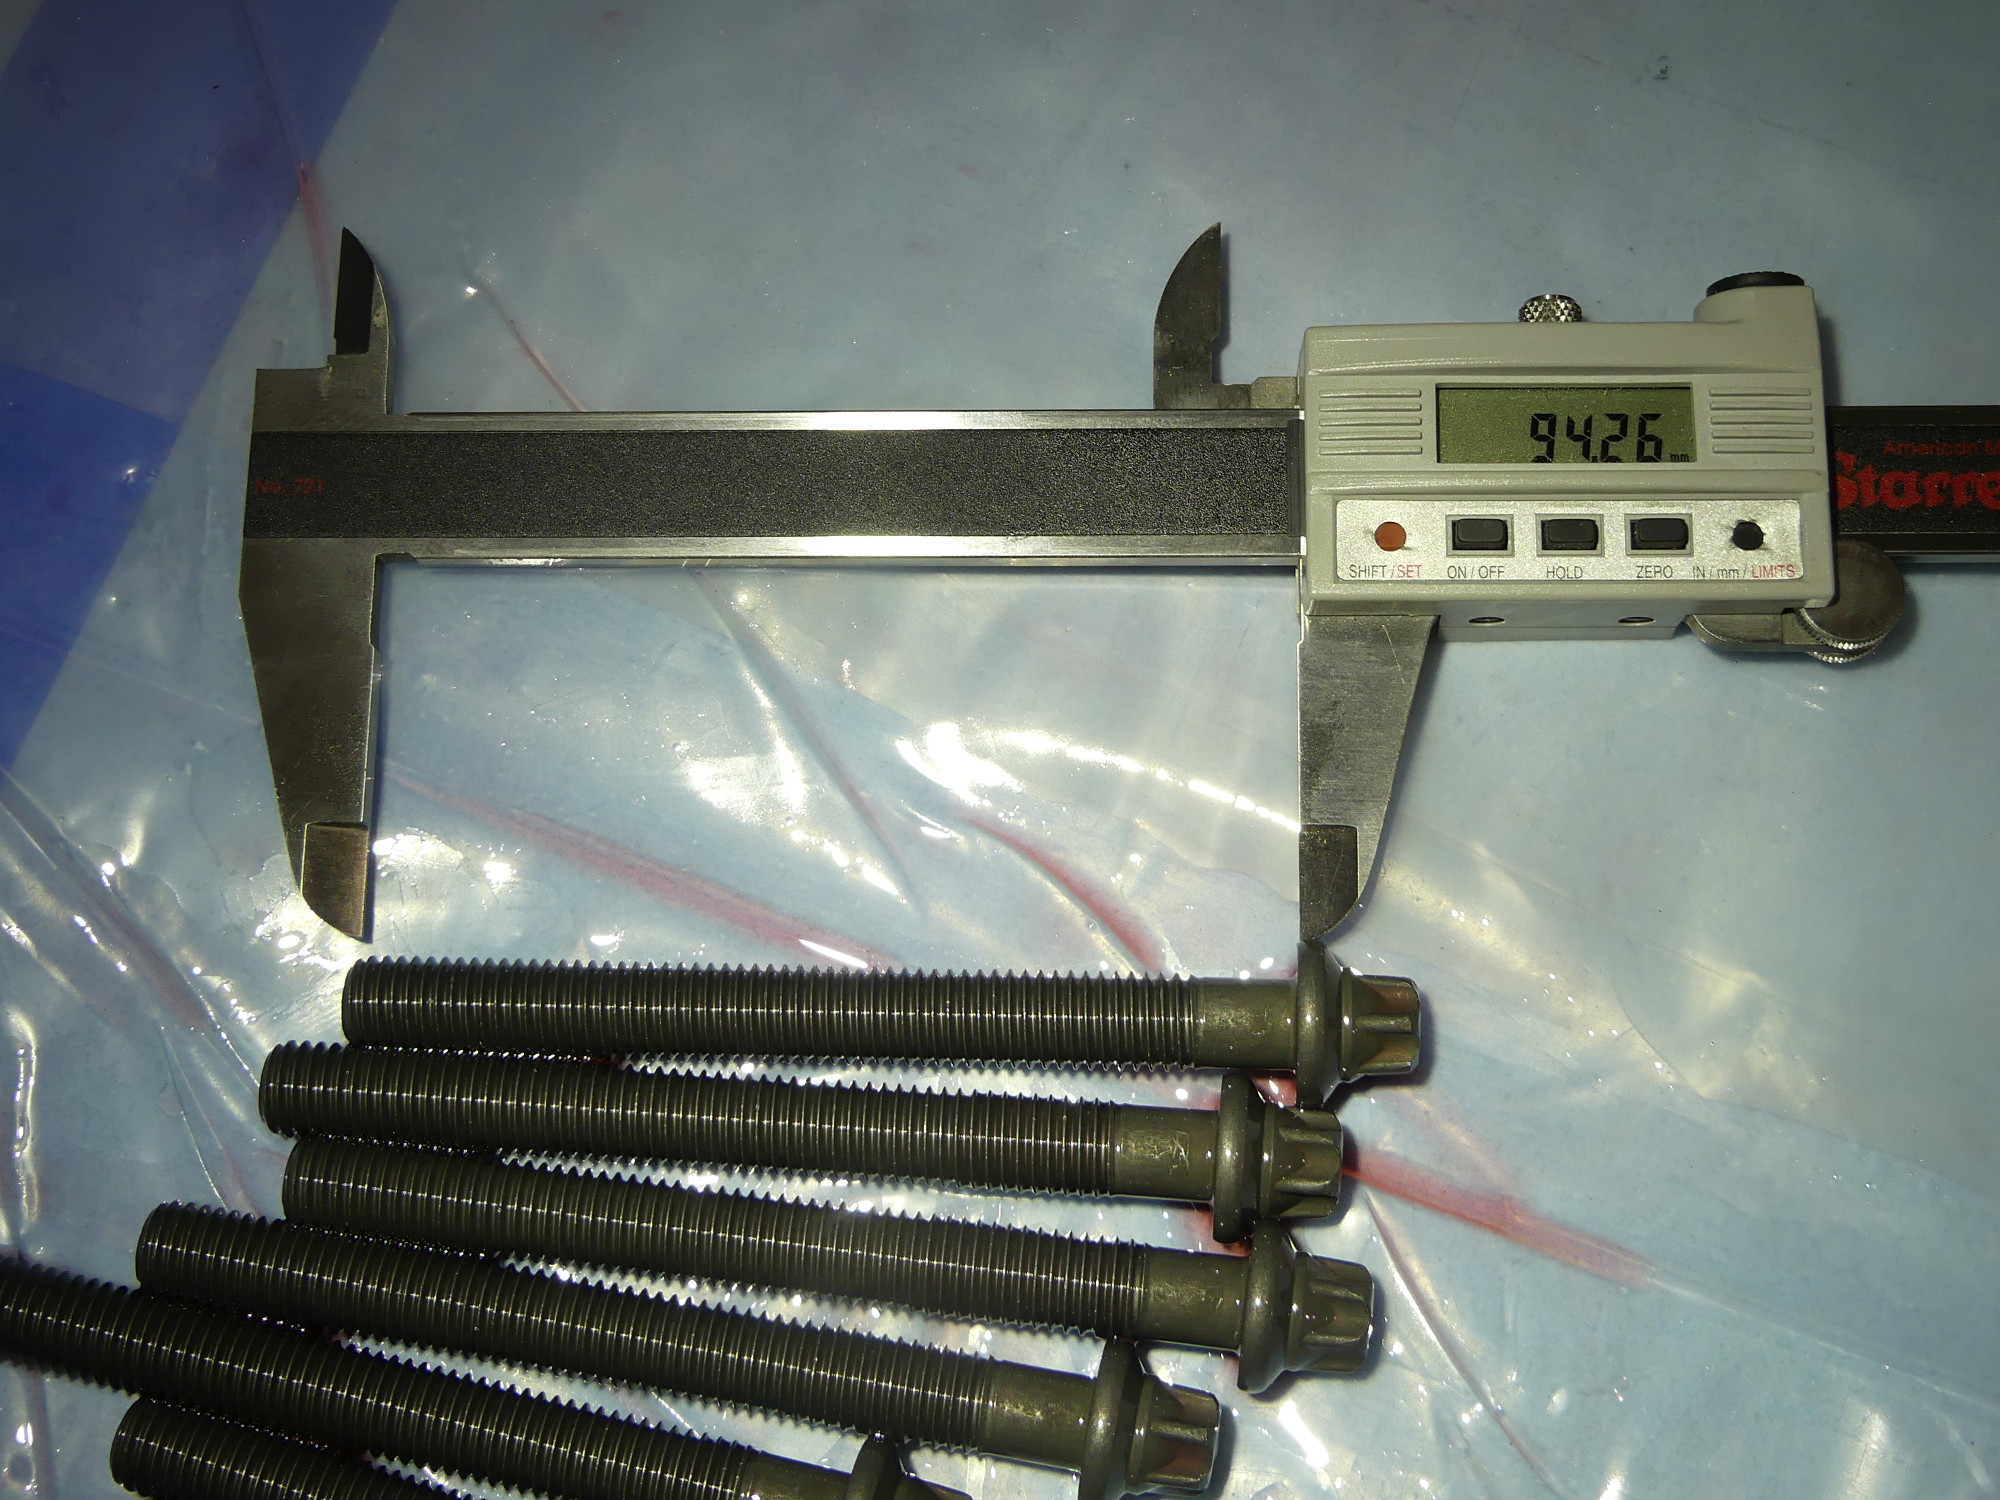 A little known detail -- per the TIS the head bolts for the cast iron block are shorter (95mm) than those for the aluminum block. Although I ordered what I thought were the correct bolts, I measured them anyway to be sure. |
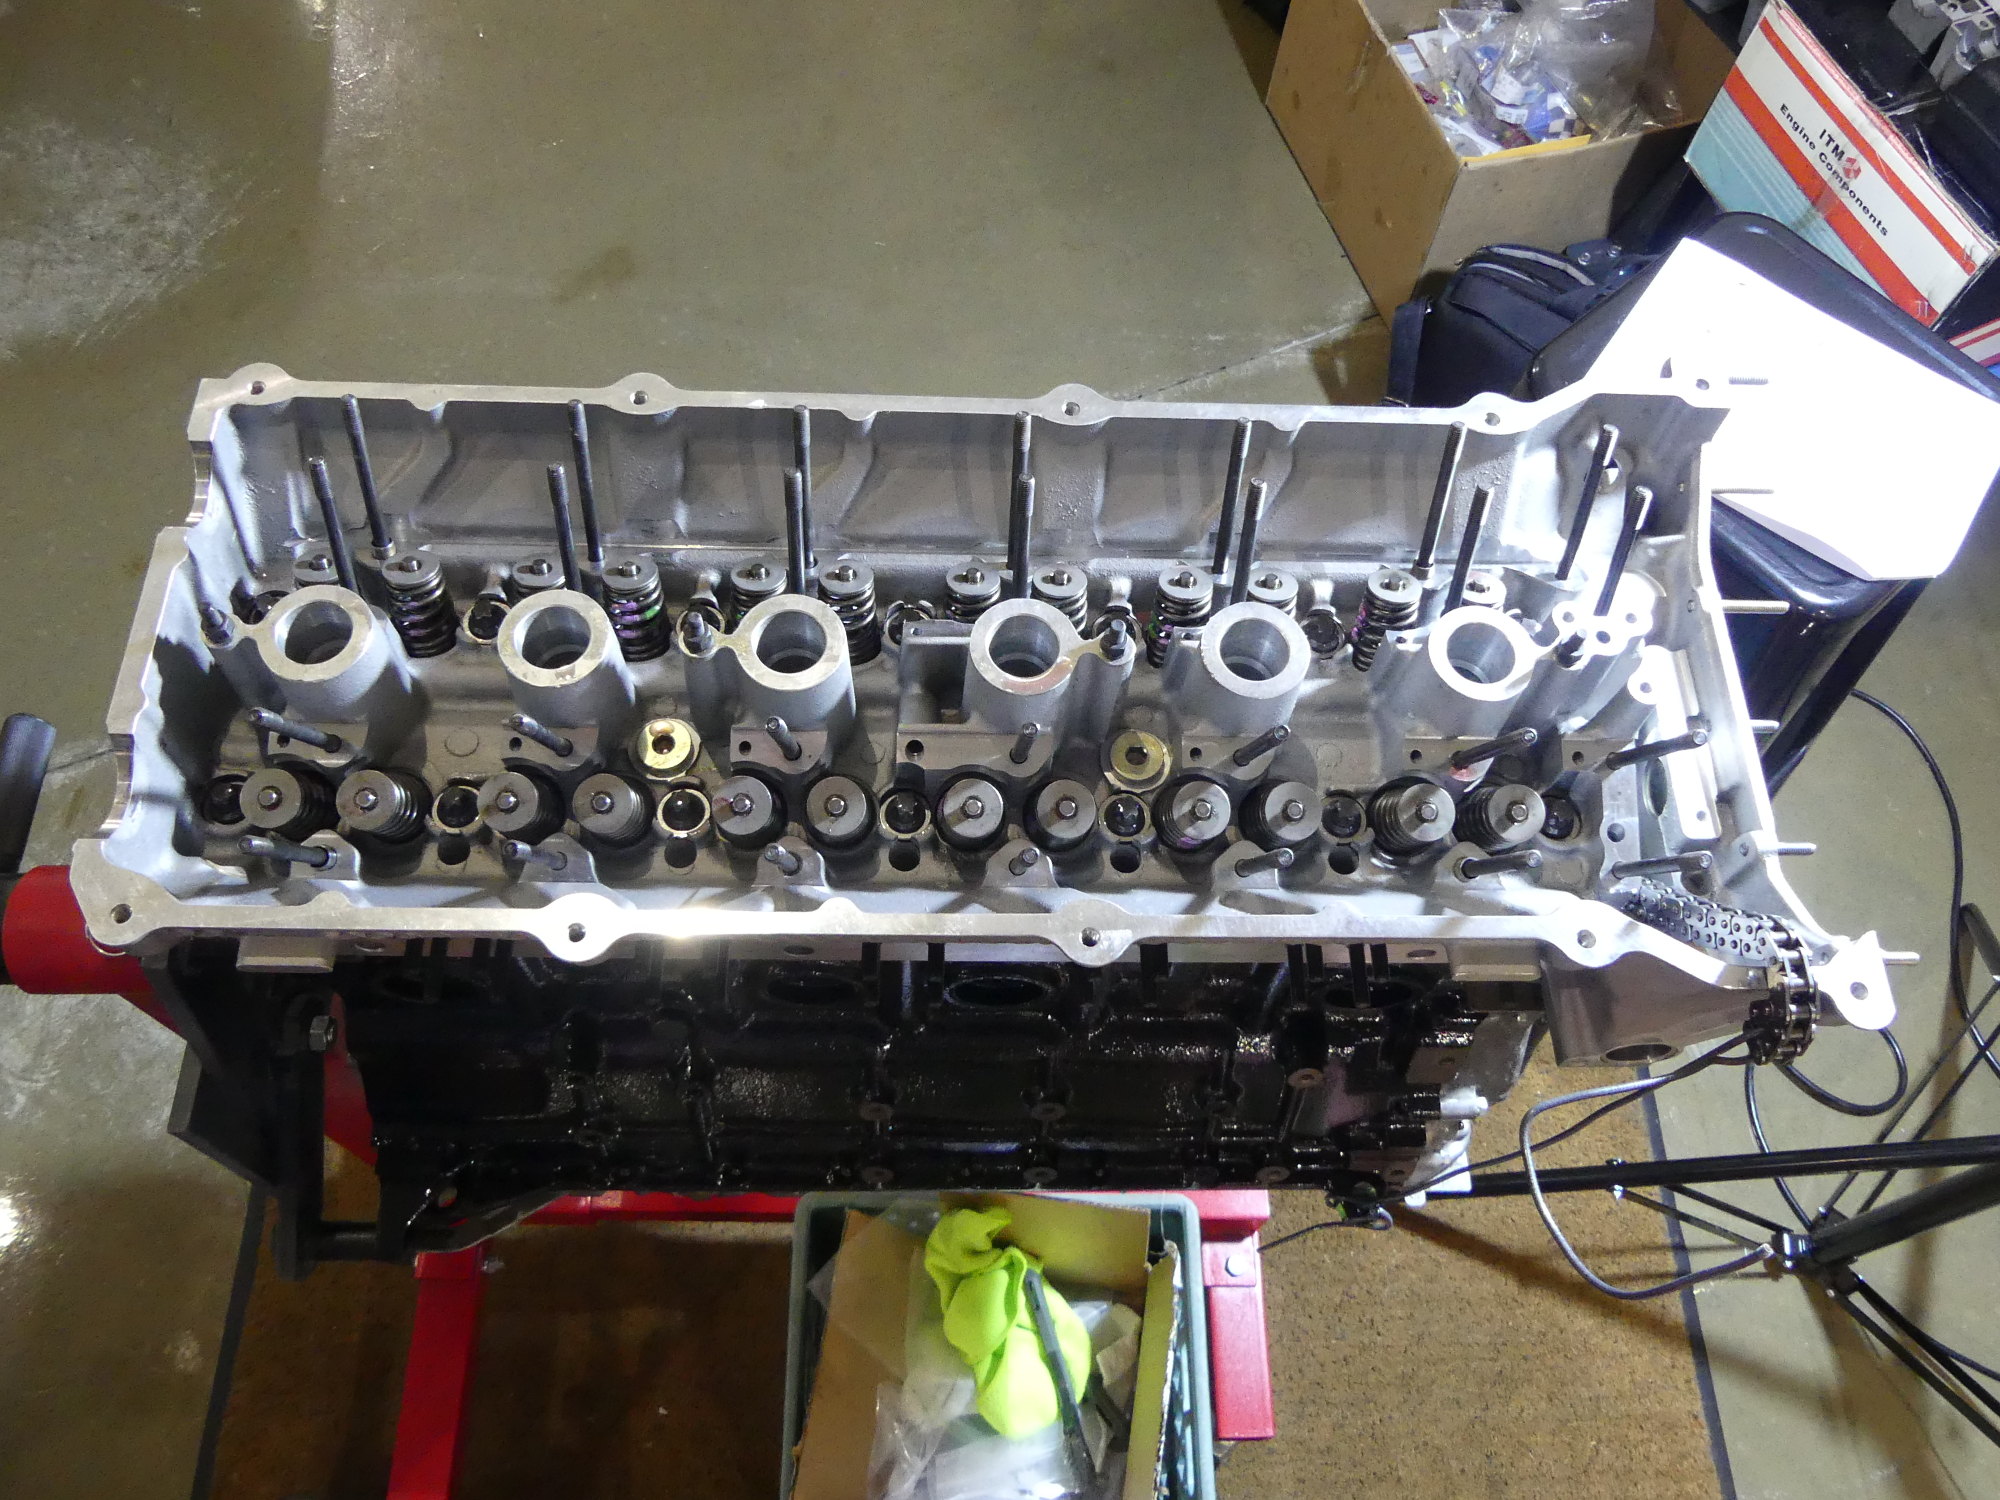 The head is now installed on the block. The second 90 degree torque was much more consistent this time, as compared to the torque plate installation, leading me to believe that the head is perfectly torqued. |
When installing the torque plate I used my largest breaker bar but, based on that experience as well as my desire to manually track the angle just in case the electronic gauge failed for some reason, I used my largest torque wrench set to the lowest setting instead. Naturally, I had to preload the wrench (i.e. make it click) before pressing the torque angle gauge's "Select" button to start recording the angle. This eliminated the small but significant ~1.5 degree angle error that would have otherwise resulted. Application of the first 90 degree torque angle went as expected and was quite similar in feel to the first 90 I applied when I installed the torque plate.
After a few minutes I came back and applied the second 90 degree torque. When I did this during the torque plate installation I felt like the bolts were reacting very differently and inconsistently. Some of the bolts presented the desired response -- a gradual increase in the force required to turn the wrench as it approached 90 degrees. Unfortunately, some of the bolts seemed to yield or stretch excessively, which resulted in the force required leveling off instead, and, as I said earlier, four of the bolts outright stuttered. My guess is this was due to inconsistent or inadequate application of oil to the bolts but I am not ruling out poor quality of the Victor Reinz aftermarket bolt set either. One thing is sure -- fully oiling the threads of the BMW branded bolt set lead to what I consider to be a proper torque on all bolts. Maybe that bolt set is worth the $47 I paid for it after all.
Brownline Torque Angle Gauge Review
Now that my use of the Brownline Digital Torque Angle Gauge is largely complete, I figured I'd give my take on the device. I'll start by saying that I'm very happy with the tool overall and think it's a great deal for anyone who has to deal with torque angles on an infrequent basis or simply doesn't want to spend considerable money on a full set of digital torque angle wrenches from the major players (SnapOn and Matco). This means most technicians and probably most if not all DIYers.
This is one of the better designed tools I've seen recently. So few companies appear to pay attention to ergonomics but it's clear the designers gave considerable thought to the physical construction and user interface. Some positives:
-
The display is uncluttered and easy to read in nearly all lighting conditions, yet it is also backlighted just in case you find yourself working in a location with inadequate lighting.
-
The size, orientation and even the tactile response of the buttons are outstanding. They are particularly easy to manipulate with gloved hands, which is more than I can say about its cheaper competitors.
-
The LED indicators use a diffused lens, which increases their apparent size and brightness. These are important characteristics given that it is absolutely essential to watch these indicators as the desired angle is approached.
-
While the unit does consume battery power in storage, consumption is minimal provided the unit is turned off. This is more than I can say for the other tools I used in this project including my digital micrometers.
Of course, no decent review would lack constructive criticism, and I have some suggestions for improvement:
-
One minor quibble I have with the physical construction is the fact that I have to remove two tiny screws to remove the battery. Surely this could have been done with a single thumb screw of some kind so removing the battery would not require a tool.
-
In cases where I could not see the display easily I naturally relied on the LED indicators and audible feedback to know when to stop. The lack of multiple indicators or a "progress bar" makes the tool quite twitchy to use in this case. The LED indicator turns yellow when within a certain percentage of the target angle but then it turns green and beeps when the target is reached. That's it. I absolutely love the way the SnapOn wrenches function and I would encourage Brownline to add additional indicators on both sides of the device (separated by some distance, not under the same diffuser lens) and have them function much as the SnapOn does.
-
I'd like to see a bluetooth interface that allows a client to connect to the device to record all events including target angle selection (hitting the +/- buttons), resets of the chosen angle (hitting the Select button), and real time angle change (in response to turning the wrench). This would allow the operator to record all the data for a given set of fasteners, much as the SnapOn wrenches do, as well as provide a much larger display that could be more conveniently located in the line of sight of the operator.
-
Earlier I thought I would not like the audible feedback but after working with the tool I think it is adequate. Beeping progressively faster as the unit nears the target would be helpful and, at the risk of over-complicating an elegantly simple UI, I would like that as a configurable setting.
If I had to pick which improvement to make first, it would be the LED indicators. Just put five bicolor LED indicators under separate diffusers on each side, turn them on in yellow progressively as the target angle is approached, and then switch them all to green to indicate the target has been reached.
That said, if you have the budget and deal with torque angles on a regular basis recommend I the purchase of a SnapOn or Matco wrench instead. Why? To gain improved usability and tracking of multiple torque values and angles (the Brownline only remembers the last angle), as well as the ability to check peak torque when removing fasteners -- something that would have come in handy as a validation step when removing my torque plate.
I also found the need to interrupt my torque flow by pressing the Select button to restart angle measurement somewhat distracting but the reality is without an integrated stress gauge to tell the device when the applied torque has dropped to zero (because the user has stopped pulling on the wrench) I don't think it's possible for a simple accelerometer-based torque angle gauge like the Brownline to reliably know when to reset the angle, particularly for smaller arcs. This is where the SnapOn wrenches with integrated torque angle function shine.
Next Up
I'll use my spray wand syphoning from a can of mineral spirits to thoroughly clean my new cam carriers and cams. Then I'll move the helical shaft from my old intake cam to the new one and install the carriers and cams in the head.