


Friday, October 6, 2017
Oversize Head Gasket Ordered
While doing the initial research for this project last year I heard that BMW specifically advised against milling the head in the S52 application. On the M52, milling of the head was apparently authorized, provided the oversize gasket is used. While researching the head installation procedure in the TIS I came across the source for these restrictions, so I can confirm they are true. As a result I've decided to order an oversize head gasket to replace the standard gasket I had on hand. That will delay the head installation until Saturday, when the part is expected to arrive.
As the oversize gasket is 0.3mm (0.012" or 12 thousandths) thicker than the standard gasket and I removed 0.1mm (0.004") from my block this will result in a net increase of 0.2mm (0.008" or 8 thousandths) in my stackup height and hence piston to valve clearance, relative to a factory new engine. In other words, I've bought myself some insurance in case the piston to deck heights I measured the other day are not correct for my application, regardless of what Steve @ TEP told me, or my machinist deceived me about the amount of material he removed from the deck of the block much as he did with the crank. If you think I'm being paranoid, you're probably right, but then again, if you had spent what I have on this build you'd be paranoid too. And, as they say, just because you're not paranoid doesn't mean they're not after you.
Revisiting The Oil Pan
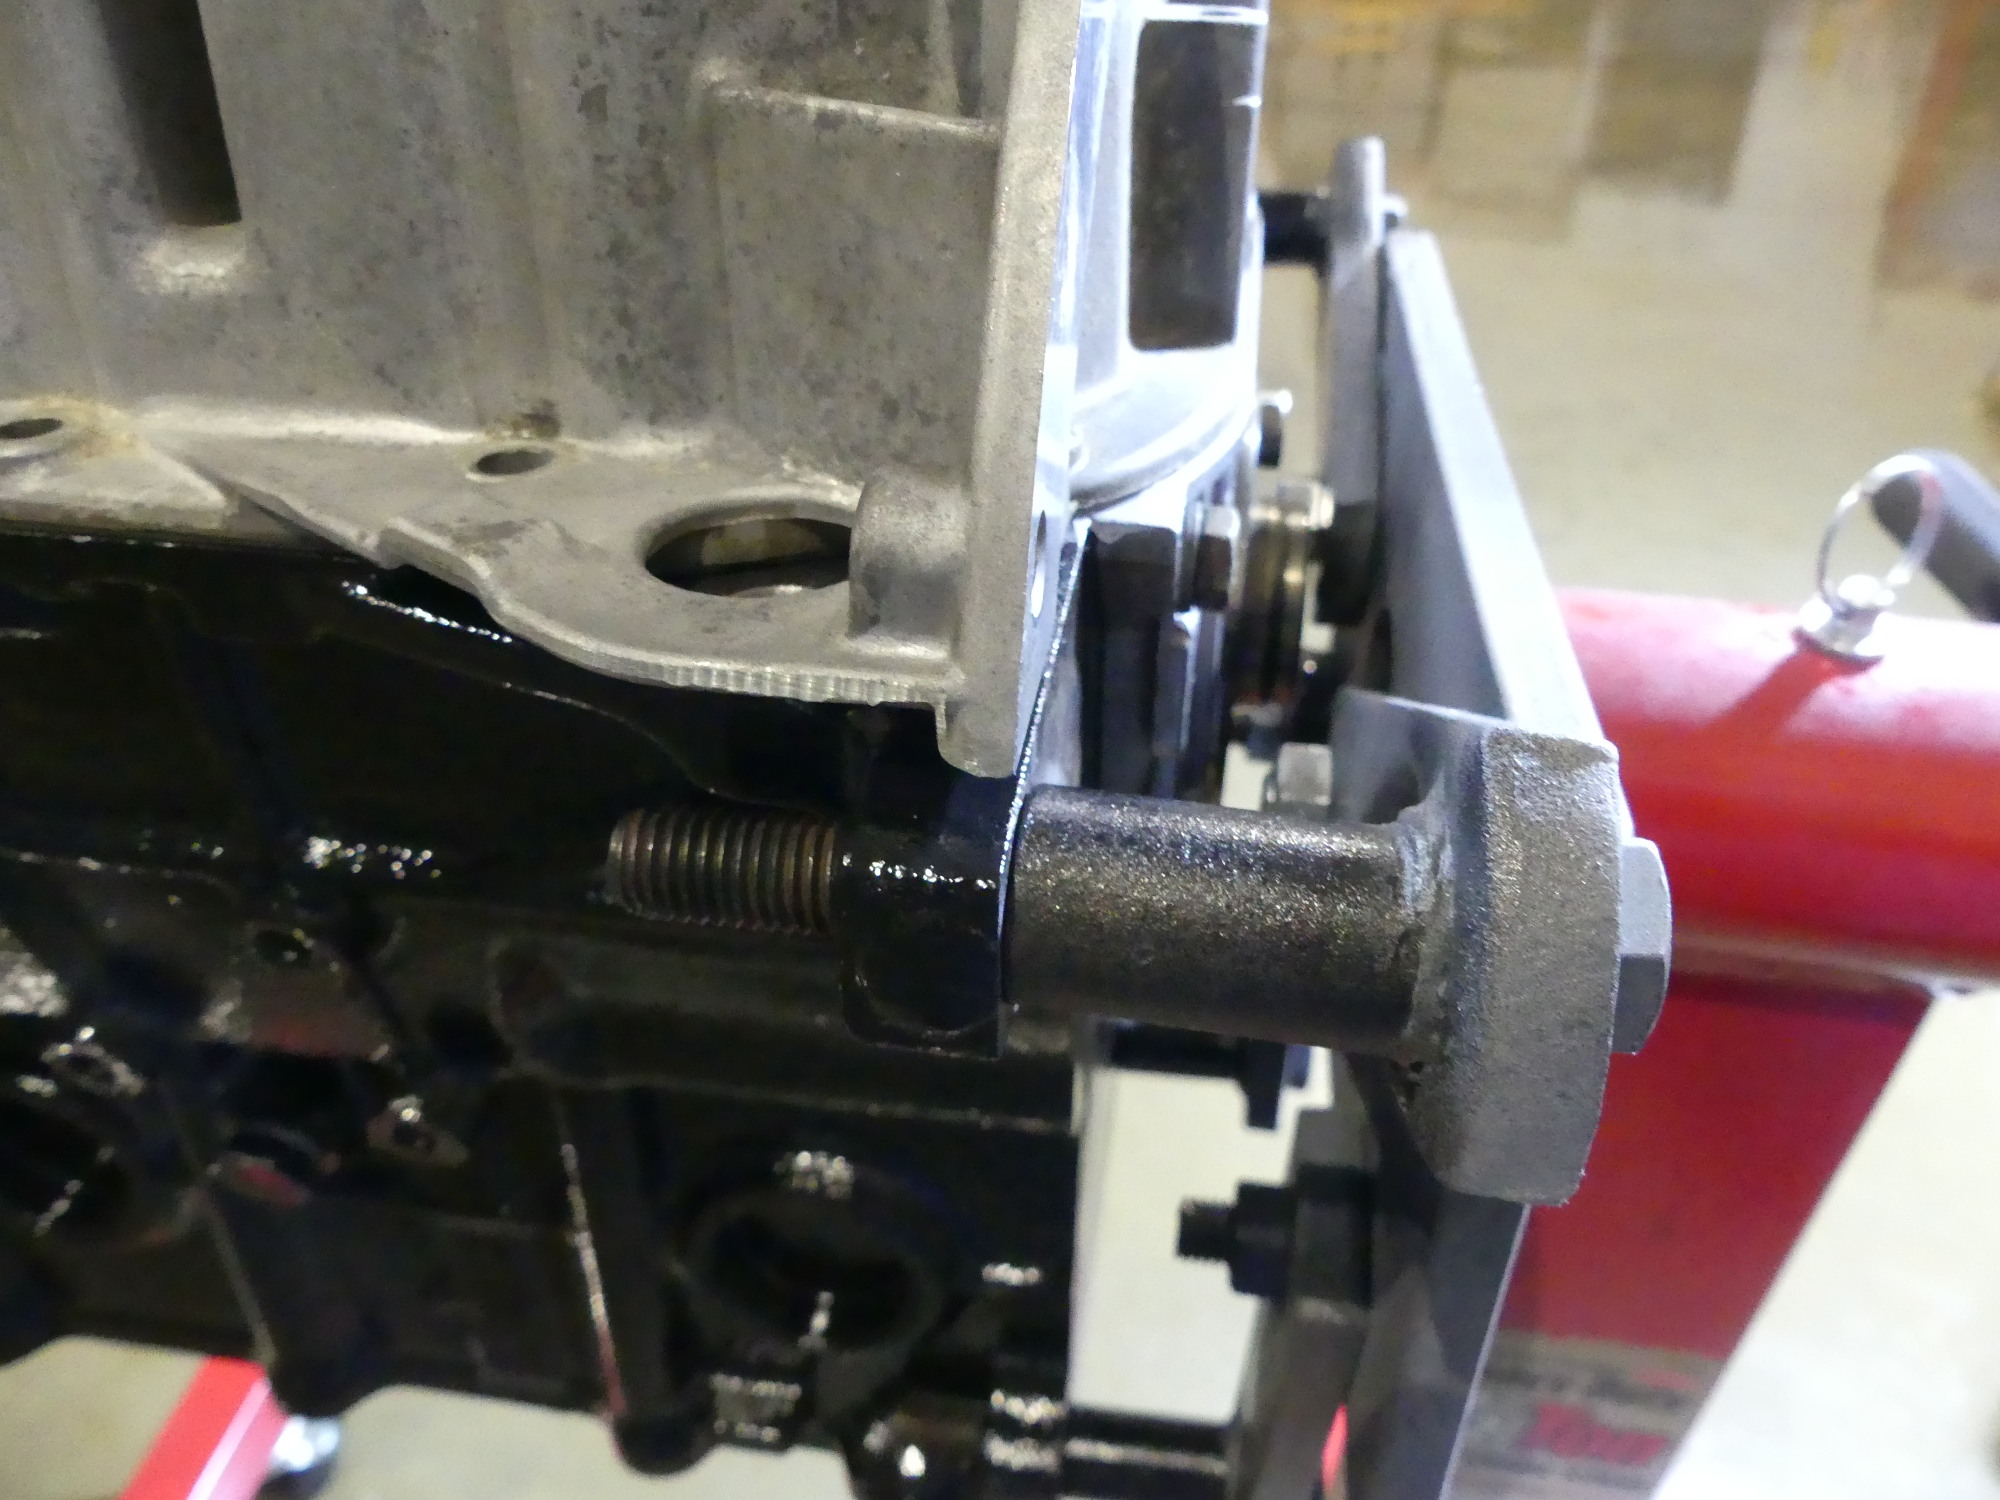
I began work today by removing the oil pan. You may recall I mentioned a fitment issue with the pickup tube. In the thick of solving this issue I was taking video (not yet published). Later, while reviewing the video I began to wonder if I remembered to apply the final torque to the two pickup bolts. A quick check with my 1/4" torque wrench confirmed that I have yet again fallen prey to a few too many long days combined with a smattering of paranoia, but I'm not ashamed I checked it. When it comes to oil delivery on my newly rebuilt engine, I don't screw around. I'll double and triple check it if necessary.
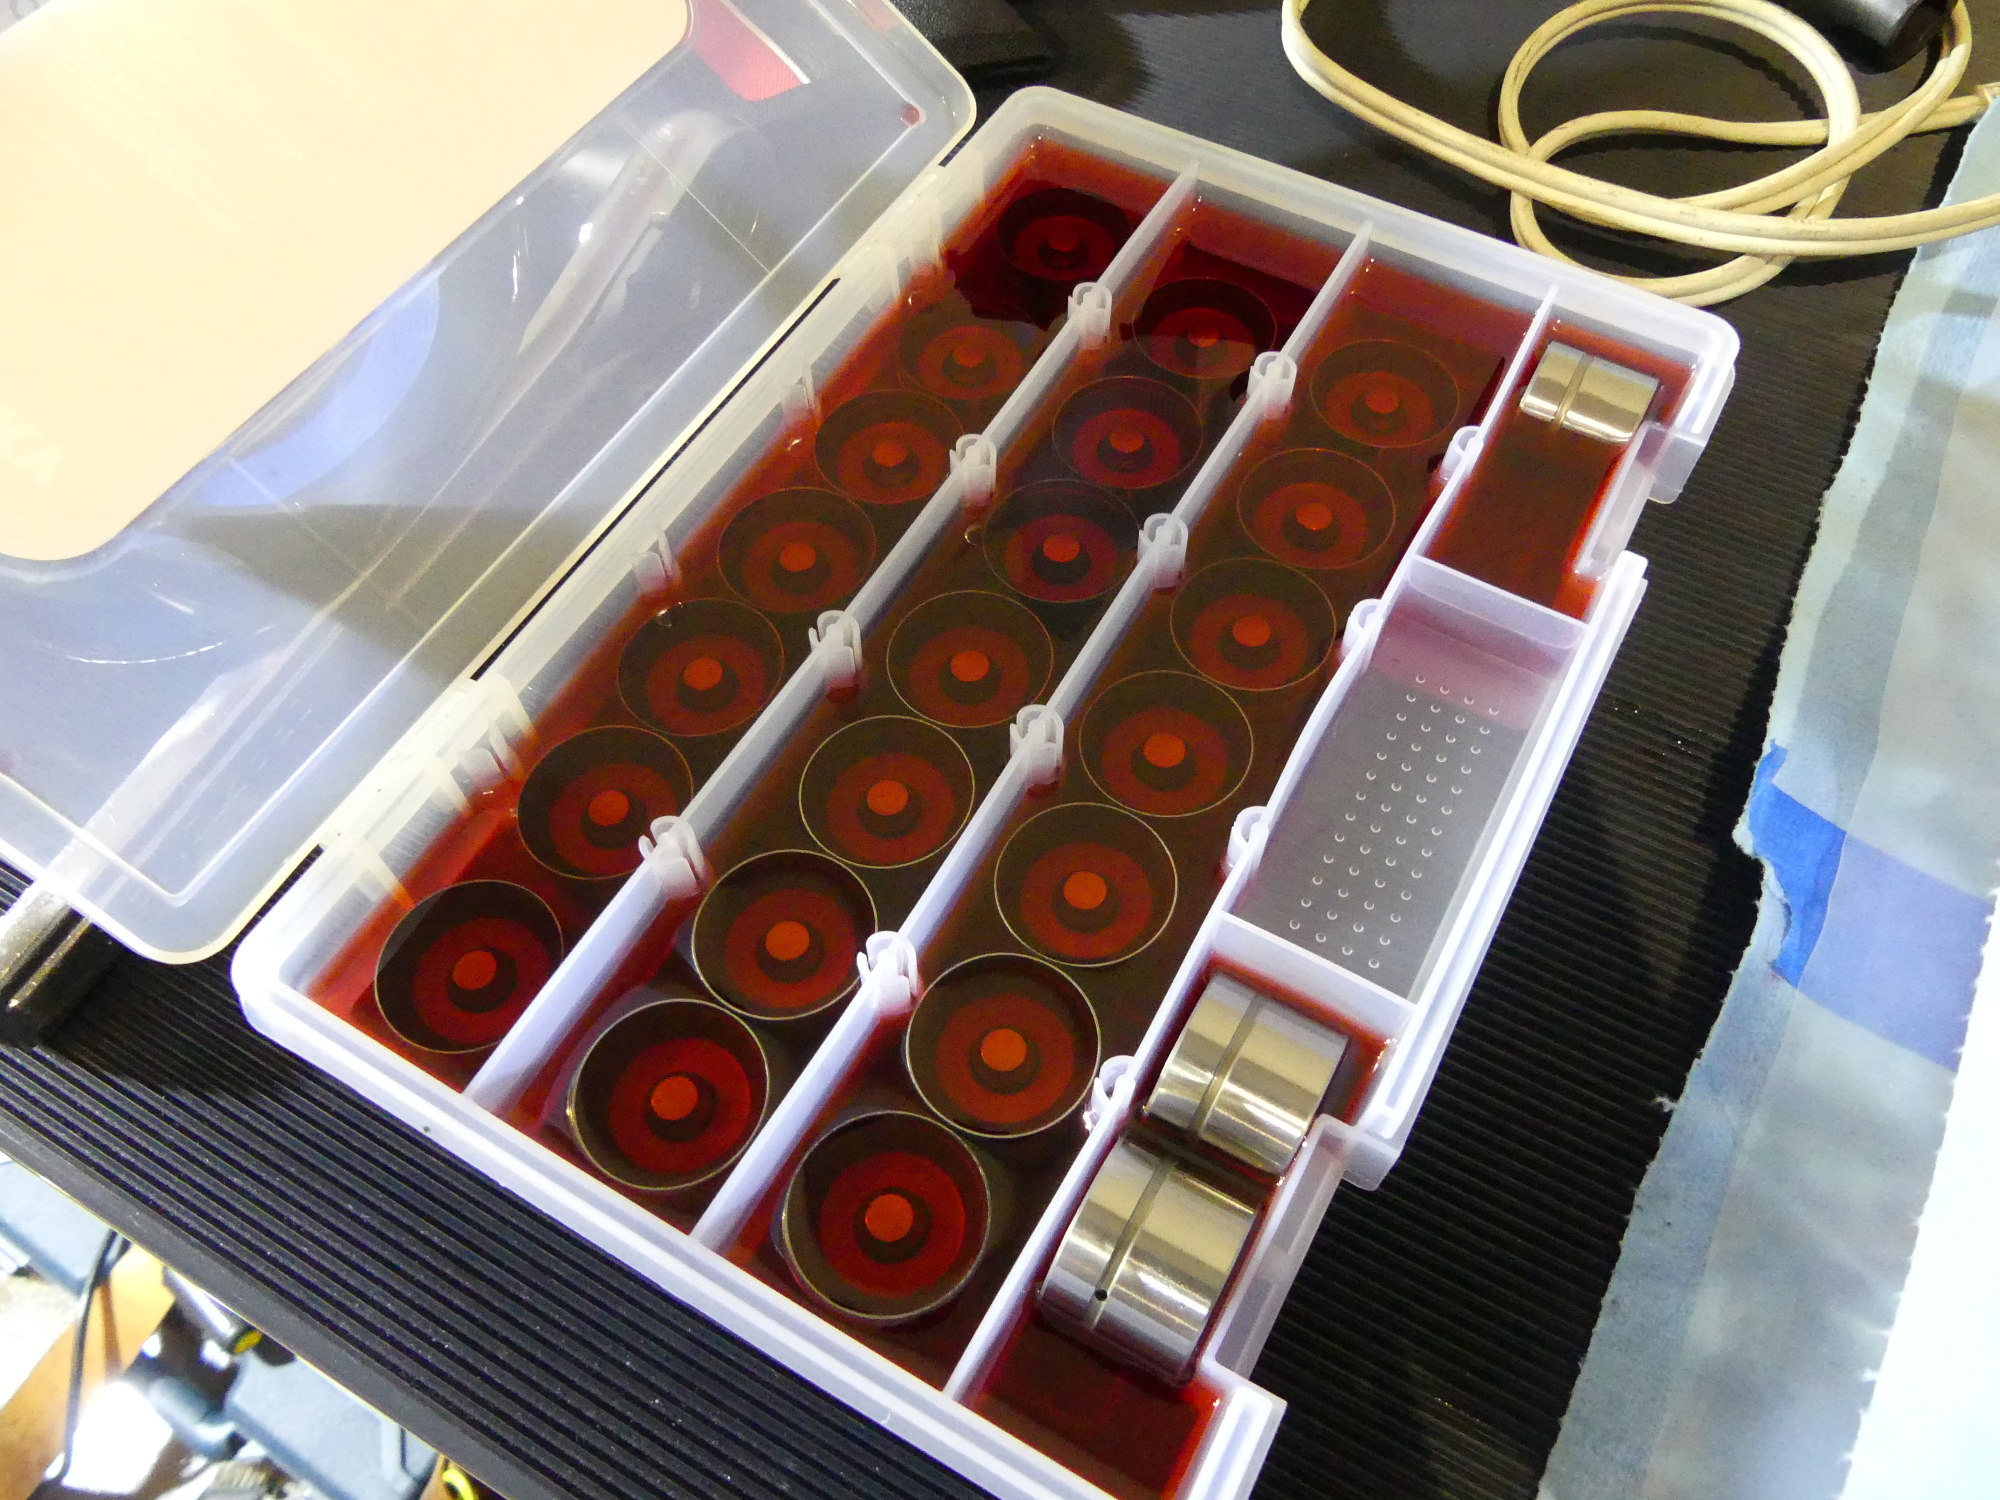 Before I left the garage last time I put the new lifters in a parts organizer I bought at the home center and submersed them with the bulk of a quart of engine break-in oil. |
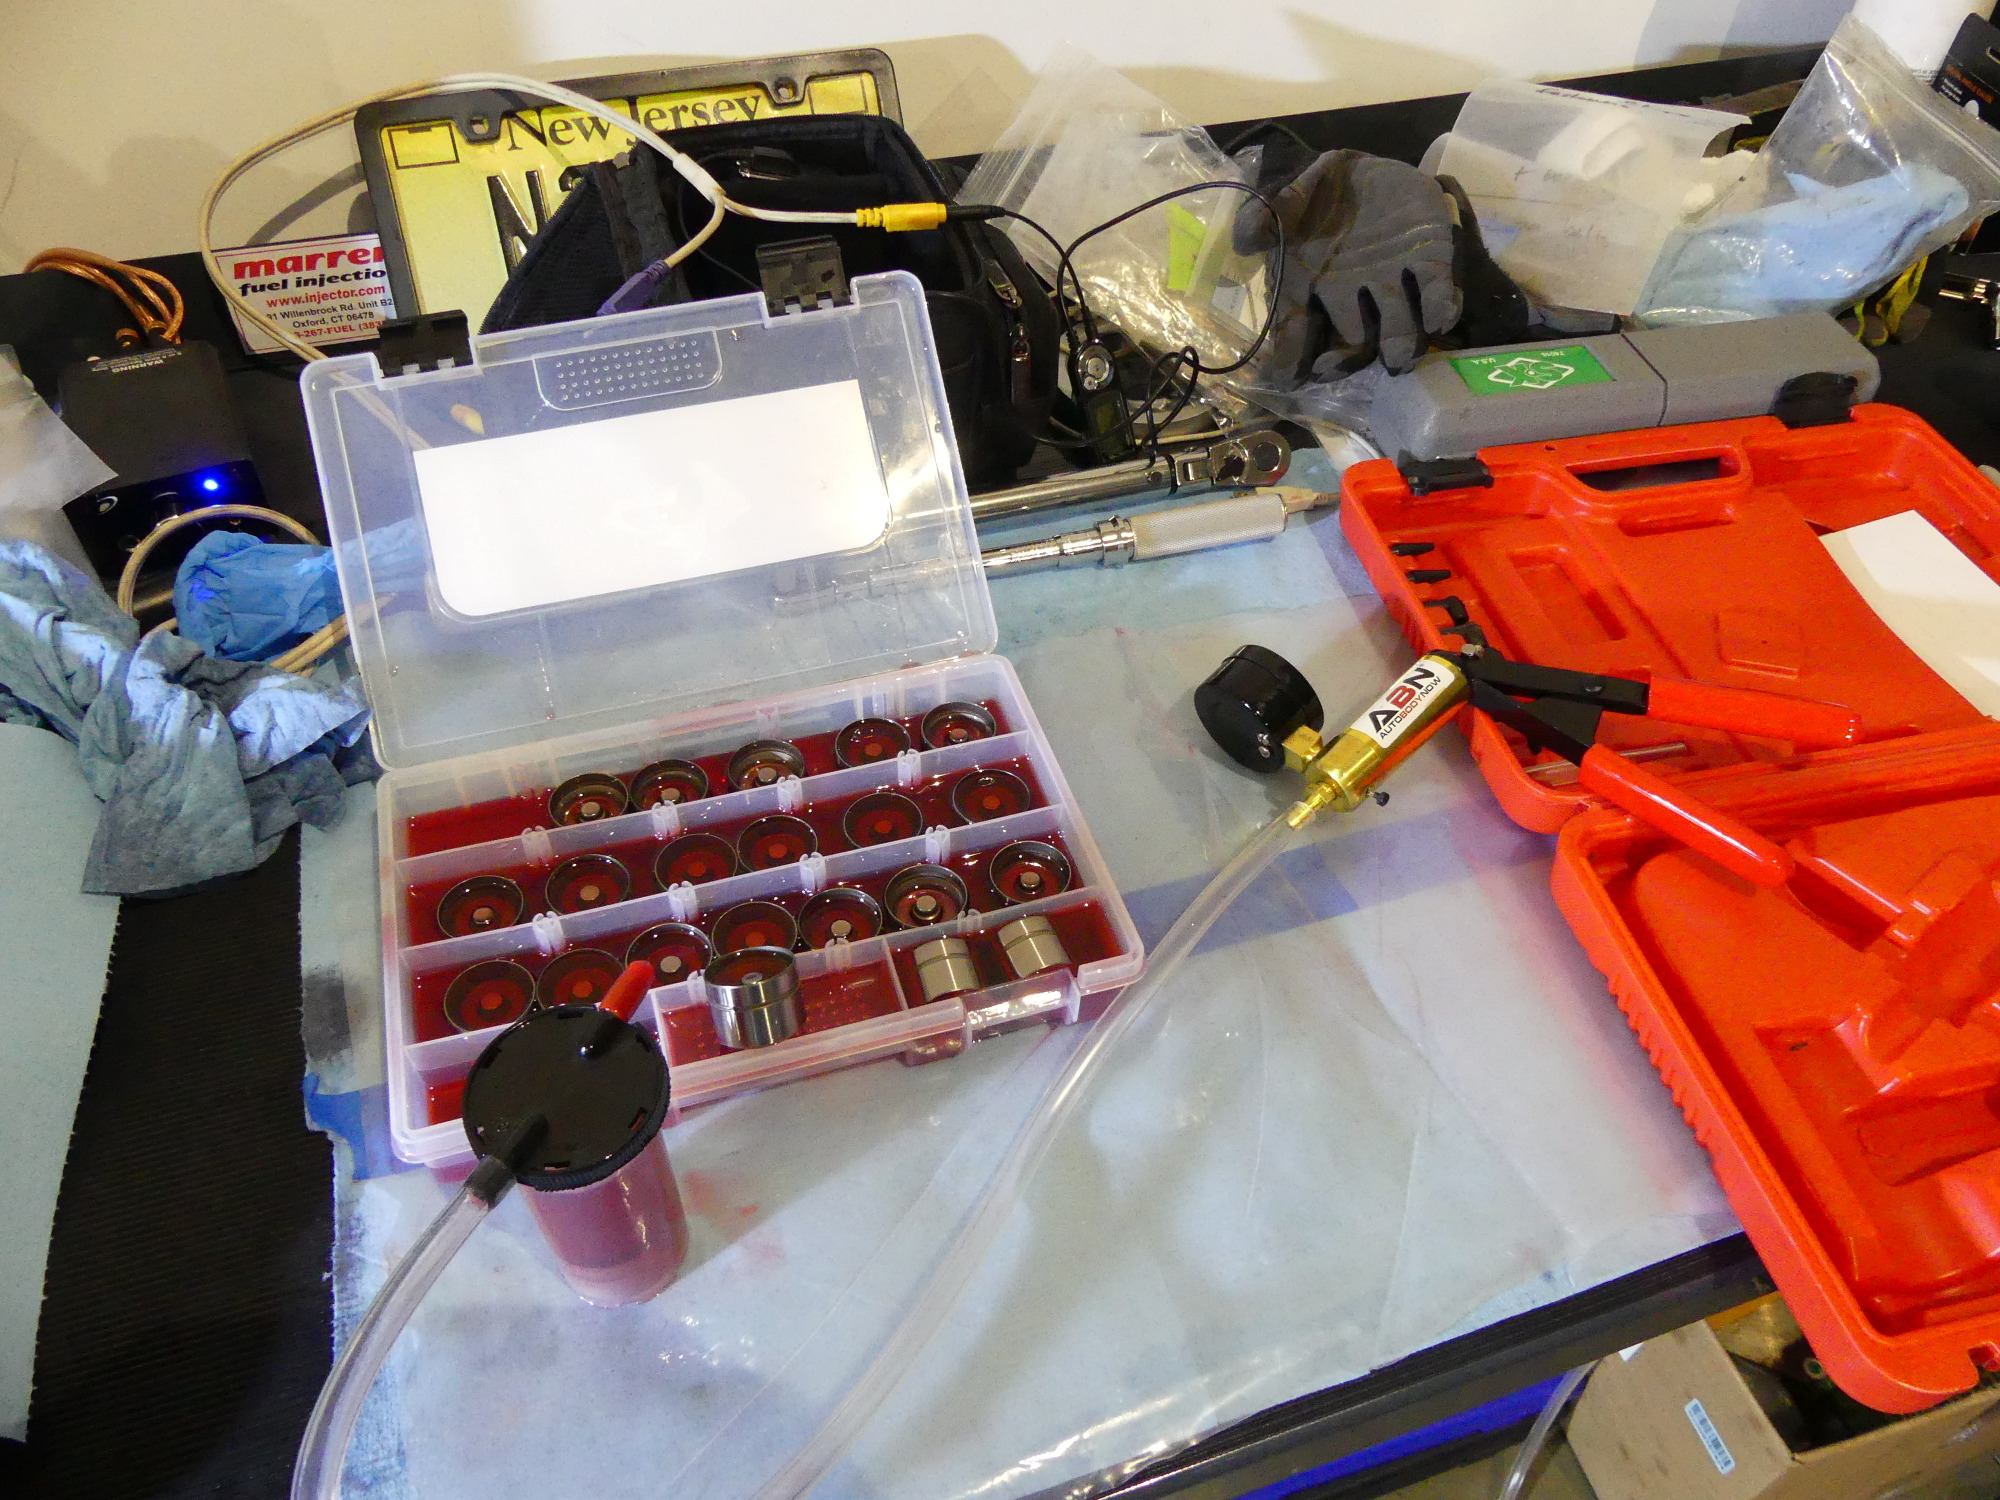 I bought this cheap brake vacuum bleeder tool online to test a theory -- whether bleeding the lifters ahead of time will reduce the time required to bleed the lifters after first start. |
 I read a warning in the TIS about making sure the oil pan is correctly aligned with the engine block. My technician confirmed that if not this is not done the oil can crack when the transmission is installed. |
Truth be told, loosening all of those oil pan bolts had a secondary purpose. While researching the procedures and torque specs I'll need to install the head I happened to come across a seemingly innocuous procedure in the TIS outlining how to install the oil pan. I found myself asking "why is there a procedure for something so simple?" Reading it confirmed that it was mostly boilerplate...except for the critical note near the end of the procedure that warned it was necessary to ensure the rear flange of the oil pan is aligned with the rear face of the block. As usual, the documentation did not elaborate on why this is critical, but I later caught up with my technician and, with his usual knowing smile, he explained "if the pan flange is forward of the block, when you go to torque the transmission bolts you'll wind up cracking the oil pan."
I decided to put a bit of oil on each of the oil pan mounting bolts because the first time I installed them I didn't quite like how some were a bit difficult to thread in by hand. The oil cured that problem. The only thing I have to do now is apply the final torque, but that won't happen until the top end of the engine is assembled and the primary timing chain is secure.
Head Prep
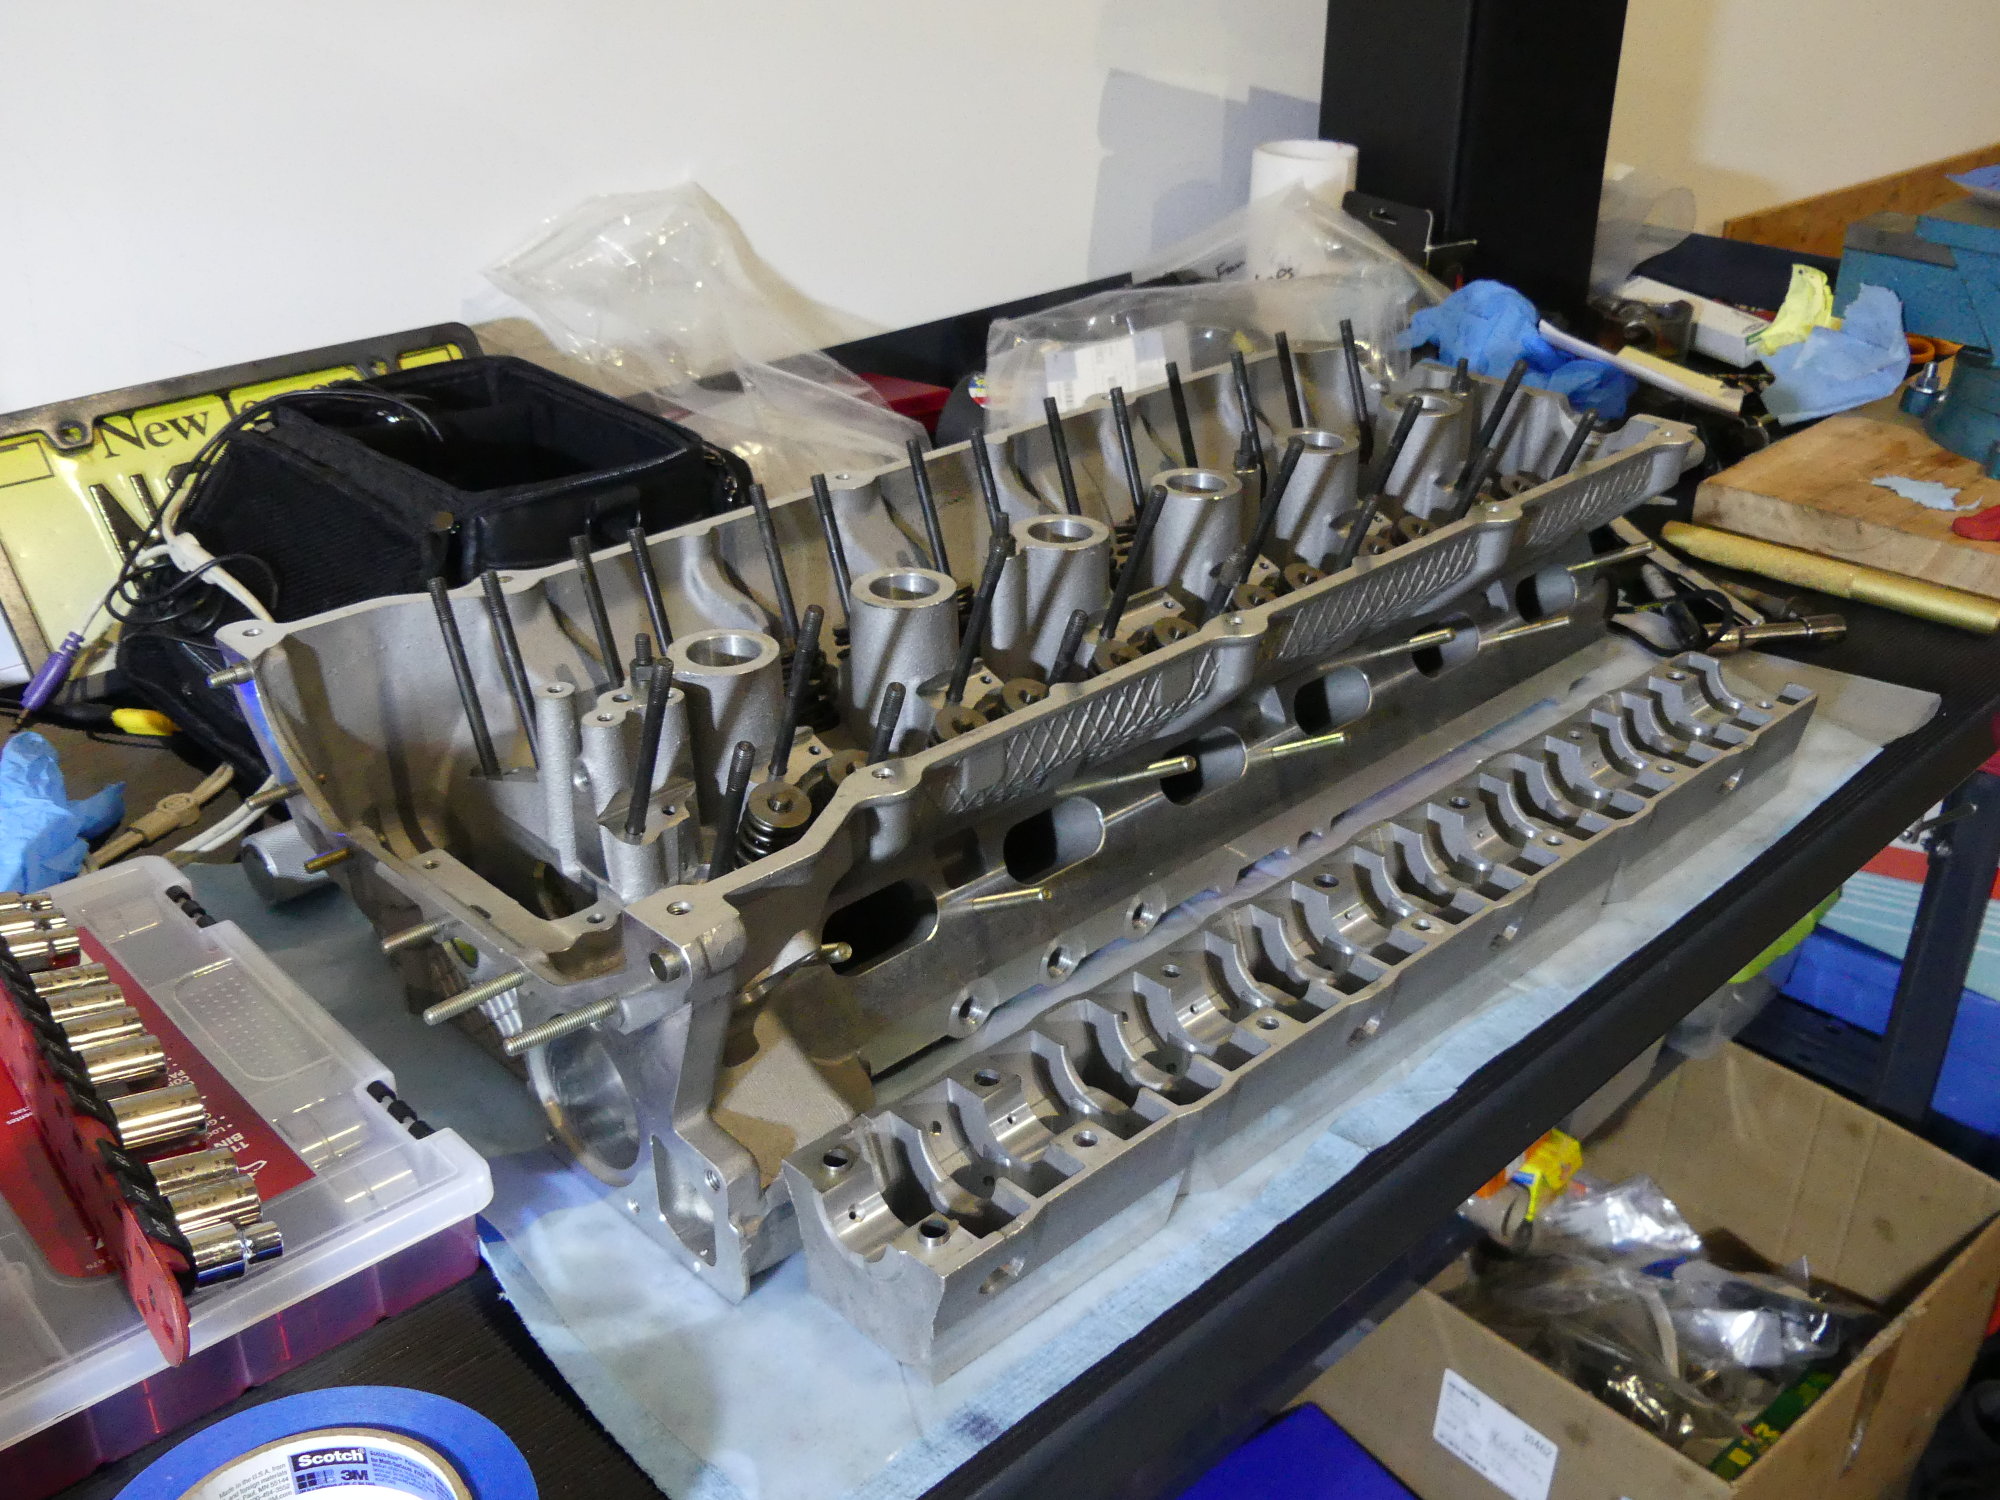
I decided to remove the cam carriers from the AMC head, since I'll be installing my new BMW cam carriers in their place. With the carriers removed I inspected the head and realized it was clean enough to avoid the wash down I had originally planned. However, I did address the dirt that had accumulated in the grease and oil on the valve retainers. I followed up with some compressed air to blow away any lint.
 The only straight edge I had in reach wasn't really a straight edge but it should be sufficient to get the point across. These two surfaces must be in perfect alignment before the oil pan bolts are tightened. |
 A different kind of ZnNi plated bolt, in this case one of the long bolts used to secure the oil pan to the block. The lighting has washed out the color a bit, but these appear an iridescent black in ambient light. |
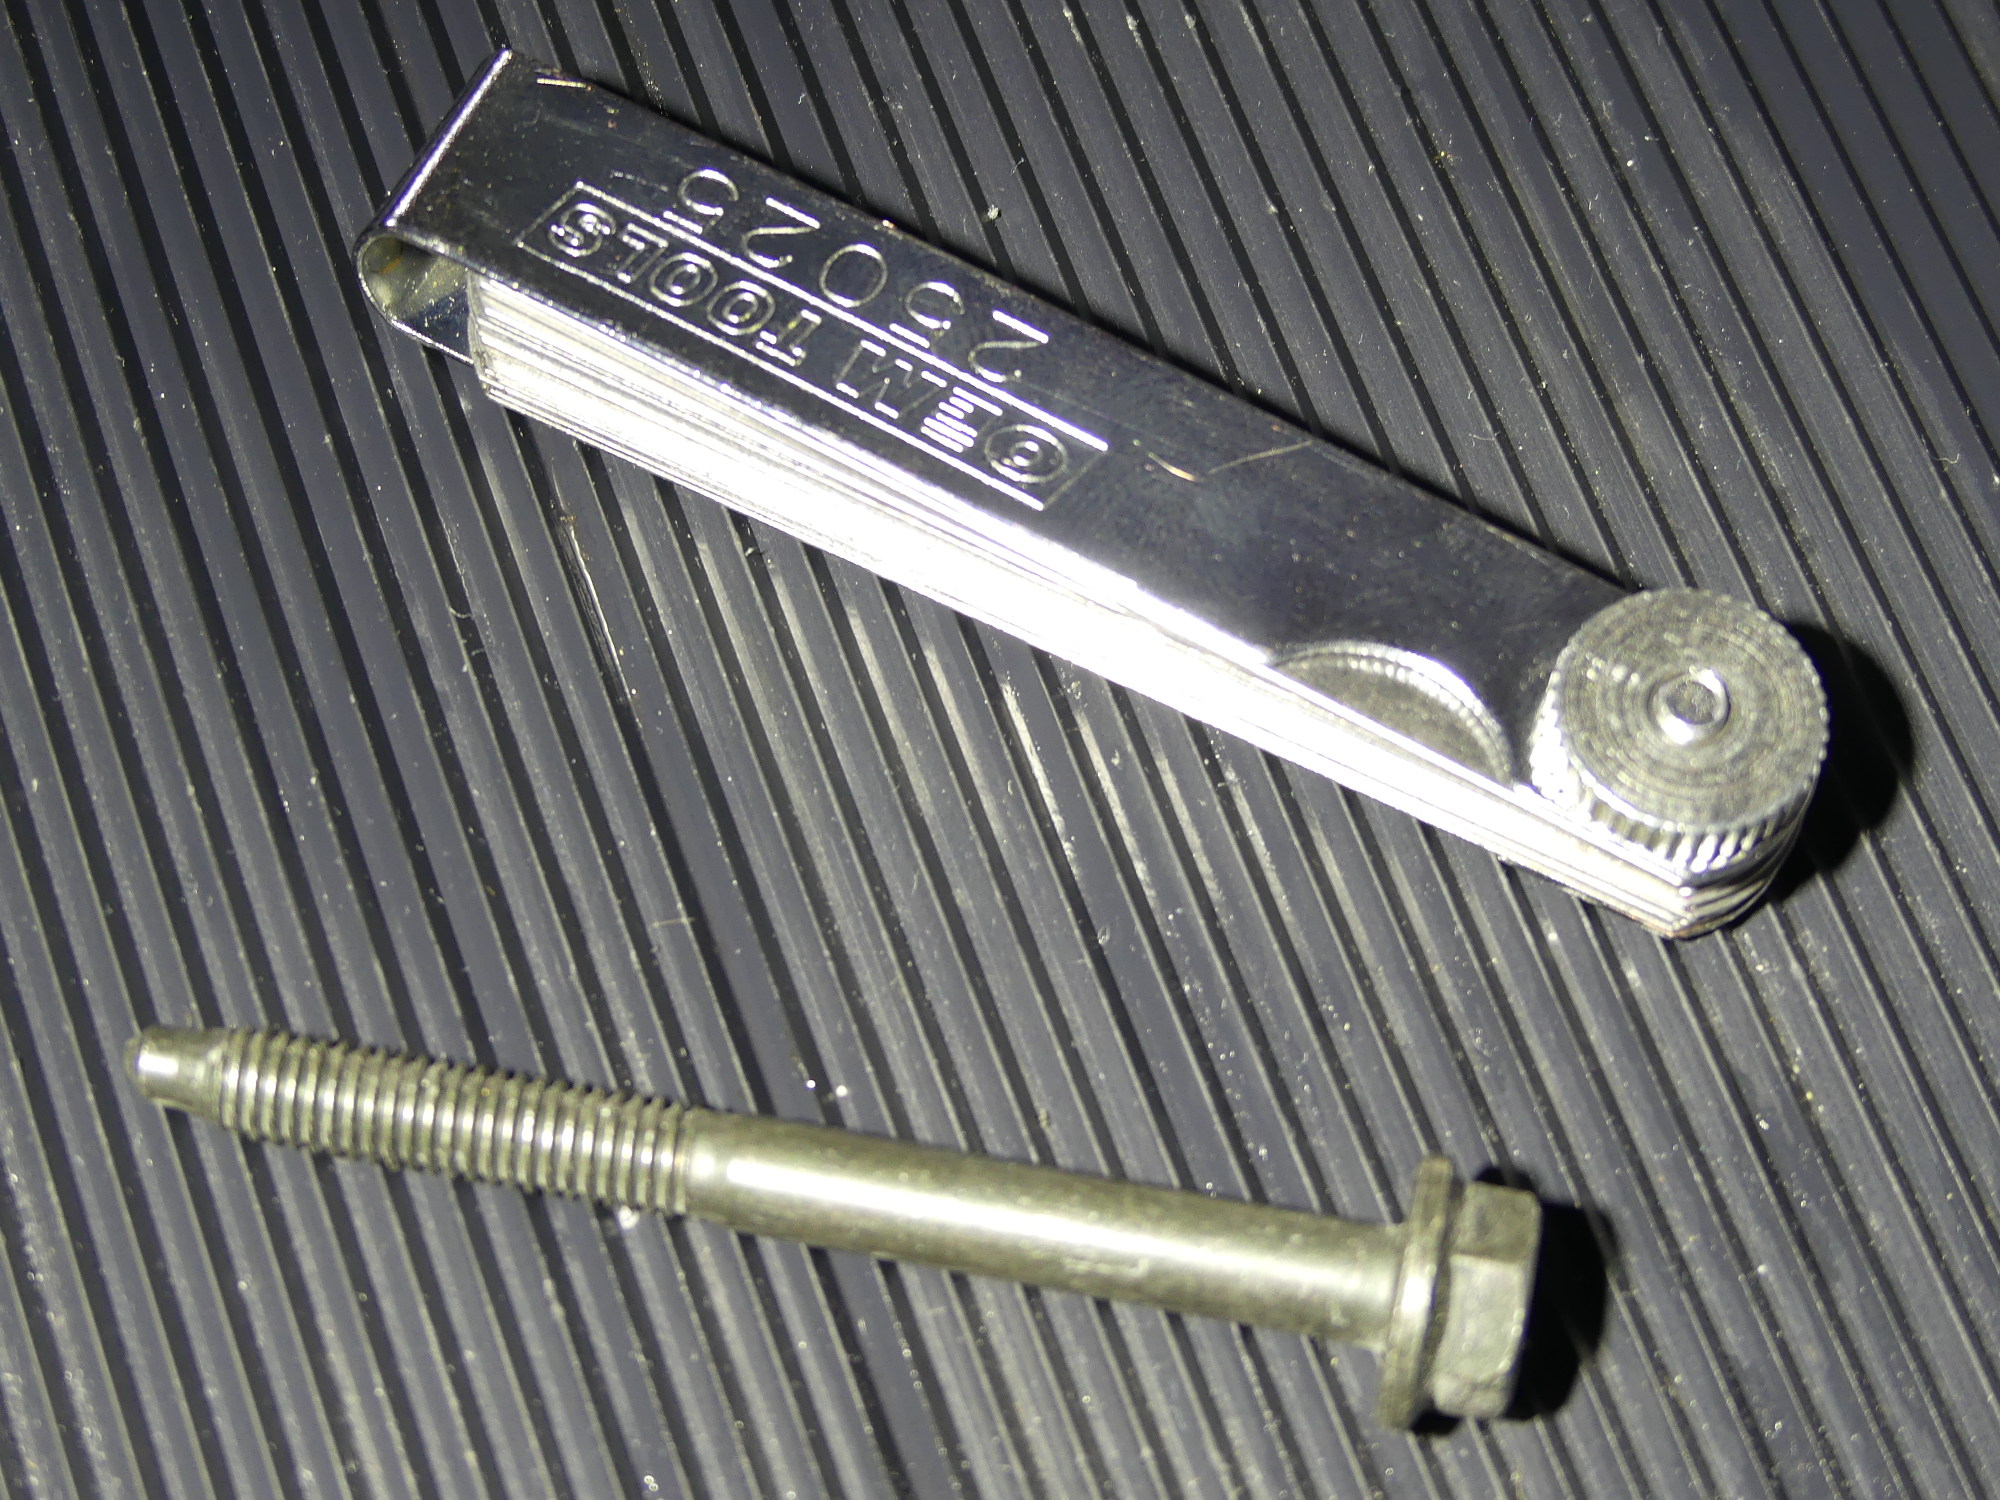
 Many people who overhaul these engines don't replace the crank bolt, so it may come as a suprise to you (as it did to me) that it is torqued to its yield point so BMW requires its replacement. |
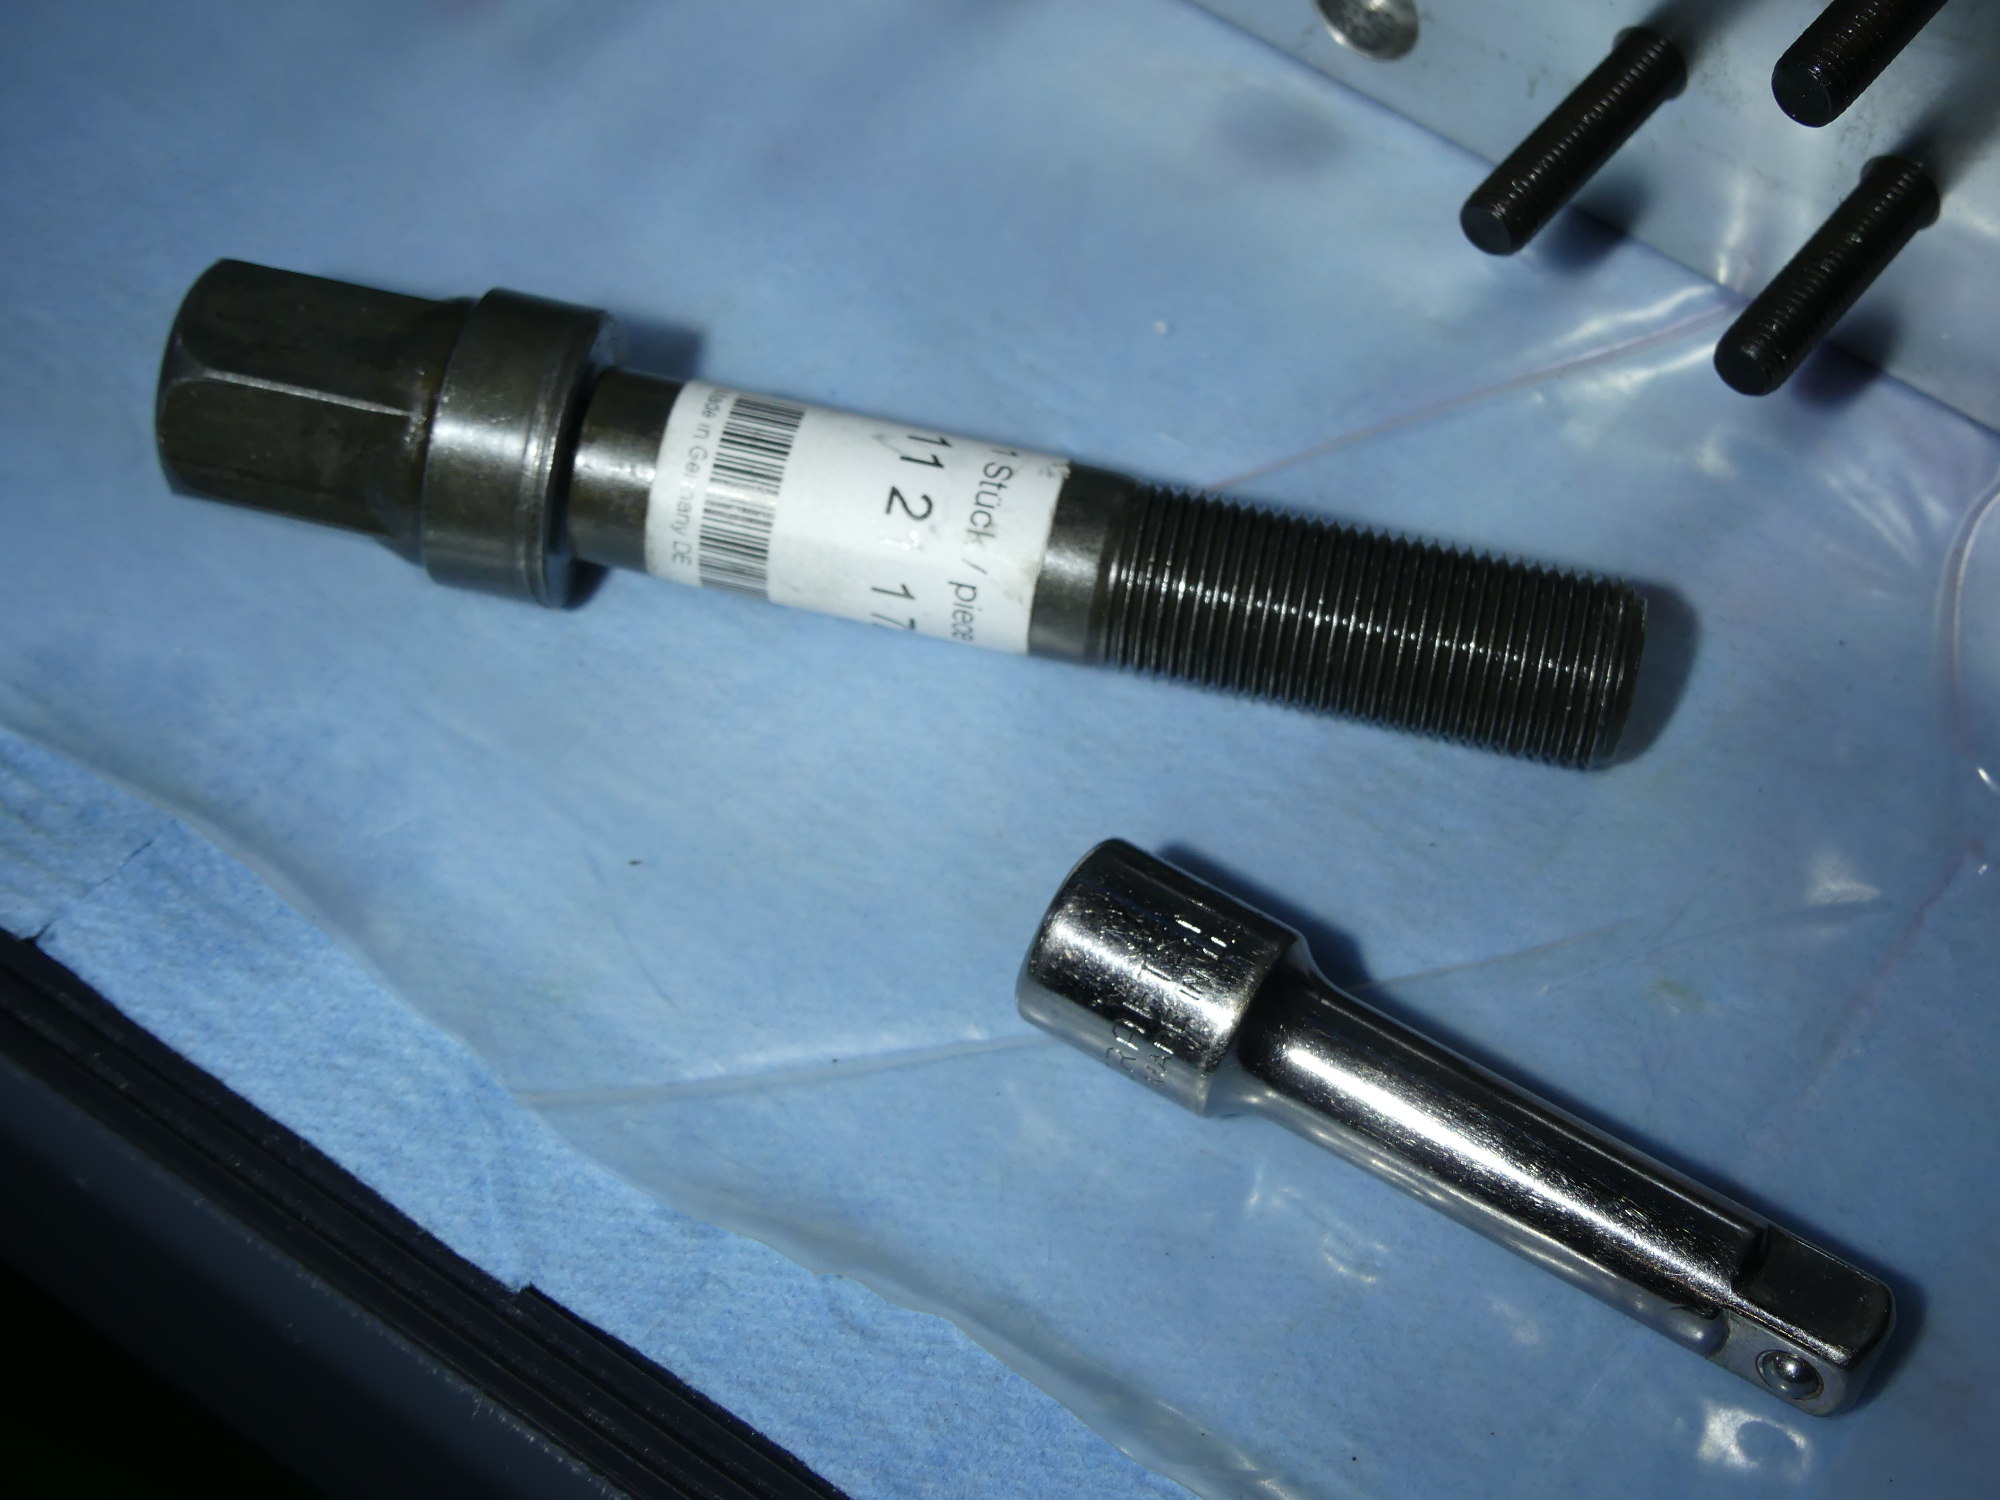
With the head clean, I decided to test fit the head to the block. I'm glad I did this, as it forced me to look more closely at how the VANOS unit attaches to the head. It turns out there are several threaded studs screwed into the front face of the head. The problem is that I found one of them missing, one of them was the wrong length, one of the longer ones was bent (not my fault) and all of them were fully threaded. A quick check of the ETK showed that the BMW studs appear to be partially threaded. If true this means the studs are designed to be threaded into the block until they bottom out. I decided at this point to order all new studs (four different part numbers in all) to eliminate any installation hassles. The studs are due to arrive tomorrow.
Vacuum Bleeding Lifters
Conventional wisdom suggests that submersing lifters in engine oil 12-24 hours prior to installation can help infuse them with oil, reduce lifter tick upon initial startup and reduce the length of the bleeding procedure, which typically requires running the engine at a few thousand RPM for a few minutes after initial engine start. So before leaving the shop the other day I filled a parts organizer with the lifters and covered them with the engine oil I plan to use for break-in.
Today I decided to vacuum bleed the lifters to see how much air would come out of them. I surmised that if little air was seen leaving the lifters during this process the conventional wisdom was correct. If not, I could argue that putting lifters (or BMW lifters at least) in oil ahead of time serves little purpose. As it turned out, lots of air came out of each lifter, so I have to say that putting them in oil ahead of time was pointless. But I also must admit that oil will naturally drain out of the lifters over time so storing them in oil after the bleeding process until they are needed naturally delays that process. This explains why my lifters are still covered in oil.
The issue in my case is that I'm not expecting to start the engine for at least a week, and possibly two. By that time I imagine a good amount of the oil will leak out and cause lifter tick during the first start so any judgment I may infer from this experience will likely be of limited value. In any case, stay tuned to find out what happens.
Crank Sensor and Other Items
I decided to install some miscellaneous parts on the block, starting with the crank sensor. My technician warned that this sensor can sometimes be difficult to install so I put a bit of silicone paste lube on the green o-ring and the mating bore in the block before sending it home. The new bolt I bought to secure the sensor came equipped with some blue thread locker but as I began to thread the bolt into the block I felt it firm up long before it should have. I surmised this was due to the thread locker but I could not risk the bolt snapping off in the block, so I removed it, washed it with mineral spirits and a wire brush, and then applied some liquid blue Loctite before trying again. This time it went in smoothly and with minimum effort. I wrapped up the installation by torquing it to 10Nm (88 inch pounds) a number accurately achieved with my 1/4" drive torque wrench.
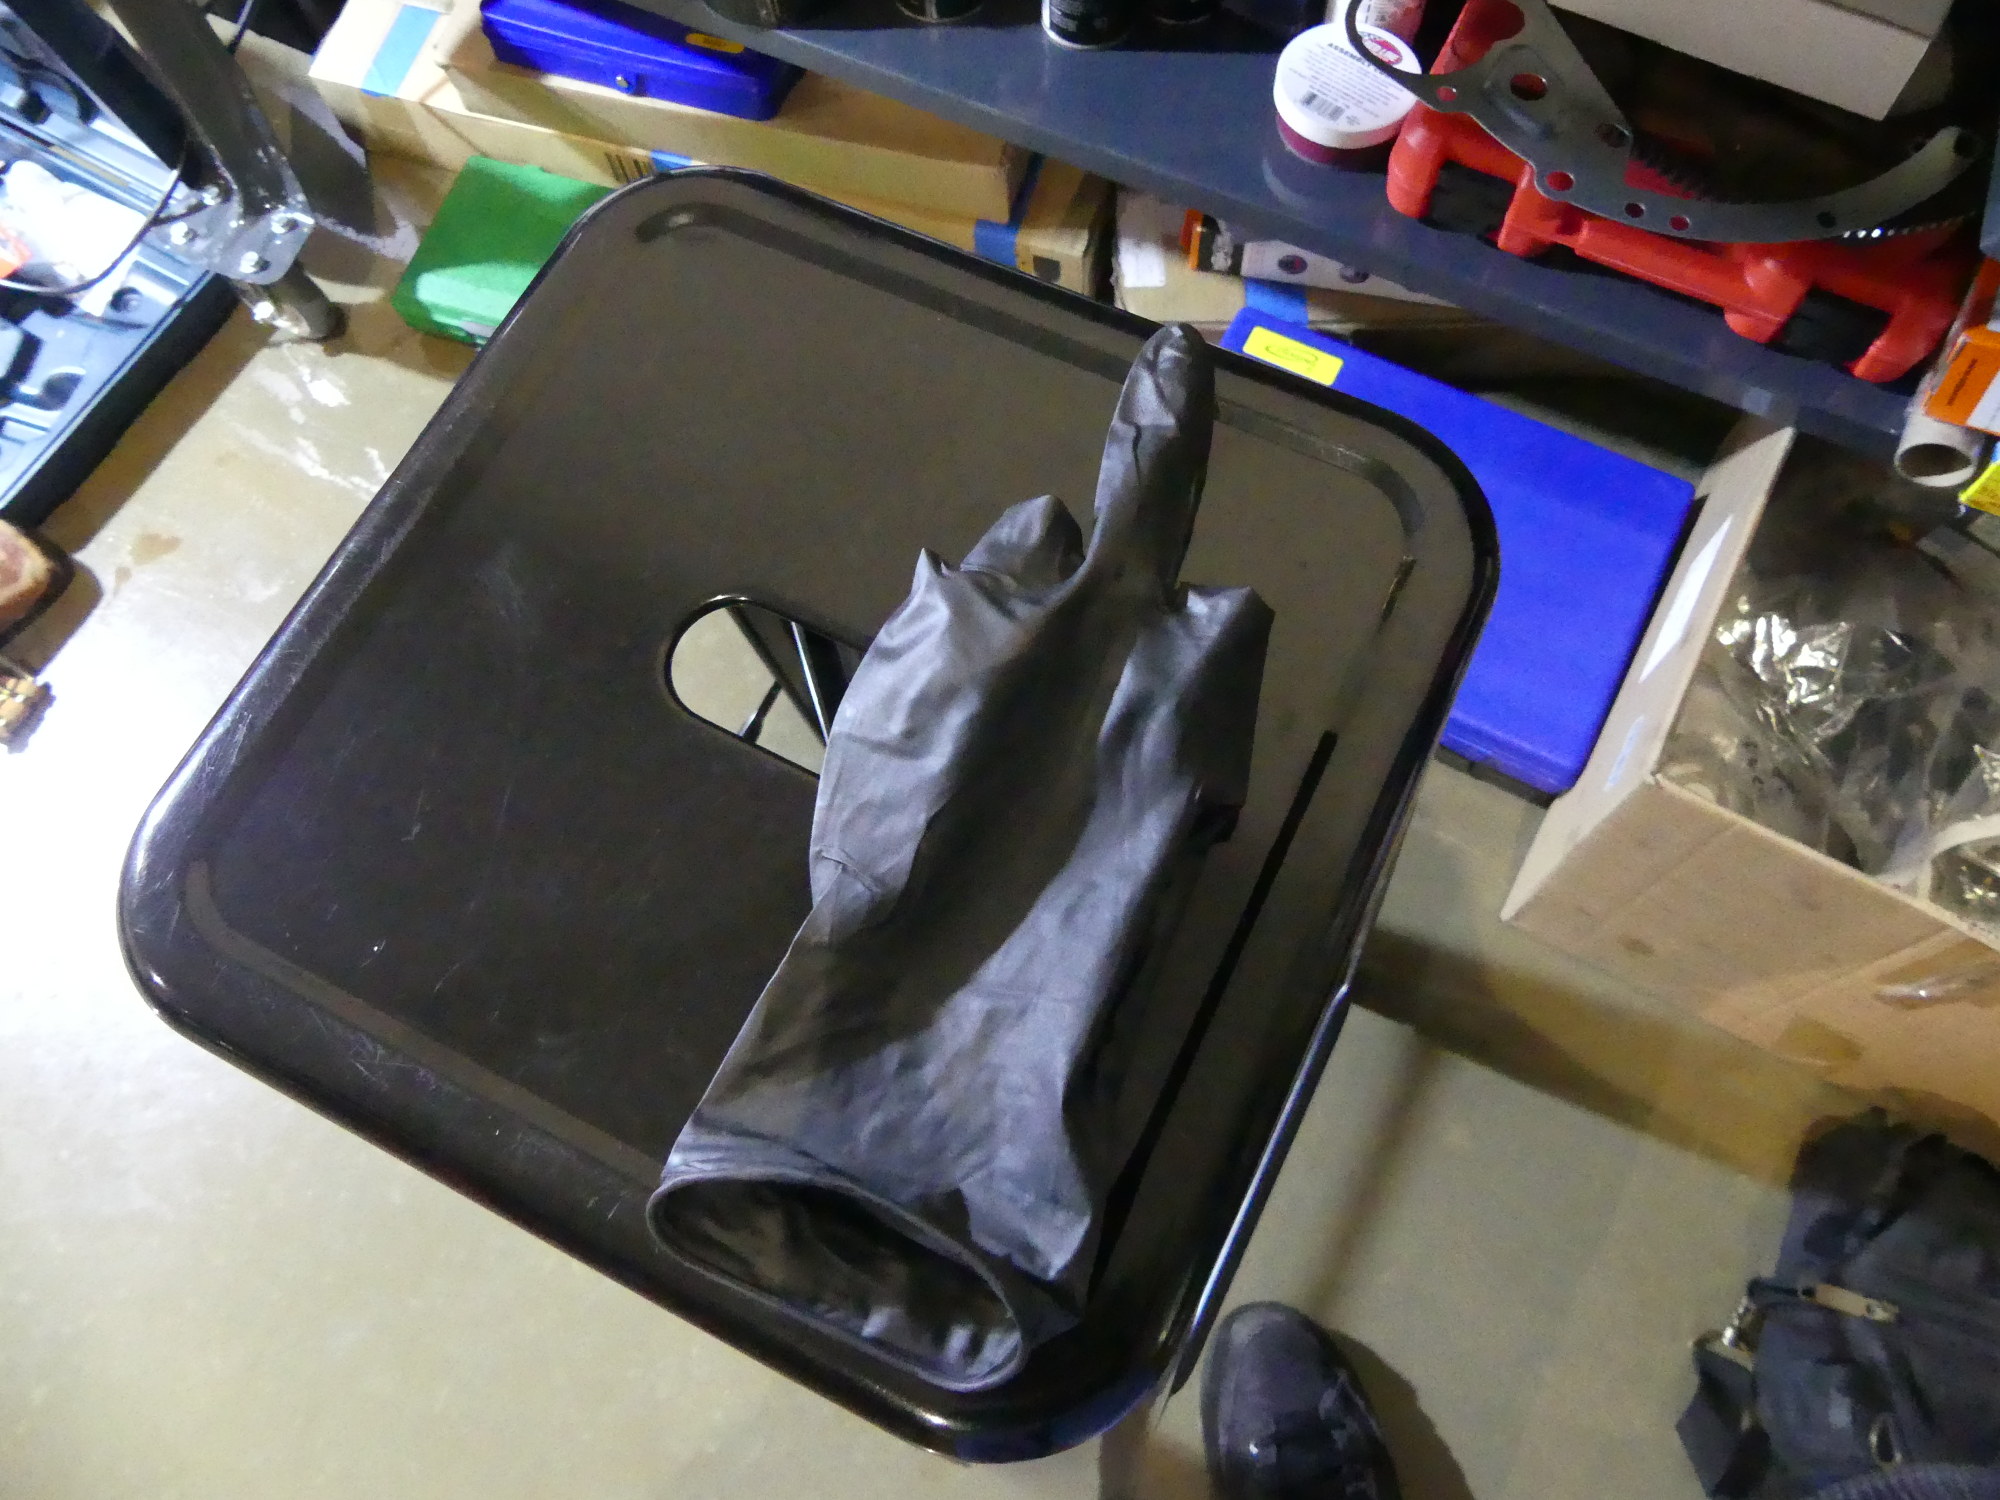 Proof that I'm not being paranoid. Even my safety equipment is telling me to go fuck myself. But I'll get even. The second I complete the engine these 9mil gloves are going in the garbage. |
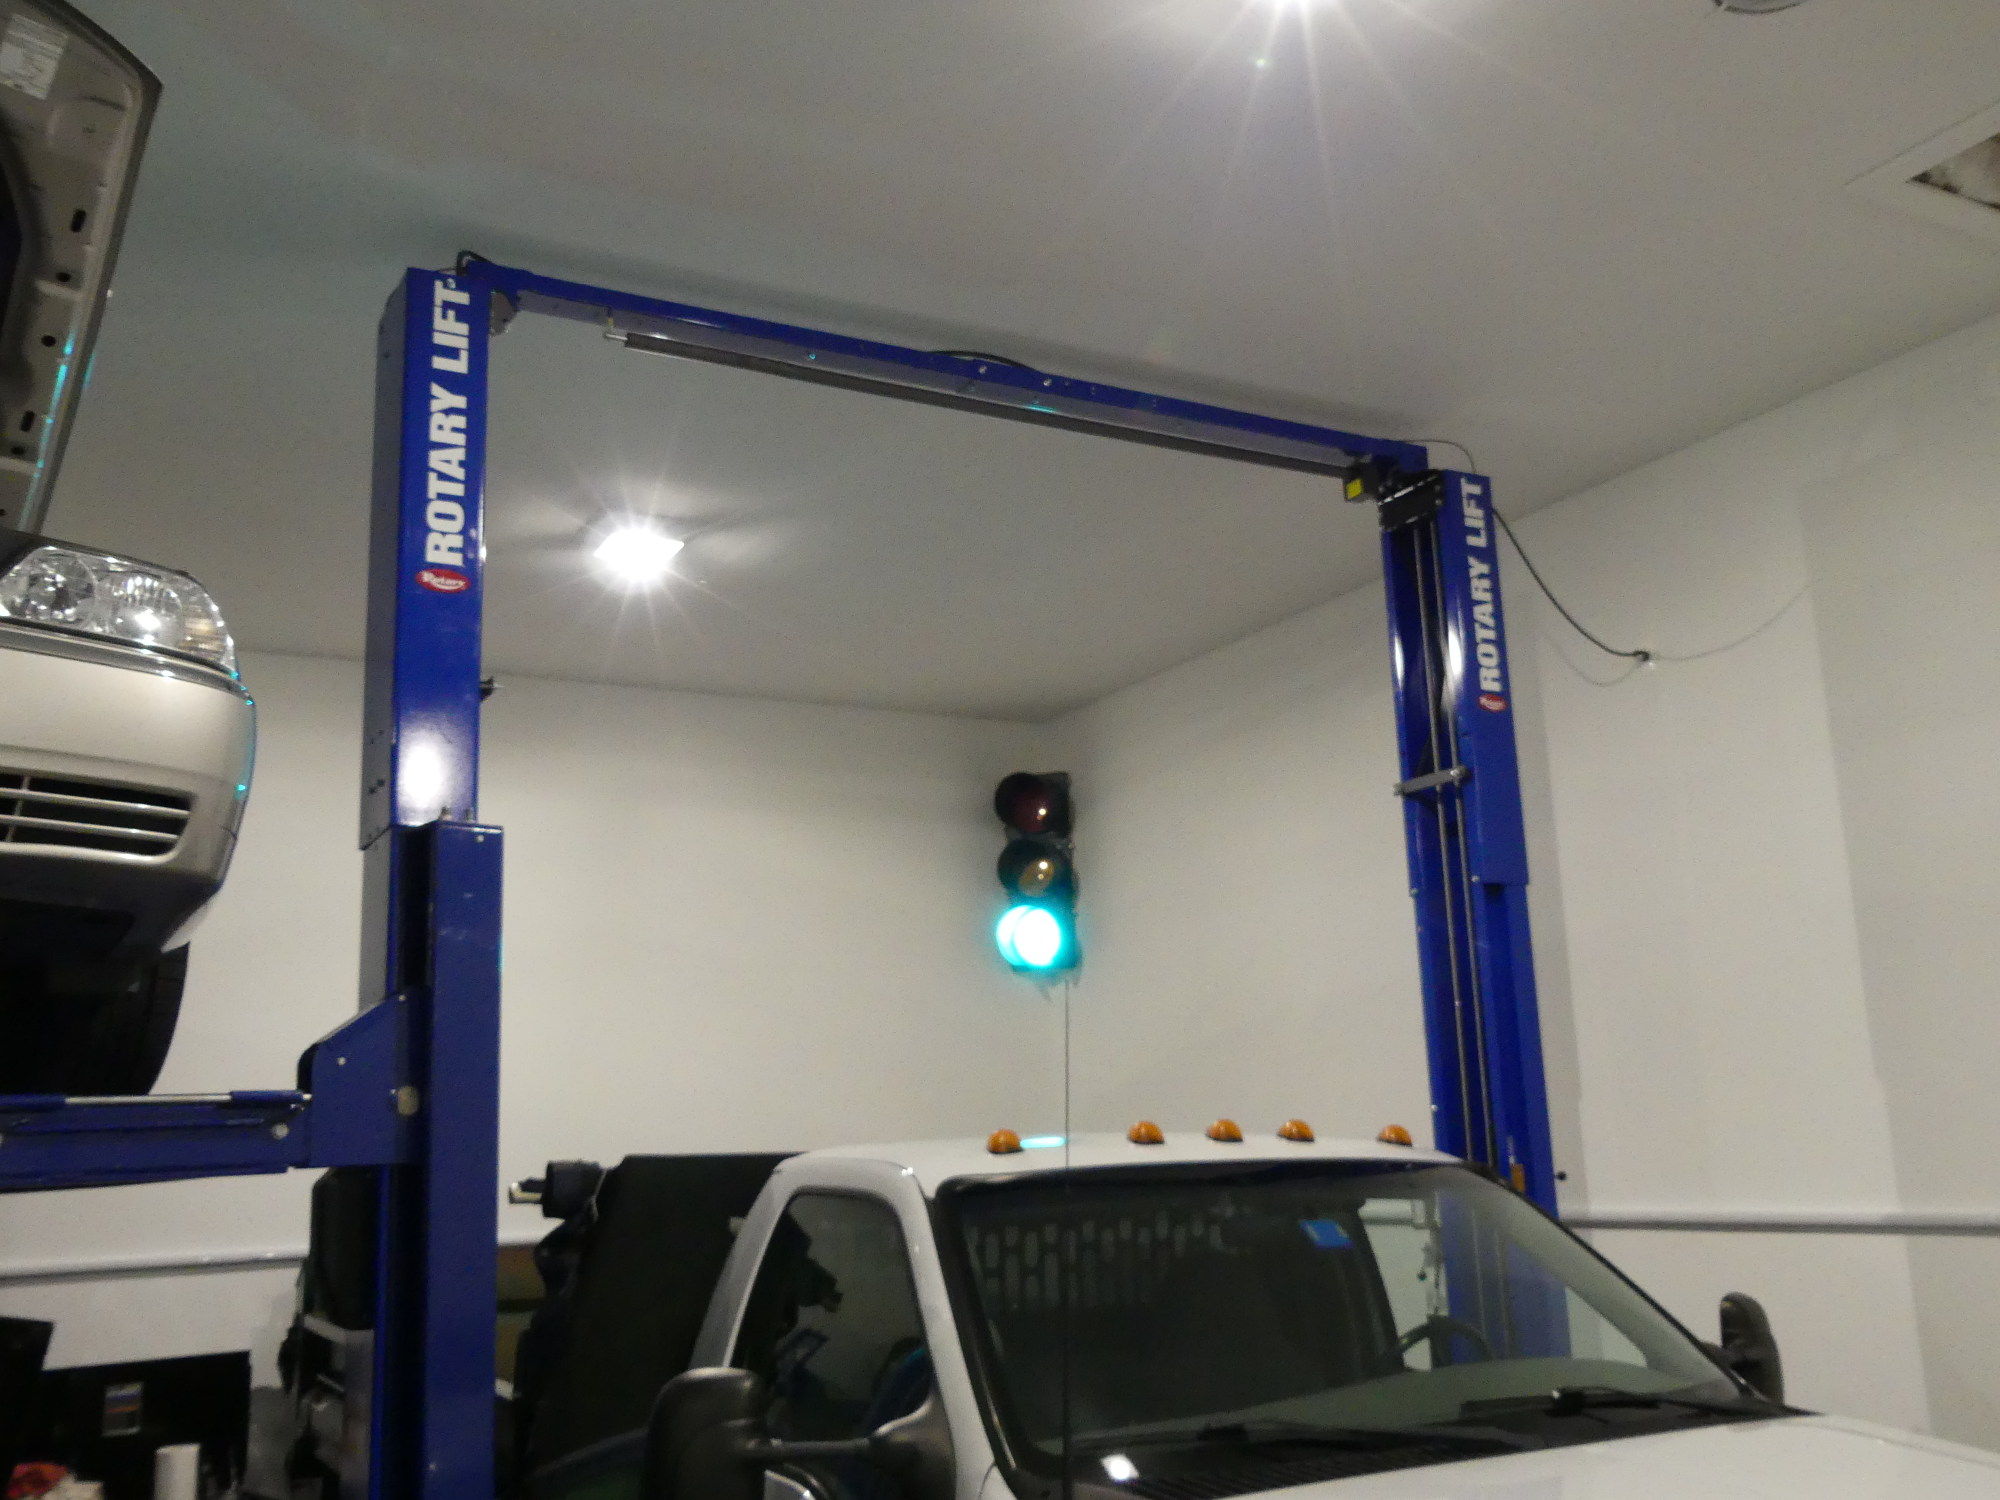 Thankfully my brother's garage is equipped with an indicator
of the current |
 Back to serious work -- here I'm removing the AMC cam carriers so I can clean up the block a bit before installing the new BMW carriers and cams. I'll be selling the AMC carriers as well as my old carriers and cams. |
I then installed the heavy gauge bracket that attaches to the intake side of the block just behind the power steering pump. This is one of the brackets I wanted to have plated (mostly because it was plated originally) but could not risk letting it out of my sight because I could not figure out if it was still available from BMW. When I showed the bracket to my technician he recalled that this was part of a fix related to the power steering pump completed at the port when the car was originally delivered, and he felt this explained why it was not explicitly shown in the ETK. As corrosion starts when paint is scratched, I decided to protect the bracket by applying some CV2 grease to the bracket and the bolts. I then torqued them to 22 Nm (15 ft*lbs).
I wrapped up the day by installing the knock sensors. The threads of these cadmium plated bolts looked brand new, while the heads were a bit corroded. I tried to clean them up with a small wire brush and some mineral spirits and achieved reasonable results, so the original bolts were reinstalled. I checked the ETK and the replacement bolts appear to be Zinc, but I plan to check with my dealer to see if a Zinc-Nickel option is available. If it is, I'll buy new bolts and replace the originals.
Next Up
Assuming the head gasket arrives tomorrrow I plan to install the head, cam carriers, cams, timing sprockets and secondary timing chain. If the new studs arrive I'll be able to install the VANOS as well, but something tells me this will be a bit more work than I can hack in a single day so I'll likely wrap it all up on Sunday.