


BMW E36
HVAC Blower Replacement DIY
Page 3 of 4
The sound of crickets on a warm summer night can be a comforting
thing...unless you're in
a BMW with the windows rolled up and the air conditioning
on.
Highlights Continued
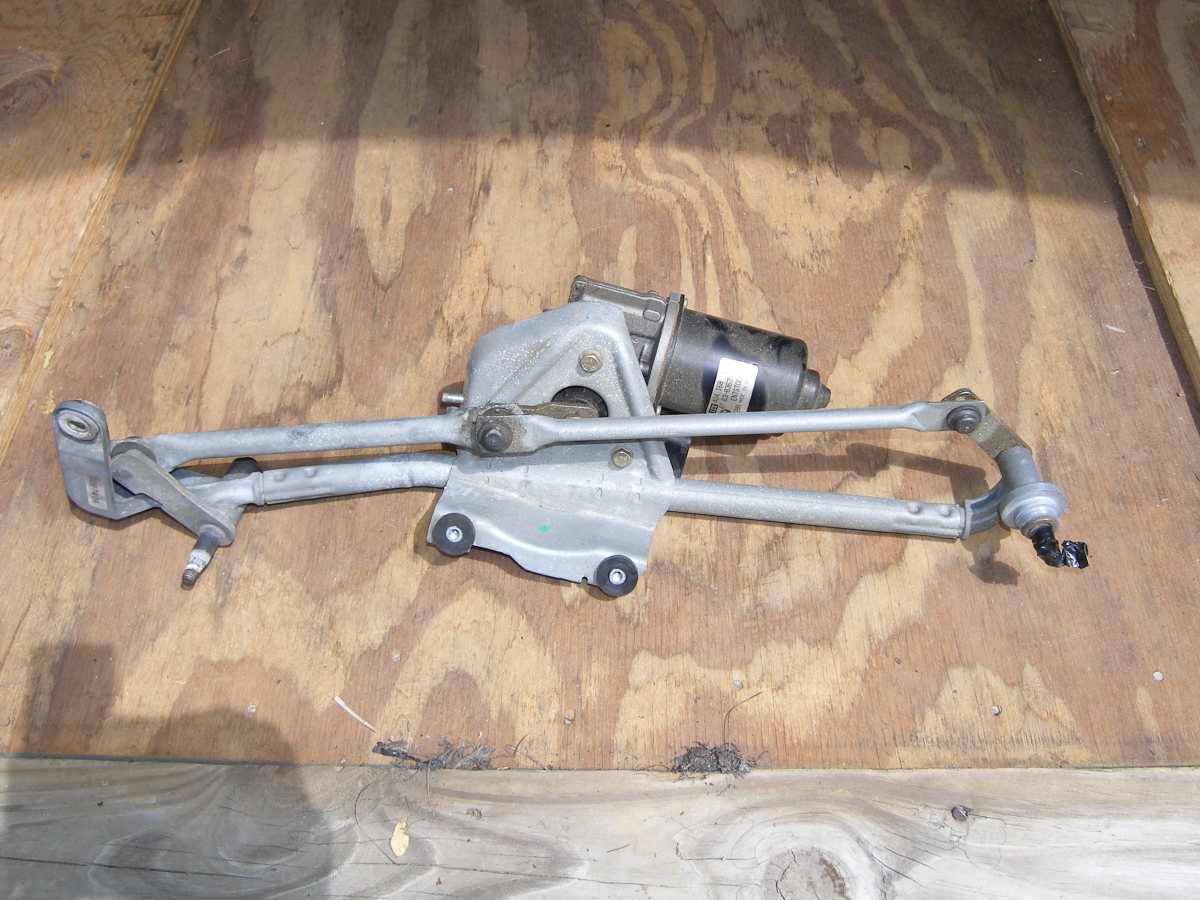 Just a closeup of the wiper motor assembly when fully removed from the vehicle. |
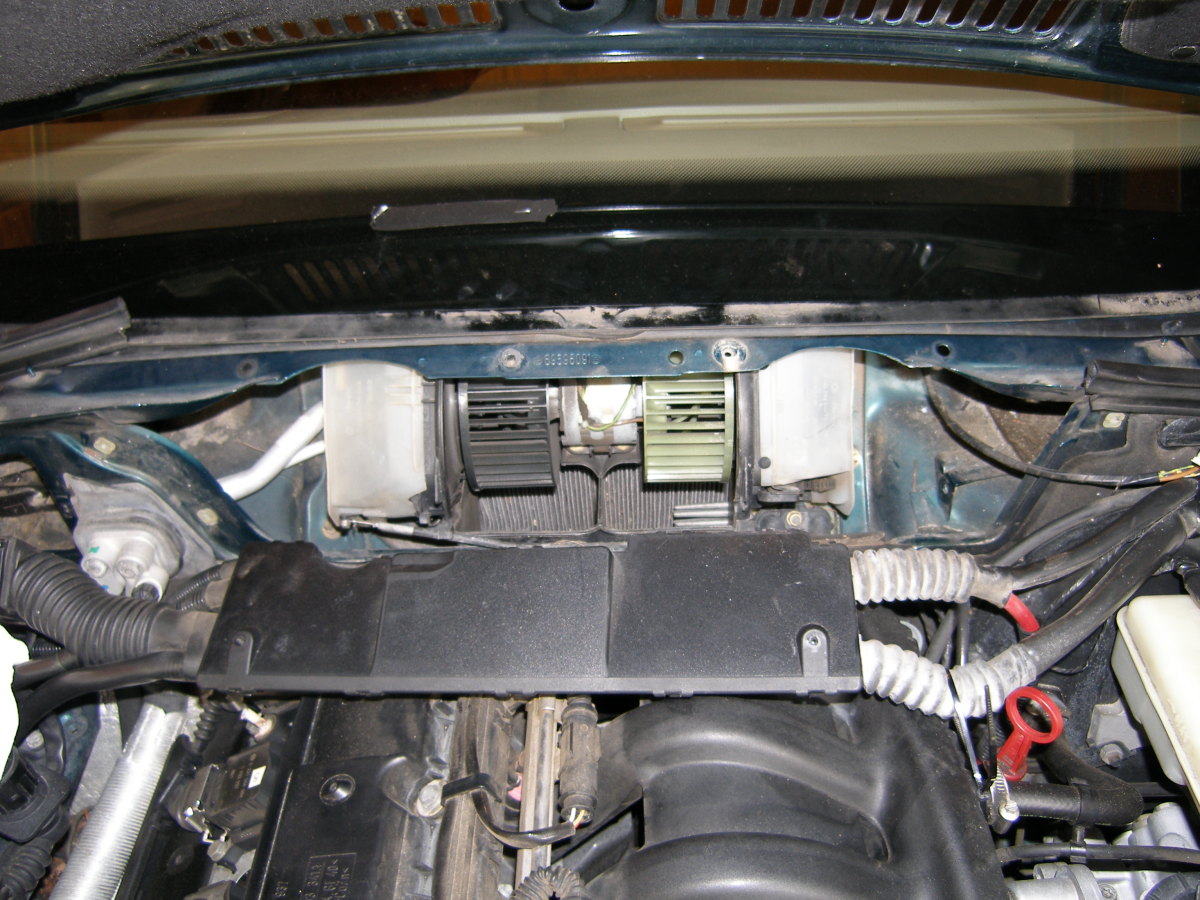 Another perspective shot before we down to the business of disassembling the airbox. |
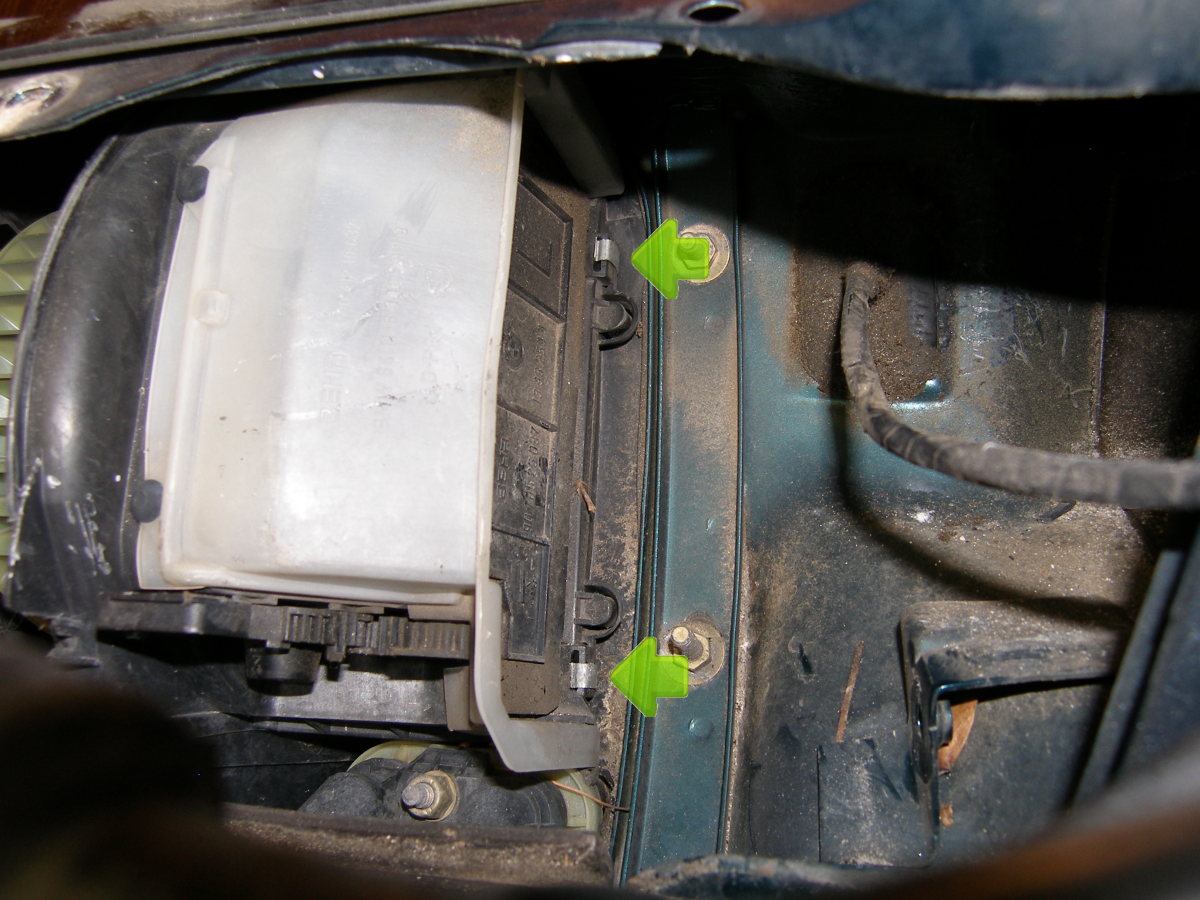 A closeup of the infamous retaining clips on the left side of the airbox. Believe it or not, these are easy to pull off and put back on. Don't believe the hype. But have a magnet pickup tool handy anyway! :) |
 This is a closeup of the right side airbox retaining clips. While I removed them, this step is not required as the right side of the airbox is never removed. |
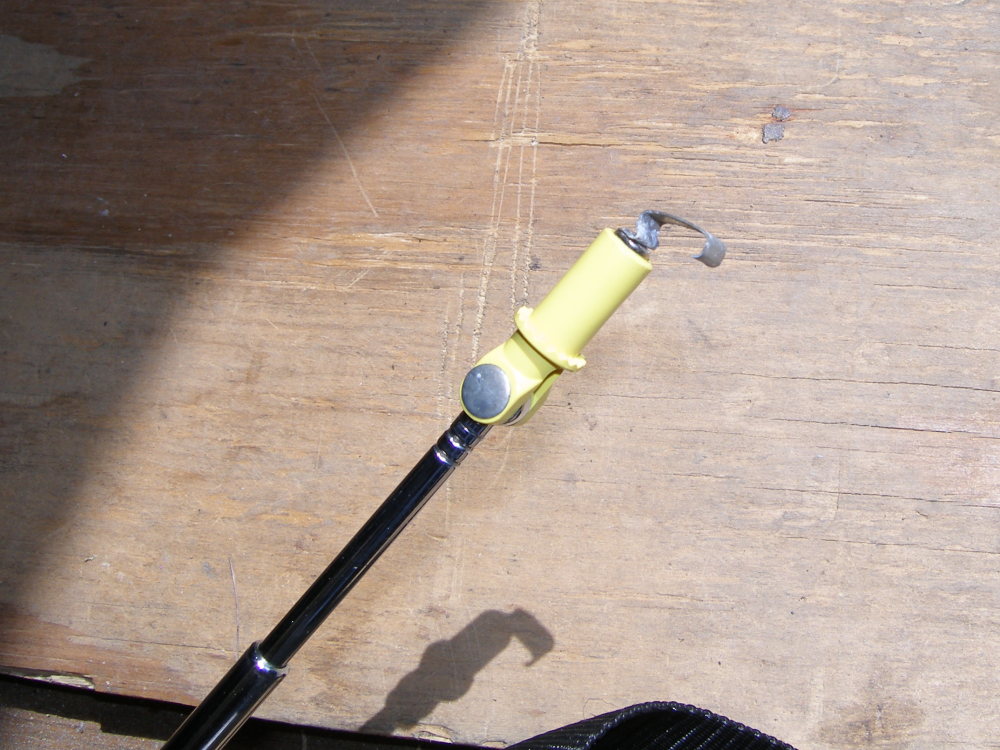 Remember that magnet tool I told you about? This is why it comes in handy. |
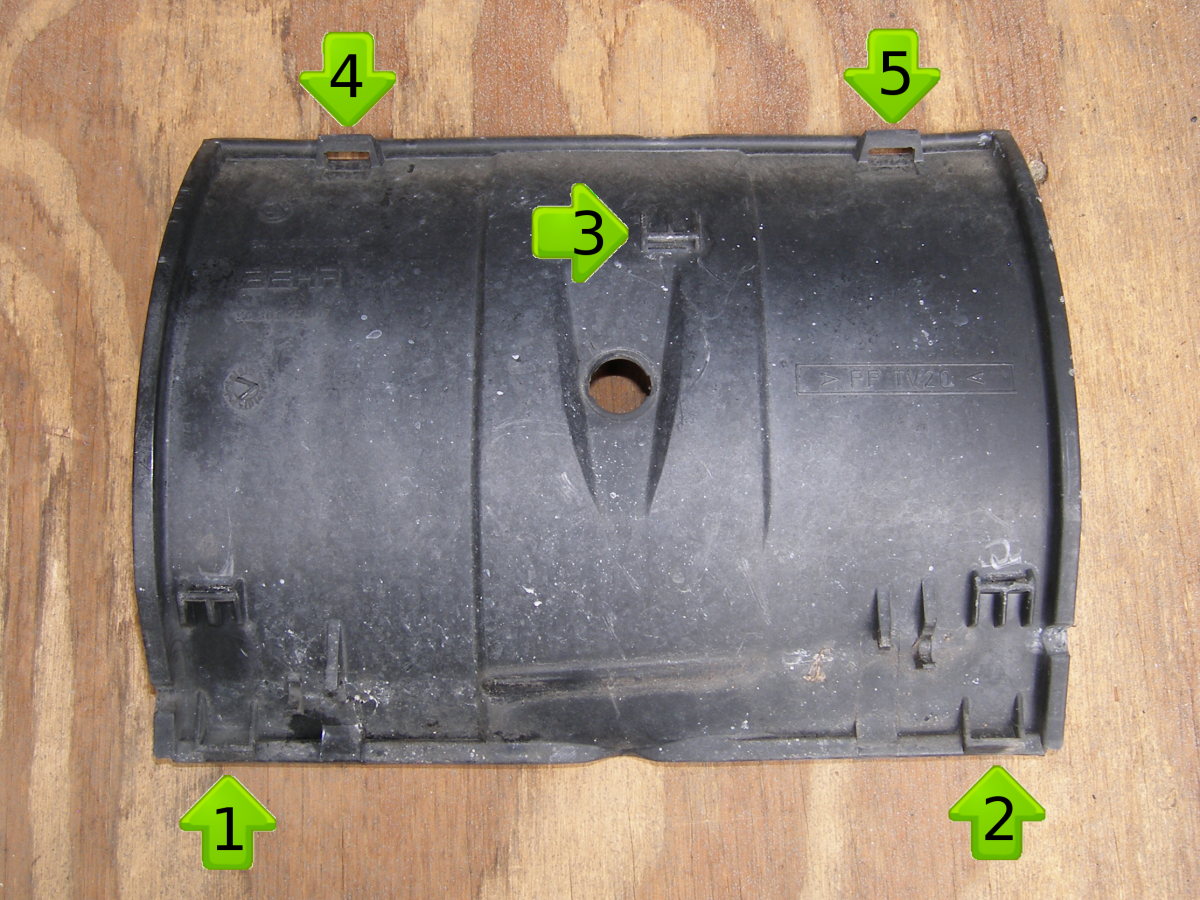 A closeup of the front of the airbox cover. Long retaining clips catch on areas shown by Arrows 1,2, and 3. When reinstalling the airbox, make sure the receptacles (Arrows 4 and 5) properly mate with the top of the airbox. |
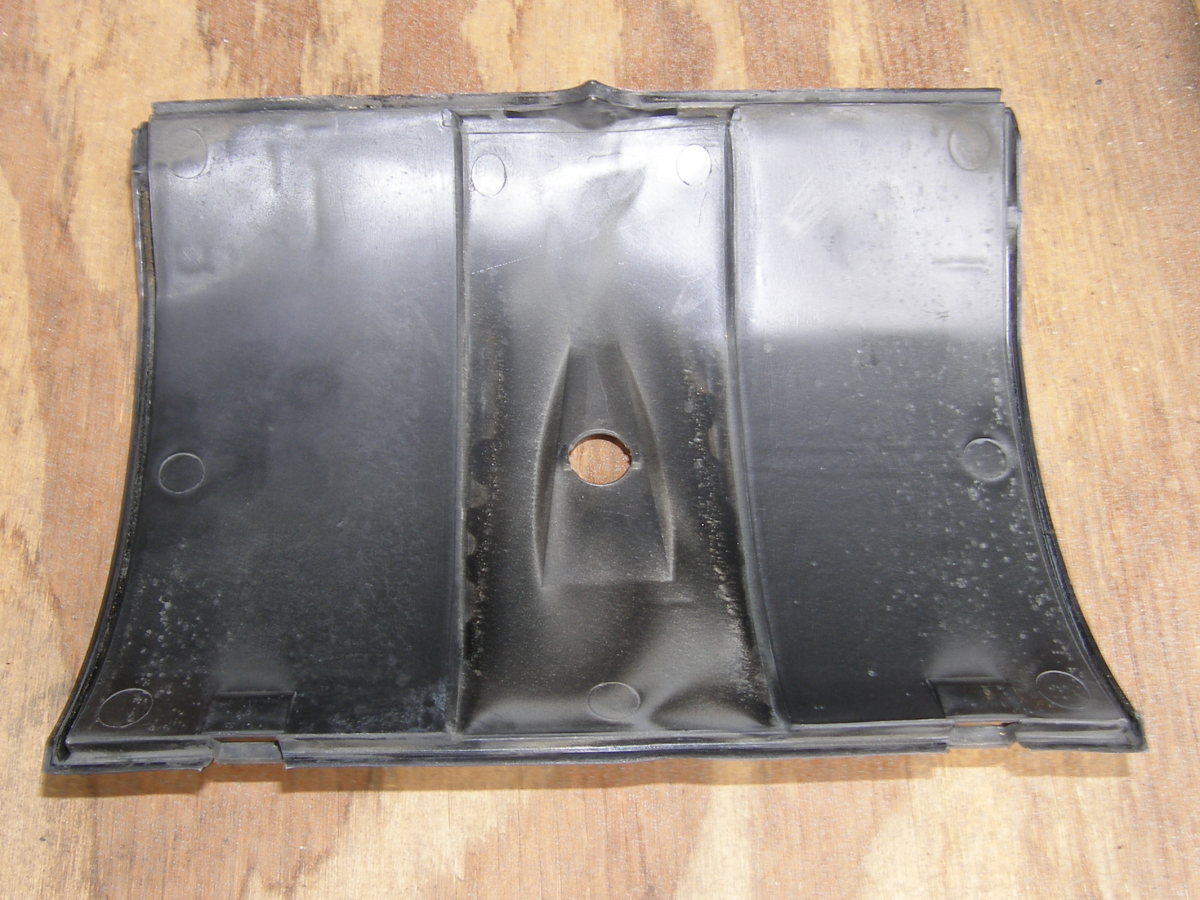 Take a look at how the rear of the cover has reliefs that lock in place with the airbox. All of the airbox pieces must be mounted properly for this cover to fit over them properly. |
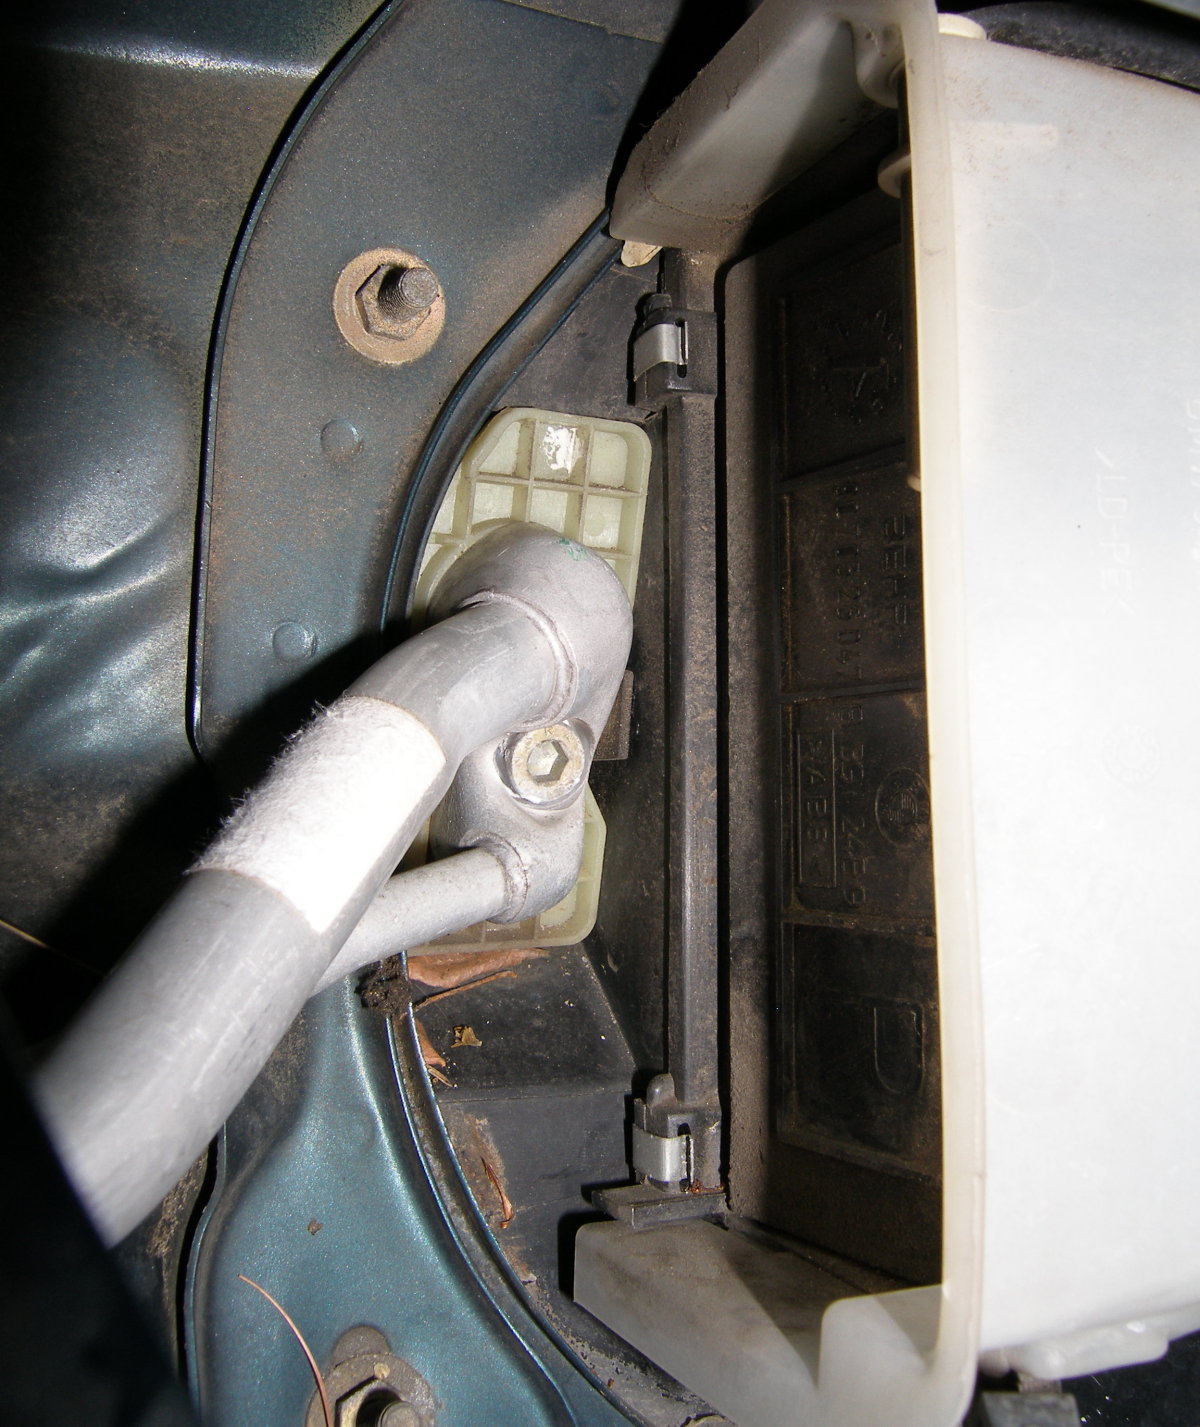
 A closeup of the receptacle that receives the plastic hook on the top side of the airbox. |
 Closeup of the front of the center section. |
 The center section tipped on its side. |
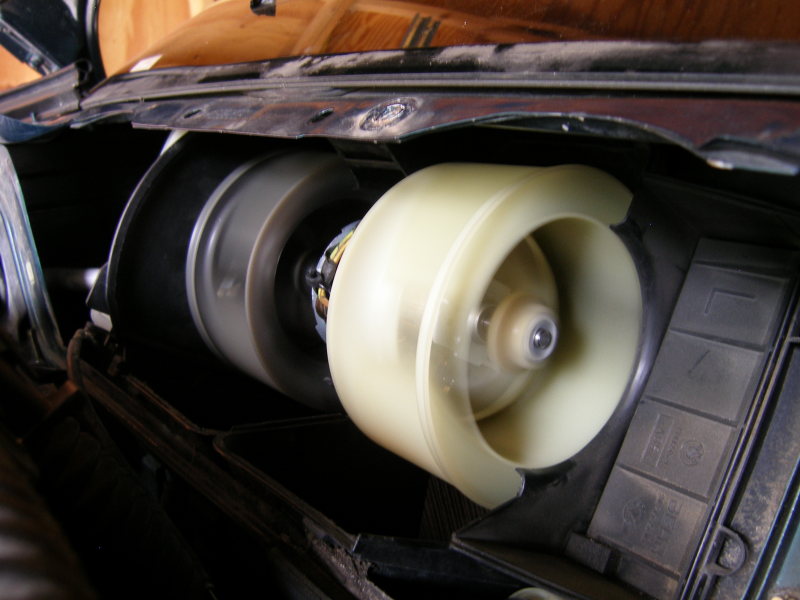
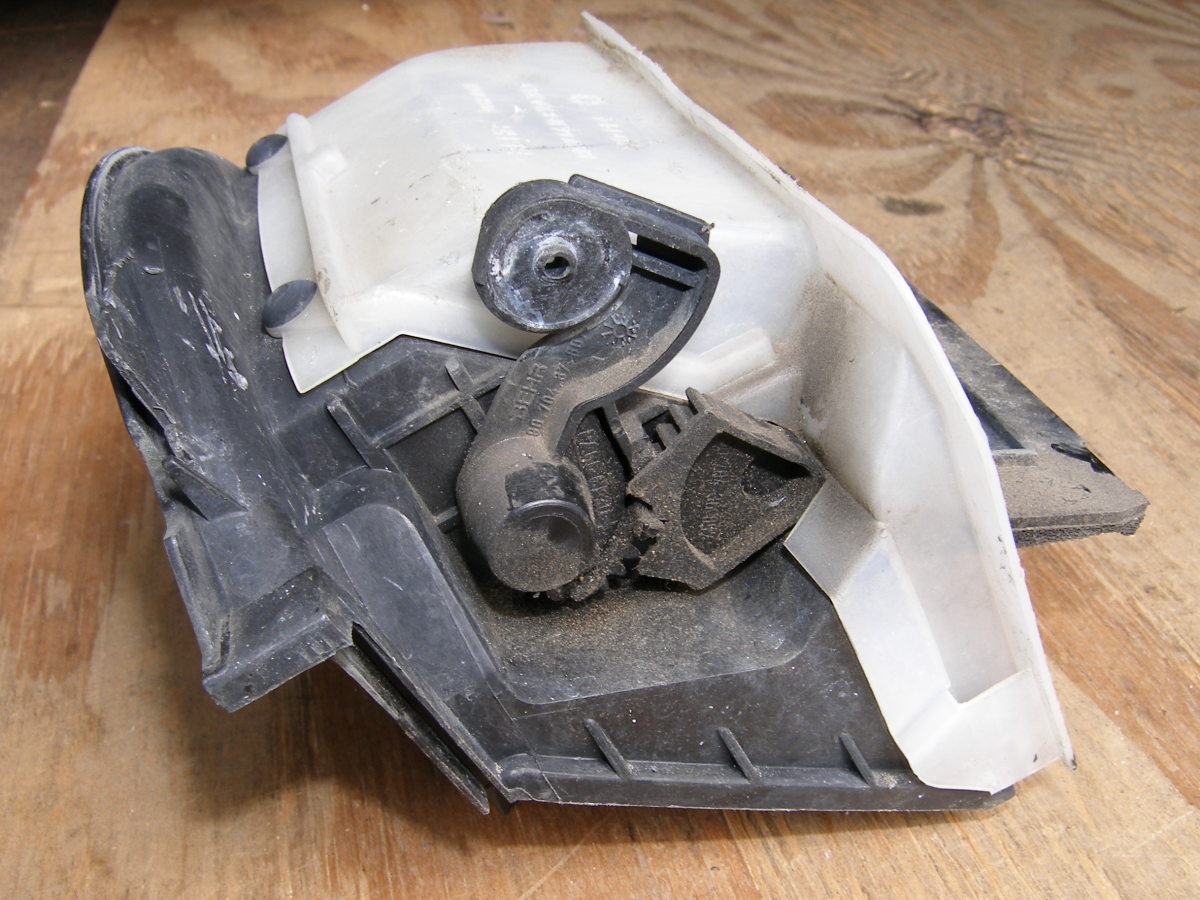 The left section of the airbox with the outside air door open. |
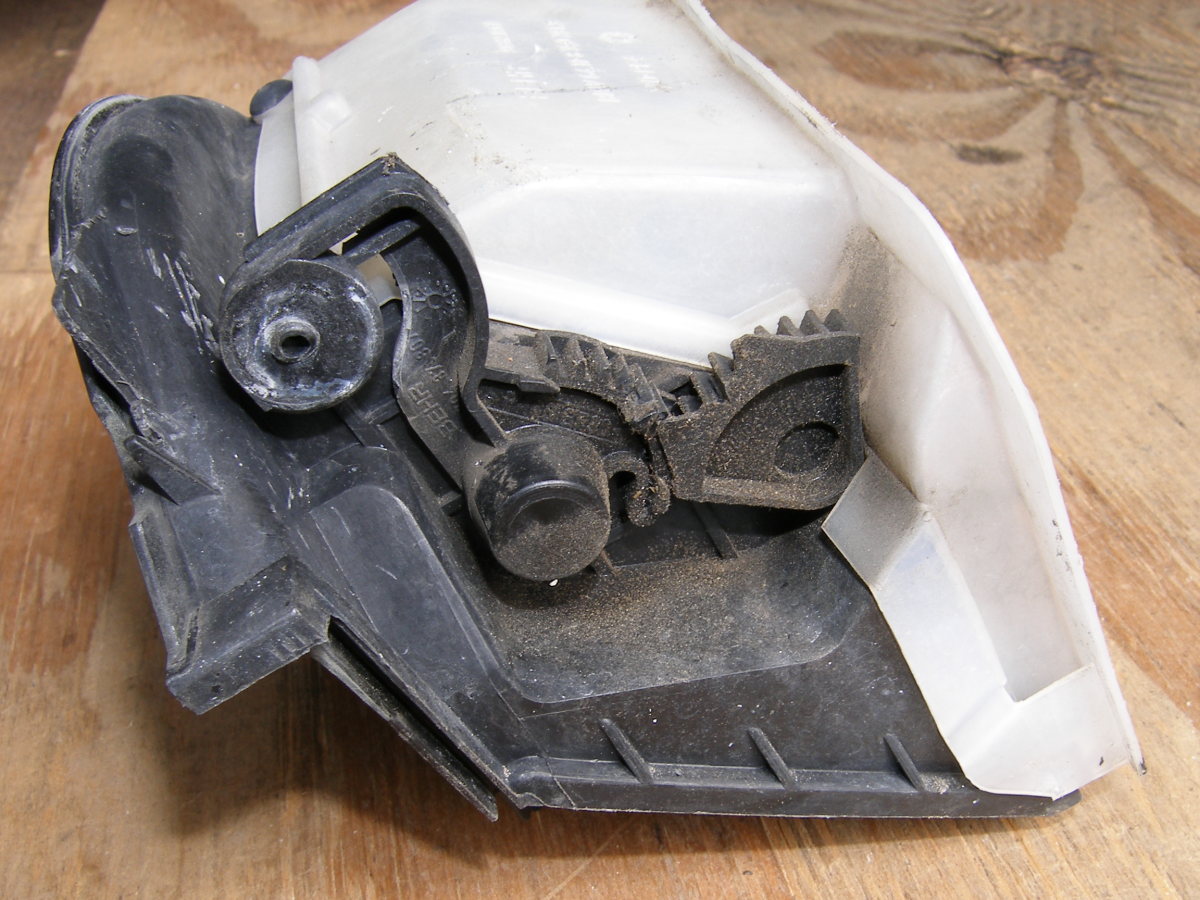 The left section of the airbox with the outside air door closed. |