


BMW E36
HVAC Blower Replacement DIY
Page 4 of 4
The sound of crickets on a warm summer night can be a comforting
thing...unless you're in
a BMW with the windows rolled up and the air conditioning
on.
Highlights Continued
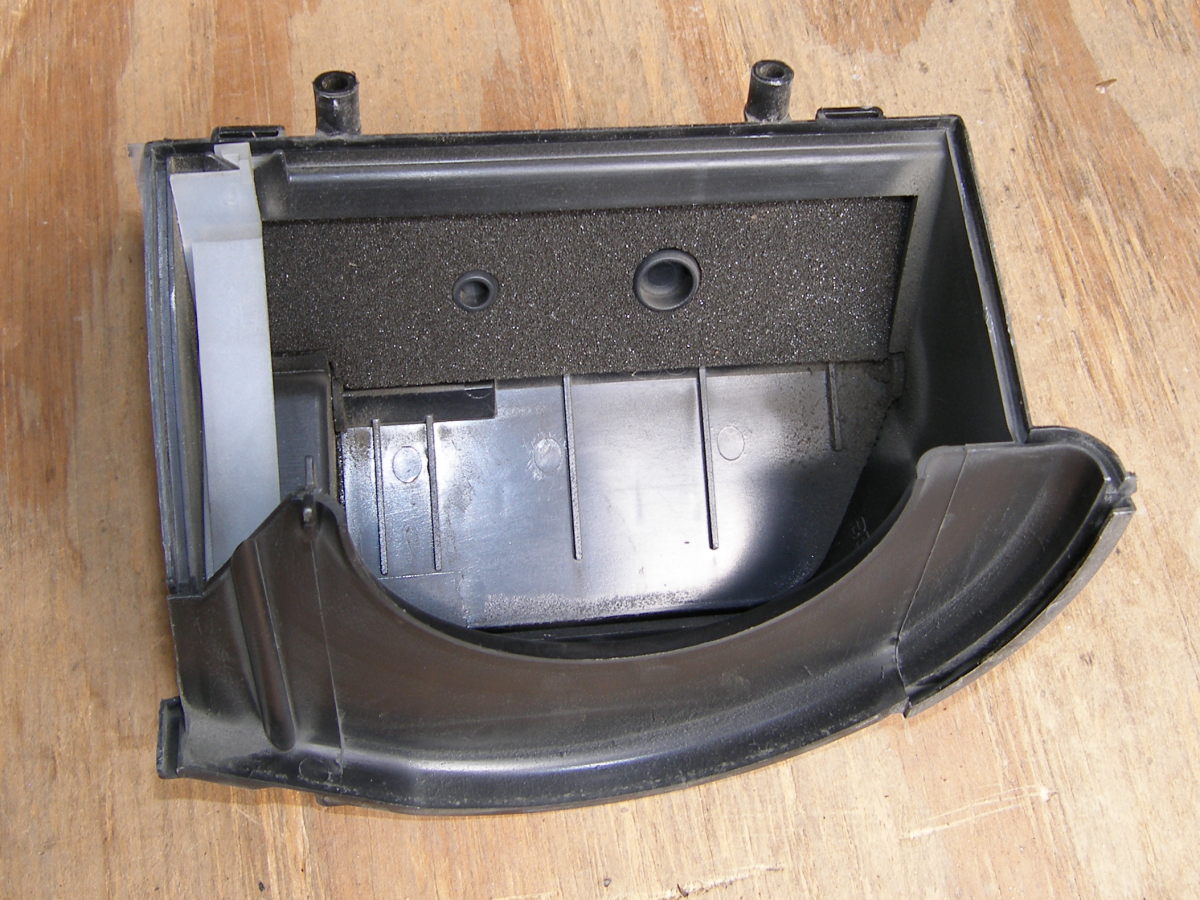
 Another perspective of the left section of the airbox, this time from the side. |
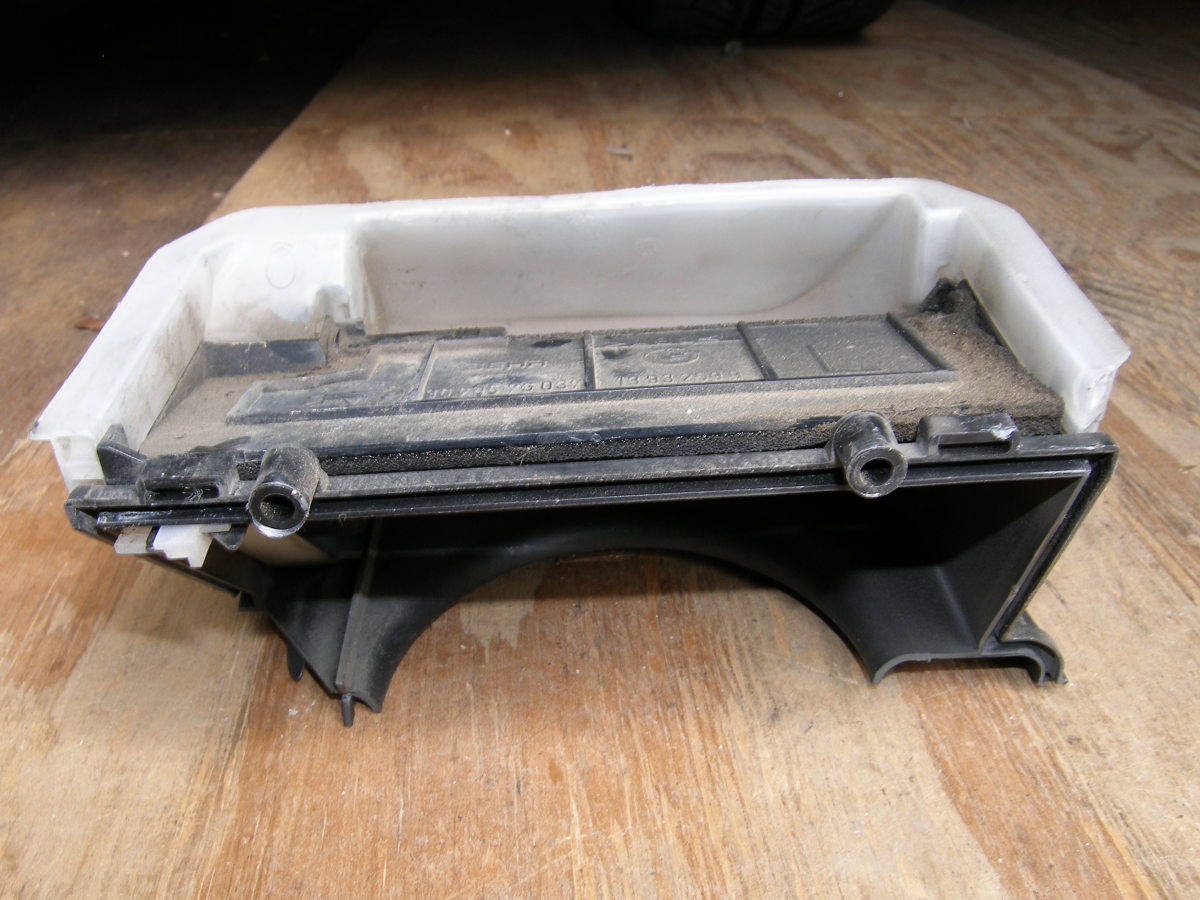 Rear of the left section of the airbox. Note the grooves that mate with the airbox. |
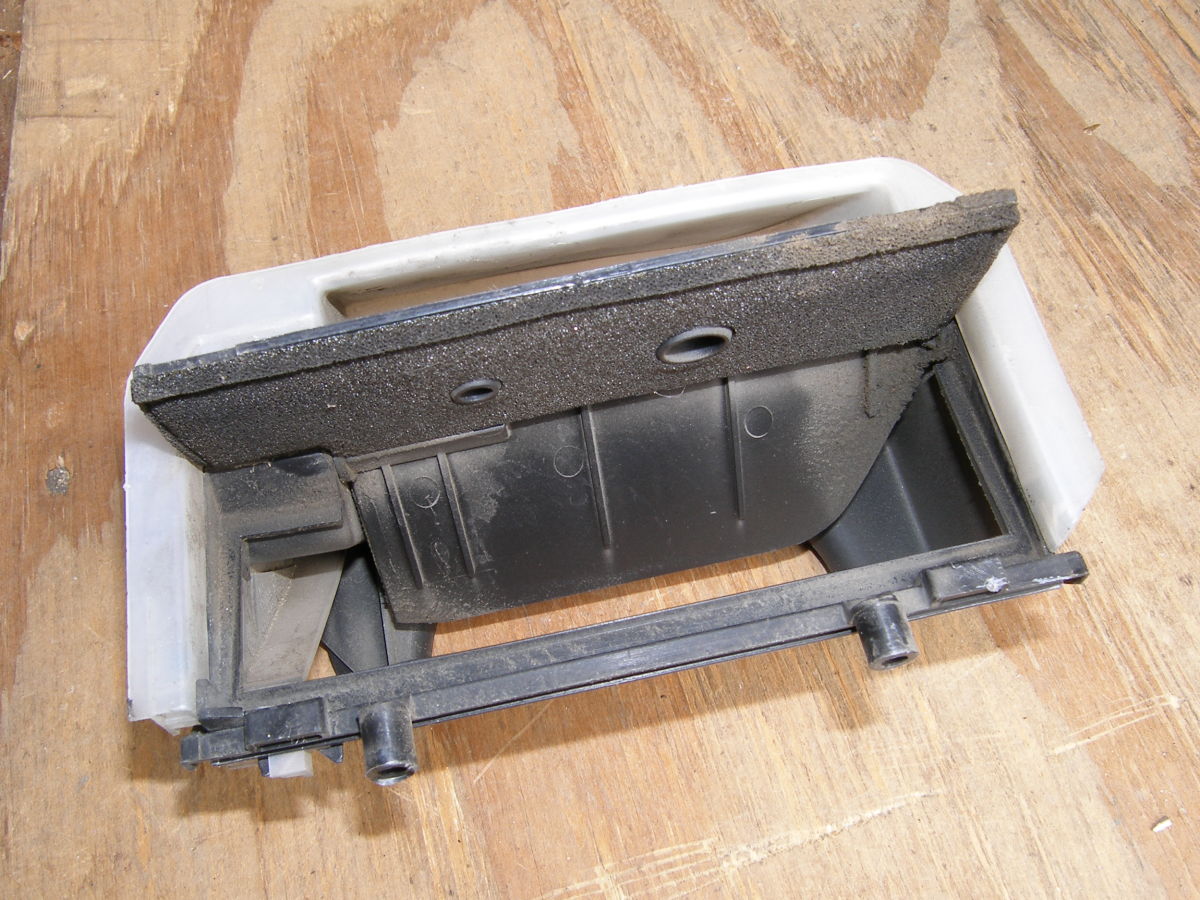
 Inside of the left section of the airbox. |
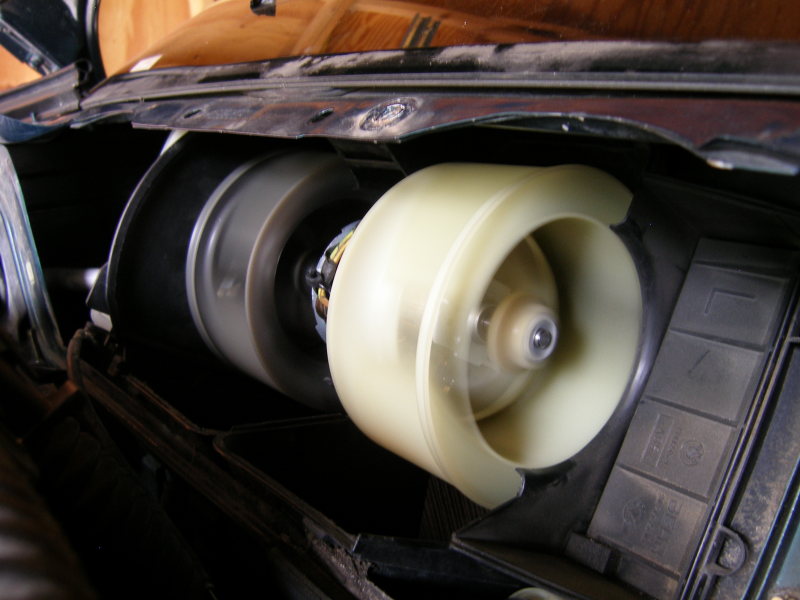
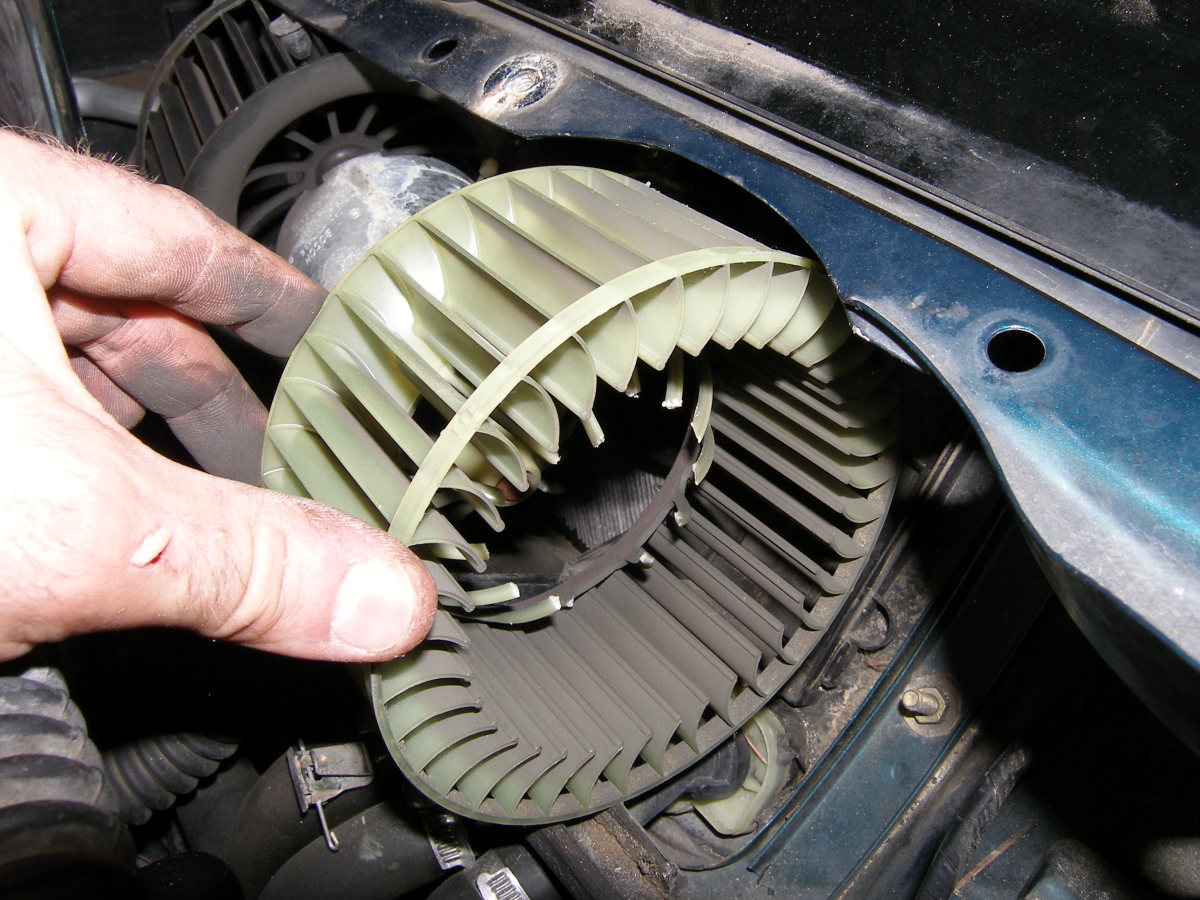
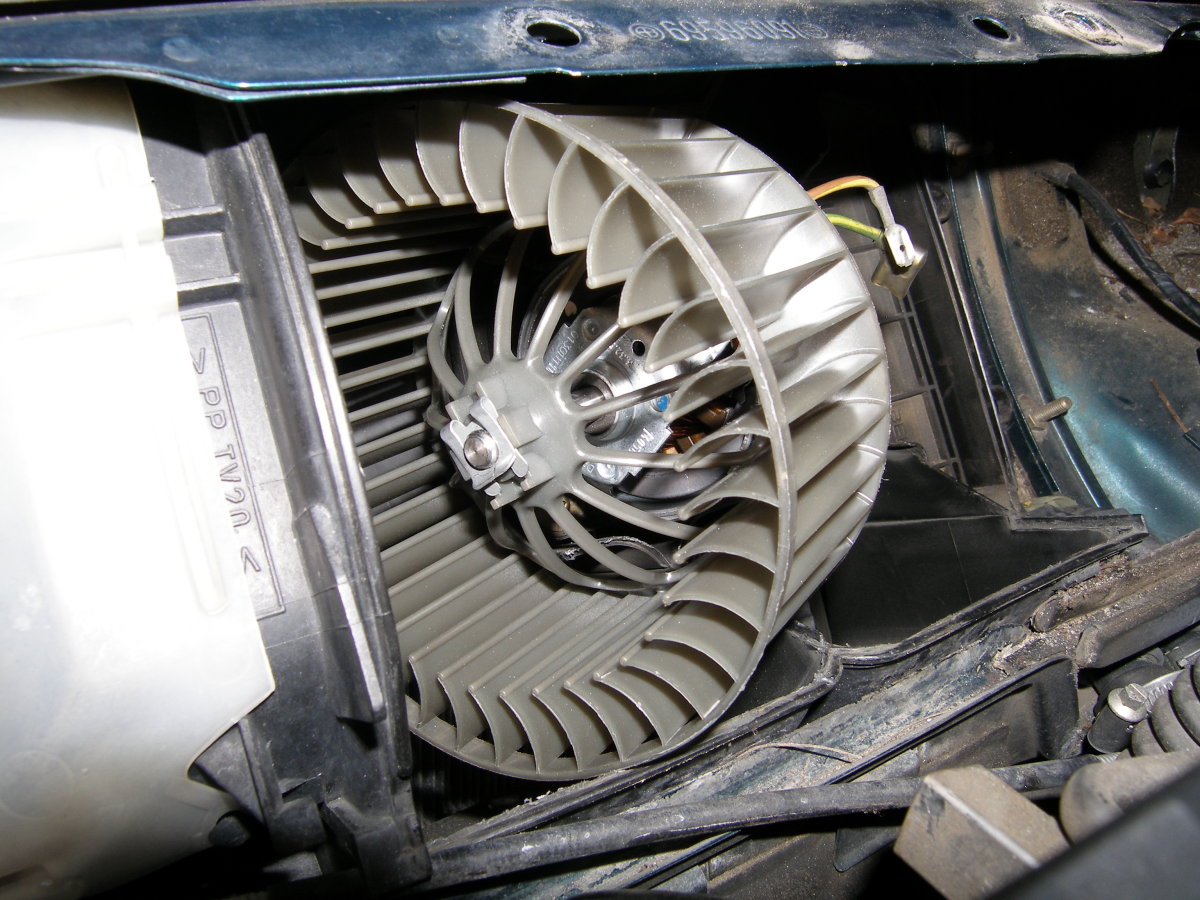
 With the airbox dismantled, the fan is decidedly more accessible. |
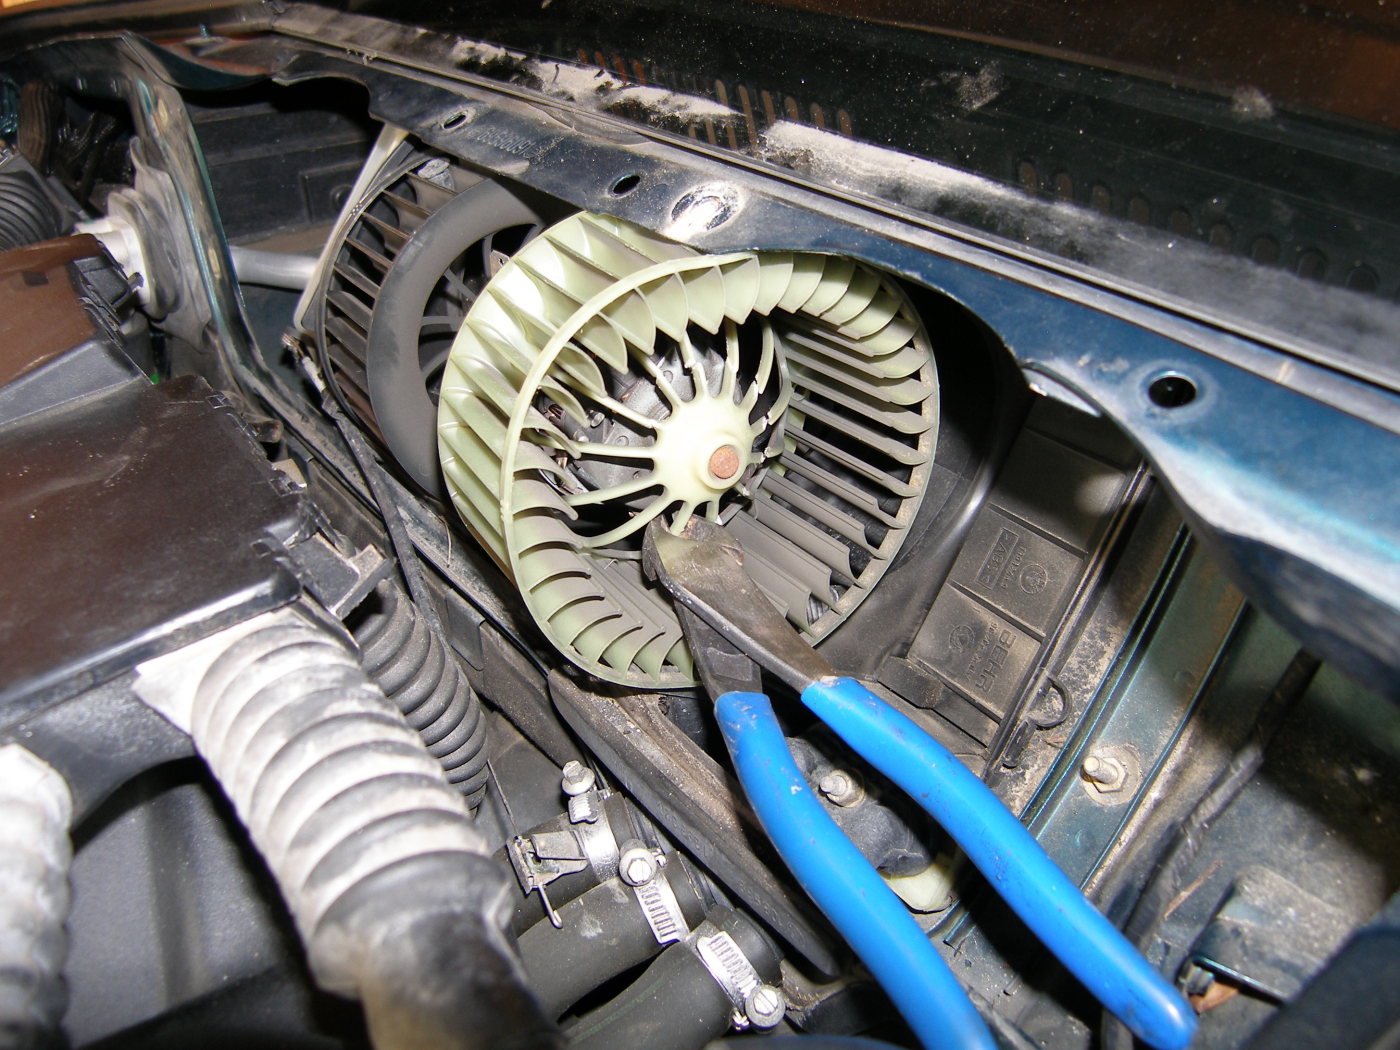
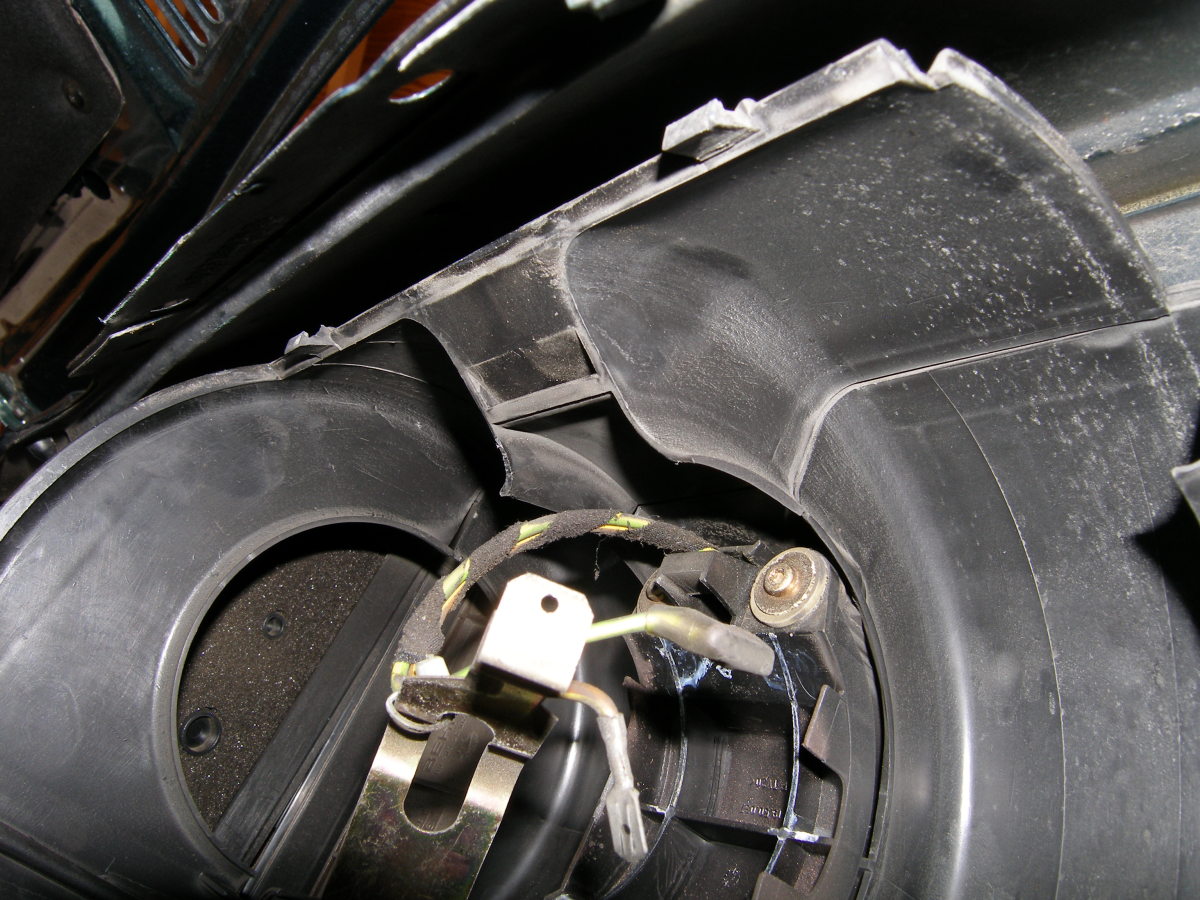
 Carefully remove the wiring from the fan using a long nose pliers (Arrows 1 and 2). If you replace the retaining clip you'll have to clip the tywrap (Arrow 3). The final stage unit is also visible here (Arrow 4). |
 Now for some carnage. Using a pair of diagonal cutters, cut the squirrel cage supports to free it from the motor. |
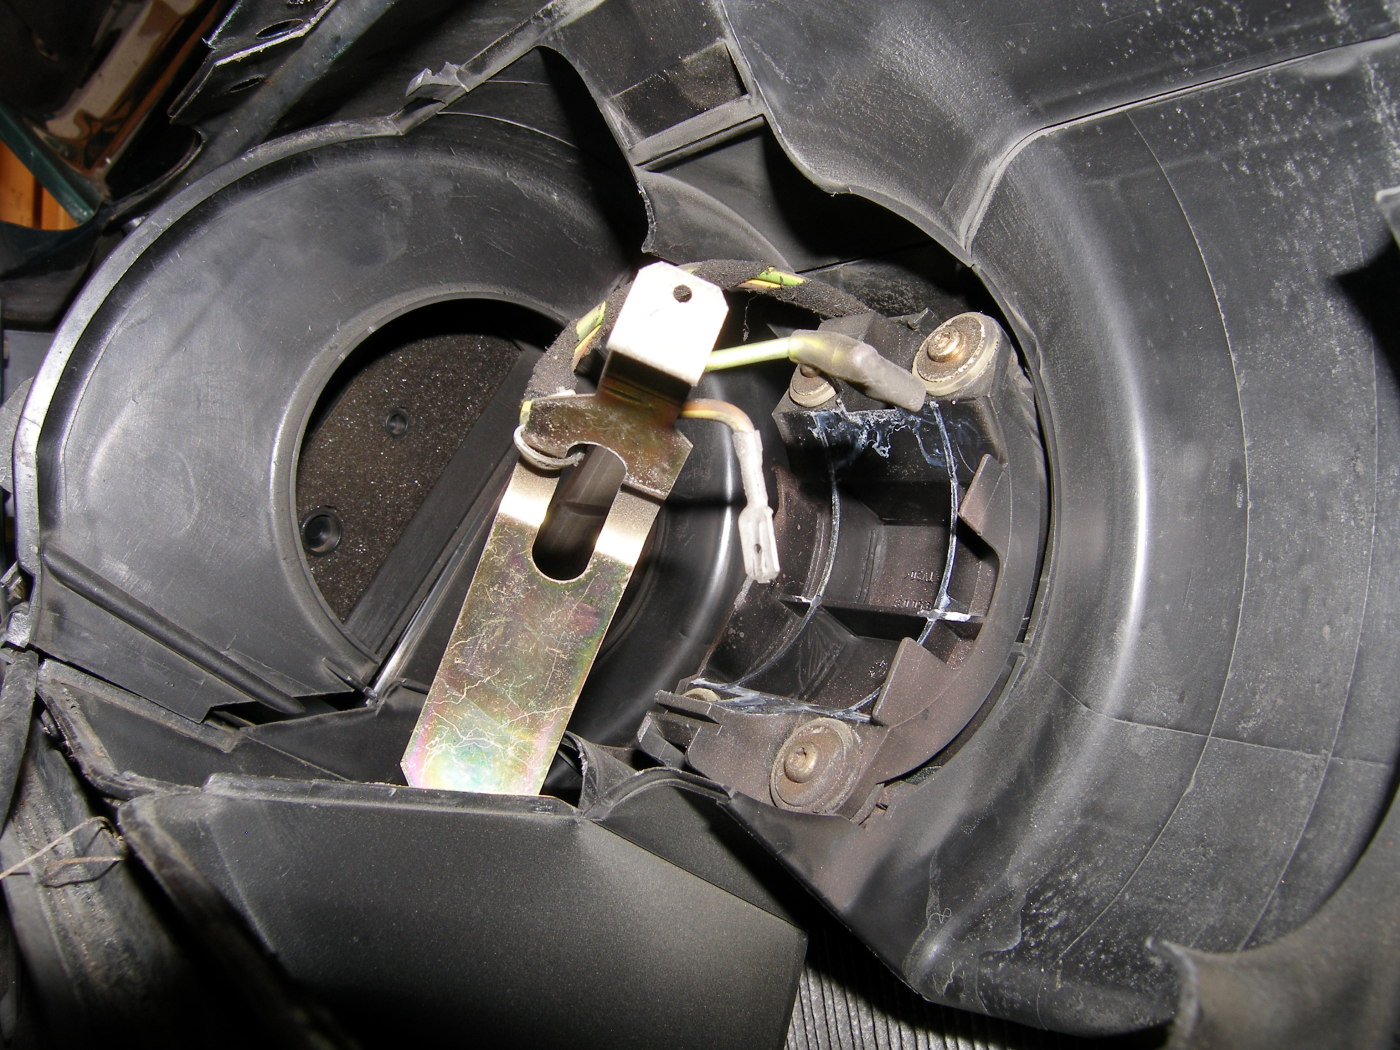
 Fortunately, BMW had the foresight to cut reliefs in the body to facilitate removal of the squirrel cages. |
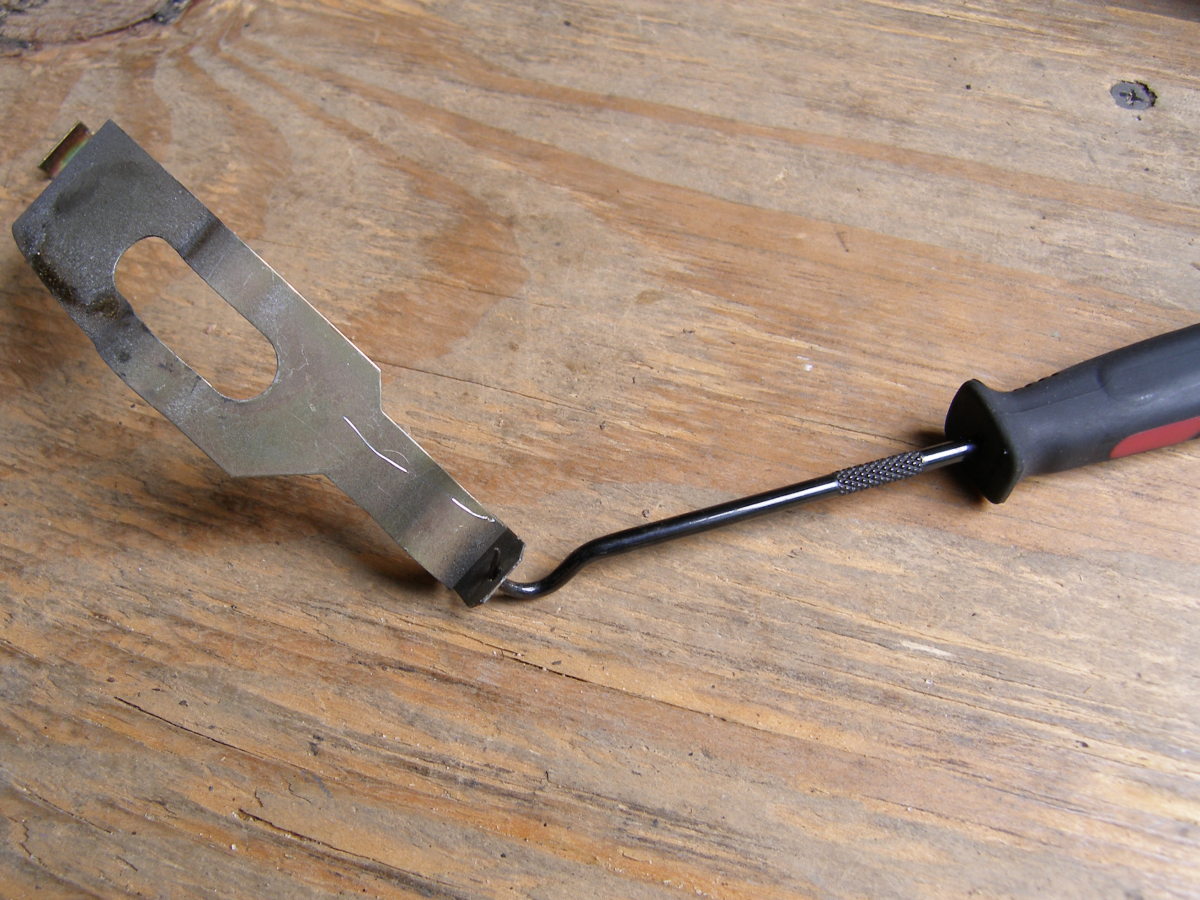 I used this hook tool to grab the hole conveniently provided in the motor retaining bracket. |
 If the blower motor starts making noise, it's brushes are probably spent as well. Mine were probably 6-12 months from failing. |
 A closeup of the interior of the airbox. |
 Top center interior of the airbox. |
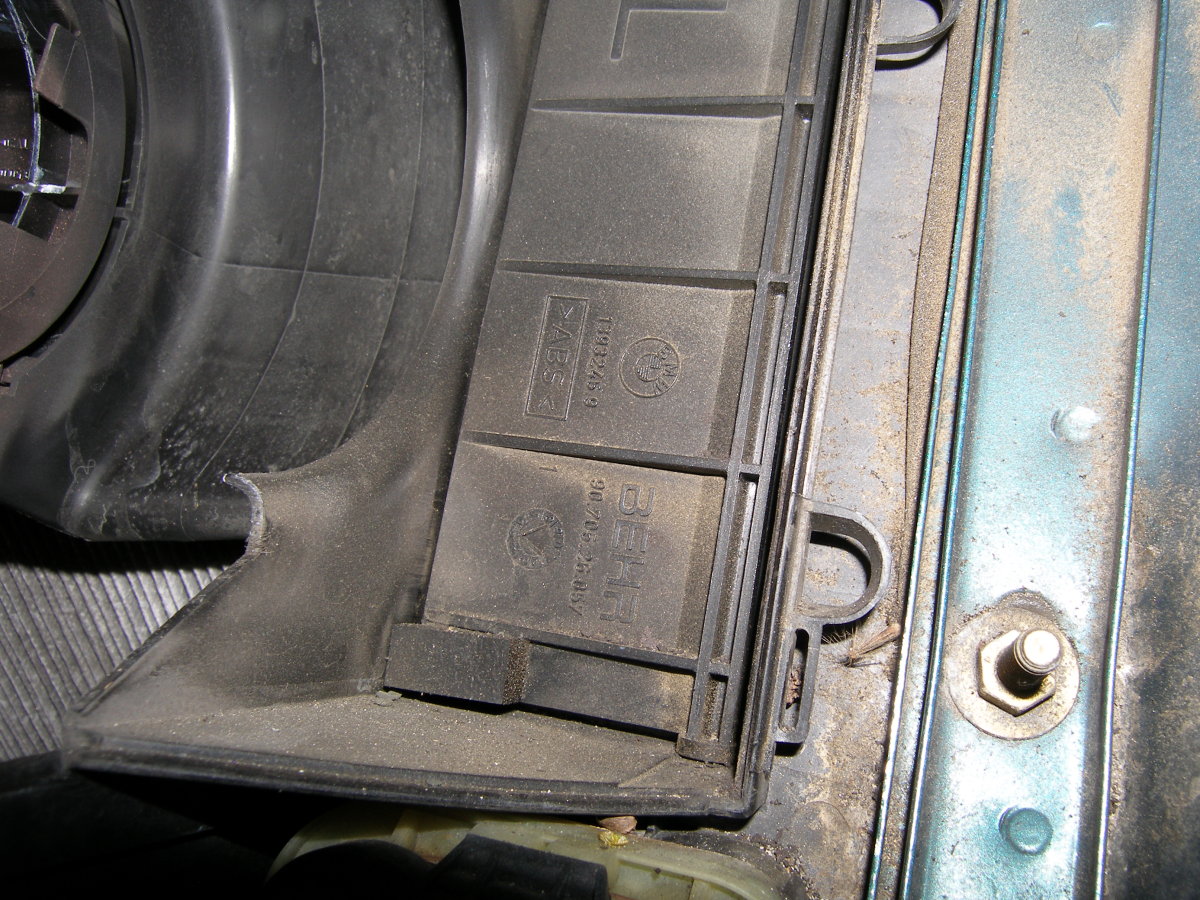 Closeup of the door that lets air into the interior. |
 Before you secure the new motor, tilt it forward, install the new squirrel cage, and remember to install the armature retaining clip. |
Donations RequestedThe creation of this DIY required approximately twelve hours, nearly three times that required to perform the work on the vehicle. If you've found it helpful, please consider a donation to this site. Thanks! |
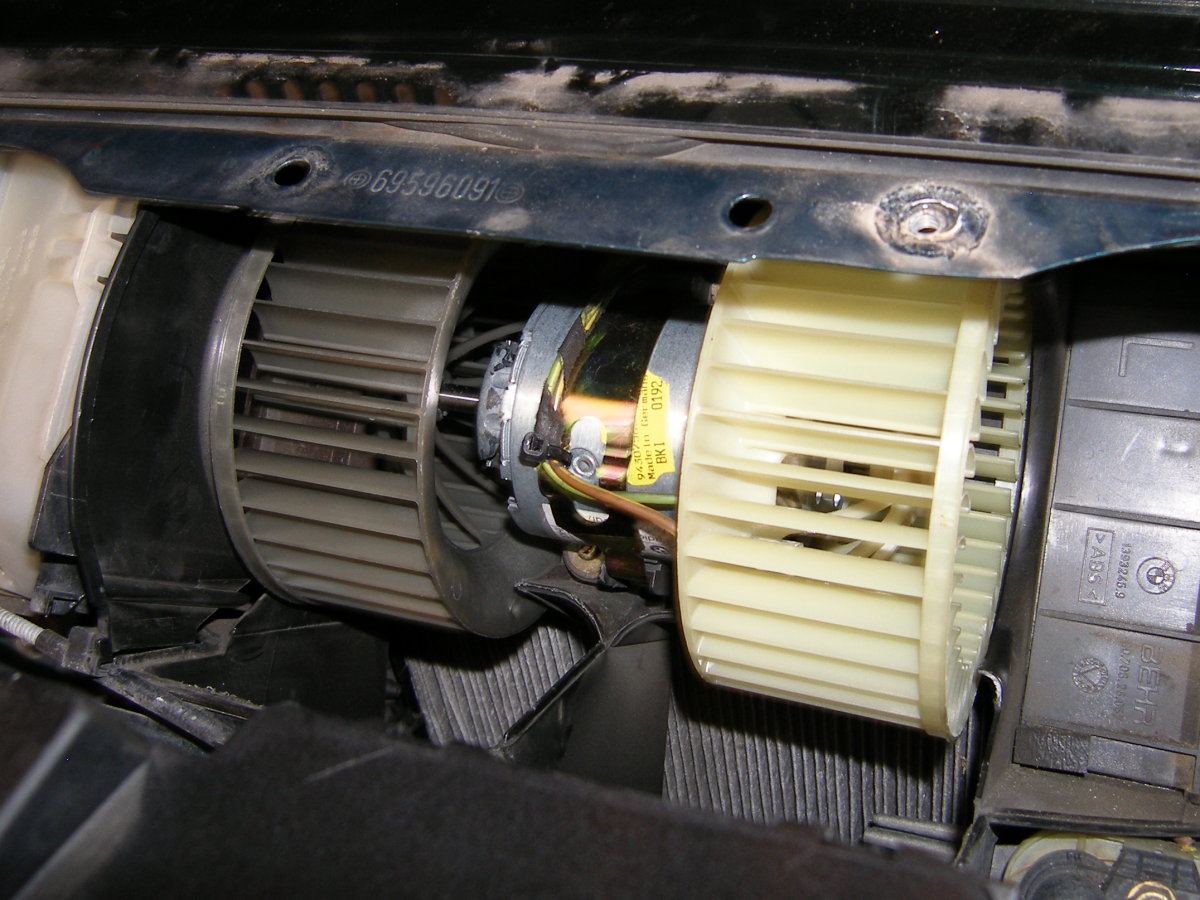 Finished (well, almost)! The new blower motor is installed. Reinstalling everything from this point took another hour or so. |