


Sunday, June 6, 2010
Rear Suspension Overhaul - Disassembly Day Two
I'm not a factory trained BMW technician, but I play one on the Internet. :-)
I began the day with a stop at Eppys to pick up some tools. Specifically, I bought an OTC front hub puller to press the passenger side axle out of the drive flange, and a nice set of SK impact sockets simply because I didn't have any and knew I would need to leverage my air tools in a big way today.
I arrived at the garage and did the following, in order:
- Press the passenger-side axle out of the drive flange.
- Break loose the differential fill and drain plugs and then drain the oil.
- Remove the differential.
- Remove the brakes and parking brake assemblies.
- Disconnect the shock from the trailing arm.
- Disconnect the upper and lower control arm from the trailing arm.
- Disconnect the trailing arm from the body at the RTAB.
- Destroy perfectly good speed sensors while attempting to remove them from the trailing arm.
- Curse the speed sensor design.
- Remove the parking brake cable assembly from the trailing arm.
- Curse the parking brake cable assembly design.
- Disconnect the control arms from the subframe.
- Remove the subframe.
- Jump for joy (mentally, not physically...as my body was too tired to stand, let alone jump, at this point).
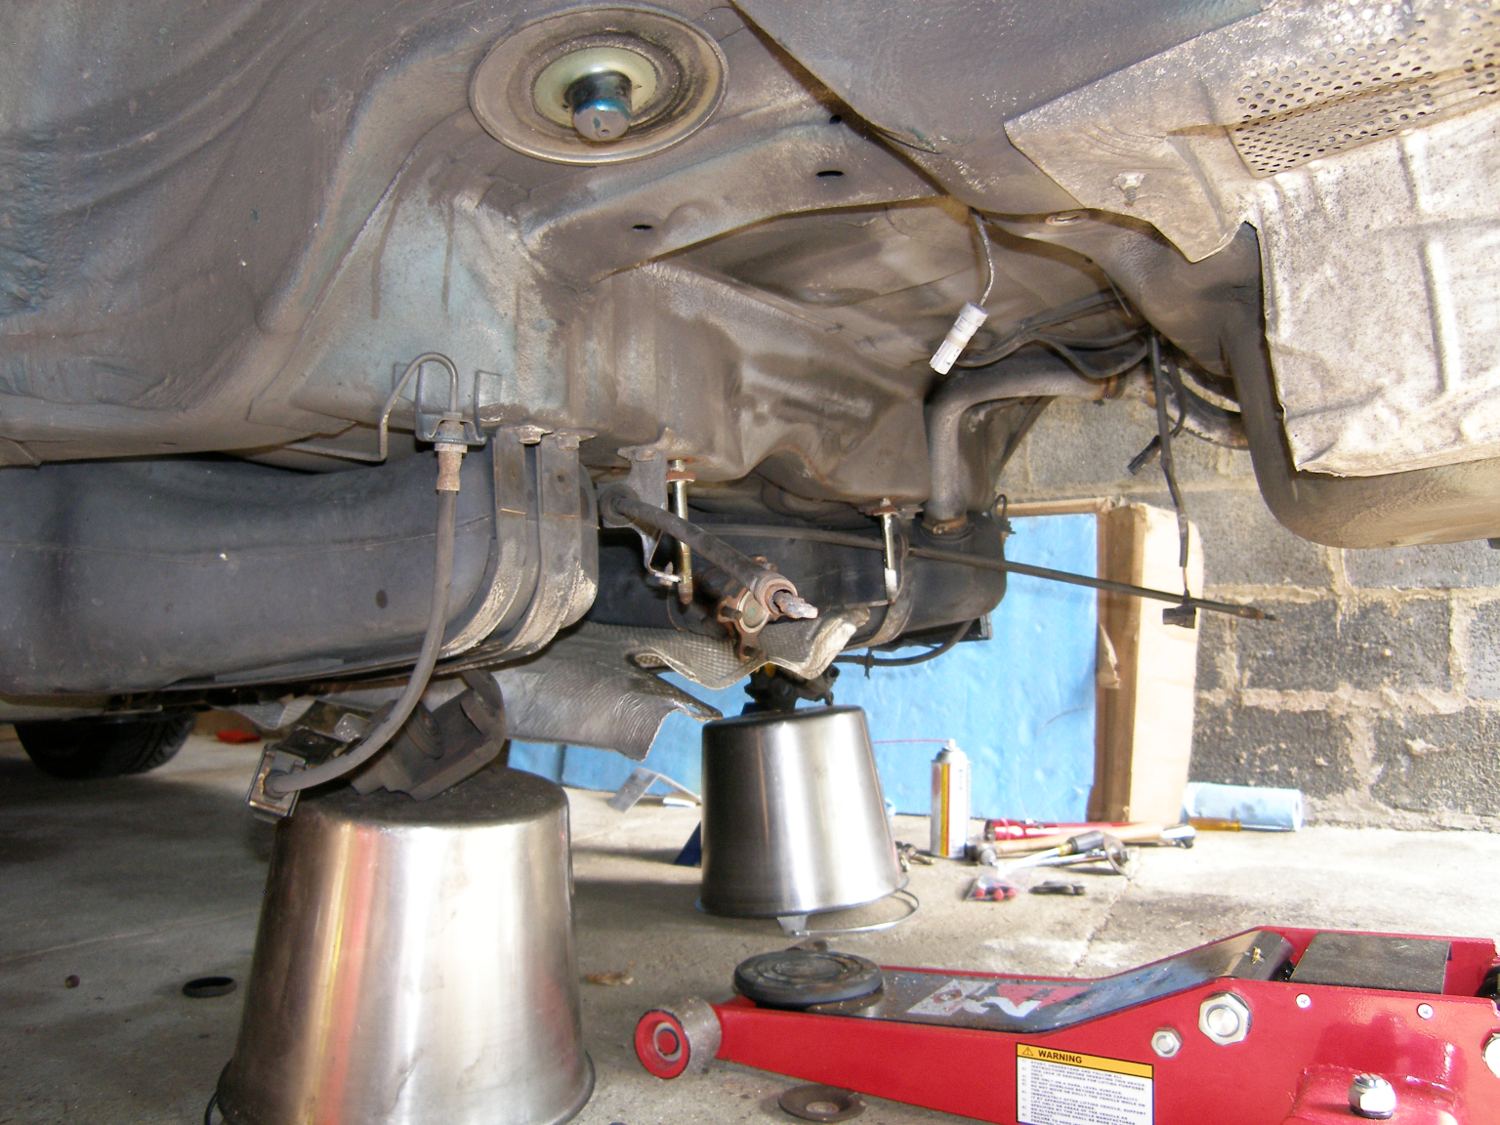
In short, I completed the disassembly process and the vehicle now stands in the condition shown in the picture. This was a solid four hours of work, which brings the total disassembly time to nine hours.
Some highlights:
 I spent a few moments examining the old CV joints.
I found all the joints very loose and the outers with
some play. I think if I had chosen to regrease them
in the field, the new, thicker, grease would have taken up some of the wear
tolerance and no doubt tightened up the joints somewhat, but my guess is they
would not be as tight as the axles I received from BMW. And there's a very
good reason for that -- most remanufacturers replace the balls with parts one
or two thousandths oversize to compensate for the wear in the carrier. The
result is a joint with the proper tolerances.
I spent a few moments examining the old CV joints.
I found all the joints very loose and the outers with
some play. I think if I had chosen to regrease them
in the field, the new, thicker, grease would have taken up some of the wear
tolerance and no doubt tightened up the joints somewhat, but my guess is they
would not be as tight as the axles I received from BMW. And there's a very
good reason for that -- most remanufacturers replace the balls with parts one
or two thousandths oversize to compensate for the wear in the carrier. The
result is a joint with the proper tolerances.
I was pleasantly surprised to find the differential gear oil almost like new. That was certainly not the case when I changed it last time, but I think that was the result of the fill at that time effectively cleaning the inside of the differential following my error of leaving the original differential oil in the unit for over 120K miles.
When I disconnected the control arms from the trailing arm the cause of that squirrely feeling in turns became obvious as the trailing arm, now hanging from the RTAB, sort of bounced around in all axes -- something it is clearly not supposed to do. And in fact, a close look at both bushings revealed that the metal core had separated from the rubber. Note to self -- change these blasted things more often than every 193K miles.
I knew before I started this overhaul that replacement of the trailing arm bushings would likely have solved perhaps 80% of the crummy handling, but I also noticed that the upper outer ball joints were quite loose. If you've never tried to move a new ball joint, let's just say it takes some effort. These ball joints flopped around with a flick of a finger. The remaining control arm bushings were reasonably tight, but it doesn't take a lot of give in all the individual bushings to translate into that 20% sloppiness, which I'm sure would have annoyed me no end had I not taken the obsessive-compulsive approach to the repair.
Unfortunately, I had to destroy the speed sensors to remove them from the trailing arms. In spite of the sensor body being plastic (you know that stuff that doesn't rust or otherwise react with nearby metals) it somehow managed to bond itself to the bore in the trailing arm. I tried to be careful with it. When that didn't work, I used a universal alignment tool (UAT) and a socket as a drift to remove it with prejudice. Looks like I'll be buying new sensors. Oh well. That's life in the big city. By the way -- BMW makes a stink about coating the bore with a special German-sourced grease during reassembly. My tech said he sparingly uses a common lithium-base grease, so that's what I will use as well.
The speed sensors must have been shacking up with the parking brake cable assembly, as that too bonded with the bore in the arm and really gave me fits. Fortunately, because the end of the cable that mates with the arm is metal, it was able to take a bit more abuse from the UAT. That in combination with a small screwdriver as a pry bar and a bit of tugging on the cable in all directions pulled it from its corroded confines. Of course, I won't bore you with the disassembly procedure of the parking brakes which made this all possible. That will be covered in an upcoming DIY, should I wish to relive the horror at some point for the benefit of my readers.
I found removing the differential to be reasonably easy in spite of its weight (80 pounds or so...about the weight of a bag of concrete). The jack certainly came in handy. I'm not looking forward to reinstalling it, however, as everything is easier when Sir Newton is helping. Maybe I can flip the car upside down for that part. ;-)
In spite of being a huge hunk of metal, I found the subframe to be reasonably light, and that's a good thing because it fits very tightly to its mounting studs and bolts. I really had to jimmy it back and forth to get it to come off the front studs. Of course, that may have had more to do with the rear pivoting down somewhat under its own weight, but we'll see.
As for the subframe bushings, I'd call the differential mount bushing toast, which isn't exactly a surprise -- the forces on that bolt even on the street are pretty substantial, and on the track with manual transmission they're high enough to break a grade 10 bolt (or rip the entire bushing carrier from the subframe). The two front bushings and one of the rear bushings had noticeable cracks in them. Whether the cracks were merely a surface phenomenon or indicative of impending failure, I'll never know. And I don't really care, since they'll all be replaced. The rears are slated to receive the stronger M3 parts as well.
Tomorrow I'm taking a vacation day as planned and have several things to accomplish:
- Return the drive axles to the dealer for a core credit. It's only $100, but I'm not in the business of giving interest free loans, so I want it back.
- Drop all the parts off at my local tech to have him press everything out in prep for powdercoating. He said he knows a good fabricator, so I'll have him weld on the swaybar tab reinforcement kit. That will cost more, but will make the mobile welder's job a bit easier and hopefully simplify the logistics a bit, as the part will then be ready for a full sandblast and powdercoating.
- Fly the differential up to Dan at diffsonline so he can get busy with the overhaul and (hopefully) have it back to me by the end of the week.
The remainder of the week will amount to shuttling the parts back and forth, something I hope to do with a minimum number of vacation days. I do have a bunch to do at my real job and it's not getting done while I'm wrenching, that's for sure.
Mileage: 193332, Tools: $240