


Sunday, September 4, 2011
Interior Overhaul - Day 2
Unfortunately I didn't get a ton of time to work on the car today but I did manage to do a few things: replace the sunroof seal, replace the rear window seals and pull the parcel shelf so I could take it and the new part home and ready it for installation.
 A closeup of the window channel after I flushed out all the dirt and grime with the hose, and followed up with some Goo-Gone. |
 New lower seal installed. Isn't that purty? |
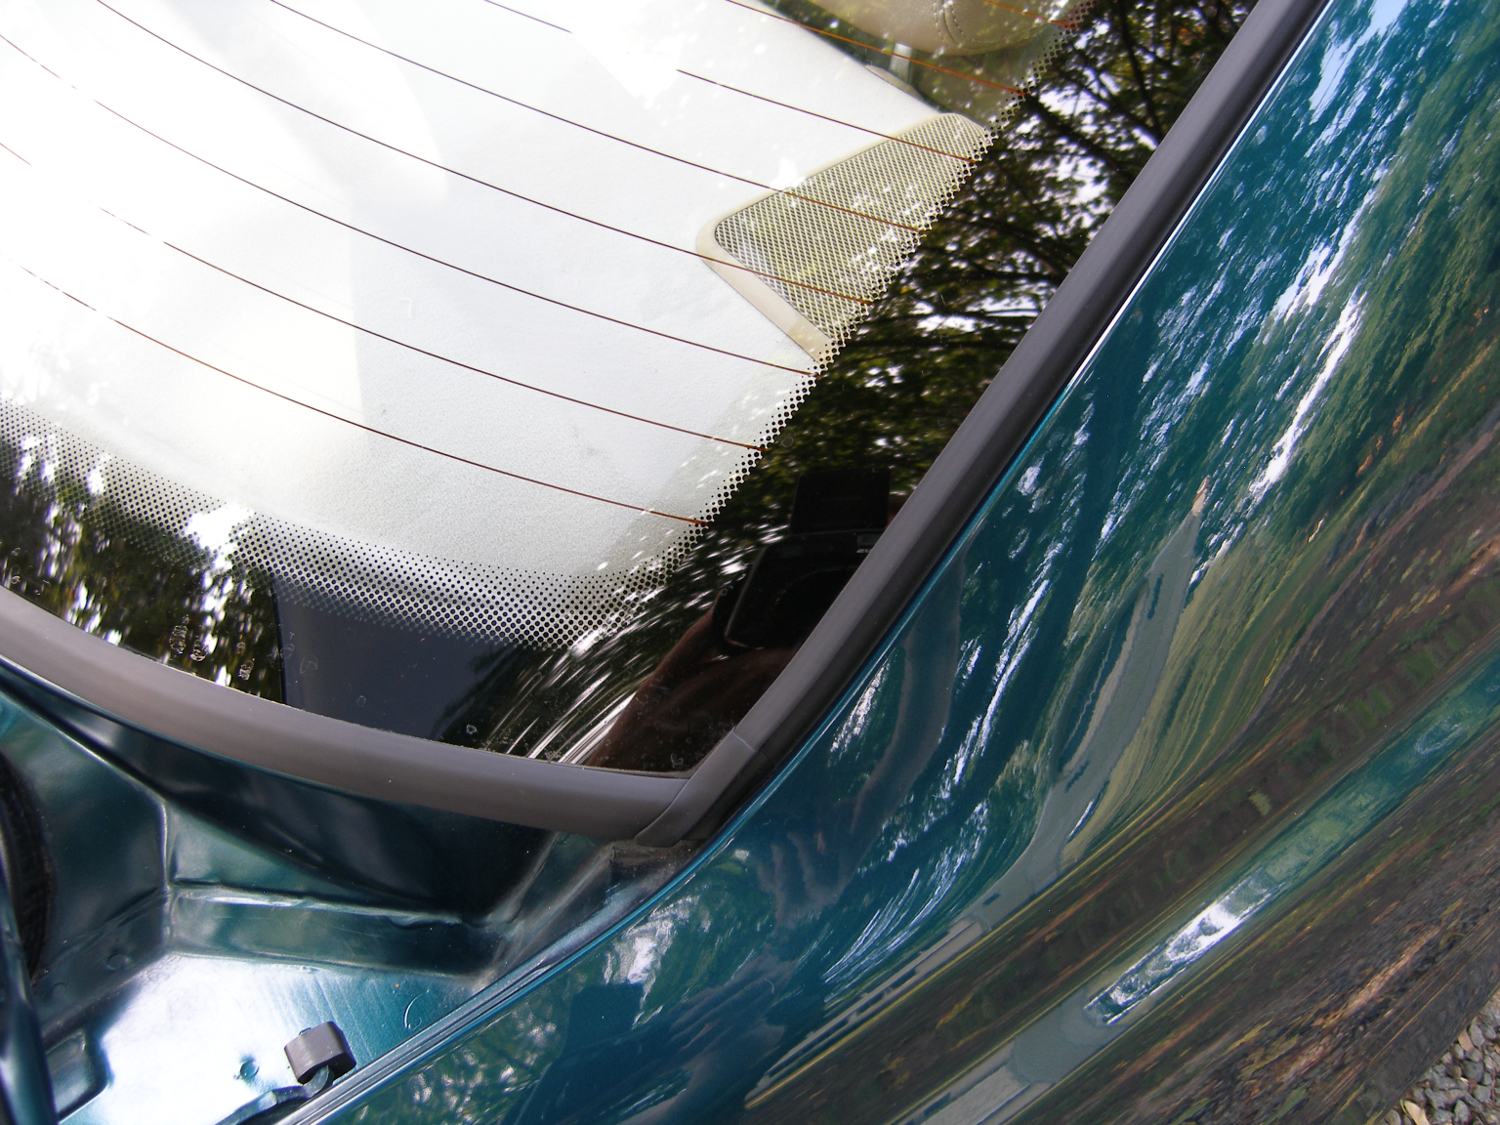 I had forgotten how nicely the upper and lower seals interlocked because the stub at the end of the upper seal had disintegrated. |
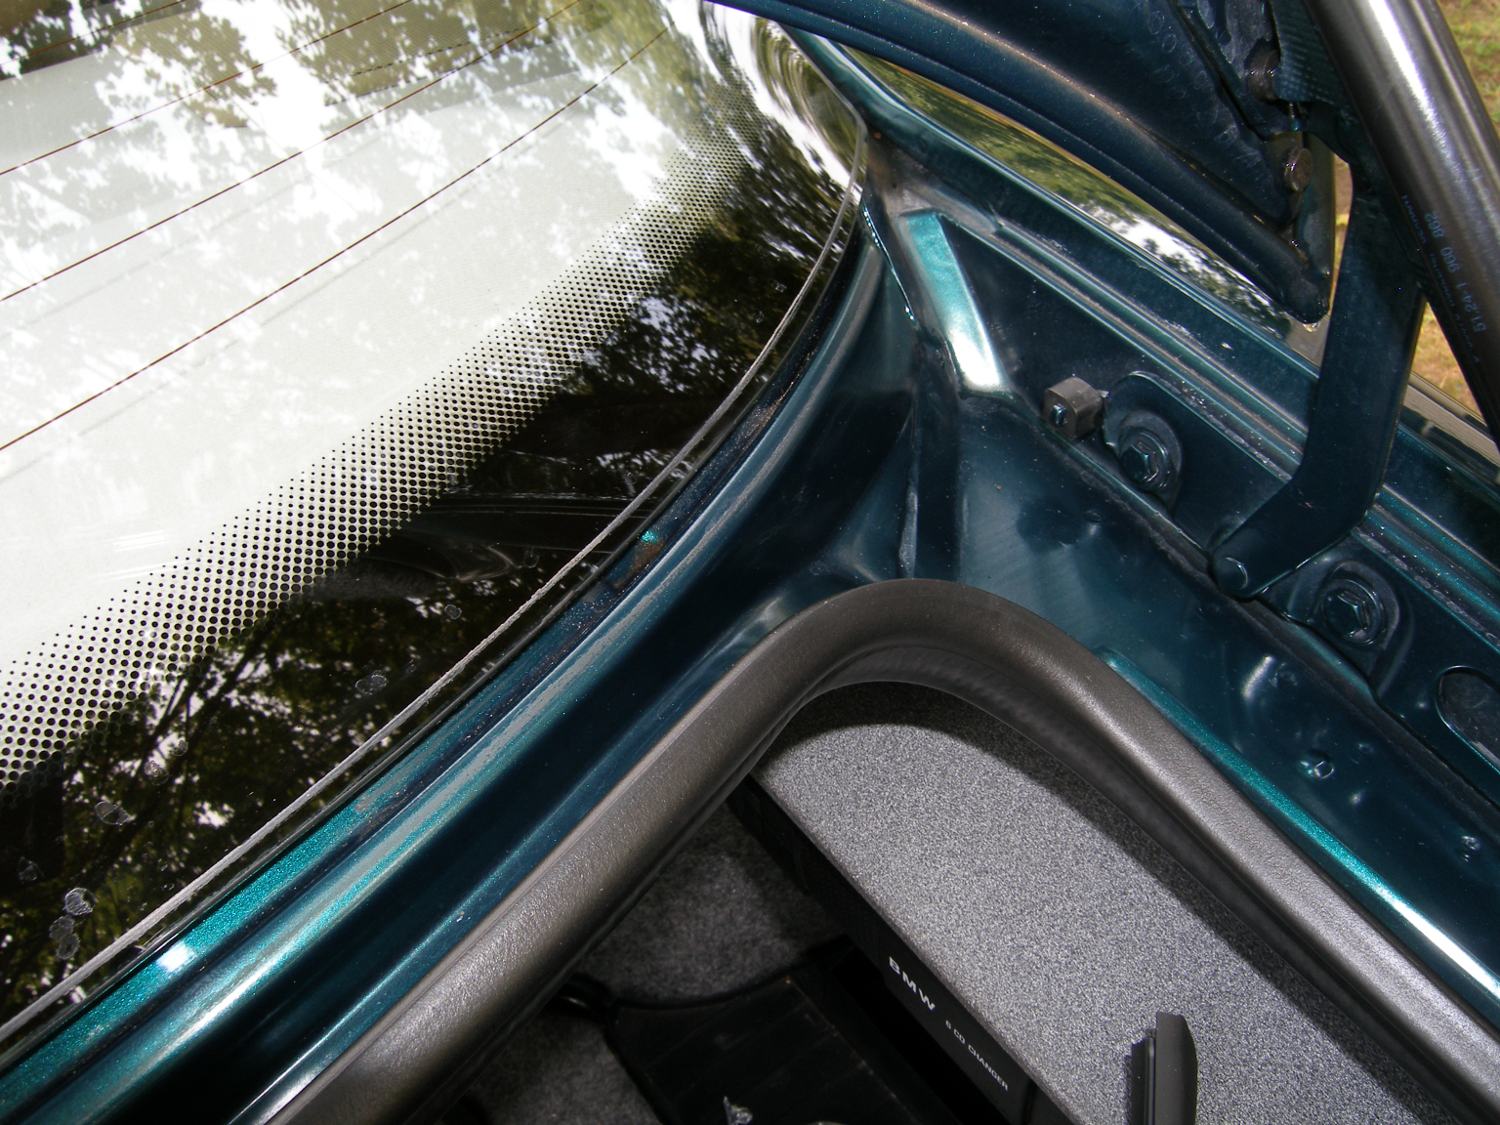
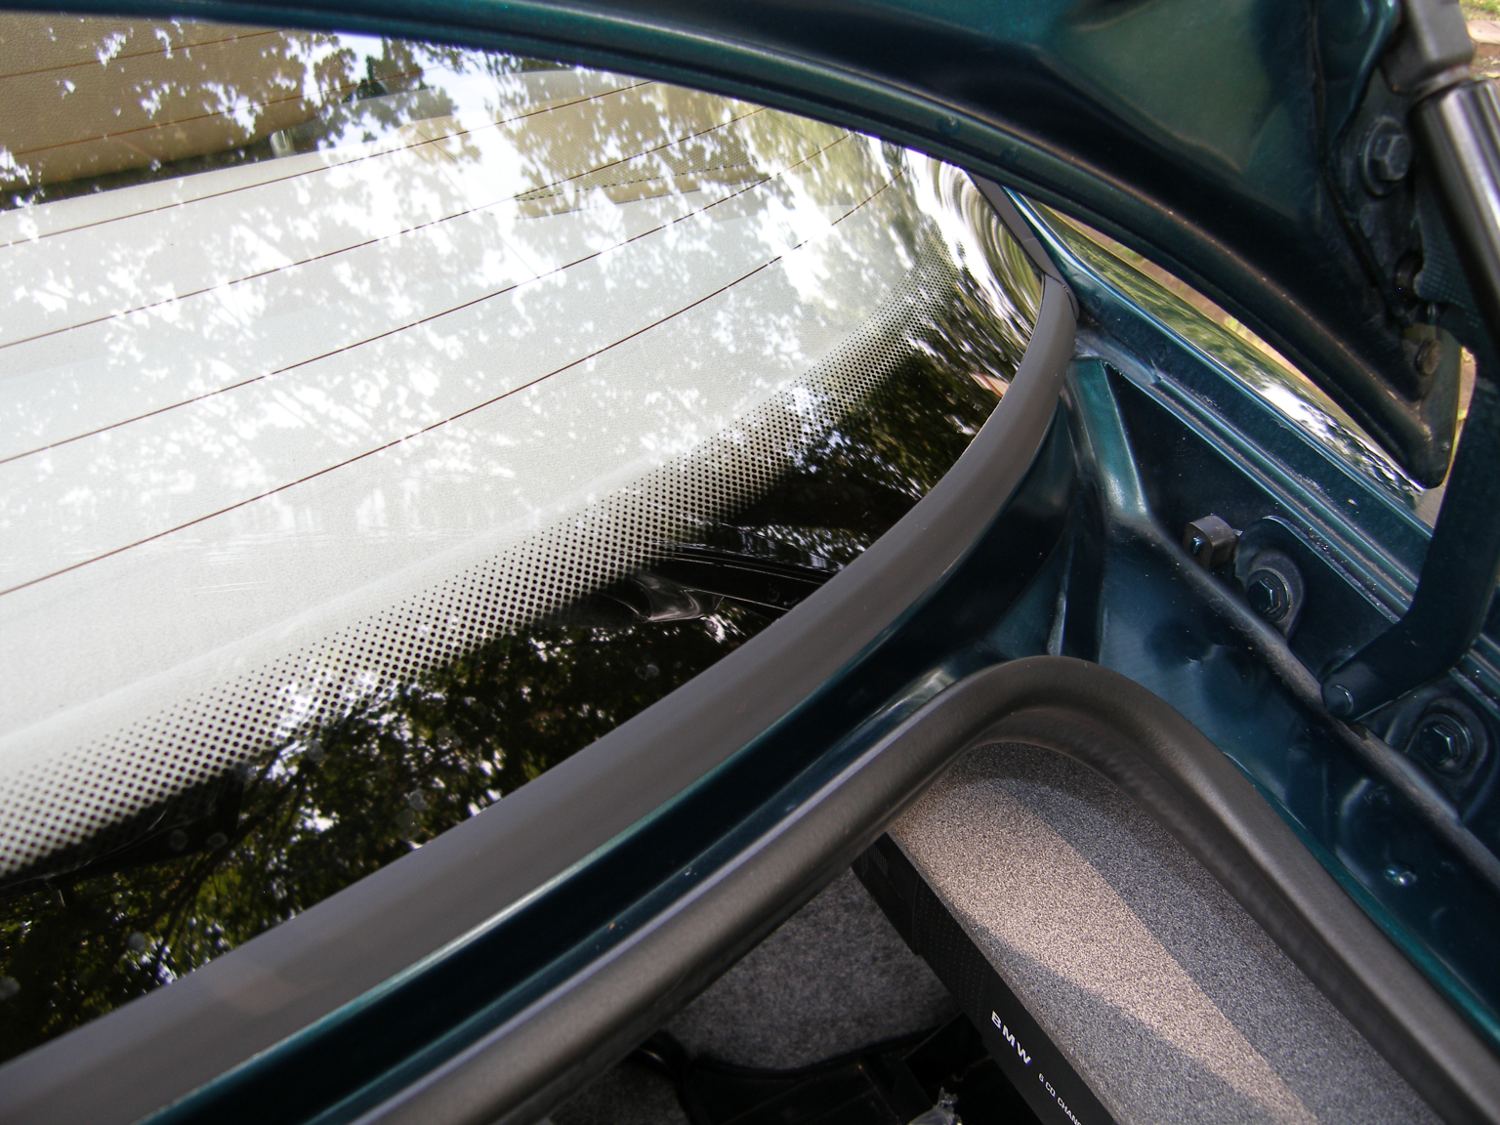
To replace the rear window seals I pulled the bottom seal first and then the top seal. The bottom seal came off without any hassle, but because the fit of the top seal is tight to begin with and 14 years of exposure had turned the rubber into plastic, I found the top seal didn't really want to come off the window easily. About 5 minutes of determined pulling, twisting, and tugging managed to remove the seal without any damage to the paint or the window. With the seals removed I used a hose to clean out the area and then used some Goo-Gone to clean off a kind of unspeakable crud that had formed under the window.
Because the new seals were quite flexible (well, except for the bottom seal which actually integrates a metal reinforcement), installation of the new seals was easier than removal of the old seals. All I had to do was correctly center the seal on the window and use the bottom legs of the seal as a handle or lever of sorts to pull the seal around the top two corners of the window. I'll admit I wasn't perfect with the alignment the first time so I had to pull the sides up, slide the seal over a bit and then reinstall it, but within 5 minutes I had the new seal in place and it hadn't looked this good since I picked it up in 1998. Many thanks to the people who wrote to tell me I could do this without pulling the window.
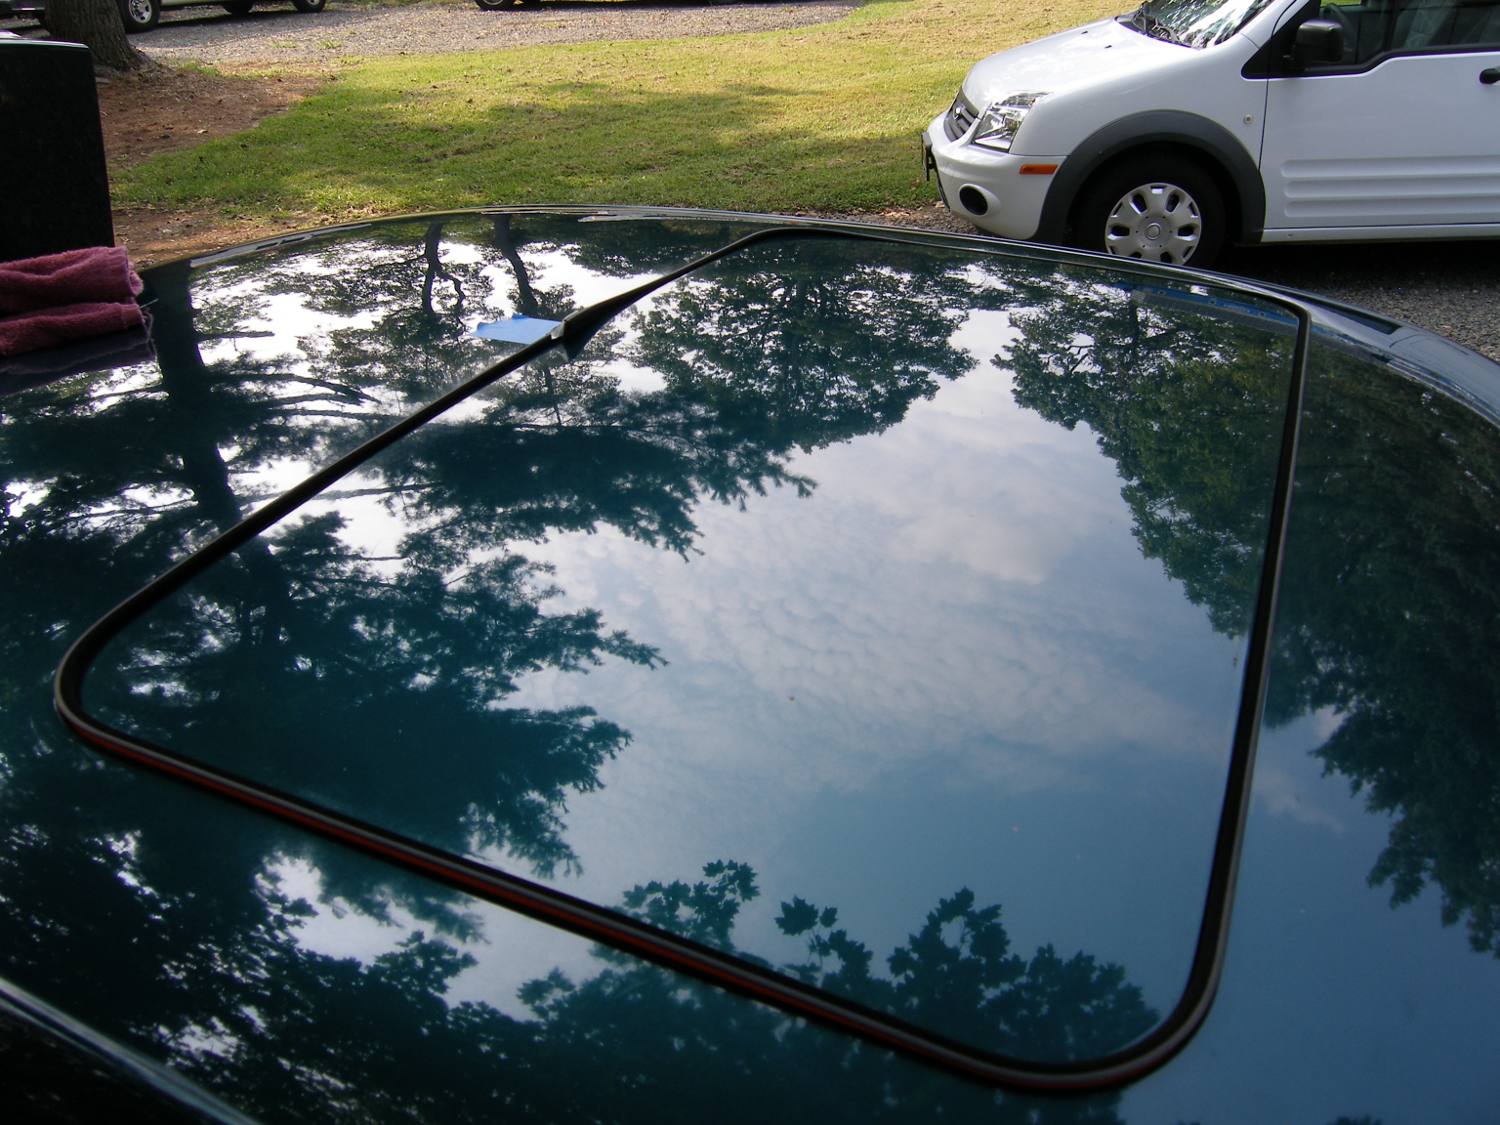 I first test fit the sunroof seal to see whether BMW saw fit to give me a bit extra. Fortunately, they did. |
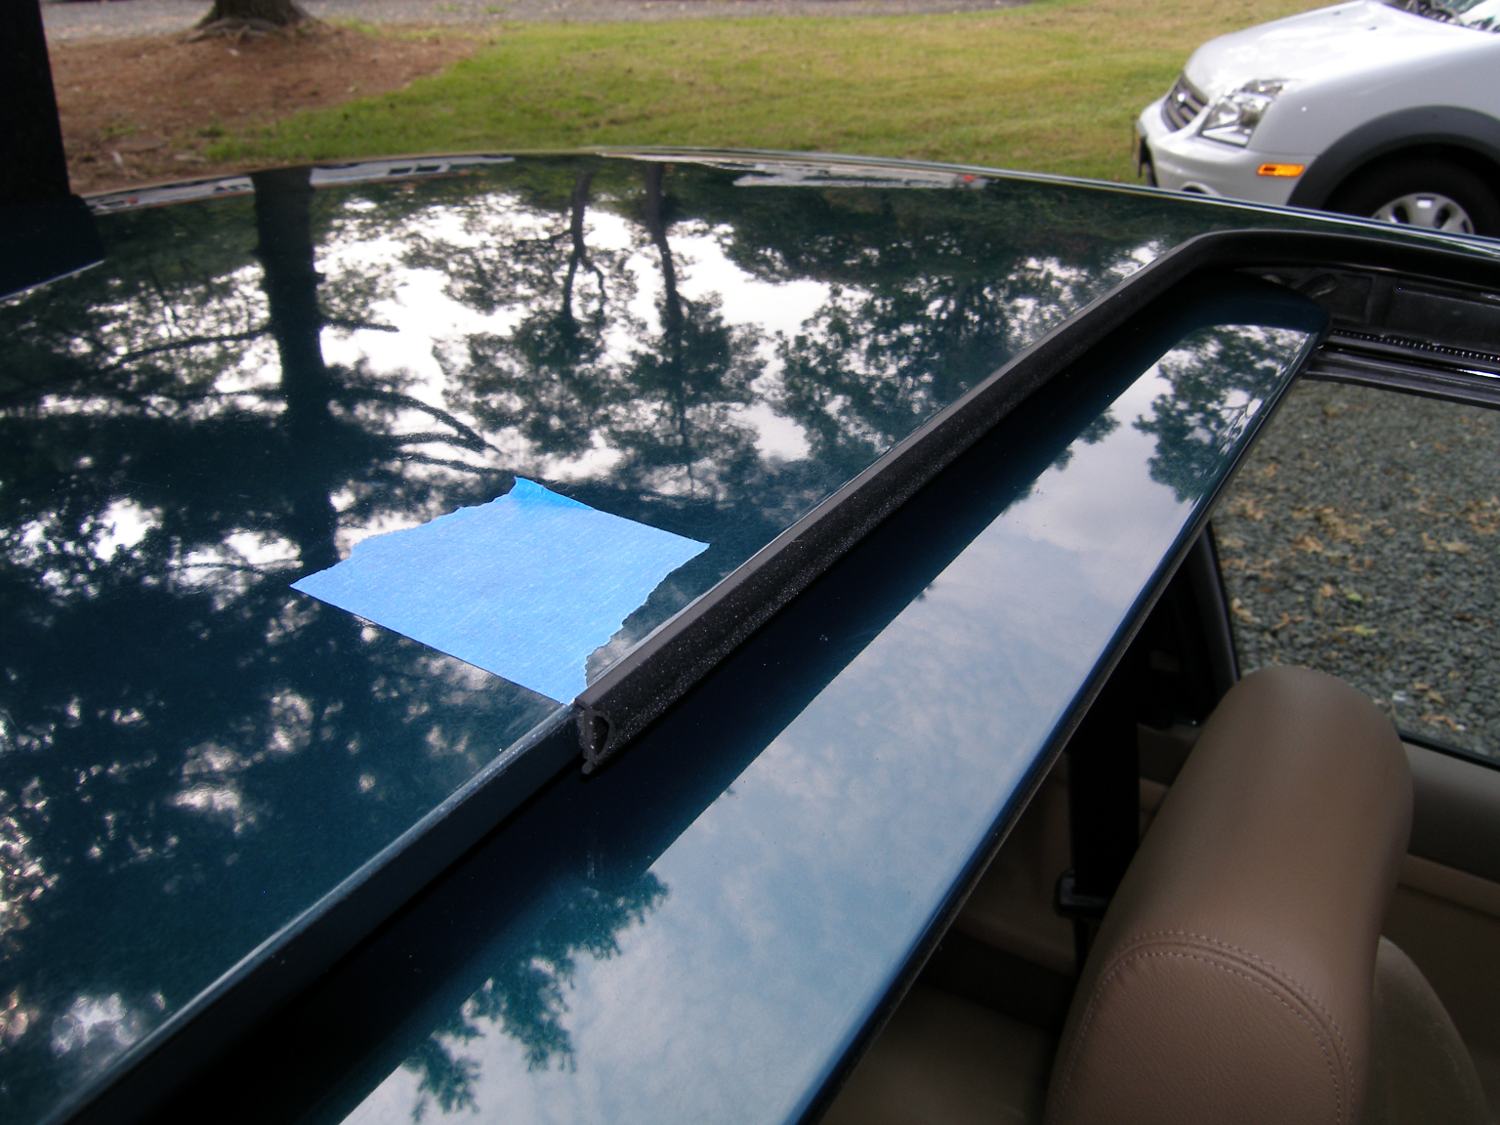 I used a piece of blue painters tape to mark the center point of the seam before pulling the old seal. |
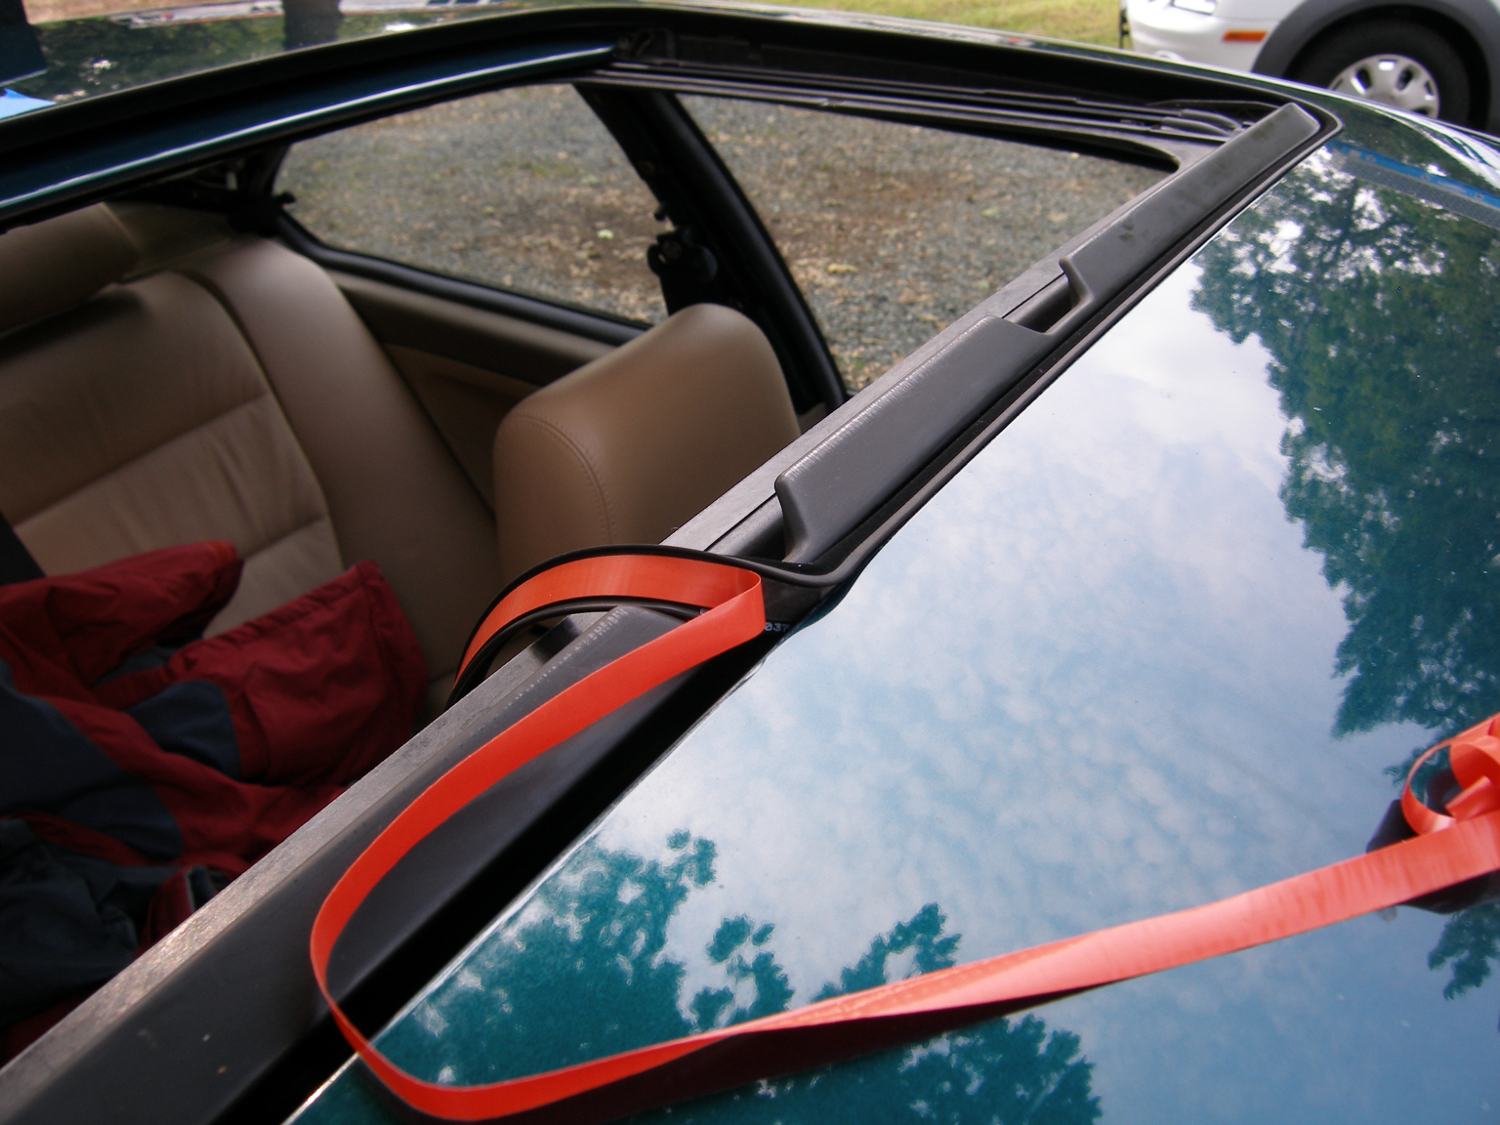 The key to keeping the installation manageable is to remove the orange protective tape as you go. |
Removal of the sunroof seal involved fully opening the sunroof, marking the center of the opening by placing a piece of painters tape adjacent to the seam in the existing seal, and then pulling the old seal off the opening with brute force. The double-sided foam tape used in this application is very resilient so a bunch of it remained behind on the metal lip. The best technique for removing what remained turned out to be good 'ol elbow grease. I used my thumb and index finger to roll over the foam and that caused it to lift up and take a majority of the adhesive with it. After about 10 minutes of that technique my fingers were begging for a break but I managed to get the job done. I then used some Goo Gone to remove what remained of the adhesive and then wiped the area with some denatured alcohol to prep the surface and promote adhesion of the new tape.
It turns out that BMW provides only about 1.5" extra material and one edge of the seal provided to me looked as though the adhesive had been compromised by removal of the orange protective tape. For that reason I simply started using the other side and walked the seal around the edge, pulling the orange protective tape off only an inch or two ahead of my work. The seal is perfectly shaped to mate with the metal edge so it didn't take much effort to ensure that the top of the seal remained flush with the edge. Once I got within a couple inches of the seam, I pulled out a brand new (and exceedingly sharp) razor blade and used a piece of cardboard perched on the edge of the recessed sunroof panel as a cutting surface to trim the seal to length. To ensure no gap in the seam I cut the seal about 1mm too long and "squeezed" it together. I finished up by closing the sunroof and inspecting the seam between the seal and sunroof panel for gaps. The result: a perfect fit.
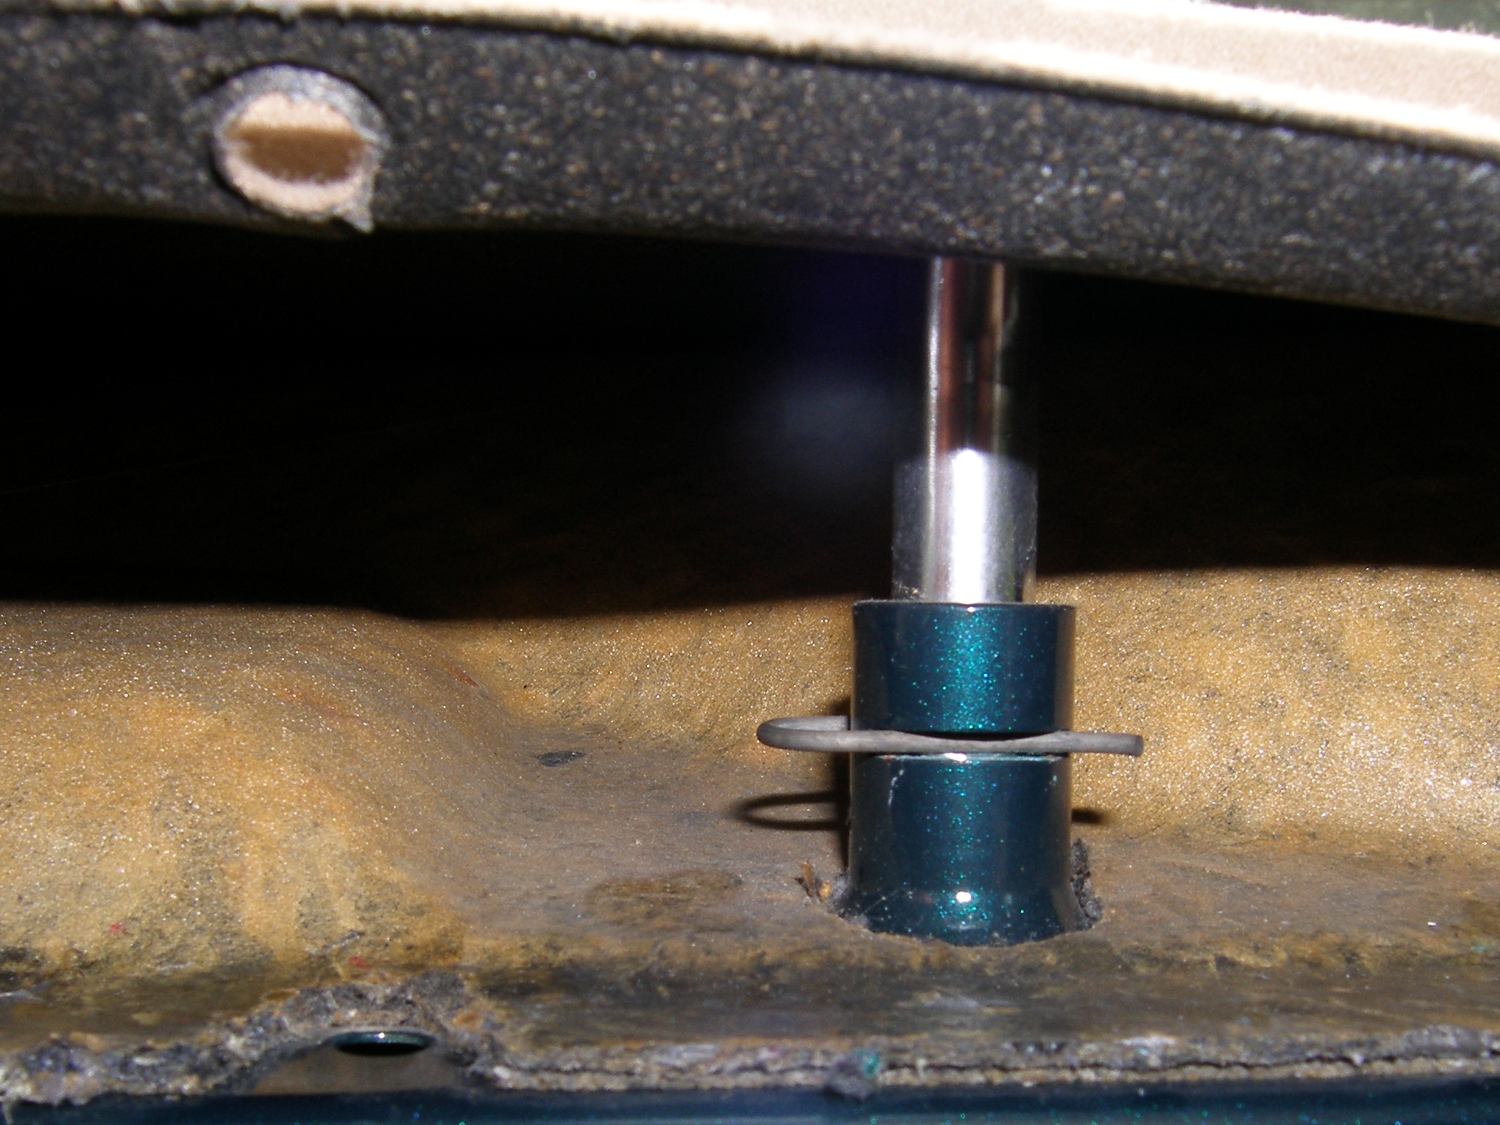 This picture shows the hole in the parcel shelf and body through which the retaining rivets fit, as well as the metal headrest retaining clip. |
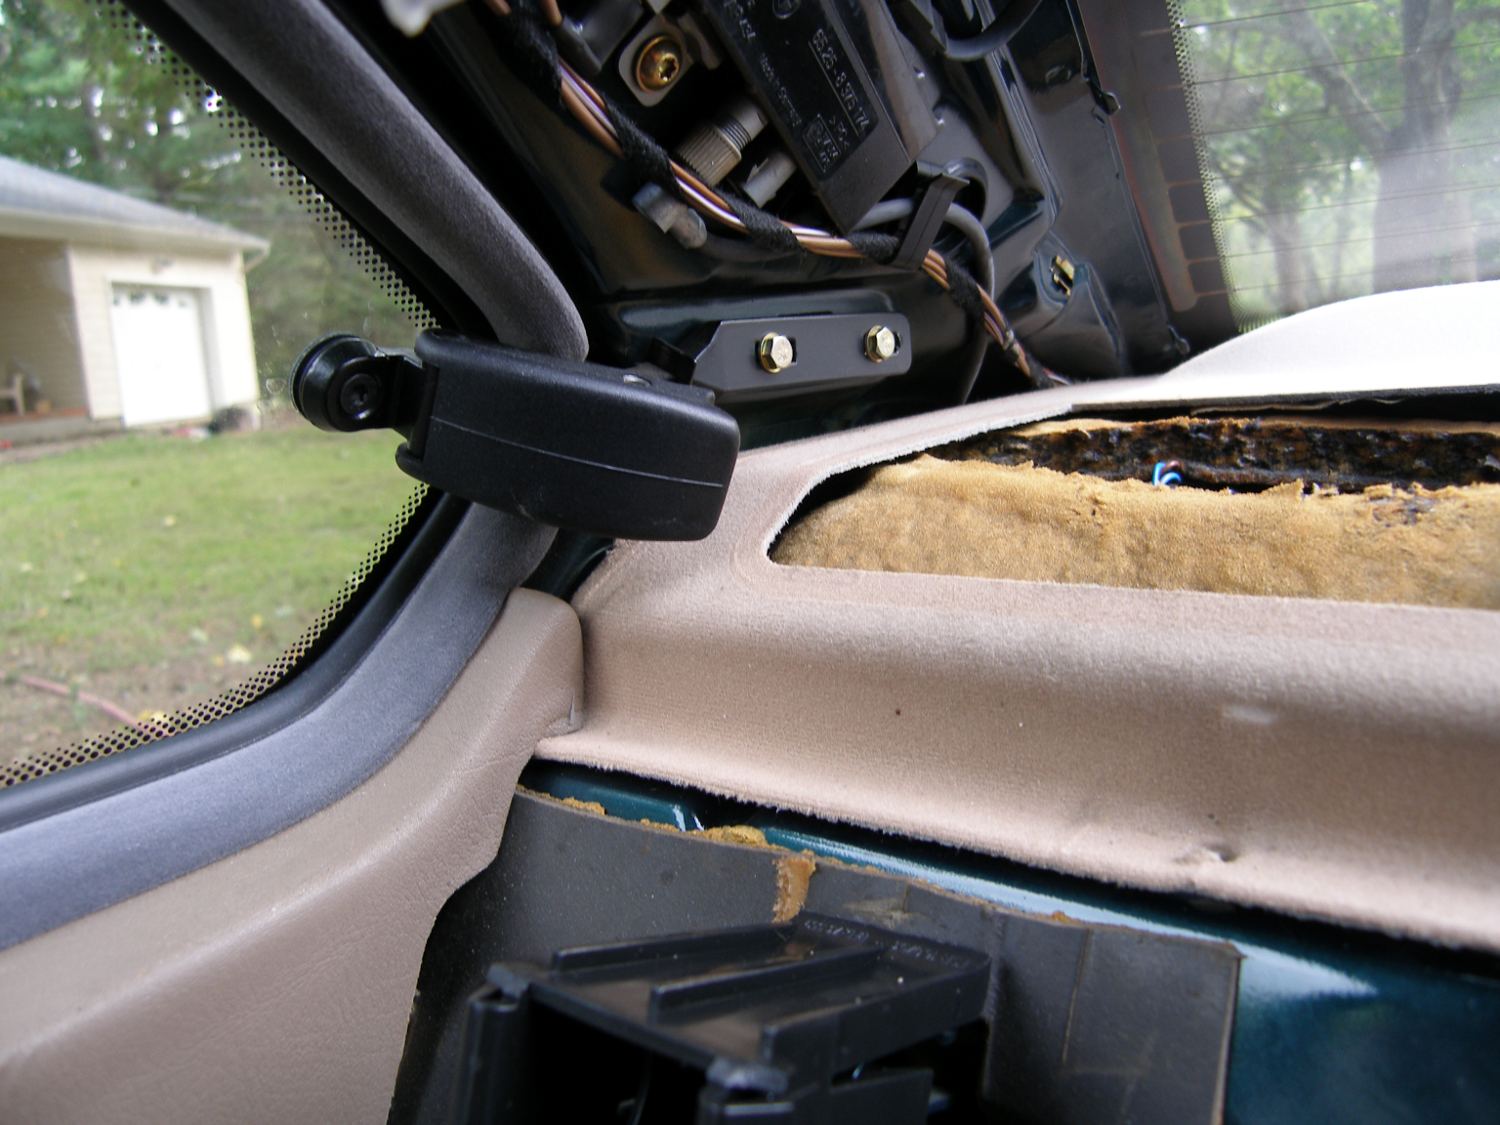 Here you can see the interlocking fit of the edge of the parcel shelf and the passenger side panel. I will be removing the driver's side panel only. |
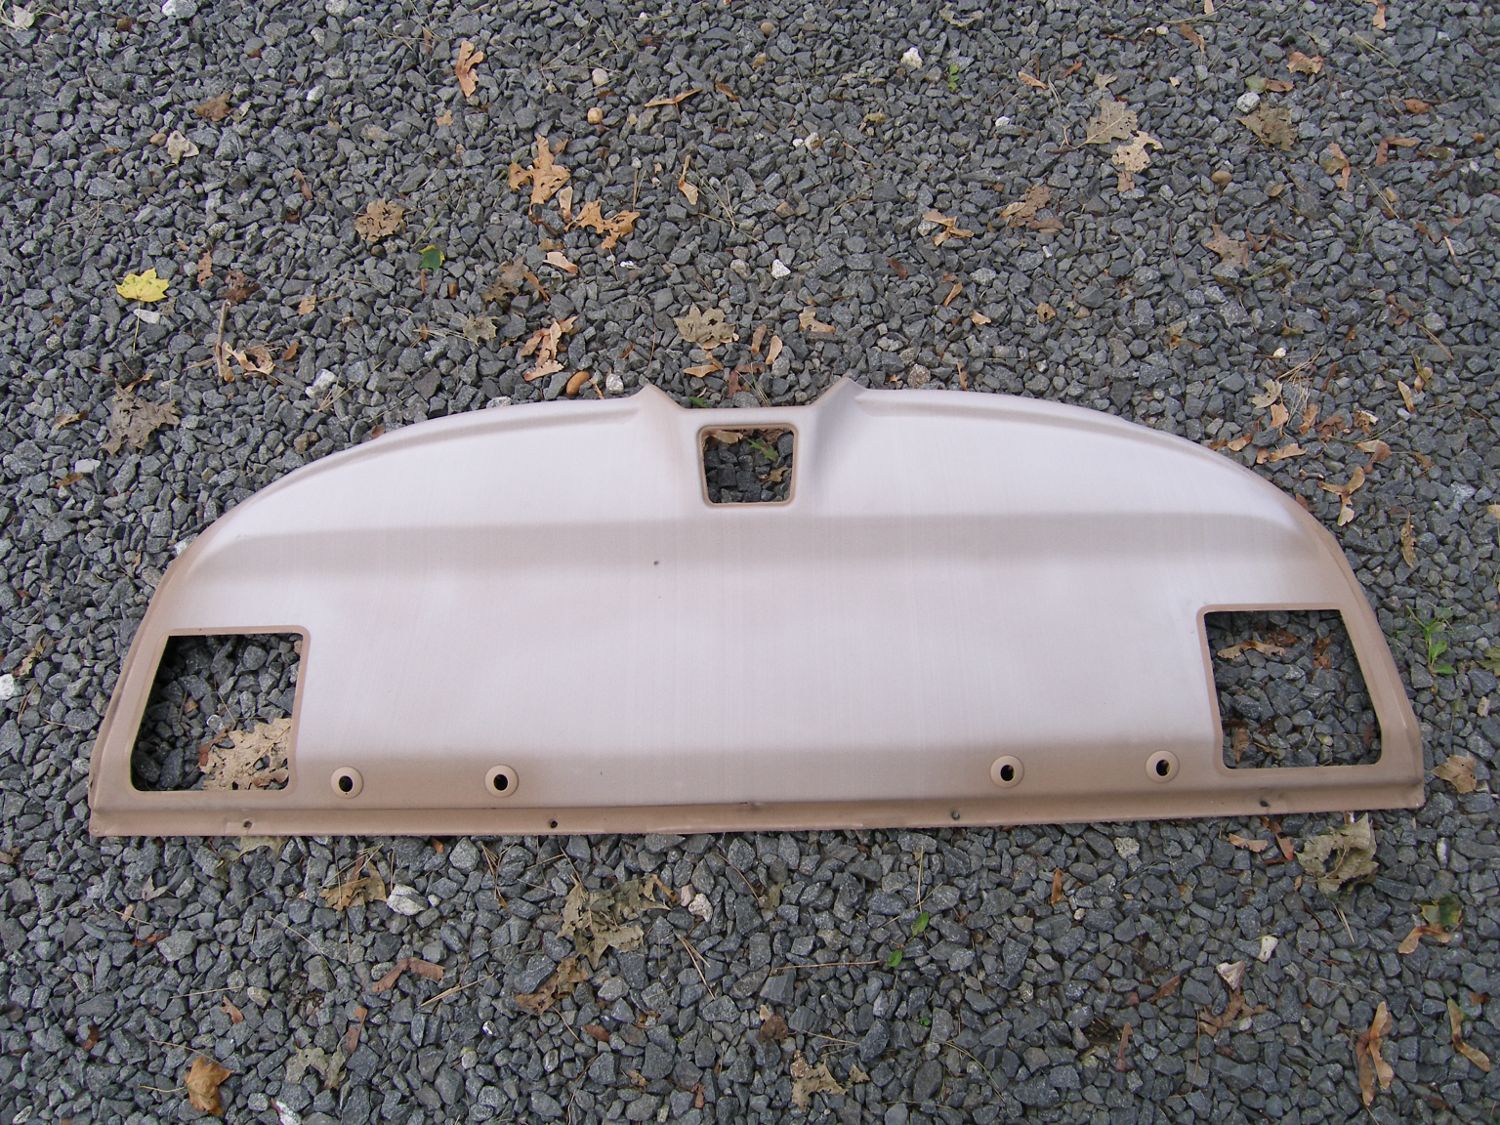 What 14 years of sunlight and UV radiation will do to a parcel shelf. The fading is most obvious around the outline of the speaker grills. |
To finish up today I decided to pull the parcel shelf. To remove the existing shelf I had to fold down the rear seat backs, pull the side bolsters off, pull out the four plastic rivets holding the black plastic trim piece to the parcel shelf and then remove the headrests before pulling the shelf forward and out of the car. The headrests, incidentally, are retained by metal clips that are only visible if the forward edge of the parcel shelf is lifted up in the vicinity of the headrests about 2". I used a hook tool to remove the clips and set them aside in one of my zip-lock bags for safe keeping. At that point I realized that I would have to remove one or both of the side panels to allow the shelf to move forward, but since I was short on time and didn't care about the old shelf, I just bent the shelf up about 6" from the driver's side as required to clear the side panel. Once the panel cleared the recess built into the side panel and the shelf came forward I noticed that the other edge of the panel came free of the recess in the passenger side panel. This convinced me that in order to install the new panel all I would have to do is pull the driver's side panel, and of course, I need to do that anyway so it's no inconvenience.
I also spent a bit of time cleaning the exposed sunroof tracks in an effort to determine whether I could eliminate all the noise exhibited by the sunroof but was unsuccessful. I also noticed that as I actuated the sunroof motor the tubes housing the bowden cables that actuate the sunroof panel were moving back and forth about a quarter of an inch. I'm not sure if that's normal, but I think it's an indication that the cables need to be pulled out and lubricated. Since I have no intention of doing that and putting the sunroof at risk without a backup on hand, I think I may just bite the bullet and buy a new cassette and sell this unit after I clean it up. That will afford me the opportunity to learn more about the sunroof, take some detailed pictures for the site, and get the car back in service as quickly as possible with a smoothly running sunroof that should prevent the need to pull the headliner for another 14 years.
Driver's Side Tail Lamp Assembly Failure
A few months ago I kept experiencing an intermittent "1 brake light fail" message on the OBC. When I'd restart the car the problem would go away. I eventually got fed up with the problem and decided to replace the bulbs on the theory that one of the filaments was a little flaky. That fixed the problem (or so I thought) so I went on with my life and didn't think much about it. That is, of course, until driving over to the garage today when the warning message appeared on the OBC display again. When I arrived I put a weight in front of the brake pedal to keep the brake lights on, went around to the back of the car and confirmed that the driver's side brake light was out.
I opened the trunk and pulled the protective cover on the tail light assembly in order to pull the offending bulb. The filament was intact but I did notice some corrosion on one of the terminals in the bulb socket so I cleaned that up with a pen eraser. I reinserted the socket into the tail lamp assembly and the brake light went on for a moment until I took my hand of the socket, at which point it flickered off. I grabbed the handle of the bulb socket and rocked it up and down. Sure enough, as I moved the socket the lamp alternately turned on and off. I pulled the socket again and took a good look at the mating terminals built into the tail light assembly only to find one of the terminals deeply pitted and corroded. I attempted to clean up the terminal with some abrasive cloth to no avail. The damage is done.
I subsequently inserted the socket several times and never was able to get the bulb to illuminate again, probably because the stupid design of these parts limits the contact area between the socket and the tail light assembly terminals to an area roughly 2mm in diameter, which is, not surprisingly, the size of the crater that has been been carved out of the terminal in the tail light housing due to corrosion or arcing. I may be able to fix this, at least temporarily, by applying some solder to fill in the hole, but I didn't have enough time today to remove the tail lamp assembly. That's first on my list when I return to the garage, but that won't be until next weekend because I'm taking Labor Day off.
Just kidding. I'll be working on other projects. Such is my life.
Mileage: 212050, Materials: $20