


Monday, September 5, 2011
I managed to get a bunch of work totally unrelated to BMWs done today so I finished out the afternoon by doing a bit more on the project: preparing the parcel shelf for installation and repairing the tail lamp assembly.
Interior Overhaul - Day 3
Next up was the tedious task of preparing the parcel shell for installation. Using my dremel and carbide plunge cutting bit (the same one I bought to cut the new driver's door panel during the recent driver's door overhaul) I cut the four holes required for the headrest posts as well as the two holes required for the speaker grills.
To make sure I got the alignment correct (as this is clearly a measure-three-times-and-cut-once task) I mated the two parts and used the old shelf as a template as I outlined all the holes with a fine point marker. I also outlined the speaker cutouts with blue painter's tape to ensure I would stay within the lines. With the dremel running at near full speed I made reasonably quick work of cutting the holes undersize and then spent a good amount of time shaving the edges to bring them out to the tape lines for a near perfect fit.
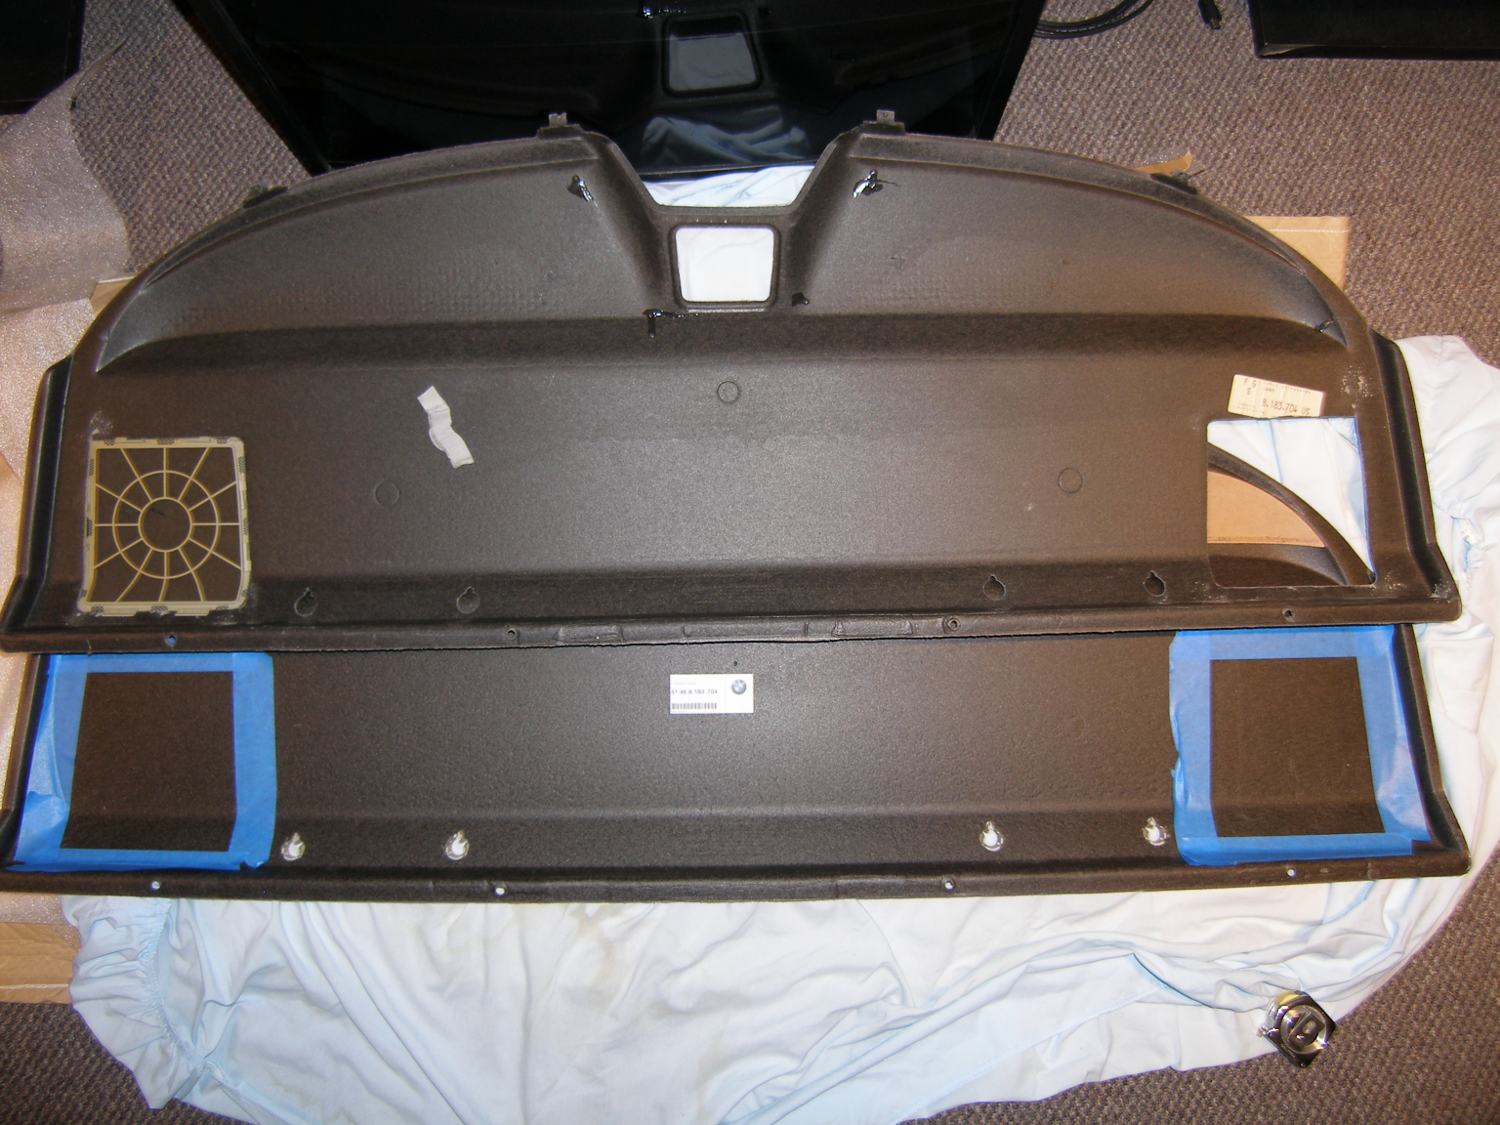 I laid the old shelf over the new and outlined the holes, then used the lines as a guideline for blue tape to help guide my cutting efforts. |
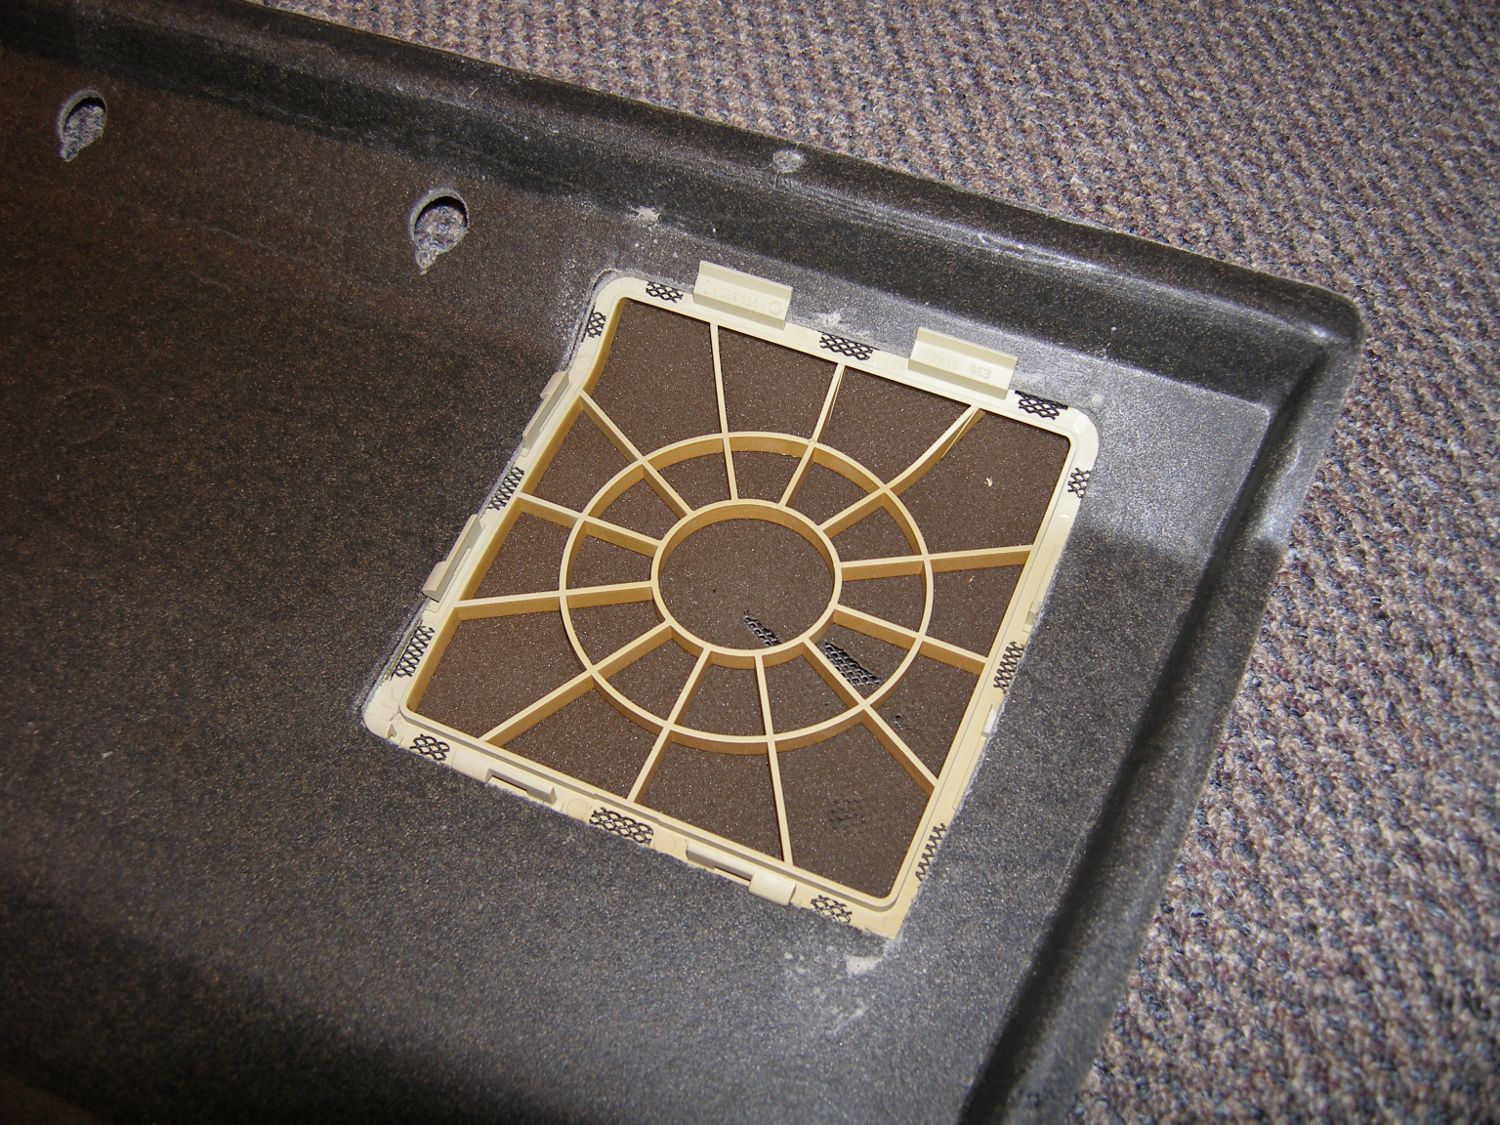 Half of the retaining clips broke off the speaker grills, but this still shows how the grill attaches to the panel behind the scenes. |
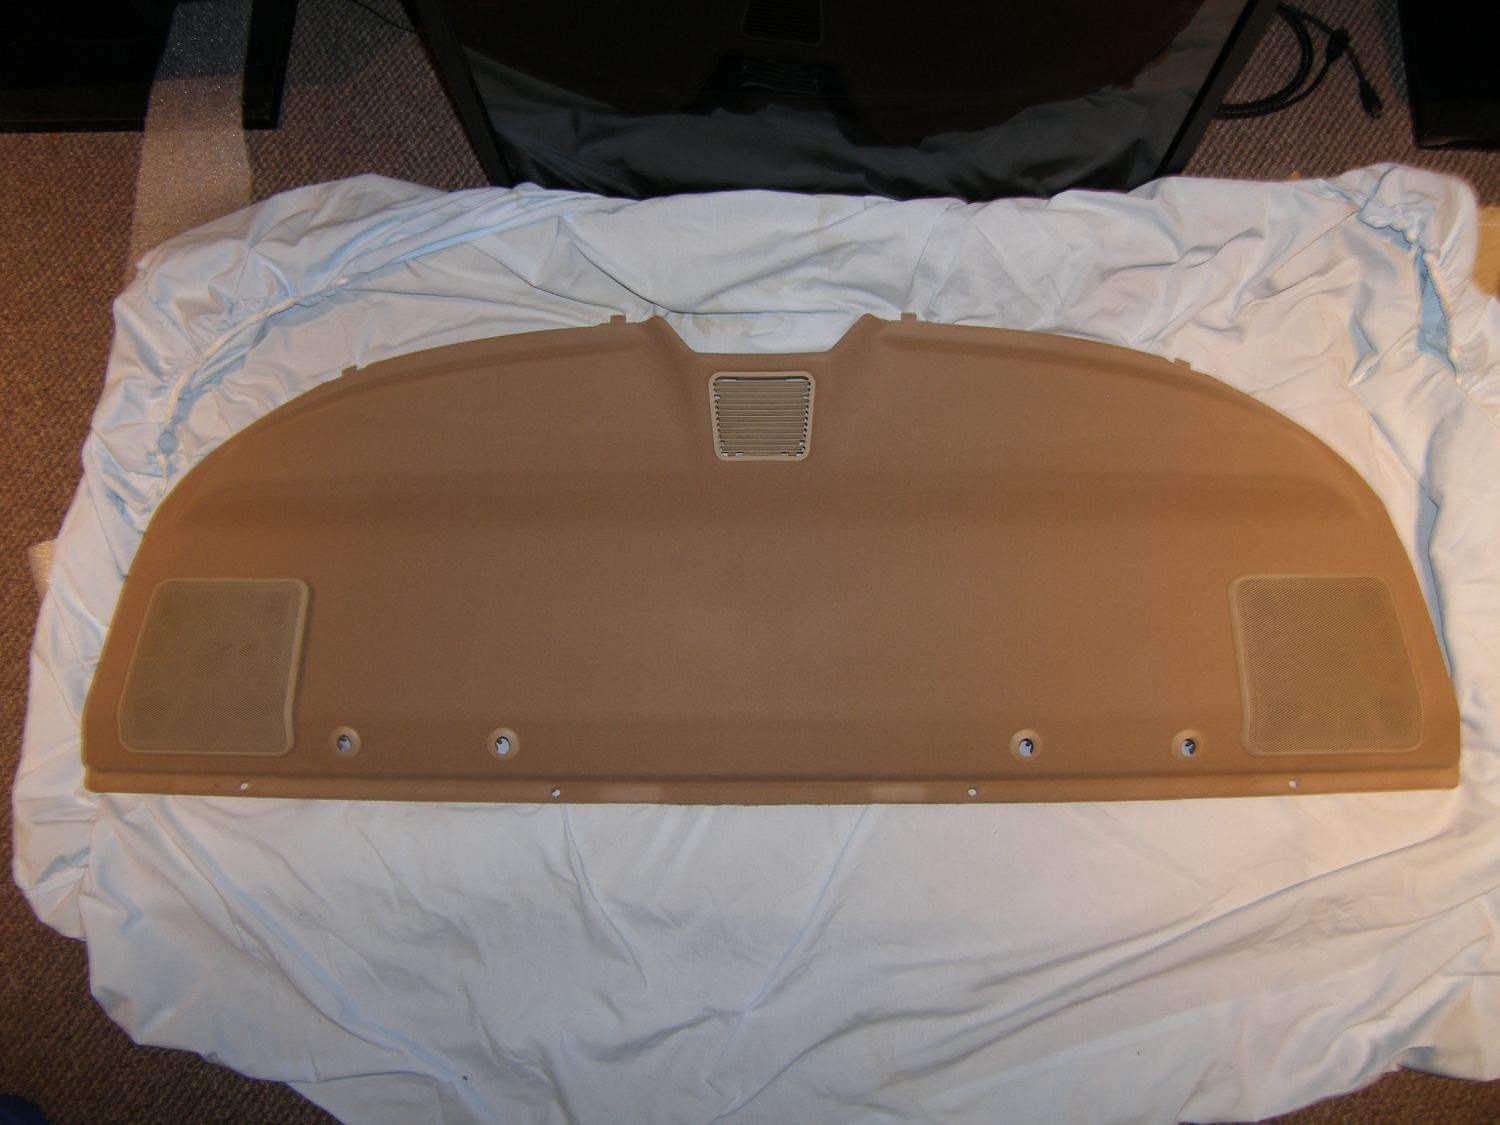 The new parcel shelf with the original faded and broken grills temporarily installed. New grills are on the way. |
Unfortunately, during all the test fitting I managed to break a majority of the retaining clips off the back of the speaker grills. It wasn't really my fault as the plastic is simply too brittle after 14 years of baking in the sun. My parts references show the grills are still available from BMW and the prices are reasonable too so I plan to buy new grills this week to round out the overhaul of the parcel shelf.
Tail Lamp Assembly Repaired
I removed the tail lamp assembly by first disconnecting the wiring connector and then removing the four 10mm nuts with captive washers. A light push on the lamp sockets from the inside popped the tail light assembly free of the vehicle and I took it home for further troubleshooting and repair. Once there, I confirmed that with the bulb and socket in place there was no continuity in the brake bulb circuit.
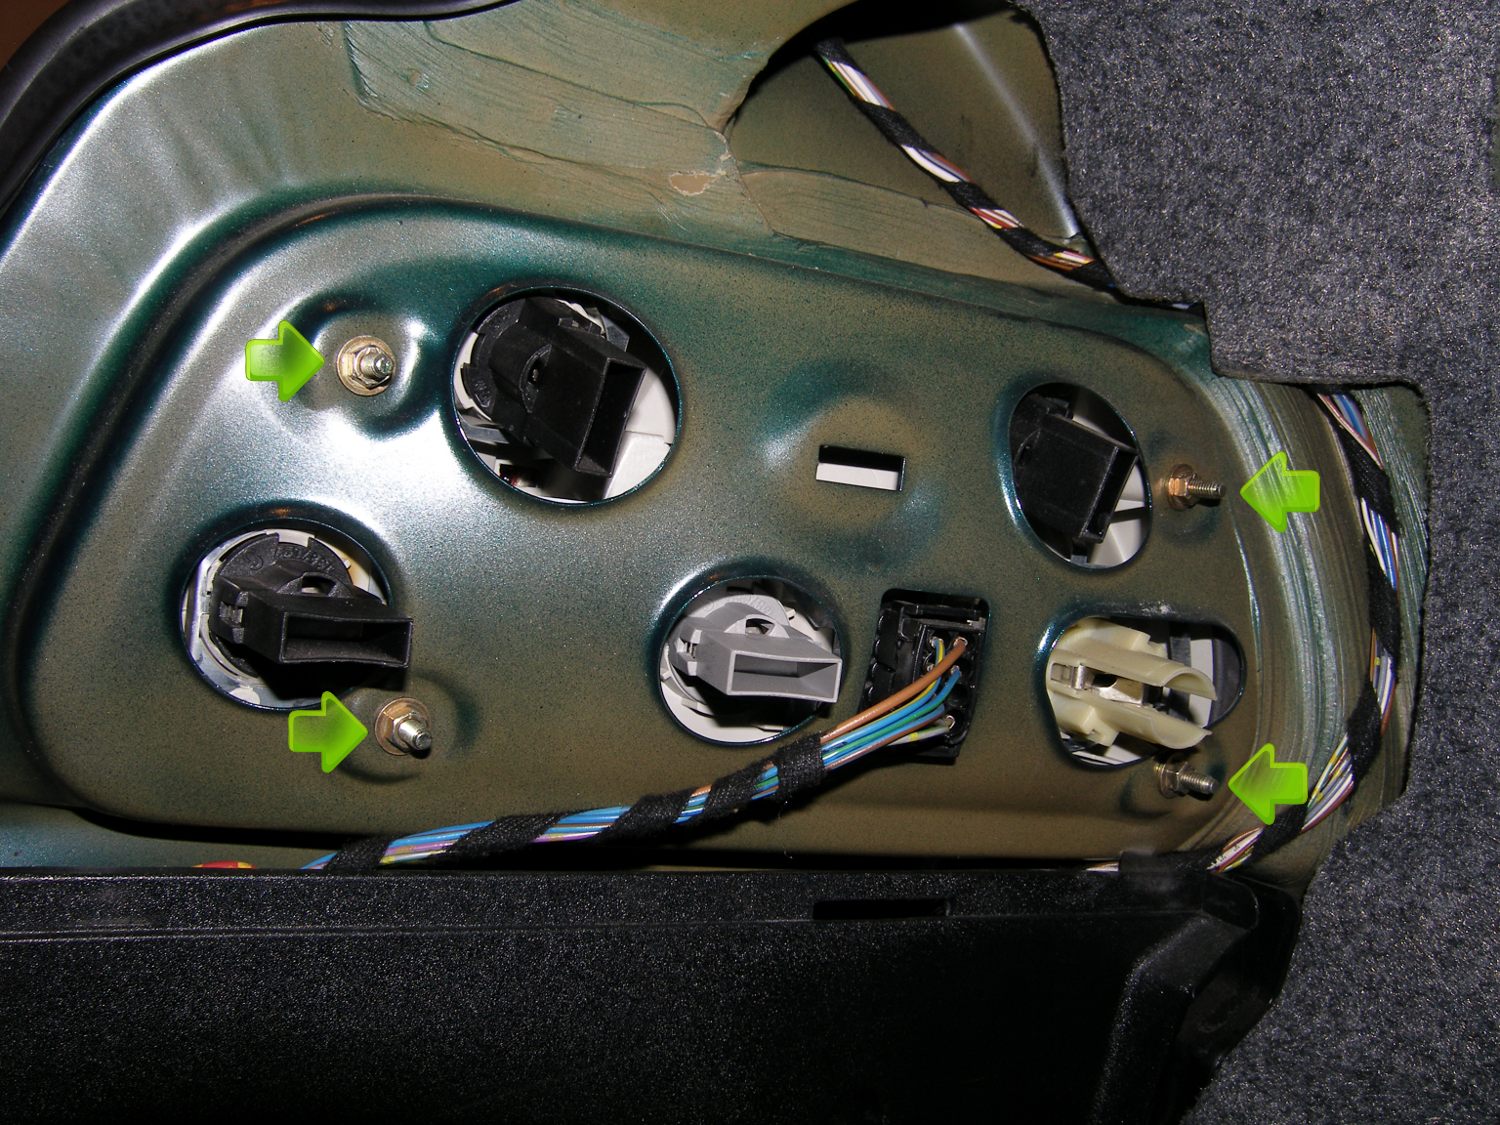 The arrows highlight the fasteners that must be removed to free the tail lamp assembly from the vehicle. |
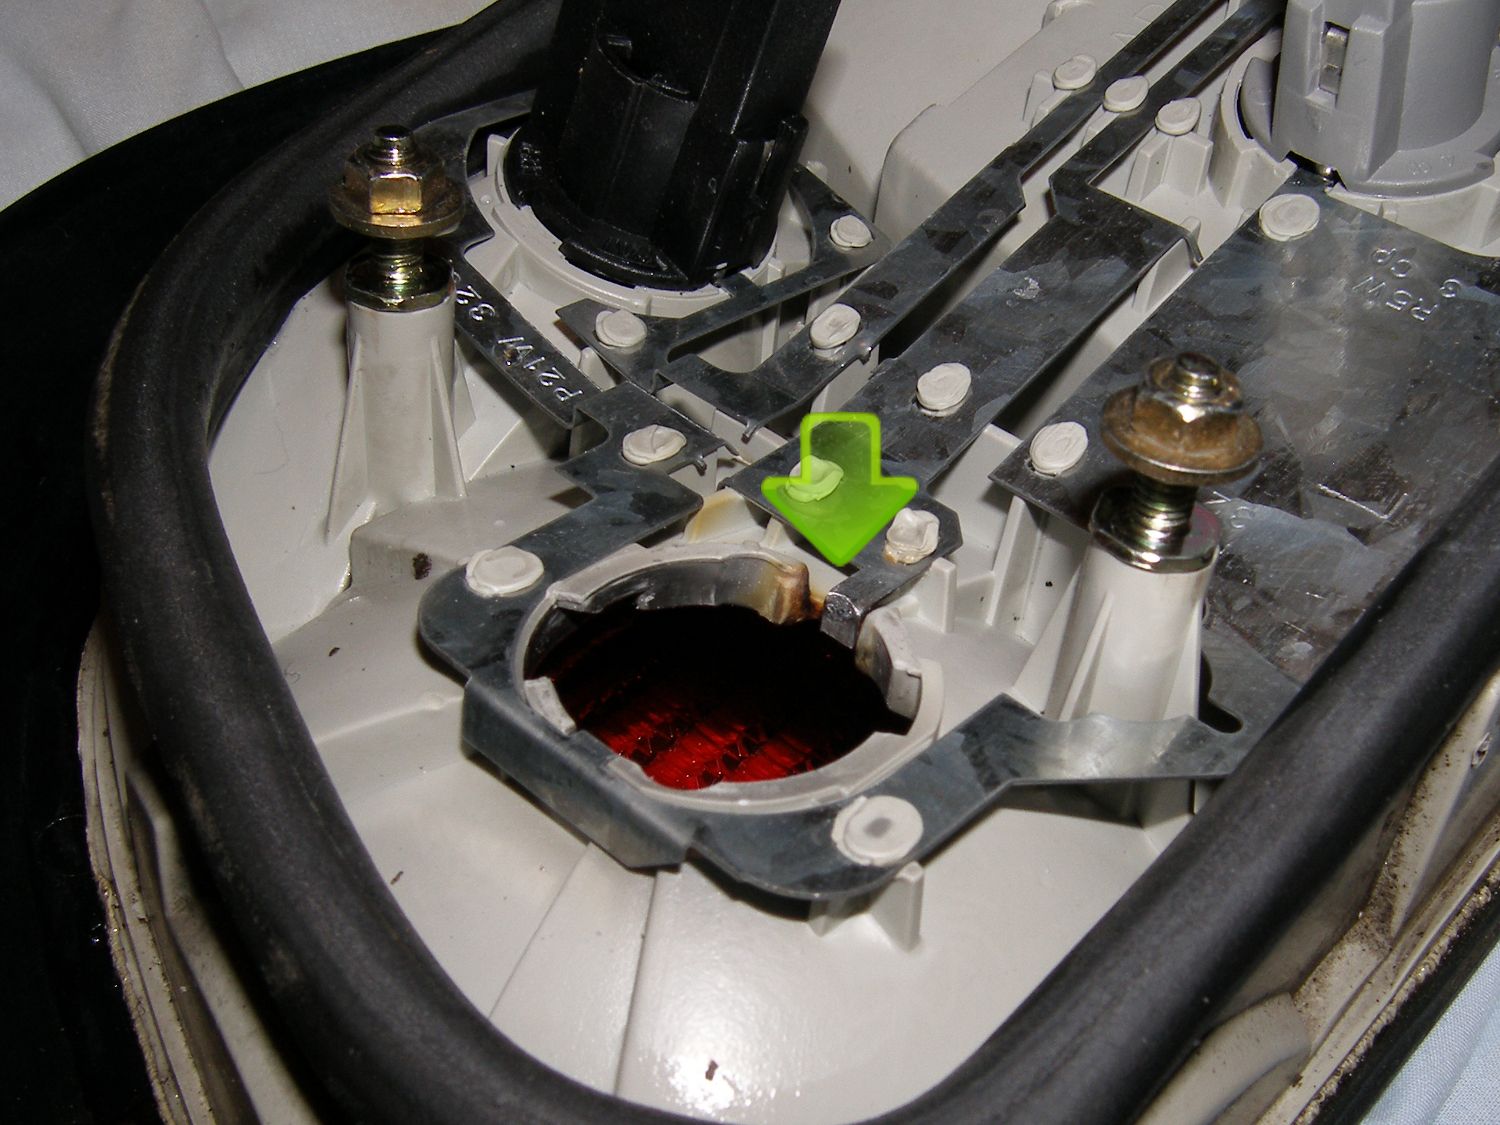 A closeup of the defective contact on the tail lamp assembly. A loose connection caused an arc, which generated heat sufficient to discolor the plastic and destroy the contact. |
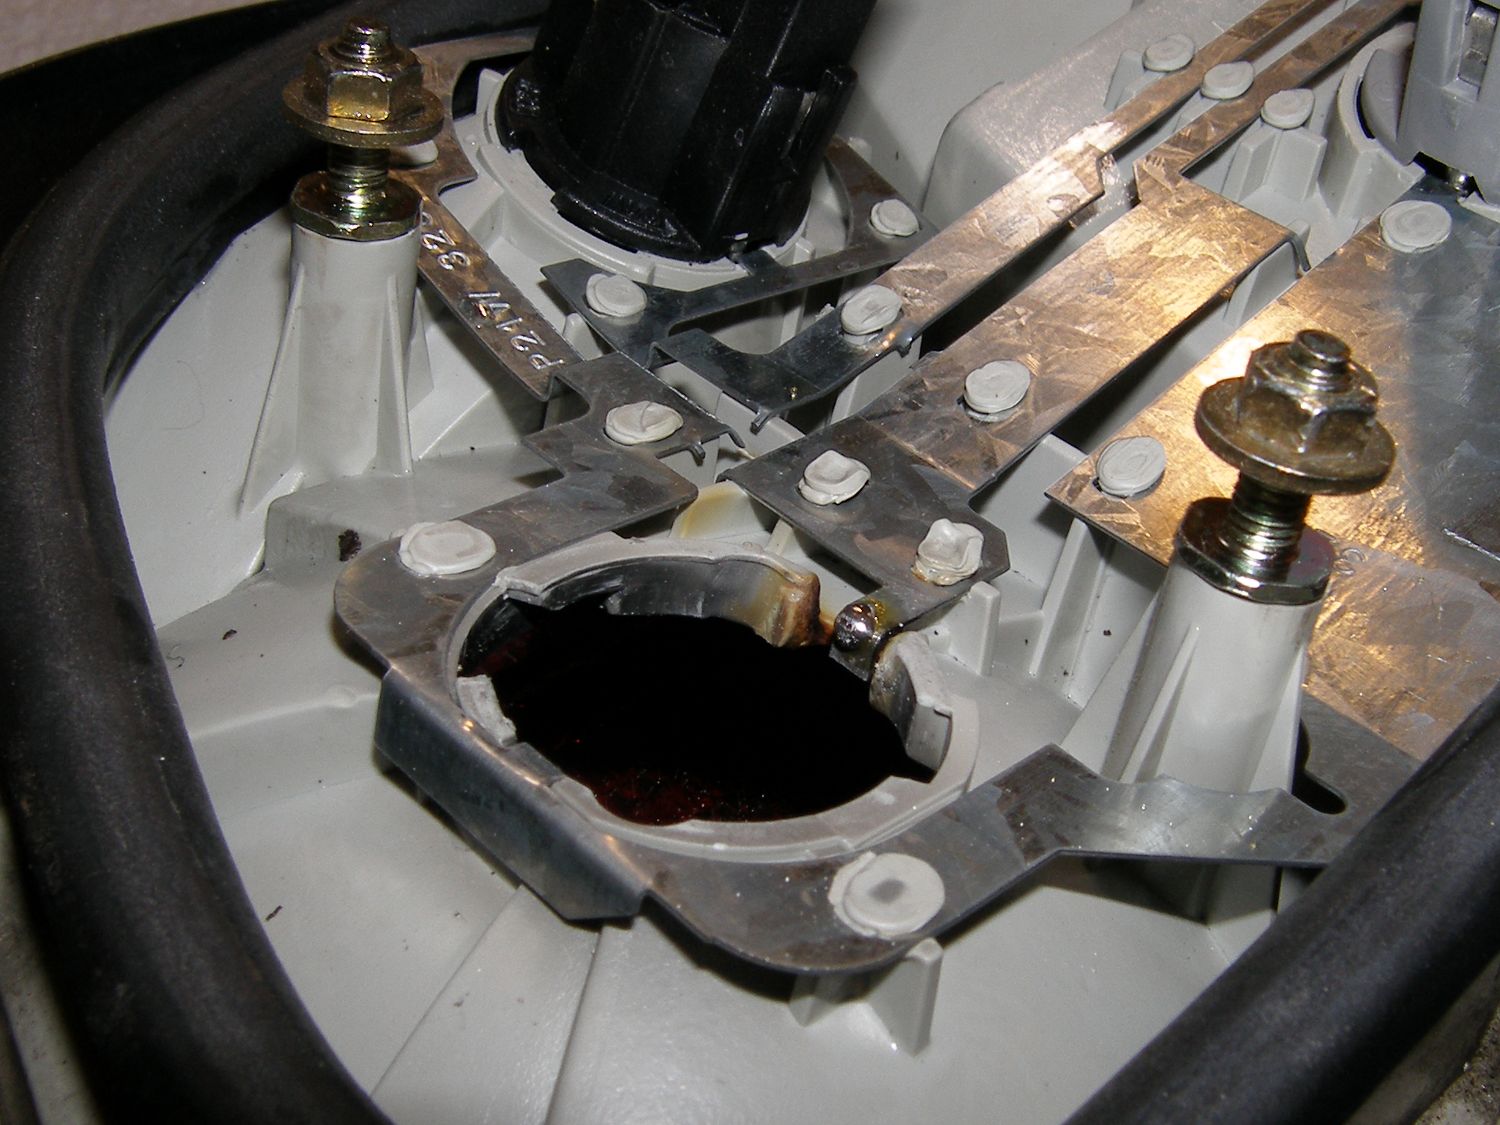 My solution: repair the contact with solder, which should help promote good conductivity and a solid connection for years to come. |
Upon removal of the socket I confirmed the problem: a severely degraded contact and the telltale signs of arcing (see the discolored plastic in the vicinity of the contact). I immediately assumed I could repair this by flowing some solder onto the contact but I knew that in order to promote good adhesion of the solder I had to remove the impurities on the surface of the contact. I accomplished this with a quick and gentle application of a small stone disc chucked in my dremel. Unfortunately, too much of the contact had already been burned away so this resulted in a small hole in the contact. To correct that problem I flowed enough solder at first to simply close the hole and then added just a bit more to create a small dome of solder sufficient to enhance the contact area by closing the gap between the contacts. After things cooled down I inserted the socket and performed another continuity test to find the circuit working as expected.
While I had the dremel handy I used a small polishing wheel to clean up the socket contacts but it's clear that one of the contacts has been heat damaged so I plan to order a new socket this week and hopefully prevent any additional problems.
Mileage: 212050