


Thursday, September 15, 2011
Interior Overhaul - Day 5
This morning I spent more time researching the sunroof cassette installation procedures. I printed out all of the relevant documentation from the TIS but found that it although it clarifies several operations it does not contain all the details I'll need to integrate what I have, at least without pulling and analyzing the workings of the old cassette. So that's the plan.
In the interest of making some progress in the forward direction I went to the garage this afternoon with the purpose of installing the new parcel shelf and generally reassembling the rear of the interior. As I attempted to install the shelf by inserting the passenger side first to work around the fact that the passenger side rear panel was still installed, I could not get the shelf to align properly. The driver's side kept binding on something, and in the process of pushing and tugging I heard a small ripping sound. I glanced over and found a sharp edge on the rear quarter window locking assembly and noticed that it had created a small but noticeable rip in the fabric on the edge of the shelf. After I was done belting out a good tune of explicatives and my blood pressure returned to normal, some test fitting of the C pillar trim revealed that the rip would be completely hidden by the panel. Good news in the end, but so much for shortcuts.
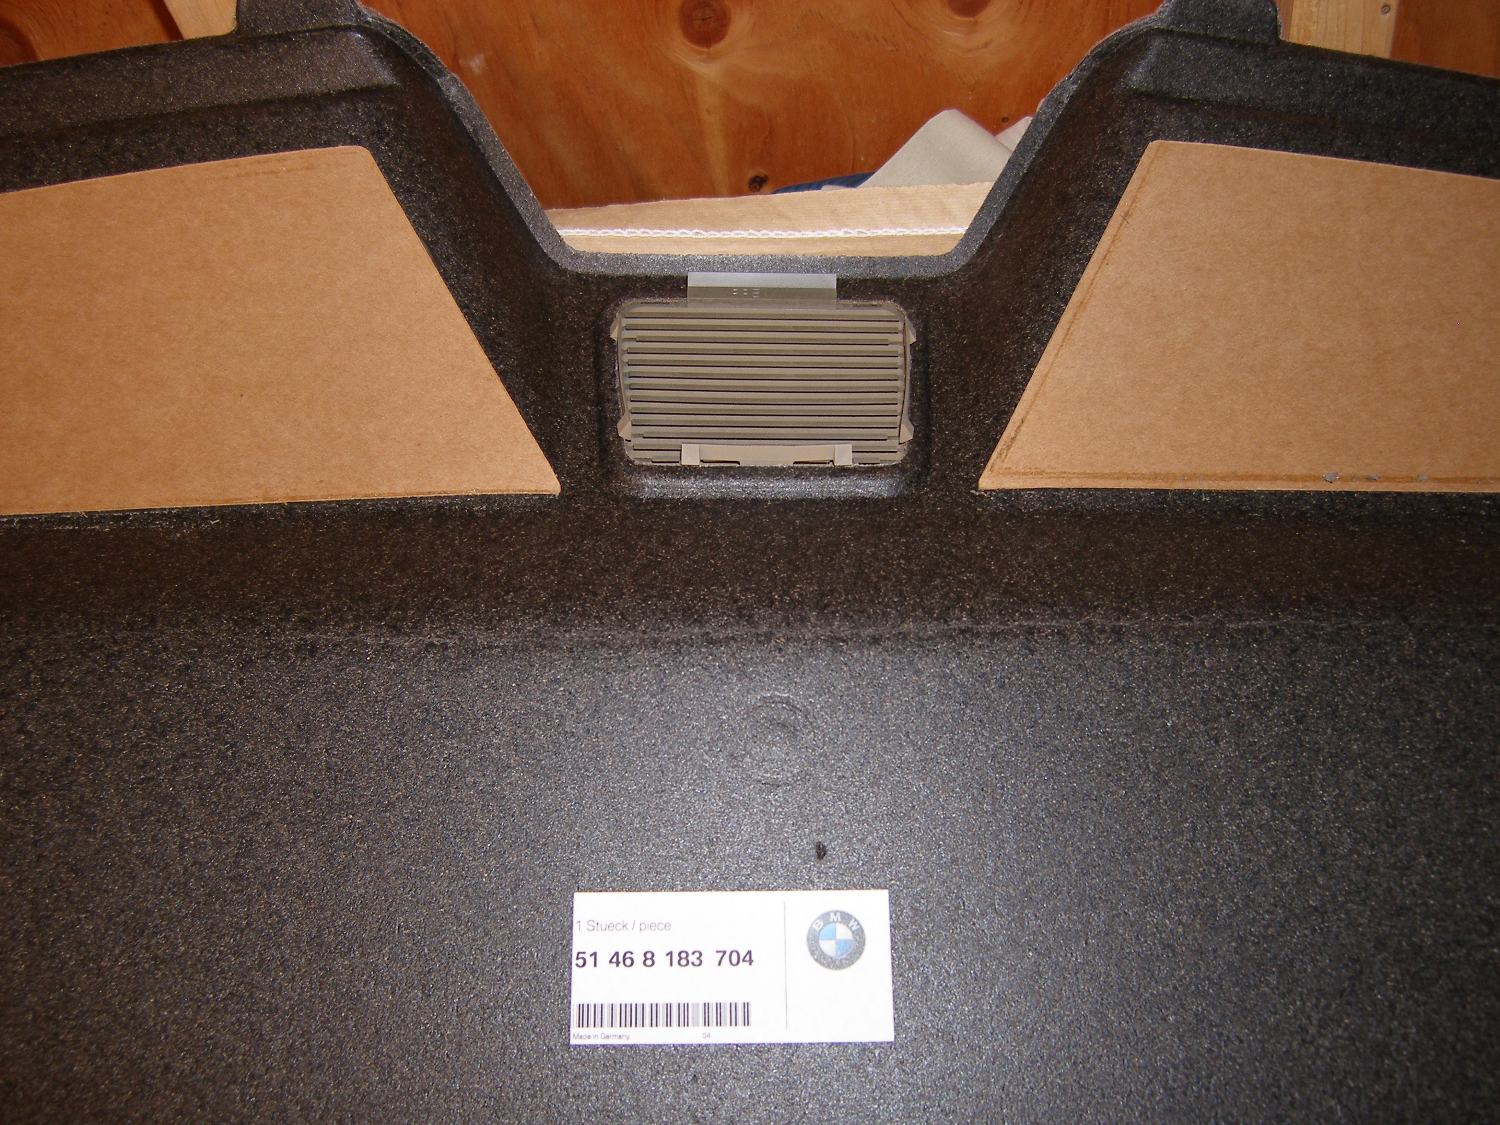 If you've ever wondered how to remove the third brake light grille, this picture should help you understand how it's fastened to the shelf. |
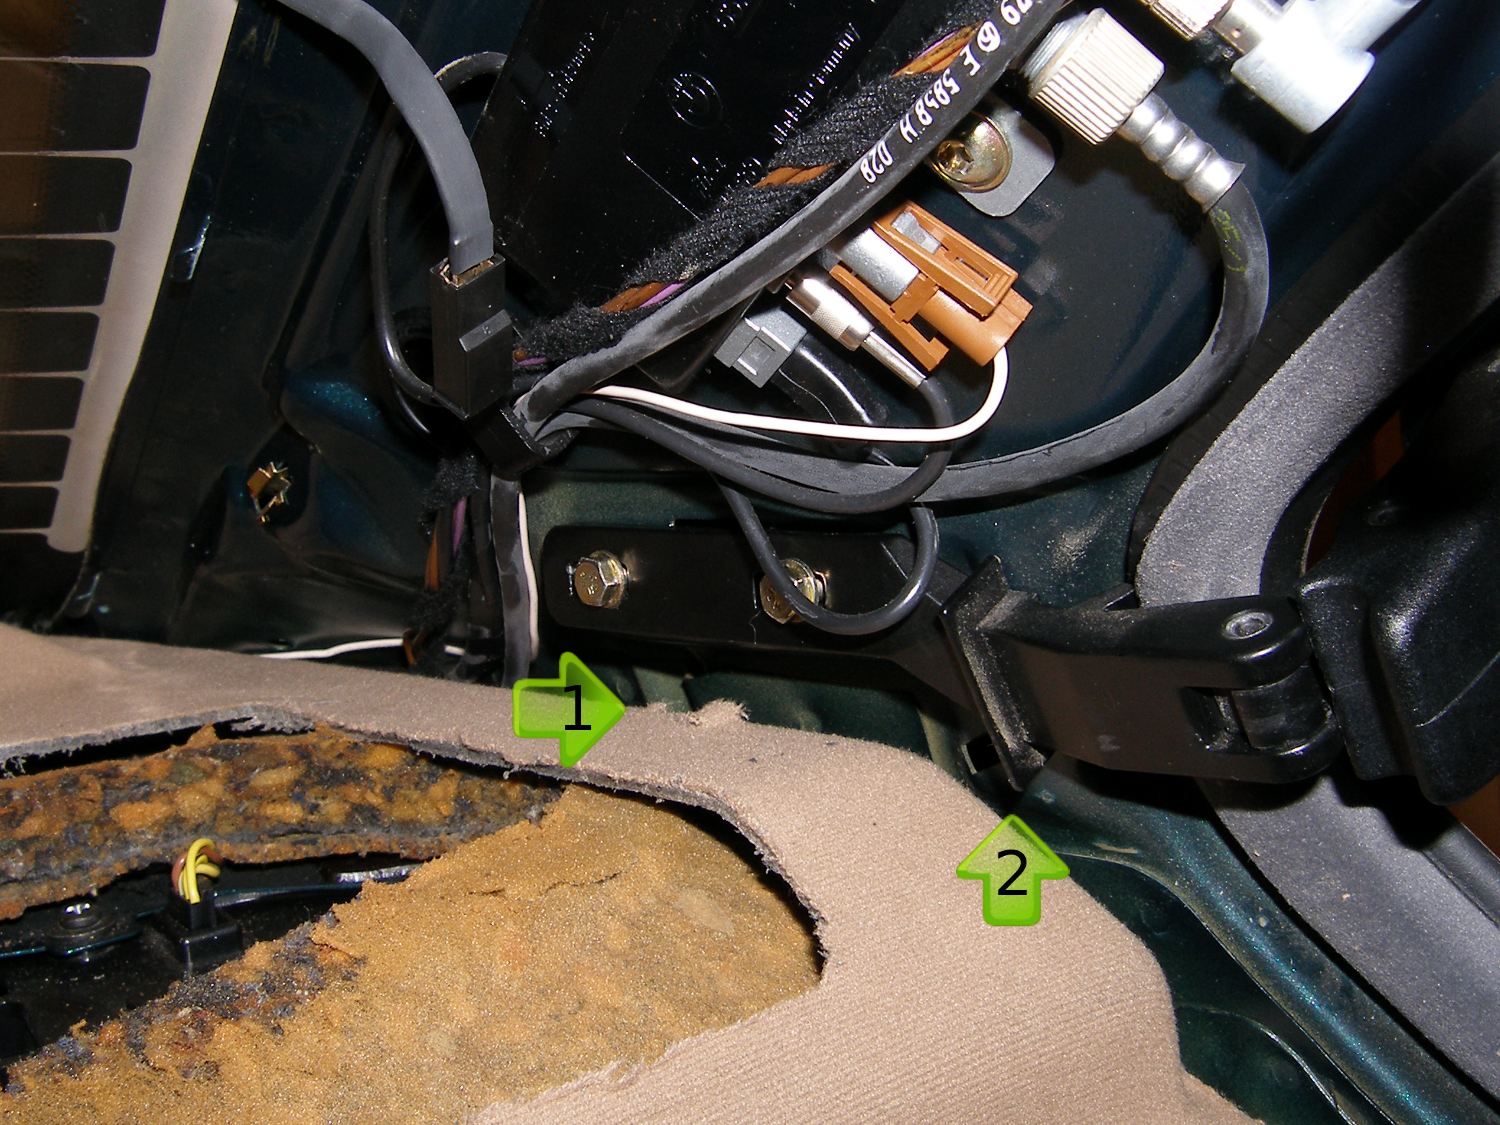 A small rip (Arrow 1) caused by a sharp edge (Arrow 2) on the rear quarter window lock. There isn't much clearance here. |
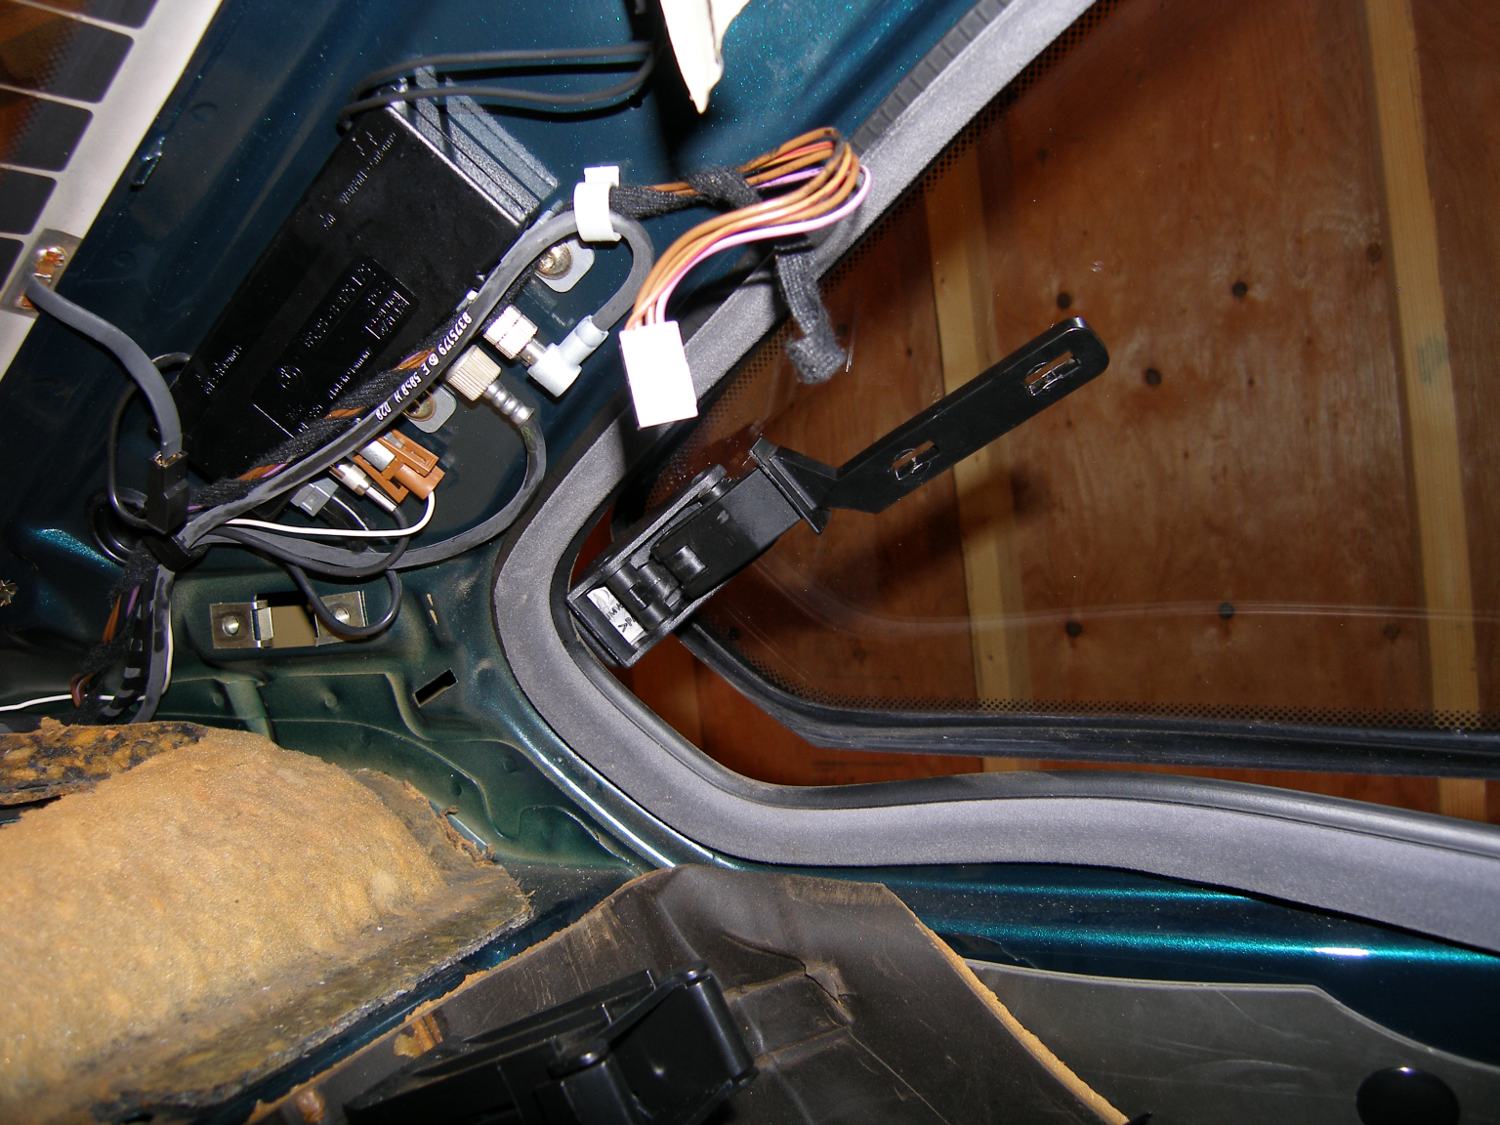 To prevent further damage to the shelf I removed the two retaining screws and rotated the lock on the pivot point in the window. Worked for me. |
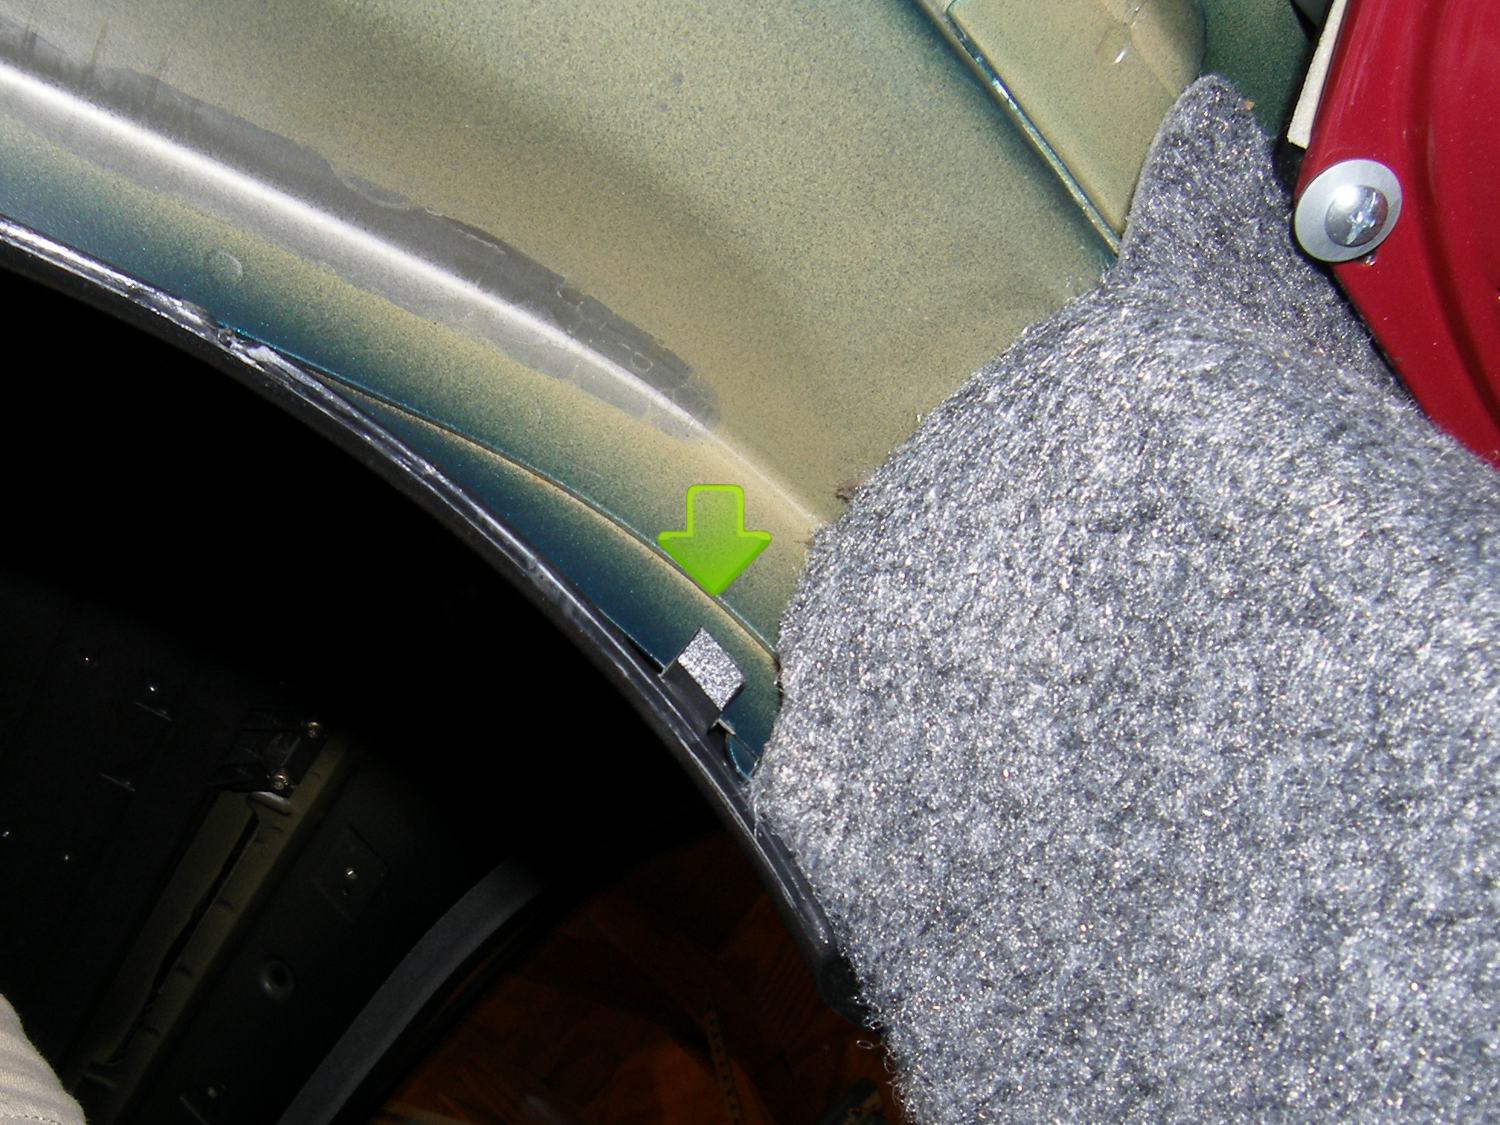 Just a closeup of the retaining clip molded into the parcel shelf trim piece you'd probably miss unless you were looking for it. That must grab the body first. |
 Nice new parcel shelf installed with a new speaker grille. Looks a hell of a lot better than the original. Only one problem. Now that headrest leather has to be replaced. :) |
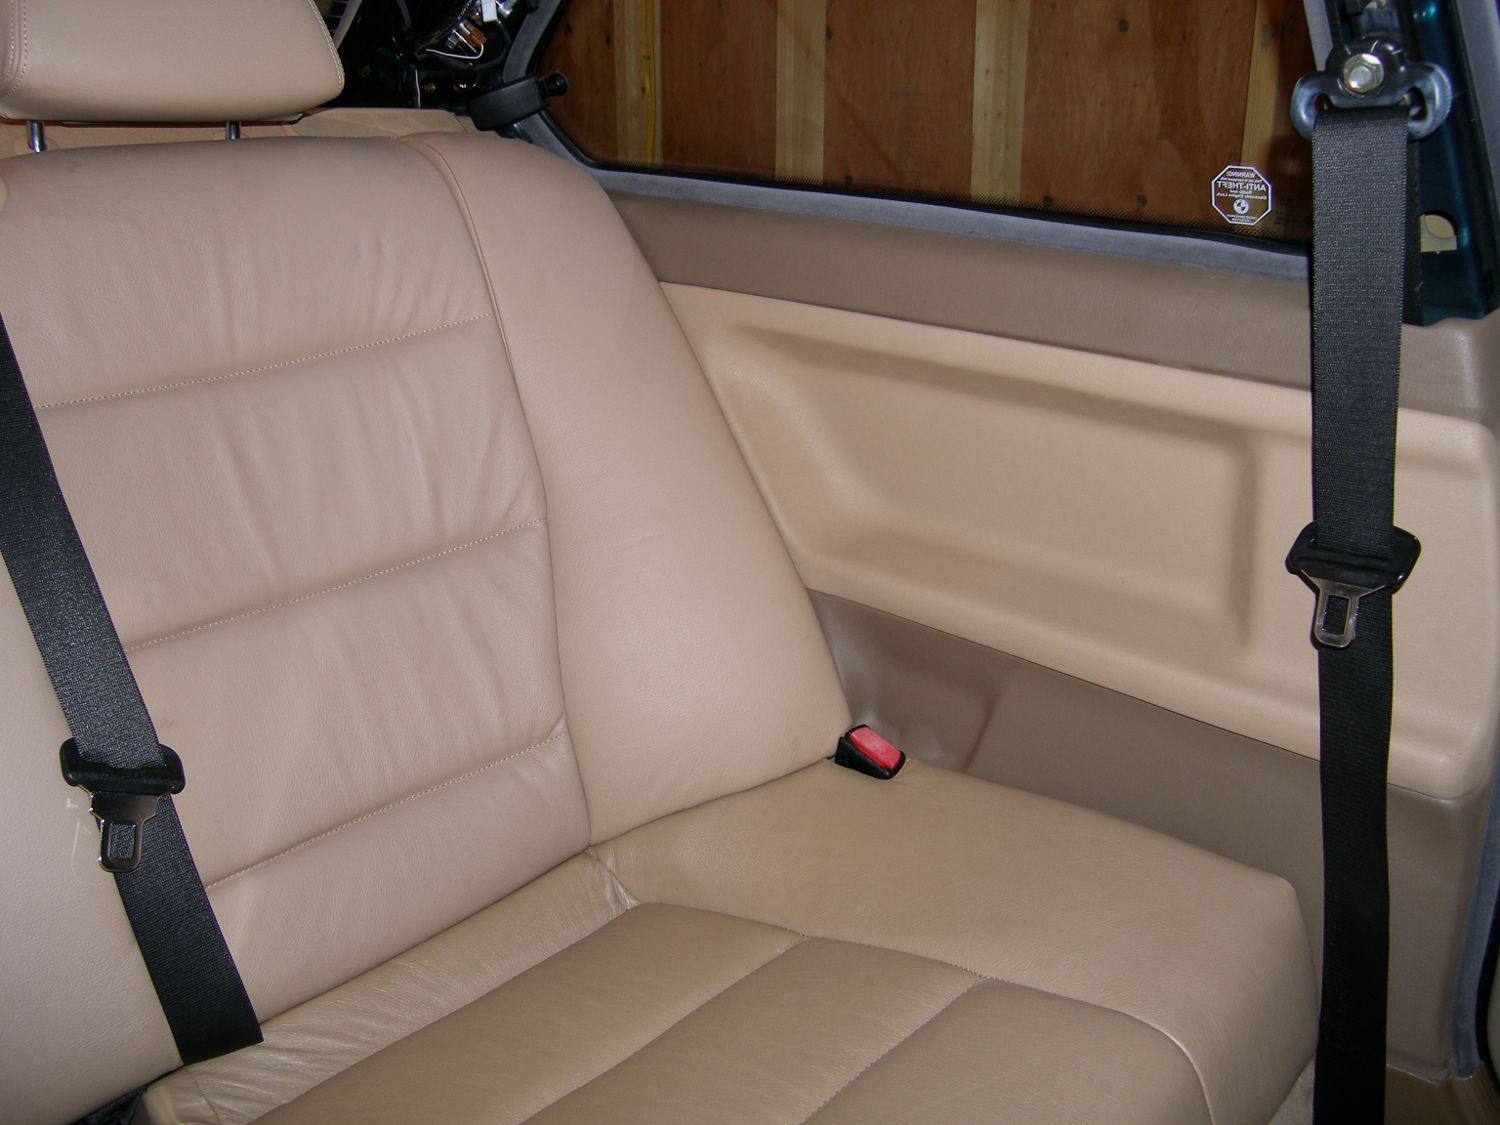 Just a glamour shot of the repaired, cleaned, and conditioned side panel, side bolster and rear seat. All in all, I think it looks pretty good considering its age. |
I decided to scrap my original plan of attack and remove the passenger rear side panel because this would allow me to install the shelf by pushing it directly aft. In what has become an almost comically predictable turn of events, the upper support of the panel separated as I removed it so that sent me off on another hour long repair project. Fortunately the inset panel in this case was still nicely attached to the base so I only needed a single tube of epoxy to reattach the support. While that was curing I successfully installed the shelf. The challenge this time was simultaneously mating the four rear alignment tabs with the slots in the body. The key is putting one hand between the clips on the right and the other between the clips on the left, pushing down sufficiently with both hands and then pushing the part home. The first couple of attempts resulted in one or two of the clips being above the slots, but I eventually got the job done.
There are two tricks to installing the headrests properly. First is to make sure that the retaining clips are installed with the flat or straight portion of the clip facing forward. It is possible to install them with the round portion facing forward and they'll even make a reassuring "click" sound as they're sent home, but the reality is the round part of the clip won't properly engage the slot milled into the sockets welded into the car or the posts themselves. If that happens the posts will just pull out. The second trick is to pull the headrest posts from the padded headrest component (bet you didn't realize you could do that, huh?) and insert them individually into the sockets in the body. This will make it far easier to determine that each post is fully seated in its socket and properly retained. If the posts aren't fully seated the posts will come out even if the retaining clips are installed correctly because the slot milled into the post will be on the wrong side of the retaining clip. The kicker is if you experience this installation error the posts will come out easily enough but now the retaining clips will prevent them from being reinstalled. Don't ask how I know this.
Next up was the black plastic trim piece that helps hold down the front edge of the parcel shelf. The trick to installing the trim piece is to first engage the retaining clips molded into the part before allowing the top of the part to come to rest on top of the front edge of the parcel shelf. The reason this is a "trick" is because it wasn't obvious to me that the clips even existed (the part must be flipped over to see them) and because it's entirely possible (though obviously incorrect) to install the part without the clips engaged.
To finish up, I applied some leather cleaner and conditioner to the side panels, bolsters and rear seat base before reinstalling everything. With the seat backs in their upright position I applied some more leather conditioner to them and the end result is presentable -- cleaner and slightly softer leather throughout. The headrests are completely baked, however, and beyond repair. I will be replacing them at some point in the future.
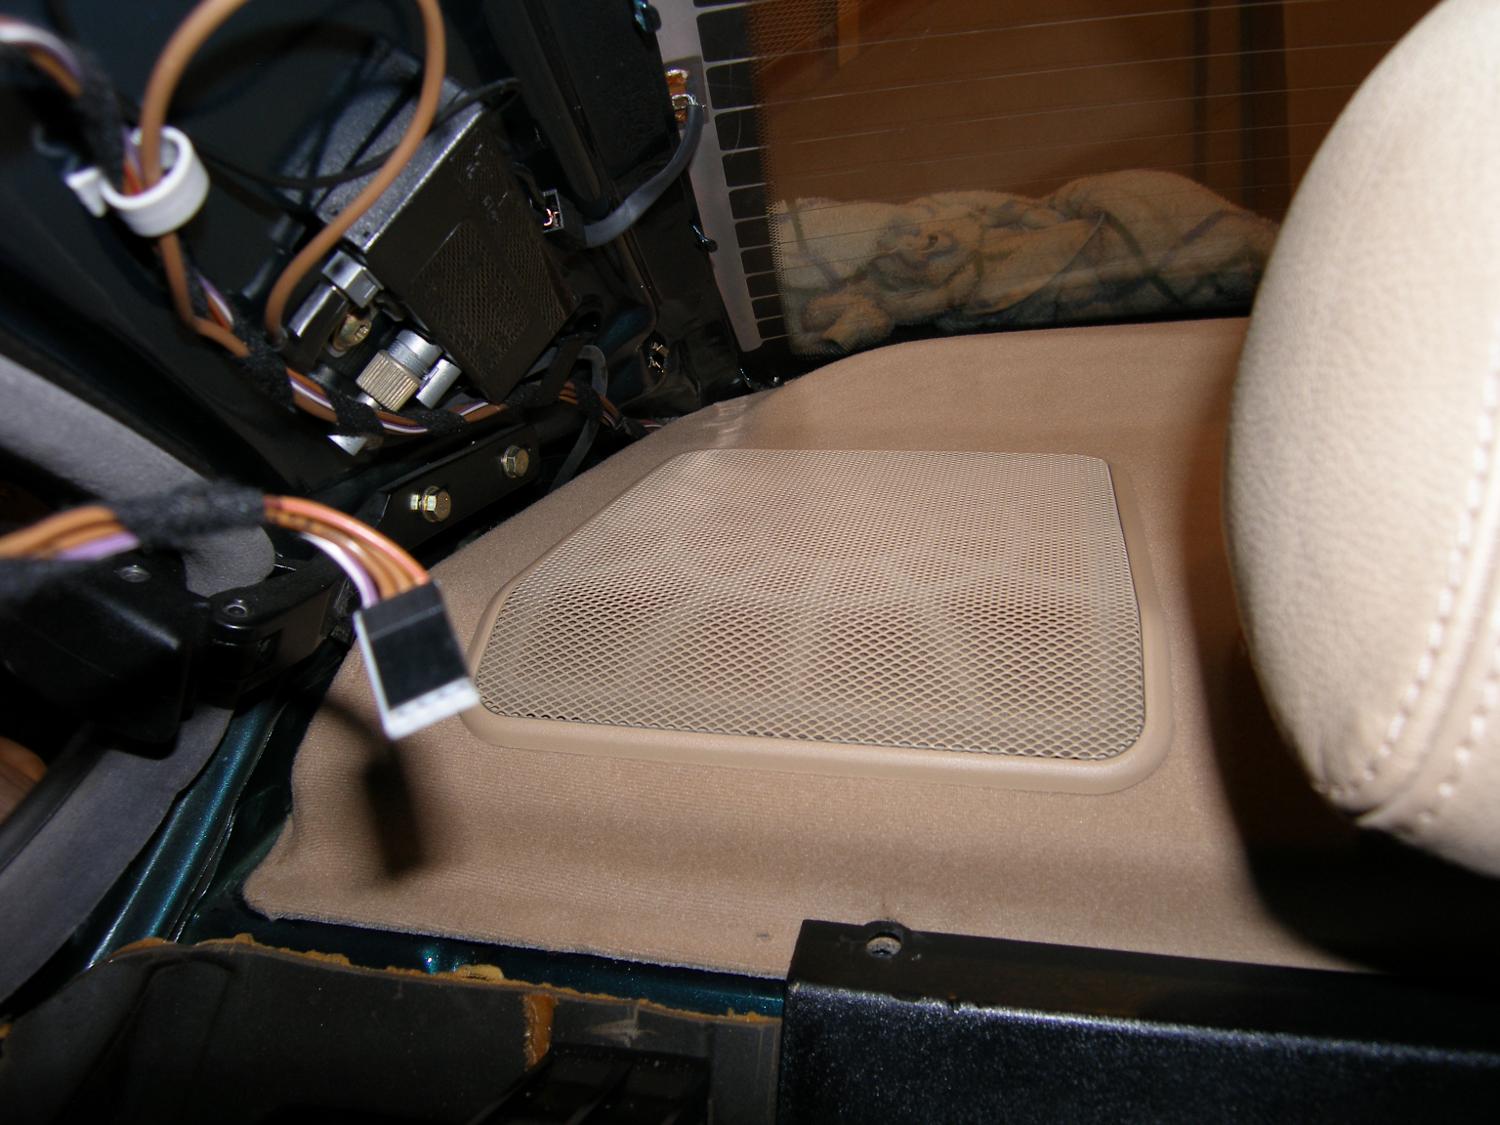
Words to the wise: before folding either rear seat back forward without the seat bottom cushion installed, be sure to put a pillow or some other cushion (I use an old comforter) over the seat base or two things will happen: 1) a really persistent and sticky "gook" will contaminate the leather, and 2) the metal electrical box (an accelerometer used to fire the airbags, if I recall correctly) will leave a lasting impression on the leather. I found this out last year and the seat is only now returning to normal.
The most challenging part of the overhaul, replacement of the sunroof cassette, is up next.
Mileage: 212050