


Friday, September 16, 2011
Interior Overhaul - Removed Sunroof Cassette
Today I set about to remove the sunroof cassette from the car so I headed over to the dealer for a briefing from my technician. I found him working on an old Z3 and waited in line for access to his vast repository of knowledge. I brought my iPad loaded with pictures as well as the repair kit to serve as visual aids and got to business.
The most important piece of advice he gave me was to actuate the sunroof manually with the emergency allen key when I was preparing the unit for installation because, as he pointed out, the motor has more than enough power to wreck the cassette if something binds. I had heard this before so this wasn't exactly news, but it was helpful to hear him confirm my suspicions.
He also encouraged me to scribe the locations of the metal panel adjustment "wedges" before loosening the nuts on the rear of the panel. When I asked him about the BMW instructions to use Loctite 270 (otherwise known as "red" Loctite) on the front adjustment bolts he quickly dismissed that and told me that he has never applied Loctite to any such fastener and they have never come apart.
And while looking at one of the pictures of the seal that covers the rear half of the cassette I asked how to go about ensuring that the seal mates flat with the underside of the roof. He recommended using his tool of choice...a pick. Now why didn't I think of that?
When I asked him how long it would take him to install the new cassette and reinstall / align the metal panel just in case I chickened out, he said somewhere around two hours, assuming I installed the headliner, etc. All I would have to do is bring him both cassettes. He was quick to point out that the new cassette would fit in the trunk if I folded down the seats, which is not exactly something you'd find in the TIS. What can I say...my technician is a wealth of knowledge. I need to find a way to clone him before he retires.
On the way out, I decided to pick up a new brake light socket from the parts guys before heading over to the garage to remove the cassette as follows:
- I started with the sunroof closed (what BMW calls the "neutral" or "zero" position).
- I then tapped the sunroof open button for an instant...just enough to put the rear of the metal panel about 3 mm below its normal setting relative to the top of the roof.
- I carefully retracted the fabric panel back into the cassette, exposing the fasteners holding the metal panel to the cassette. BMW puts warnings all over its documentation that this panel should be moved gently and NOT forced in any way.
- At this point I planned to scribe the cross bar with the current locations of the alignment wedges, but I found they were already marked. I guess my technician was in here at some point that I can't recall. This is not an essential step because ultimately the wedges will be adjusted as necessary, but I can see how having them marked will get the panel in the ballpark.
- I then removed the three nuts at the rear and two bolts at the front of the metal panel using a 17mm hex socket and a T25 screwdriver, respectively. The right front side disconnected from the alignment pin without any effort, but the left side remained attached until I coaxed it apart. BMW says to push the metal panel up at the rear sufficient to disengage the pins at the front but I didn't see how doing that would help. A side-to-side motion did, however. I then set the panel aside in a safe location.
- With the metal panel removed, I moved the fabric panel back into the normal position (fully closed) and actuated the sunroof motor to place the unit into the vent position before moving it back into the neutral (fully closed) position in preparation for removal. BMW documentation makes a point to approach the "zero" position with some longer travel of the sunroof motor, no doubt to eliminate any hysteresis in the motor or limit switches.
- BMW instructions indicate to remove the electrical connectors, drain tubes, and one center bolt from the sunroof motor, followed by the fasteners at the front of the cassette, then the sides, and ultimately the four bolts at the rear corners, so that's what I did. To prevent the drain tubes from falling down into the body (unlikely, but conceivable) I wrapped the ends with some blue painter's tape and affixed the tail of the tape to the nearby body structure. Probably a bit of paranoia on my part but better safe than sorry.
- At this point, I got into the back seat and decided to use a little "body english" to help remove the cassette. I slouched down in the rear seat, kept my right foot on the floor for stability while I stretched my left foot up between the front seats to apply pressure to the front of the cassette. Then I spread my hands apart to straddle both rear corners of the cassette before disengaging the rear metal retaining clips. A small tug rearward and the cassette slid out of the slot in the front of the body. I lowered the cassette and balanced it on the front seat headrests while I extricated myself from the vehicle and easily maneuvered the unit out the passenger door. With the metal panel removed I found the cassette to be surprisingly light...perhaps only 15 pounds.
Total time was about two hours. I spent a good part of that time reading (and re-reading) the BMW documentation on this process and taking pictures. I know I could do it a lot faster next time (and by all that is holy, there better NOT be a next time).
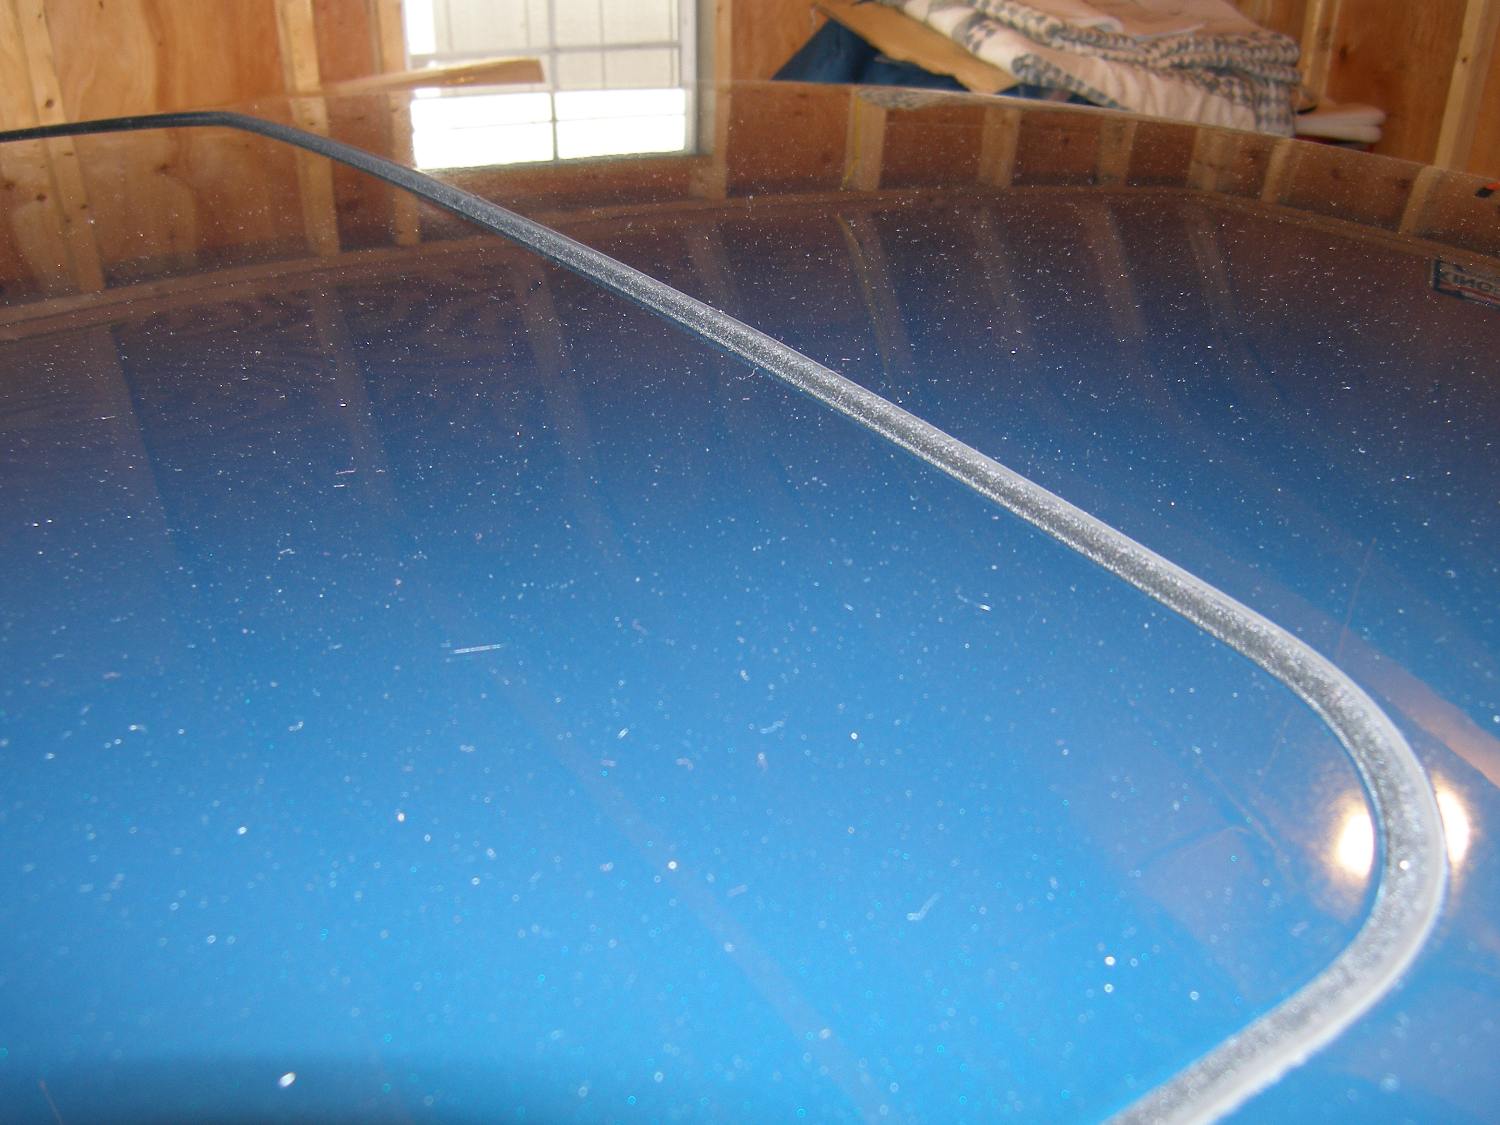 The sunroof panel position required to free the fabric panel so it can be manually retracted. |
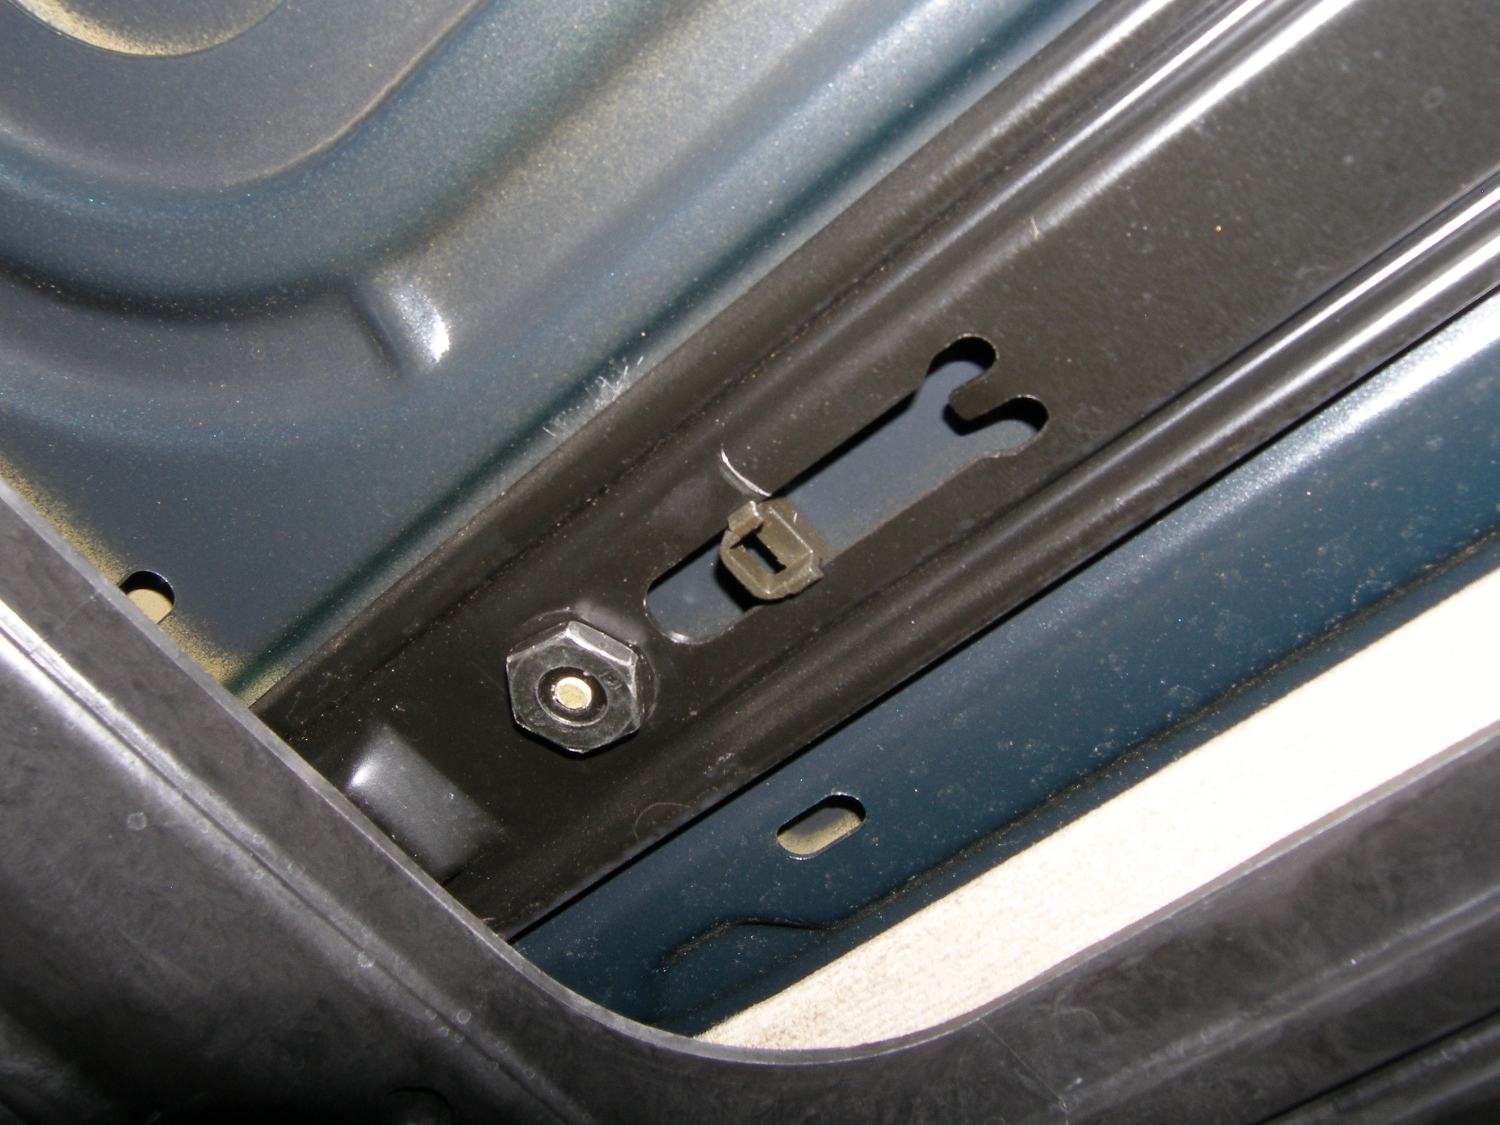 The passenger side rear retaining bolt and alignment wedge on the underside of the metal panel. This is only visible after the fabric panel has been retracted. |
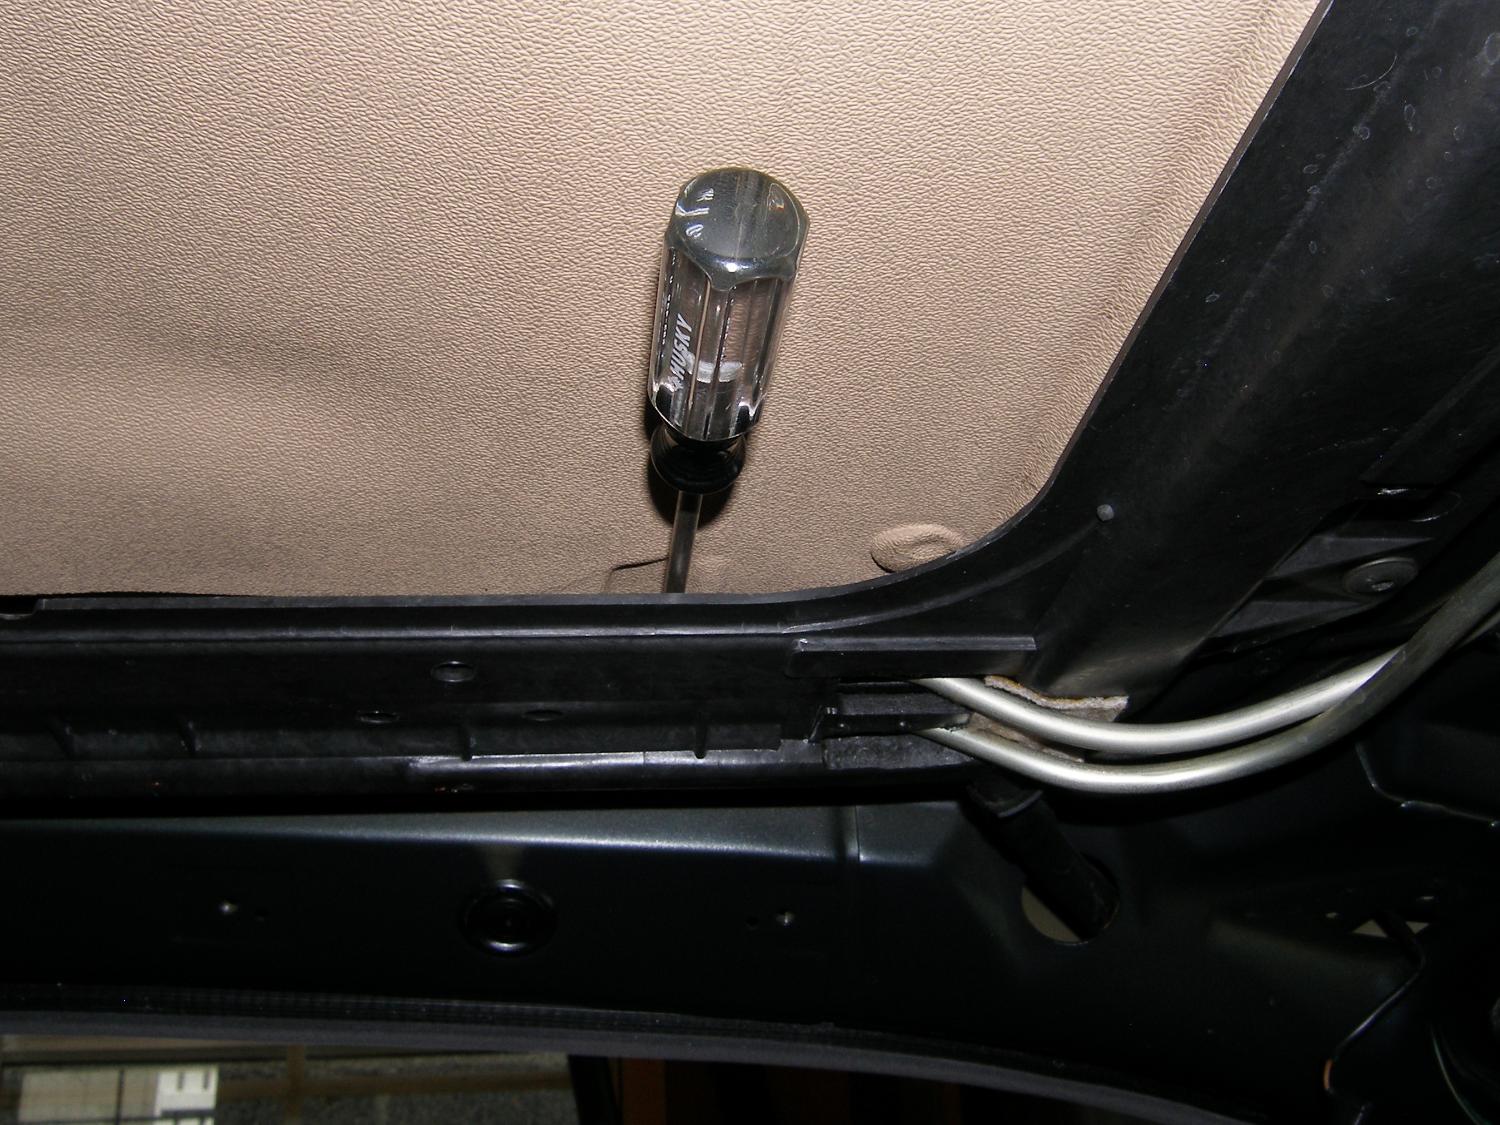 The front fasteners (one on each side) that hold the metal panel to the sunroof cassette are hard to photograph, but the torx screwdriver shows their location. |
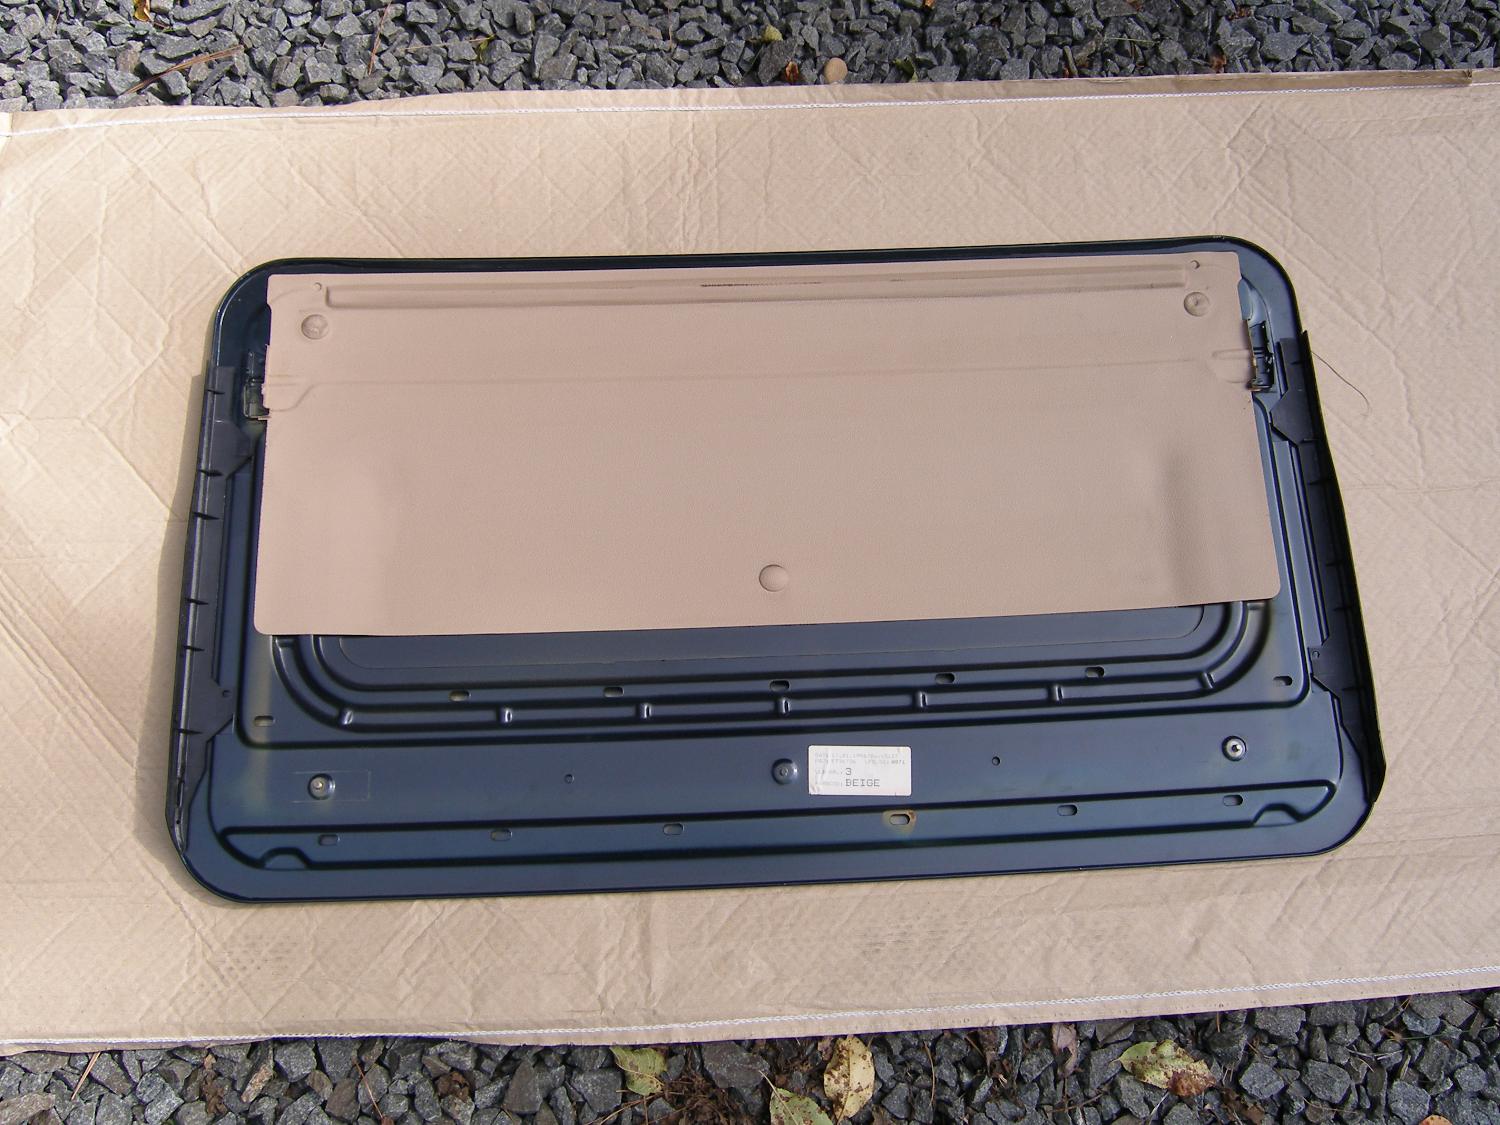 The underside of the fabric panel once removed from the vehicle. The beige overlay is visible when the fabric panel partially retracts in tilt mode. |
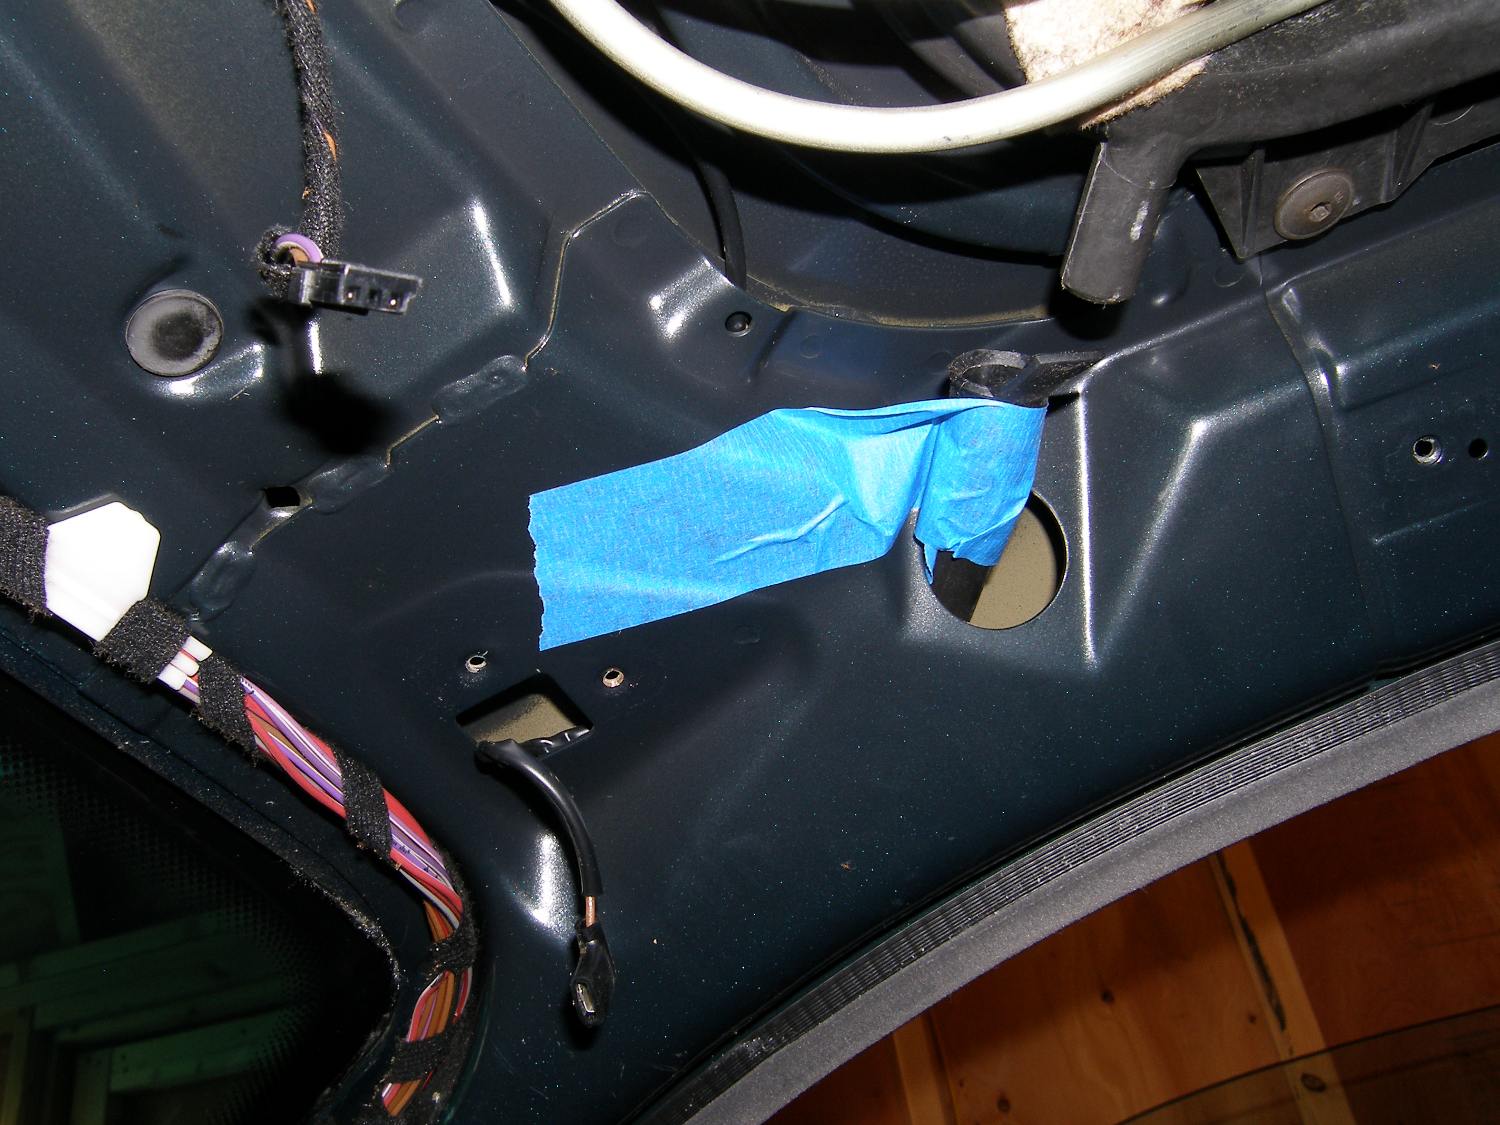 I decided that I wanted to secure the drain tubes lest they fall down into the body. In retrospect, this was more for peace of mind than practical purpose. |
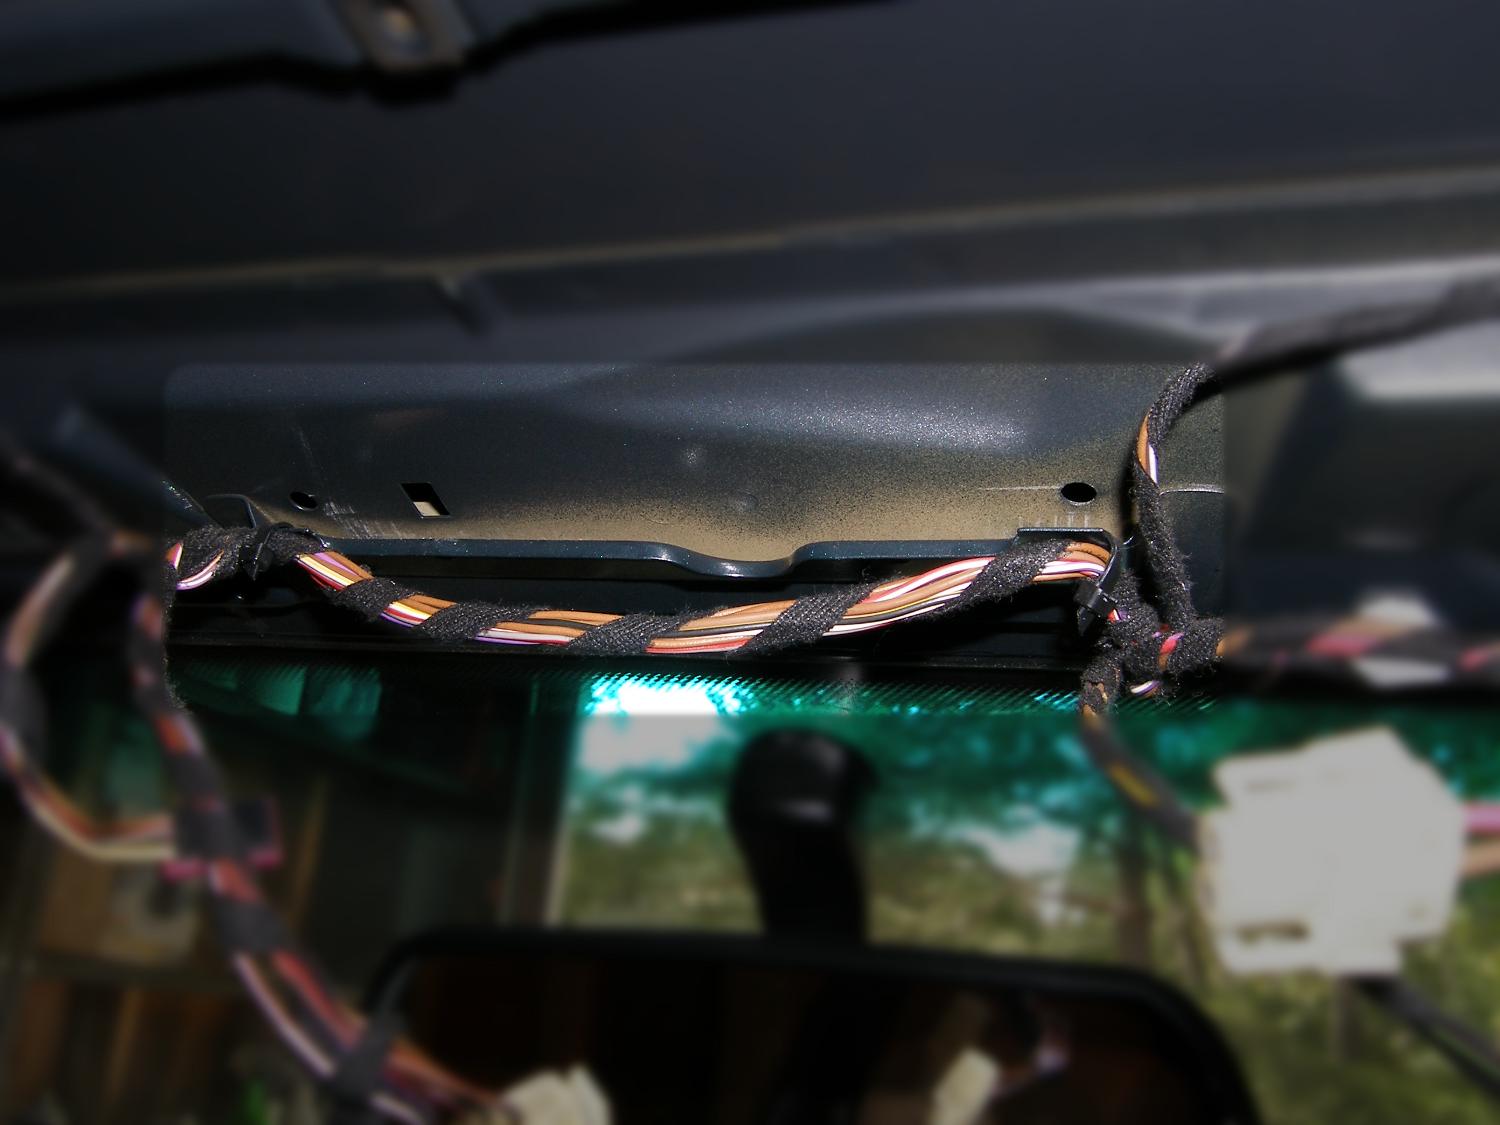 A closeup of the slot into which the front of the sunroof cassette is inserted. This holds the front of the cassette before the fasteners are installed. |
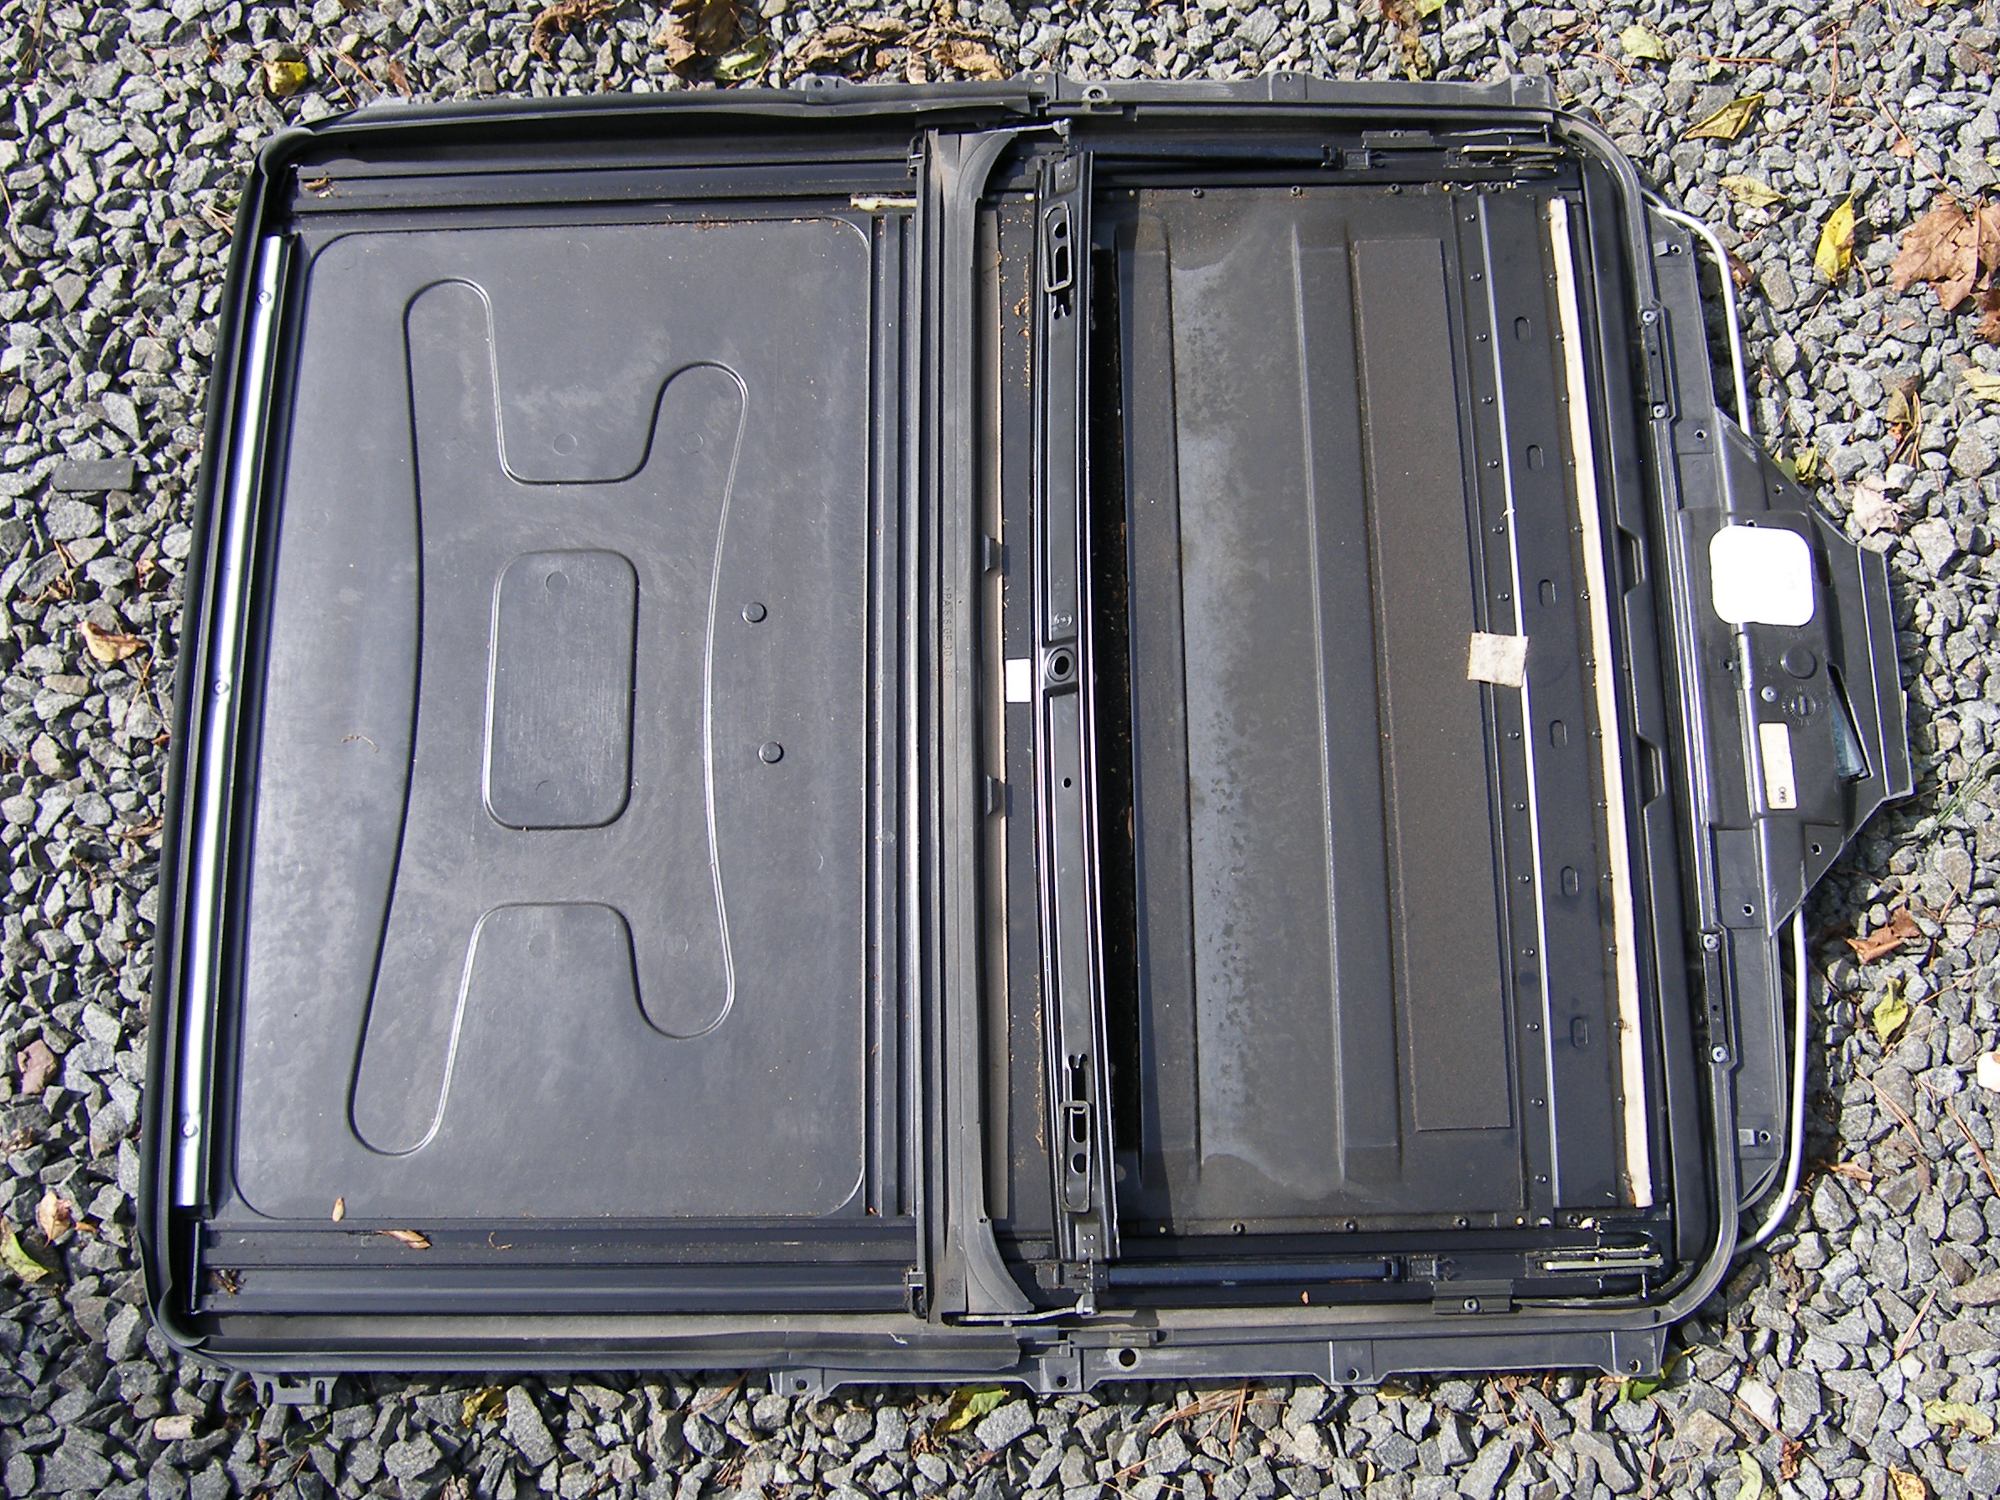 A top down view of the original sunroof cassette in the condition as removed from the vehicle. All in all, in reasonable shape, though the tracks and components are quite dirty. |
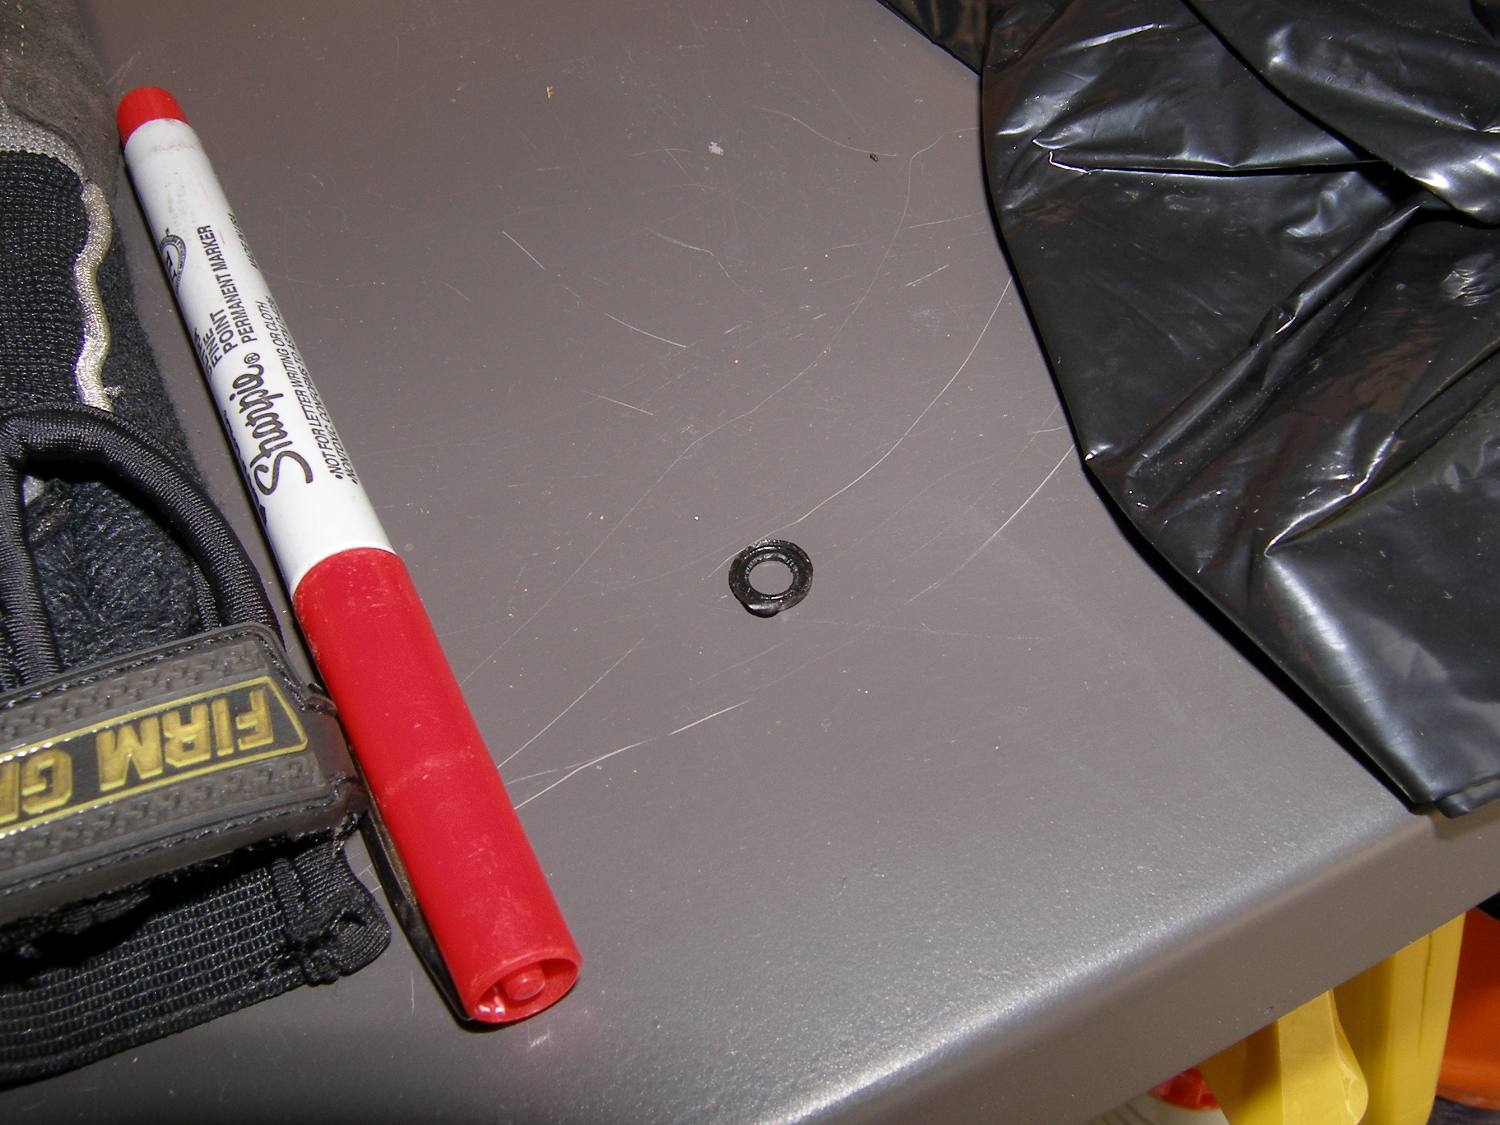 I found this small washer-like part hanging around in one of the sunroof tracks. Not sure where it came from. But what's a big job without spare parts? |
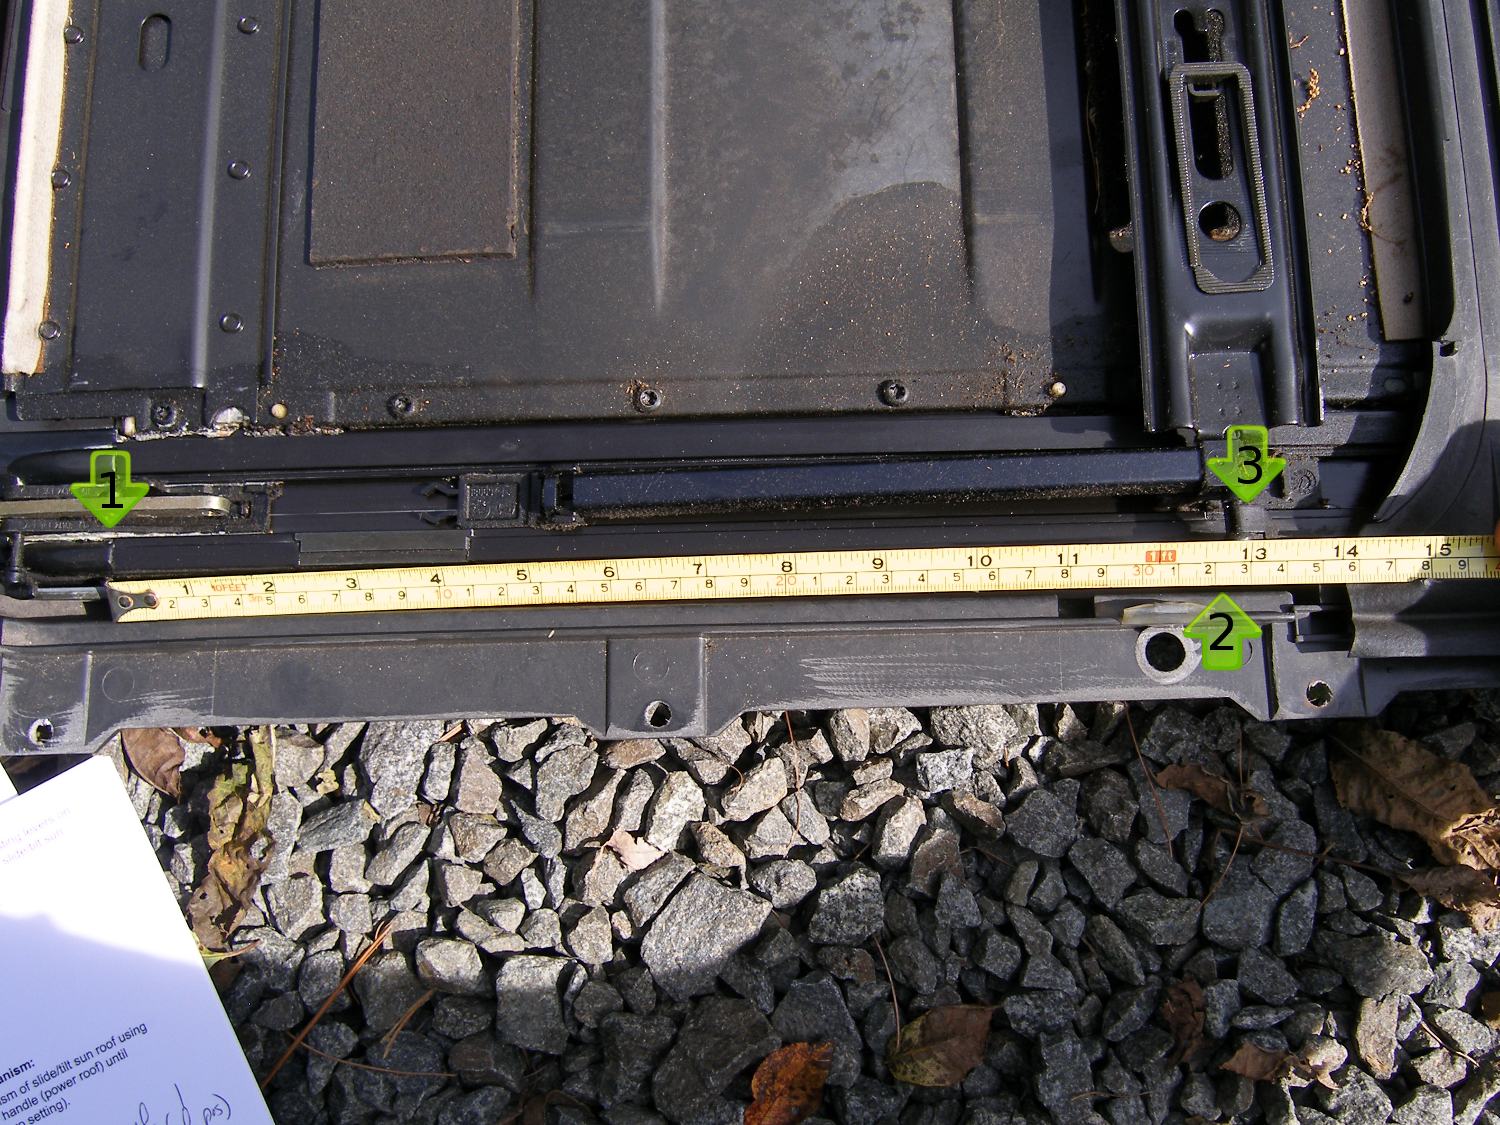 The zero position is measured from the beginning of the tracks (Arrow 1) to the center of a pin in the front of the carriage (not visible here but near Arrow 2). Of course, roughly 13" to the pin at Arrow 3 will work too. |
All things considered, I found the cassette to be in relatively good shape, though the tracks and various components were quite dirty...no doubt because the grease attracts all kinds of grime over the years. The only thing out of place I found was a small black plastic washer-like part. I found it resting on the fabric panel but I don't know where it came from. It did look like it had broken off something, so perhaps this entire process wasn't exactly a wild goose chase. I may have caught something just about to break. With the cassette out of the car I took some time to take pictures and take some measurements that I hope will help align the new cassette to the zero position prior to installing the motor. I think that may be the most critical part of the entire installation process.
Next step: preparing, aligning, and installing the new cassette. If all goes as planned, I hope to do that tomorrow.
Mileage: 212050