


Saturday, September 17, 2011
Interior Overhaul - New Sunroof Cassette Installed
This project has been leading up to one significant event -- the installation of the new sunroof cassette -- and I'm happy to say I completed that task today.
I began by comparing the old and new cassettes and closely analyzing the BMW instructions that indicate how to adjust the cassette to what BMW calls the "zero" or "neutral" (closed) position. The instructions note a dimension of 322 millimeters (12.67 inches) between the forward end of the rails and a particular point on the carriage that supports the crossbar. When I measured between the designated points on the old cassette I came up with 12.5" or maybe a little under that. Since I knew that the old cassette worked, I decided to use that measurement for the new cassette.
I originally assumed that the cassette came from BMW fully closed, but that was in error. In fact, the cassette is fully open and I needed to move the motor from the old cassette to the new, and then use the emergency allen key to drive the cassette drive mechanism to the zero position. By examining the old cassette I then figured out how to install the "repair kit" including the rails that drive the fabric panel. With that done, there was nothing else to do but install the cassette.
Incidentally, I chose to install the fabric panel after I installed the cassette simply to reduce the weight of the cassette and to make it less likely that I would accidentally put my foot on the fabric during the installation. In retrospect, this was a risk because of information I heard about the manufacturing tolerances of the new panels being out of spec, but I quickly compared the new fabric panel to the one still installed in the old cassette and found the shape to be identical. I think it's important to point out that the fabric panel is NOT flat by design, and I can understand how too much curvature in the panel could be a problem, but in this case it turned out to be a non-issue.
To install the cassette I got back in the rear seat in a slouched position and used my left foot to guide the cassette into the slot in the front while I secured the two rear temporary latches. One of them wouldn't hold, so I just loosely installed the two screws in that side and eventually the other side. I then used a right angled pick to make sure the gasket around the rear half the cassette "fanned" out correctly, sealing the cassette to the roof. With that done, I followed the remainder of the BMW instructions to secure the front screws, side screws, and then the two screws at each rear corner.
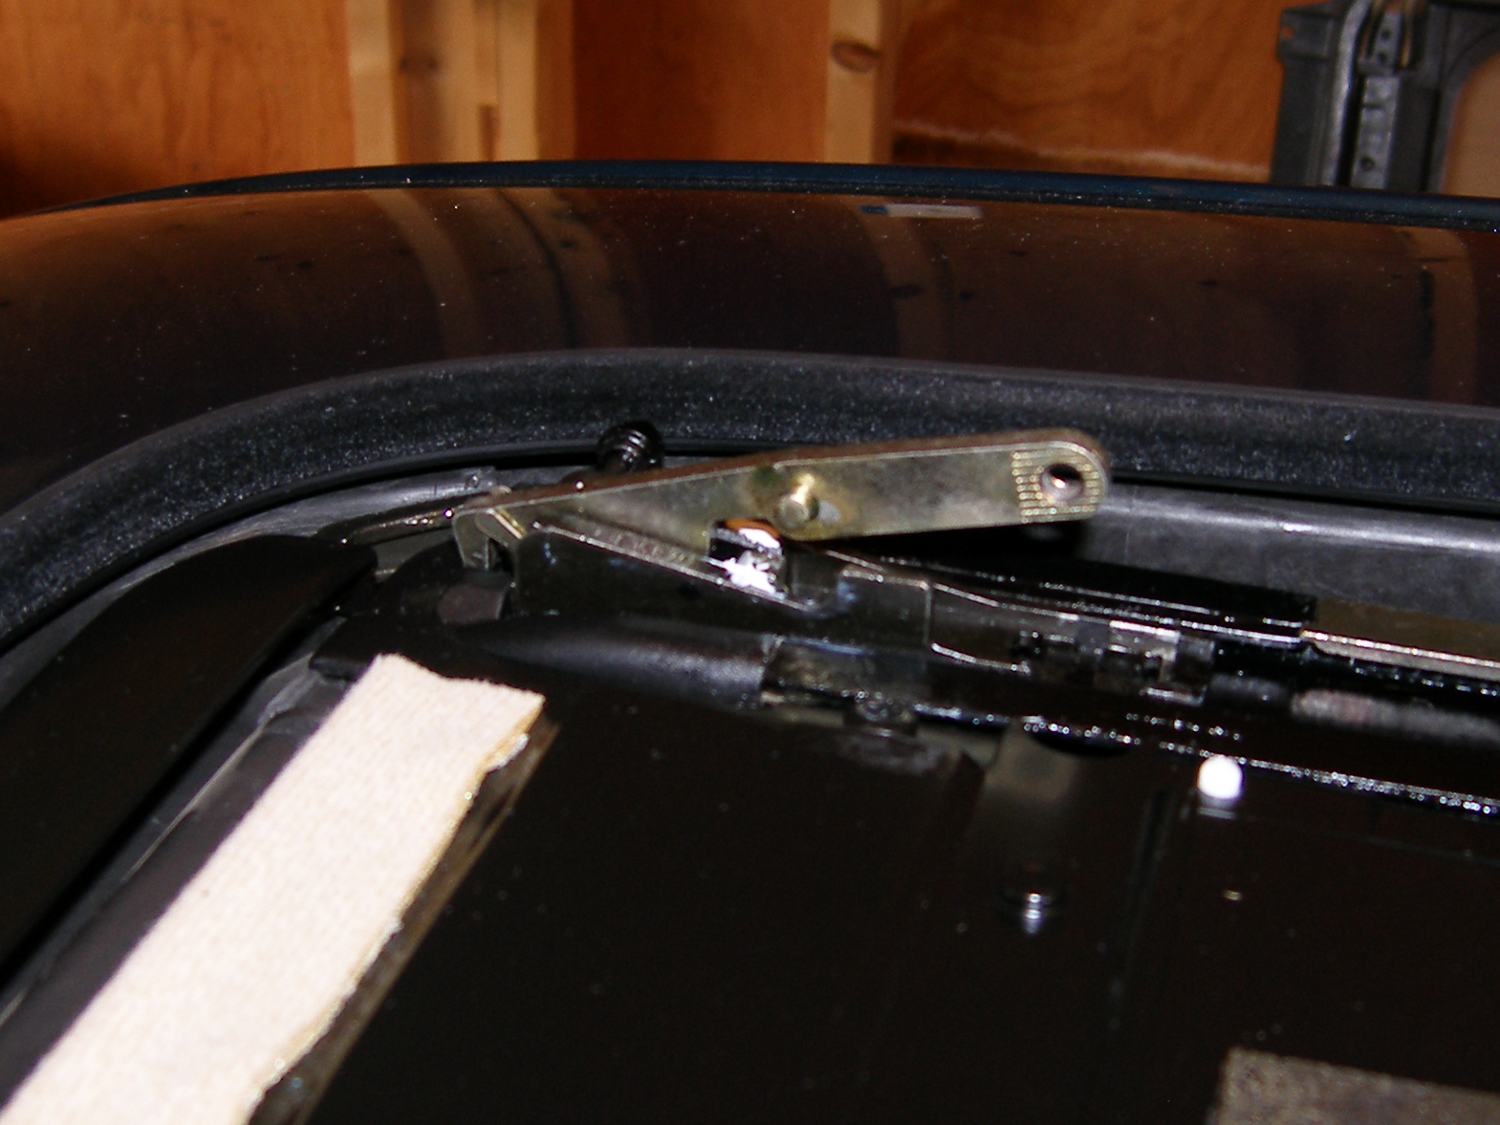
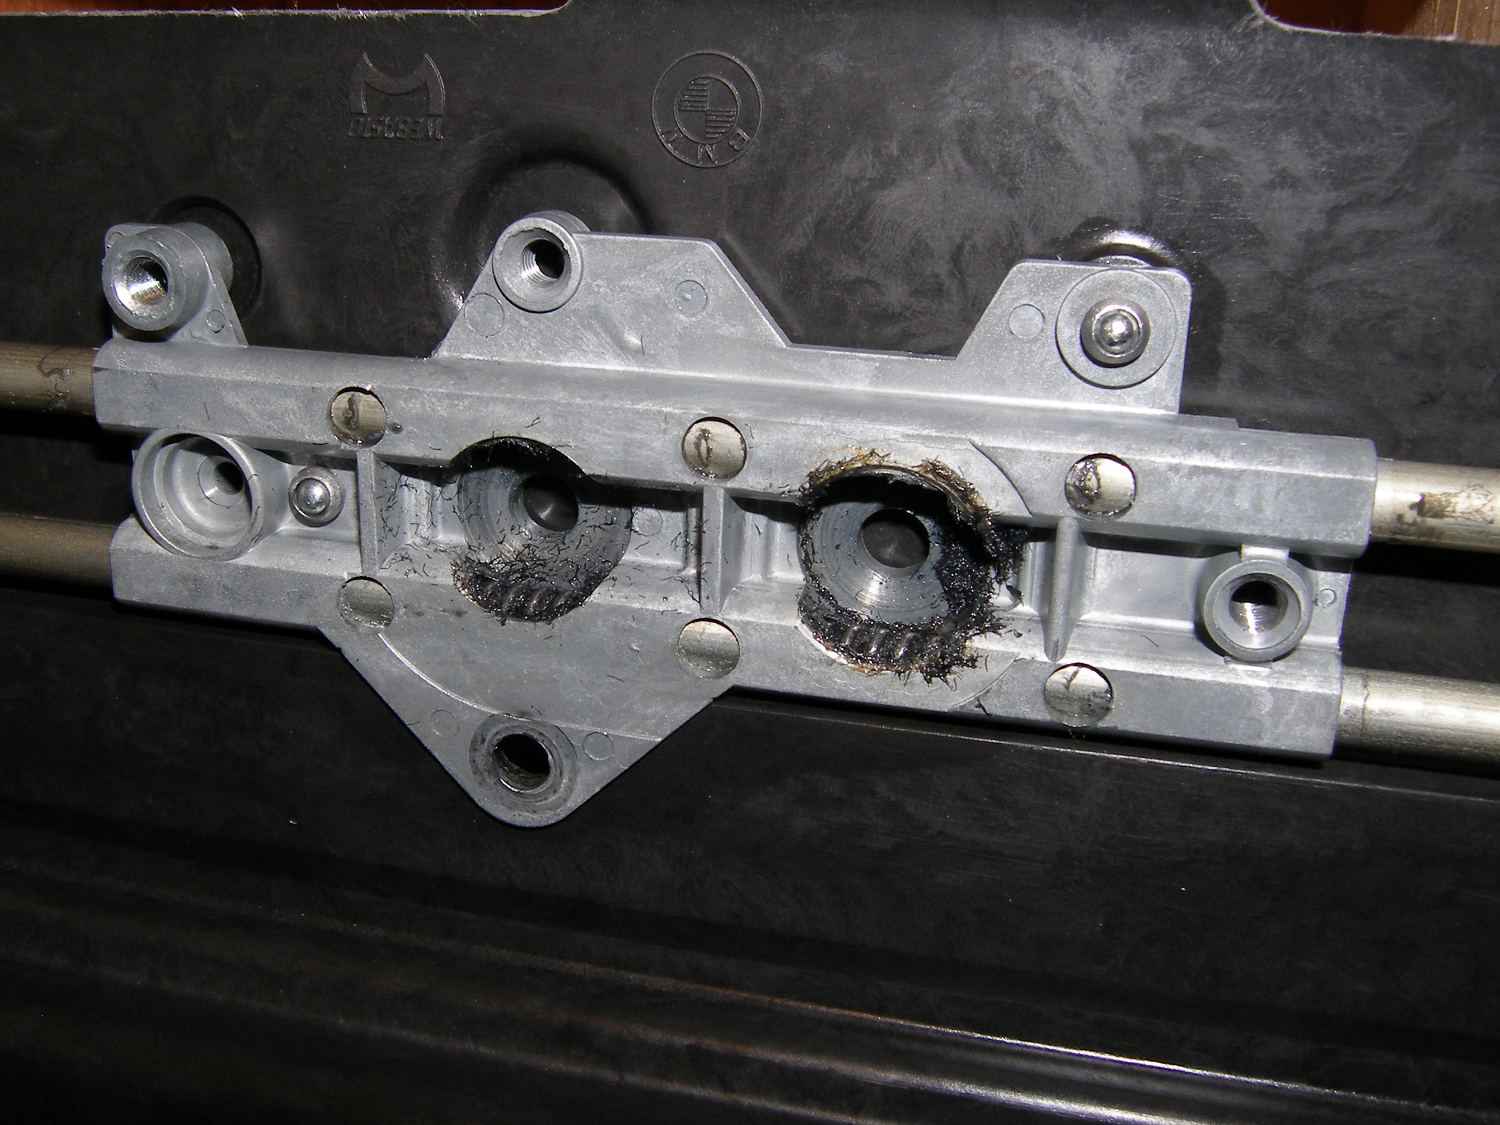 Lots of grunge in the cable drive interface and, I'm sure, the tubes that house the cables. No wonder the tubes were moving and the motor was under strain. |
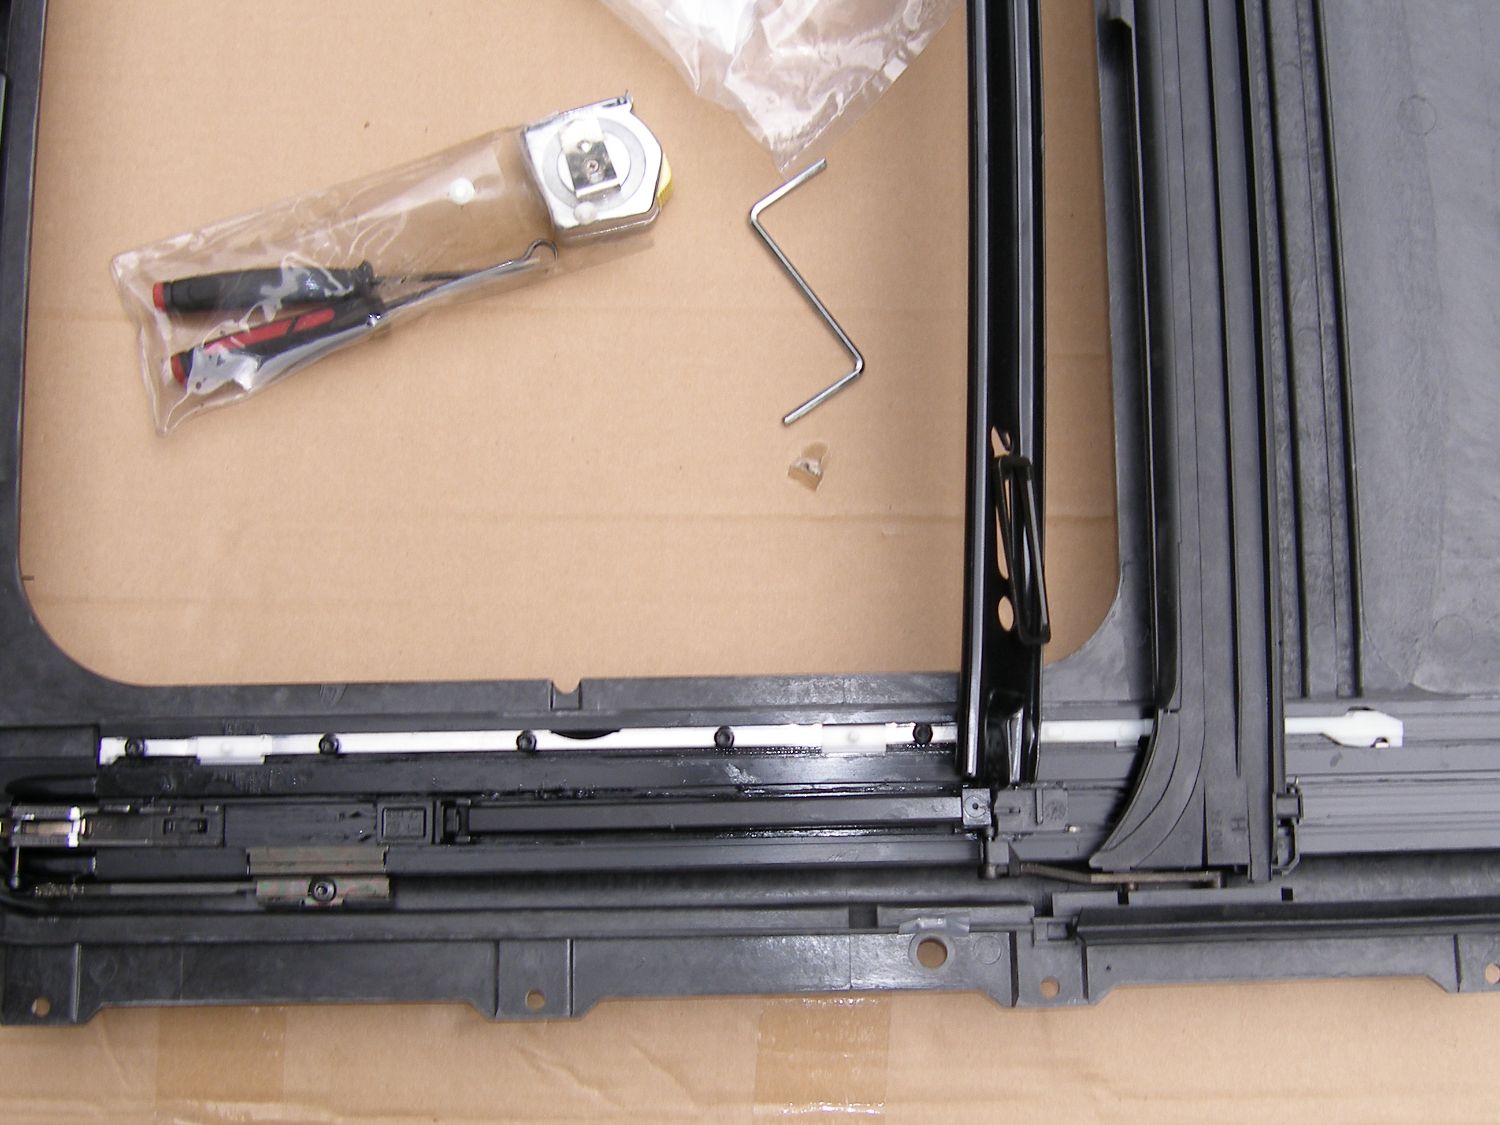 The repair kit installed on the new cassette. The driver's side rail is actively driven, while the pax side is passive and driven only by virtue of the fact that it's connected to the fabric panel. |
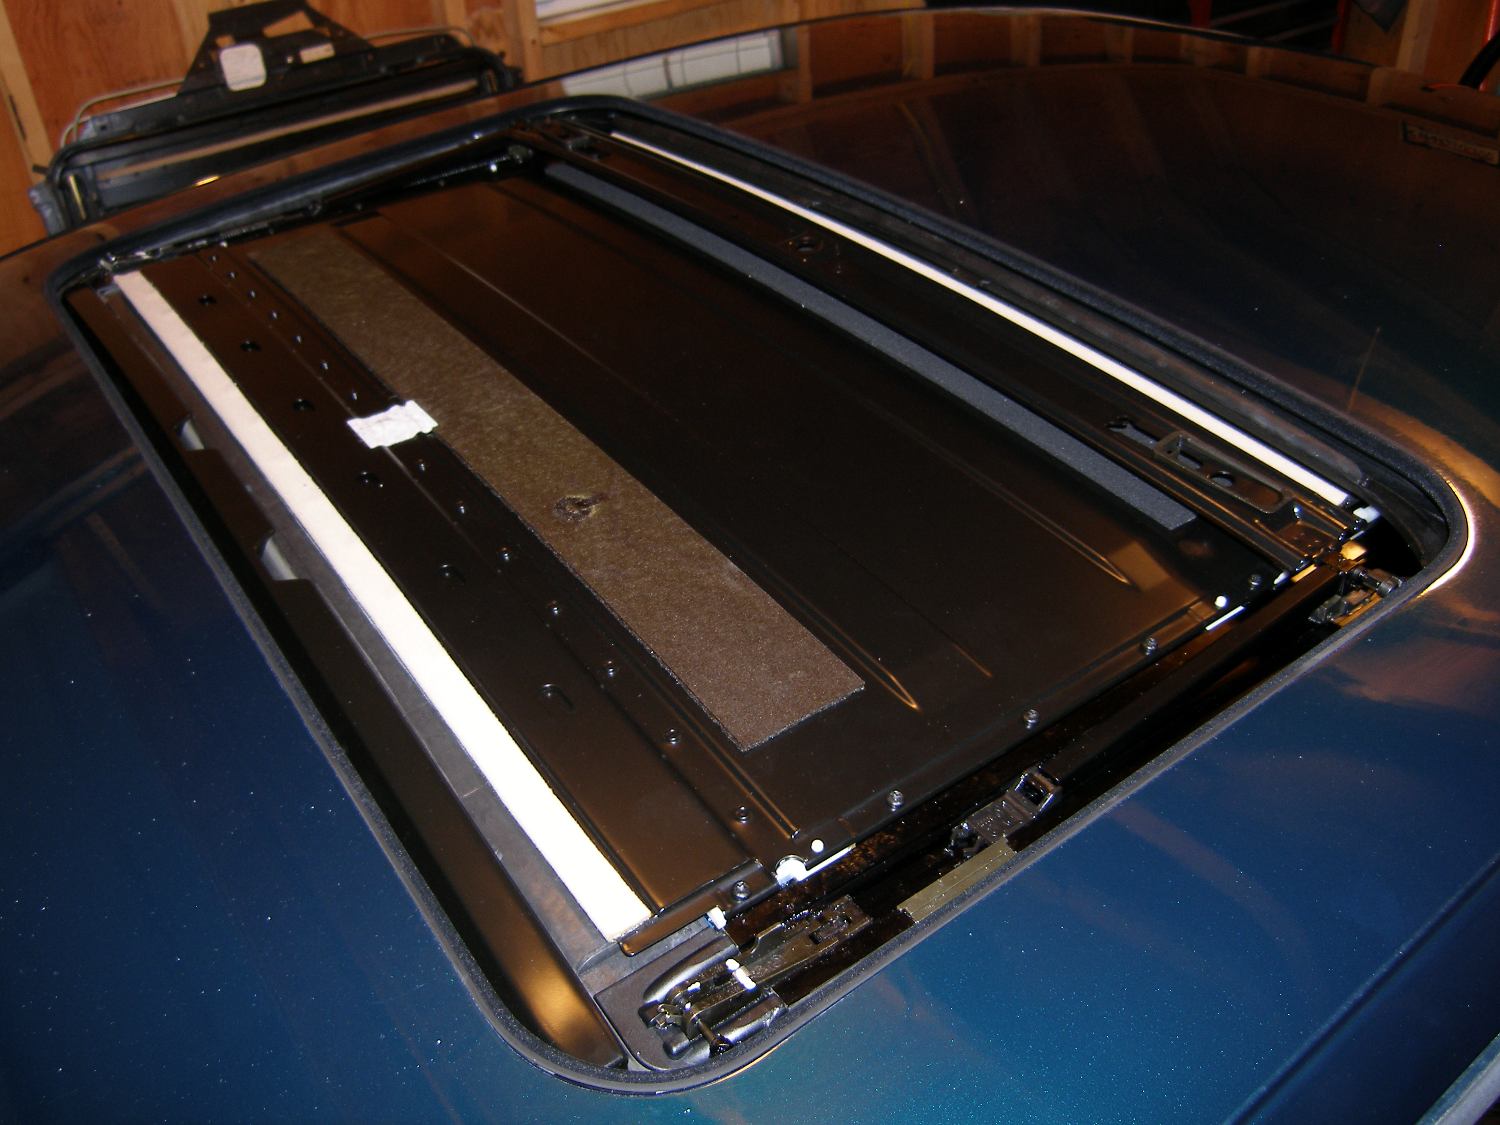 Just a top down view of the cassette installed in the vehicle with the cassette in the zero position and the fabric panel closed as it should be. |
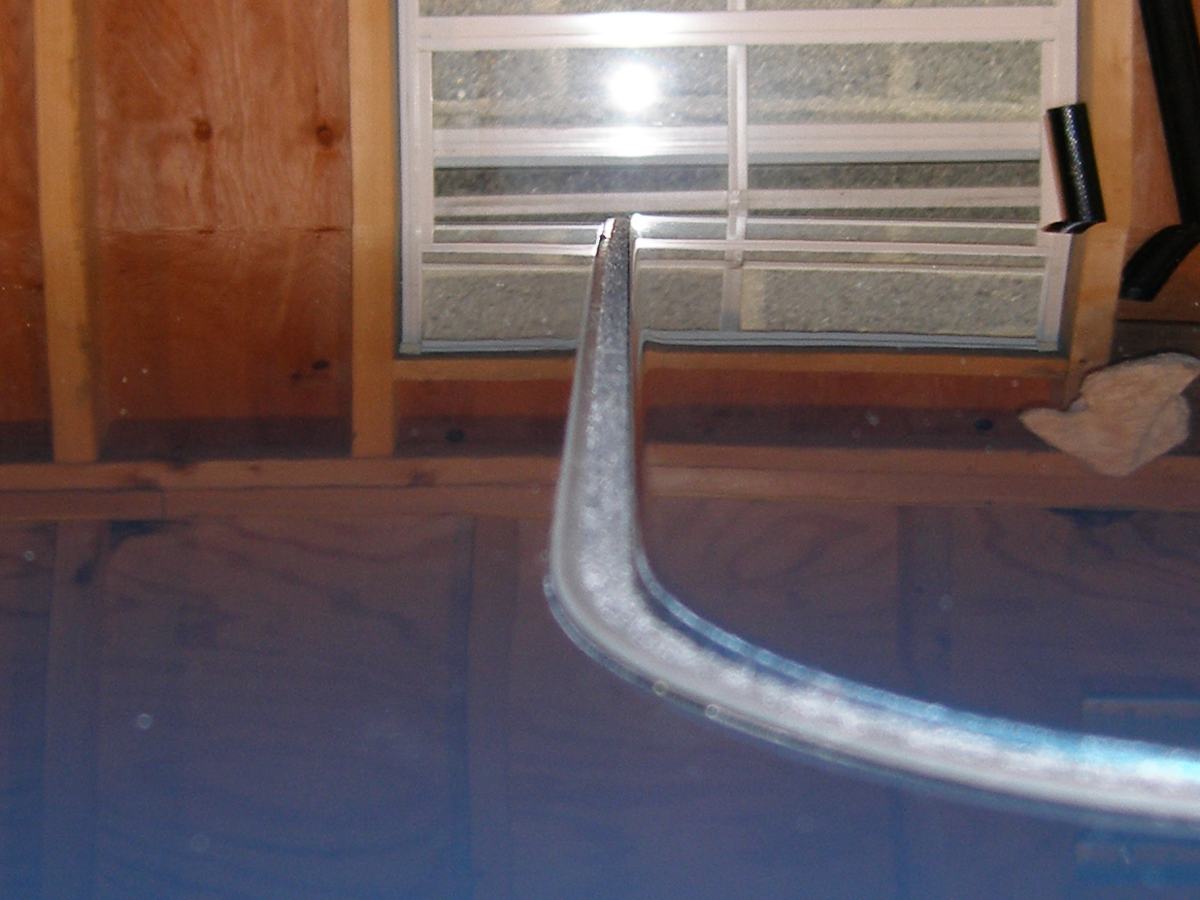
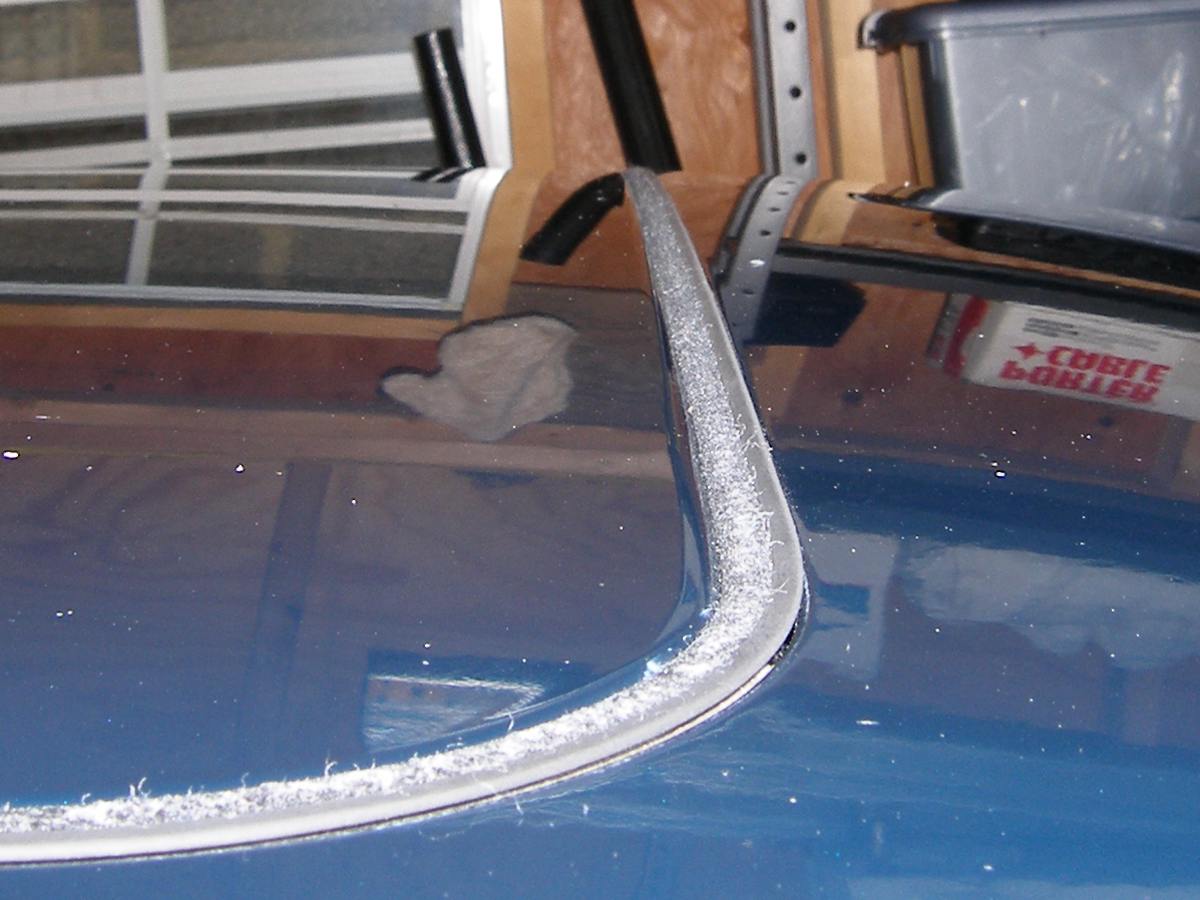
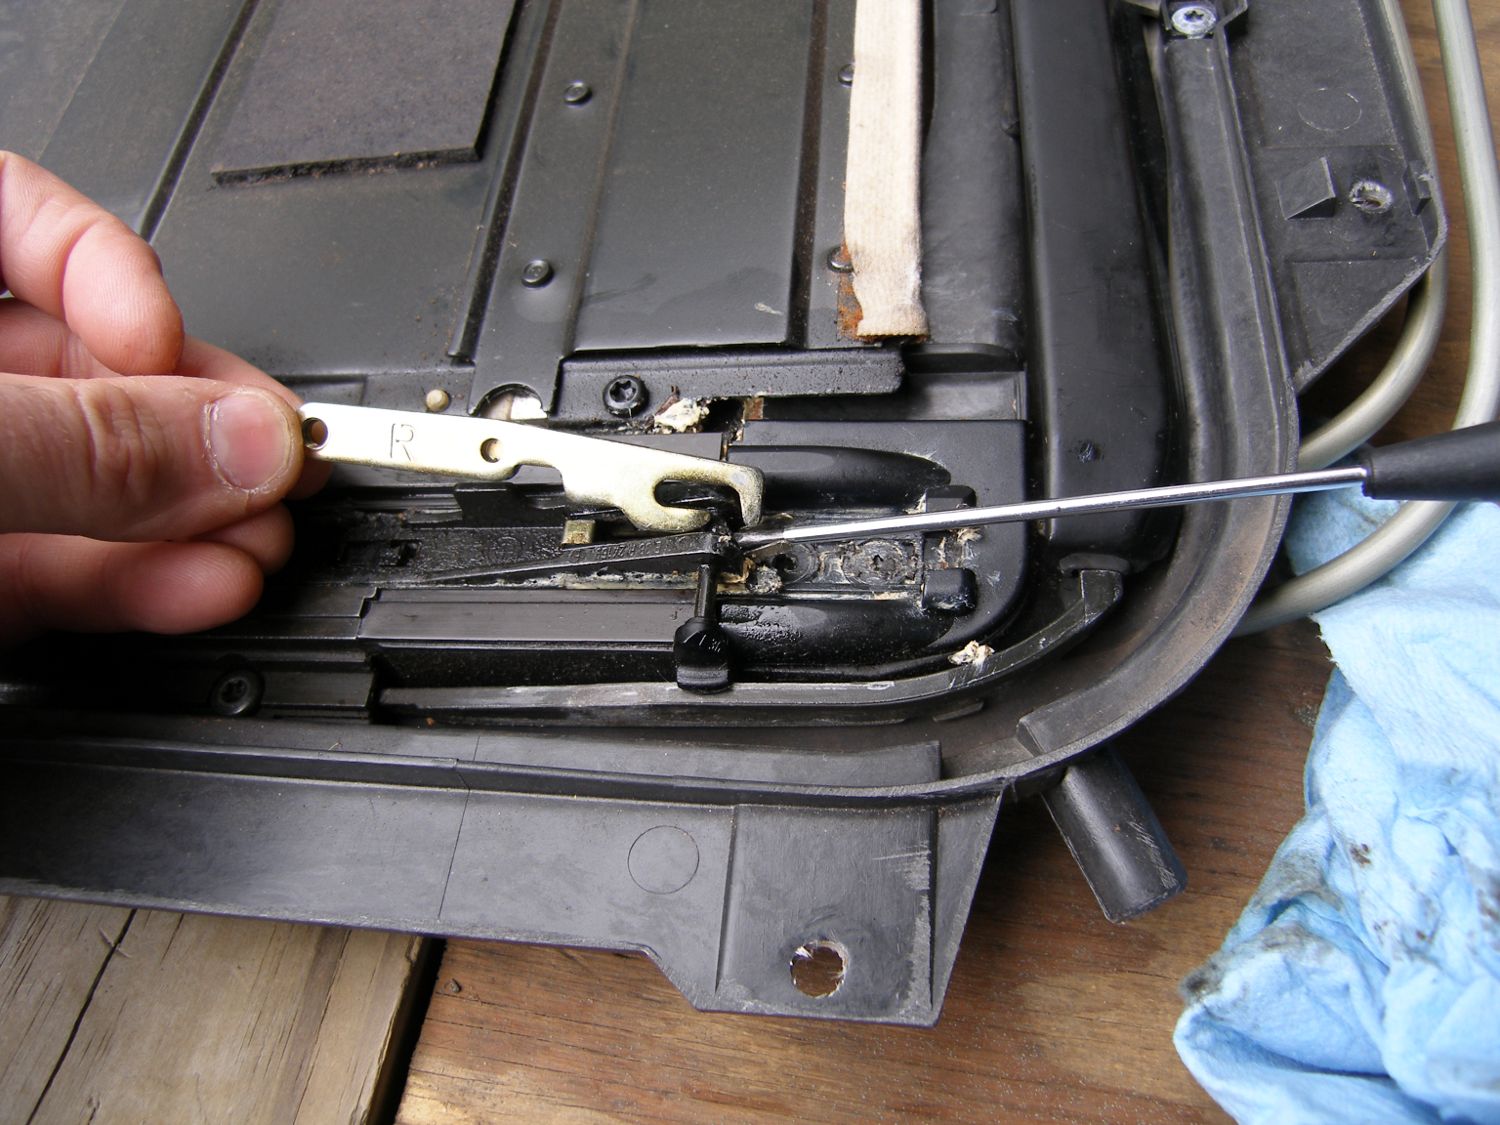 Oddly, the forward mounting rails do NOT come with the new cassette and were transferred from the old cassette. Unlocking them requires a small screwdriver and some patience. |
 The pin shown locks in place with the metal panel and allows it to pivot so that the panel can be vertically aligned and then locked in place with the bolt. |
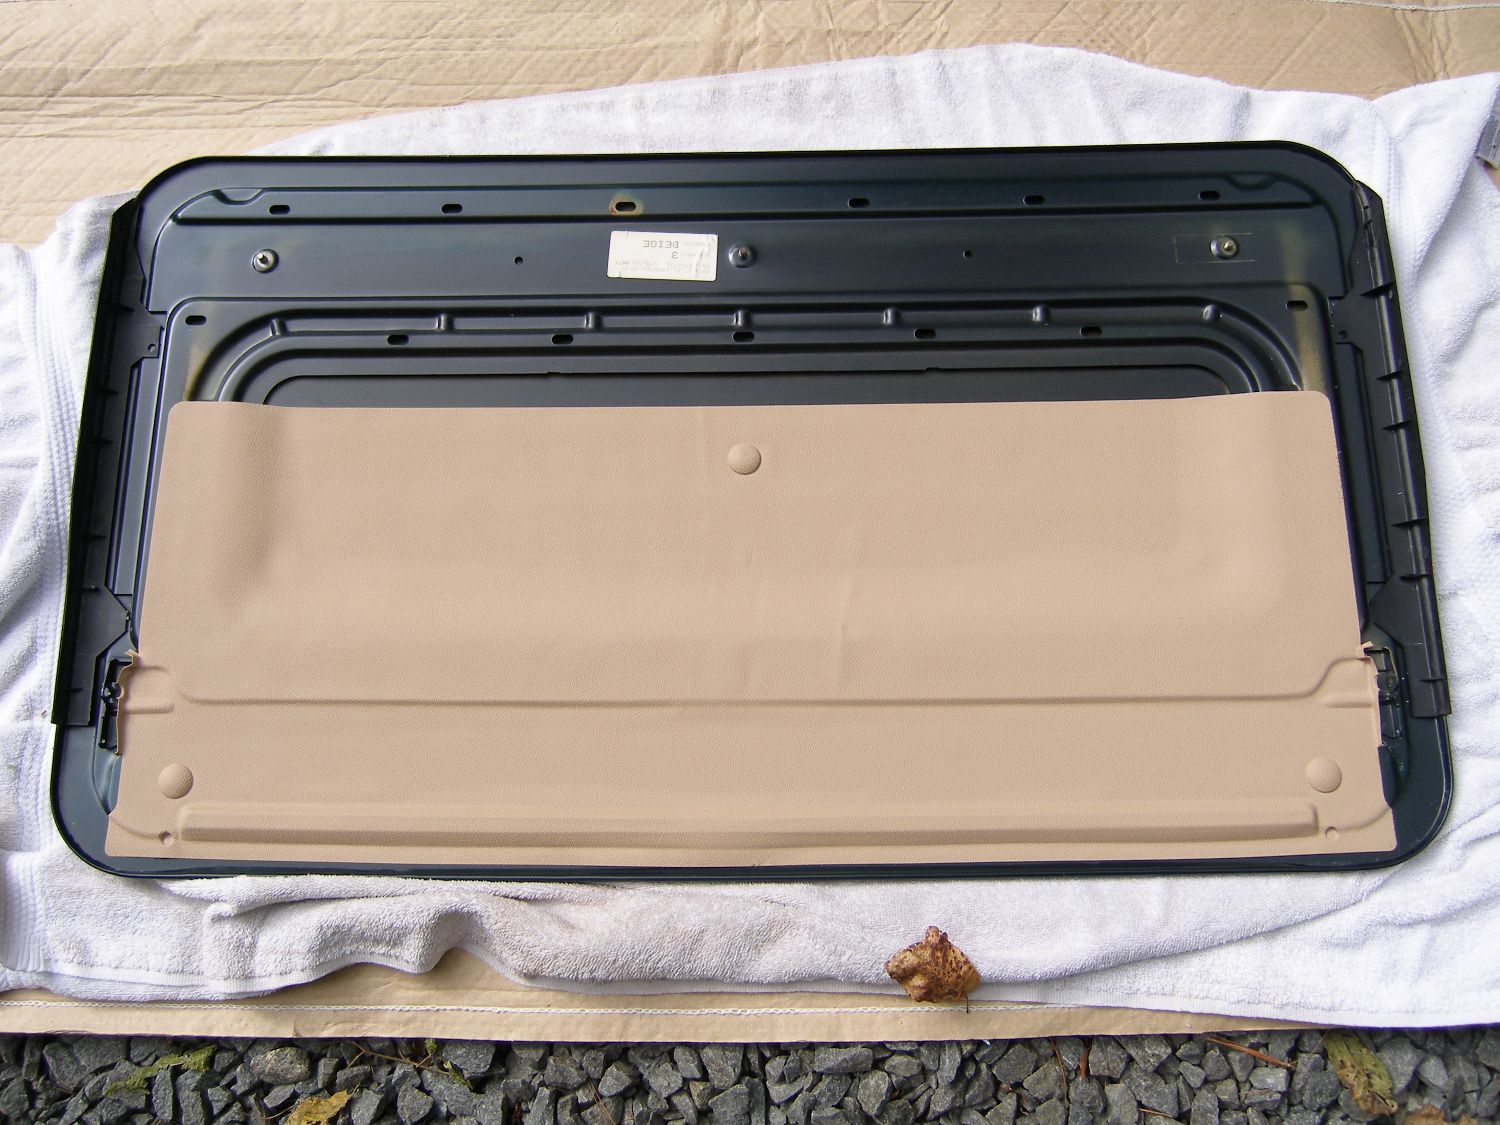 Preparing the metal panel for installation, I replaced the beige trim piece. I'm not sure how the old one got dirty, but nothing I did cleaned it. This was a larger job than forecast, but worth it, as you can see. |
 According to my technician and the BMW documentation, the sunroof should be set to 1mm high in the rear. This reduces noise and helps water skim over the seal. |
 Again, according to my tech and the docs, the front of the panel must be set to 1mm below the surface of the roof. |
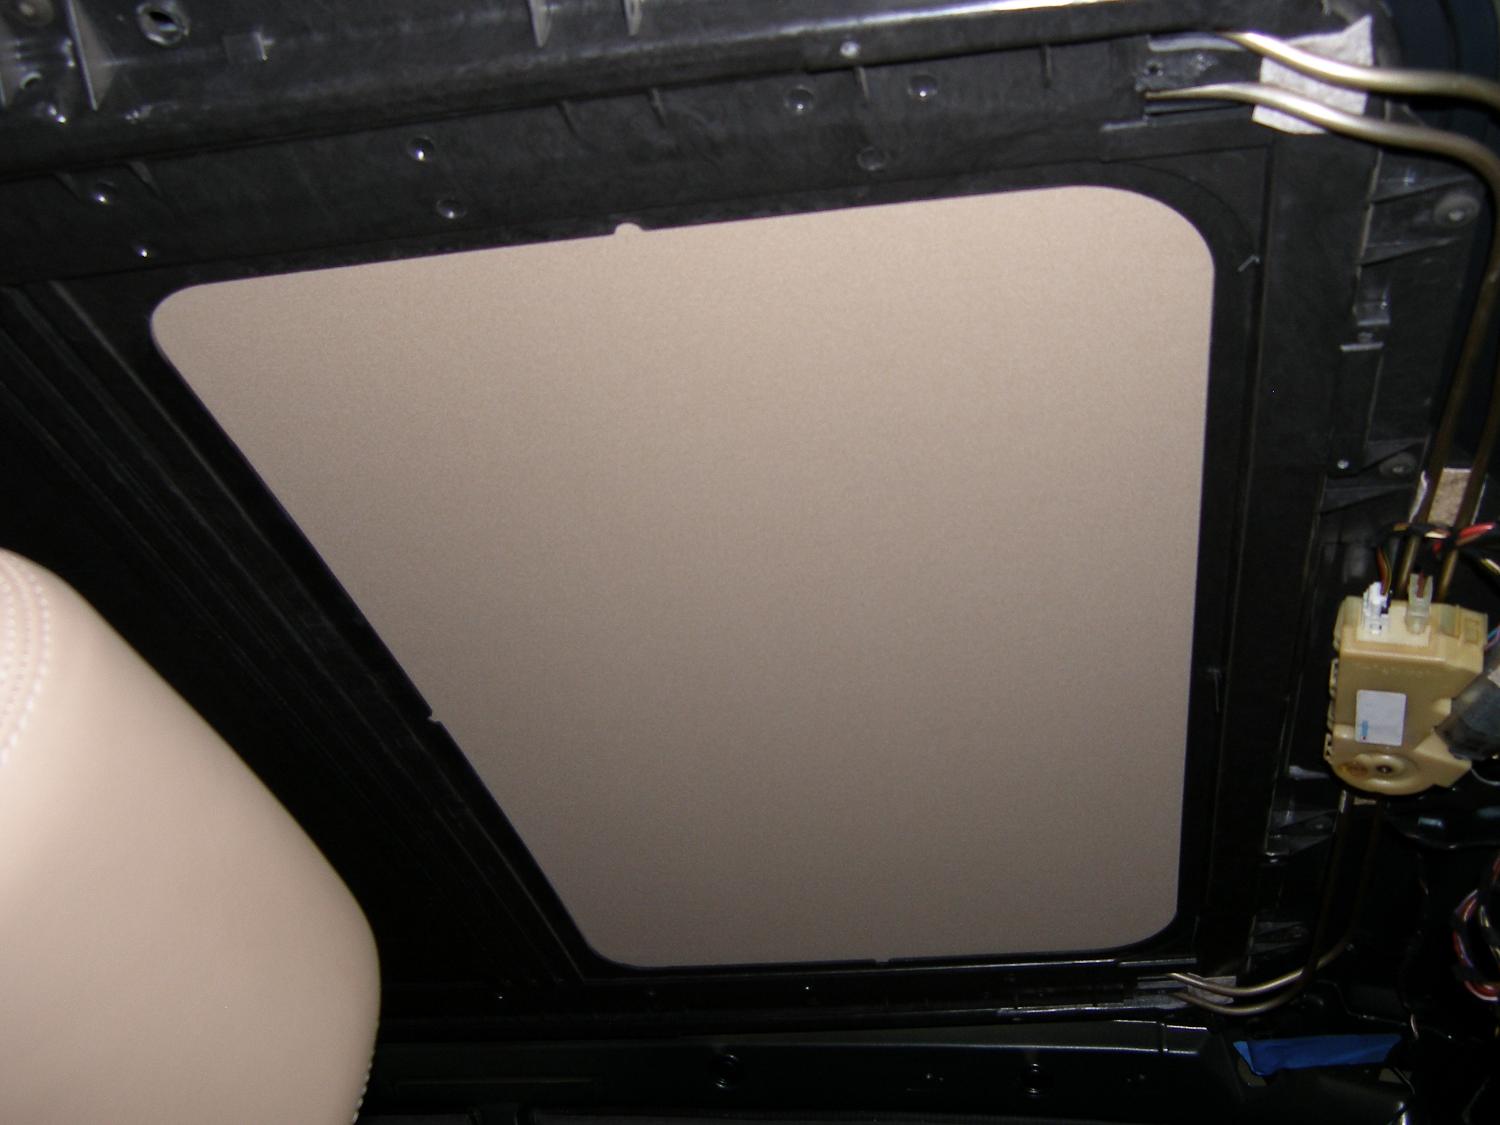 A gratuitous shot of the interior panel, this time from below. This is the cleanest the panel has been in 10+ years. |
This seemed like a good point to install the fabric panel so I did that with ease. Nothing to really say about it except that the driver's side rear edge must be properly mated with the plastic piece that ultimately connects the panel rail to the cable drive system. Ten screws later, the panel was secured to the new cassette drive assembly. The passenger side rail, by the way, is not driven...it's used only to support that side of the fabric panel and keep it aligned with the track. In spite of the fact that my comparison of the old and new fabric panels suggested the part would work as intended, I decided to run a full travel sanity test of the sunroof using the emergency tool. That test confirmed that the fabric panel did not cause the sunroof mechanism to bind. With that critical information in hand, I decided to proceed with the powered test.
Before I did that, however, I needed to realign the motor to the zero position. Why? The motor WAS in the zero position when I removed it from the old cassette but since I used it to manually drive the new cassette to its zero position that meant the motor was not where it needed to be. To fix this inconsistency I had to remove the motor from the new cassette, attach the electrical plugs, and then activate it to let the motor seek the zero position. BMW's instructions warn about approaching the zero point from a distance due to hysteresis in the motor so I pressed the concave button deeply to activate the one touch open feature. This caused the motor to run for a while and come to a sudden stop. I then pressed the convex button to activate the motor in the "close" direction and found that (as usual) I had to press and hold the button to keep the motor in continuous operation until it stopped...right at the zero position. I reinstalled the motor using all three screws and then took a break to help my brother with one of his cars.
Upon my return to the garage I threw caution to the wind, put the key in the ignition, turned it to apply power, and then momentarily pressed the concave button to open the sunroof. I did this in several short bursts until the fabric panel fully retracted and the motor stopped on its own at the open limit. I then pressed the convex button to close the sunroof in one shot. The motor naturally stopped at the zero point and everything looked to be aligned, so I pressed it one more time to put the sunroof into tilt mode before once again returning it to the zero position.
I finished up the day by replacing the vinyl trim piece that's glued to the underside of the metal panel and then reinstalling and aligning the panel. This seemingly simple task took me almost 2 hours -- a bit over an hour to remove the trim piece and the resilient glue residue it left behind (acetone isn't perfect for this job, but it works) and another 20 minutes to get those *#@$! forward mounting rails connected to the panel. I figured I might encounter problems reinstalling the panel given the issues I had removing it, but I didn't think it would be this annoying. Still, the job is done and a sanity test of the sunroof worked PERFECTLY. It is dead silent during operation and the tubes that hold the bowden cables no longer shift left and right when I actuate the sunroof. The end justified the means in this case, and overall, I'm glad I spent the money to overhaul the sunroof.
I can see the light at the end of the tunnel now, but the project is far from over. This week I have to order a new exterior sunroof seal since the foam is not sticking in the corners (!) and I also have to figure out what pillar trims I'll need to buy from BMW and how I'm going to recover them. Next weekend I plan to install the headliner, FSU and iPod adapter and return the vehicle to service. I don't expect the pillar trims to be ready for installation for a few weeks but I don't really care since they're cosmetic in nature.
Mileage: 212050, Materials: $5