


Sunday, September 25, 2011
FSU Installed
First job of the day was to install the FSU. This turned out to be old hat, since I had already removed the lower portion of the dashboard previously during my steering wheel upgrade. Despite the existing FSU working normally for the moment, I replaced the 14 year old part with the new, revised unit. I completed this task in about 30 minutes and can say it's every bit as easy as people make it out to be.
 Be careful removing the lower driver's side panel since this barb interlocks with the side of the dash and can break if you pull too hard the wrong way. |
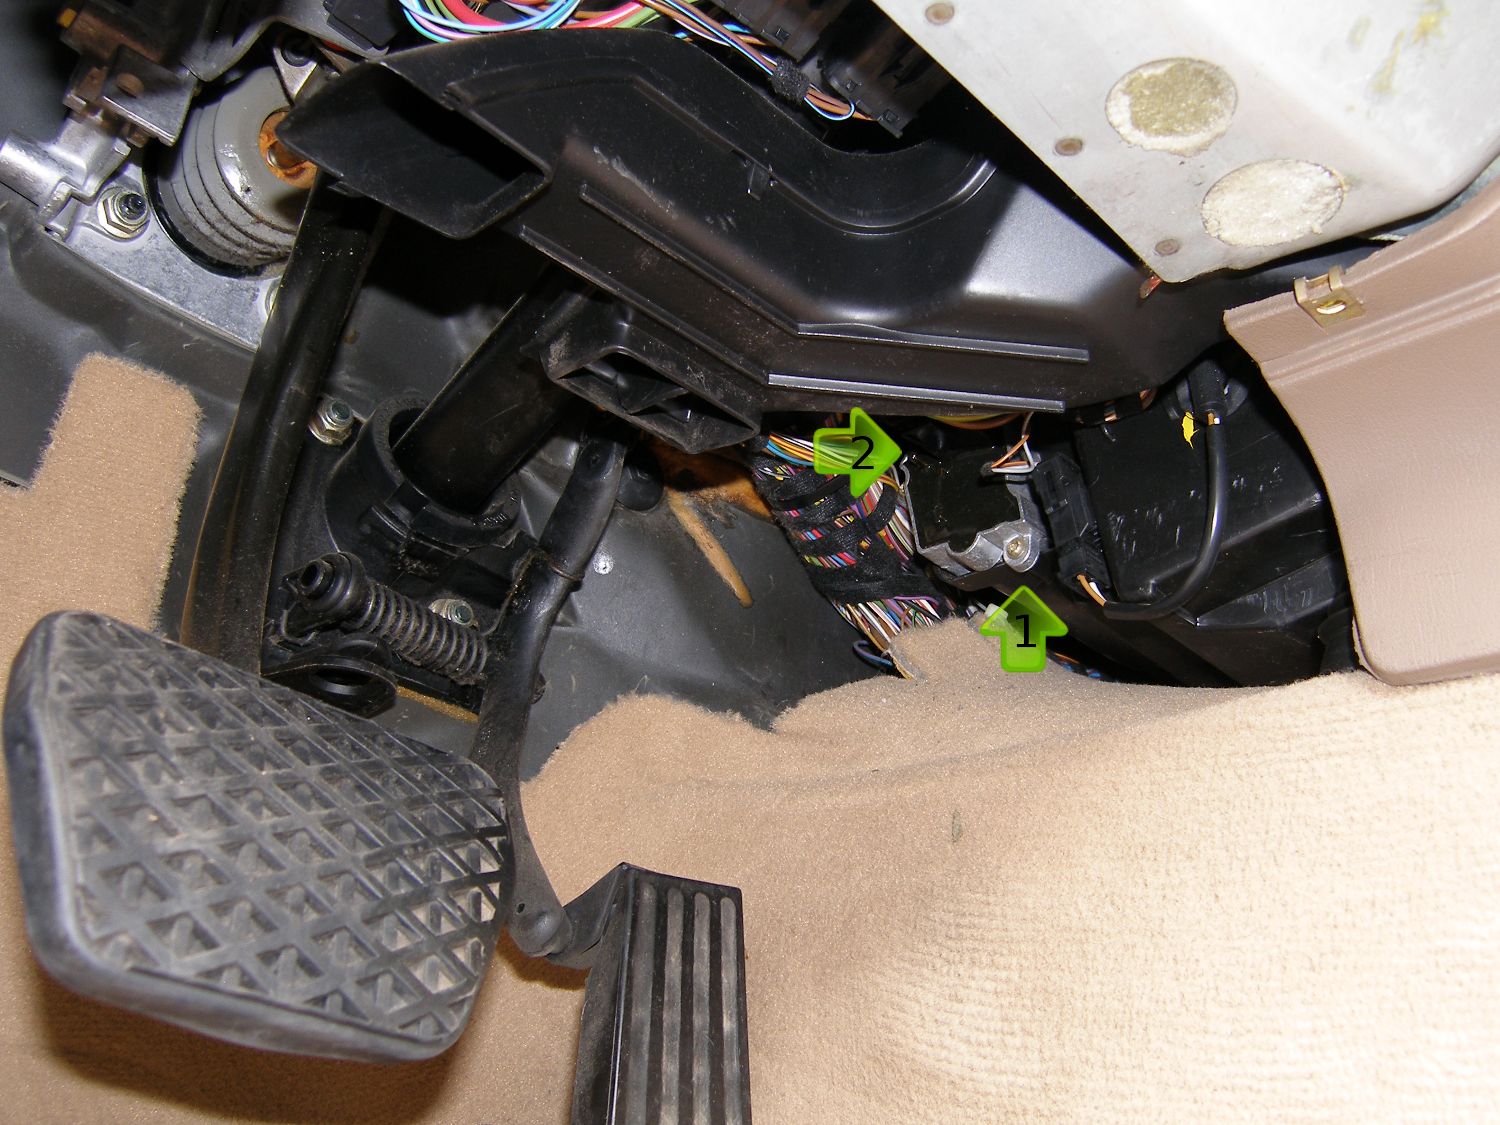 Perspective shot showing location of FSU under dash. The two T15 torx screws holding it in are shown by arrows 1 and 2. |
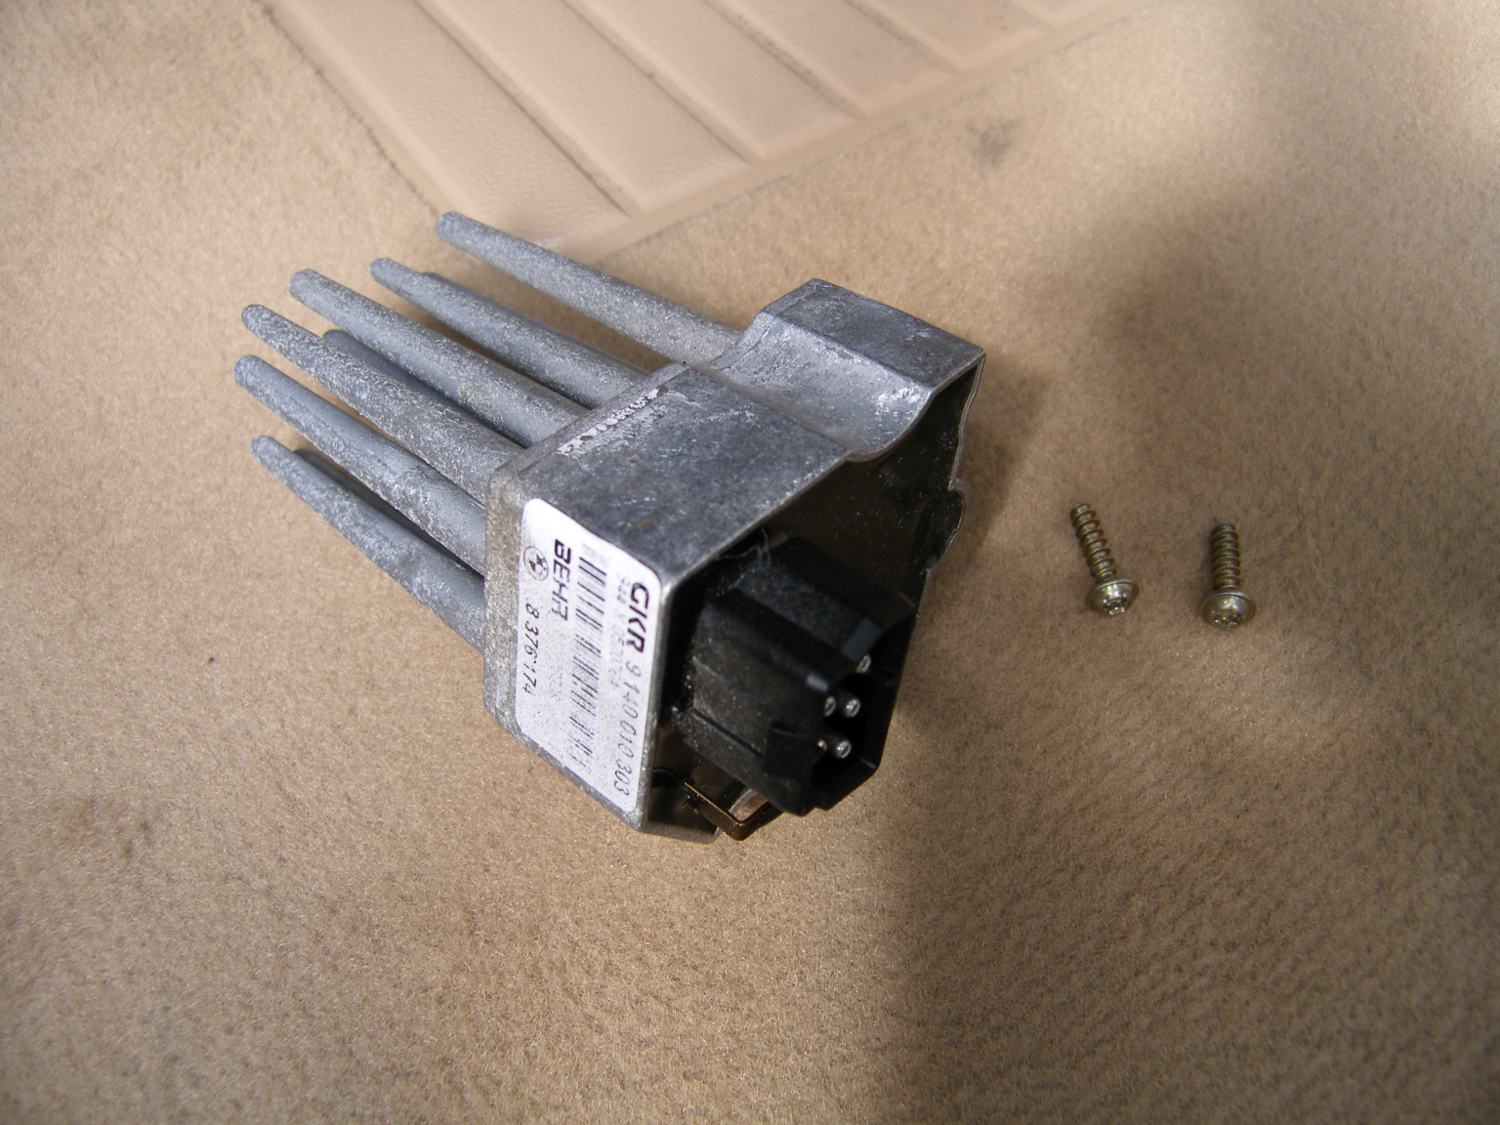 The old FSU shown here was replaced with a newer version. The heatsink on the old part is noticeably taller than the new part. |
About the only advice I can give (short of a DIY) is to be careful with the top left side of the lower dashboard panel. It hooks into the dash in a way that can be damaged if you lack patience and just try to pull the panel without holding and guiding it in just right way. As a friend says, it's just like a woman...you have to know how to handle her. Take your time, be gentle, and the part will come off in one piece as intended.
iPod Adapter Test
I decided to perform a test of the iPod adapter with my new iPod Touch. I simply removed the CD changer, attached the cables to the vehicle harness and connected the iPod to the unit. while leaving everything in the trunk. This test proved the unit works as advertised, but only with Apple's built-in music player. When I switched the unit into "direct" mode and tried to launch the EQU application I planned to use I found the volume to be artificially low. When I quit EQU and went back to the native music player the volume returned to normal. I'm not sure what's going on yet, but the test established that all the components work together so I plan to install the unit permanently when time allows.
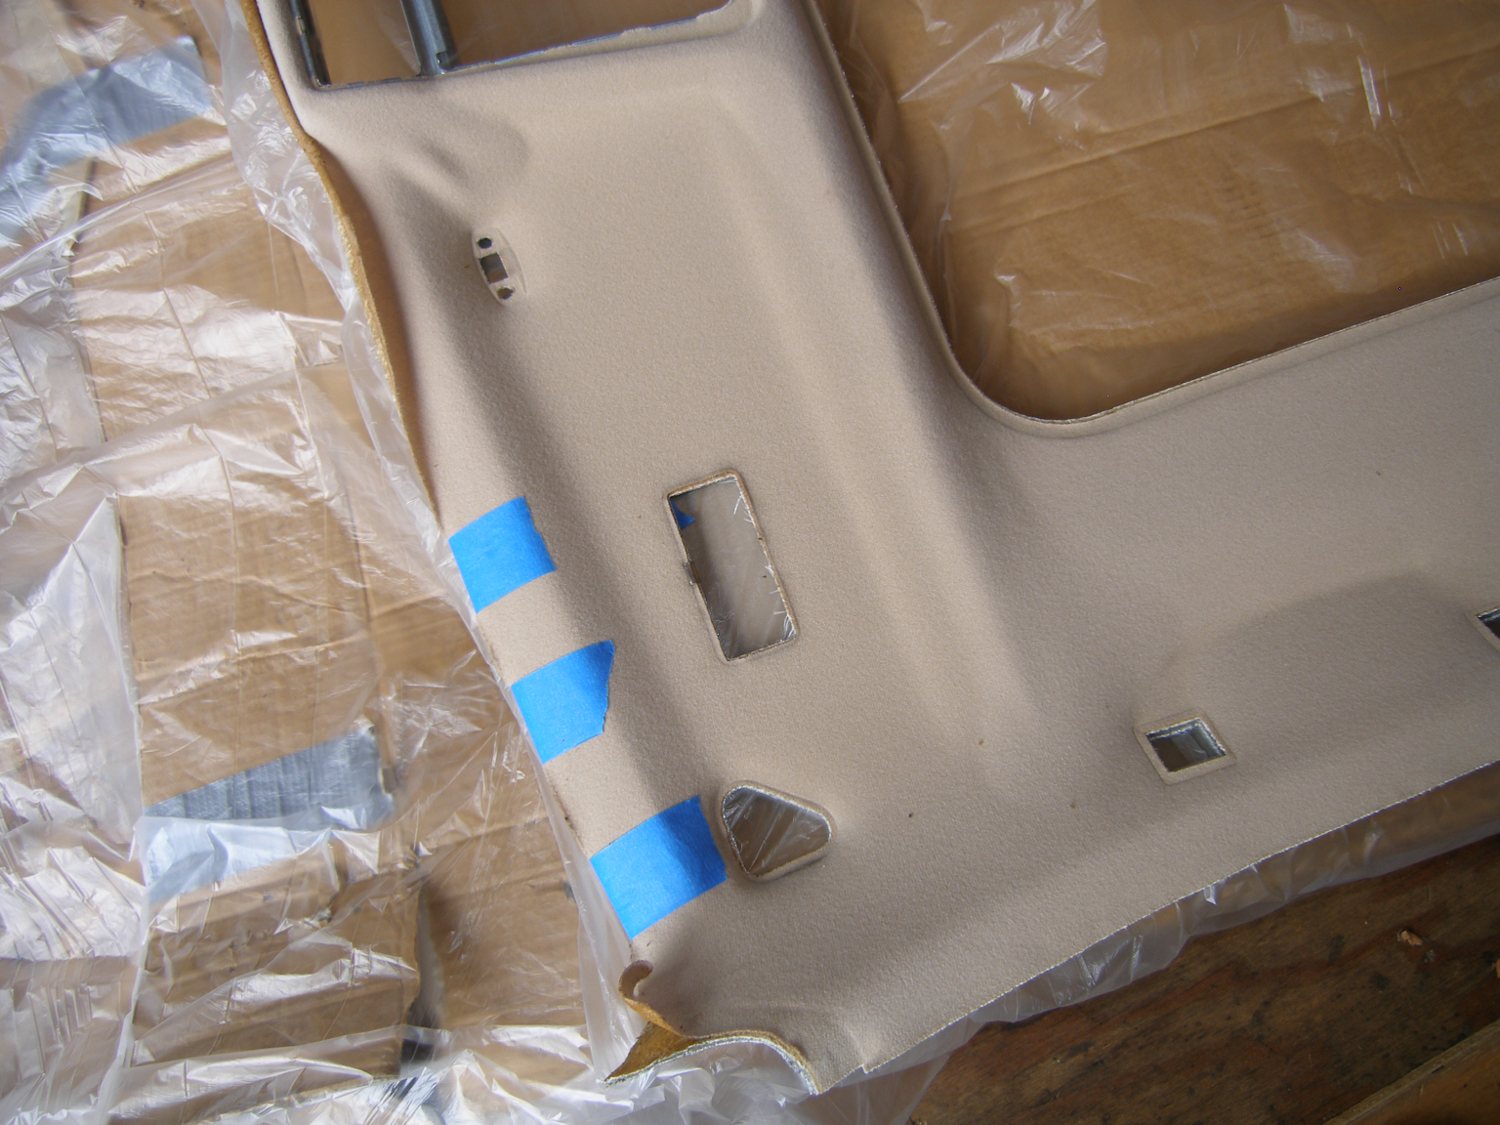
Interior Overhaul - New Headliner Installed
I began the day's work on the interior overhaul project with the simplest of tasks -- installing the third brake light grille onto the parcel shelf, thus completing the overhaul of that component.
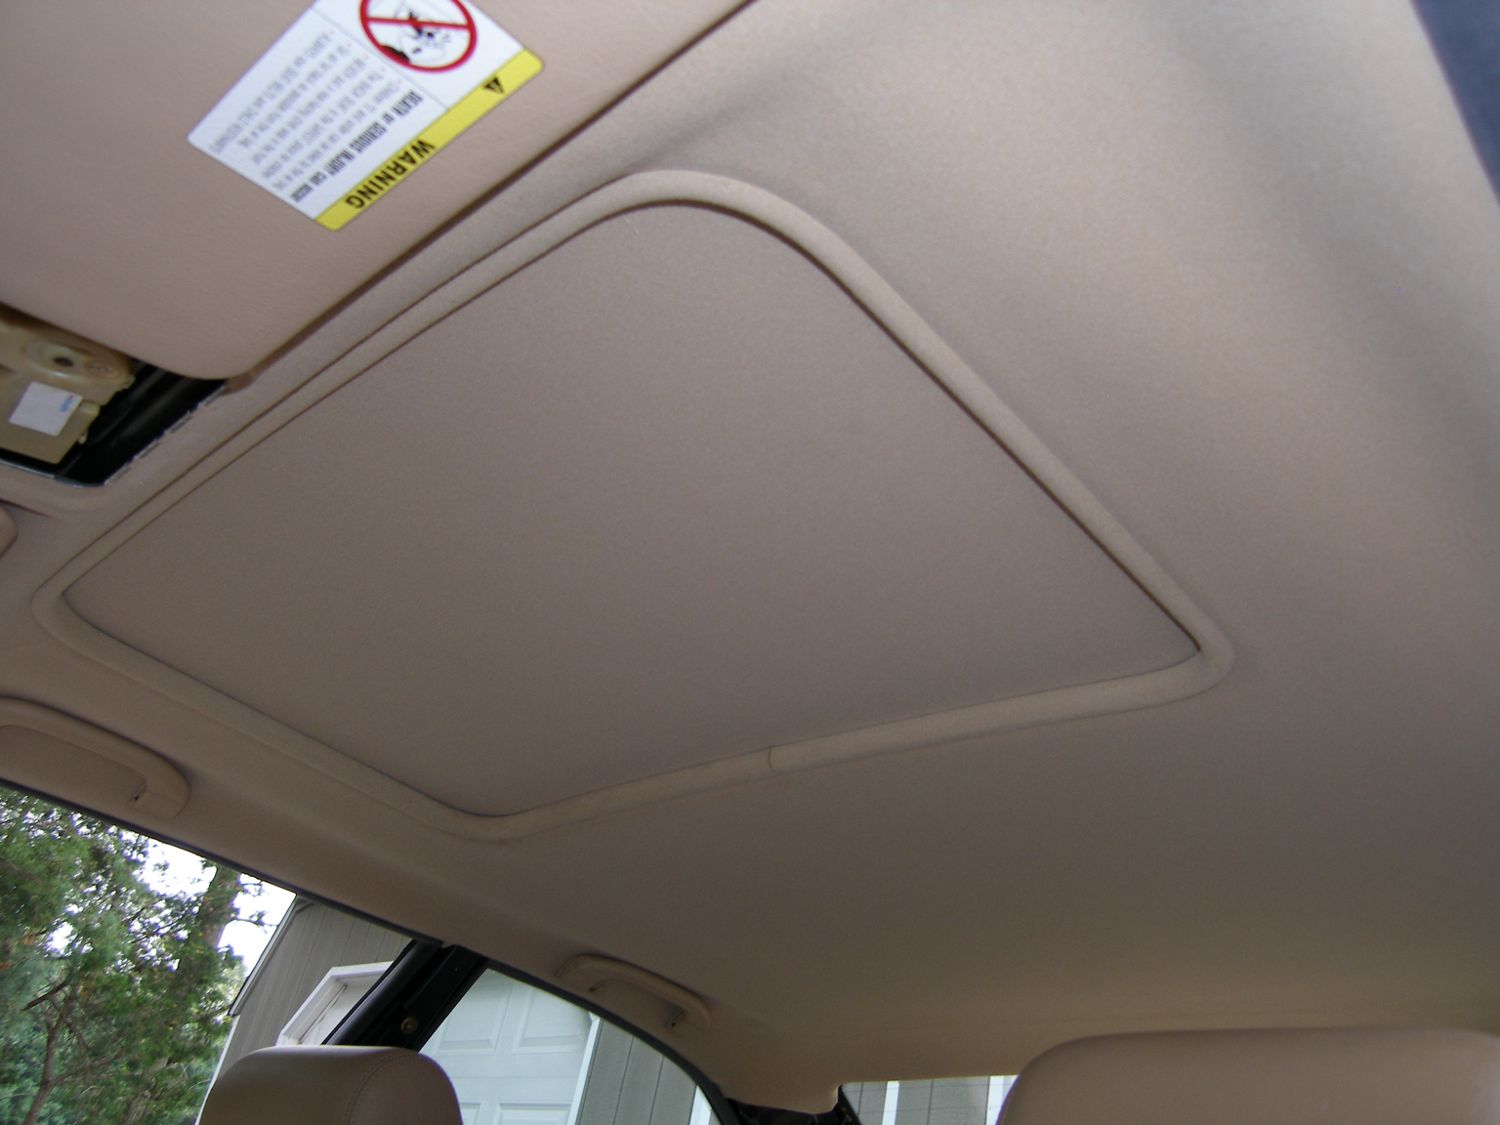
I then attempted to fix the problem with the exterior sunroof seal so I fully opened the sunroof and looked closely at the corners. Sure enough, the seal adhesive had refused to grip to the inside corners of the roof so I pulled the seal away as best I could and used a blue (low-lint) towel soaked with a bit of acetone to further clean the metal before reattaching the seal. That worked...for a couple hours, anyway. By the time I had finished the headliner installation and returned to look more closely I found the seal separated from the corners in at least two places again. Best I could tell was that the seal was under tension, which means I stretched the seal too much as I pulled it through the corners. I won't make that mistake again. Incidentally, I would have installed the new seal today but the parts guys ordered the wrong part. The new one is on order and I expect to install it next weekend.
Before I started installing the headliner, I decided to do a few more last minute sanity checks. First, I blew some compressed air through the sunroof drain lines just to make sure they weren't clogged. With the car doors open and the car in the garage, I could clearly hear the air escaping from the bottom of each drain line so I finished that task confident that should water enter the cassette, it would find its way out of the car. Next, I hand-checked the torque of all the fasteners used to hold the sunroof cassette to the body, and, finally, used my bright LED mag light to closely inspect the interior cassette seal to ensure it had fanned out properly. I found a few inches that were rolled over so I used a pick to fix that.
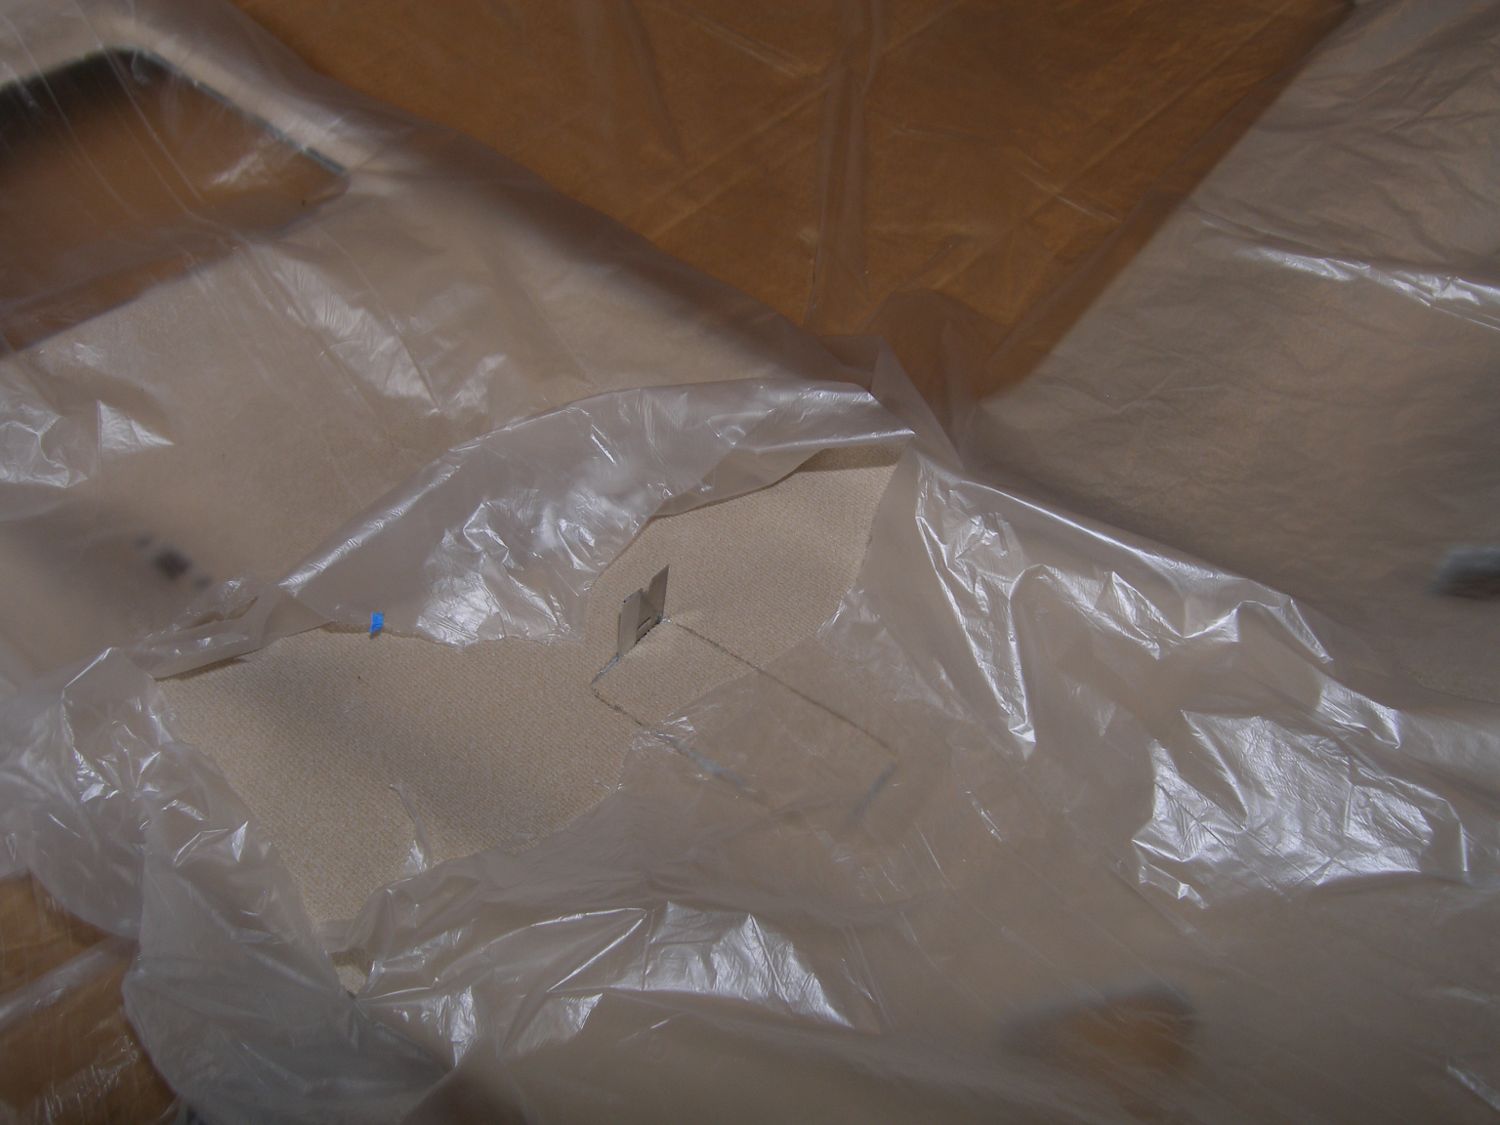
It was about this time that I realized I had yet to cut the additional holes in the headliner required to insert the sun visor lamp assemblies so I looked at the old panel and attempted to brainstorm a way to transfer the holes to the new headliner. I had thought about "spooning" the old and new parts like I did with the parcel shelf but I instinctually discounted doing that because the back of the old headliner was quite dirty and I didn't want to risk transferring any of that dirt to the pristine new part. My brother wandered into the garage, saw my predicament and wisely suggested something I hadn't thought of: using very thin painter's plastic as a "condom" for the new part. And as luck would have it, I happened to have a huge roll of the stuff in the garage left over from some of my painting projects around the house.
 It only took a couple minutes to blow out each drain line to ensure it was clear. These are inaccessible unless the headliner is removed. |
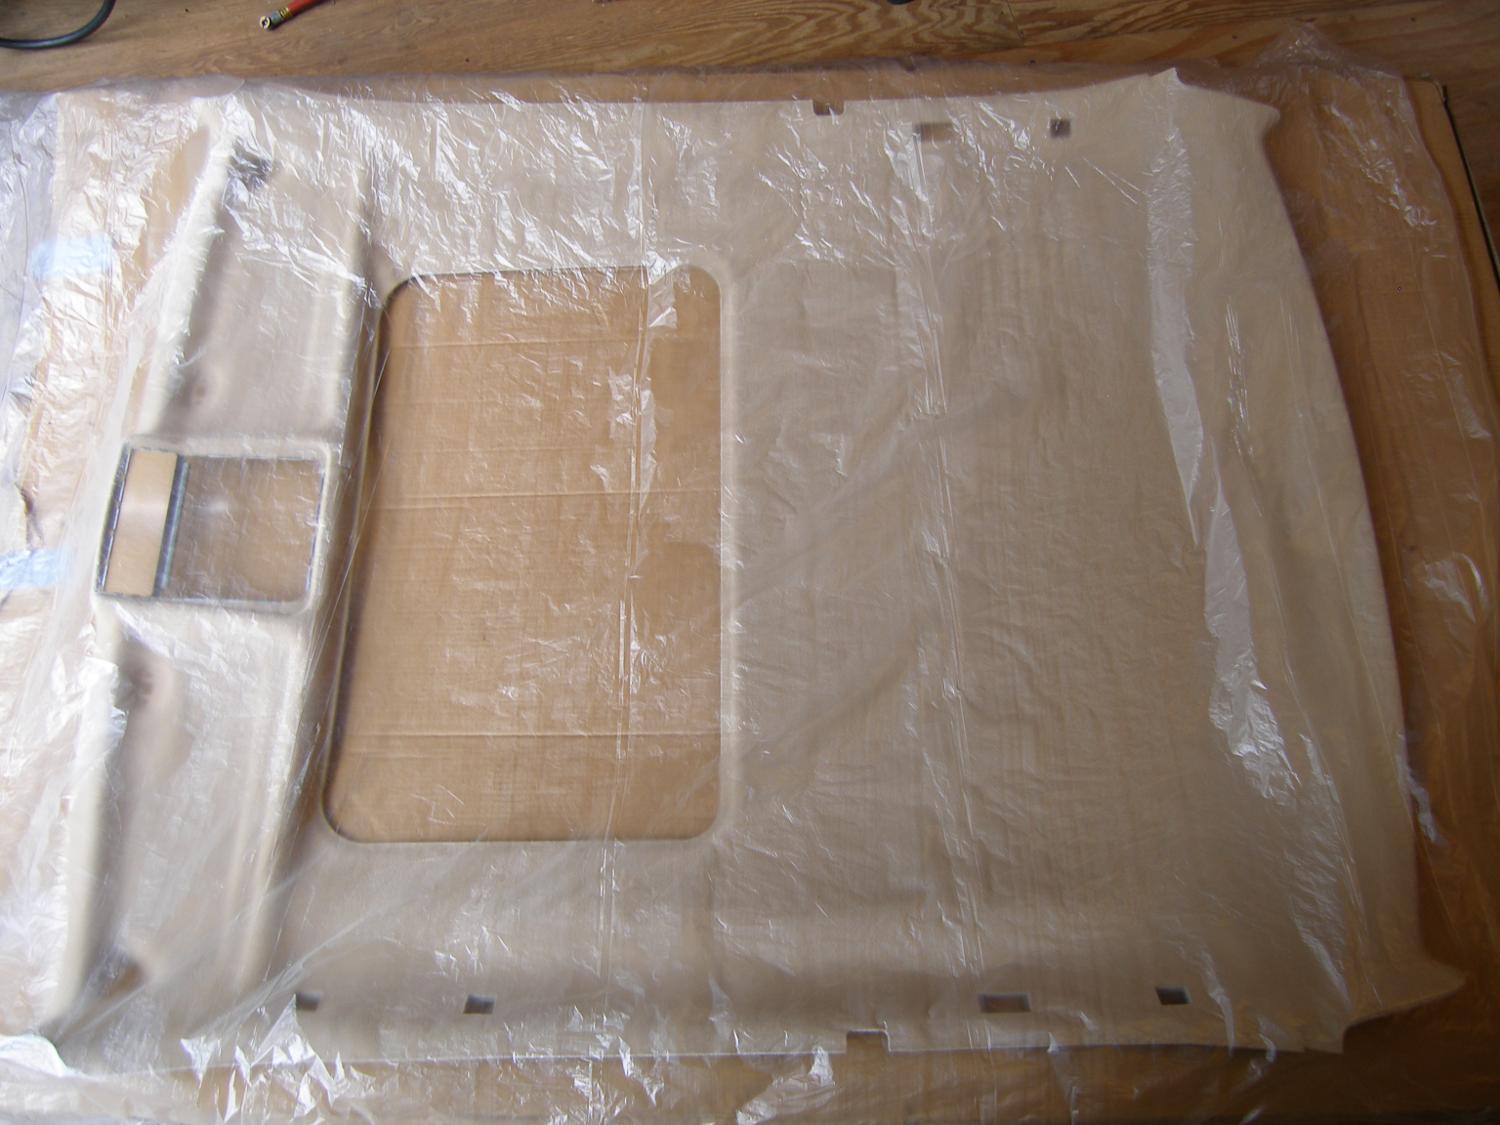 Thin plastic was used to protect the pristine new headliner from the dirt on the back side of the old unit. |
 The old headliner was placed on top of the new unit and a razor blade was used to cut straight through the protective plastic into the new fabric. |
So I cut a suitably large piece of the plastic, laid it over the new headliner, placed the old headliner over it, and used a razor blade (two, actually, since one dulled pretty quickly cutting through the fiberglass substrate) to outline both holes on the new part. With the lines drawn in the fabric of the new part, I set the old headliner aside and continued cutting the new headliner until I worked all the way through the substrate. A quick test fit of the light assemblies confirmed that the holes were cut properly.
An impulsive person would have grabbed the new headliner and tried to shove it into the car at this point. Not me. Instead, I reached for the old headliner and brought it over to the car for a rehearsal of the installation process, the goal of which was to determine the exact series of motions and angles I'd need to use to get the new part through the door and past the two main obstacles to the process: the dashboard and the shifter. This turned out to be a very good idea, because during the first few attempts I kept hitting the shifter with the front left corner of the headliner. I'm pretty sure the corner was already delaminated from the start, but I certainly didn't spare it any abuse the first few tries. However, I did finally manage to figure out how to hold the headliner and shift and rotate it in one smooth motion. With that "muscle memory", I managed to swap the old part for the new one and install it quickly and easily without hitting anything. Whoever coined the phrase "practice makes perfect" wasn't kidding.
As you may recall, I managed to remove the old headliner without removing the seals from around the front doors and rear quarter windows. These seals constructively support the edges of the headliner, so while I was able to remove the old headliner without pulling the seals, the rehearsal convinced me that if I were to have any chance of getting the headliner up without interference, the seals needed to be pulled down and pushed out of the way. So I took a few minutes to do exactly that.
 With the hole marked, I removed the old headliner and got to work on the new unit. Talk about pucker factor. No matter how many times I do this, I still hate it. |
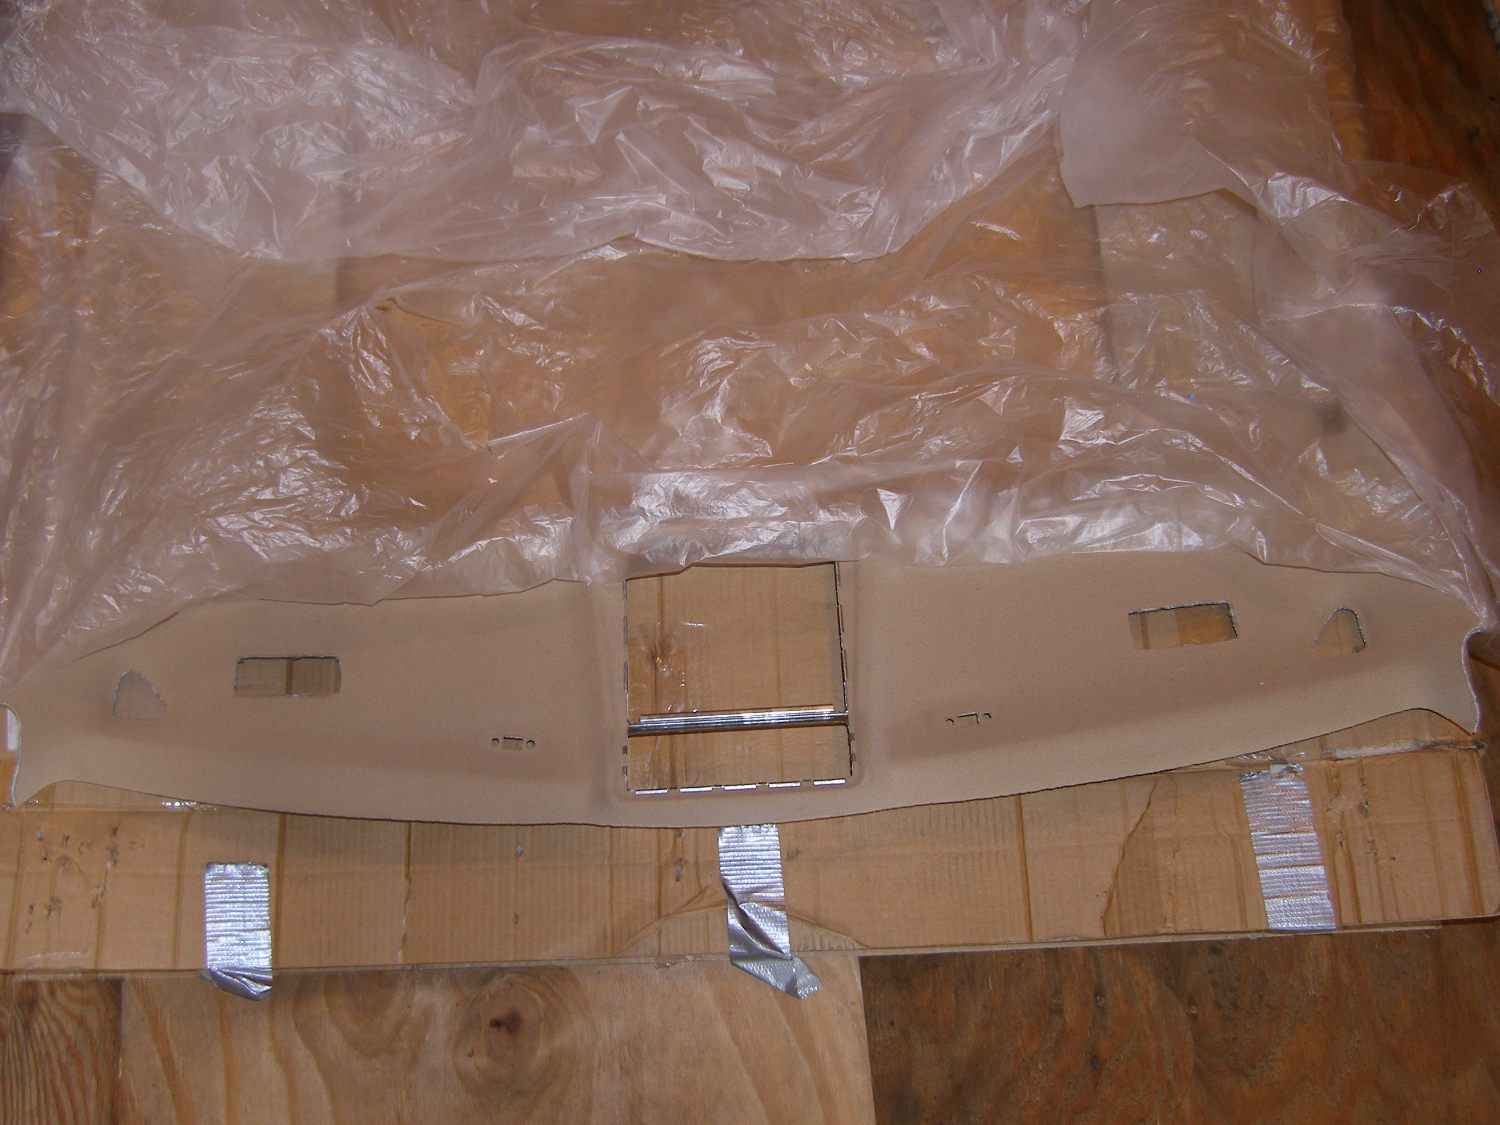 Here's the headliner with both visor light holes cut. She's ready for installation! |
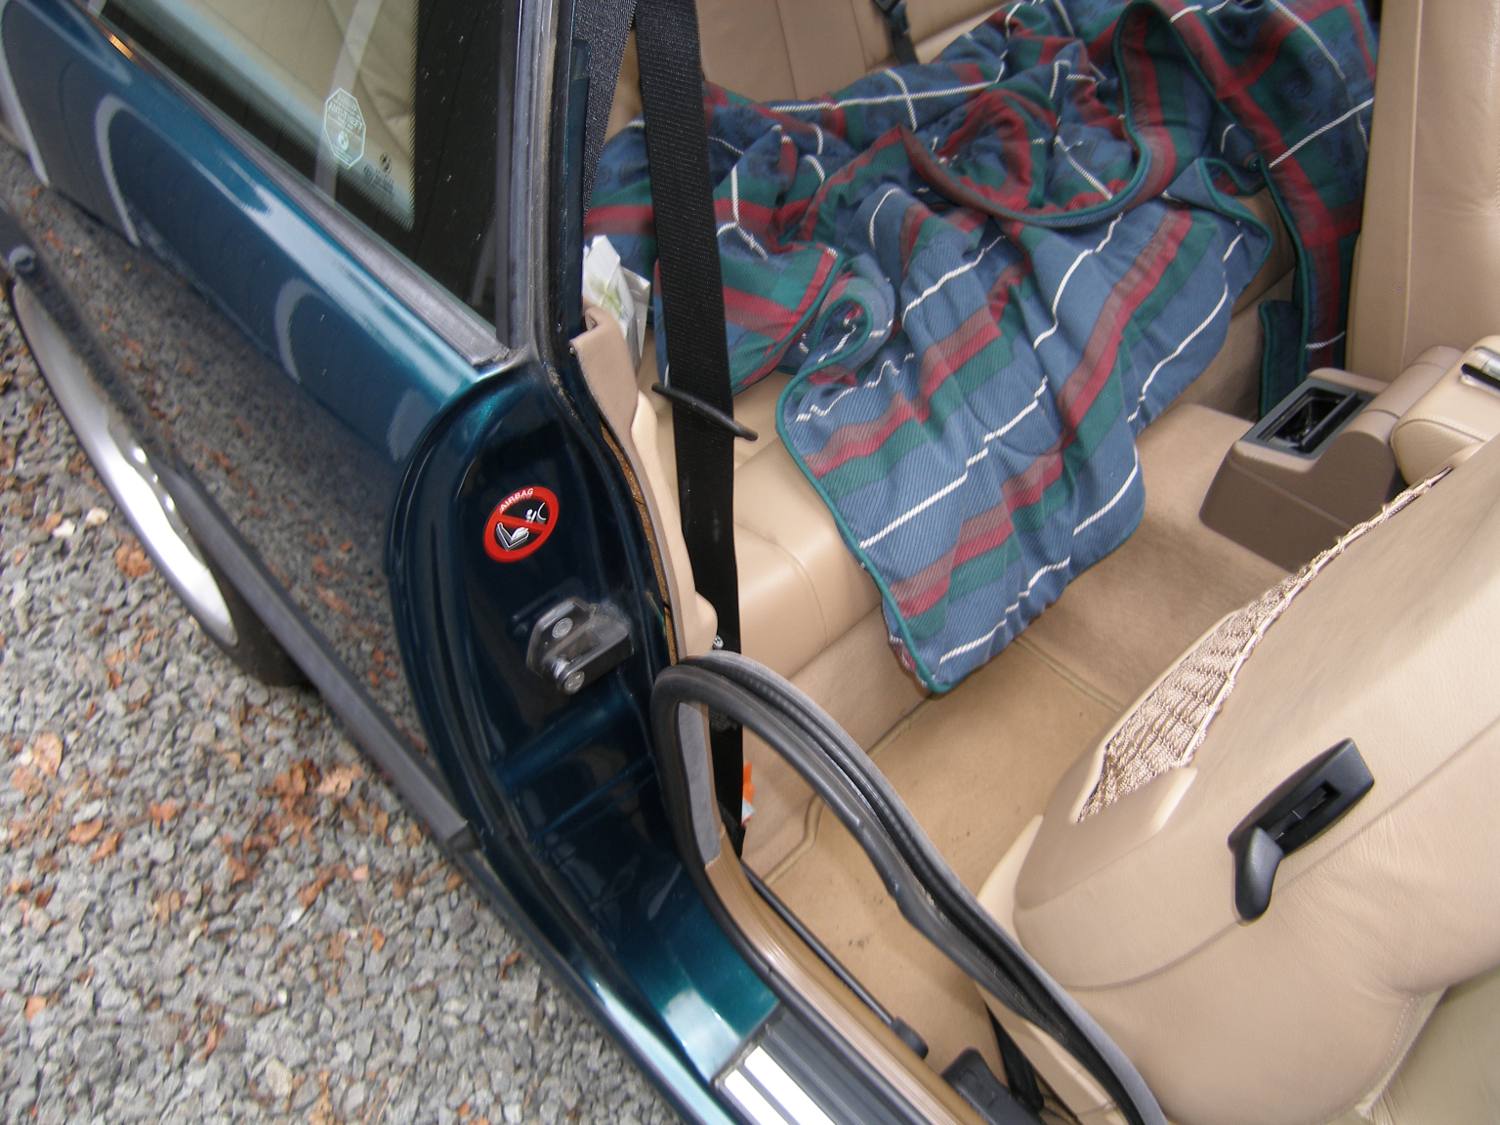 Getting the door and quarter window seals out of the way is essential to minimize the hassle associated with the headliner installation. |
At this point the headliner was supported by the rear seat headrests and sloping down in the front because the front seat backs were reclined. So I raised the seat backs and that, in turn, raised the front of the headliner. This also provided the clearance necessary to get into the back seat for the next phase of the installation. But first, knowing full well my installation technique would leave me short a few hands and unable to reach very far for anything, I took a couple minutes to stage the parts and fasteners I'd need at all four corners -- the oh-shit handles and their philips screws were placed on the parcel shelf near each speaker grill and the visors were placed on the dashboard with their screws on the center console.
While it's not obvious by looking at the headliner, either in the pictures I've provided or in person, the rear edge of the headliner is actually formed to hook around a metal flange built into the roofline. So I got into the back seat, pulled the headliner aft of the flange, pushed it up and then forward. Then, I put my left leg between the front seats and put the tip of my foot under the metal brace that helps secure the sex light assembly to the headliner. Now, if you're conjuring up the mental image here, basically I'm using my hands and feet to get this job done. Imagine, therefore, the trickery necessary to keep the headliner from slipping off the rear flange while I repurposed my hands to load up the screwdriver and install the handles. I won't bore you with the details here, but let's just say I cursed more than a few times at the spring-loaded nature of the handles. Those made an otherwise simple job an order of magnitude more difficult.
With the rear of the headliner now in place, I extricated myself from the rear seat while keeping my left hand under the headliner and sliding it forward so I could move into the front seat as necessary to fasten the front of the headliner. In this position I was able to lower the headliner slightly as required to thread the various sun visor electrical connectors through the corresponding holes in the headliner. As I looked more closely at the connectors I saw an opportunity to use them as a means to hold up the headliner while I preloaded the screwdriver and attached both visors. Total time up to this point was about 10 minutes, and it was not a fun 10 minutes, I can assure you. Still, I was quite relieved to be at this point so I took a quick break before installing the synthetic strip and calling it a day.
 A brand new headliner, sunroof fabric panel, and synthetic strip. I don't seem to remember all those contours in my headliner. :) |
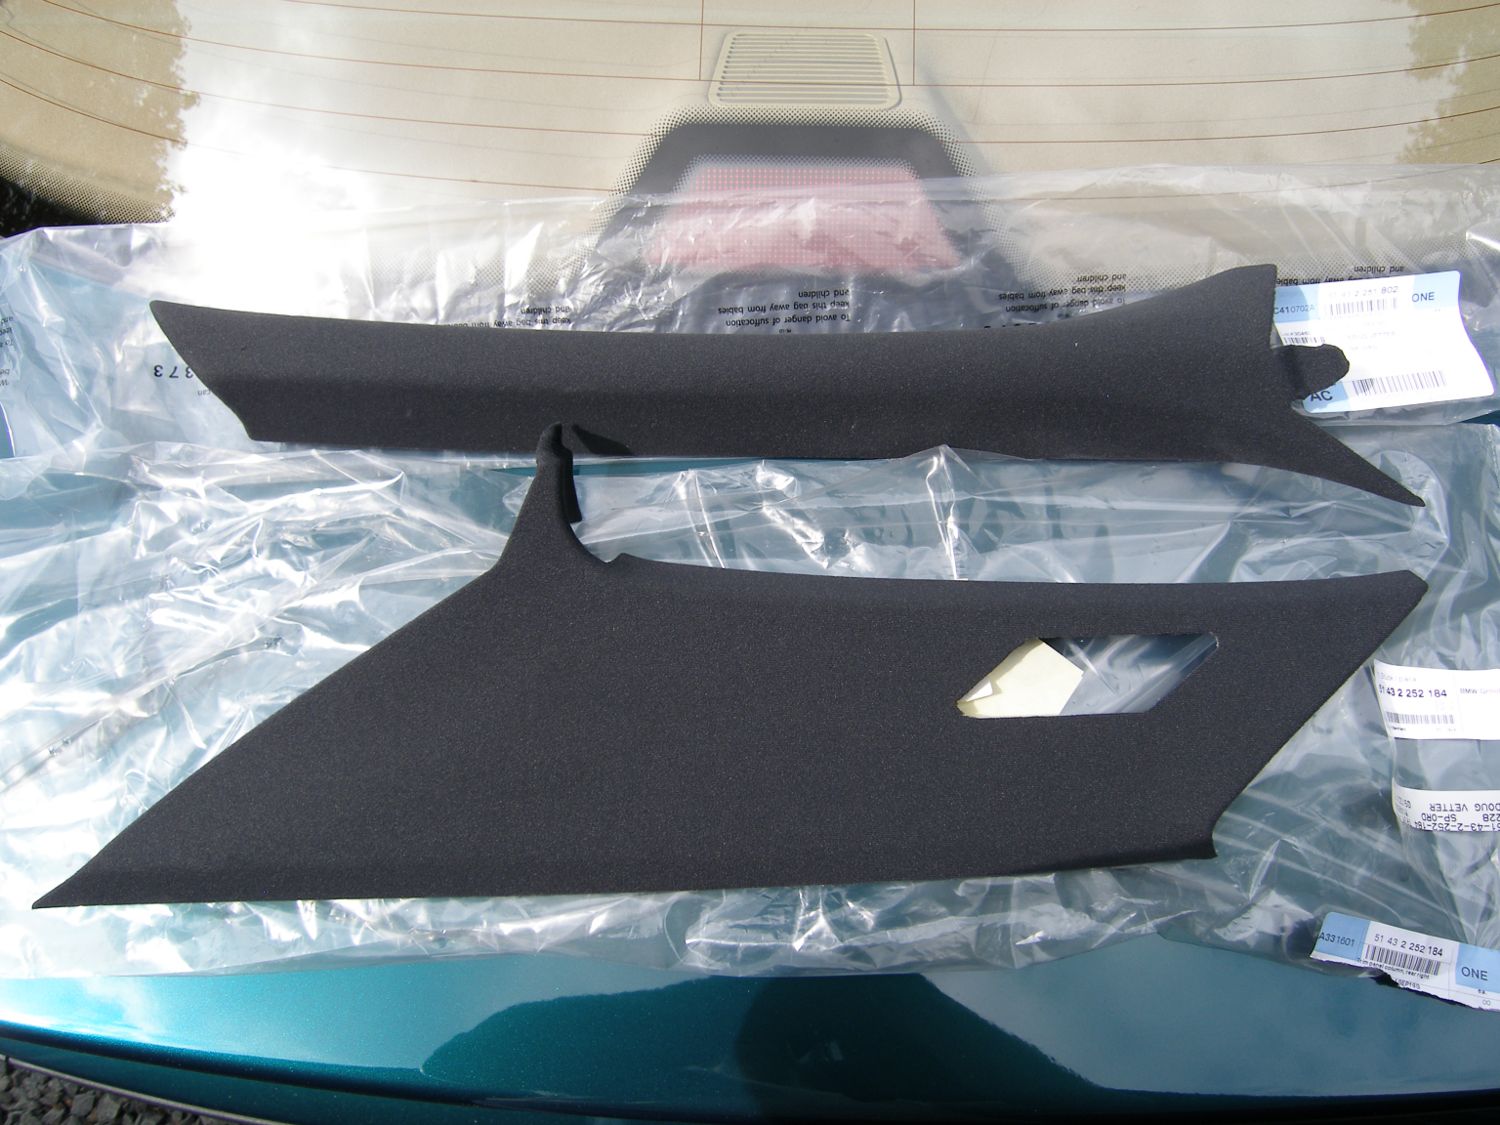 I wish I had been able to get a new black headliner because the new A and C pillar trims look really nice by themselves. |
 Too bad I think the trims clash with the headliner. I'm going with my original plan to recover them in matching beige fabric. |
Pillar Trim Experiment and Gahh Fabric Swatches
Last week I decided to purchase new A and C pillar trims from BMW for the whopping sum of $295. As mentioned earlier, they were no longer available in beige, so I had to pick another color. Since I had plans to recover them I could have purchased them in gray to save a couple bucks (believe it or not, these parts actually vary slightly in price based on color) but I settled on black so I could conduct a simple experiment. In a last ditch effort to avoid the expense and hassle of recovering the parts I held them in place to see if I could tolerate the look.
As expected, the E46 ZHP interior has conditioned me to accept the contrast of the black pillar trims in relation to the dark beige dashboard and parcel shelf, but I didn't like how they contrasted with the much lighter beige headliner. While it's true that people have done worse things to these interiors and some people might actually consider the contrast cool looking, I just wasn't digging it. So the plan remains to find an appropriate fabric and recover them.
Toward that end, I ordered fabric and leather swatches from Gahh and expect them later in this week. If the fabric checks out, I'll order a couple yards. I'm not sure whether I'll recover the trims myself or pay my local upholstery guy to do the job, but both options are on the table. Incidentally, the leather swatches are for the front seats that I plan to do next year. Gahh has a couple different beige leathers in stock so this will help nail down the specific color I'll need when the time comes.
Mileage: 212050, Parts: $295