


Saturday, June 2, 2012
Front Suspension Overhaul - Day 4
Back on Wednesday when I returned to the salt mine I brought a box of parts to Don at Mr. M Car. I asked him to build up my struts, pull the old control arm bushings off the existing arms, toss the old arms in the garbage, and then press in the new M3 bushings into the lollypops.
When he began to examine the parts he seemed as intrigued by the new aluminum guide supports as I was when I received them. At first he thought I had bought the wrong parts but I told him I ordered the correct part numbers and that is what the dealer supplied. Curious, he went over to his copy of the ETK and ultimately determined that these are E85 (Z4) strut mounts and they have in fact superceded the existing E36 mounts which were made out of steel.
He then asked for my preference: did I want to have him press in the control arm bushings such that the "windows" were horizontal, as designed by BMW, or vertical in order to produce an effect equivalent to solid bushings. I naturally asked him what kind of a difference I might expect and he said "Minor, but perceptable. It's what we do for all the 'go-fast' guys". I said that I liked the idea of tightening up the front end and perhaps delivering a bit more road feel but I conceded that the car is intended for the street so we should probably go with the factory setup. Still, I suggested, if the effect is minor it probably doesn't matter -- "use your best judgement". So we'll see what he does when I pick them up next week. I'm sure I'll be happy with either setup.
Today when I got to the garage I expected to only do two things: remove the steering rack and remove the subframe from the vehicle as I figured this would signal the end of major disassembly. By the time I left the garage at the end of the day I got those two jobs done, installed a new audio system in the garage since my old one blew up last weekend, removed the fender liners and pork chops, cleaned up the rack and degreased the front end as required to inspect all the structural steel in the front end.
 My local tool house didn't have a thin 32mm crow's foot handy so I bought a fan tool. Worked like a charm. |
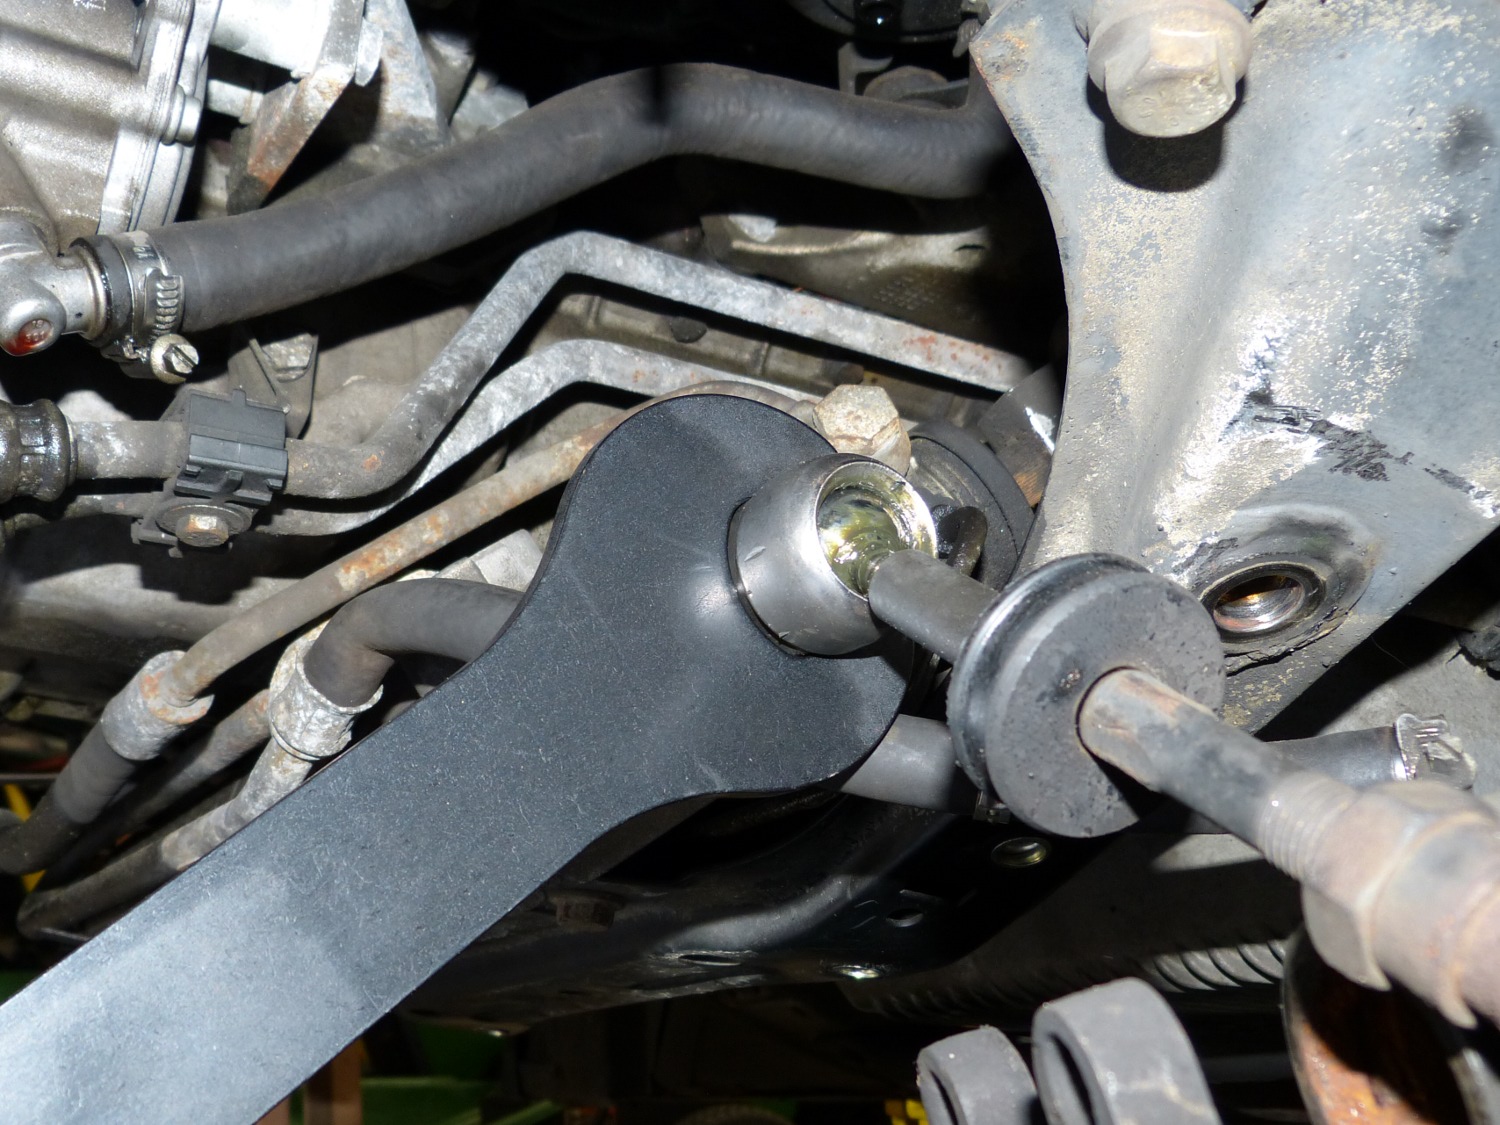
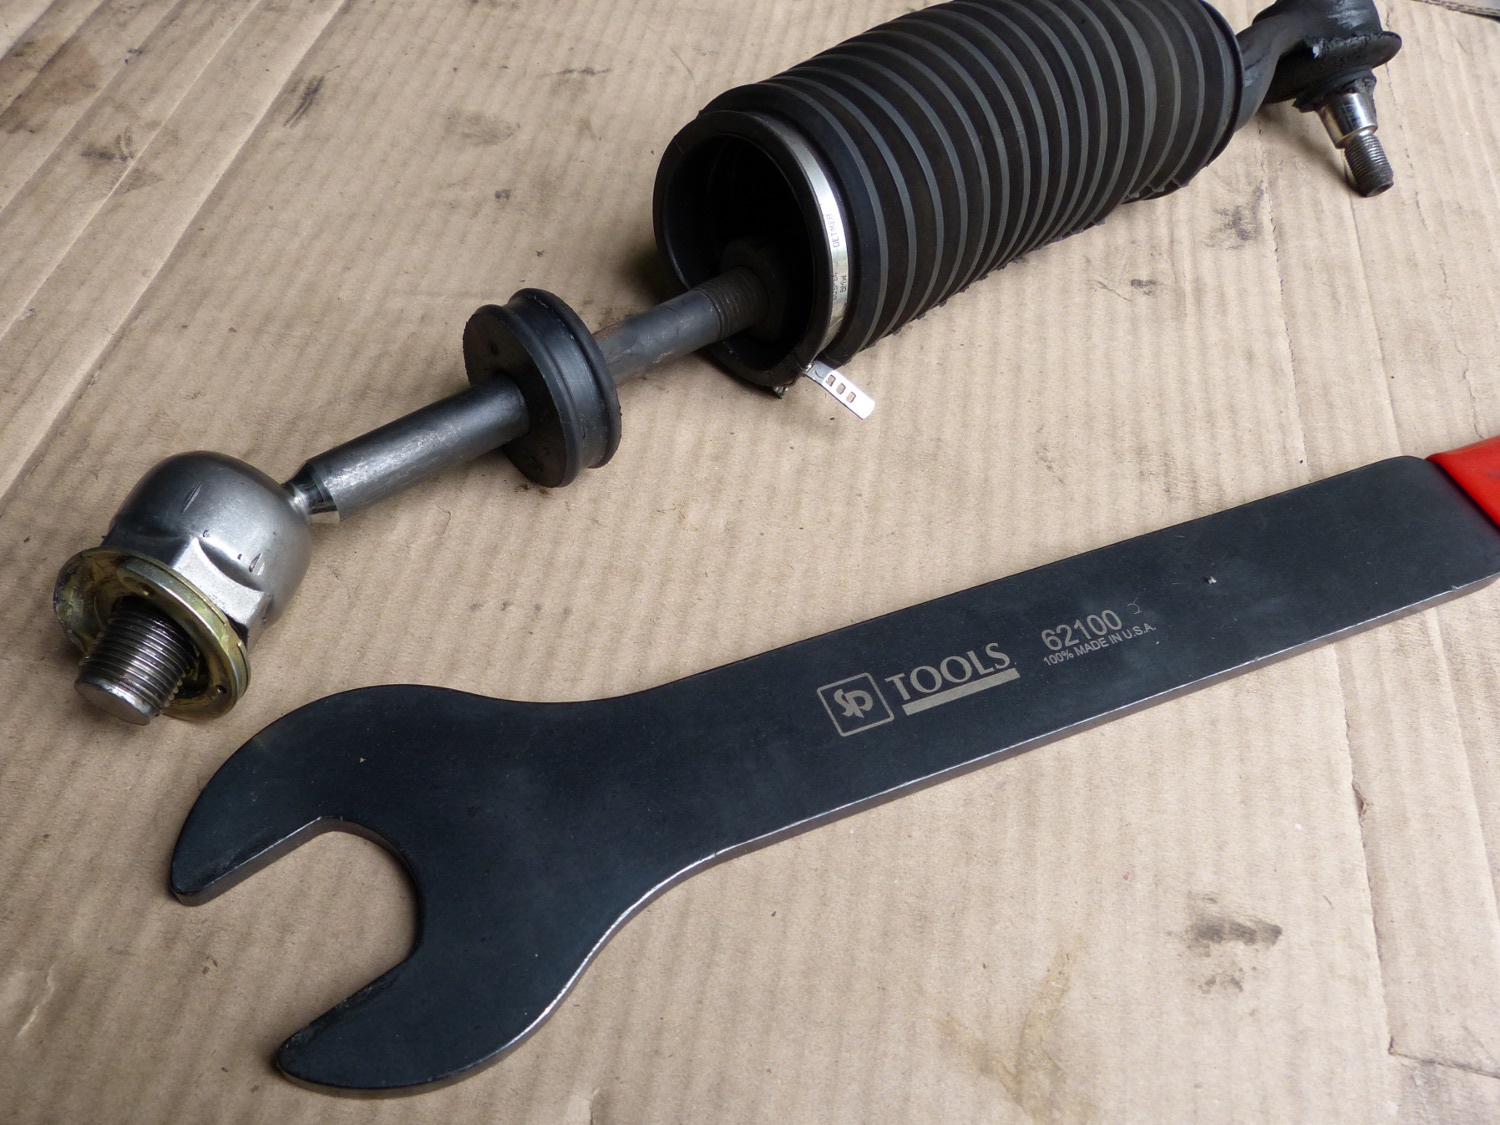 Here you can see the tierod removed with the gold-colored "M-style" locking ring and the tool I used I remove the tierod. I still need a crow's foot but I'll get that later. |
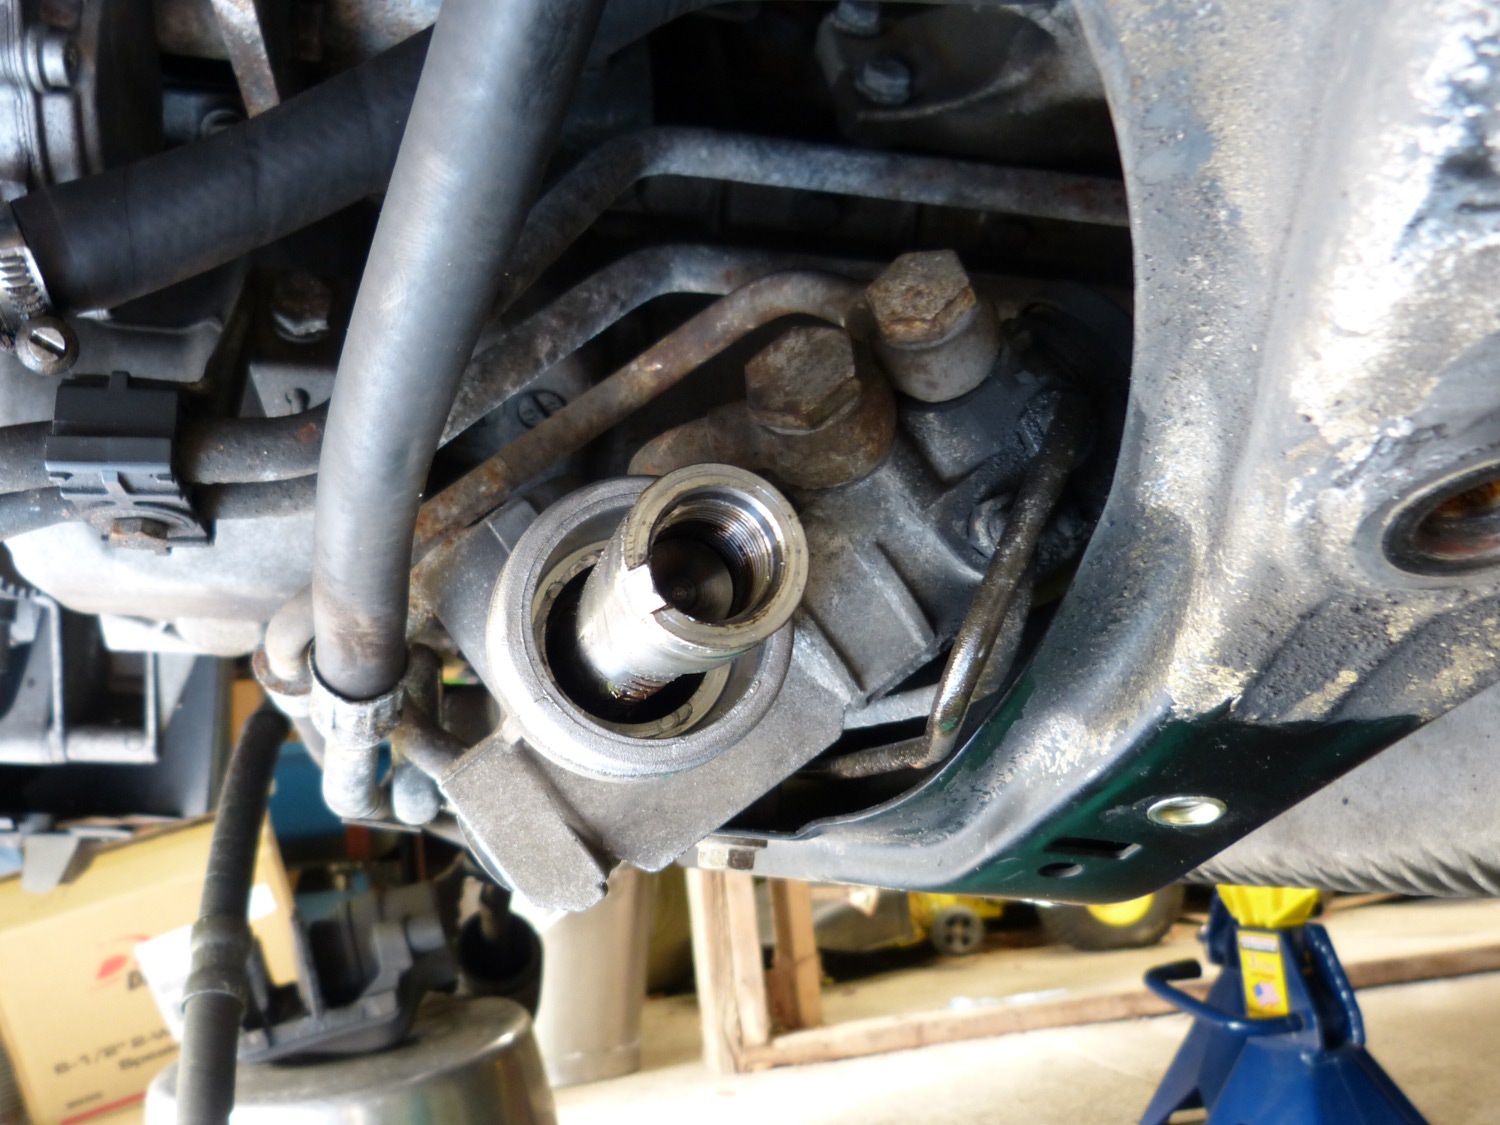 The steering rack shaft as shown with the inner tierod removed. The nub on the M-style locking ring mates with the keyway milled into the shaft. |
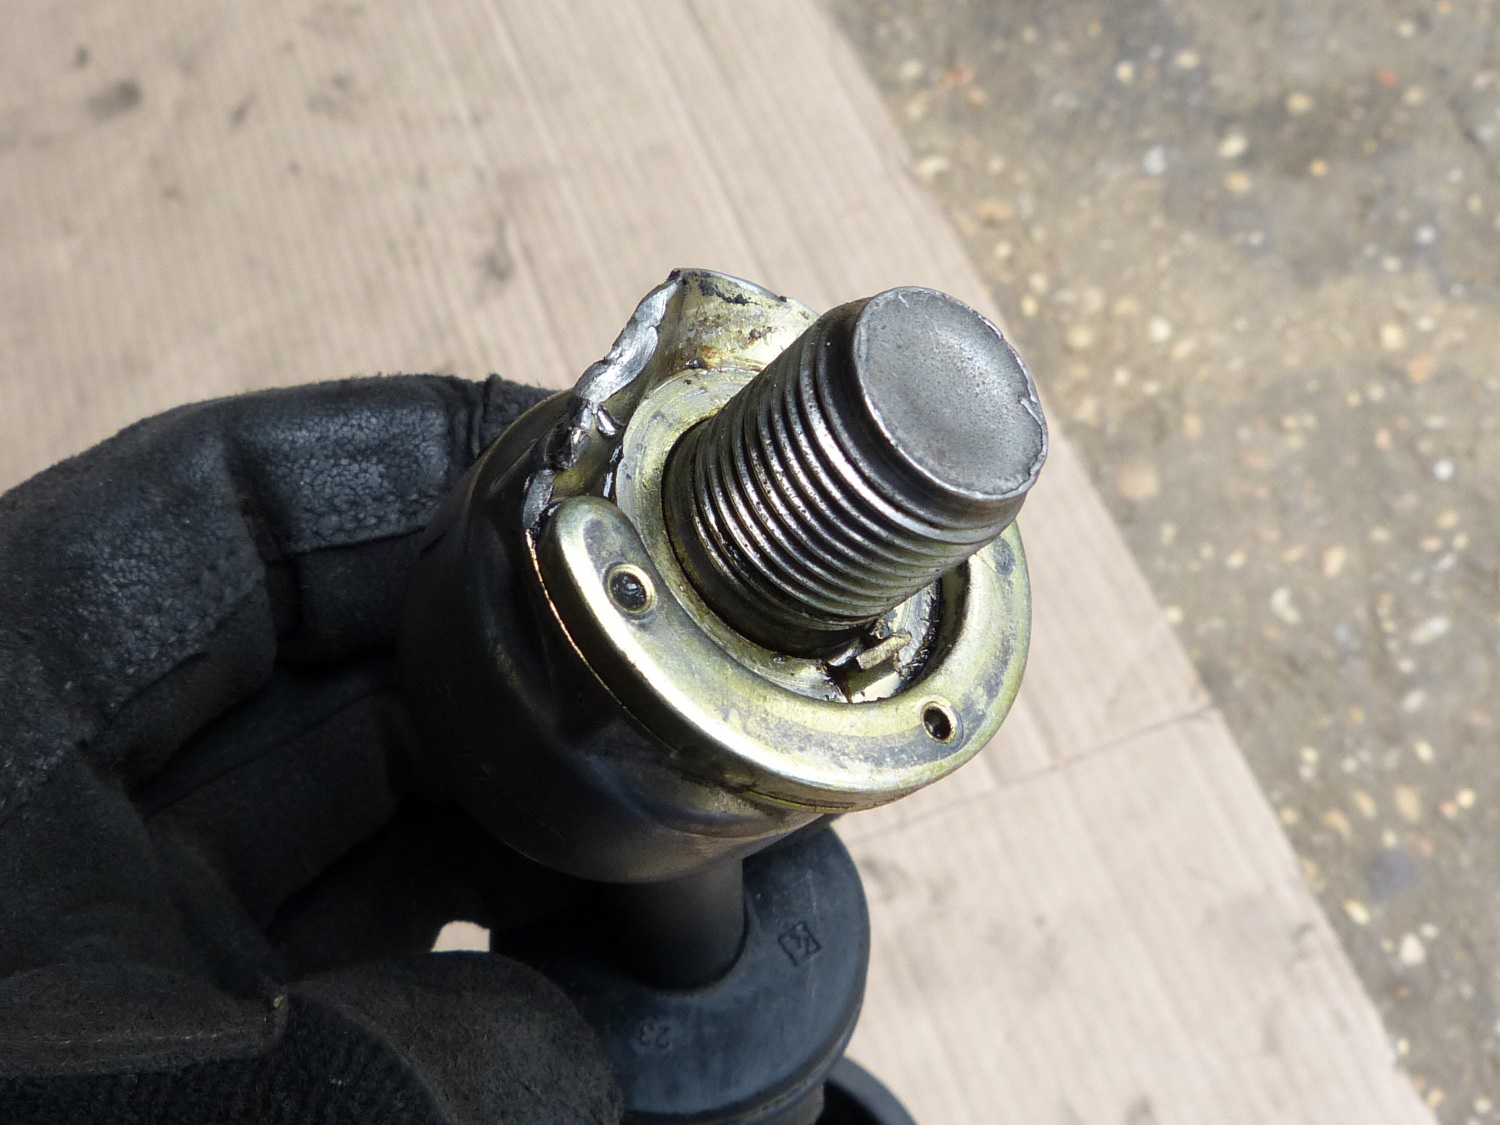 A closeup of the M-style locking ring. After the tierod is installed and torqued properly the thin portion of the ring is bent over the flats to prevent the tierod from loosening. |
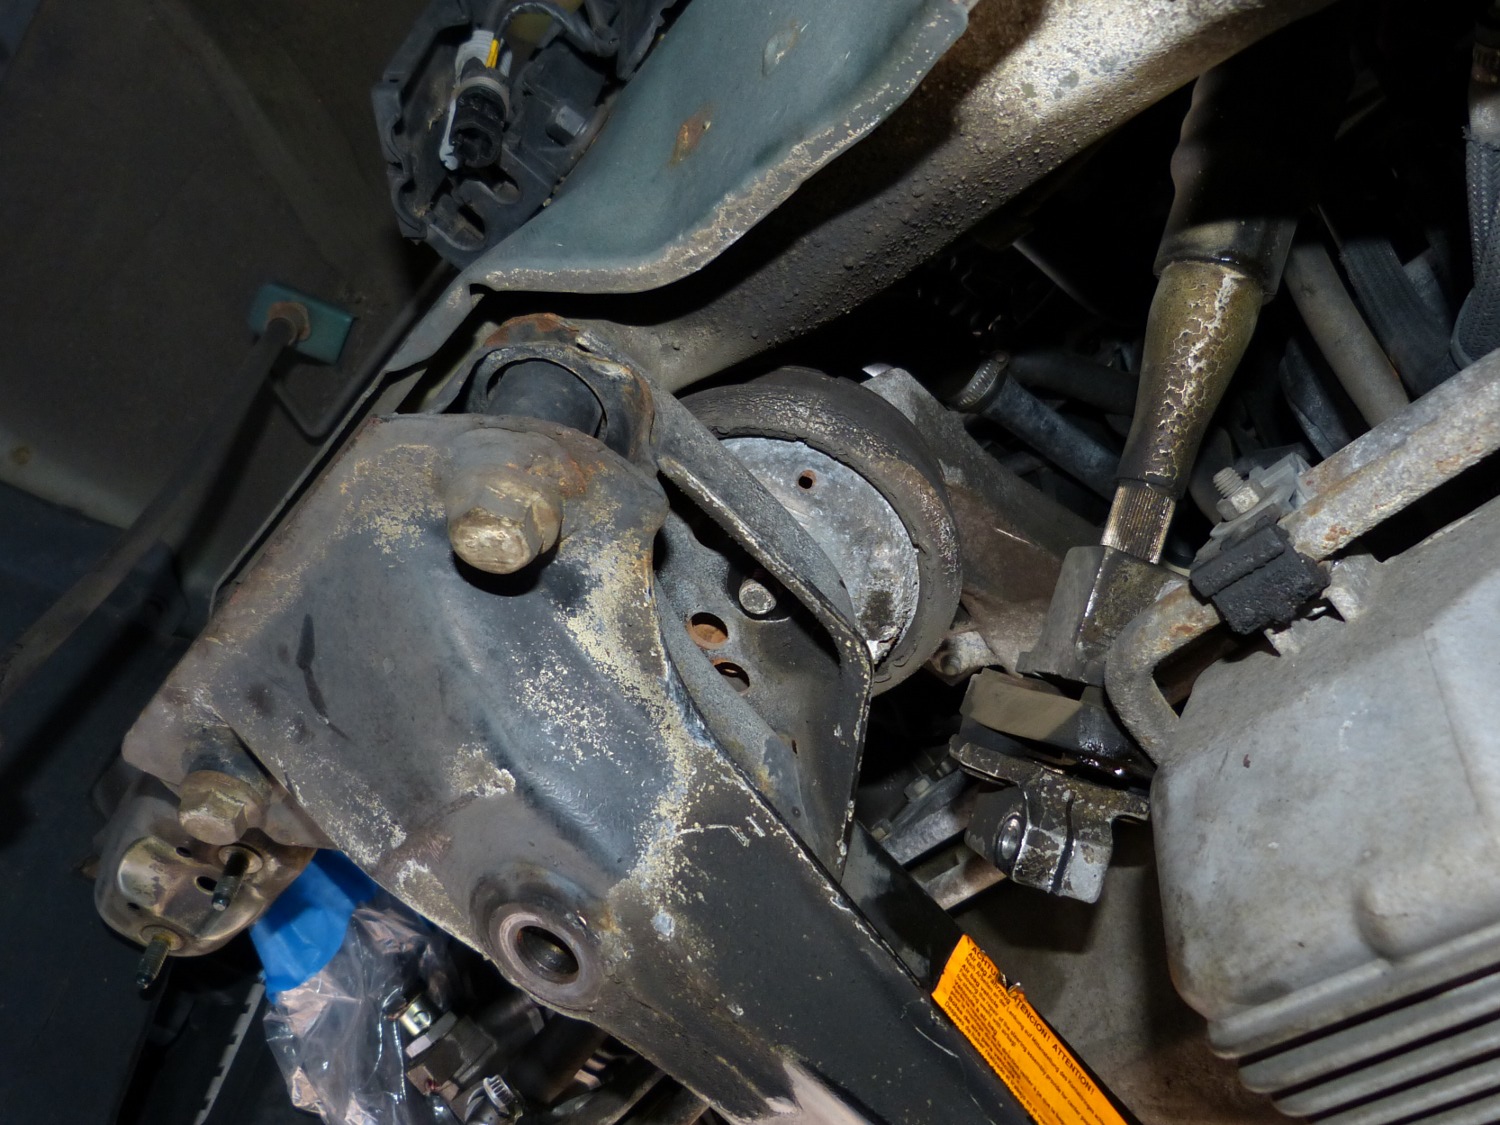 Viewed from under the left side of the car you can see the engine mount stud resting just above the hole in the subframe with the engine jacked up enough to remove the rack. |
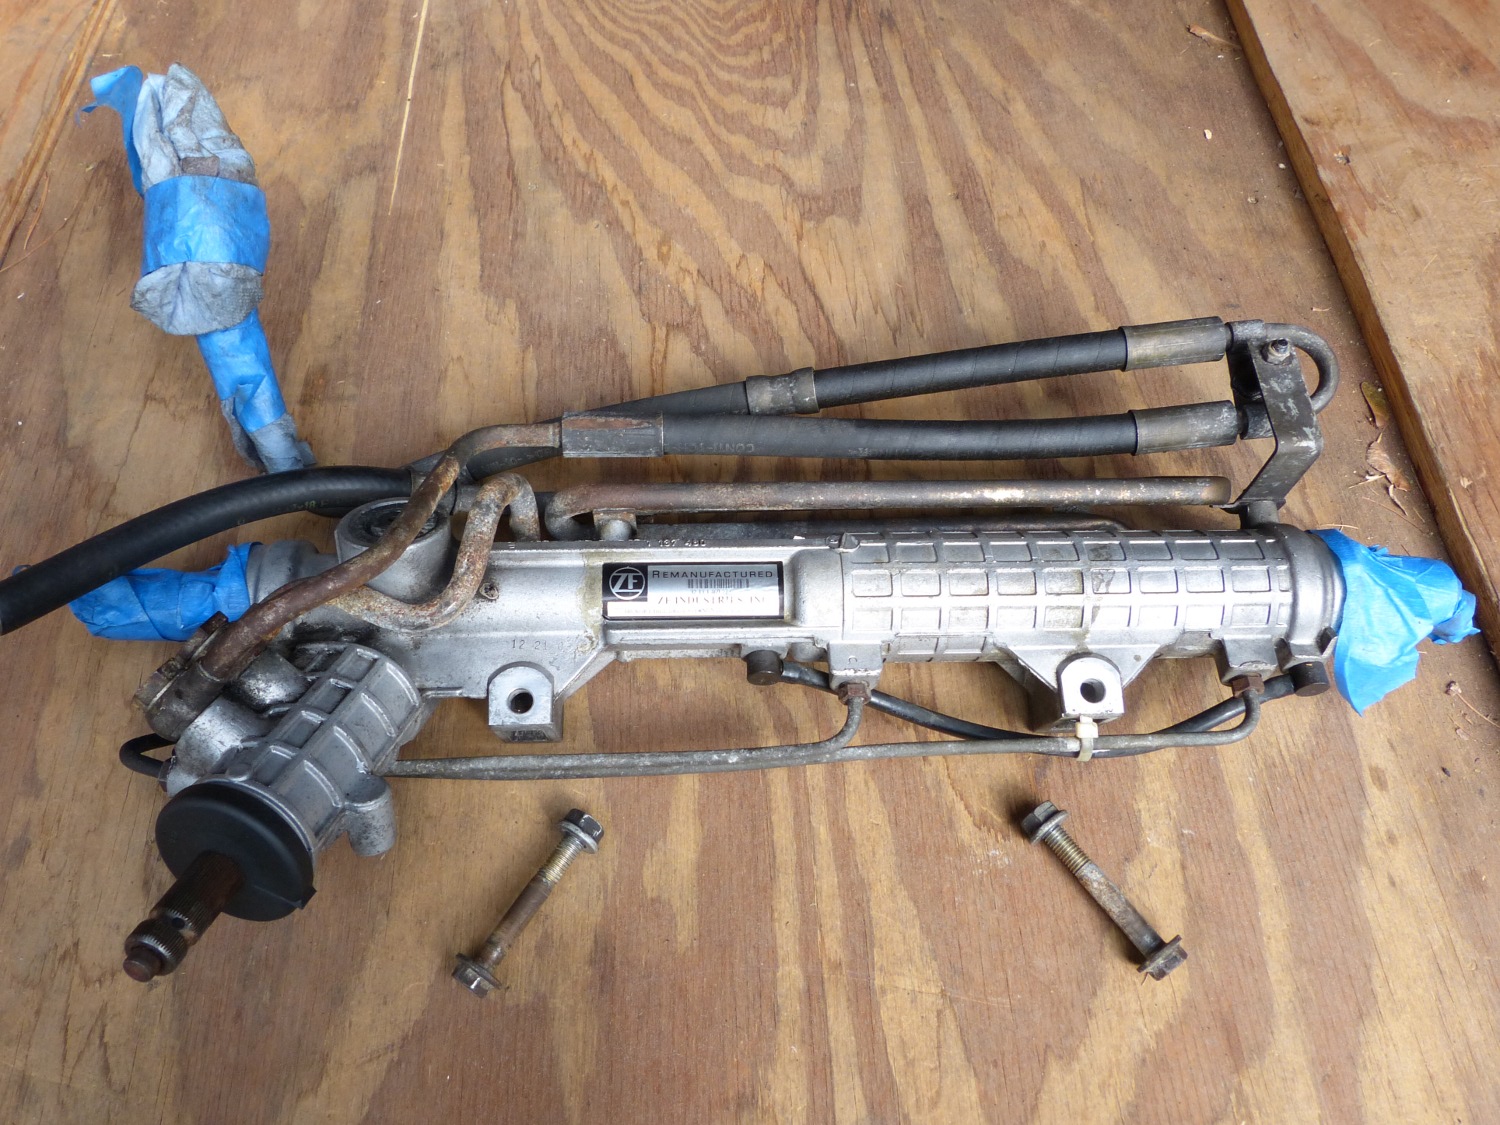 The steering rack removed. This rack is a ZF remanufactured unit replaced at 90K miles because as a noob owner I was stupid enough to believe BMW that you don't have to change power steering fluid regularly. |
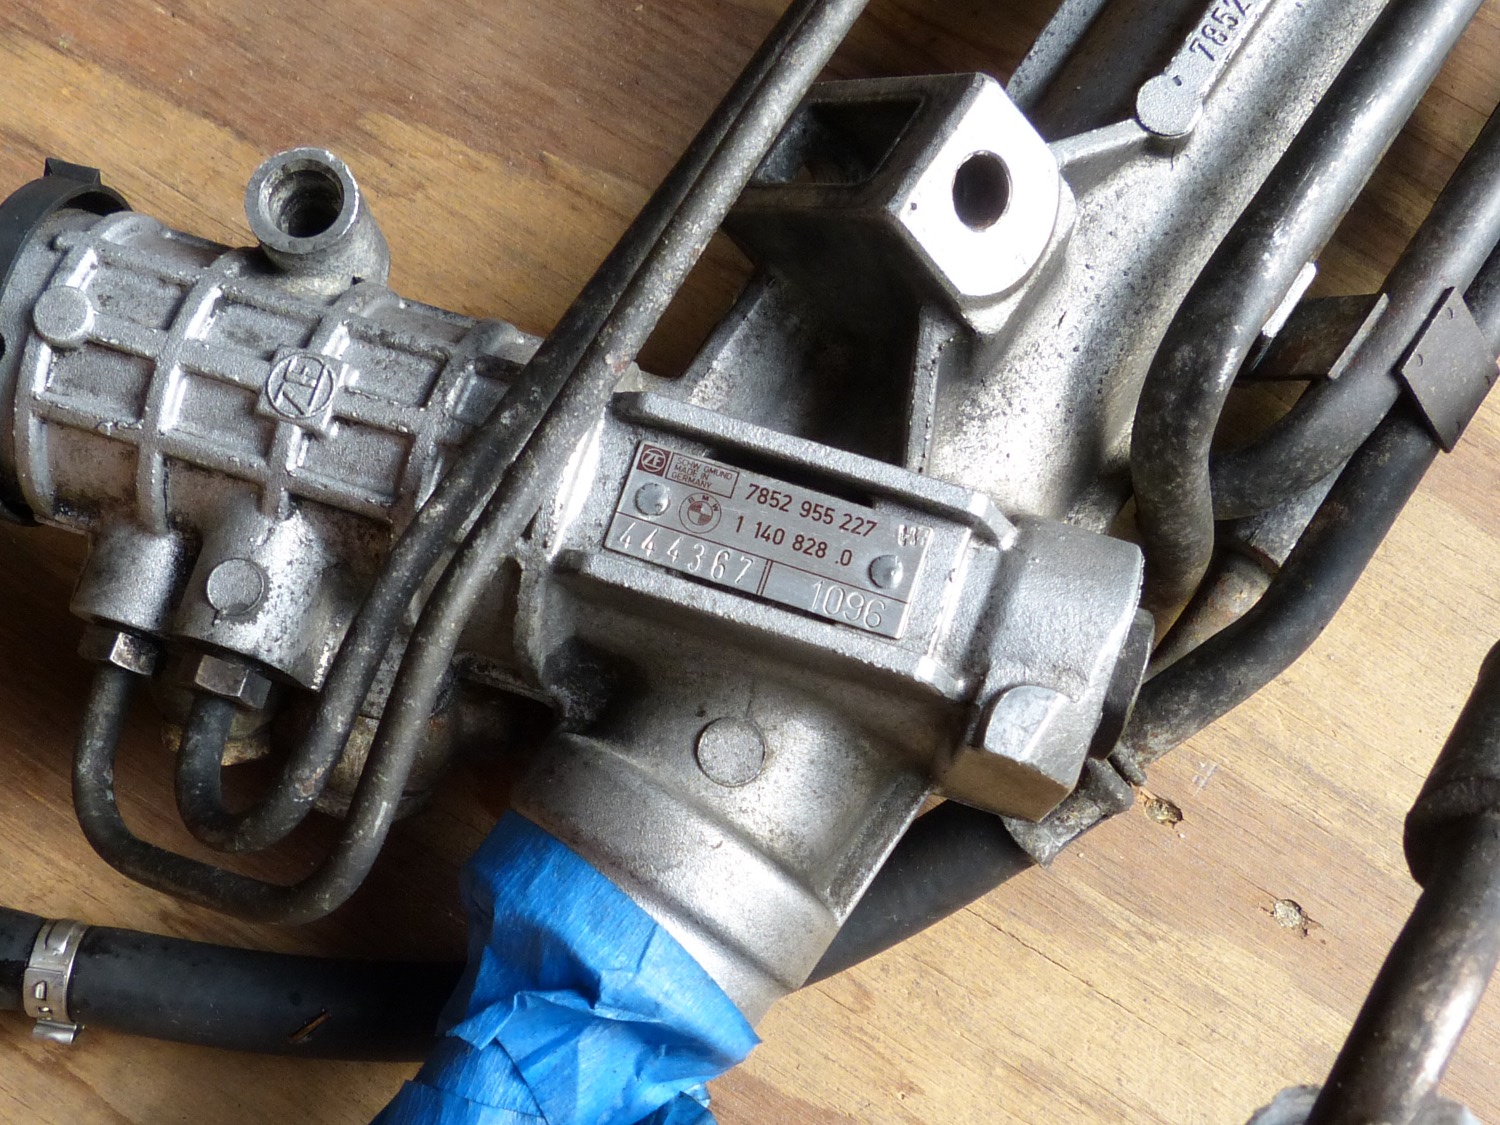 A closeup of the steering rack ID plate with model number. |
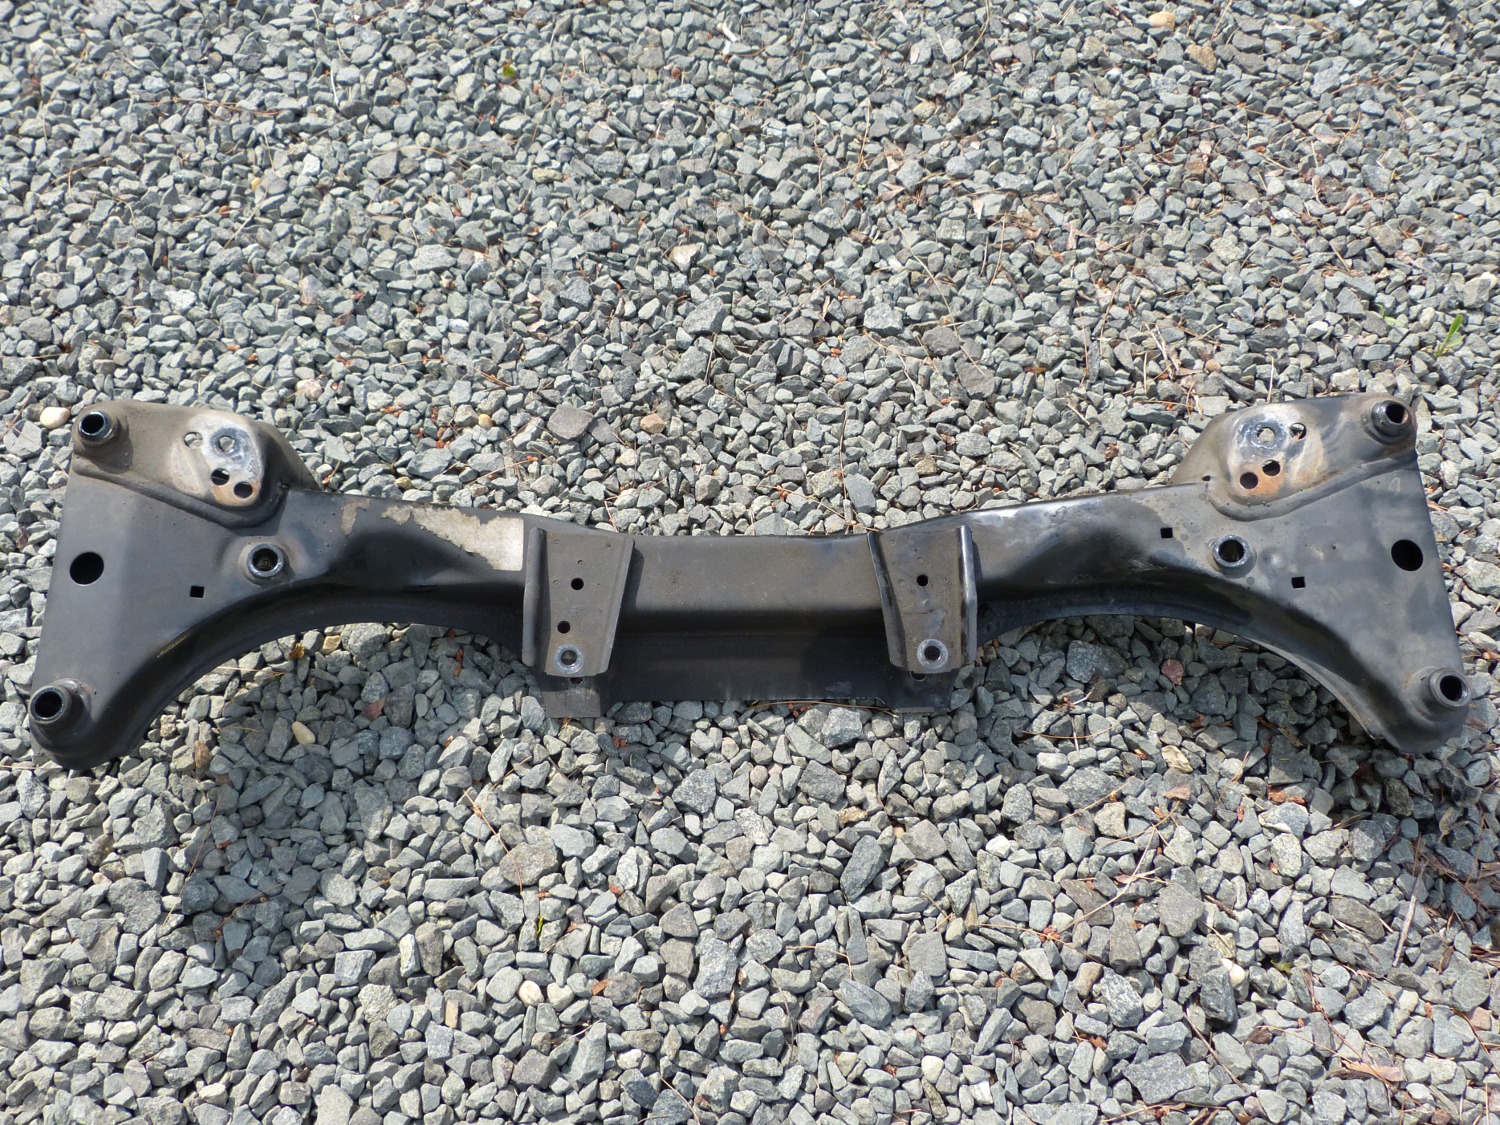 My prize: the front subframe removed. I degreased the part after this but I wanted to show it's original condition after 225K miles in service. |
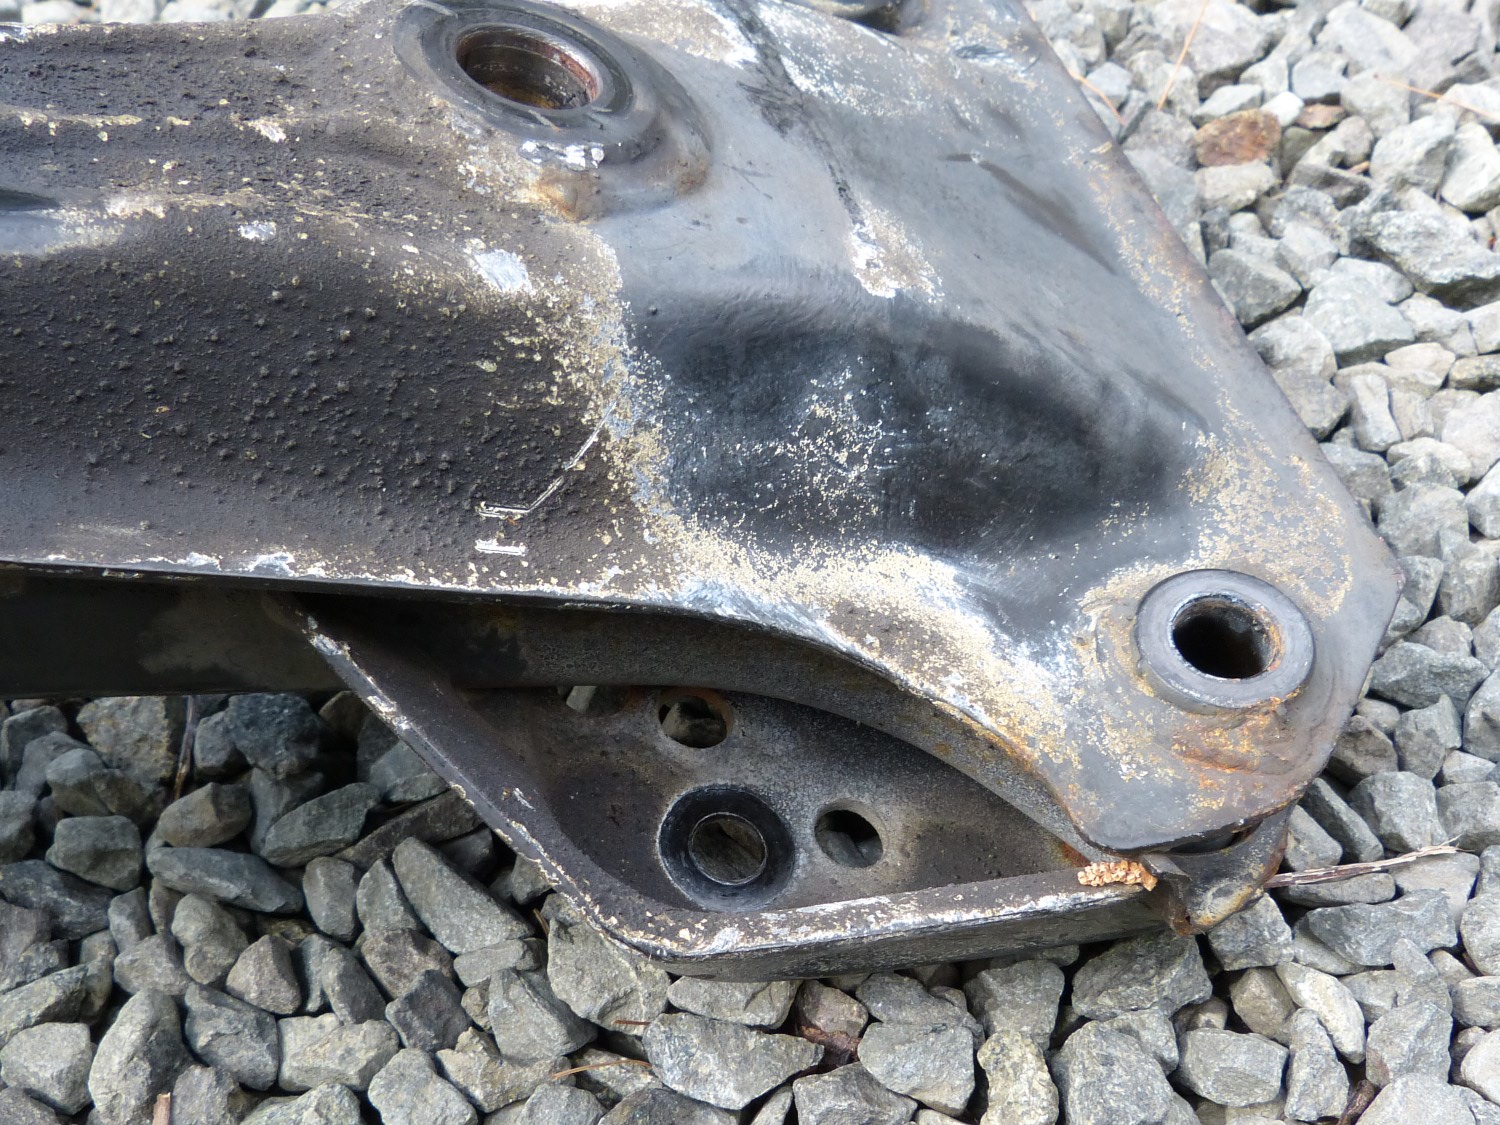 The location of the subframe that will receive the TMS reinforcement kit. |
Earlier in the week I had asked Don for any tips he had for removal of the rack. He told me that the easiest way to get the clearance required to get a wrench on the left side nut on the top of the rack is simply to remove the lower engine mount nuts and the engine driven fan, then jack up the engine as required. Since I had to disconnect the mounts from the subframe anyway I did that and wound up jacking the engine about 3/4", or enough for the engine mount stud to fully exit the hole in the subframe. Worked like a charm. I started to remove the bolts with my ratchet but when that started to take an annoyingly long time I decided to break out the air tools, which naturally removed the bolts in a few moments.
Don also suggested using a combination of a large flat blade screwdriver and a pry bar to open the clamp-like isolation joint and use some PB blaster in order to help free the splined shaft. I did both of those things and still had some difficulty removing it but after a bunch of wiggling it finally came free. The downside is that as I tilted and jostled the rack I realized that I had changed the center position of the rack. I found the splined shaft basically impossible to mark in any meaningful way, in part because I fully expected to replace the mating component (the isolation joint). So at this point I'm not 100% sure what I'm going to do when it comes time to align the splined shafts, but I'll probably ping my technician or maybe Don this week to ask. They replace racks every other day so it can't be rocket science. I am, incidentally, considering the purchase of TMS's rack centering tool as the E36 version will work with my "all aluminum" rack model.
Once the rack was removed I decided to spend some time degreasing it. I first taped up the exposed steering shafts to prevent them from being scratched and then mixed up a strong batch of the same citrus degreaser I used on the rear suspension overhaul. It made relatively quick work of removing the gunk that had formed on the rack and managed to expose the various model and name plates on the rack. While I was at it I degreased the front of the engine driven fan clutch, since that seemed to have acquired a thick, sticky film of grease and dust that I figured might affect the accuracy of the bimetal thermostat.
After taking some pictures and video I decided to remove the fender liners so I could degrease the body structure and wheel wells before calling it a day. Everything went as planned until it came time to remove one of the nuts on the left side abs sensor junction box. Without any warning the stud simply snapped off as I began to loosen the nut. It's clear that I'll have to drill out what's left of the stud and then use a blind nut and screw of some sort (probably the same used to fasten the fender liners to the body) to properly reattach the junction box to the vehicle. Oh well. That's life in the big city.
Once the fender liners and pork chops were removed I set about to degrease each wheel well and gave everything a good rinse before I inspected the vehicle structure. I'm happy to report that BMW really had it's shit together when it coated these vehicles during manufacturing. Once I cleaned off all the gunk, which naturally made the water in my bucket pitch black, I found no rust anywhere. And despite the pounding this car has taken over the past 14 years I saw no obvious cracks or other damage. As far as I'm concerned I'm good to go at this point and can install the new fender liners as soon as I order new installation hardware. I could use the existing blind nuts and screws but they're all rusted and my hope is that the new parts will be zinc plated, as are many of the new fasteners provided by BMW.
Videos:
- Subframe inspection following removal
- Closeup of steering rack
- Front end body degreasing and inspection
- [Extra Clip] New garage audio system
Mileage: 222600, Parts: $87