


Wednesday, August 24, 2016
Front Passenger Seat Refurb and Assembly
With the front driver seat ready for installation my attention turned to the front passenger seat. As expected this was largely a repeat of the driver side with some notable exceptions.
Shell Repaint
I had already disassembled the passenger seat last week to snatch the backrest and thigh rest foam for the driver seat so I removed the passenger plastic shell base to wash and repaint it. This was particularly satisfying as the base was covered with sticky remnants of my food spill in 2000 and the hose quickly removed most of it. What remained required a bit of scrubbing, but it eventually cleaned up nicely so I was then able to wipe it down with IPA and paint it with LVP. For what it's worth, the can was about 1/3 full by the time I was done, so one can is more than enough to refinish two seat bases, assuming of course that you only refinish the areas visible once the seat is assembled.
Removal of Barbed Fasteners
Since I used a new foam base on the driver seat I had never had to remove any existing barbed fasteners, but as I was reusing my existing passenger side seat base foam I had to remove what remained of the two barbed fasteners from the mounting bosses.
I began by using a pair of diagonal cutters to remove what remained of the vertical post. I then tried to use a hole punch to push the remainder of the fastener through the mounting boss as my technician recommended but I found that the flange that is molded into the fastener would not break and each hit would noticeably move the mounting boss.
Given that the seat base is apparently now made of unobtainium I did not want to risk breaking the mounting boss so I worked at the flange to break off little pieces until most of it was gone. At that point the punch did its work and pushed the remainder of the fastener below the boss and into the foam. On my seat base the boss was open on one side (though surrounded with foam) so I used a pair of longnose pliers to extract the fastener and toss it in the bin. Naturally, I repeated this process on the other side.
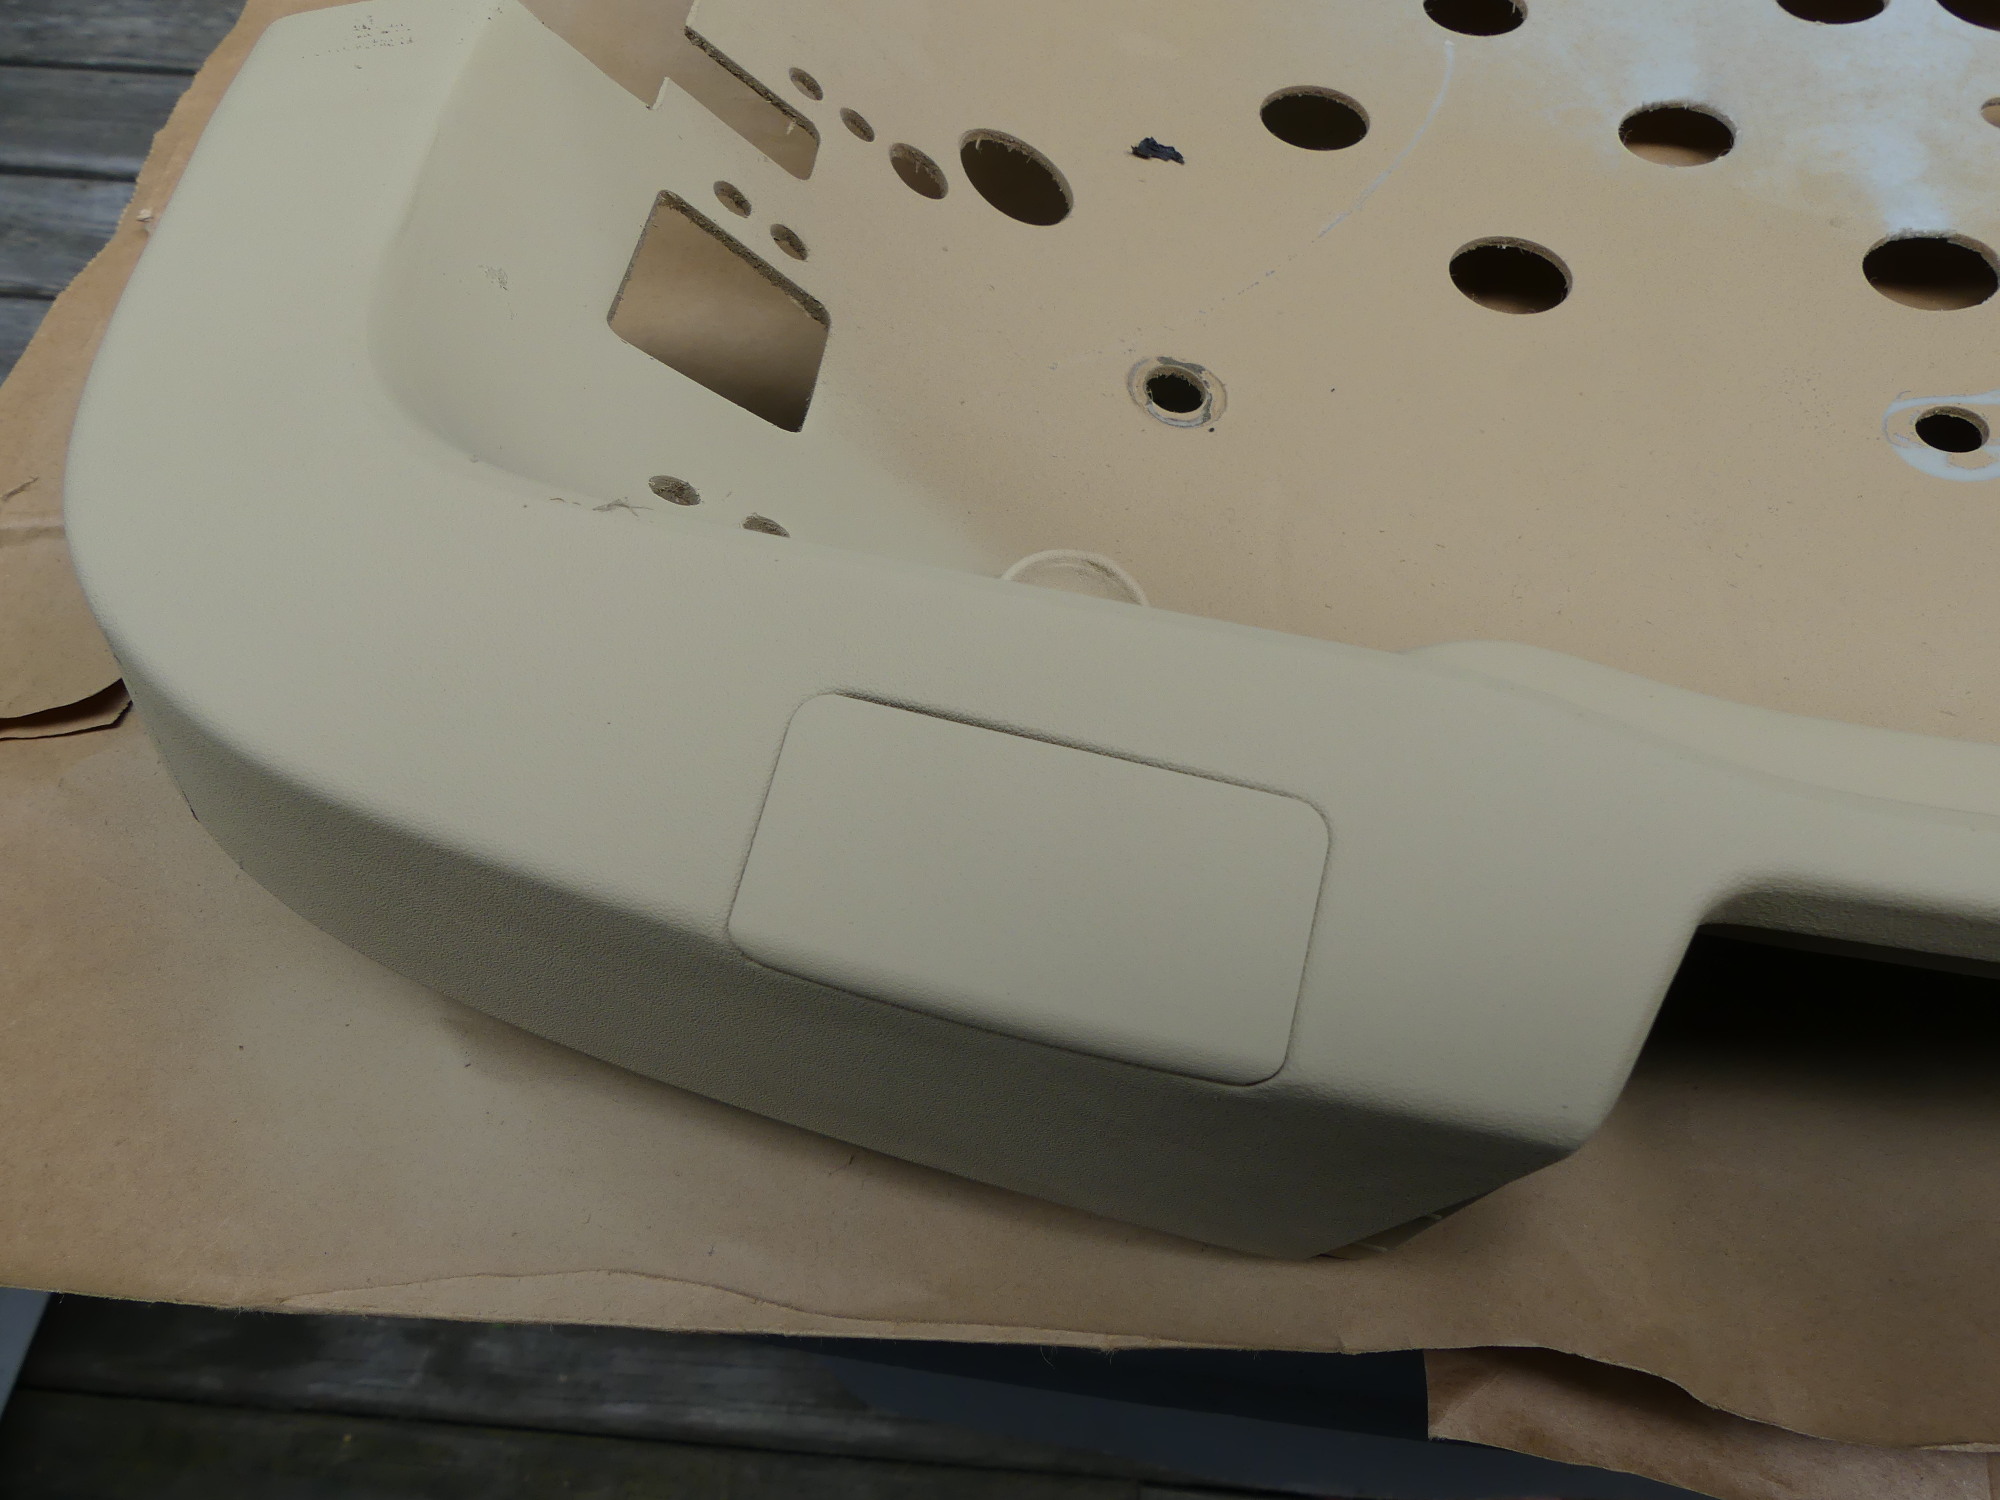 The passenger seat base being painted. Note that I did not bother to paint the areas that will not be visible when the seat is reassembled. |
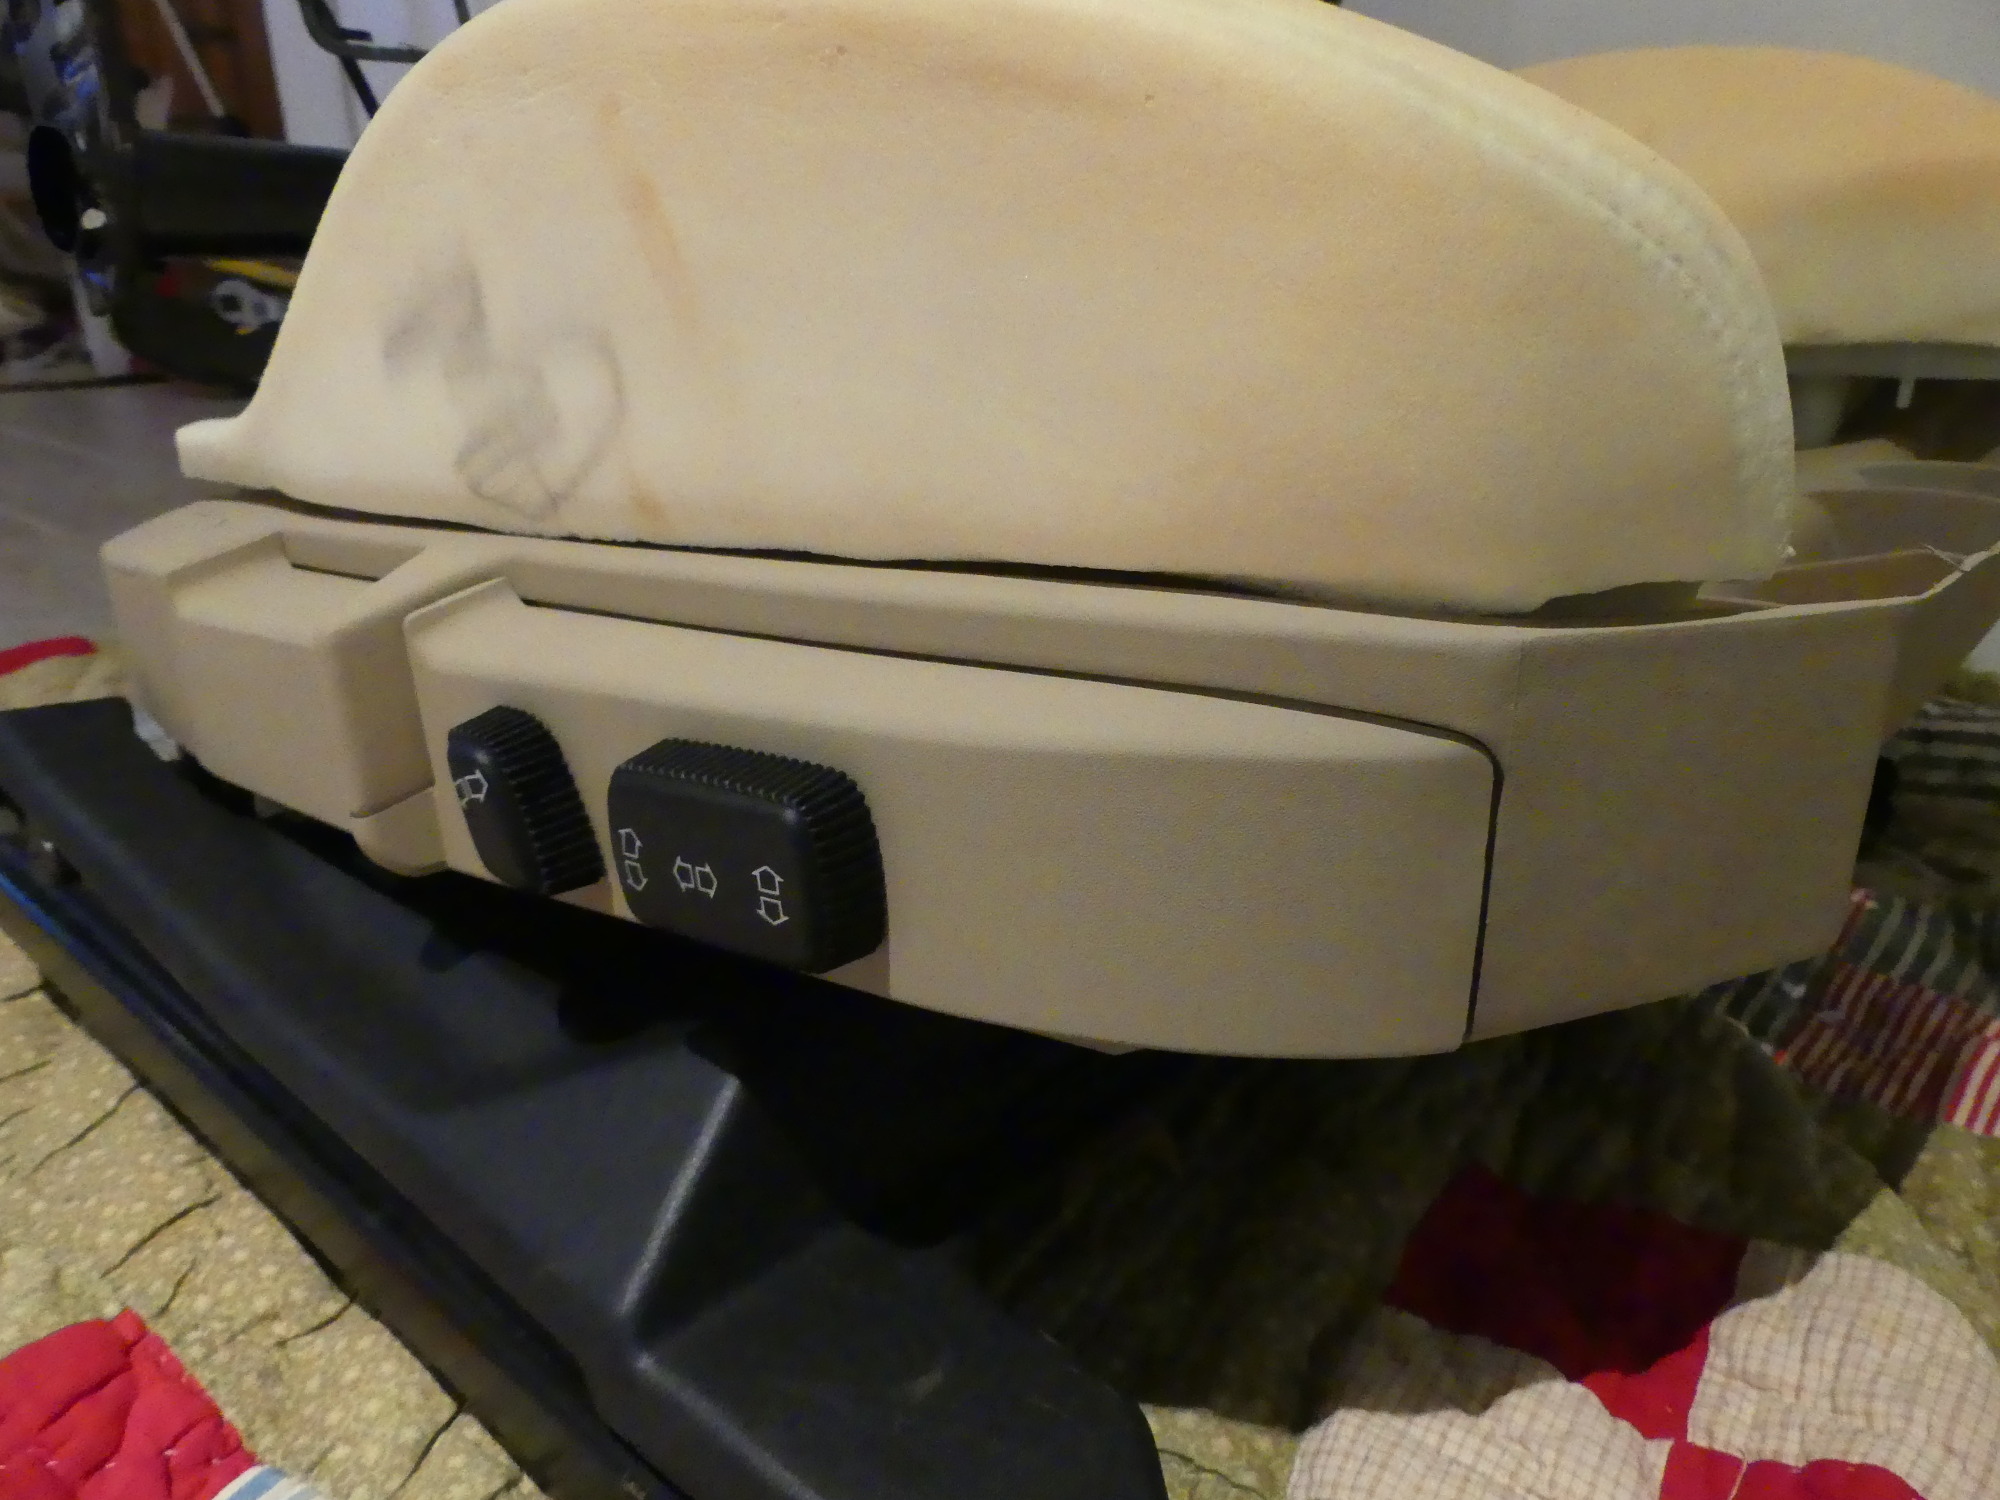 A closeup of the passenger seat controls mounted to the freshly painted seat base and switch panel. No more scuffs on the front corner! |
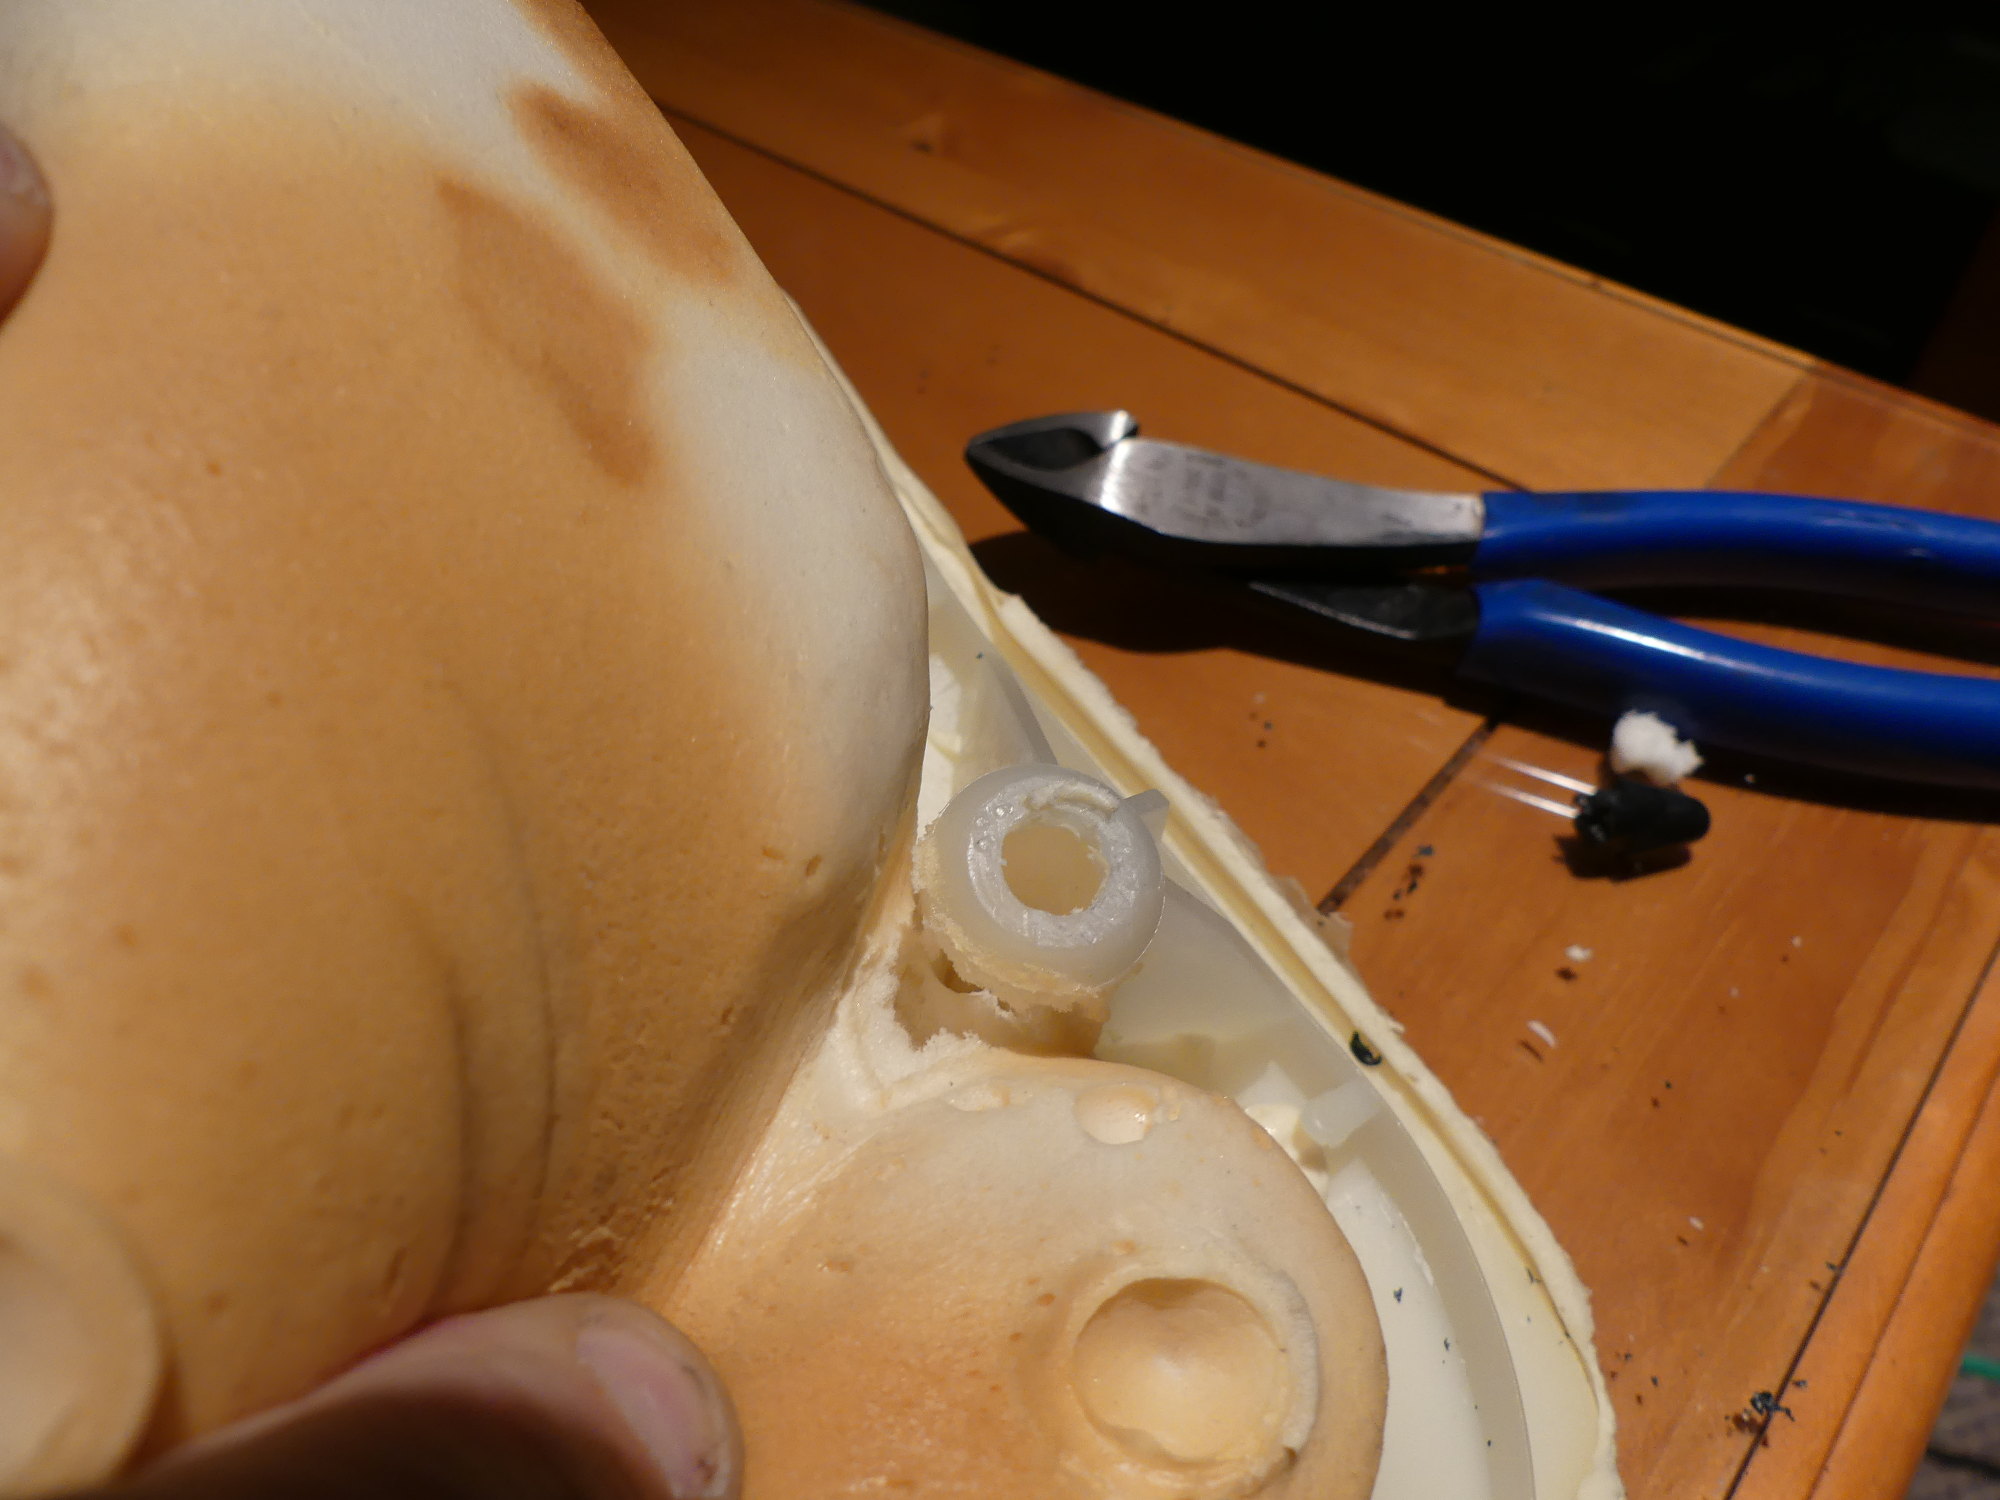 Removing the lower remnant of the barbed fastener requires driving it through the boss and then plucking it out of the foam. |
Removal of Occupancy Sensor Mat
I then removed the old occupancy sensor mat from the seat base foam. At this point I could see why the mat may have flagged an error -- the food spill liquid apparently puddled around the hard plastic interface between the flexible printed circuit and copper wires. The only annoyance here was that the adhesive pads on the old sensor worked a bit too well -- a thin chunk of foam about 1mm deep came off with each adhesive pad, leaving behind several indentations in the foam.
Cleaning the Foam
With the seat base foam stripped down I felt it was necessary to take it out on the deck and wash it down with the hose to remove the sticky residue remaining from my food spill. I knew full well that the foam would act as a sponge, and that it did. After the bulk of the water drained out of the foam I brought it inside and set it next to an A/C outlet. Over the next three days I kept rotating the part so that all surfaces got a blast of relatively dry, cool air. As I was busy with other things this was not time wasted, and I'm ultimately glad I washed the foam. Not only was the end result notably free of the sticky goo (though some inconsequential stains remained behind), much of the "old foam smell" was gone as well.
Largely because of the reduction in smell I decided to clean the backrest and thigh rest foam Alex provided and although the backrest foam took a full four days to dry out I felt it was worth the effort. During this time I was busy with other things including the driver seat so it wasn't time wasted.
Once the backrest foam was dry I used some 3M 08090 adhesive to repair some long cracks I discovered in the slots molded in the rear of the part. There are two tricks to using this adhesive. First, it does not stick to itself until the solvent evaporates, which means that it must be sprayed and left to dry for about 15 minutes before the parts will stick together. Second, as my technician pointed out, once done spraying it's essential to turn the can upside down and clean out the nozzle or it will become a one-time-use product.
Installing new Occupancy Sensor and Heating Pad Check
With the seat base foam clean and dry I began assembly of the seat by bonding the new occupancy sensor with the seat base. Oddly, the new sensor did not have adhesive pads in all of the same locations as the original but the overall shape appeared to be the same.
With the mat installed I was ready to install the heating pad. But before I did that I first tested it with a VOM. The pad read 7 ohms, or about what I expected of a heating element (low but not 0 resistance), so I knew this was good to go. Had this check revealed an open I would have needed to buy a new pad.
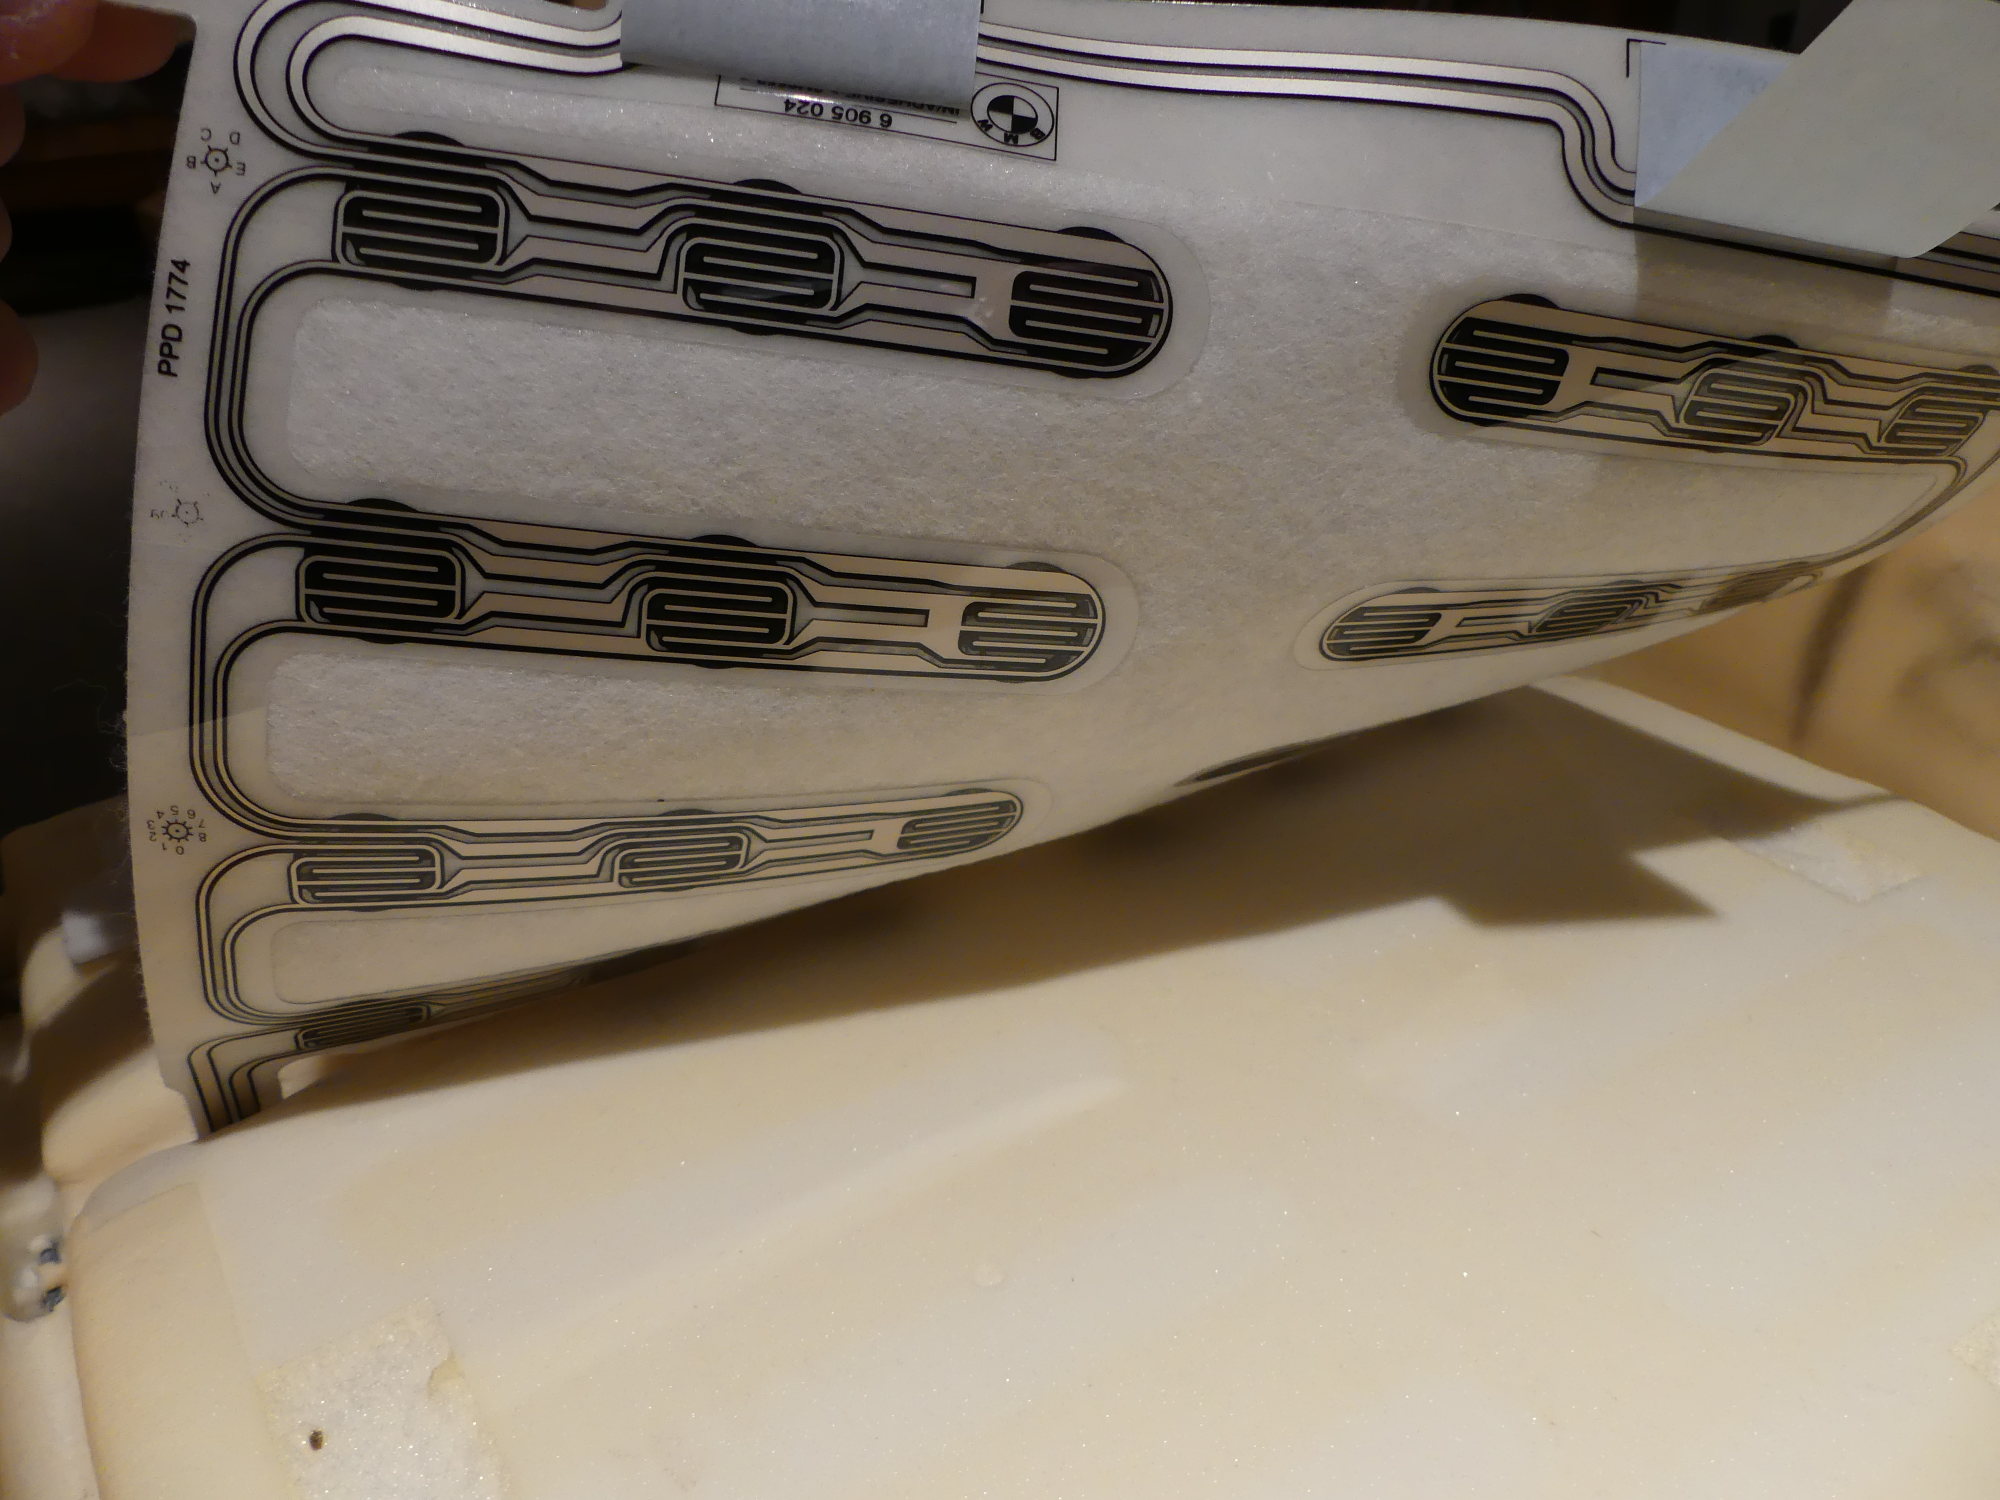 A closeup of the occupancy sensor mat, which is little more than a printed circuit similar to those used for keypads, just a lot bigger. The circuit side faces down, toward the foam. |
 Here I've removed the protective covers on the adhesive pads and fastened the sensor mat to the foam. The flat flex connector cable and the associated copper wire is pushed down through a hole in the foam so it mates with the bottom. |
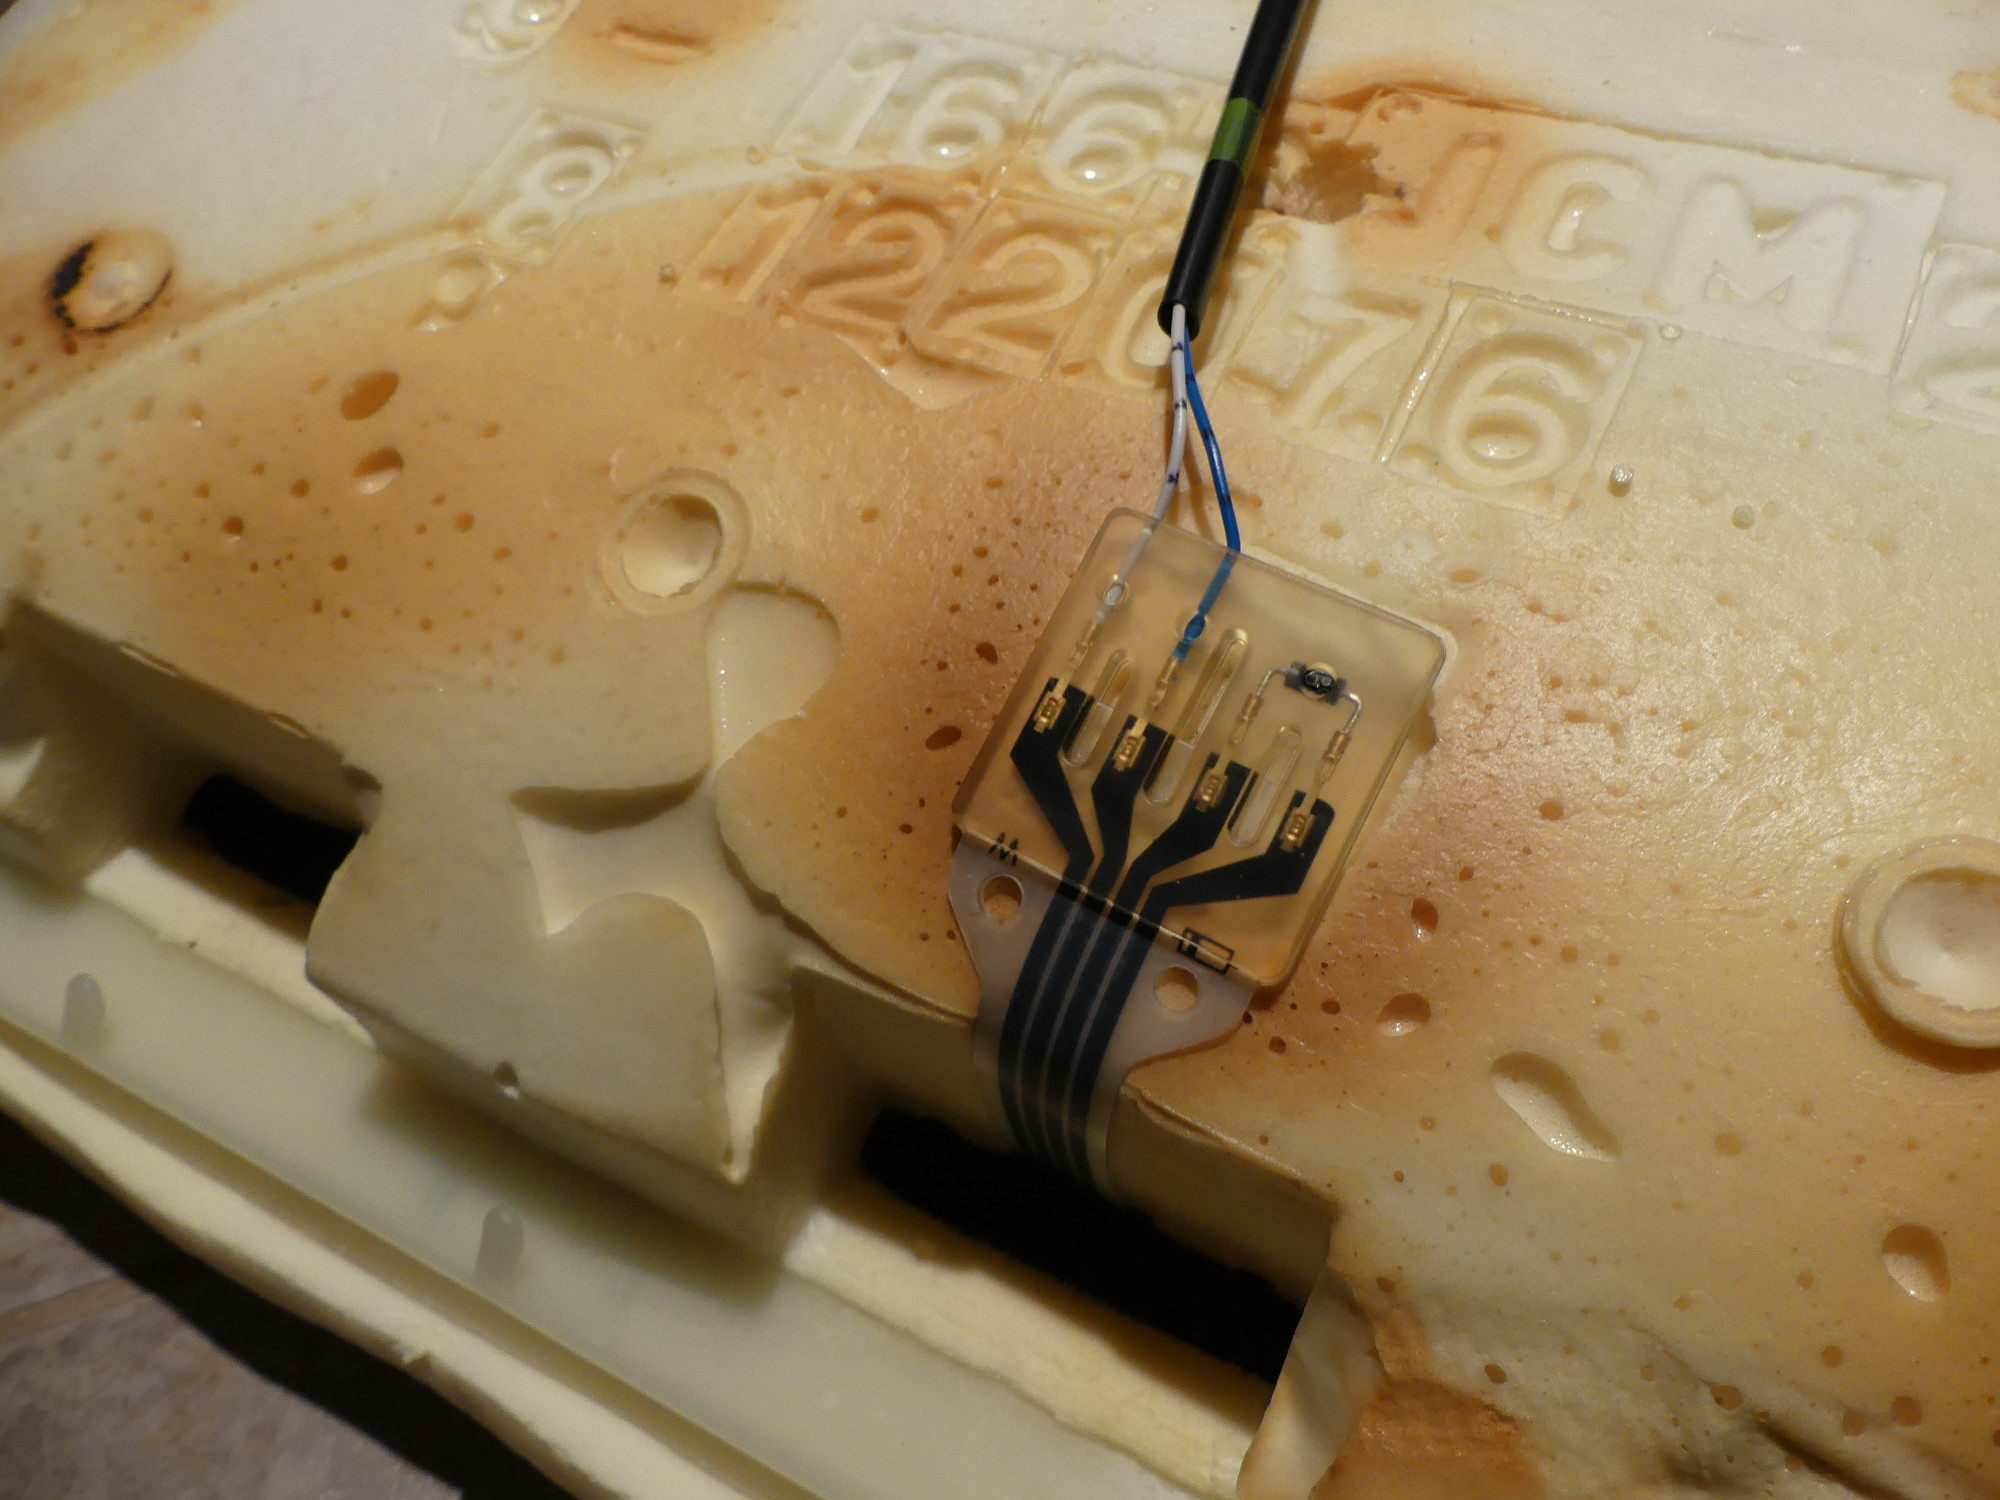 Here is a closeup of the interface between the flat flex cable and copper wire that ultimately connects with a small interface box mounted to the bottom of the seat. |
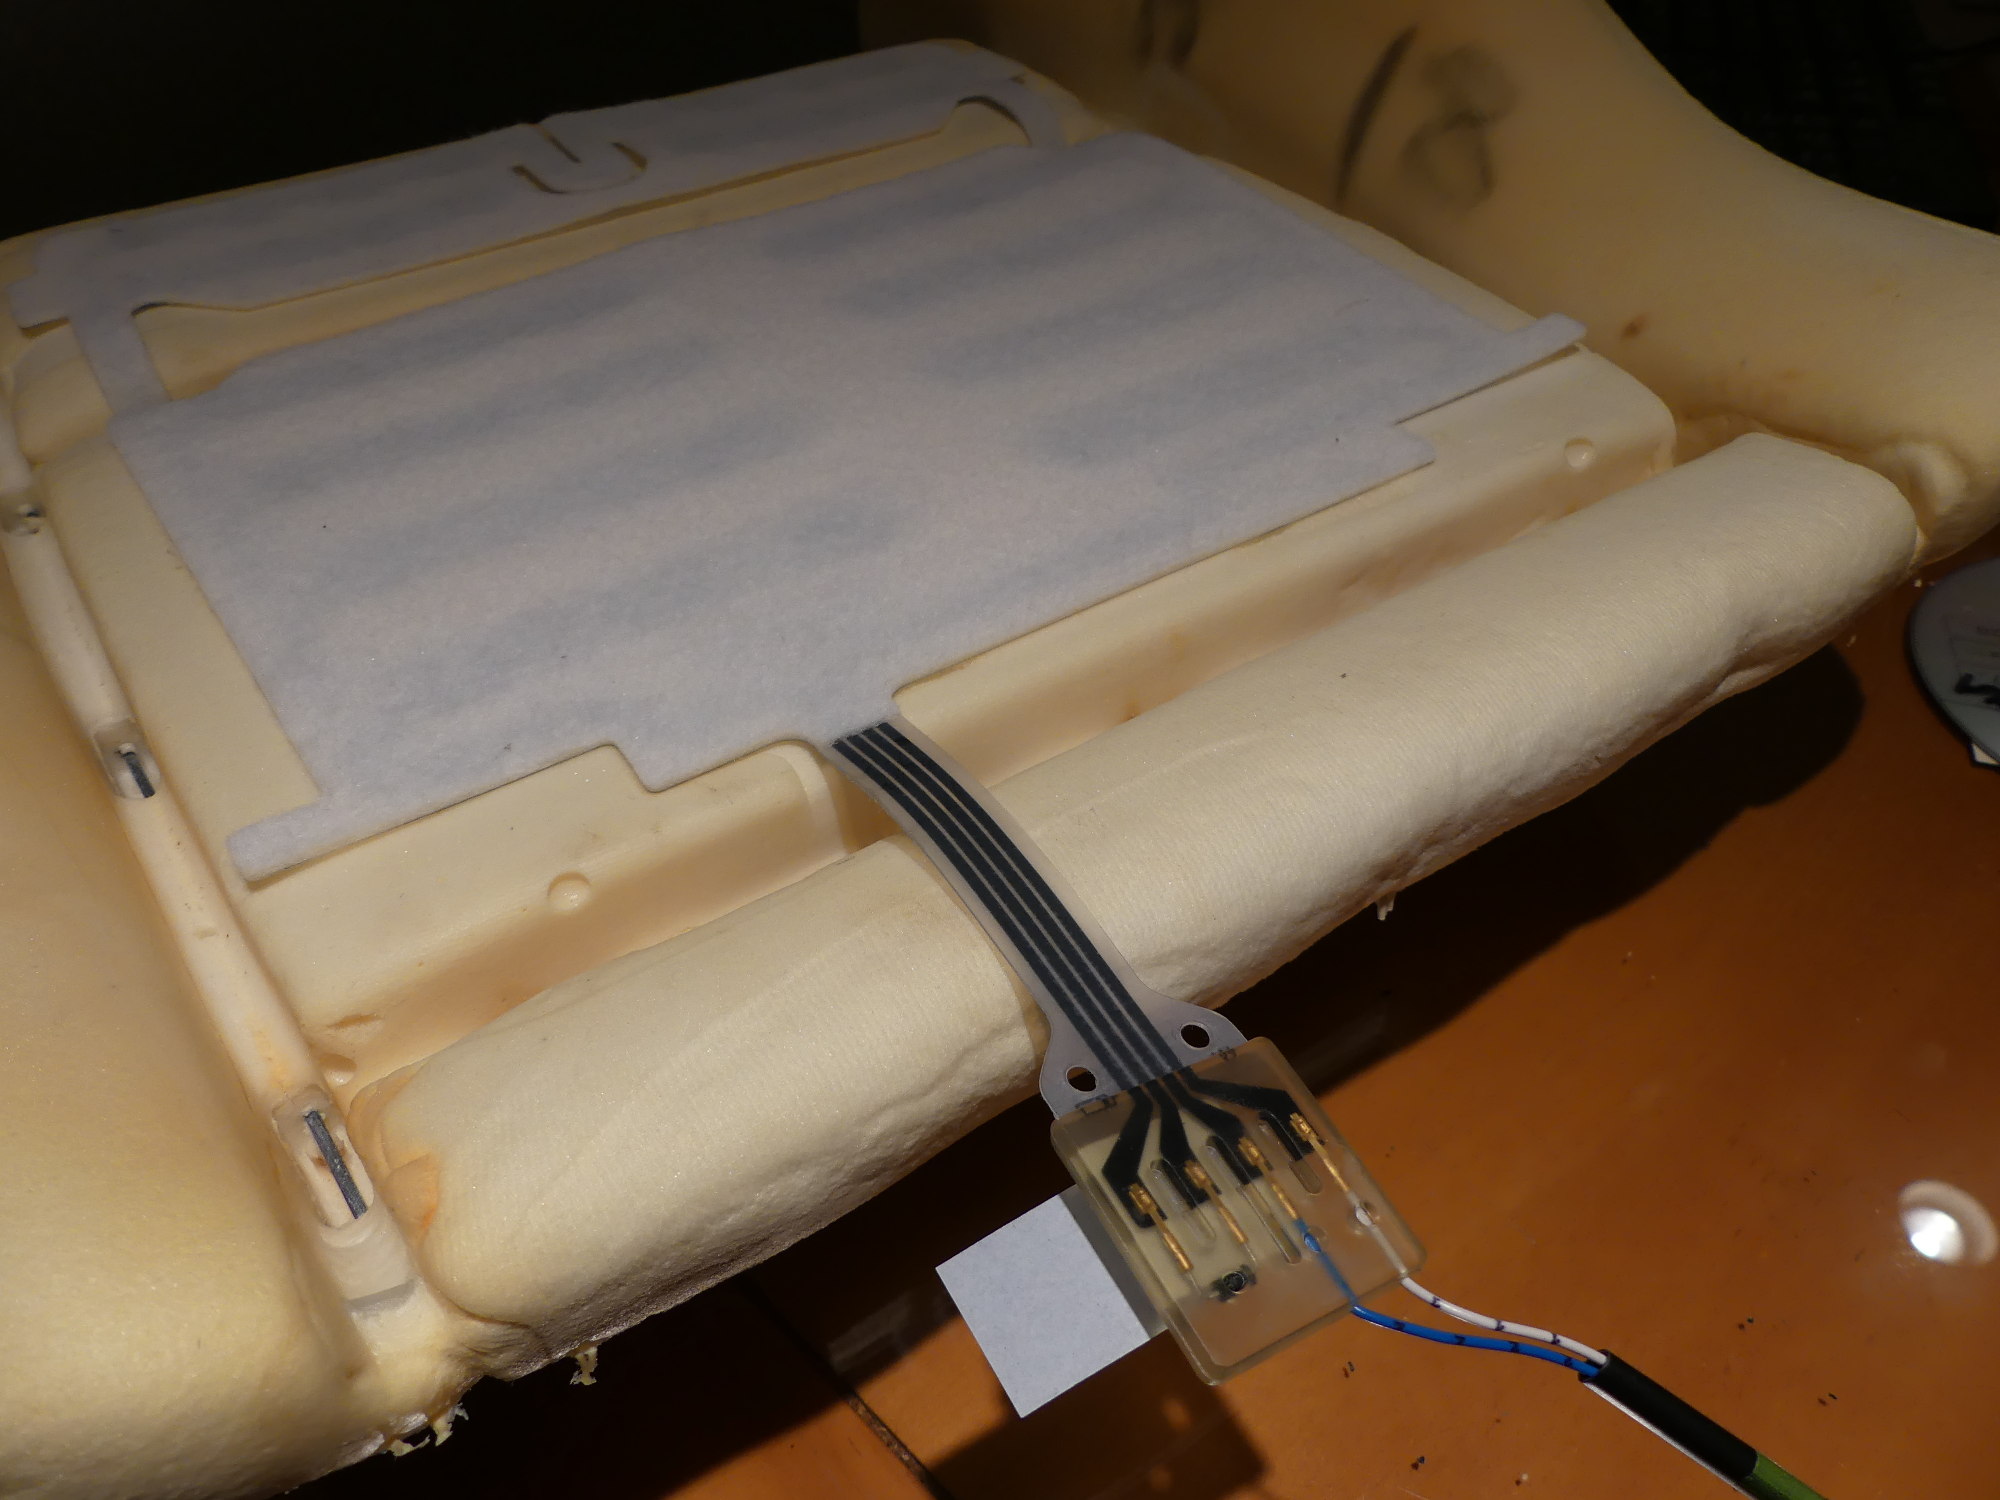
 Just a shot of the sensor mat installed on the foam, test fit to the seat temporarily while I work on other things. The thigh rest foam was supplied by a reader, since mine was worn. |
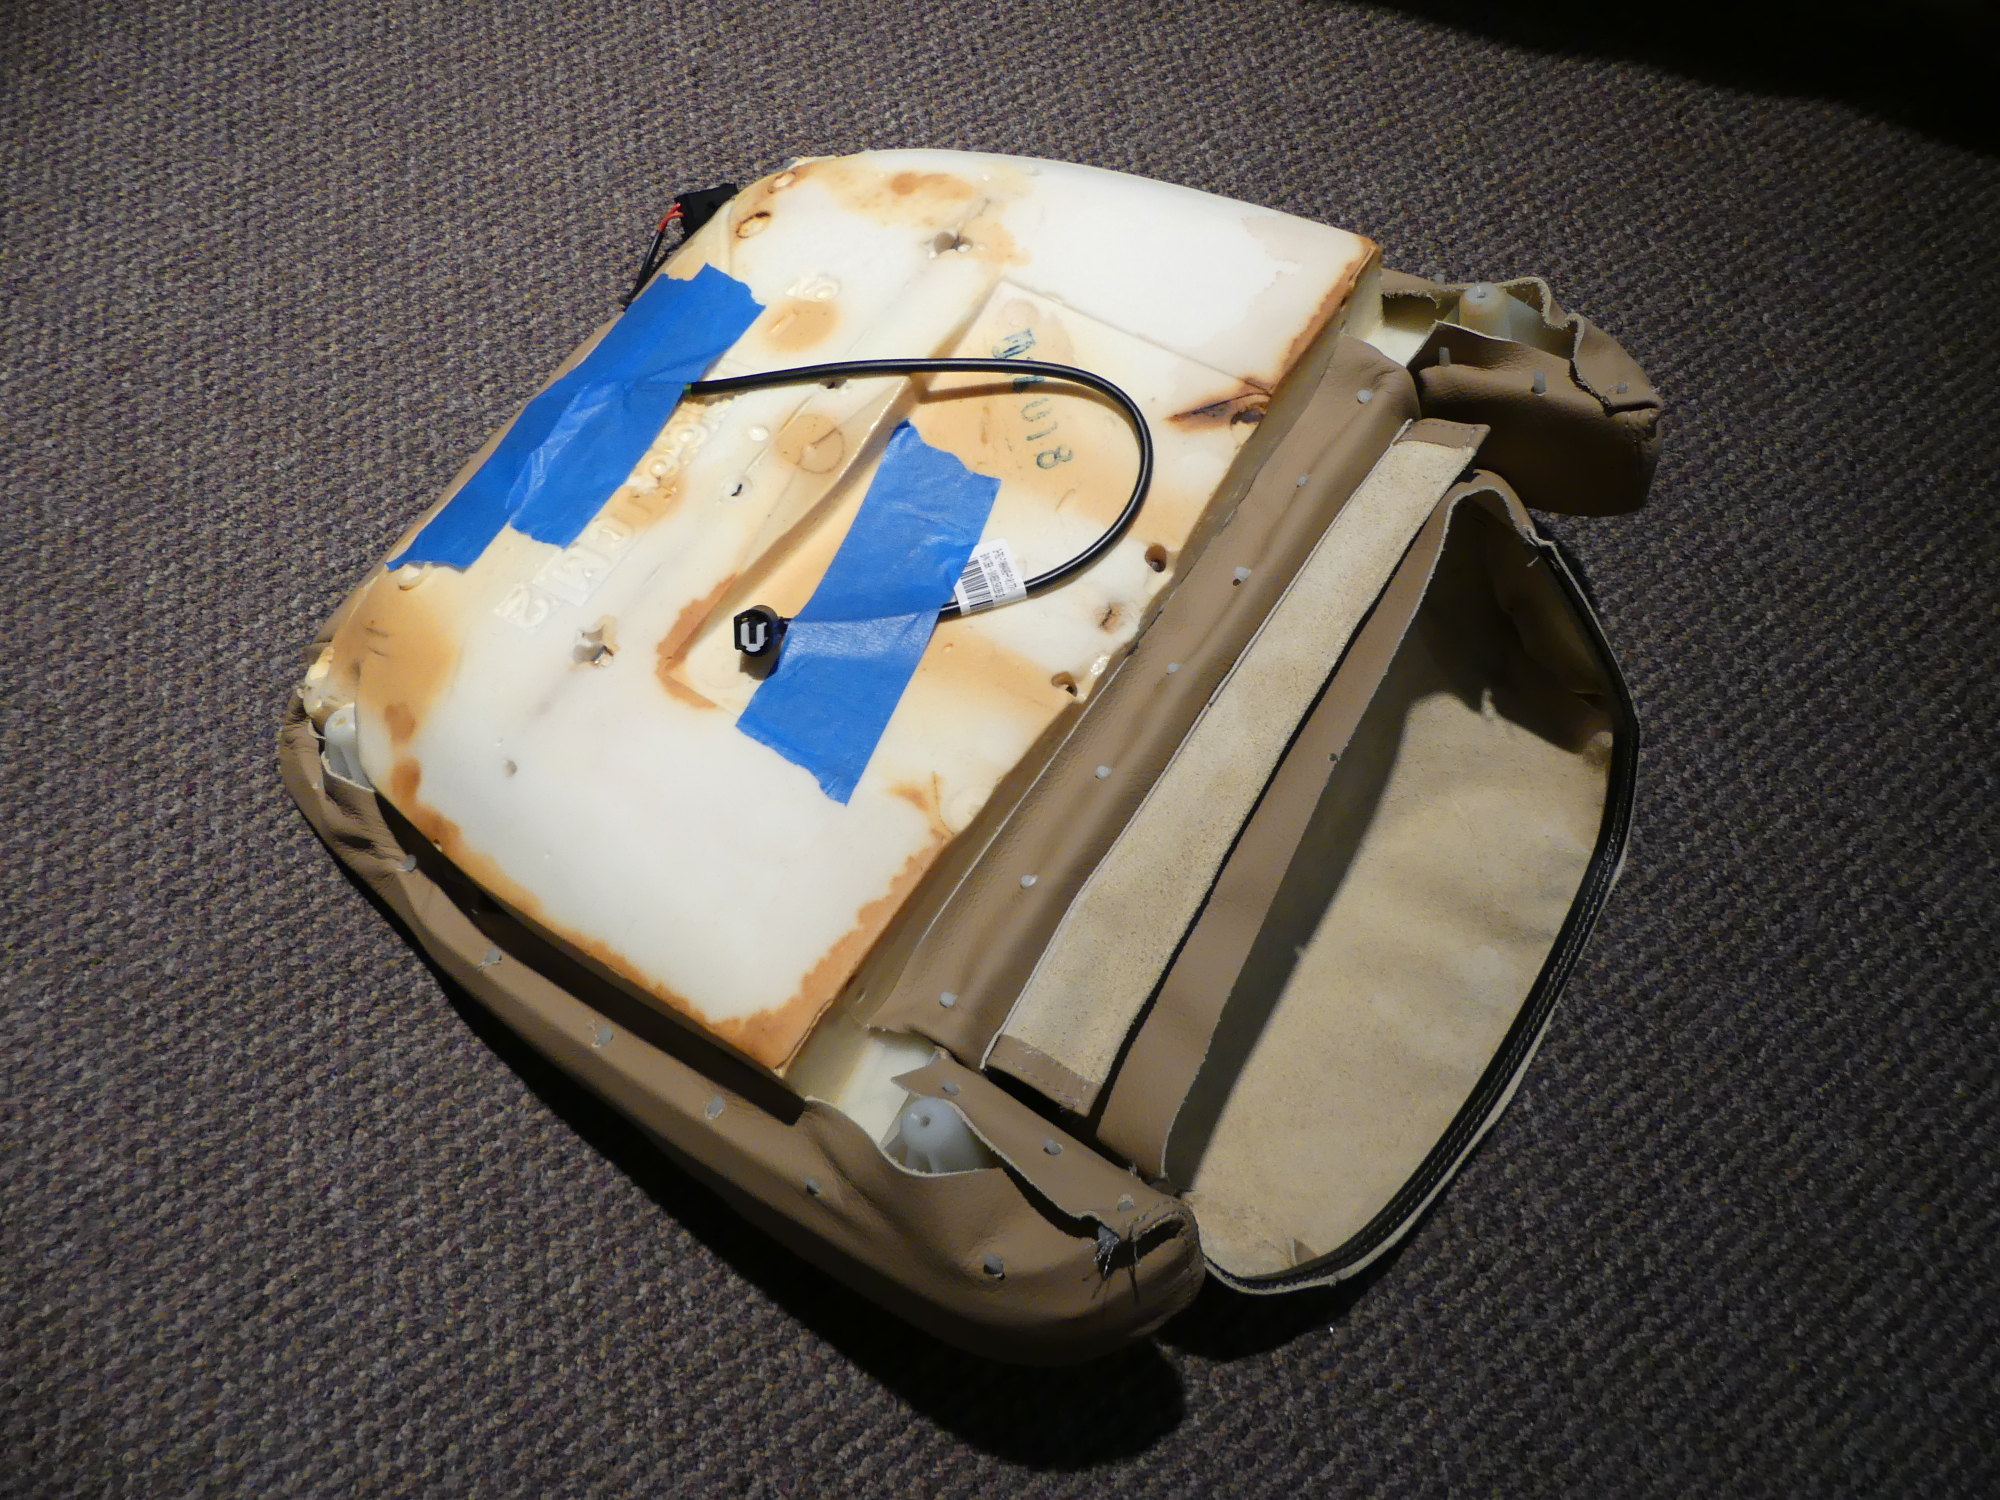 I taped sensor cable and flat flex interface to the bottom of the foam to get them out of the way and protect them from stress during the installation of the leather cover. |
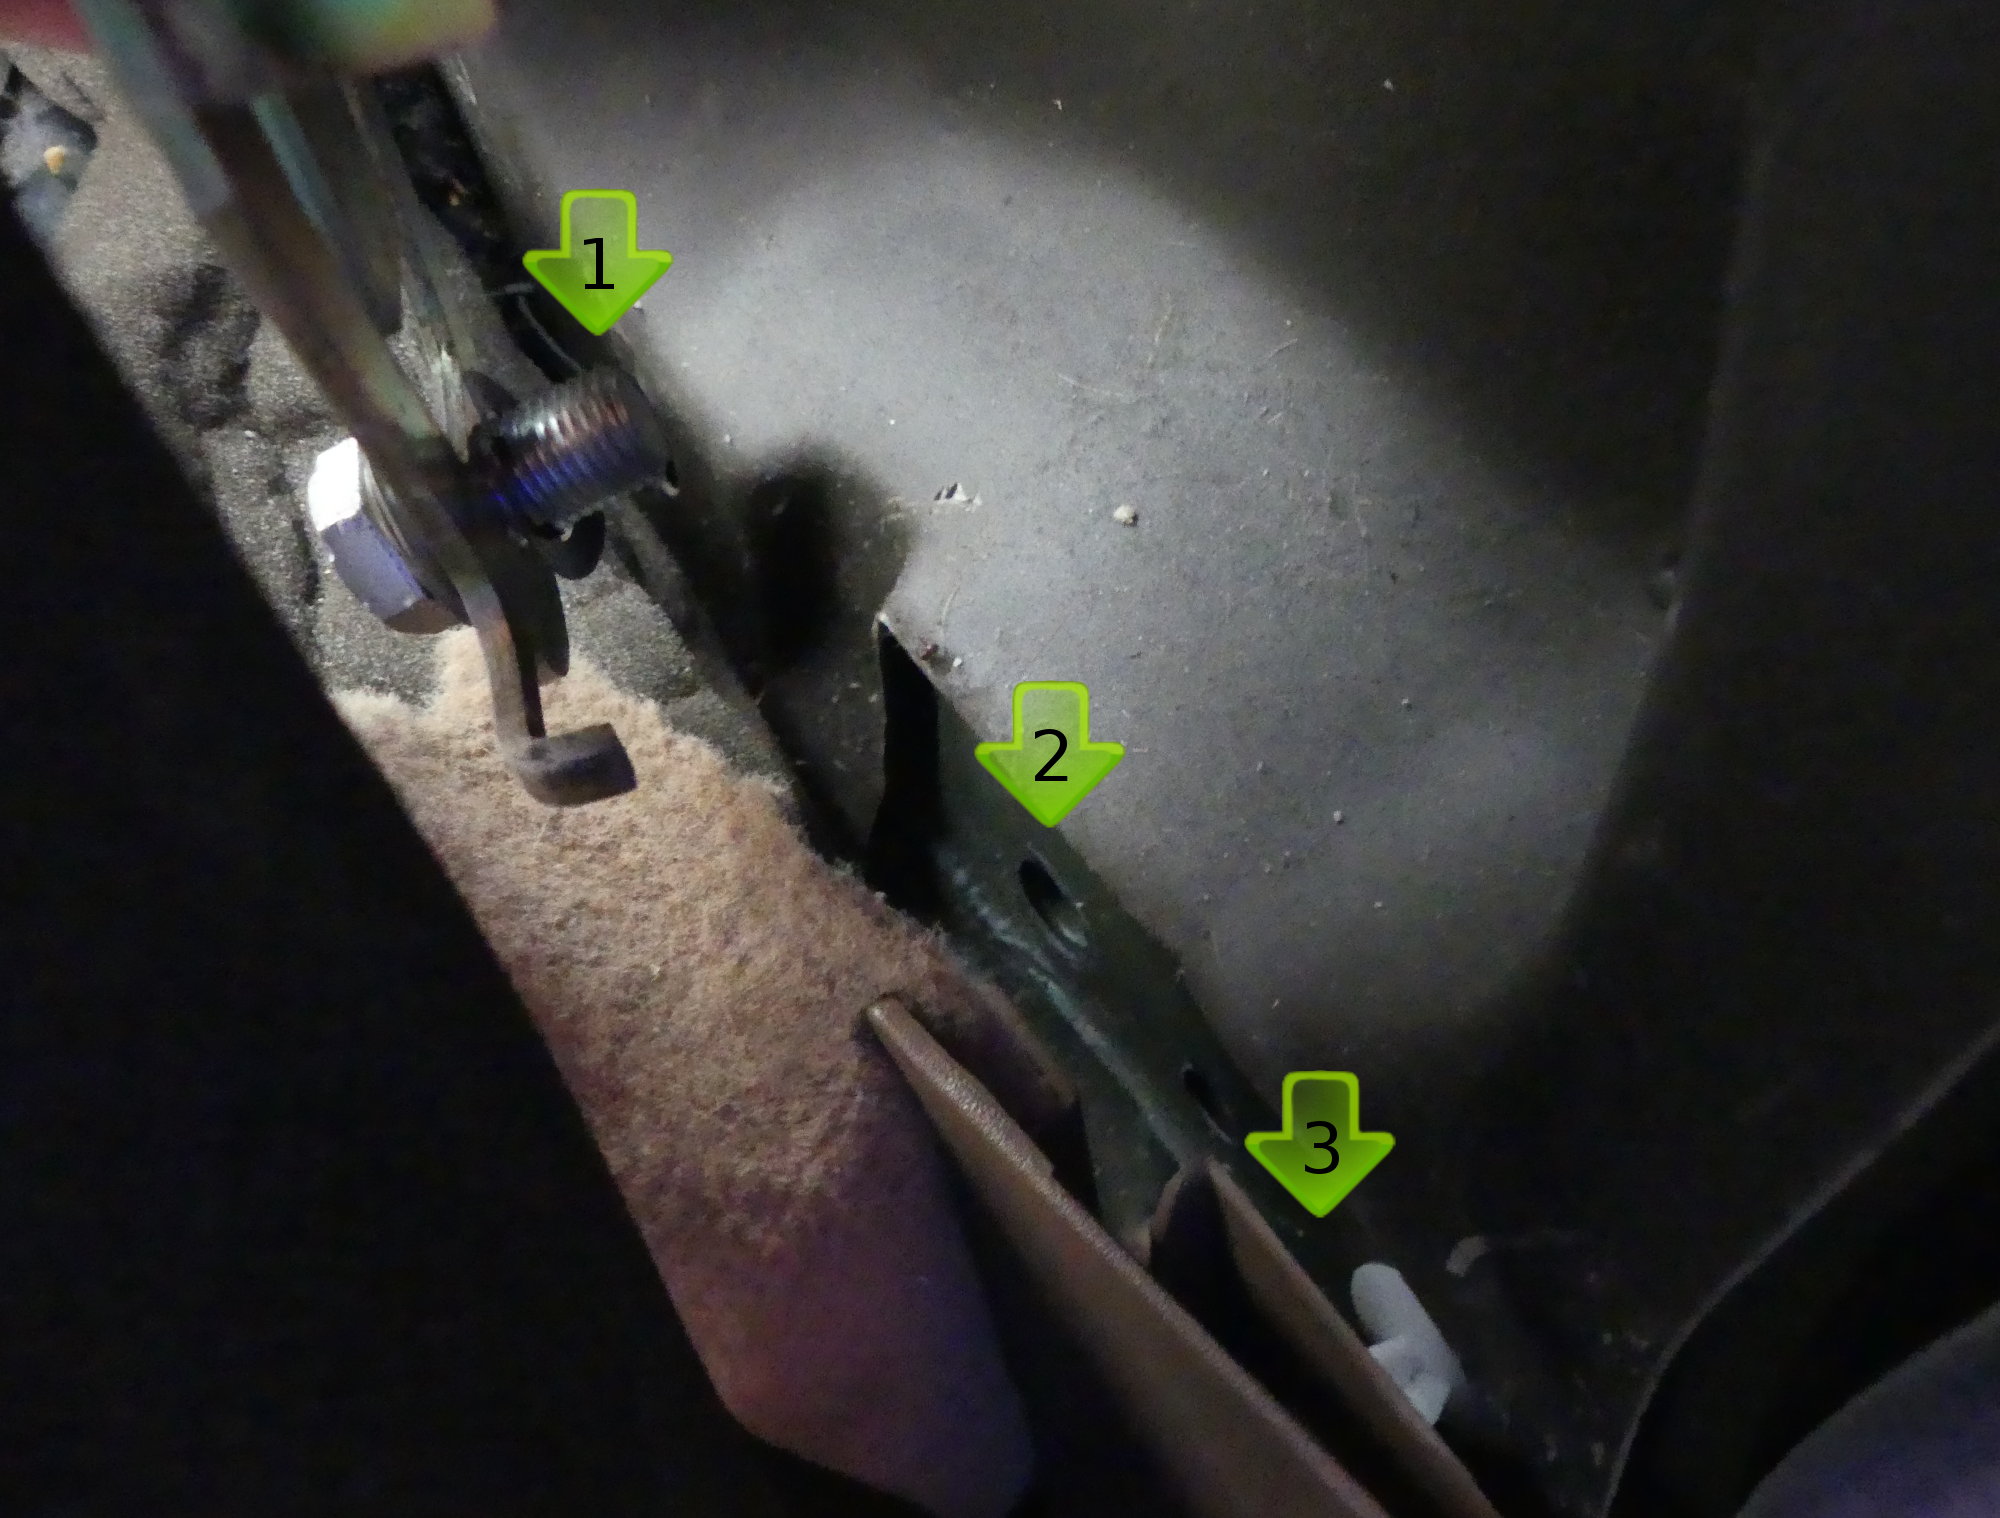
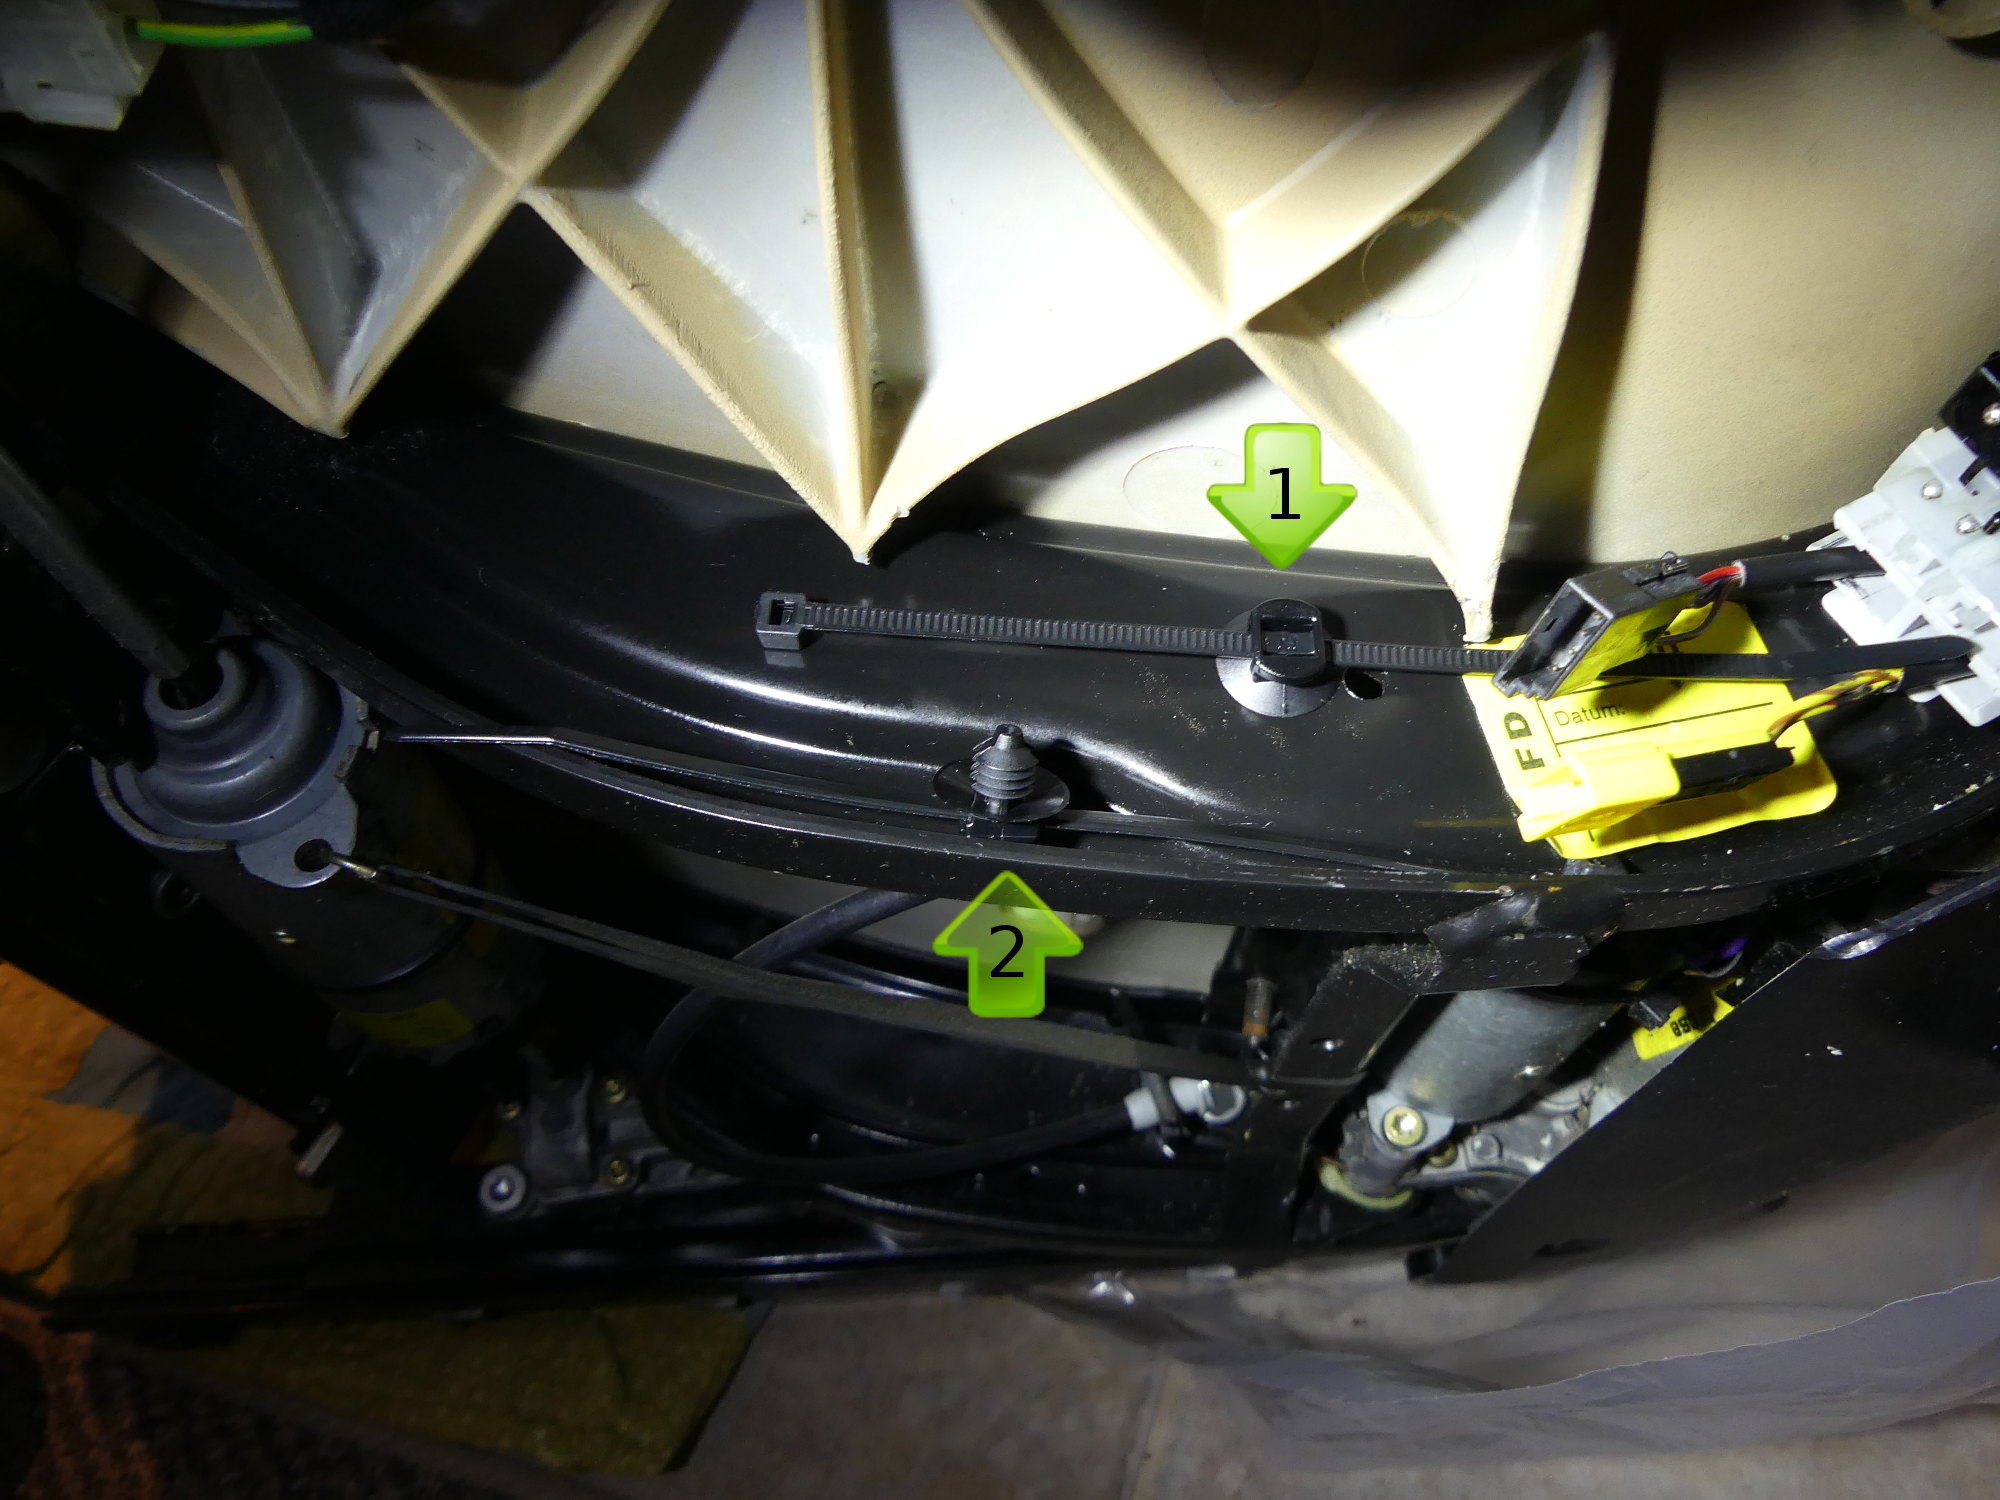 Arrow 1 points to an updated cable retaining part. Arrow 2 shows the business end of the retainer. This part nicely fits this hole, despite not being strictly designed for this application. |
Seat Base, Backrest and Headrest Cover Installation
Installing the new base and backrest covers went pretty much as expected and I got them done in a single day (in between coding sessions, of course). There are a few stretch marks here and there but I saw no obvious or annoying areas, so I'm happy with the result. And although the passenger seat was in far better shape than the driver seat, holding the new cover in one hand and the old cover in the other it was obvious that the old leather was hard, cracked and noticeably darkened. One thing is sure -- while this wasn't the least expensive overhaul on the car it was sorely needed.
The new headrest covers, patterned after one of my existing covers, arrived about a week and a half after I sent them one of my originals for patterning. Following this work I can say that I much prefer the design of the front headrests as compared to the rear. The plastic headrest retaining slot is much thicker on the front units and does not flex significantly. The retaining "barbs" are thicker and more resilient as well. While this design makes the covers somewhat more challenging to remove it also makes the cover fit a lot better during installation. The new covers literally "clicked" into place and when fitted look exactly like the factory original covers (except without the dried out / cracked leather look). I could not be happier with the fit and finish.
Installation and Wrap Up
I managed to install the new driver side seatbelt mechanism and rear seat belt receptacles with little fanfare, though I forgot that I had to remove both the bolsters and rear side panels to obtain the required access. It would have been best to do this work while the rear seats we removed.
I next replaced the armrest after I tried to remember how to remove the rear trim piece. After all, it's been ten years since I replaced it. Rather than pitch the old armrest I've decided to keep it and see if GAHH can provide a new cover for it. The new one won't last forever, I'm sure, and while I know the armrest was still available as late as fall 2014 (when I bought this part), it likely won't be around forever.
After confirming availability of my brother's pickup I once again used it to transport the finished front seats to my garage and install them. All the wiring snapped together like clockwork and I made a point to test the seat motors before I fastened the nuts and bolts permanently. The only snag was the left rear bolt of the passenger side, which did not want to thread in properly. Heeding my technician's advice I did not force it in, but rather loosened the front nuts a bit and removed the right rear bolt. That allowed me to push the rear of the seat toward the tunnel and which permitted correct alignment of the bolt, which then practically fell into place. So the moral of the story when it comes time to install seats in this car is twofold -- first of all, start by threading the inner rear bolt before the other fasteners, and second -- don't be in a rush. Cross-threading these bolts or nuts would be a colossal pain in the ass and expensive to fix.
Incidentally, the electrical harness was retained to the bottom of the seat using a small press-in button type fastener with an integrated zip-tie. When I removed the seats I clipped that zip tie so I needed a replacement. The dealer couldn't find the exact part from my car but did suggest an improved alternative: part number 61-13-8-375-988. It includes a zip tie but the tie is physically separate from the retainer, which means that should the seat be removed again the base of the fastener will be reused and a new zip-tie installed.
To wrap everything up I texted my technician and arranged a time to have him clear the codes that left the airbag annunicator illuminated. Once the codes were cleared I thanked him for all of his assistance with my maintenance and restoration efforts over the last ten years. It's fair to say I could not have done this as easily without his guidance.
The biggest surprise of the day? I sit noticeably higher in the driver seat because the foam is new. I never thought it would make a difference, but it does. This is one of the many reasons BMW needs to keep manufacturing foam for these cars -- it doesn't last forever.
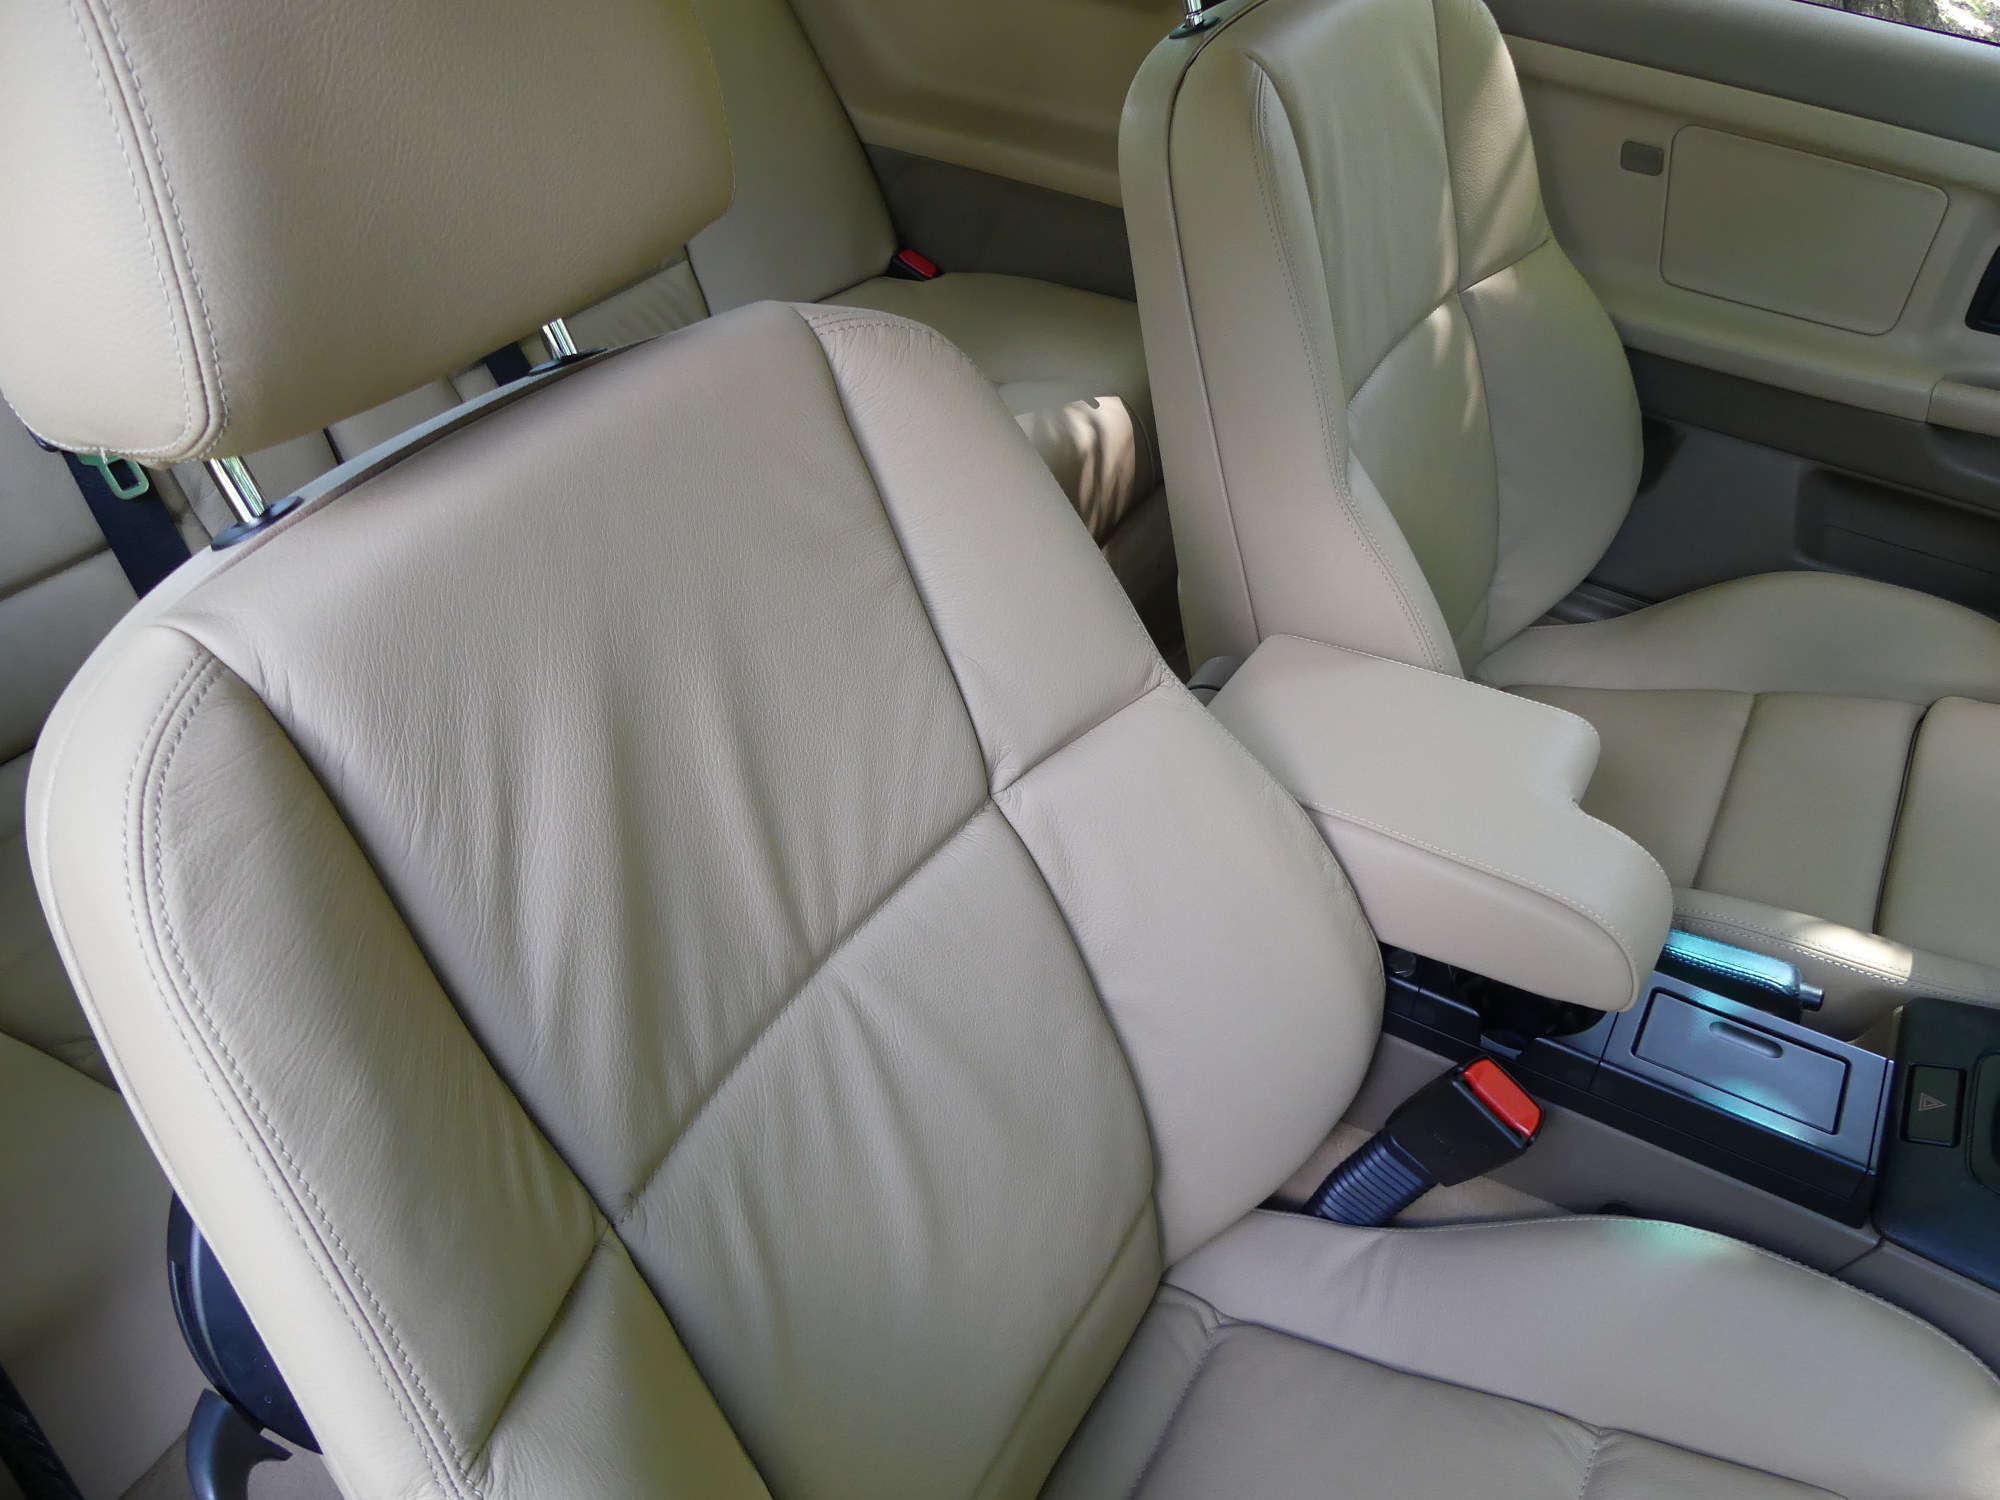
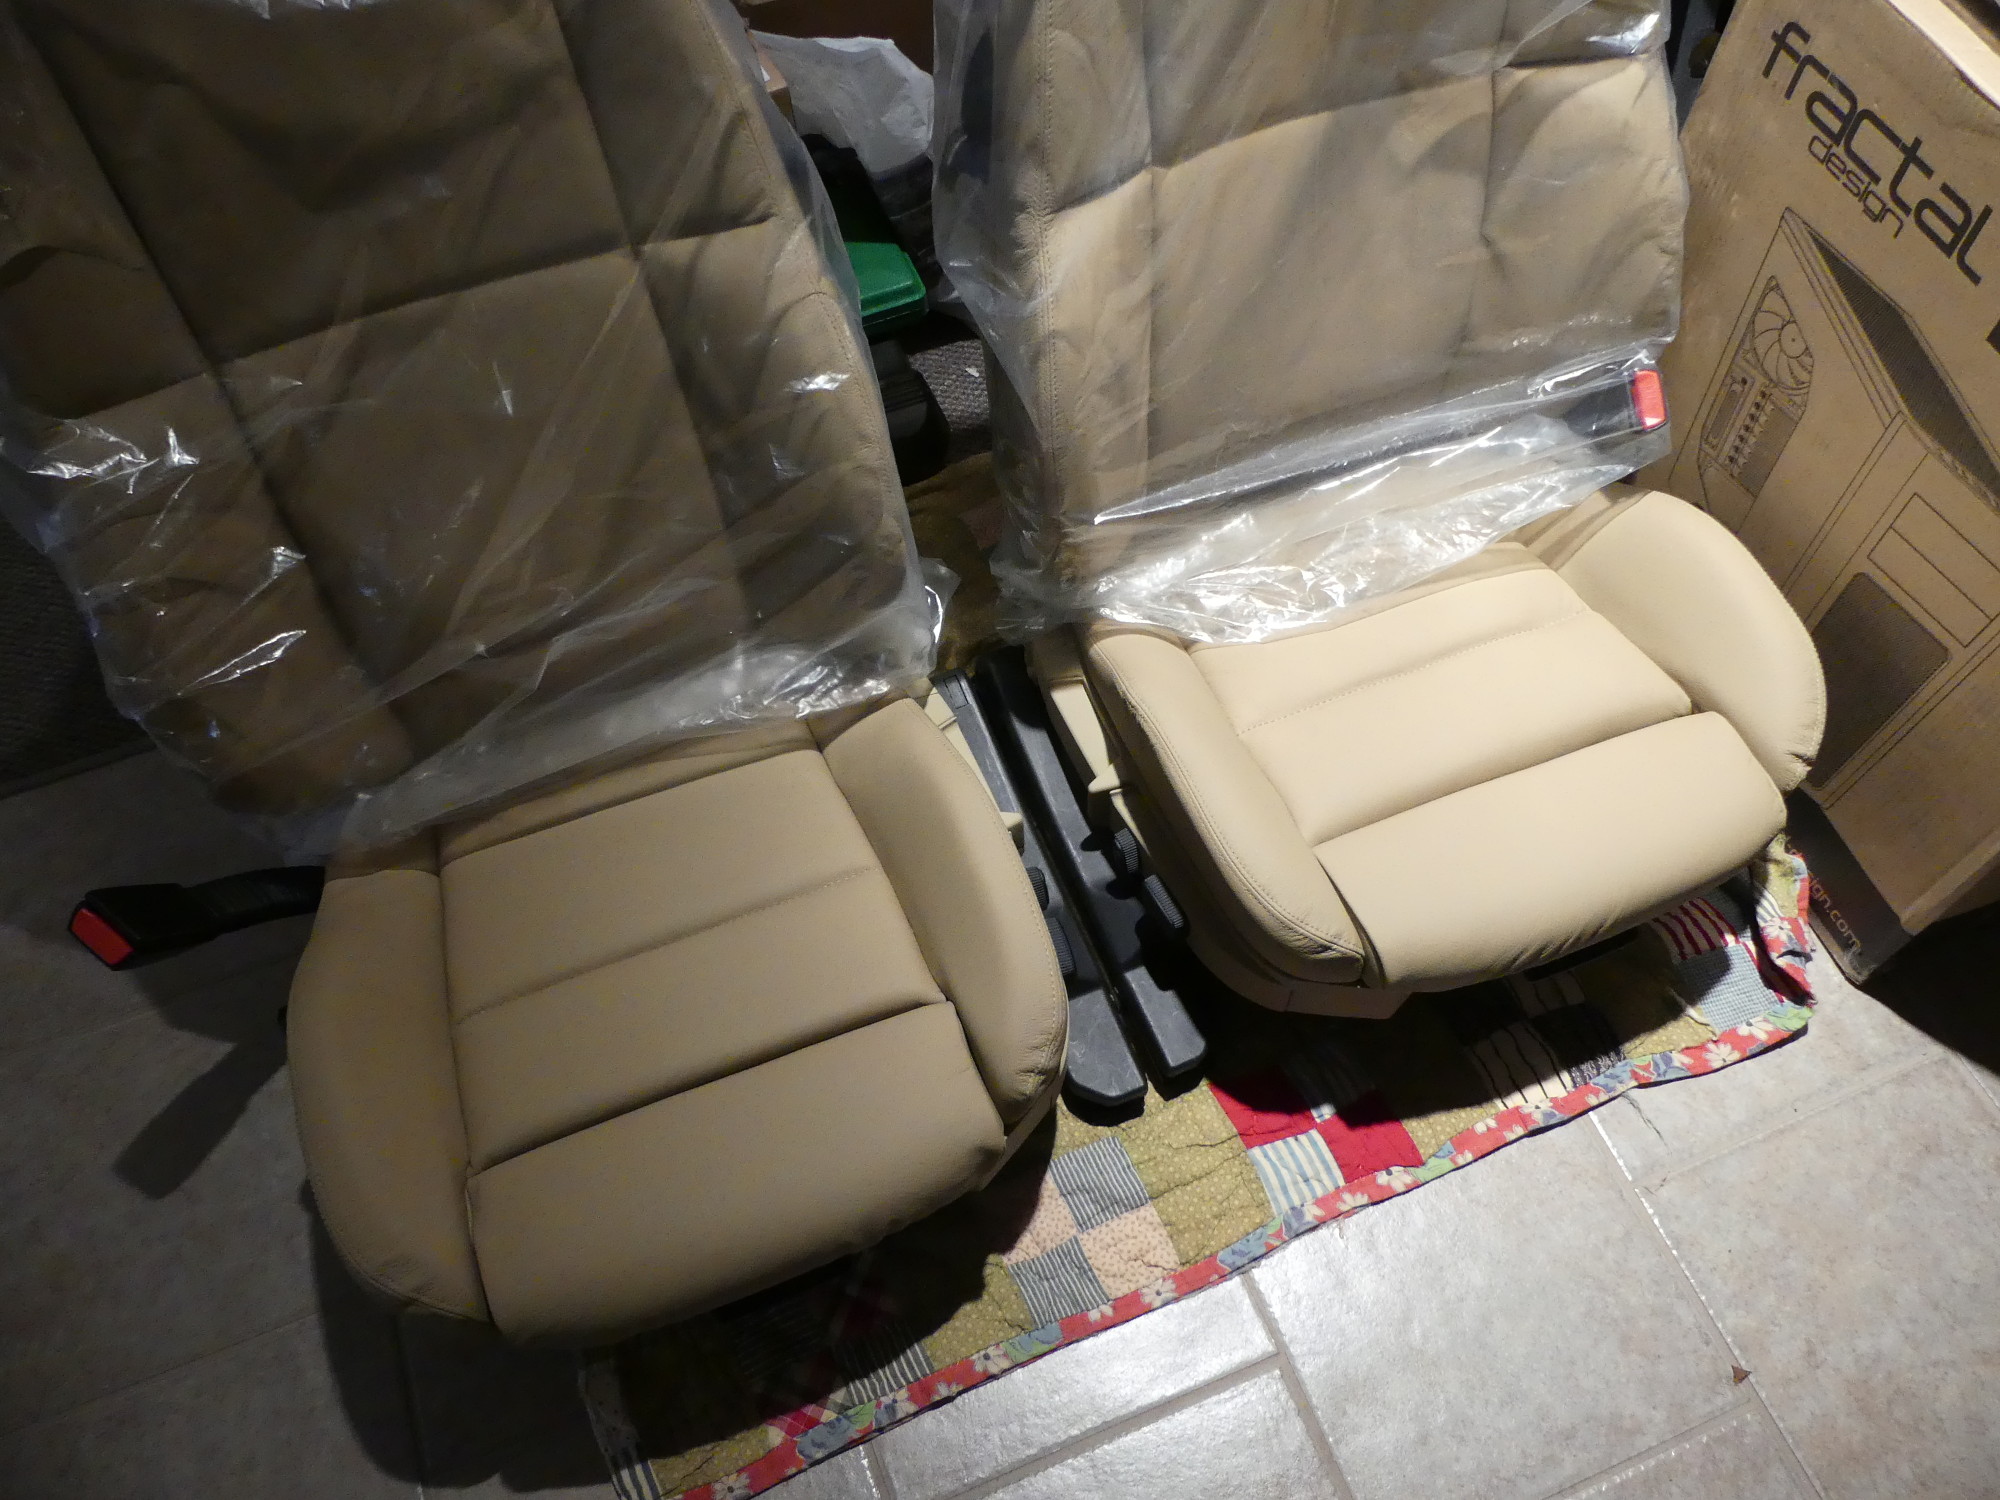 A glamour shot of the two front seats as they awaited installation. I estimate I have about 5 hours of work in each seat simply disassembling, refurbishing, and reassembling the parts. |
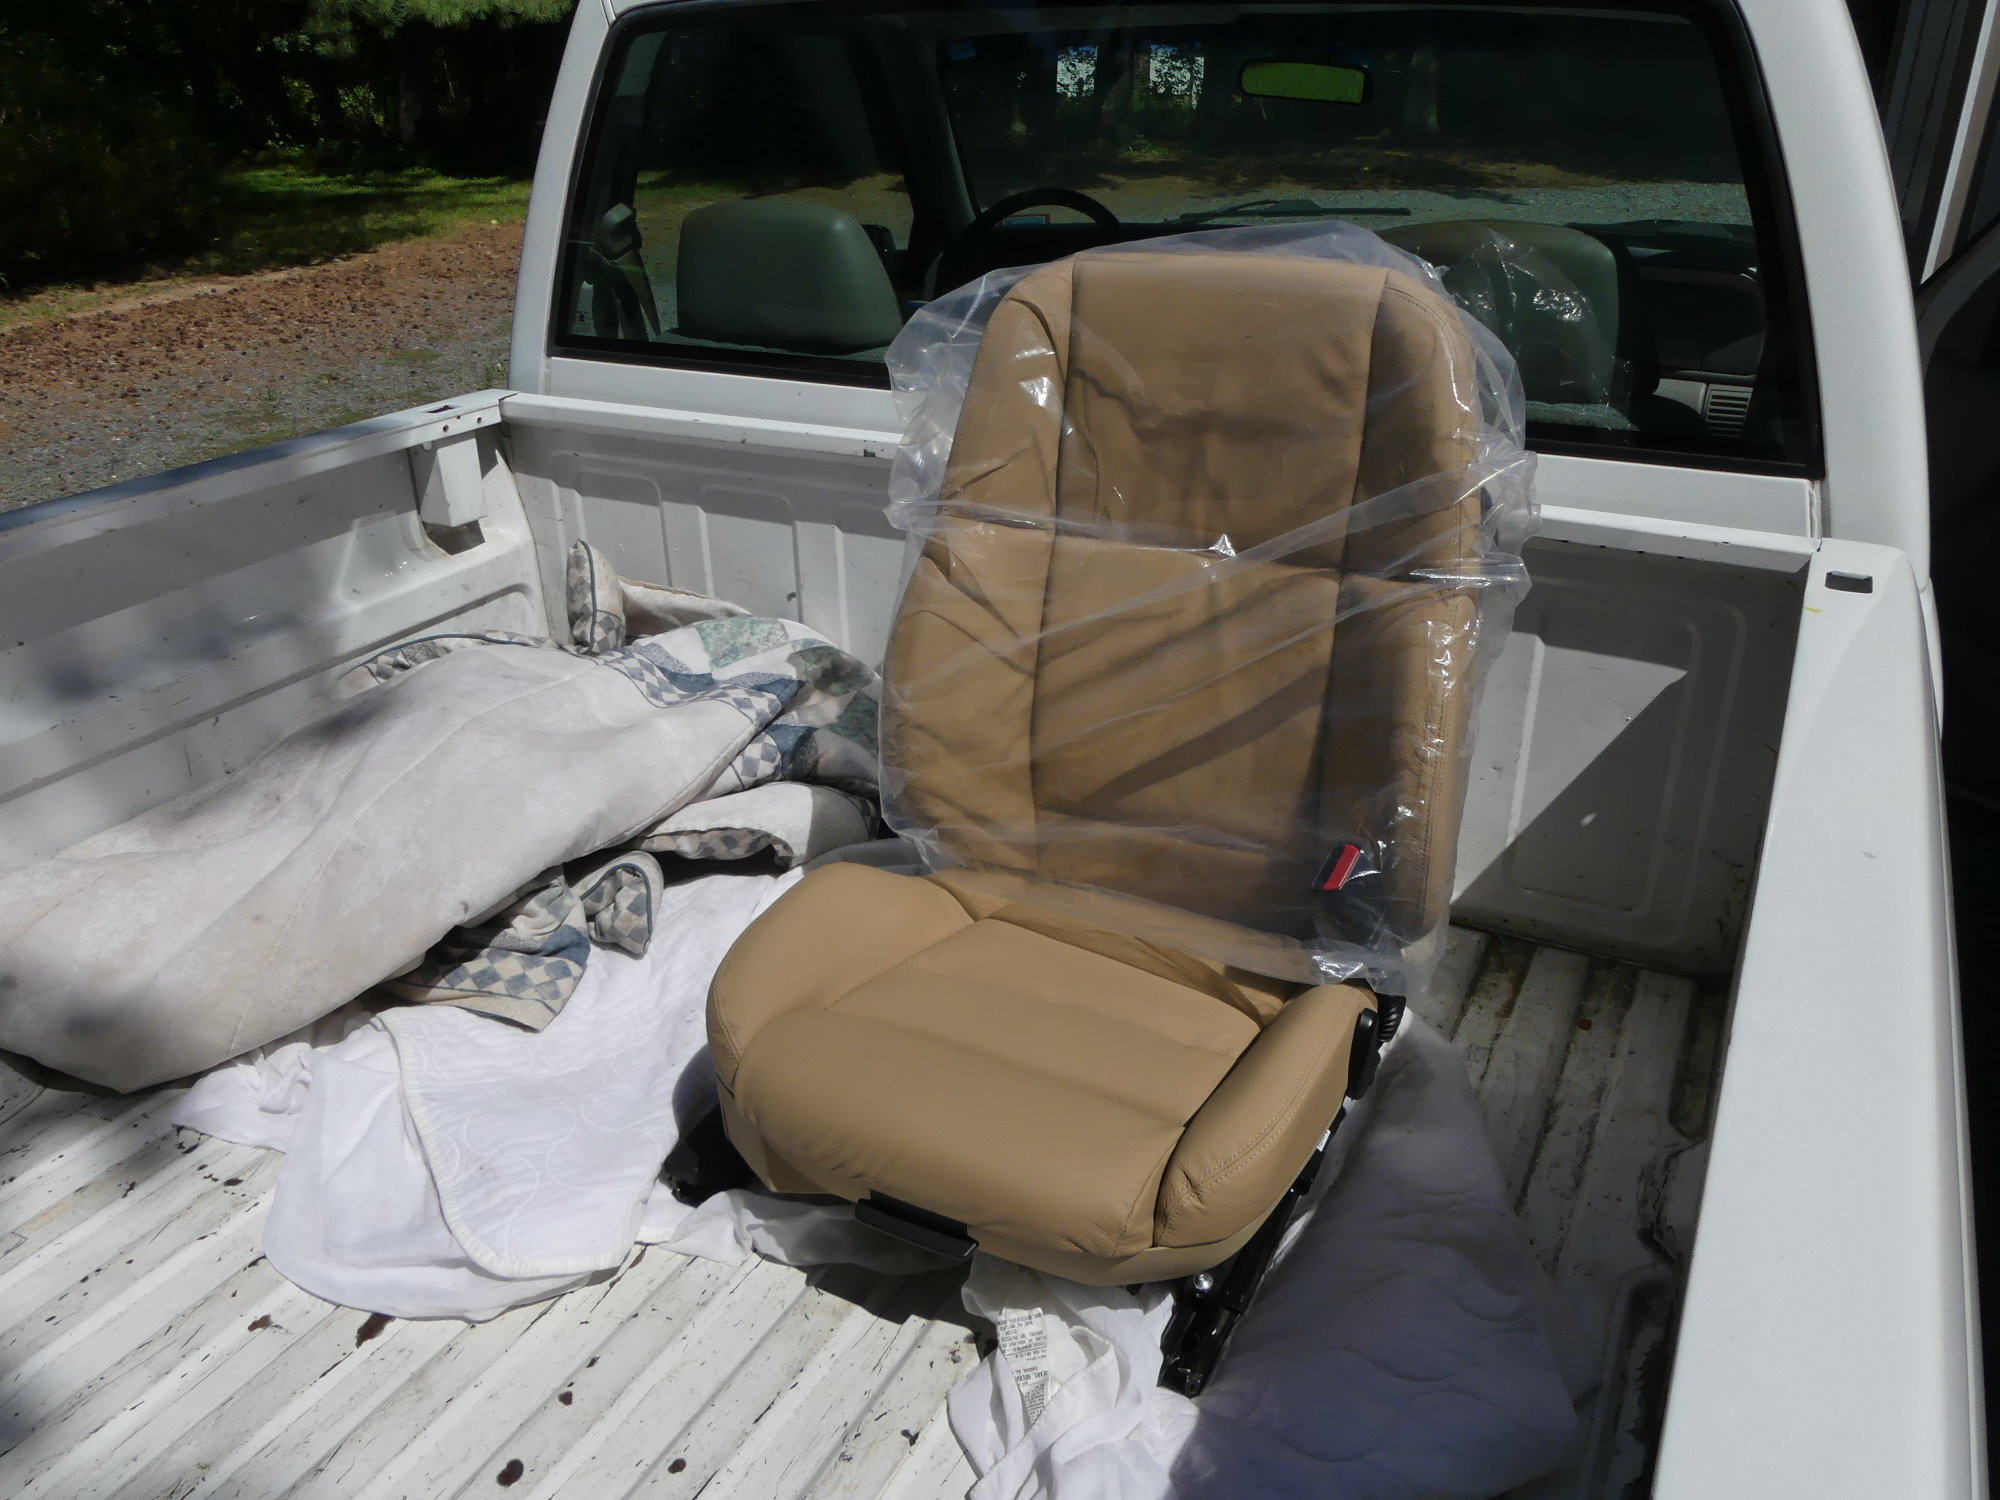 My brother's pickup came in handy here, since these seats would not fit in the trunk of the E46, but I must admit every time I drive this thing I thank my lucky stars I own BMWs. They are as different as night and day. |
 Here I've removed the rear side panel to install the new rear seat belt receptacle. This also shows the new audio system cables I constructed and had my technician fish through the car during the HVAC overhaul. |
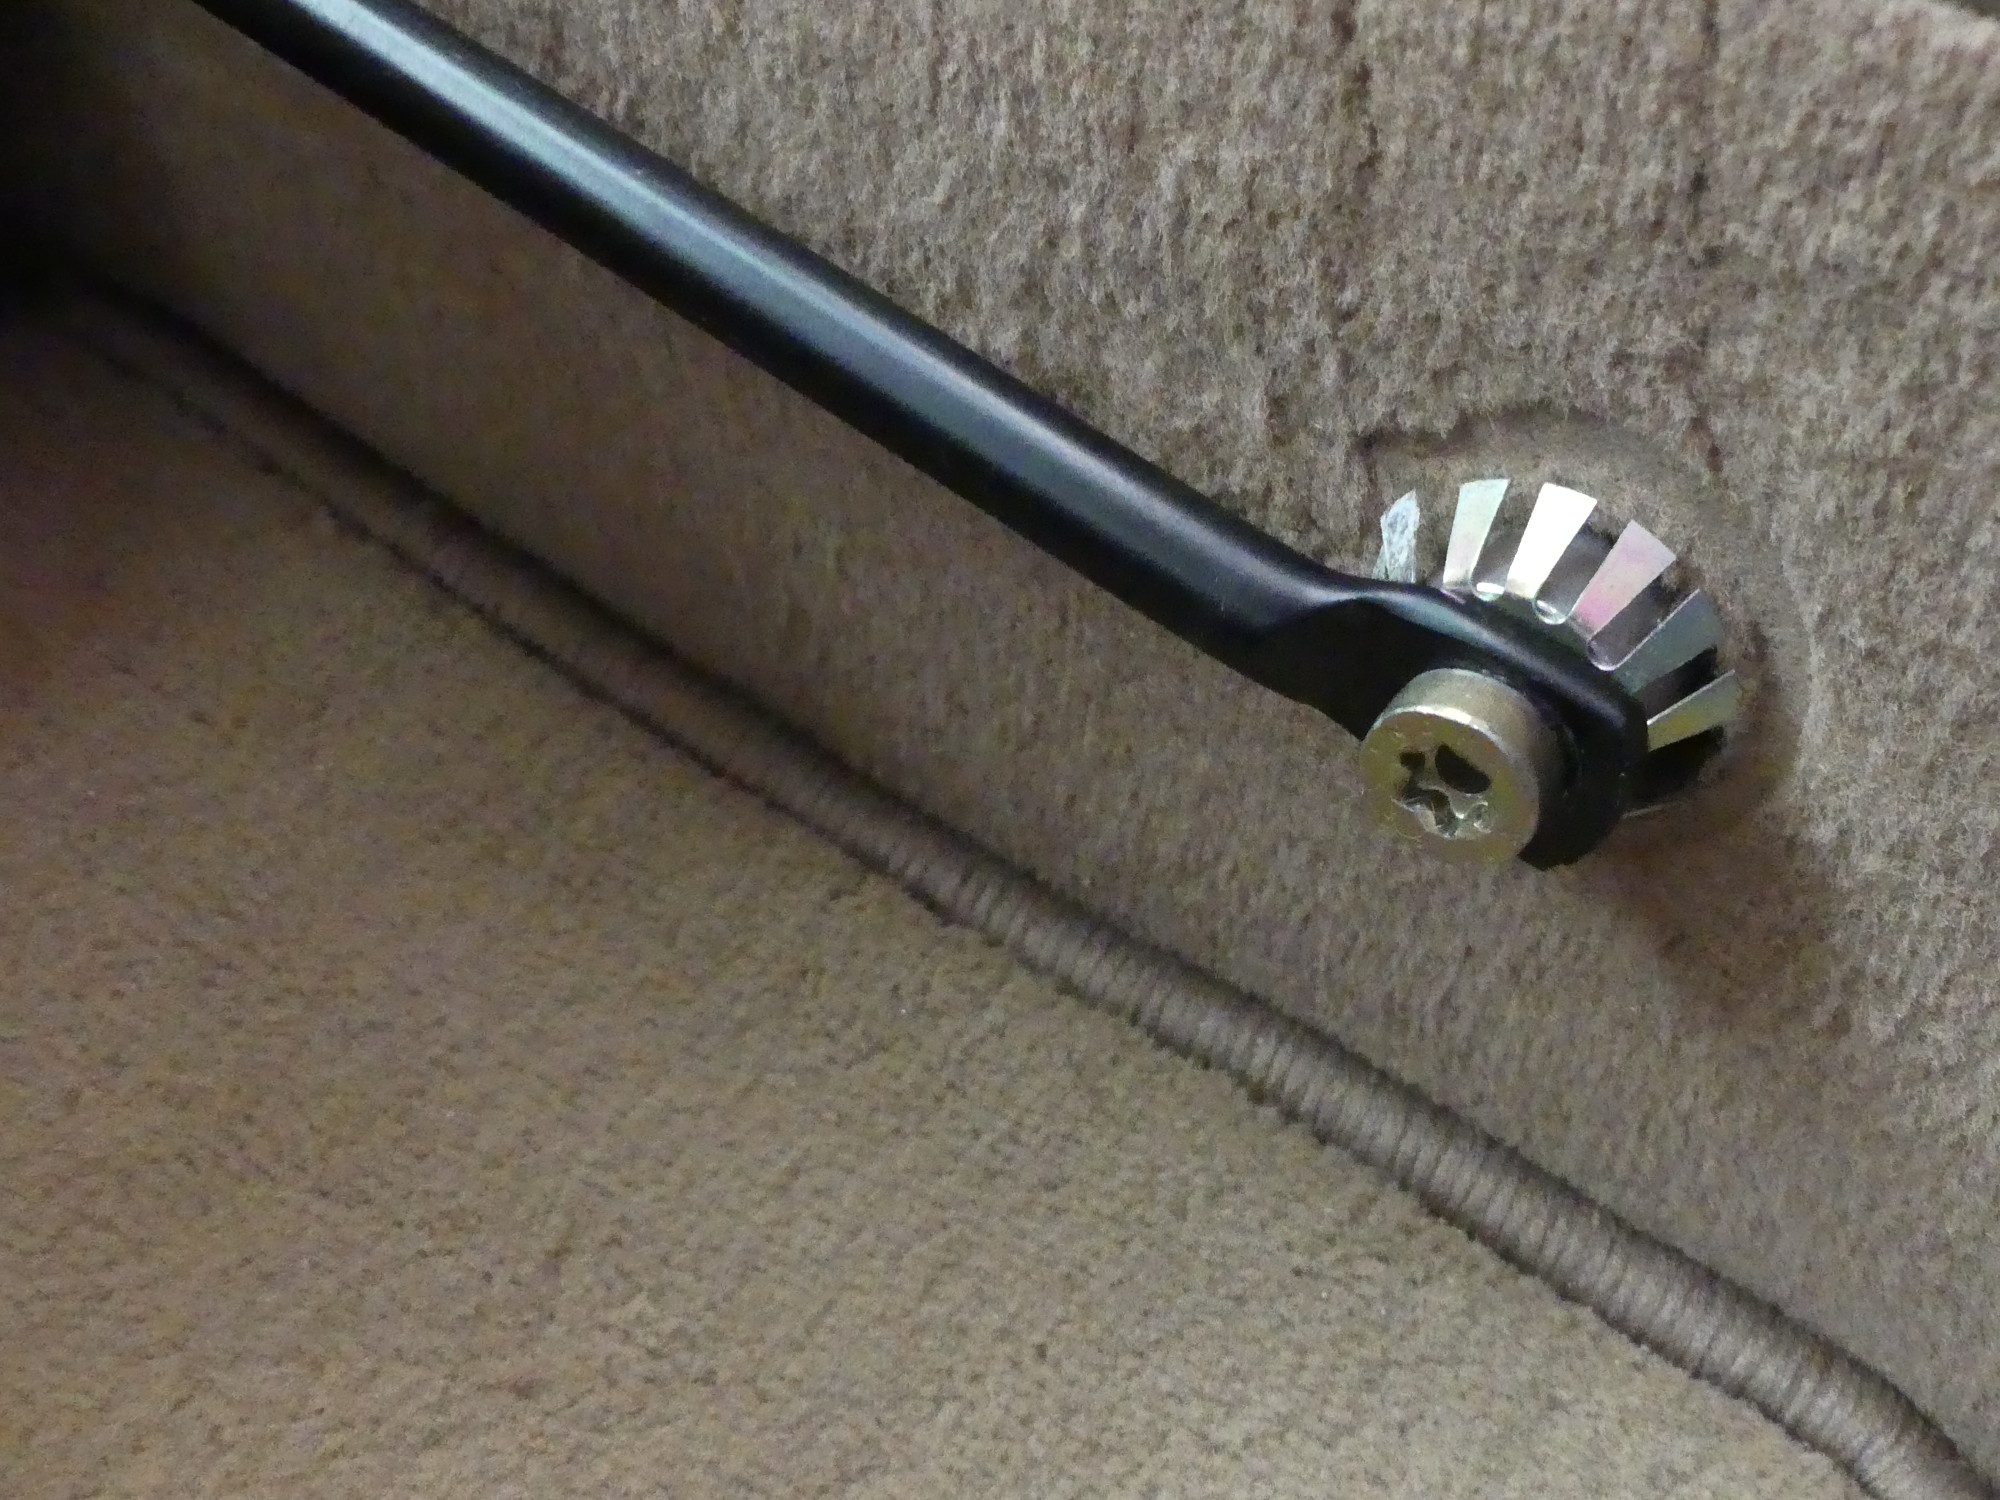 To gain access to the lower seat belt rod retaining bolt a cosmetic cap must be removed. That cap is held in place by all those metal fingers. A small screwdriver pries the cap away easily, but can also bend the flanges. If they get bent, bend them carefully back into place. |
 The seat belt mechanism retaining bolt (1) inserts into the hole threaded into the body (2). This is in a deep recess so a socket won't fit. The door sill trim and white plastic retainer (3) for reference. |
 The new seatbelt mechanism installed on the driver side. Note that the two small bolts (hex head sheet metal screws, actually) must be removed to pull the horizontal black rod away from the body and free the belt. |
 On the advice of my techncian I protected the door sill with a thick padded cloth. And good thing too. I accidentally dropped the seat on the sill as my hand slipped off the backrest.. |
 My new home. It's 1998 all over again. Britney Spears is dressing as a naughty schoolgirl, playing to the fantasies of men everywhere. America is giving the finger to OPEC as premium gas is $0.87/gallon. And I'm driving the best car I've ever owned. |
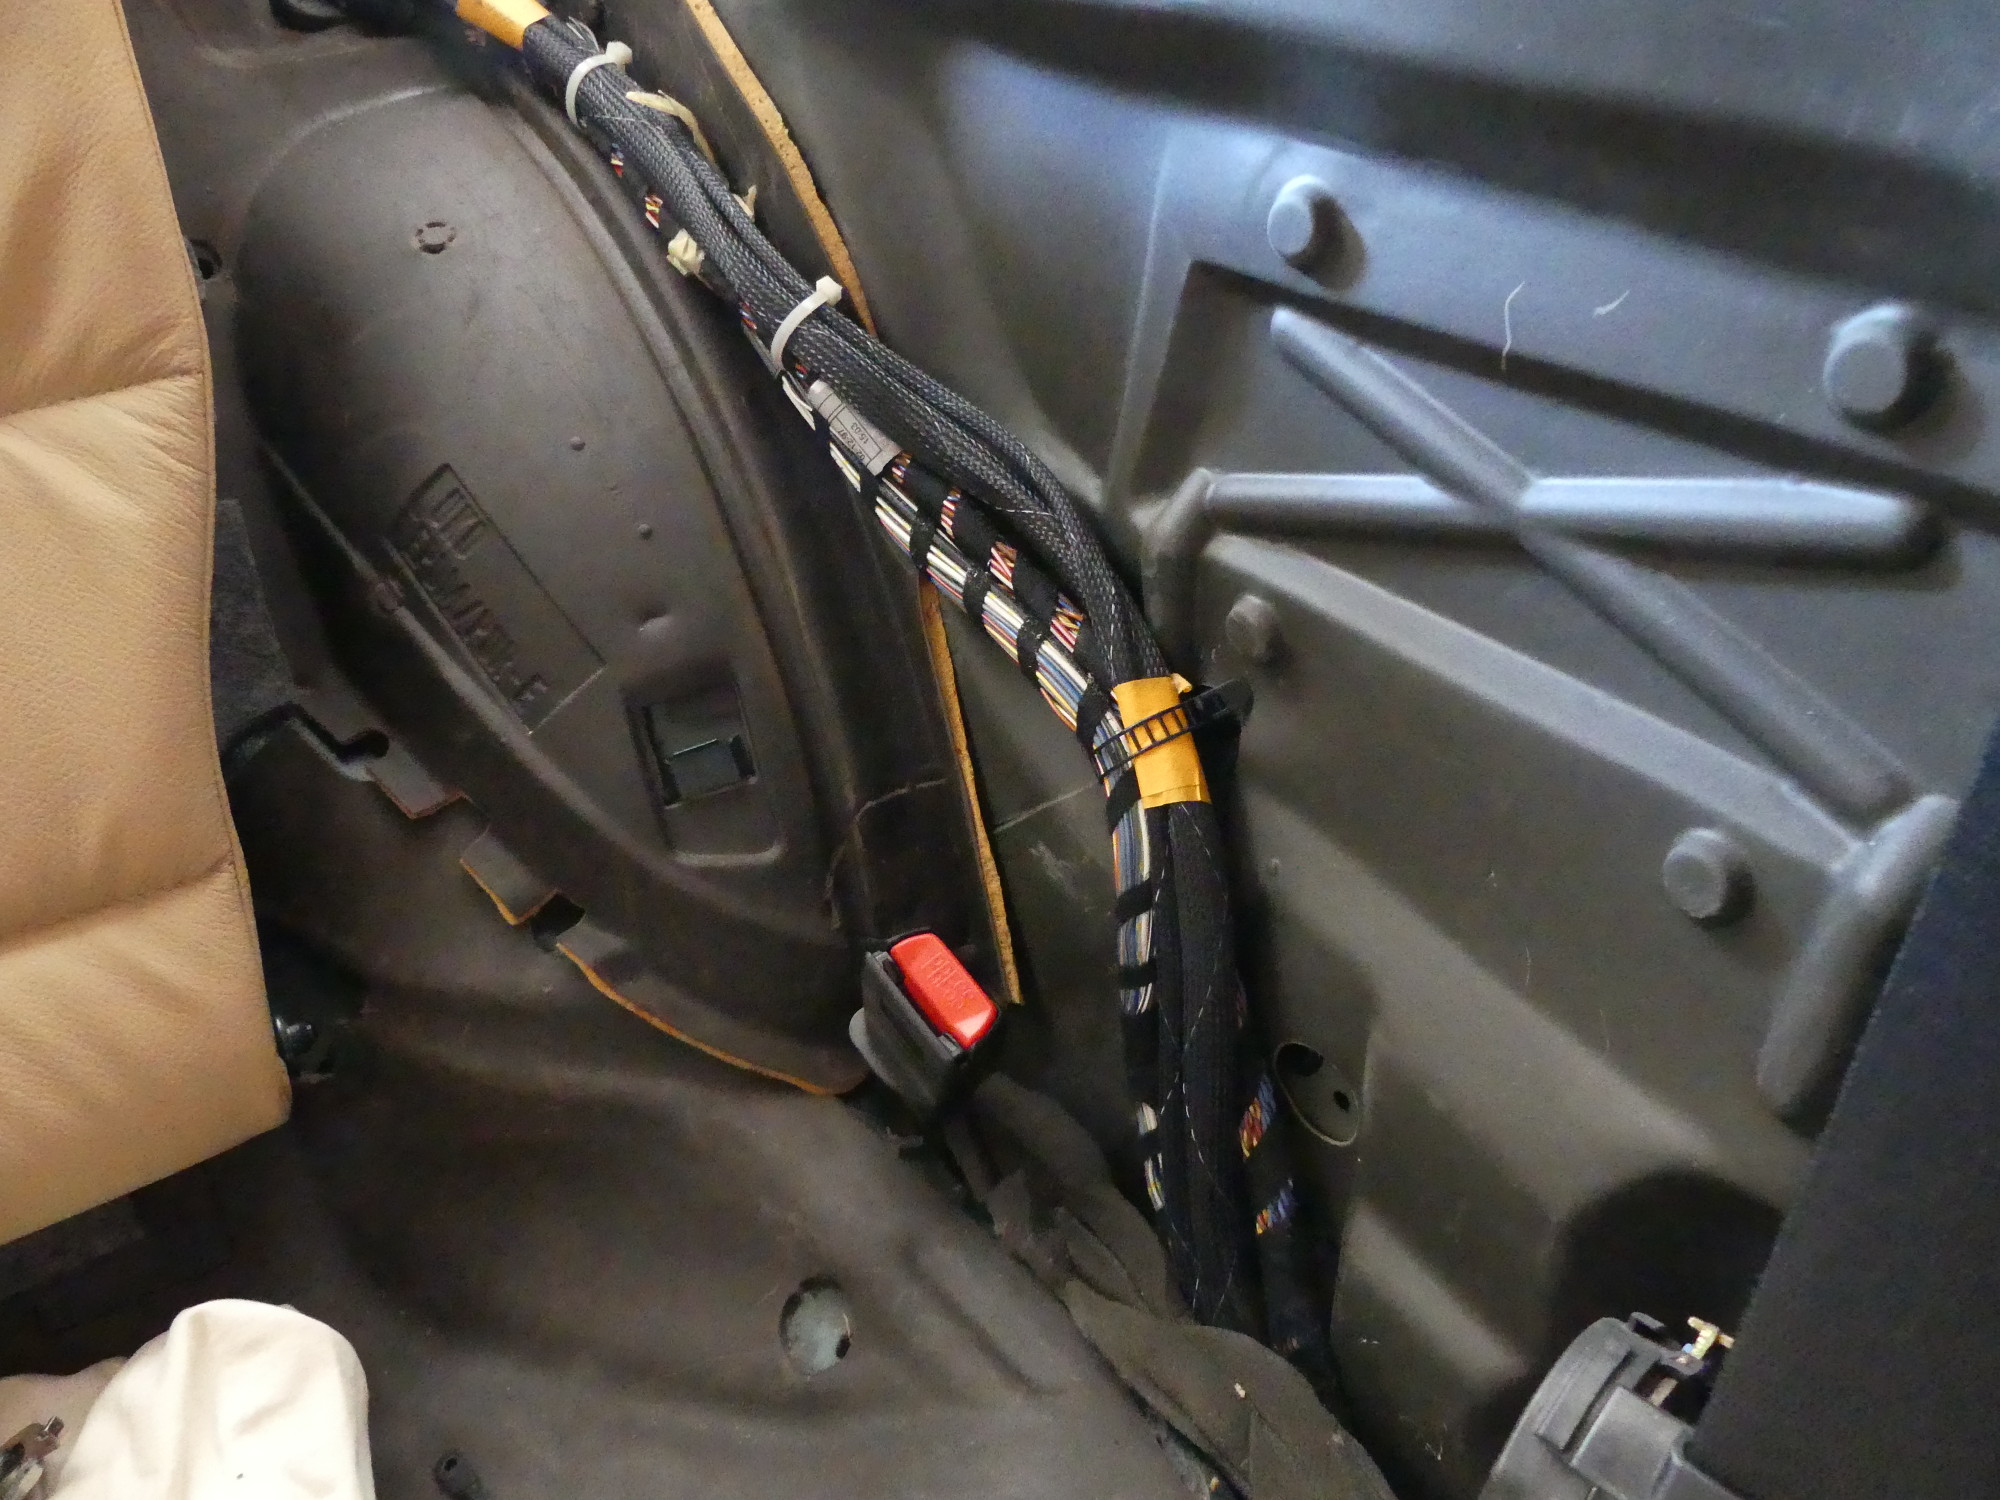
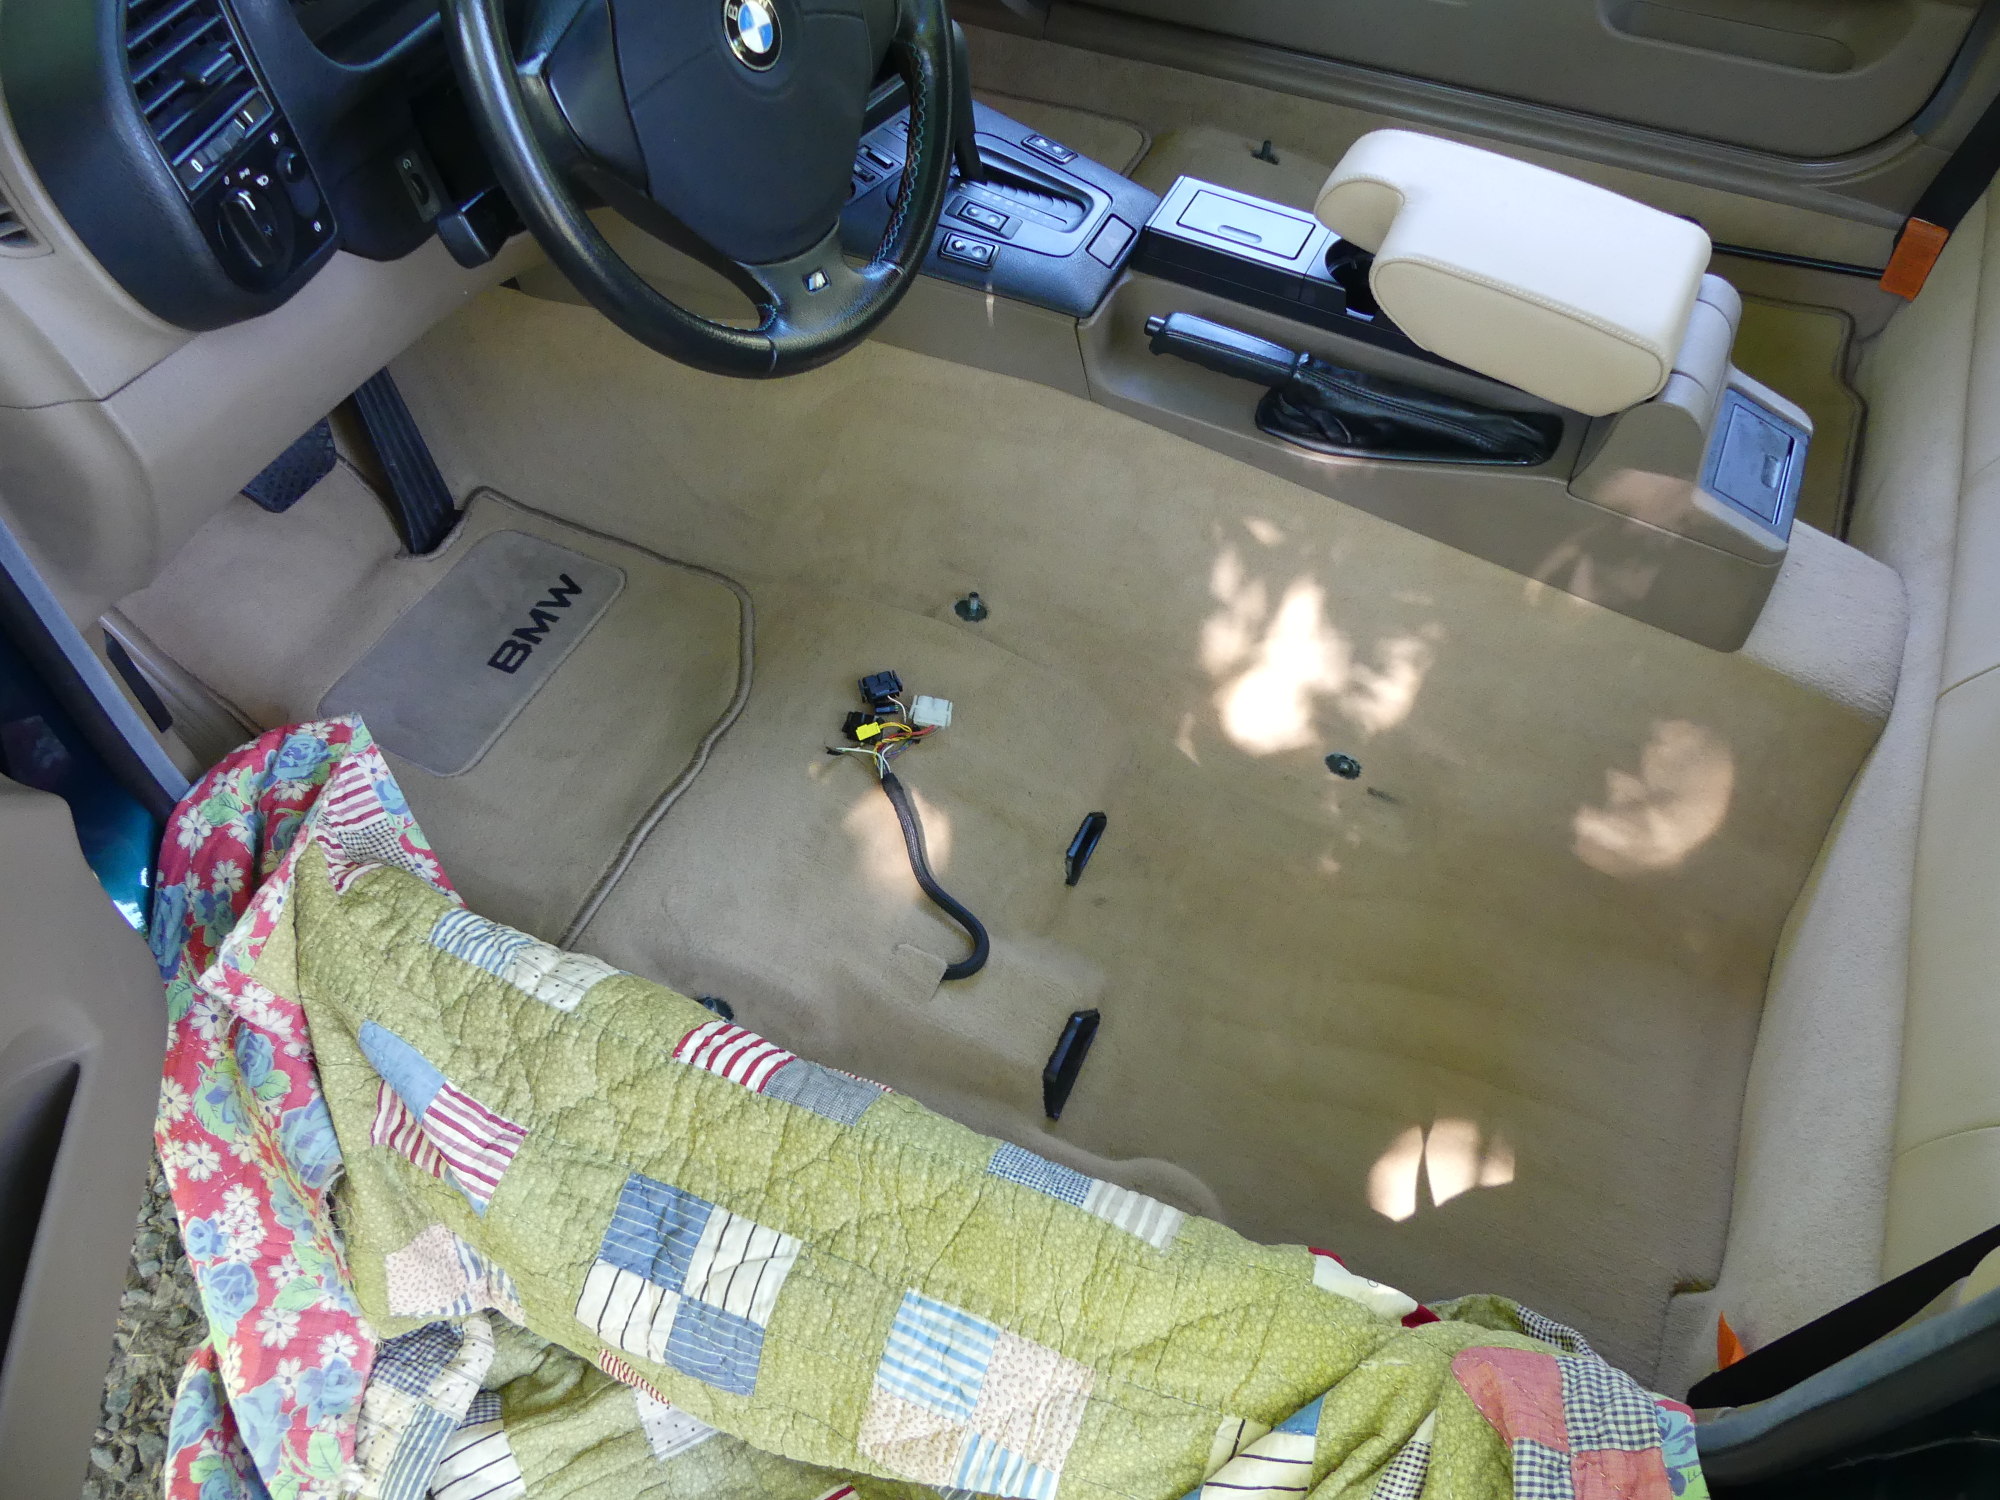
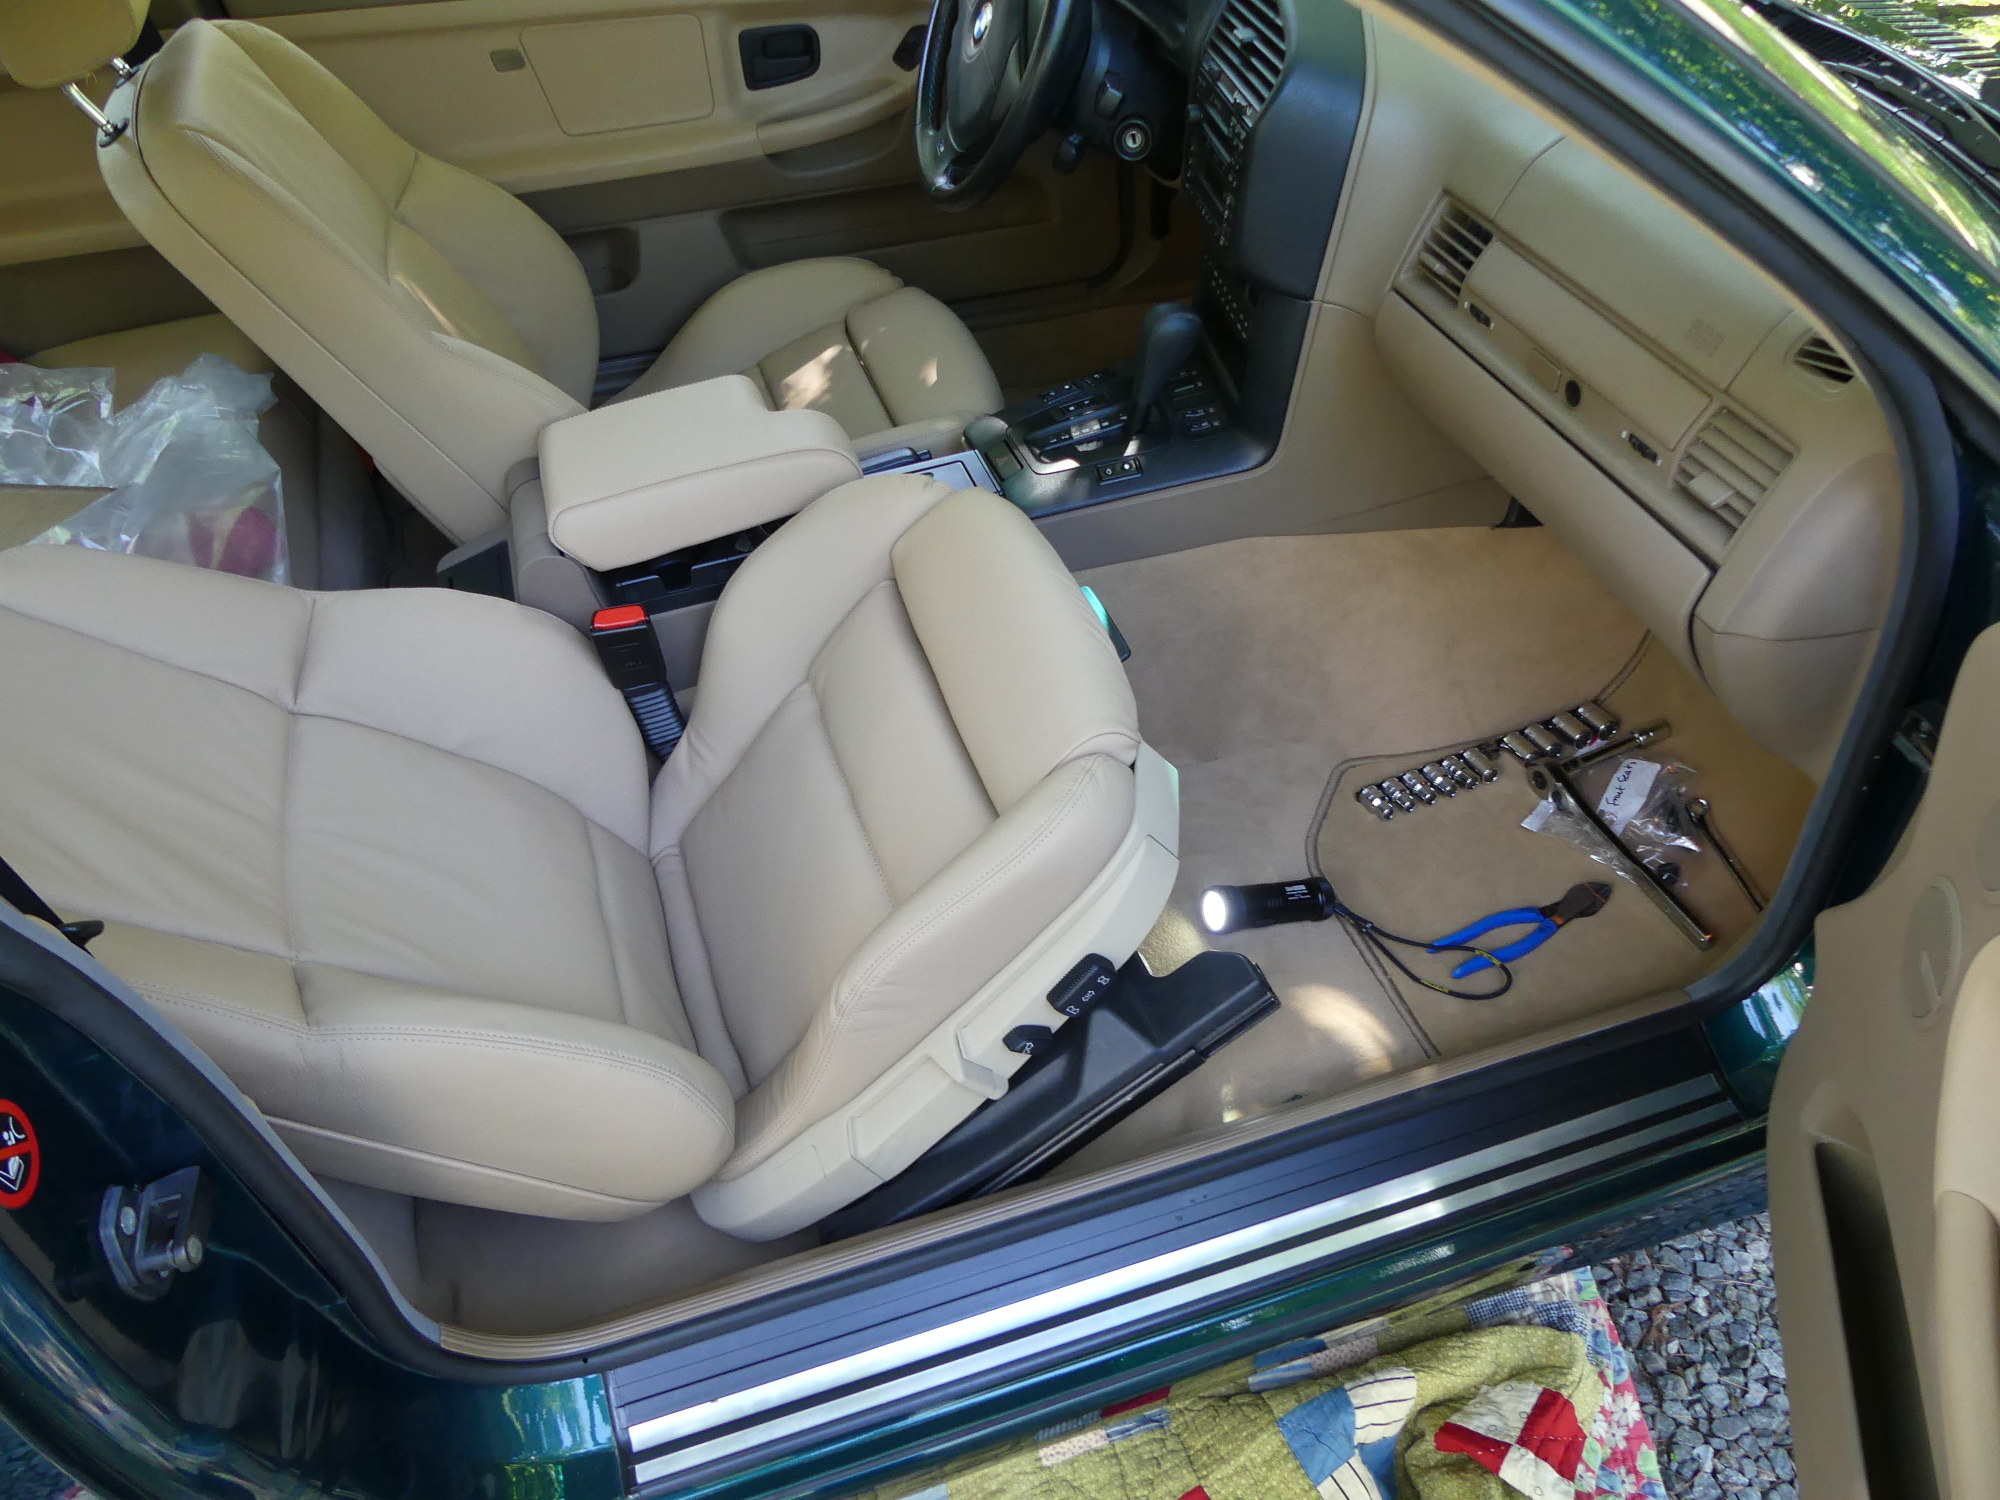 Installing the passenger seat requires tilting it back so the wiring harness can be mated. A Nitecore EA41 LED flashlight with diffuser lens comes in very handy here. |
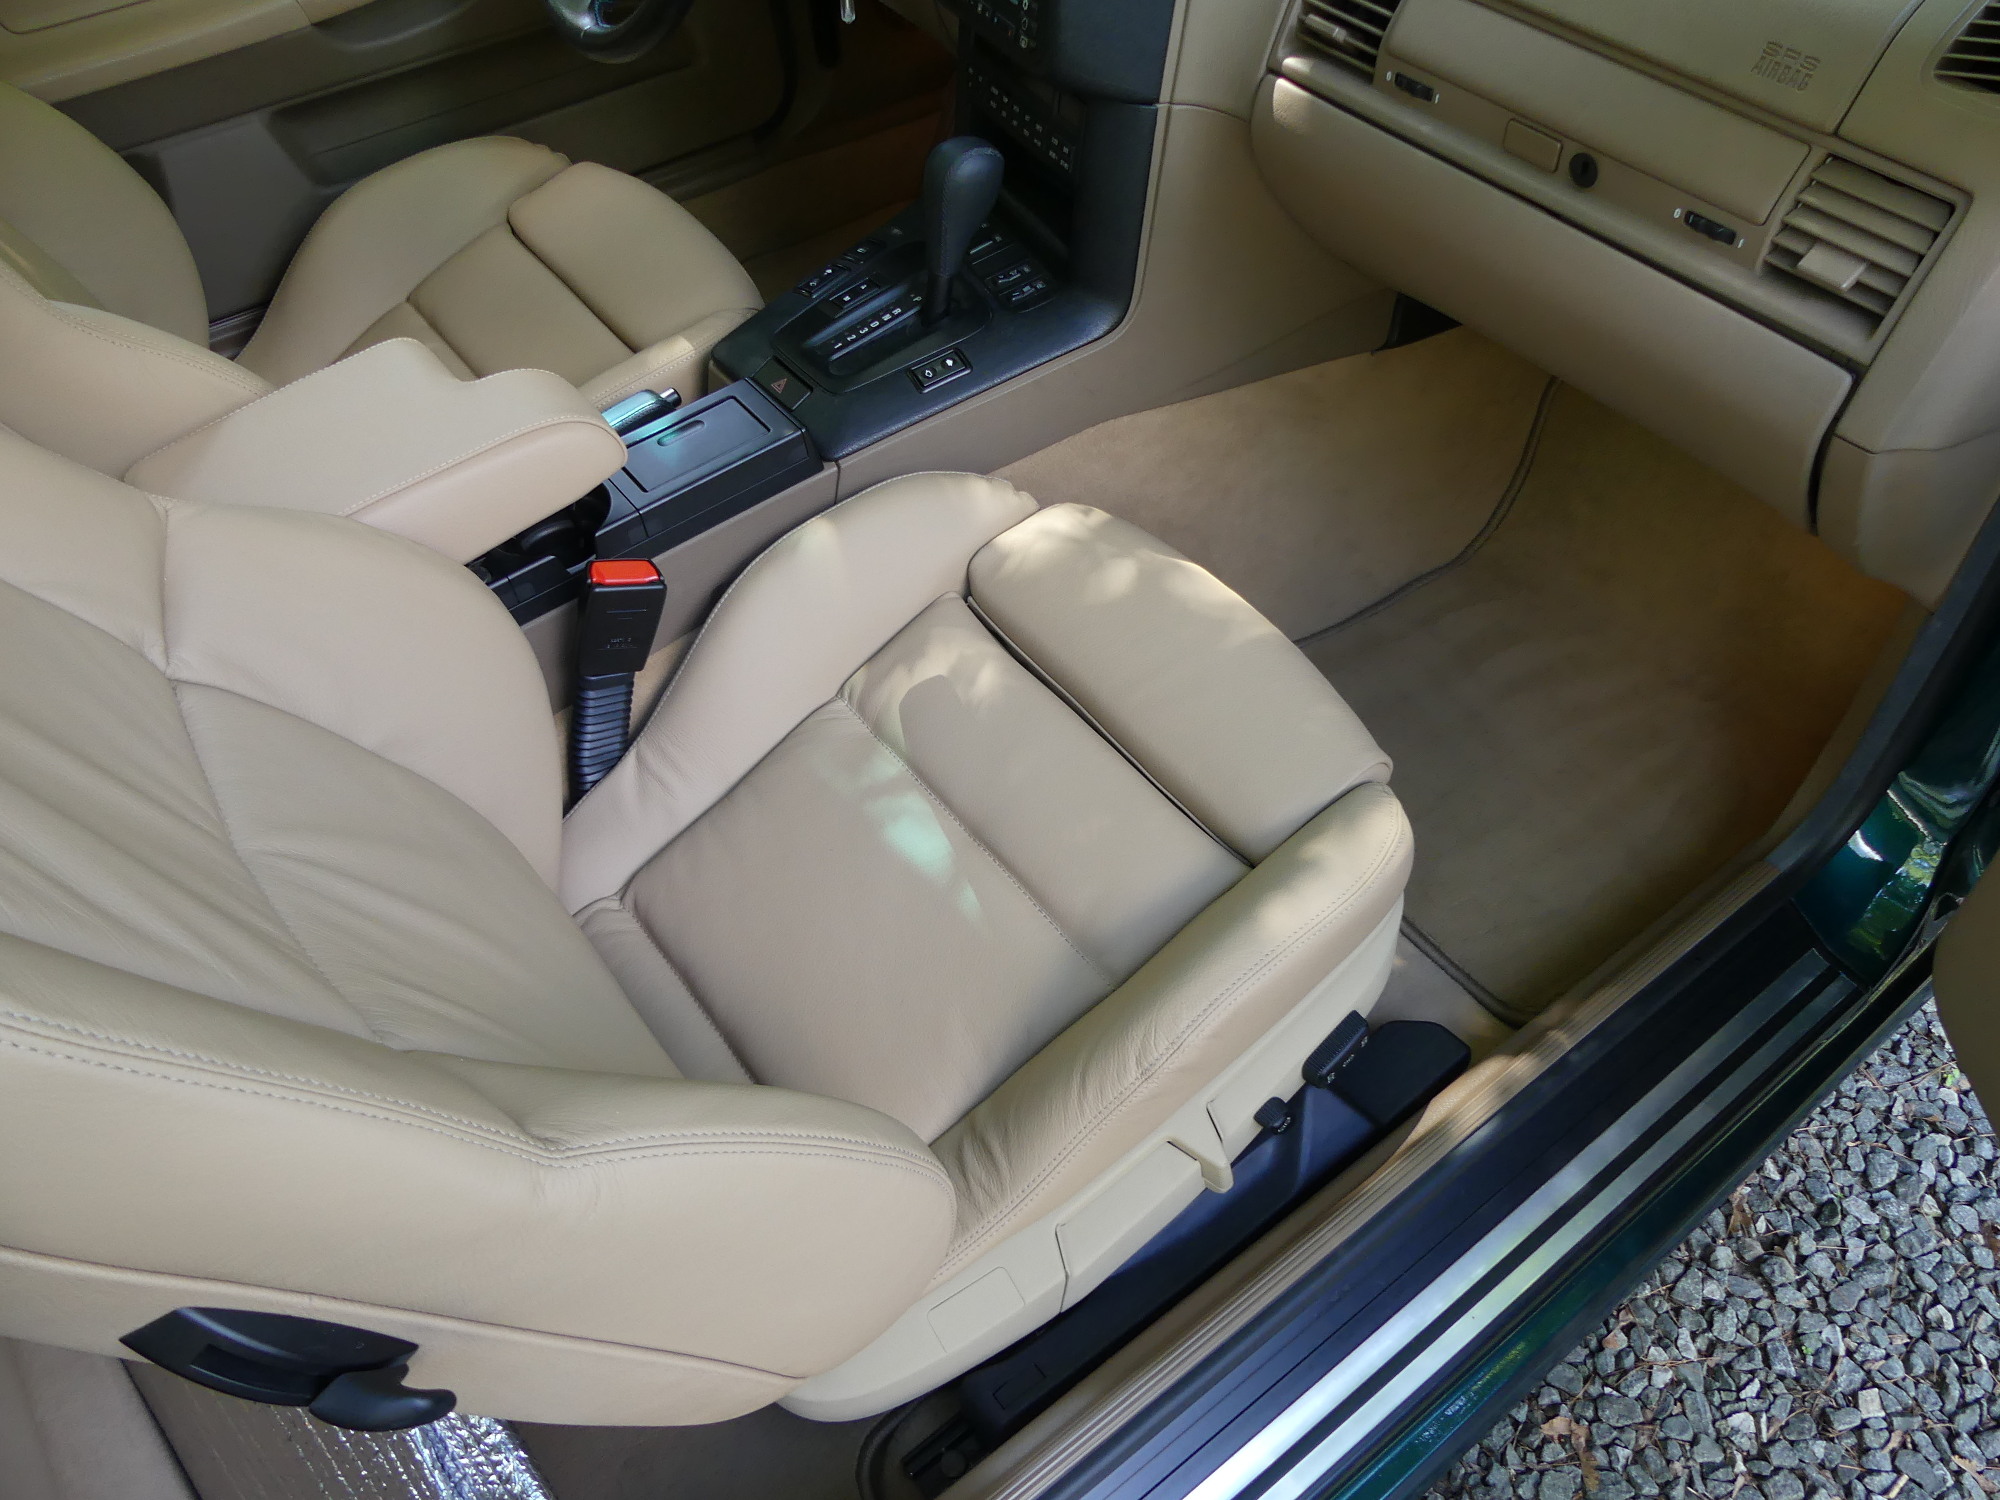 The passenger seat is installed. Protip: Thread in the inner rear bolt before the other fasteners and push the seat a bit toward the tunnel to get the bolt to align correctly and AVOID CROSS-THREADING. |
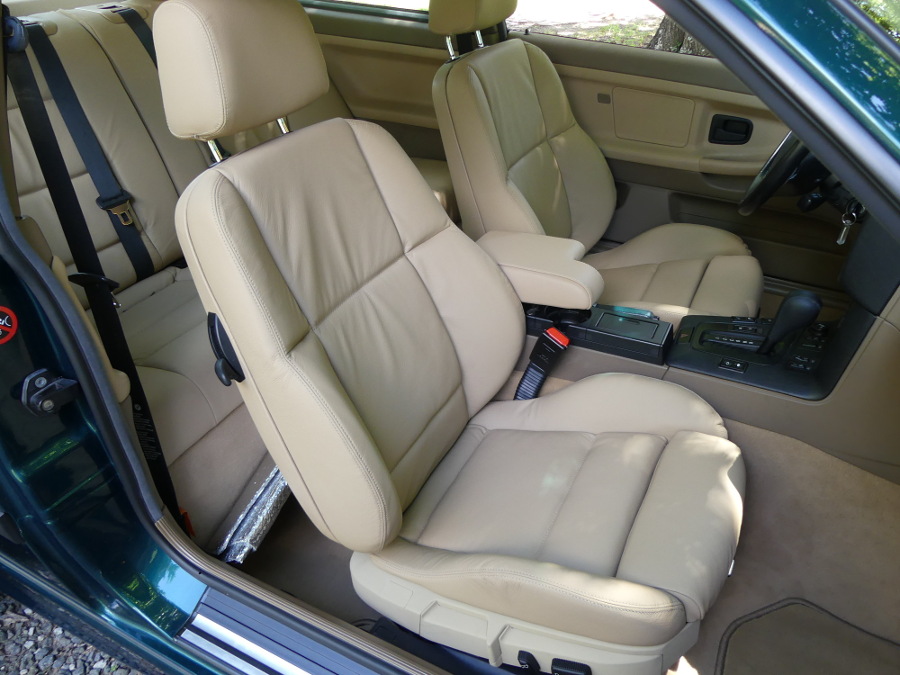
 A glamour shot of the seats installed. As I've said before, the covers aren't perfect and my installation isn't either, but these look 1000 times better than the garbage I tolerated for so many years. |
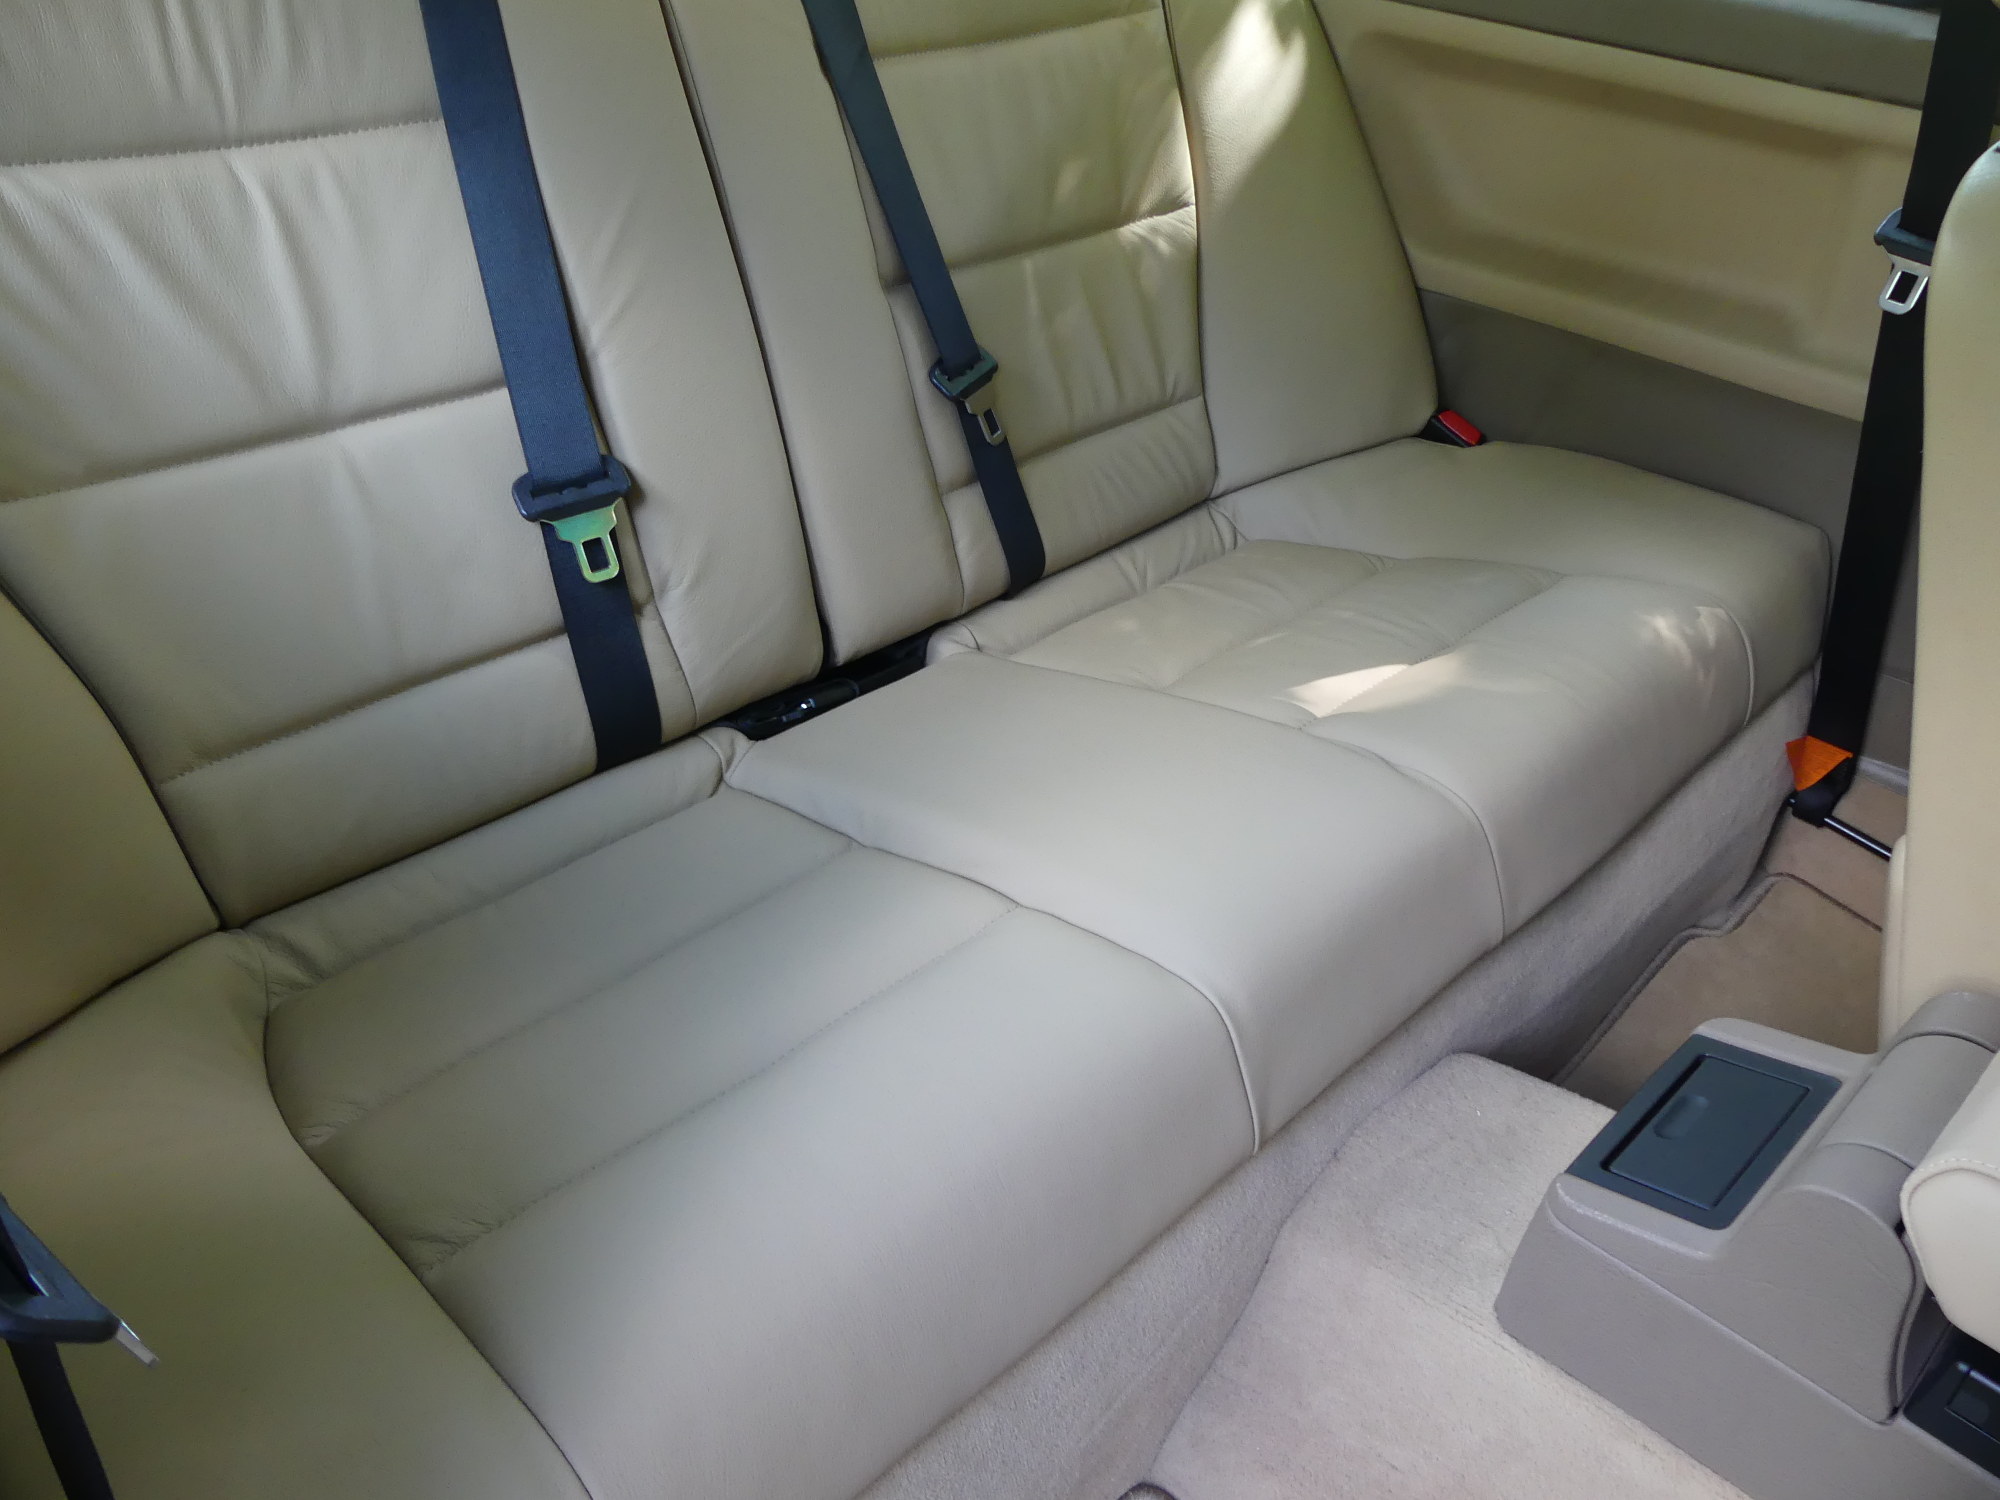 Another shot of the rear seats, this time with the new seat belt receptacles installed. I'm happier with the front seat covers than the rear, but for a one-off and first effort by GAHH, I'm happy. |
Conclusion
This completes the bulk of the restoration of my E36. I still have to rework the A and C pillars with leather, install a new audio system and eventually replace both the gauge cluster as well as the OBC for various reasons but those are low priority items that will be addressed as time and funds permit.
One thing is sure -- I've learned my lesson when it comes to leather care and am planning to apply a leather conditioner incorporating UV blocking agents (Dr. Beasley's Leather Cream) to the covers after I've had my fill of the "new leather smell". I tested the product on the E46's "old but new" leather and I'm very happy with the results. The product has a subtle and pleasant smell similar to that of new leather. It's been less than a week since I applied it and when I get in the car I can still smell a hint of the product but it is not obvious in any way. Best of all, the original matte finish of the leather has been retained and the leather is notably softer to the touch.
To anyone who loves their E36 enough to follow in my footsteps I can recommend GAHH as a source of leather covers because they now have correct patterns for all covers in a sport package interior and they have demonstrated to my satisfaction their ability to produce covers more or less equivalent to OE quality when given the appropriate pattern. If you intend to replace the rear covers expect to send them both existing bolster and backrest covers as they will need to migrate certain parts from those covers to the new ones. If you don't have a sport package interior, be prepared to send them covers as needed for patterning.
As they say in Hollywood, that's a wrap! If you have found this series of articles on my new leather project helpful please consider donating to my site support fund.