


Tuesday, May 30, 2017
Tools and Equipment Purchases Begin
This week, following a ridiculous amount of research and bargain hunting, I began to purchase the specialized tools I'll need to complete the drivetrain overhaul. Some of the tools have already arrived so I'll talk about those here and add additional commentary as the remaining tools come in.
Workbench Solution
I concluded the last entry undecided as to what I would do for a workbench but I'm happy to say that I managed to negotiate a reasonable deal with Shure Manufacturing for one of their 72x29" ShureShop tables in portable configuration (including both accessory kit and casters).
While this solution was initially more expensive than the other options I managed to configure on the Global Industrial site (one of Shure's distributors) the Shure rep arranged for a discount that ultimately gave it the advantage. I also managed to arrange delivery to my local freight terminal to save approximately $40-90, depending on whether I wanted liftgate service. This isn't much of a savings but it's better in my pocket than that of the shipping company.
The downside is that the 72" models are not included in their Quick Ship program so that means a 2+ week lead time. On the other hand, because it was a more or less custom order I was able to select a color that was not offered on the Global Industrial site: charcoal gray. I'm expecting the table to arrive by mid-June.
Given that I was not able to justify the cost of a stainless top I decided to source a mat to protect the painted top as well as provide something of a cushion to anything I might set on it. My initial research led me to some rubber mats on Amazon, curiously all made by the same company. Unfortunately many of the reviews indicated that the mats give off a potent rubber odor similar to that of tar or seal coating liquid so rather than stink up the garage I decided to source a vinyl mat from another site.
Bore Gauge Set
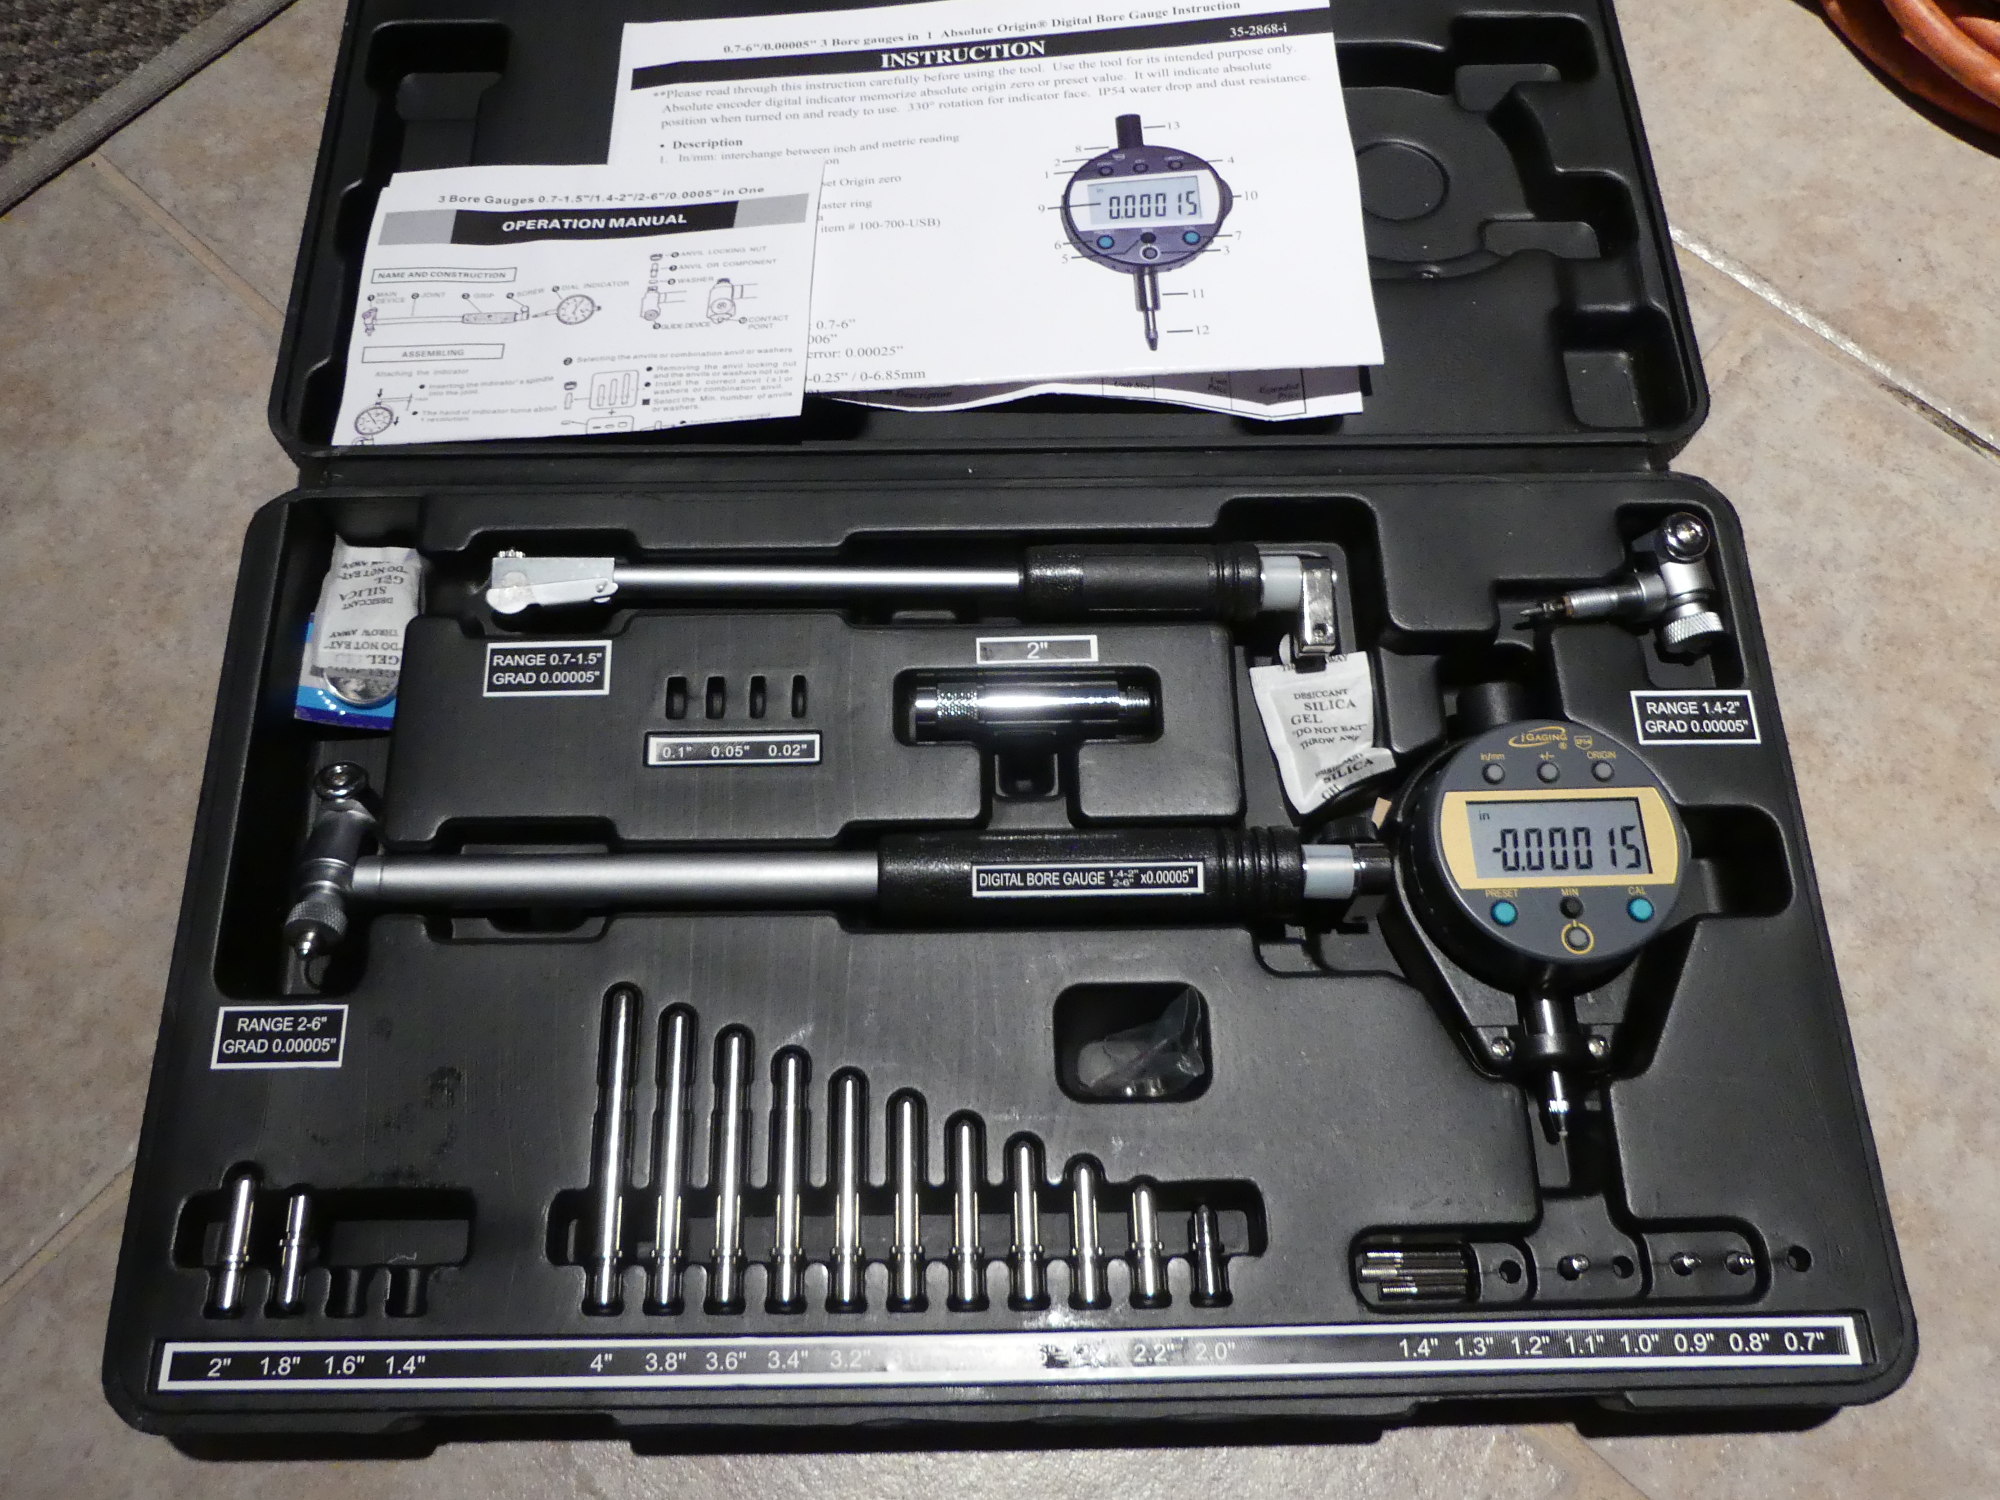
I found a digital bore gauge set made by iGaging that will allow me to measure from 0.7 to 6.0 inches. In addition to the main and connecting rod bearing internal dimensions this should allow measurement of the bushings as well. The reason I say should is that the rod bushings are ~0.9 inches and I don't know if I'll have difficulty inserting the tool into a bore that close to the low side of its measurement range. And then there's the issue of measurement accuracy -- I'm expecting the bushing / pin clearance to be somewhat more than 1 thou worn and about 4-5 ten thousandths reworked, and I simply don't know if the gauge will be accurate at that resolution. But that is the price I pay for buying low-end tools.
The set cost $200, which is far more reasonable than the equivalent Mitutoyo and Starret versions ($1000+), particularly when I consider that neither company provides a digital set with the same measurement range. I would have to buy one instrument for each required range. No thanks.
Vanos / Timing Toolkit
I originally expected my technician to pull the head for me but it now appears that he will extract the engine fully assembled and I'll be responsible for R&Ring the head and timing the engine. While the Vanos makes timing the M52 relatively easy (you won't find a degree wheel anywhere in my garage, thank you very much), the procedure does require a few special tools including the secondary timing chain gear wrench, cam lock blocks, TDC alignment pin, secondary timing chain tensioner locking pin and primary timing chain tensioner tool.
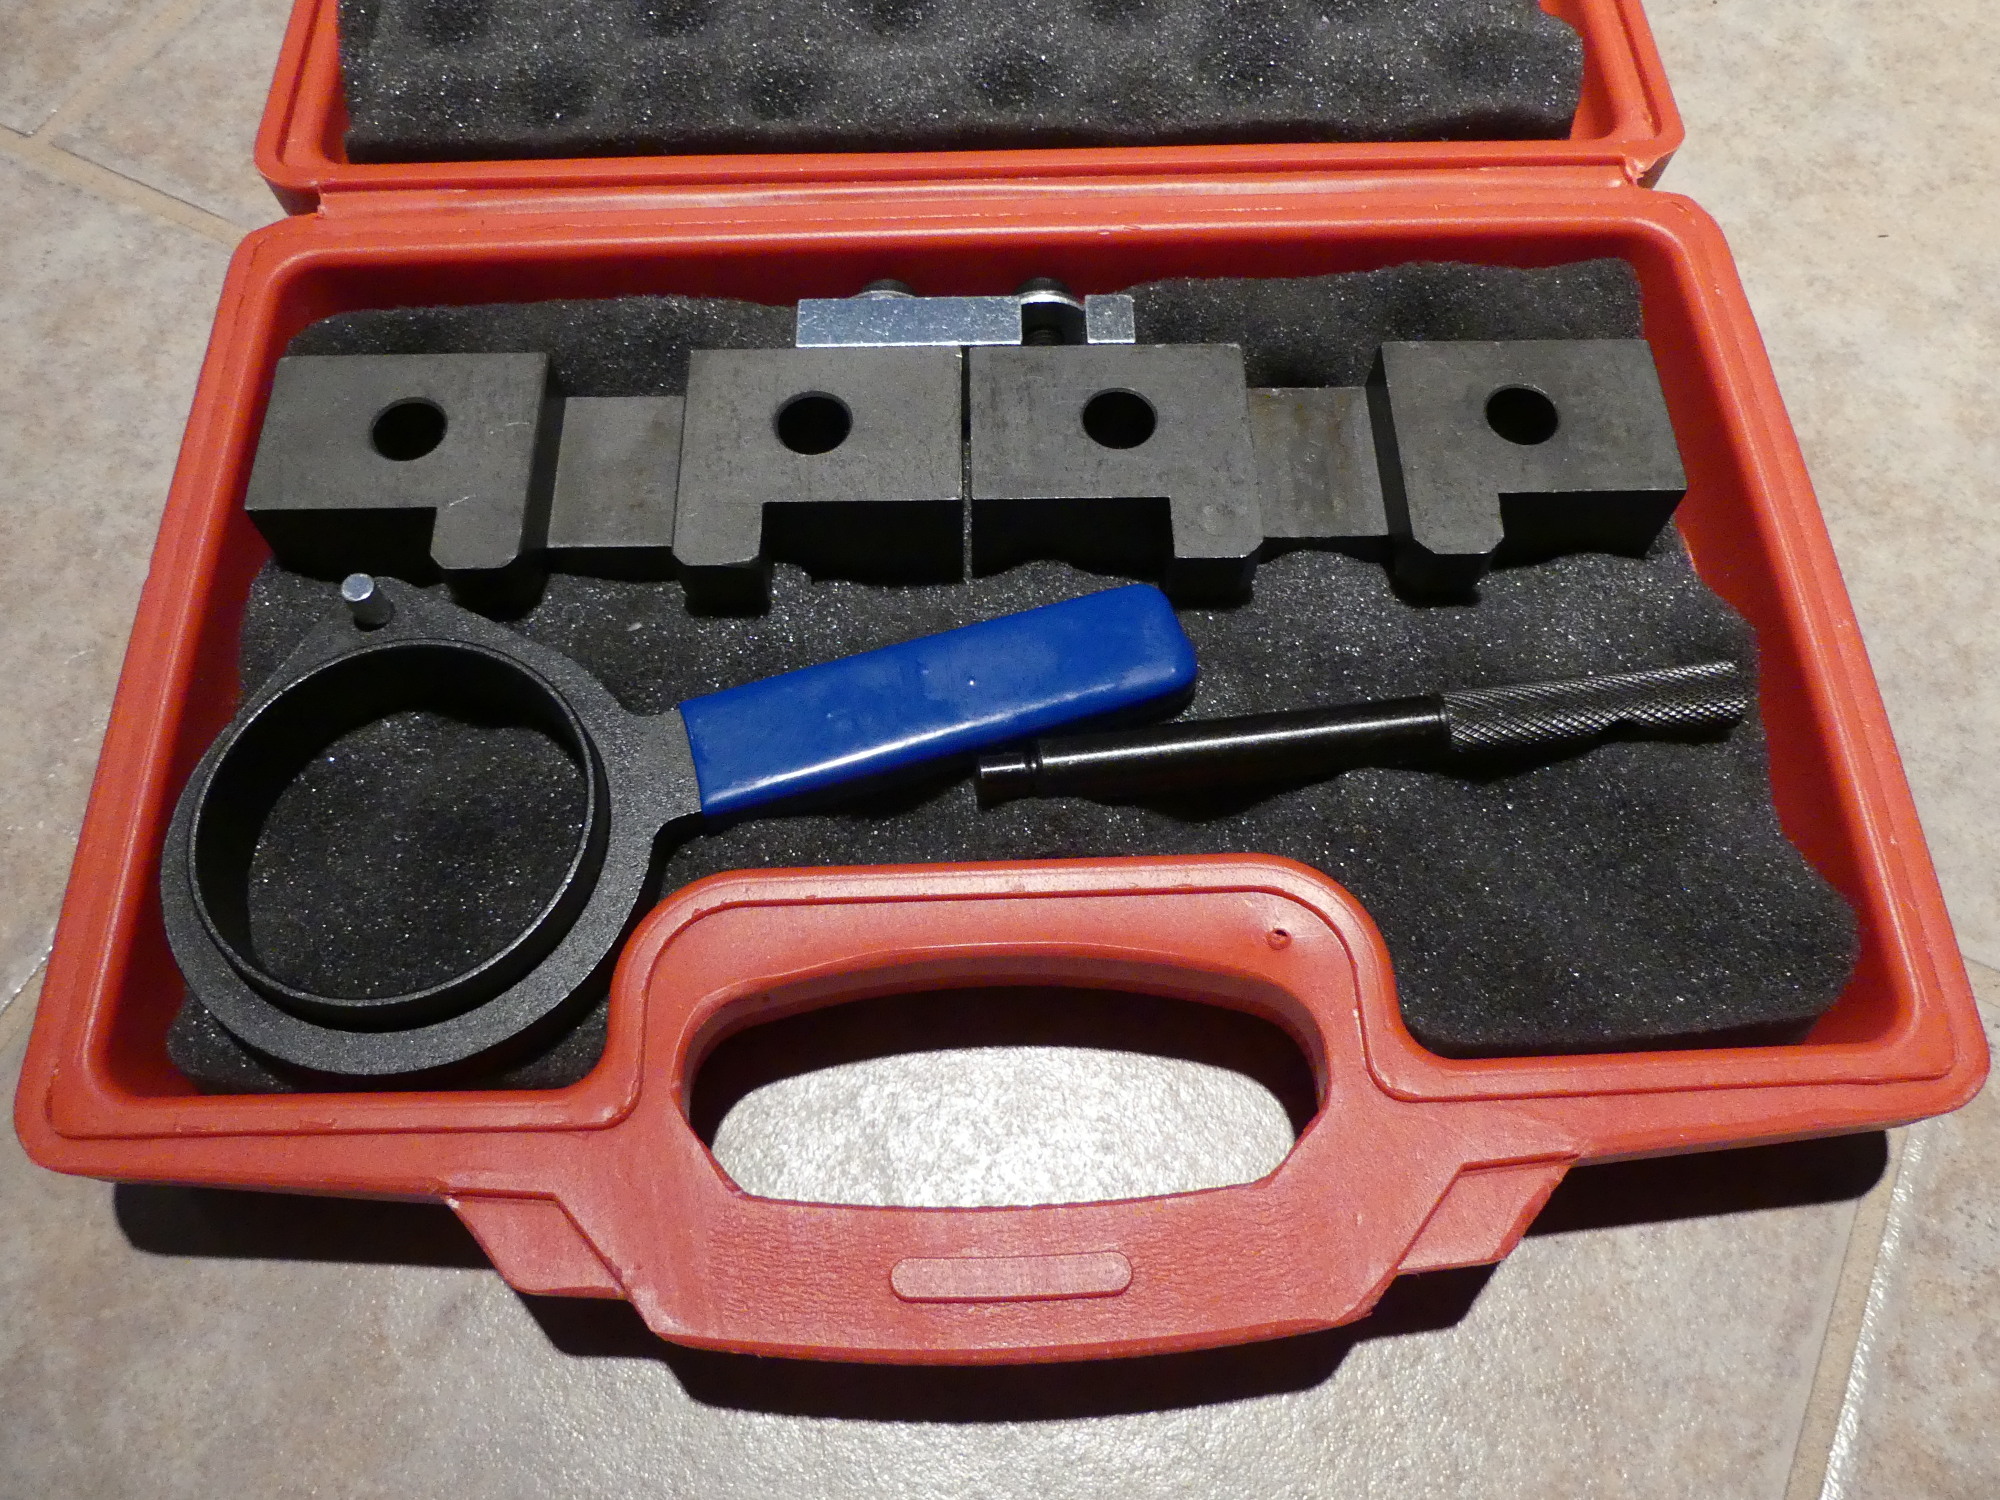
Although my technician has once again graciously offered to loan me whatever tools I need to complete the project my use of the dealership's tools has always come with the understanding that I return them promptly so as to not delay the pros trying to make a living. Given that I'll likely need to keep the cams and bottom end locked for an extended period of time I felt it would be best to buy my own set of timing tools. Fortunately that is a lot easier now that the net is flooded with inexpensive kits made in the far east. Case in point: I found a vendor on ebay selling a kit for $50. It arrived with a bit of minor surface rust on one area of the cam locks but I remedied that by rubbing them down with a rag laced with ballistol. They look perfect now and shouldn't rust any further.
The secondary timing chain tensioner locking pin is required to keep the tensioner compressed so the chain and sprockets can be removed. This pin did not come in my kit (or the ones like it) but I did find a set of pins made by Baum Tools designed for other purposes that should get the job done for a cool $8. Best of all, the Baum pins come on a key chain that should make it impossible to lose track of them (read as: drop the pin somewhere inside the head).
The purpose of the primary chain tensioner tool and the specific torque it requires (1 Nm or about 0.8 ft*lbs), is to apply a specific tension to the primary timing chain. This causes the exhaust cam sprocket to rotate a small amount which naturally affects the timing. The special tool is available from various vendors for a reasonable price (about $30) but most people don't bother with it as it's possible to temporarily replace the tensioner spring with eight US pennies to produce an equivalent tool. The installation procedure for this makeshift tool is simple: screw it in until it bottoms out and then turn an additional 20 degrees. That approximates the tension applied using the special tool and ensures that the exhaust cam sprocket rotates just the right amount.
Speaking of engine timing, I've watched enough videos of the Vanos seal replacement process to conclude I can do this myself so I will. Autohead charges $150 to rebuild the Vanos while Beisan charges $30 for the seals kit and $30 for the rattle repair kit. Although I haven't noticed any Vanos rattle it seems wise to apply the kit as a prophylactic measure so I plan to install both kits. I'll save at most $90 doing this myself but it's something. The only snag is I'll need to set up a vise with some soft jaws to install the rattle repair kit but that's a requirement I can meet easily enough.
Task Lighting
My brother installed overhead LED lighting in the new garage but unfortunately these produce output that I can only describe as adequate for general purposes. I knew up front that I would need some additional task lighting to complete the project and so began a search for an inexpensive solution.
I quickly ruled out traditional 500W halogen lamps because they consume a metric crapload of power, generate a lot of heat, emit a surprising amount of UV and at least in the case of the light cart my brother owns, the lights are at eye level and cannot be pivoted downward sufficiently to illuminate the work surface. Halogens also produce a fairly yellow light in the vicinity of 3000K which sucks for video production.
500W halogen lights typically produce output in the neighborhood of 10000 lumens so I used this as a benchmark in my search for LED equivalents. I unfortunately couldn't find a single LED light at reasonable cost to match the performance of the halogen lights, and the two or more lights required to produce the equivalent output wound up being anywhere from $250 to $400 with tax and shipping, depending on quality. Too rich for my blood.
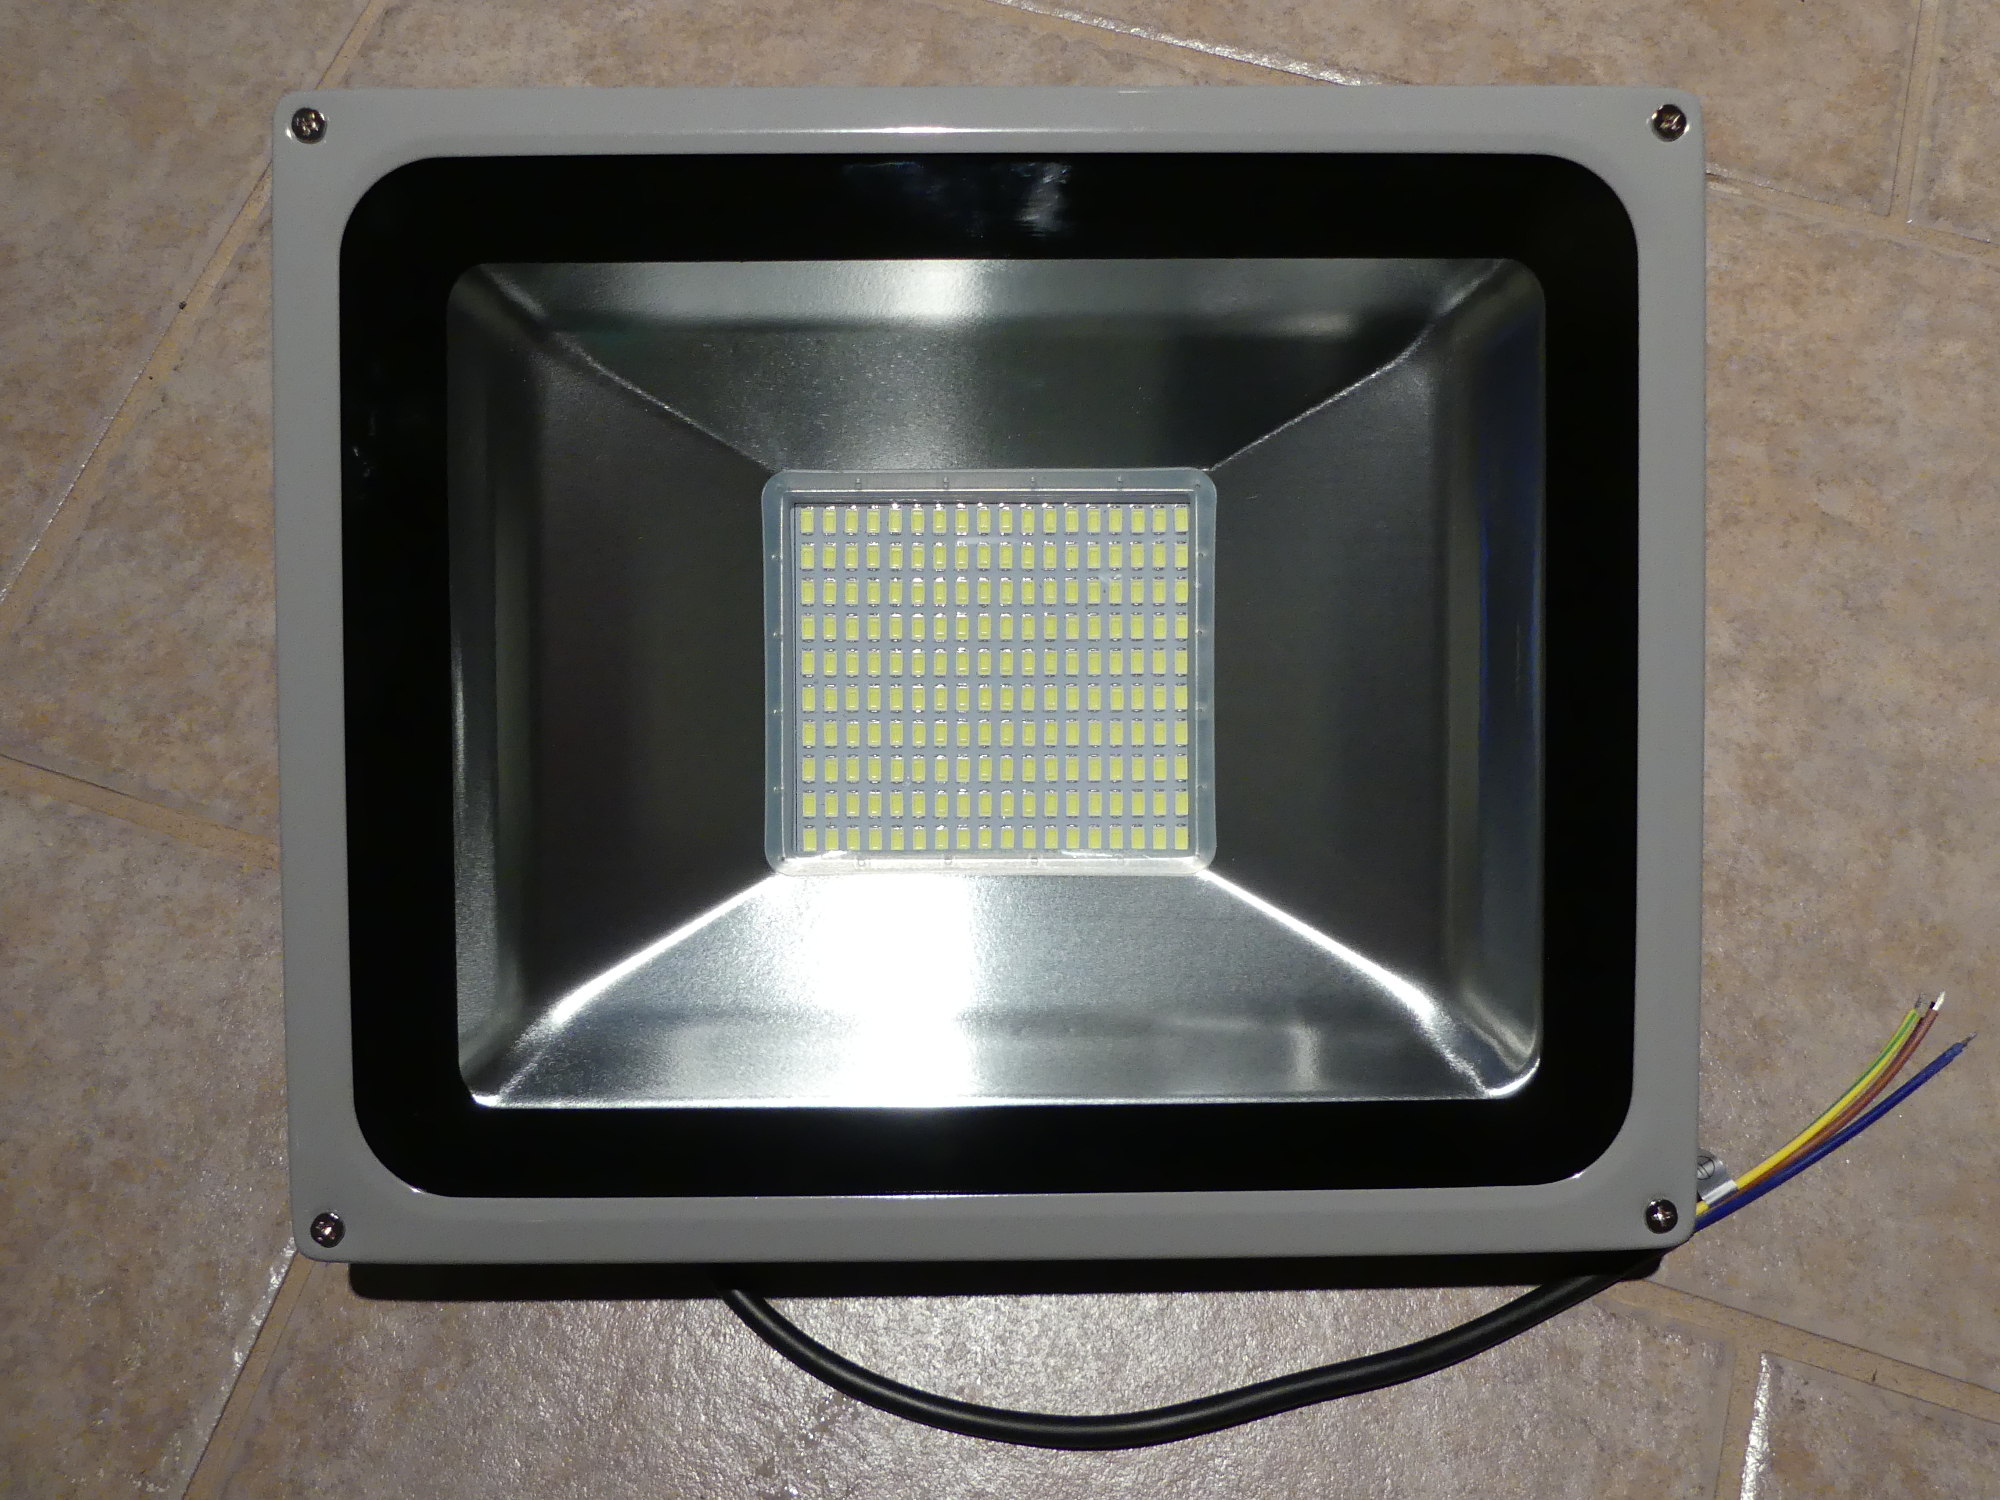
While searching for alternatives on YouTube I came across a guy who bought a 150W LED flood light on ebay. There were a few problems with the unit, as one might expect for anything made of Chinesium, but he was able to fix them and in the process achieve a high lumens/buck ratio. I managed to pick up two of the 100W versions for $20 each and an 8 foot stand for another $36 shipped. I'm expecting to inspect and repair each of the lights before deploying them but not expecting them to last long. If they hold up for the duration of the project I'll consider myself lucky...as well as ~$300 wealthier.
Once I've given the units the once-over I'm planning to undermount them to a ~3 foot section of bar stock and then fasten that to the 1/4-20 bolt on the top of the light stand. This will permit the lights to be far above the work piece and pivot downward. More on this experiment in the coming weeks.
Mileage: 266000