


Saturday, August 26, 2017
Front Support Painted
I got a call early this morning from the body shop to tell me that the front support was done and ready for pickup. Unfortunately I could not get to the shop before they closed so I told them I'd pick it up on Monday. So clearly they got the job done quickly -- I just need to inspect it to make sure they did the job correctly.
Hood Release Cable Replaced
Although I only got one thing done today it was a pleasing milestone -- my nemesis, the hood release cable, has been replaced.
For most of the first hour of this task the vehicle was still on the lift but lowered until the wheels barely touched the ground. This positioned the vehicle at an optimum height to do the work, but made my life otherwise difficult as the lift posts prevented me from fully opening the door. I eventually got tired of working like that, fully lowered the lift, and pushed the car forward enough to allow the door to open completely. Which brings me to point out one of the downsides of a traditional two post lift -- the posts always get in the way of the doors. This was one of those jobs that convinced me that if I ever get a garage and a lift of my own, I'm going with an in-ground unit similar to the one in my tech's bay. While they are slightly more expensive they make life so much easier. They also have lower profile arms which makes them ideal for lifting low-slung vehicles, so it's a win-win.
I began the project by removing the kick panel. This panel is held in place by the hood release handle, a single dzus (1/4 turn) fastener just below the handle, and a tab molded into the panel that inserts into a plastic slot in the carpet. Once I wrestled that out I realized that in order to provide the required access I also had to remove the footwell ceiling / knee protector panel cover, speaker and the piece of insulation that is molded to protect the speaker. I then removed the two screws holding the spring-loaded cable release mechanism to the body and separated it from the existing cable. This exposed the ferrule that is crimped to the end of the cable.
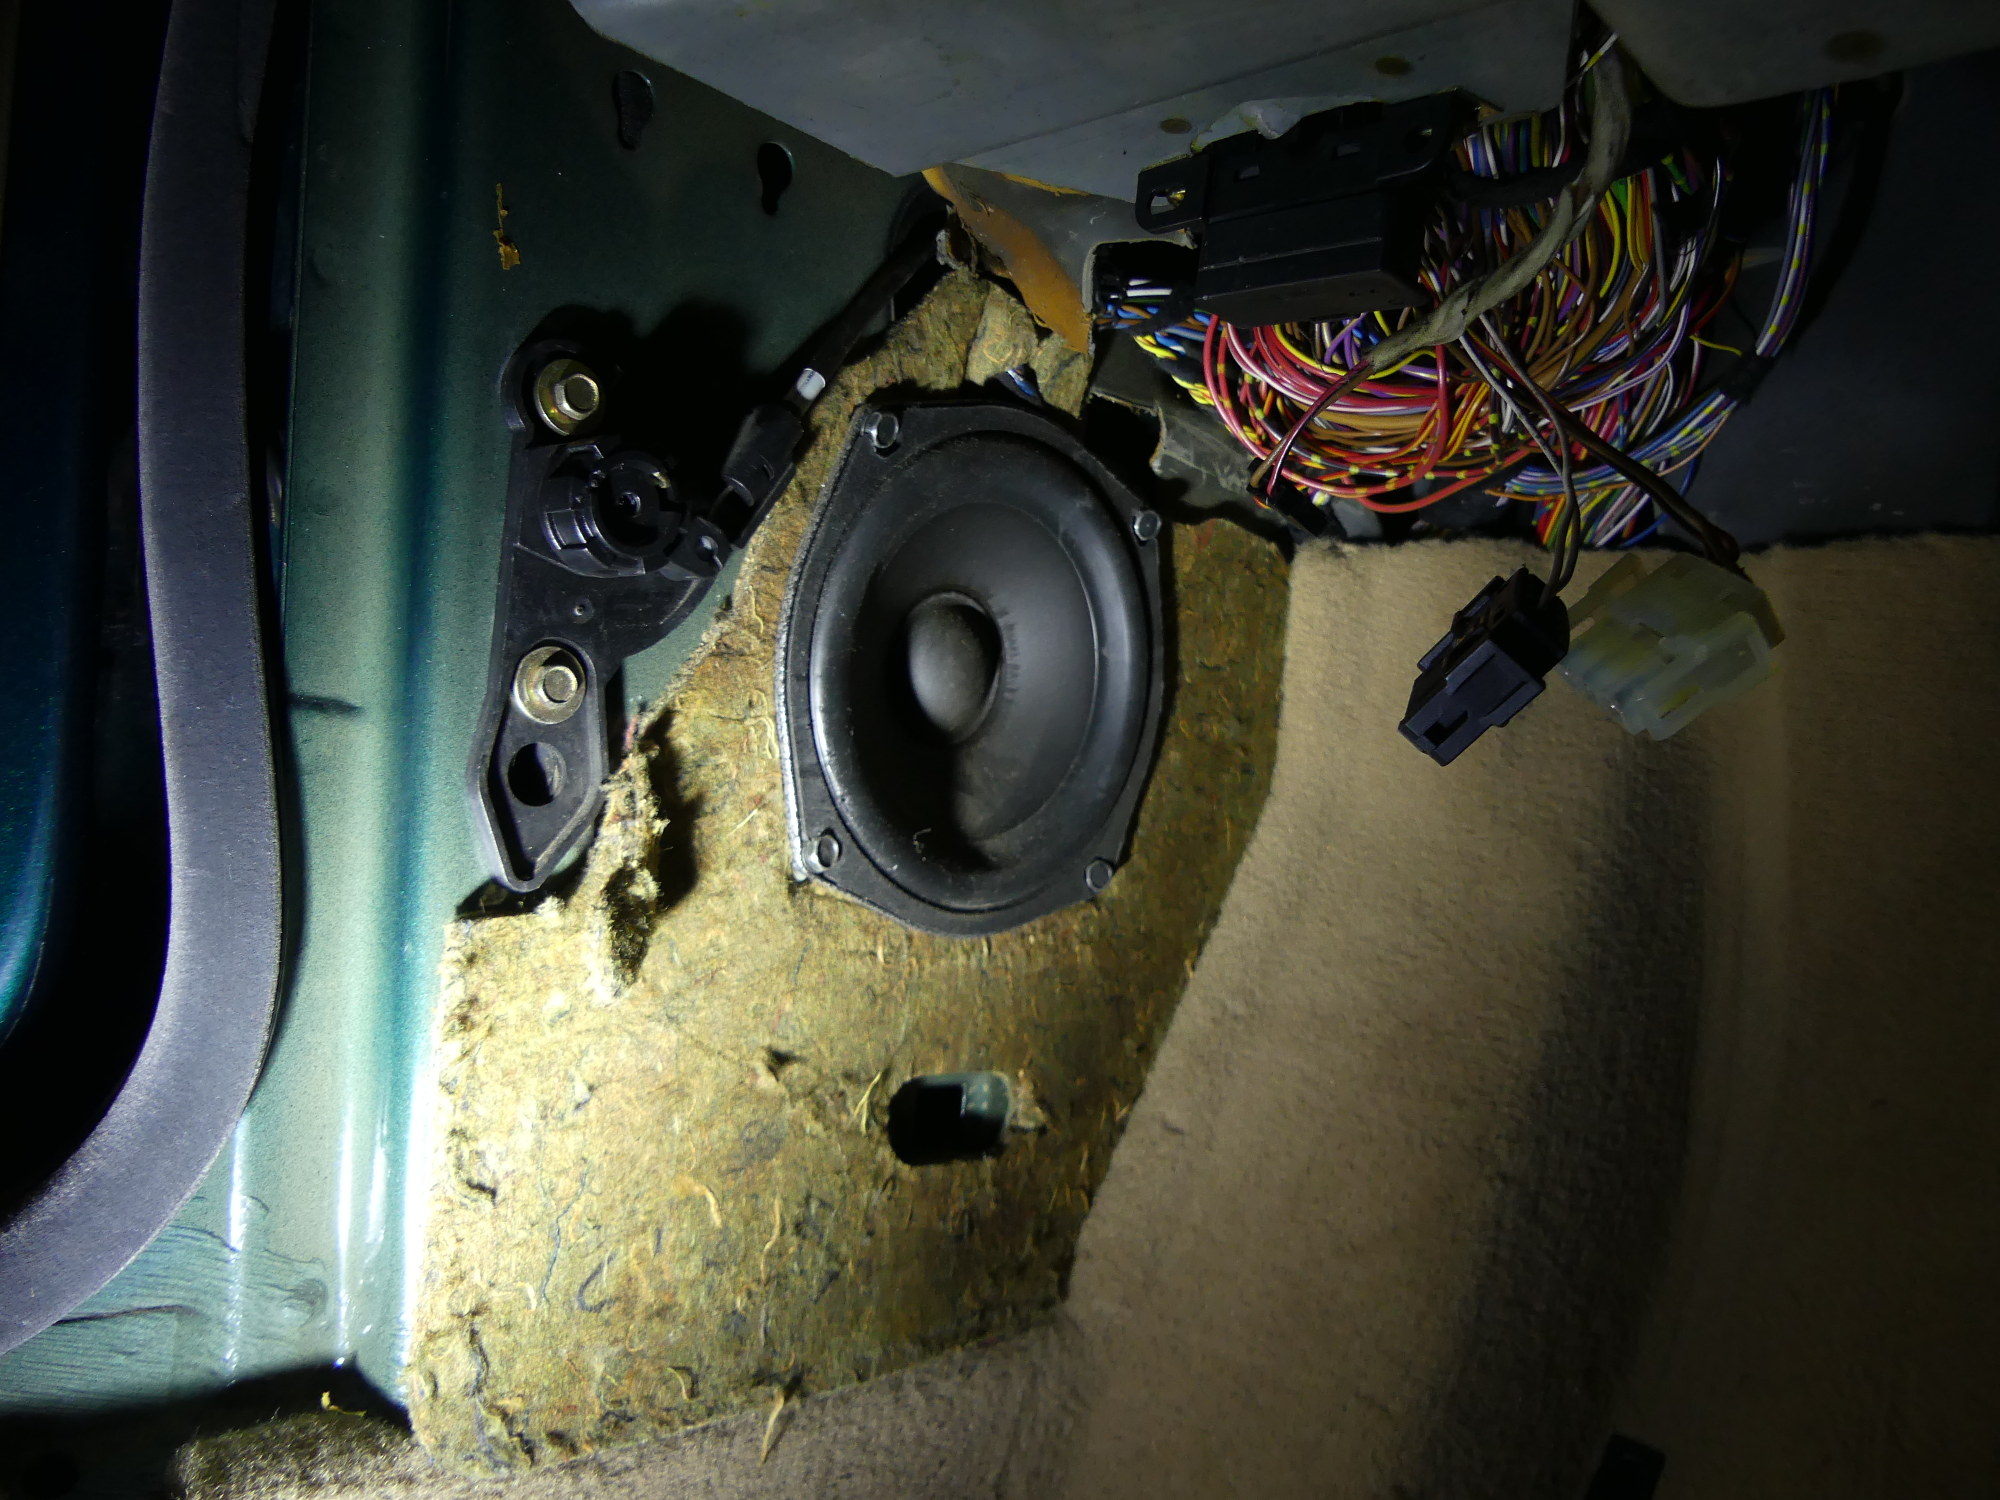 This shows the kickpanel removed, which exposes the speaker and the hood release cable spring mechanism fastened to the body with two cad-plated hex screws. I then removed the speaker and molded insulation panel. |
 Even with the speaker removed and the camera practically wedged into the hole the hood release cable grommet is not visible. But this does show the approximate angle at which grommet fastens to the body. |
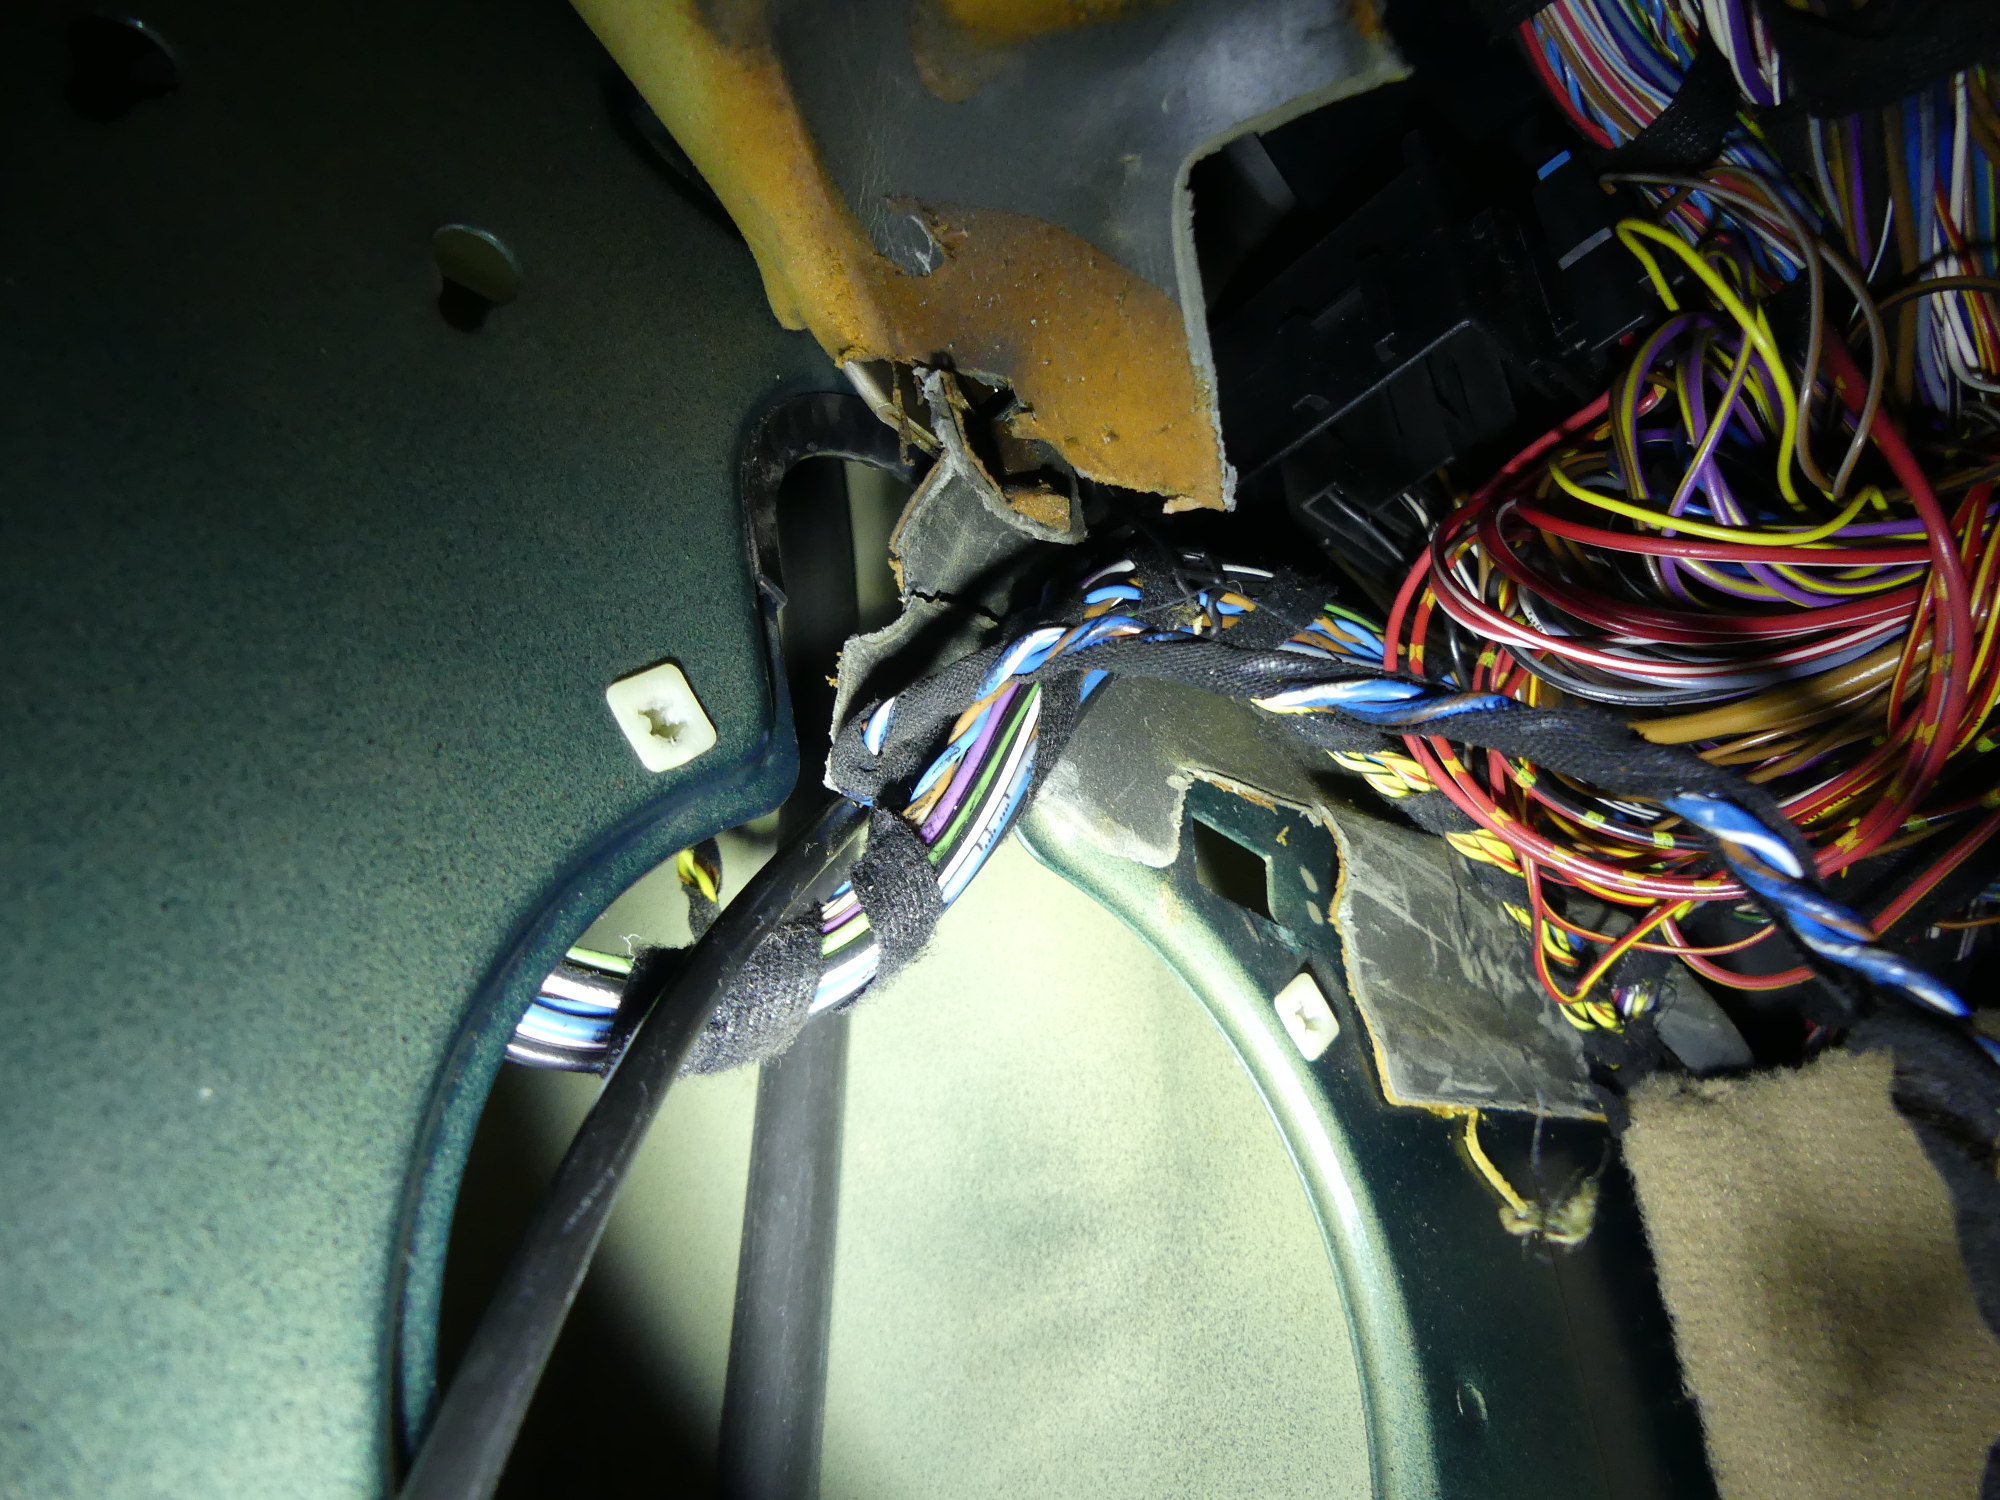
 If you look carefully you can see that the new cable (left) is straight while the old cable and its ferrule is wrapped around the new cable. The old cable must be bent / twisted severely for this to work, but it's being discarded so that's okay. |
The next thing to do was pull the grommet out of the hole in the body. This would have been a trivial process if it weren't for limited access. Even with the speaker removed I had difficulty getting my hand in the right position to grab the grommet. The technique that seemed to work involved using my first and second fingers to grab and compress the grommet, while using my remaining fingers to grip the cable and pull. I couldn't really use my thumb because that would have required cupping my hand and I simply did not have the room to do that. I'm not exactly sure why BMW chose to use this particular type of grommet but I can say it was a lot easier to remove and install than a solid rubber grommet would have been. But of course the location of the grommet is unacceptable, and if I had designed this thing I would have made it far more accessible. Once free of the body I pulled the cable and the grommet along with it out of the hole just enough to cut the grommet off the cable using a pair of diagonal cutters. The grommet is fixed in position on the cable with a hexagonal crimped sleeve but I left that portion on the cable because I knew it was smaller than the diameter of the hole.
The next step was to wrap and twist the original cable and ferrule around the new cable. I was careful to avoid doing it the other way around, as that would have damaged the new cable. This is important so I'll reiterate the point: the new cable must remain perfectly straight while the original cable is wrapped around it. They are NOT simply twisted together. Once that seemed relatively sturdy I applied some duct tape over the twisted section and extended it a few inches on either side for added protection. As I had no idea how much resistance I'd feel pulling these cables through the fender I applied the only lubricant I had in arms reach that I knew was safe for rubber -- 3M silicone paste lube -- to the new cable. While not as slippery as wire pulling lubricant this worked extremely well. As I alternately pushed from the inside and pulled from the outside and got to the point that the new cable was in contact with the fender I found I was able to simply pull entirely from the outside with minimal effort -- the cable was that slippery.
Seating the new grommet proved to be a bit of trial and error. I tried to manually insert it several times but the limited access once again conspired against me. I just couldn't make a fist or bend my fingers enough that high up in the kick panel area to successfully mate the grommet. So I became frustrated, got up, walked around to the front of the vehicle and tugged three times on the cable. Each time I felt the springiness (if that's a word) of the grommet so I assumed it was just compressing it against the hole but I went back to the footwell and stuck my hand in the hole again only to find that the grommet had, in fact, seated. So I can recommend that technique, provided it is done carefully and ONLY after the grommet has been pushed at least partially into the hole so that the cable is not caught on any sharp edges. I should also point out that while I did not apply the lubricant directly to the grommet some did invariably find its way to the grommet as I was handling the cable. That likely helped the grommet pop into the hole when I tugged the cable.
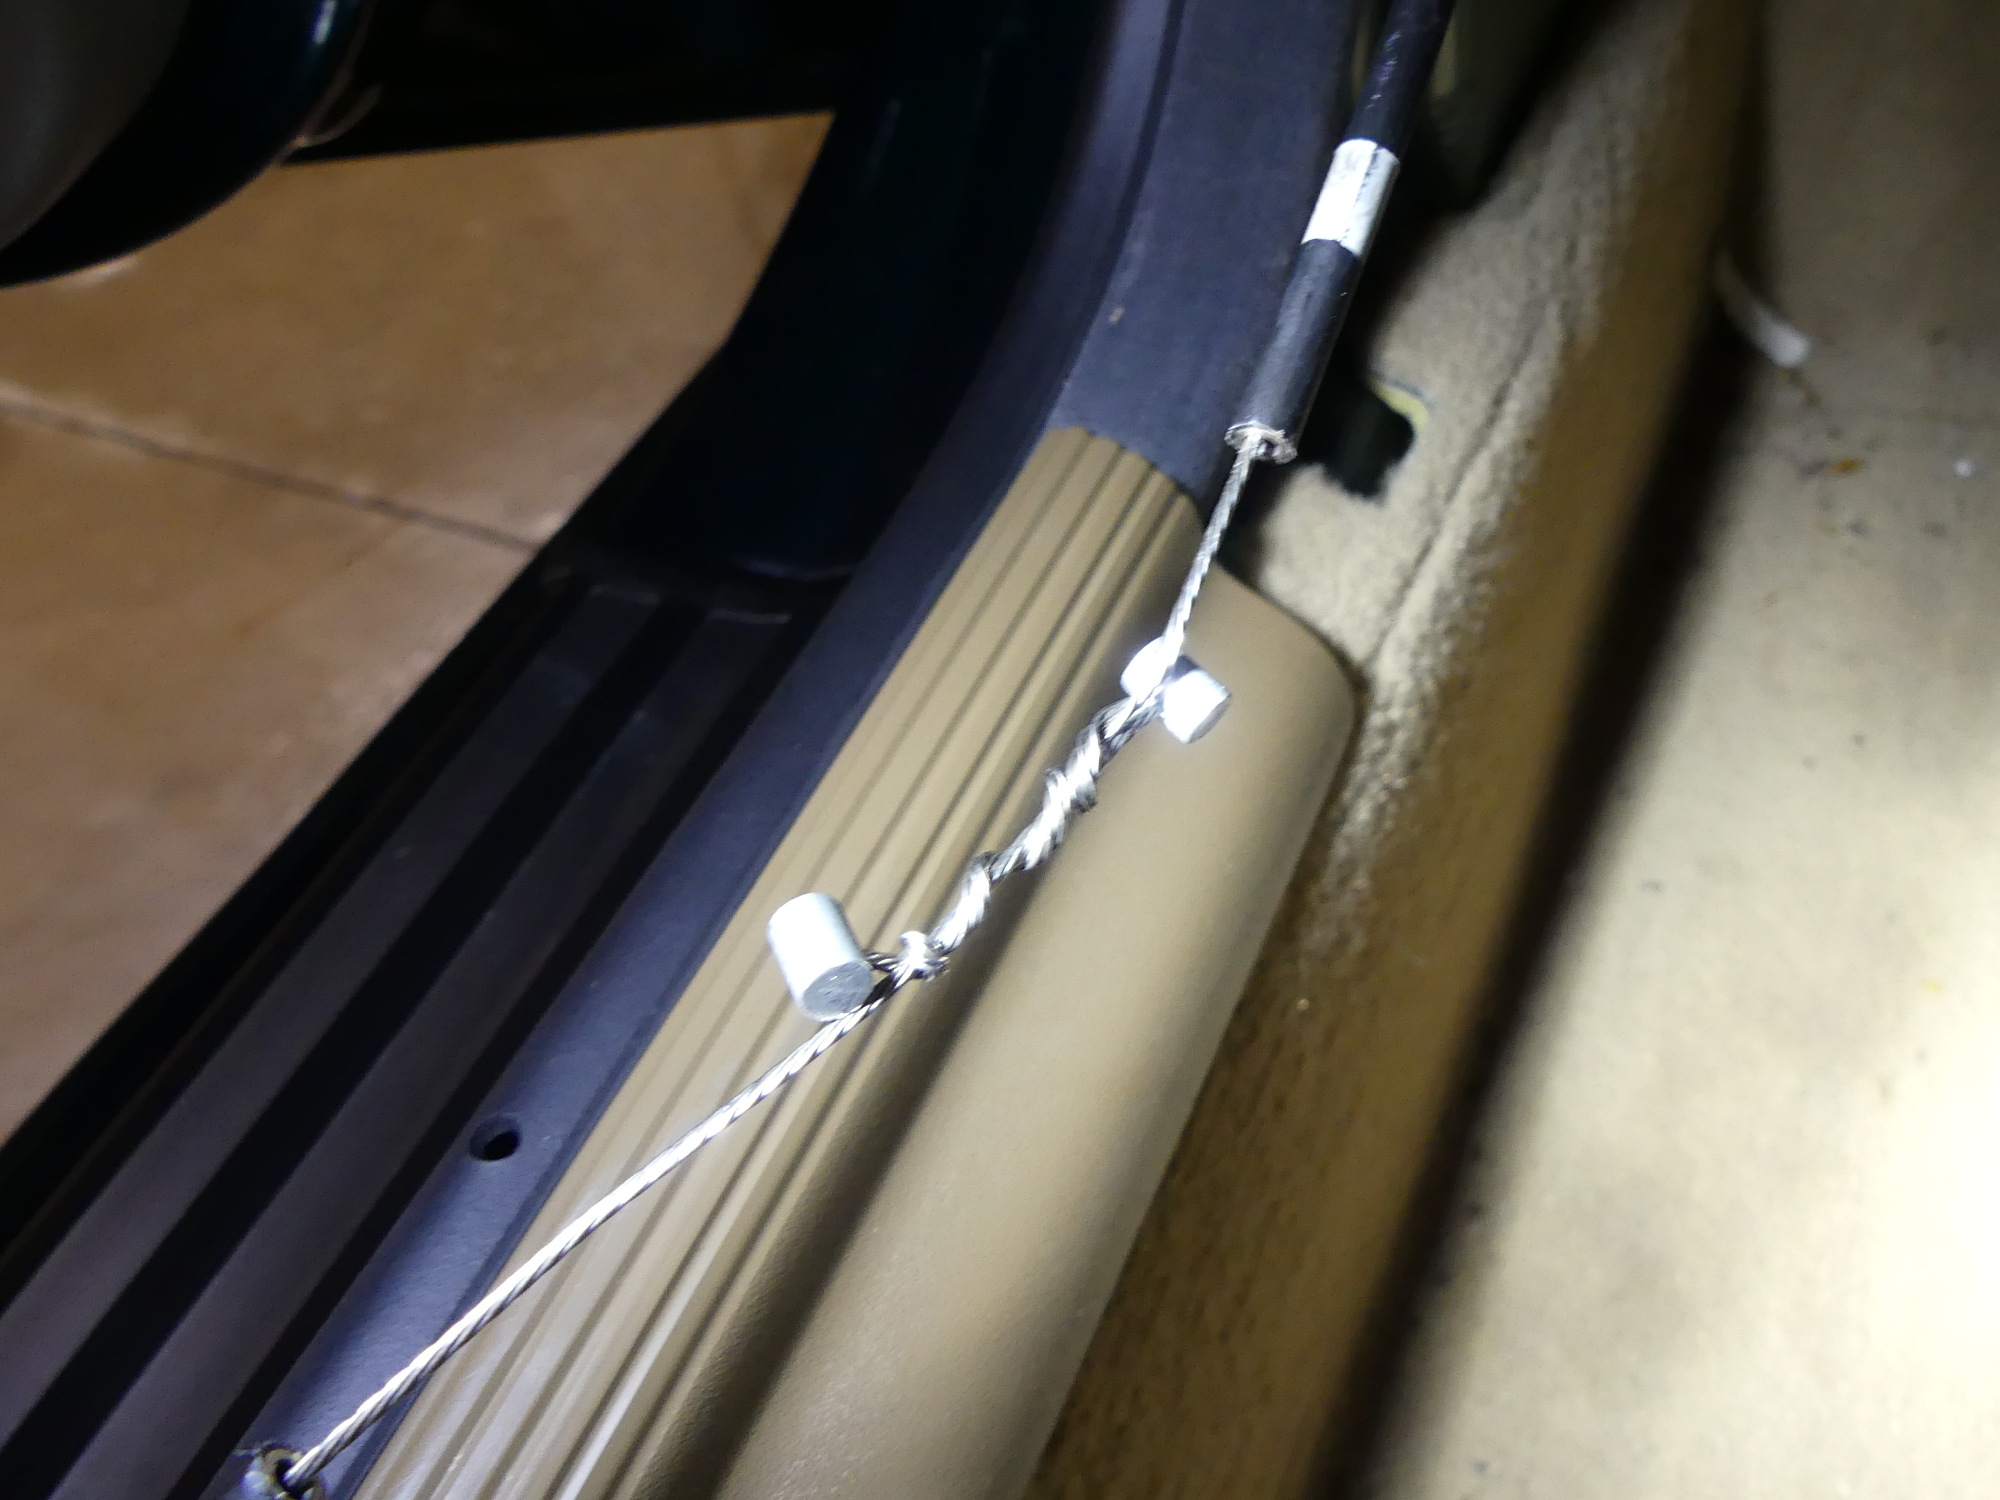
 Since I had exactly one chance to do this right and I had read that some people had trouble pulling the cable I applied a good amount of duct tape over the twisted cables and their sheaths for good measure. |
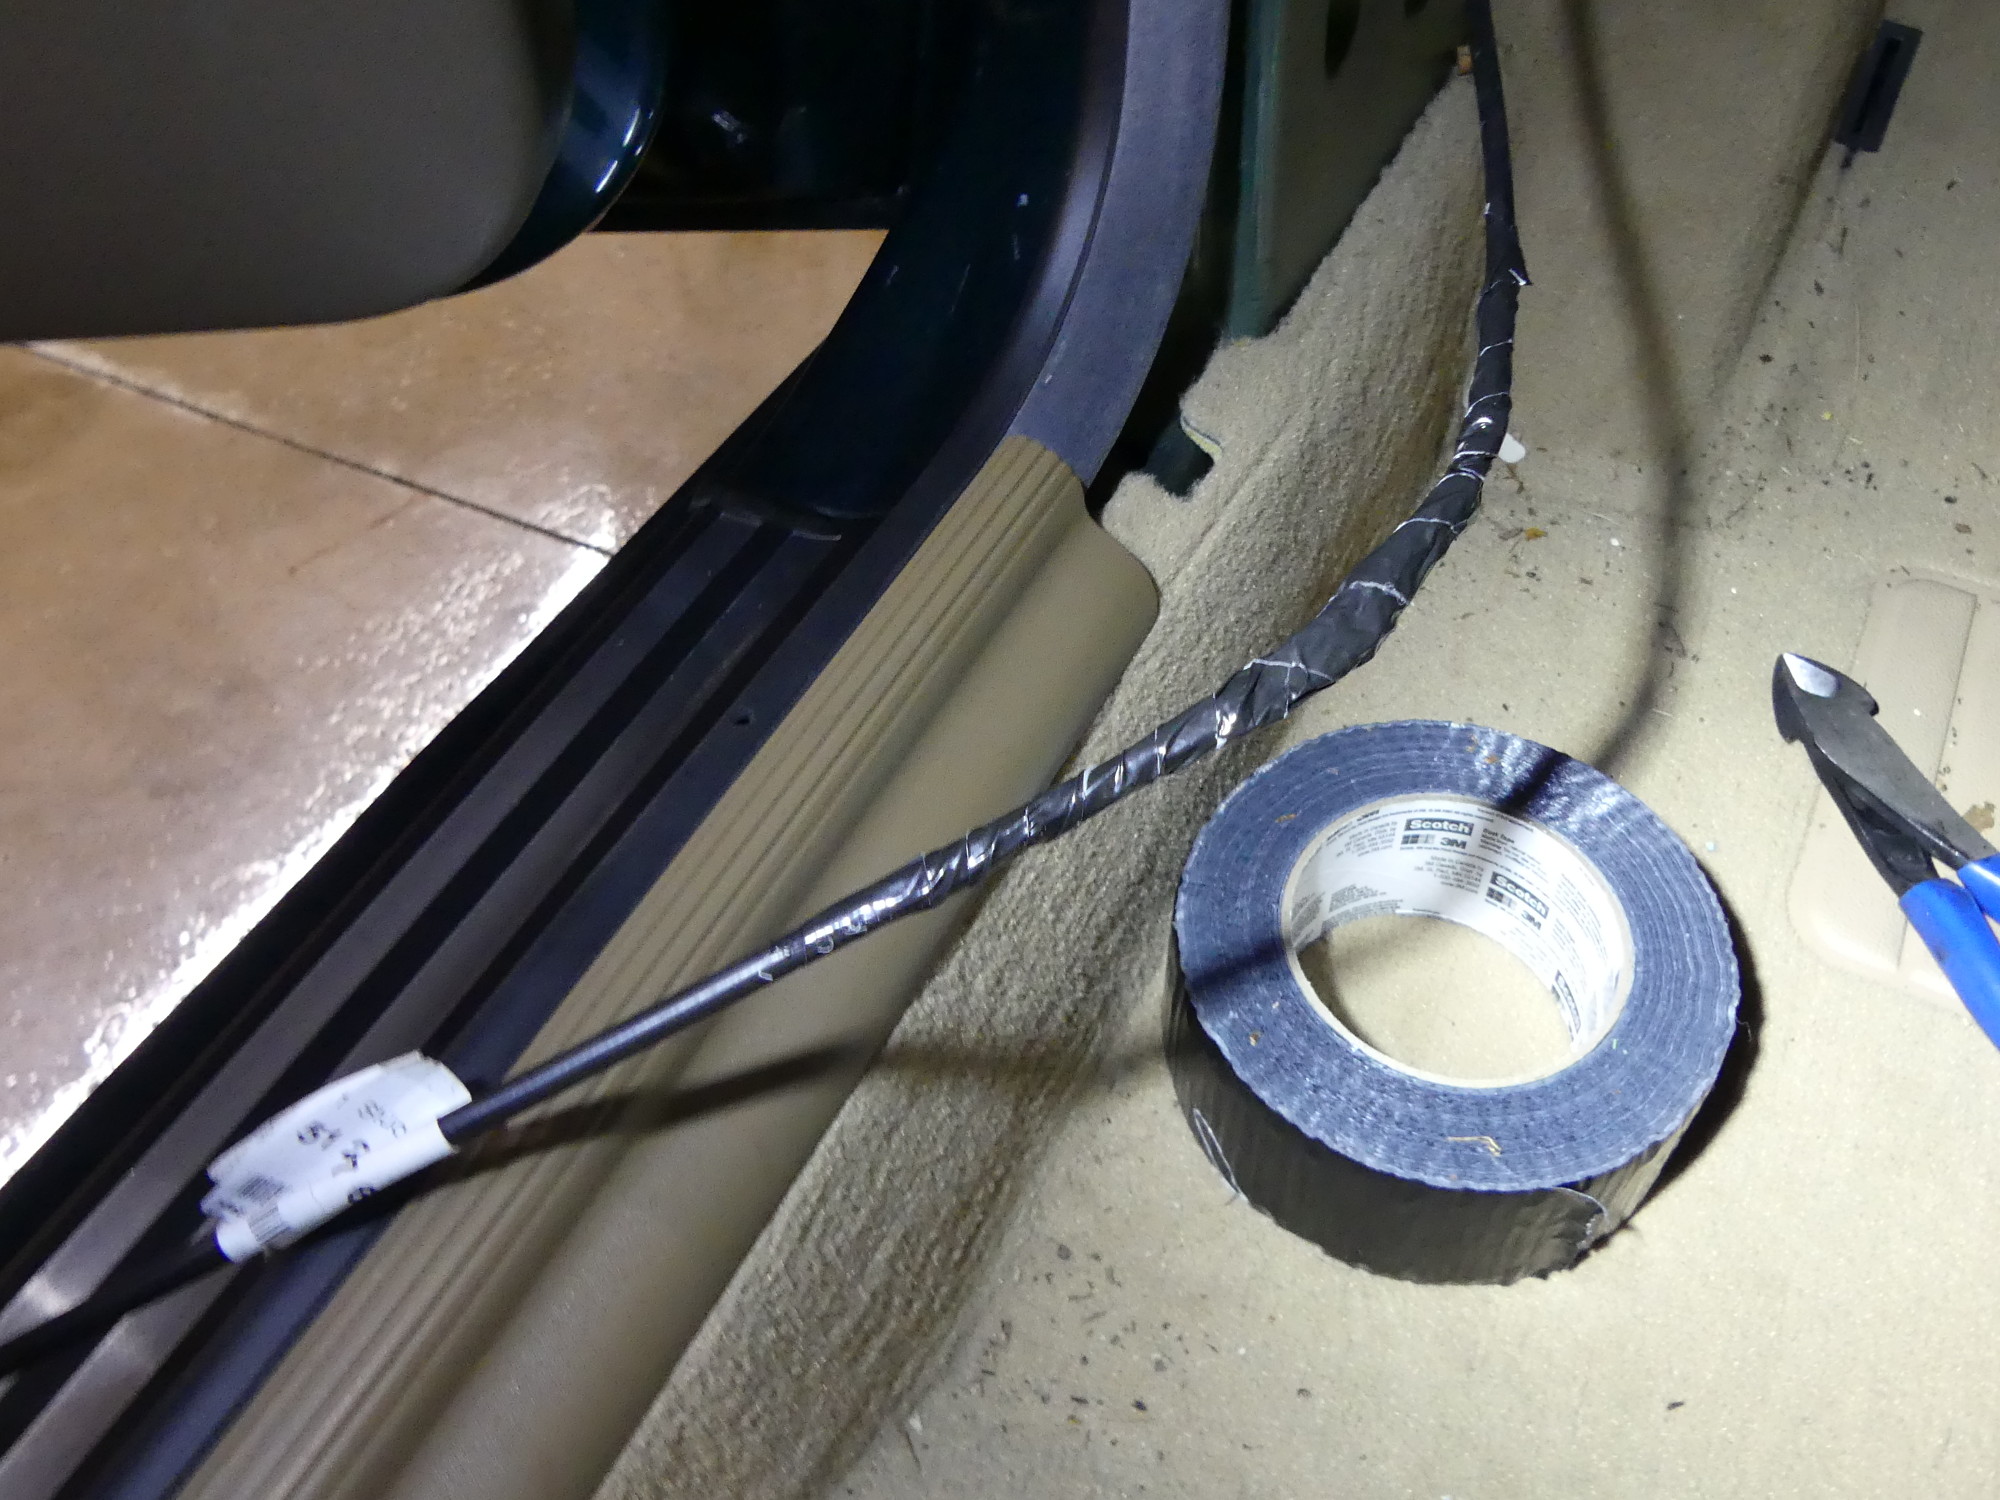
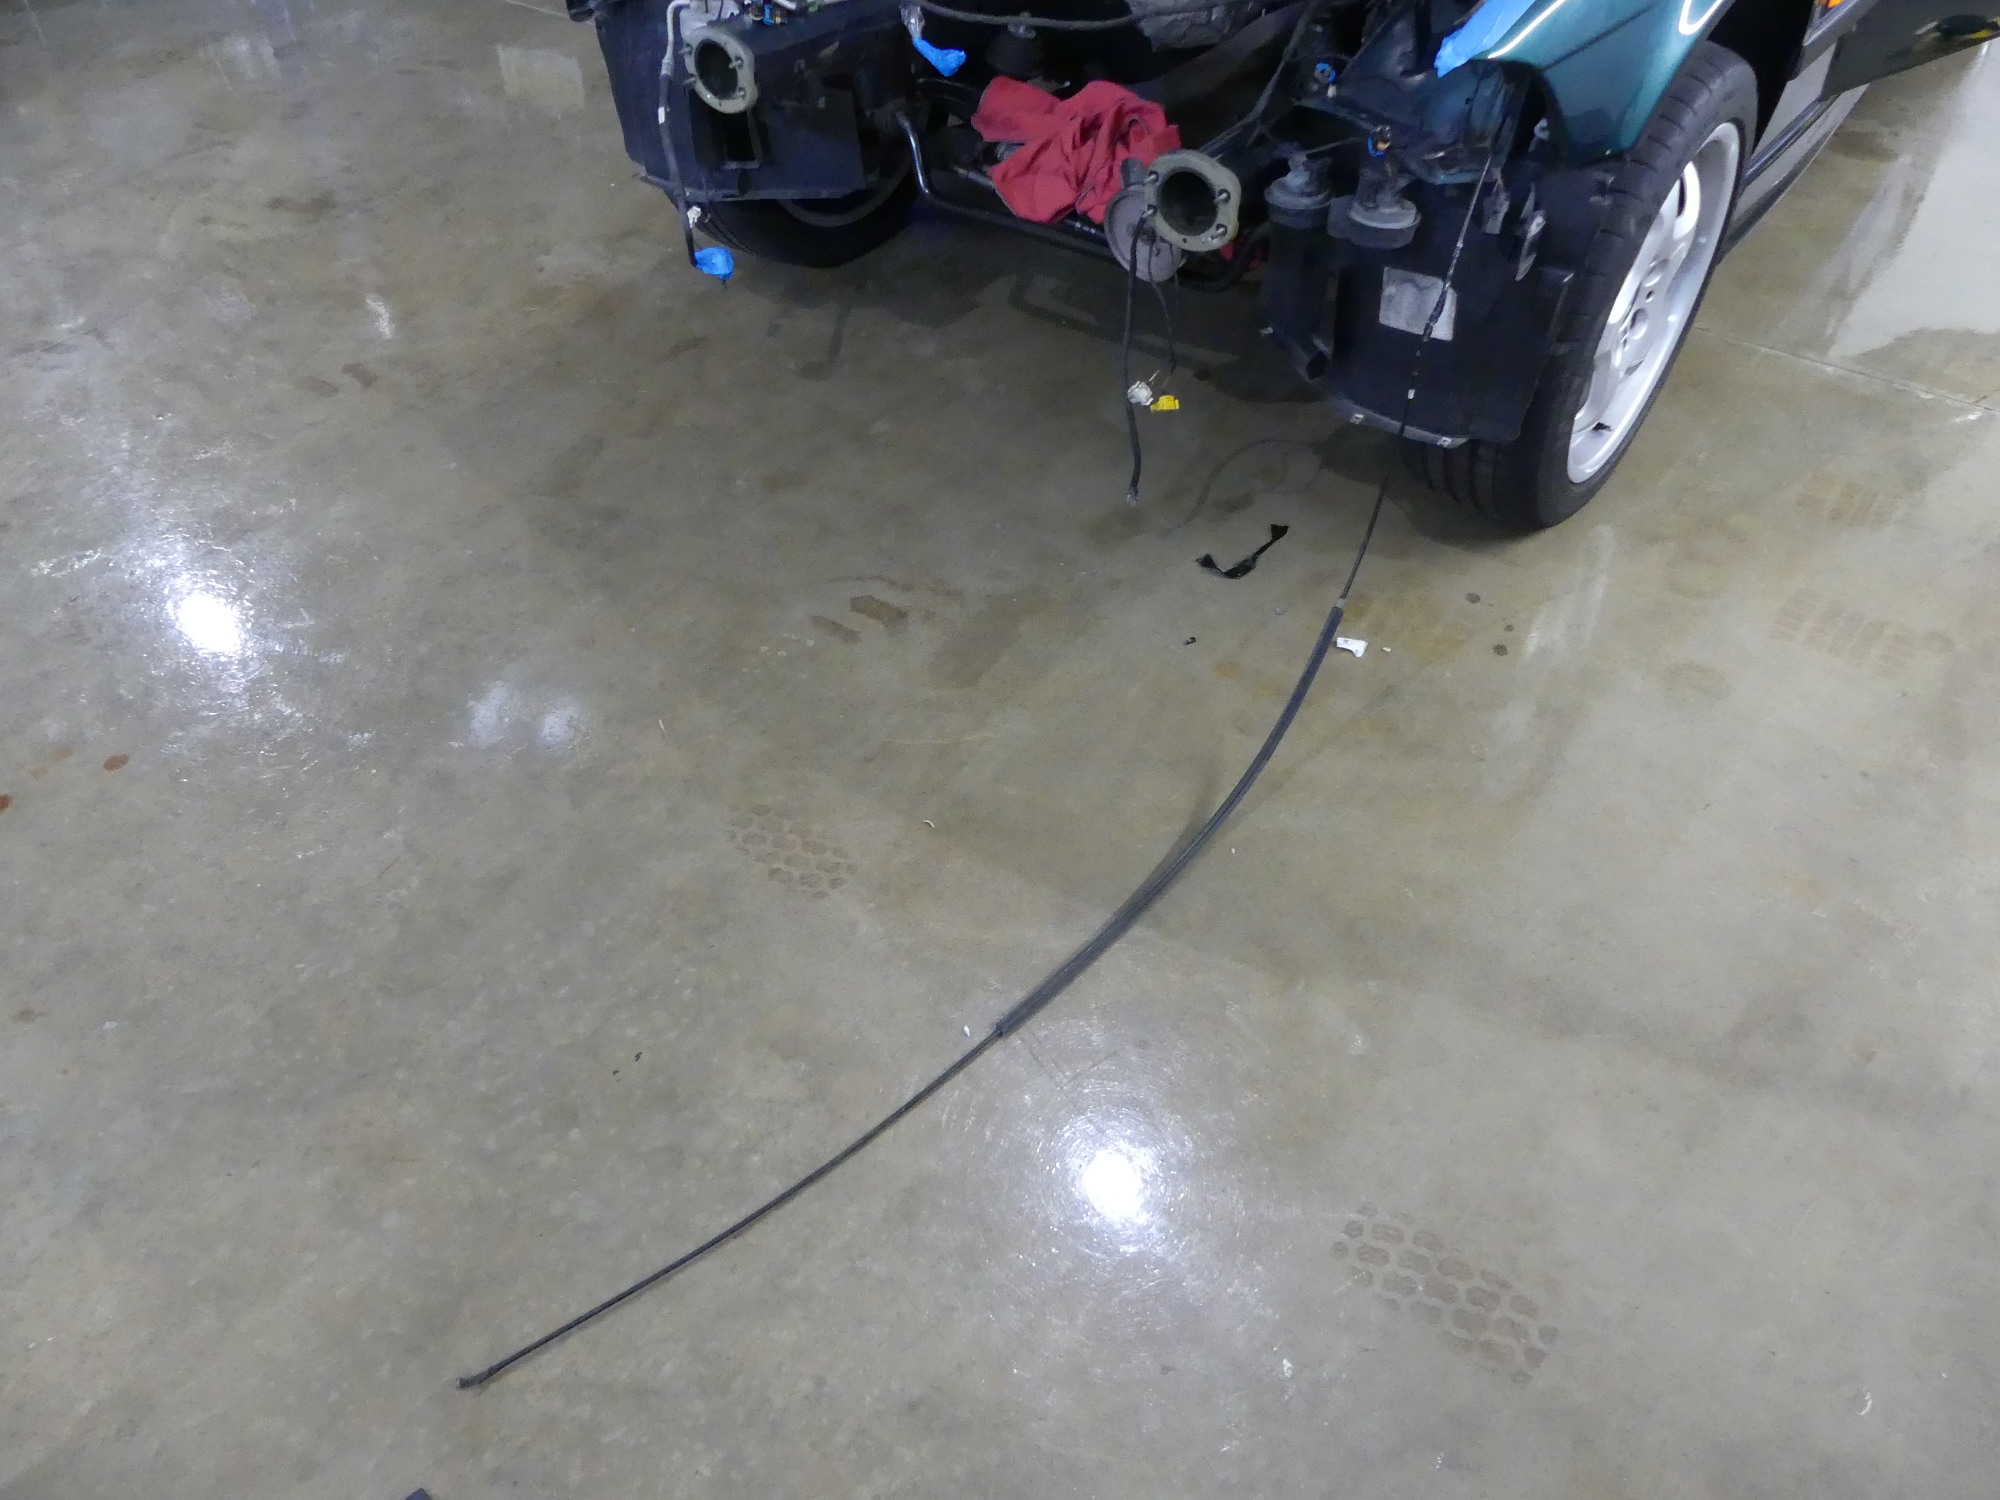 Success: The old cable is now on the floor and the new cable has been routed through the fender. To reduce the chance for snags I didn't put tabs in the tape so it took a solid 5 minutes to remove it so I could detach and discard the old cable. |
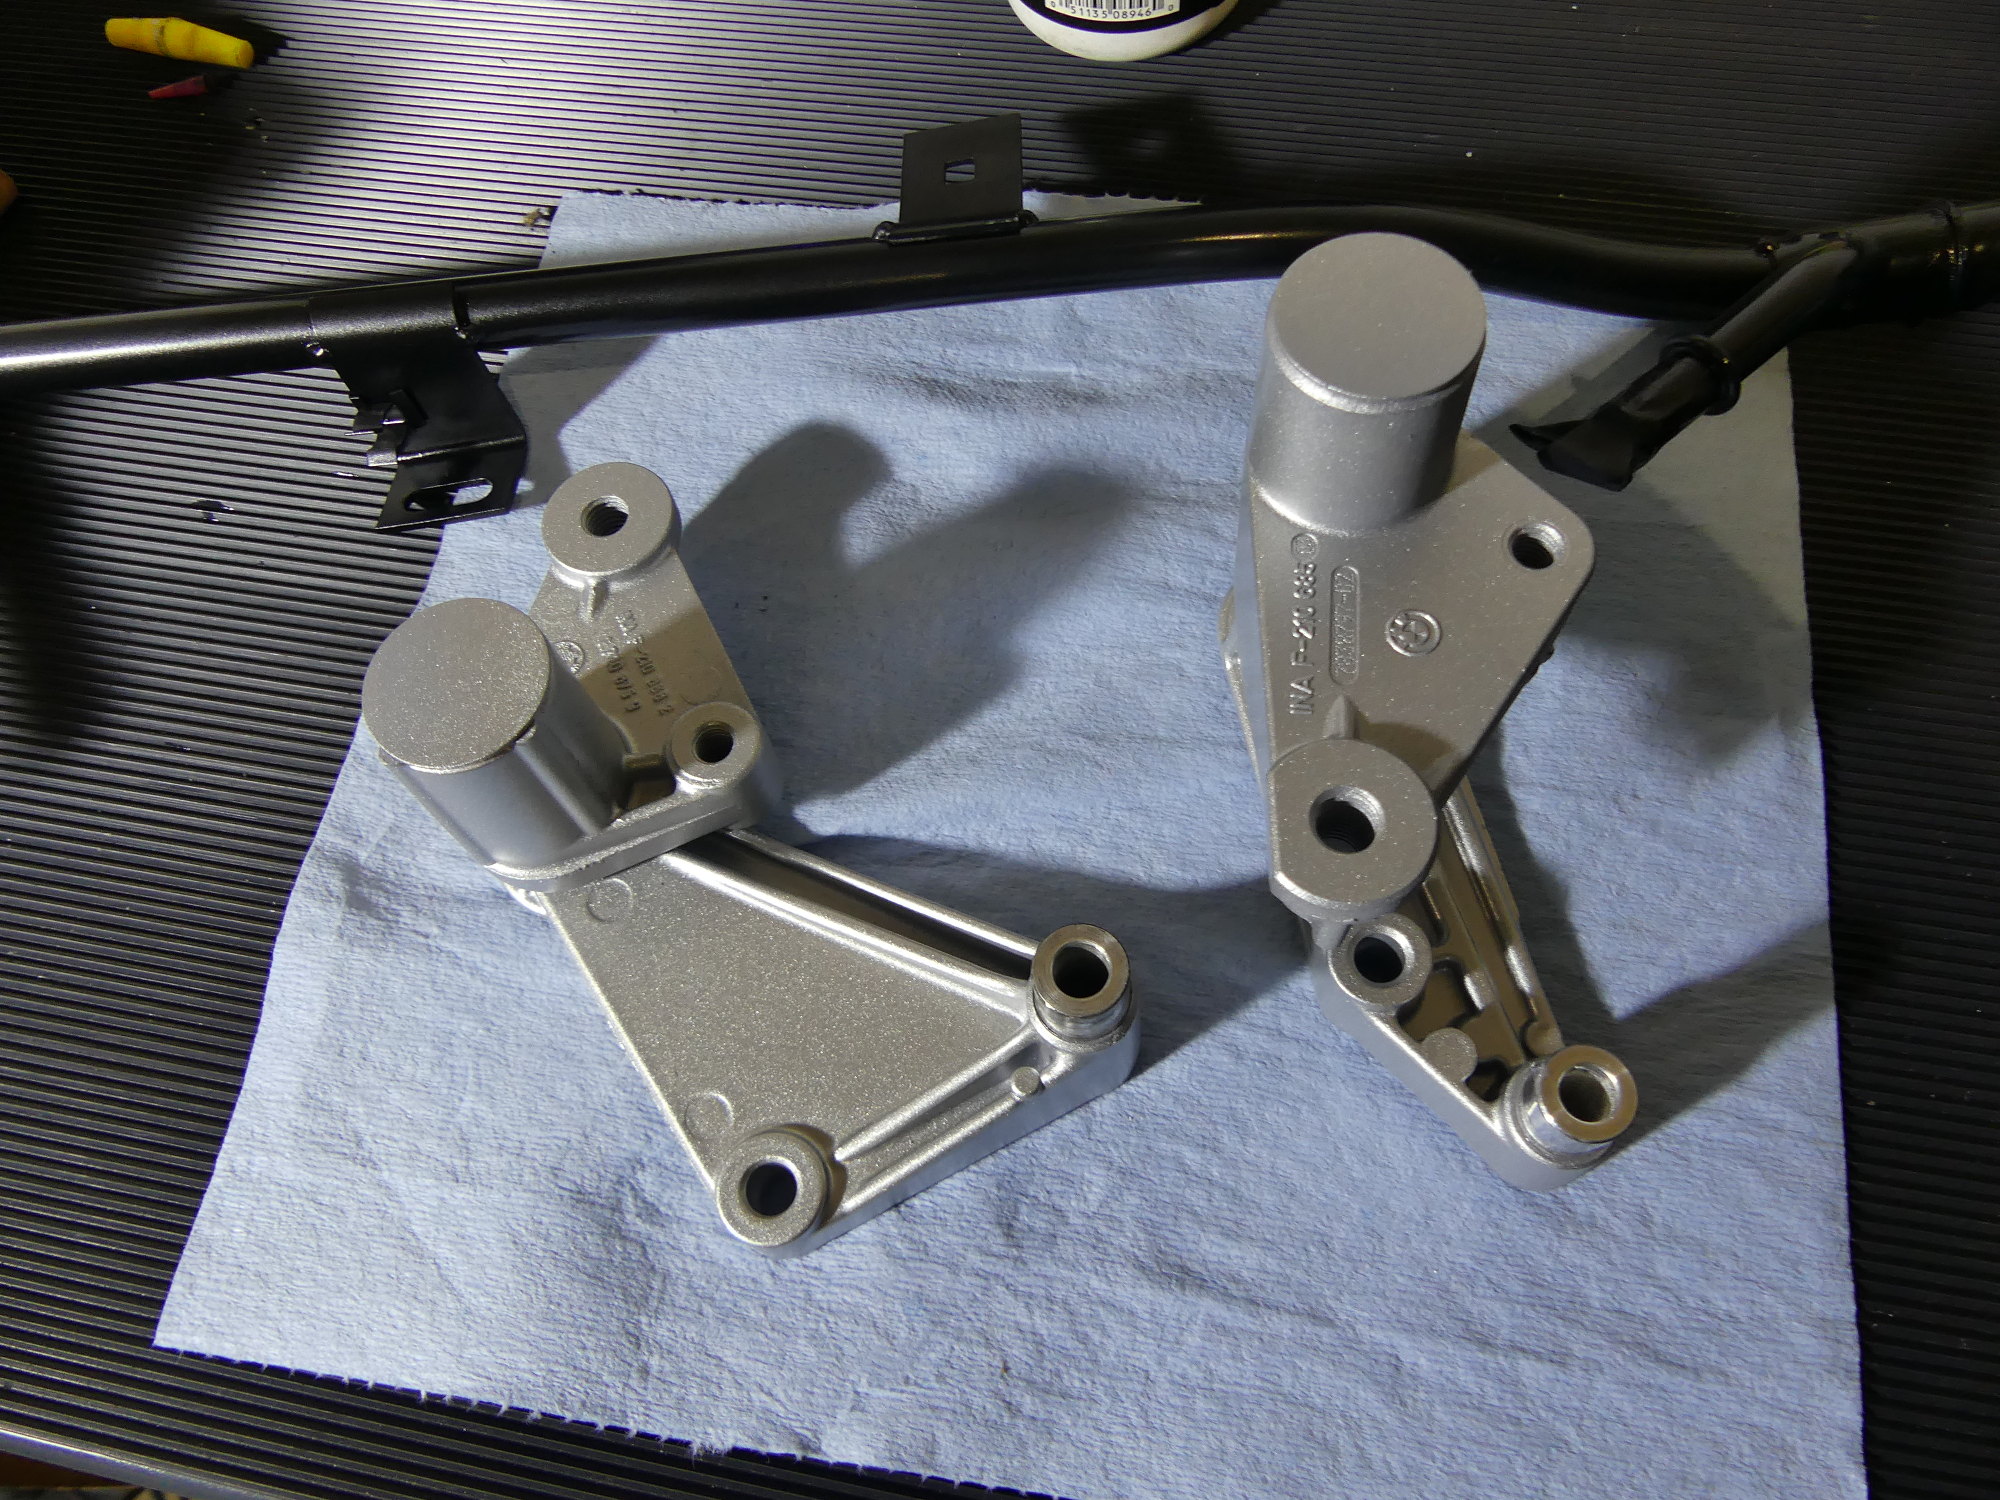 Okay, I lied. I didn't do just one thing today -- I unmasked and partially assembled the belt tensioners and the dipstick guide tube. These came out looking good. I hope the VHT paint holds up and they stay that way. |
To wrap up I buttoned everything back up, installed the hood release handle and tried it out. Although this wasn't exactly a fair test because neither spring-loaded receptacle was attached to the new cable at this point, I can say I found the handle a LOT easier to pull. The interior of the original cable sheath was clearly worn and causing the cable to drag significantly. Interestingly, the cable itself was still in good shape -- it was not corroded as I previously thought -- but resistance from the sheath can still cause a failure of the cable, ferrule, or the handle, so this was most certainly an essential repair.
I'll wrap up this project this week by installing the receptacles and tie cable when I start reassembly of the front support.
Another Snapped Fastener
The more I look at the underside of the vehicle the more problems I find. The other day I realized that one of the studs that is used to fasten the fuel filter cover had snapped off. I've since I realized that I'll need to drill that out and install a nutsert. The M5x0.8 parts I recently picked up for the front support should work here.
Today I noticed one of the four M8 fasteners used for a support toward the rear of the vehicle just ahead of the differential was snapped off. Since my goal is to present the vehicle to my technician with every part and fastener restored or replaced so all he has to do is put everything together, I'll need to drill out what's left of that bolt. If I do this correctly and the threads aren't trashed from the corrosion I'll simply buy a new fastener and call it a day. If I mess up or have to overdrill it to free what's left then I'll likely have to install another nutsert. The M8 nutserts leftover from the X-brace installation should work here as well, though depth may be an issue.
Another Can of Worms
Before I decided to order the replacement sound / heat insulation blanket I took a good look at the existing blanket. Or at least I thought I did. As it turns out BMW carefully designed this blanket to fit around a bunch of stuff attached to the tunnel and firewall but I failed to look closely enough at the left side of the firewall (driver's side in the US). Installation of the blanket will unfortunately require removal of both the steering shaft U-joint (which will require setting the preload again -- a two person job) AND removing the vacuum assist and master cylinder along with it. I'll leave it to your imagination to determine what I'm reluctantly considering buying next.
Next Up
While at the home center today I bought a tyvek suit in prep for cleaning the underside of the vehicle. After that is done I plan to start dismantling the fuel system as required to replace the hardlines and hoses.