


Monday, August 28, 2017
Powdercoating and Painted Front Support Arrive
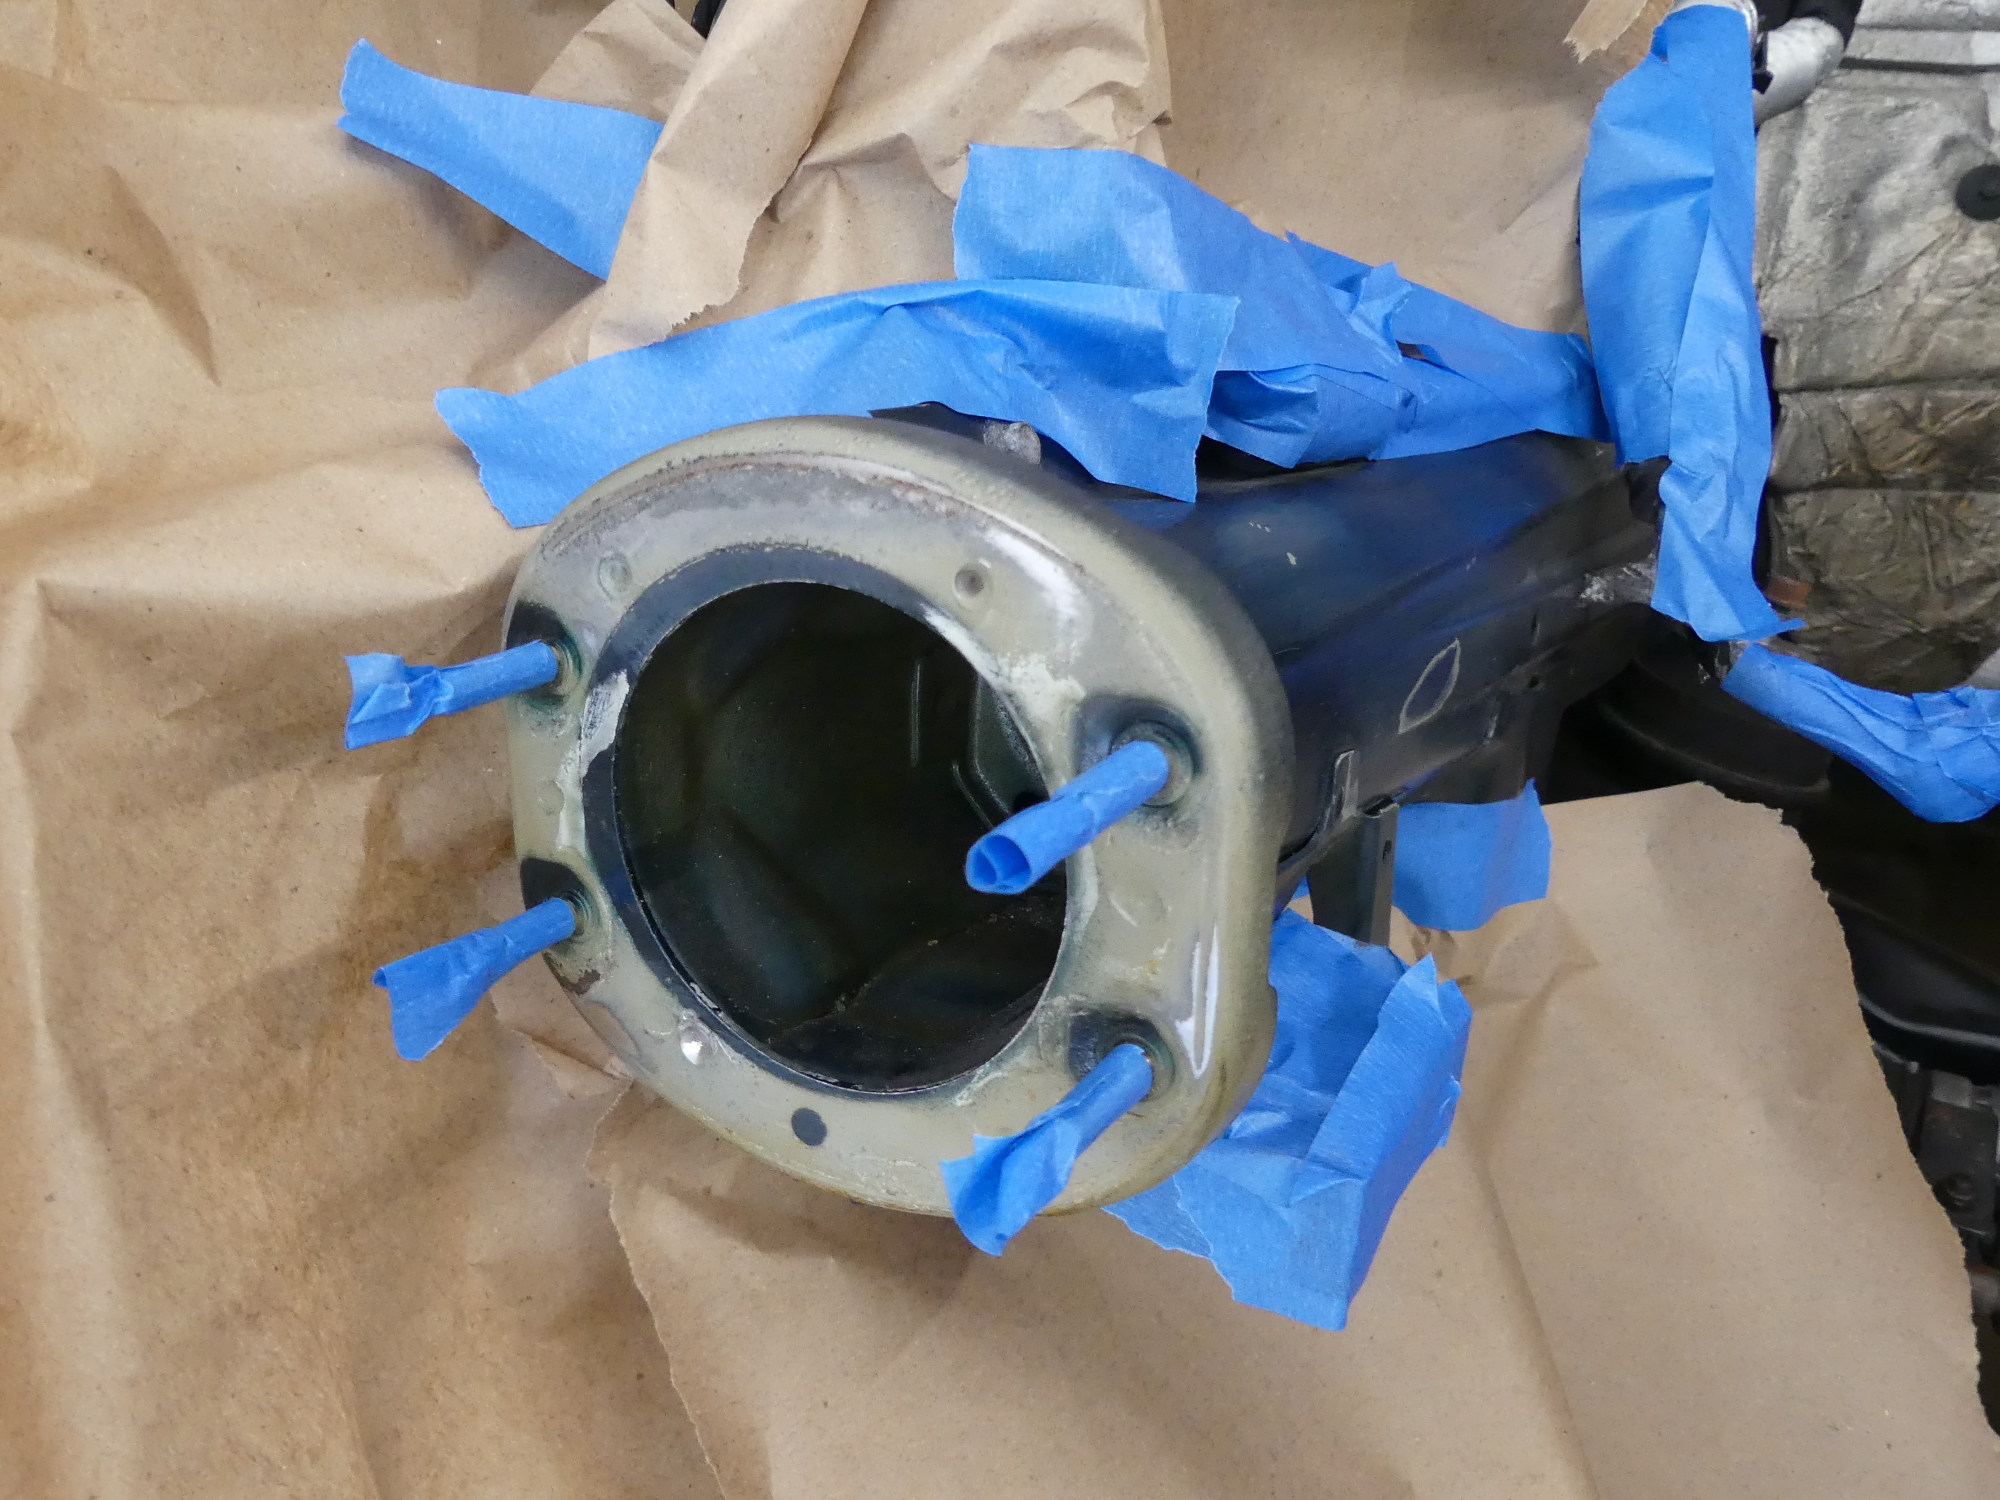
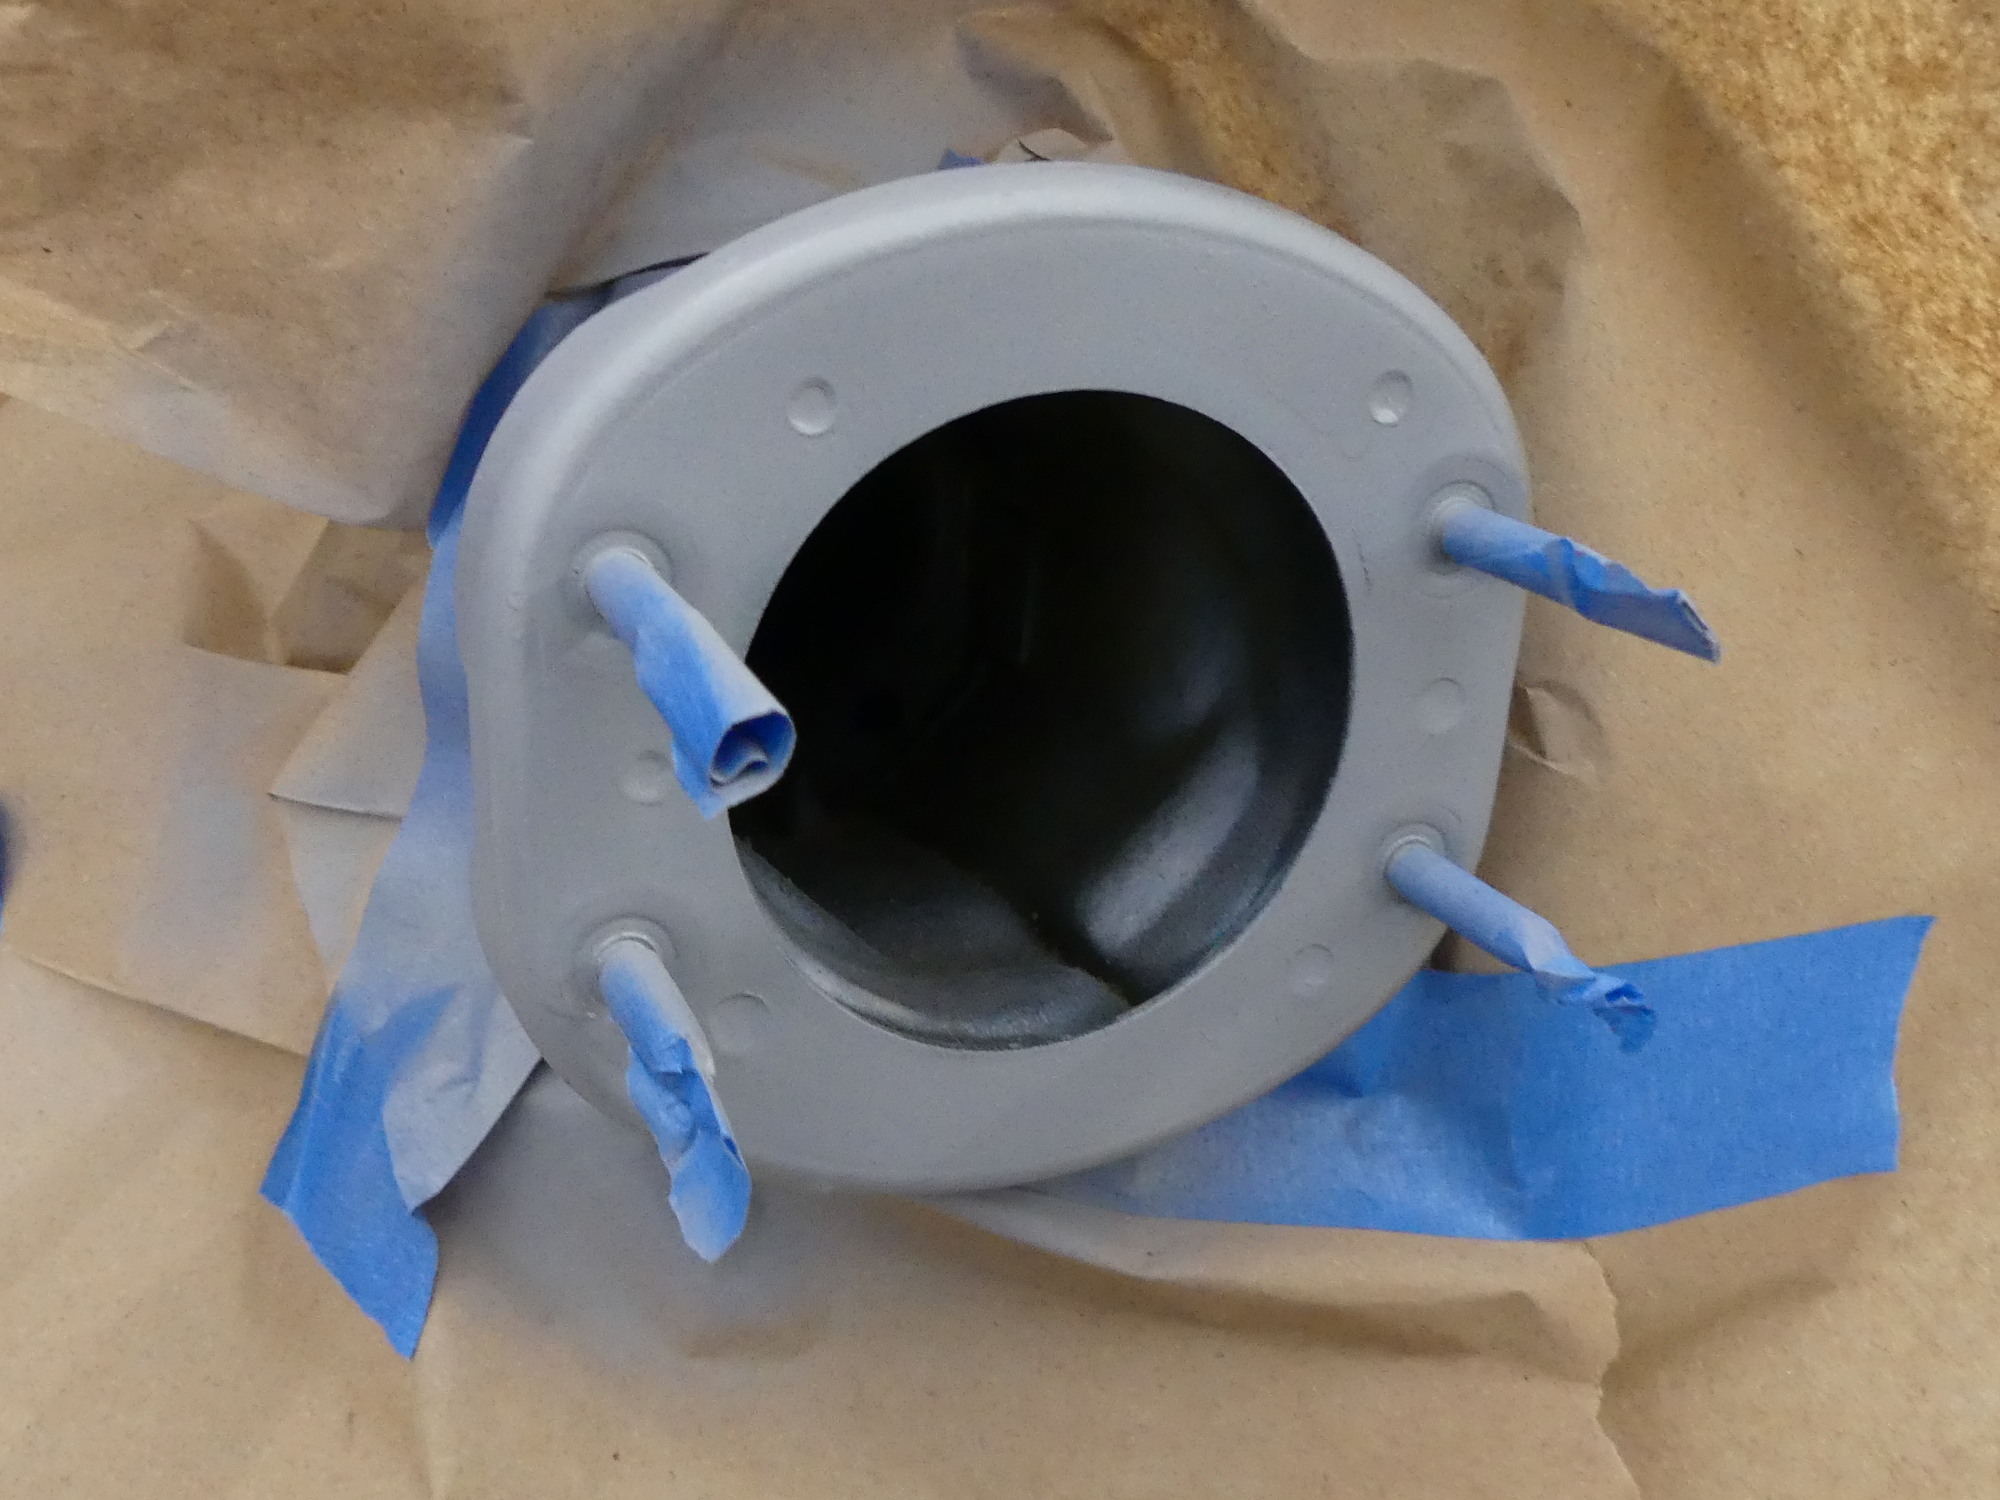
This morning I picked up my last batch of powdercoating. Everything came out as expected with the exception that my instruction to mask the alignment dowels and surrounding surfaces on the A/C support was not followed. Once I got the part back to the garage and unwrapped it I also noticed uneven coverage of powder (i.e. the surface texture was smooth in certain areas, indicating almost too much powder, and textured elsewhere, indicating too little powder). Less than ideal, of course, but not worth the trouble of taking it back. The point here was to simply to clean up the part and make it less susceptible to corrosion and I think the current finish achieves both aims.
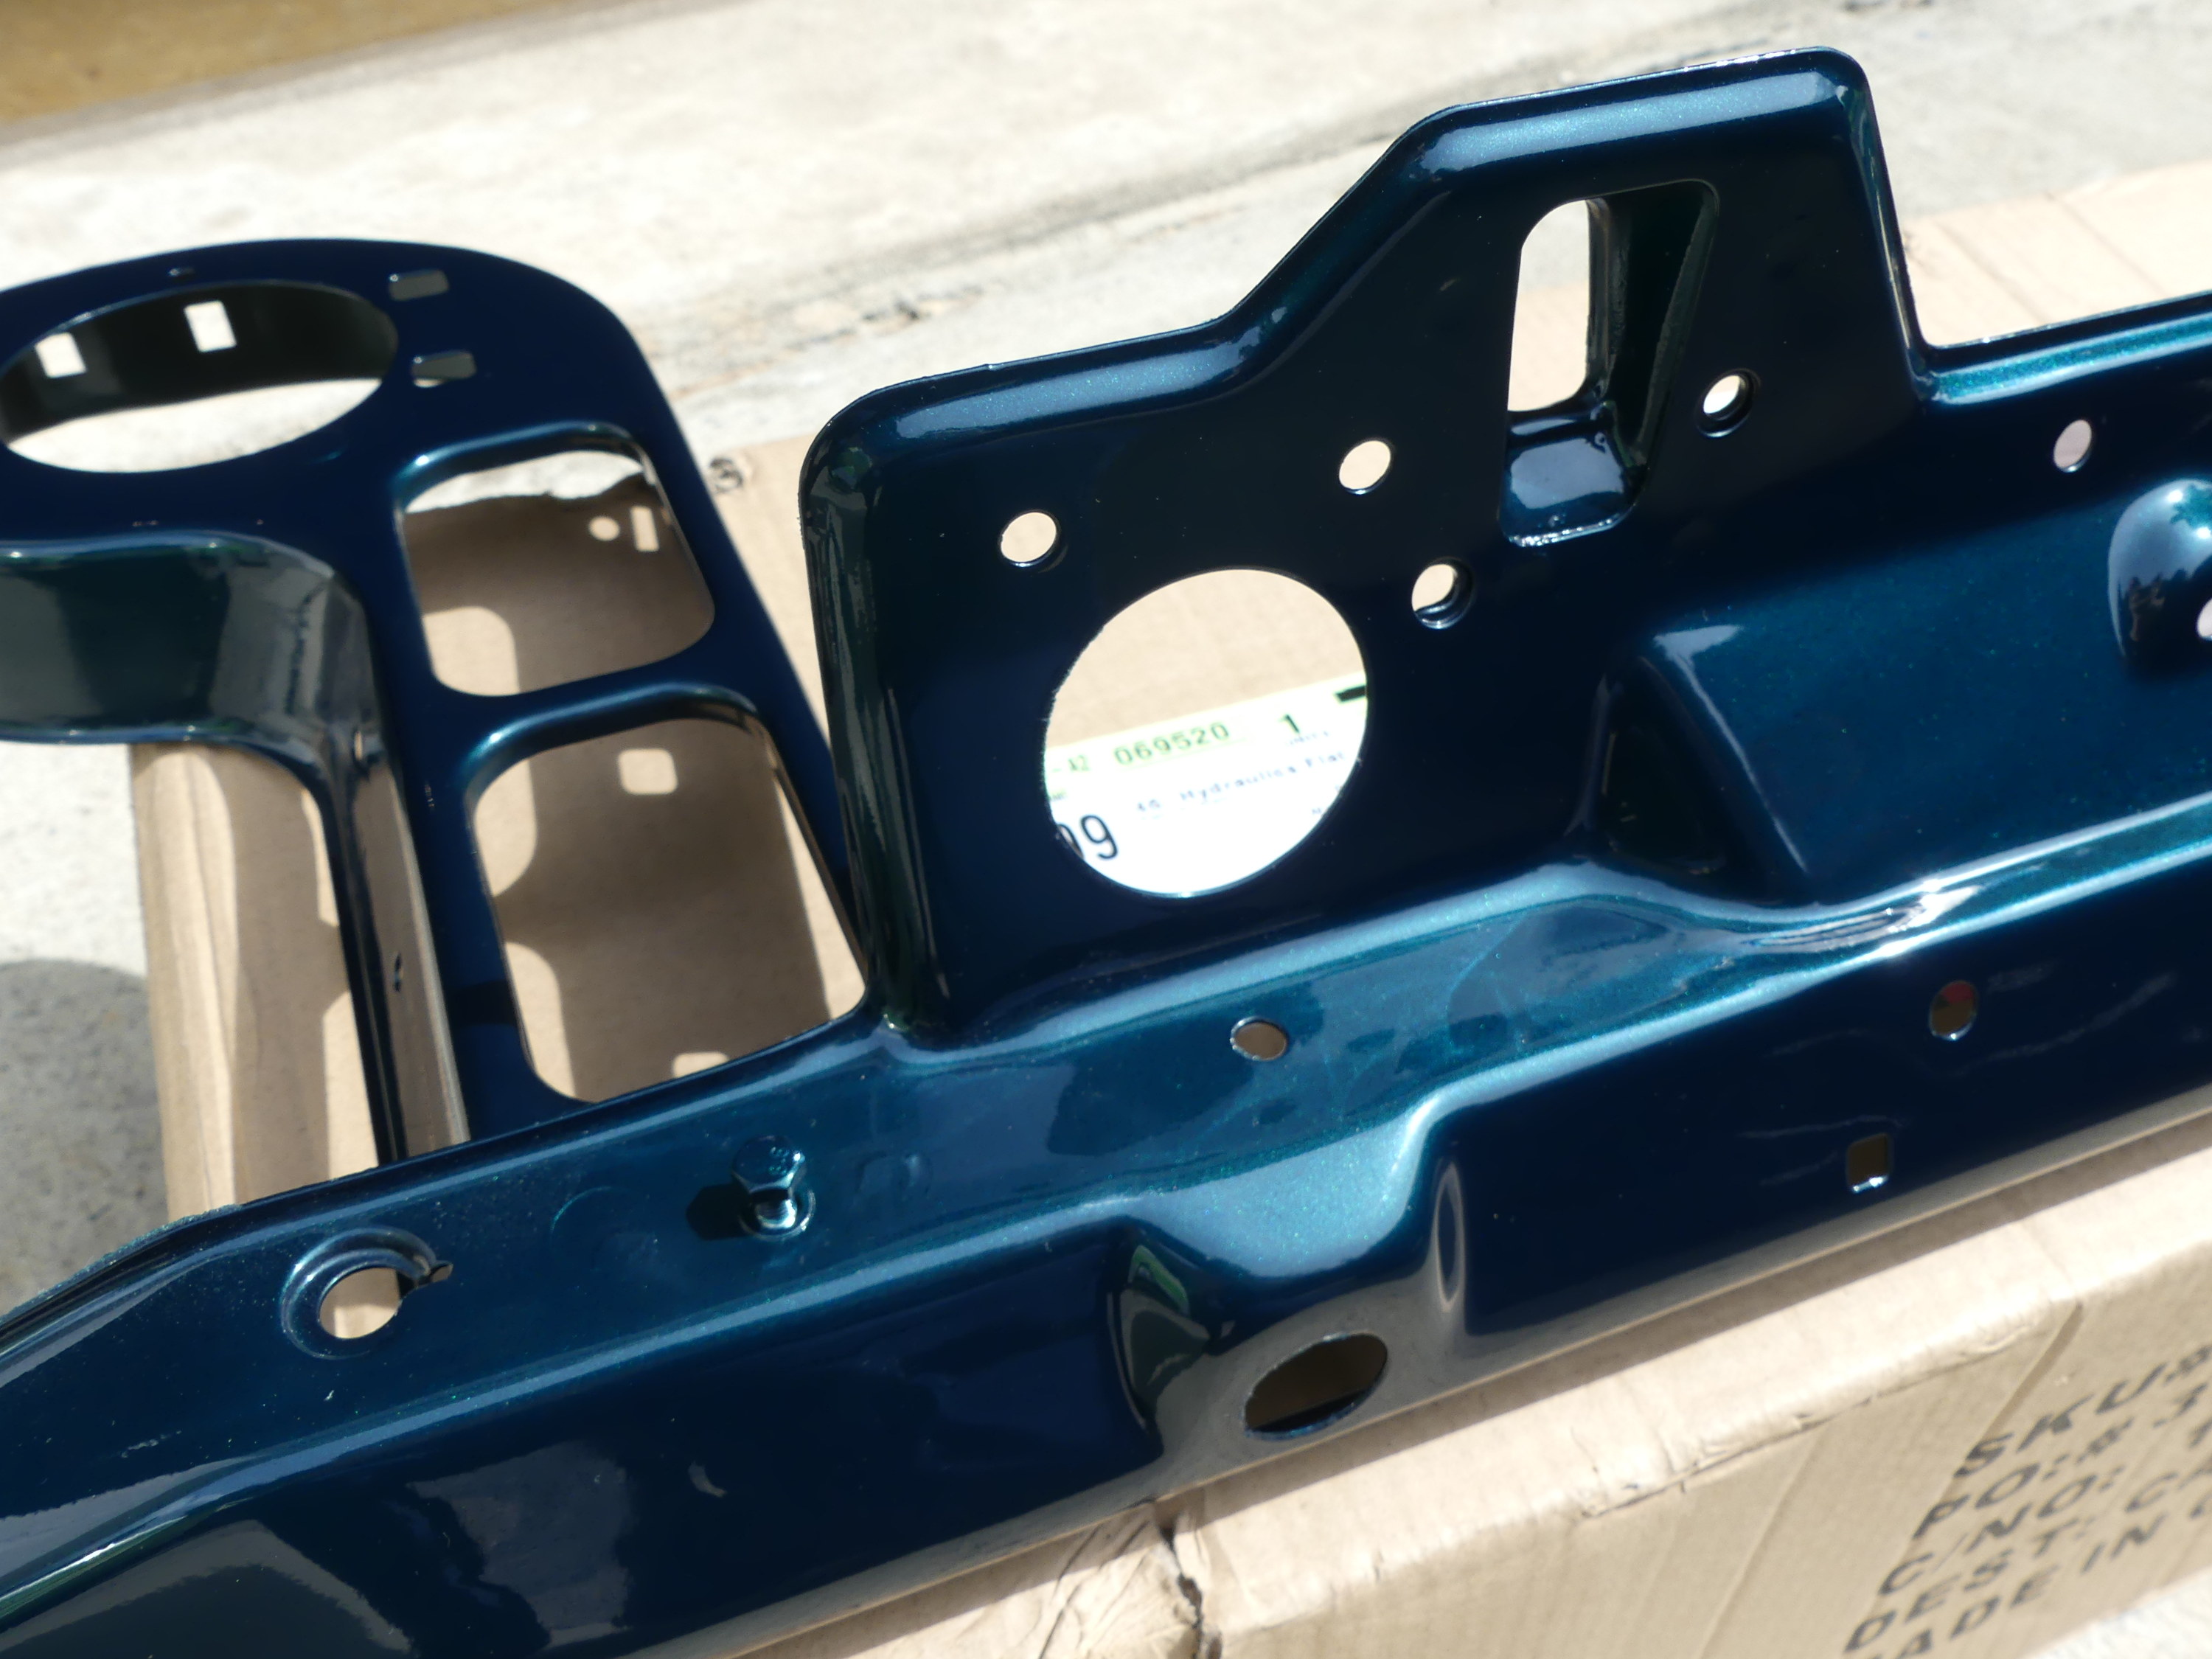 The front support arrived reasonably well finished but this is not the single stage paint I requested. As this part is far enough away from extreme heat sources the clear will likely hold up but only time will tell. |
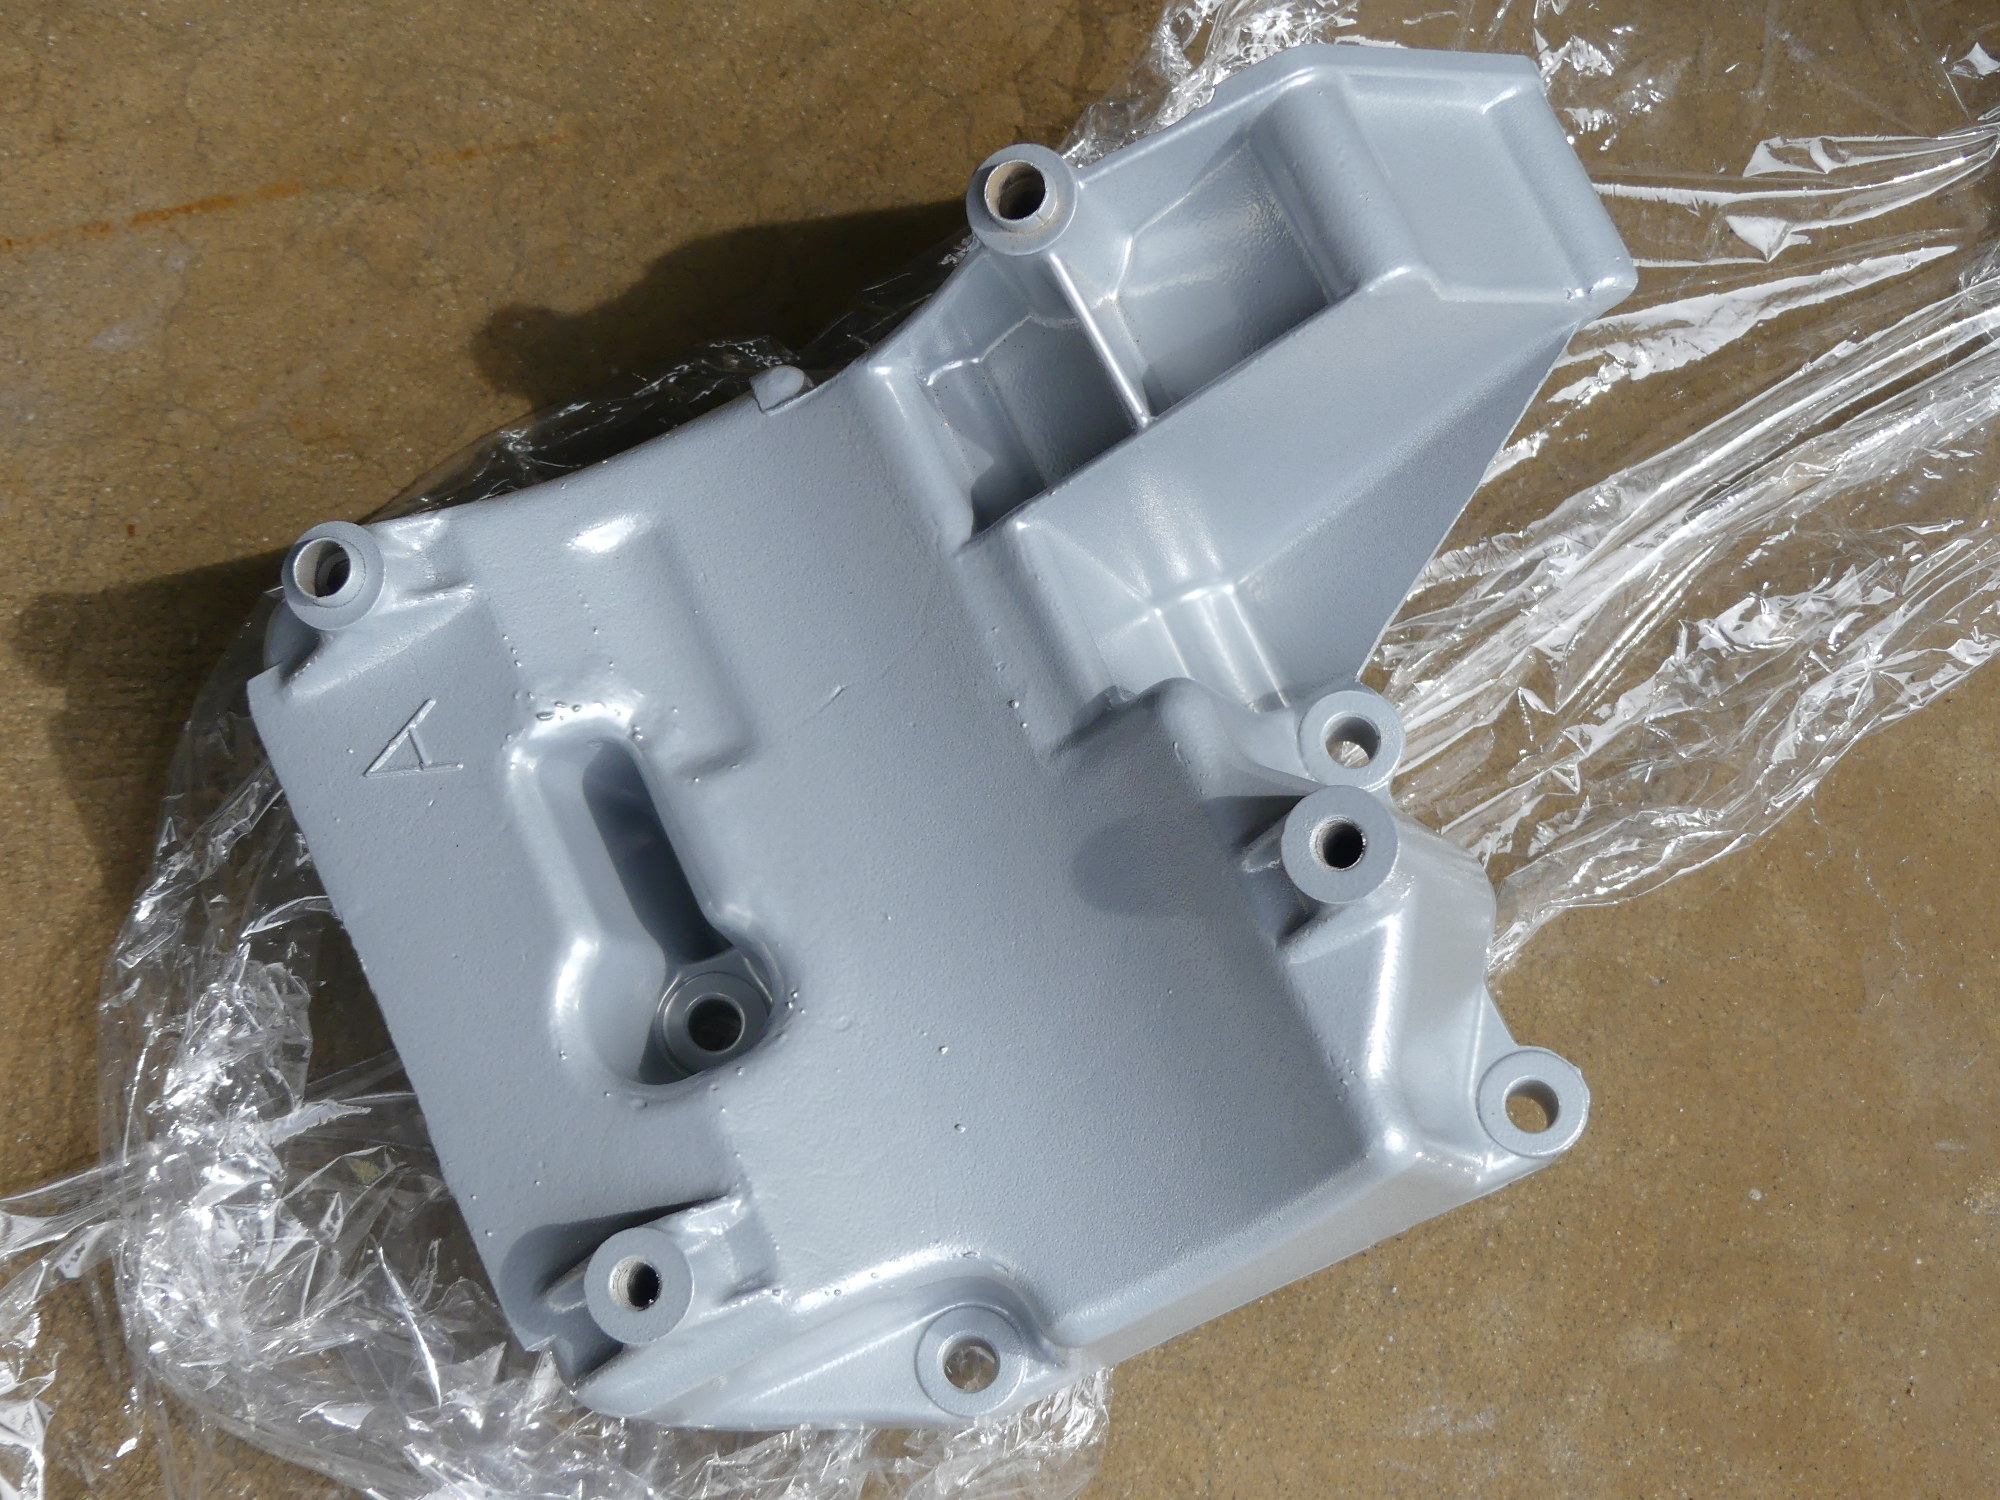
 The fuel filter cover looks as good as new. The powdercoat I applied previously protected the cover sufficiently that I should be able to use this one indefinitely provided I stay out of the salt or coat it again in a few years. |
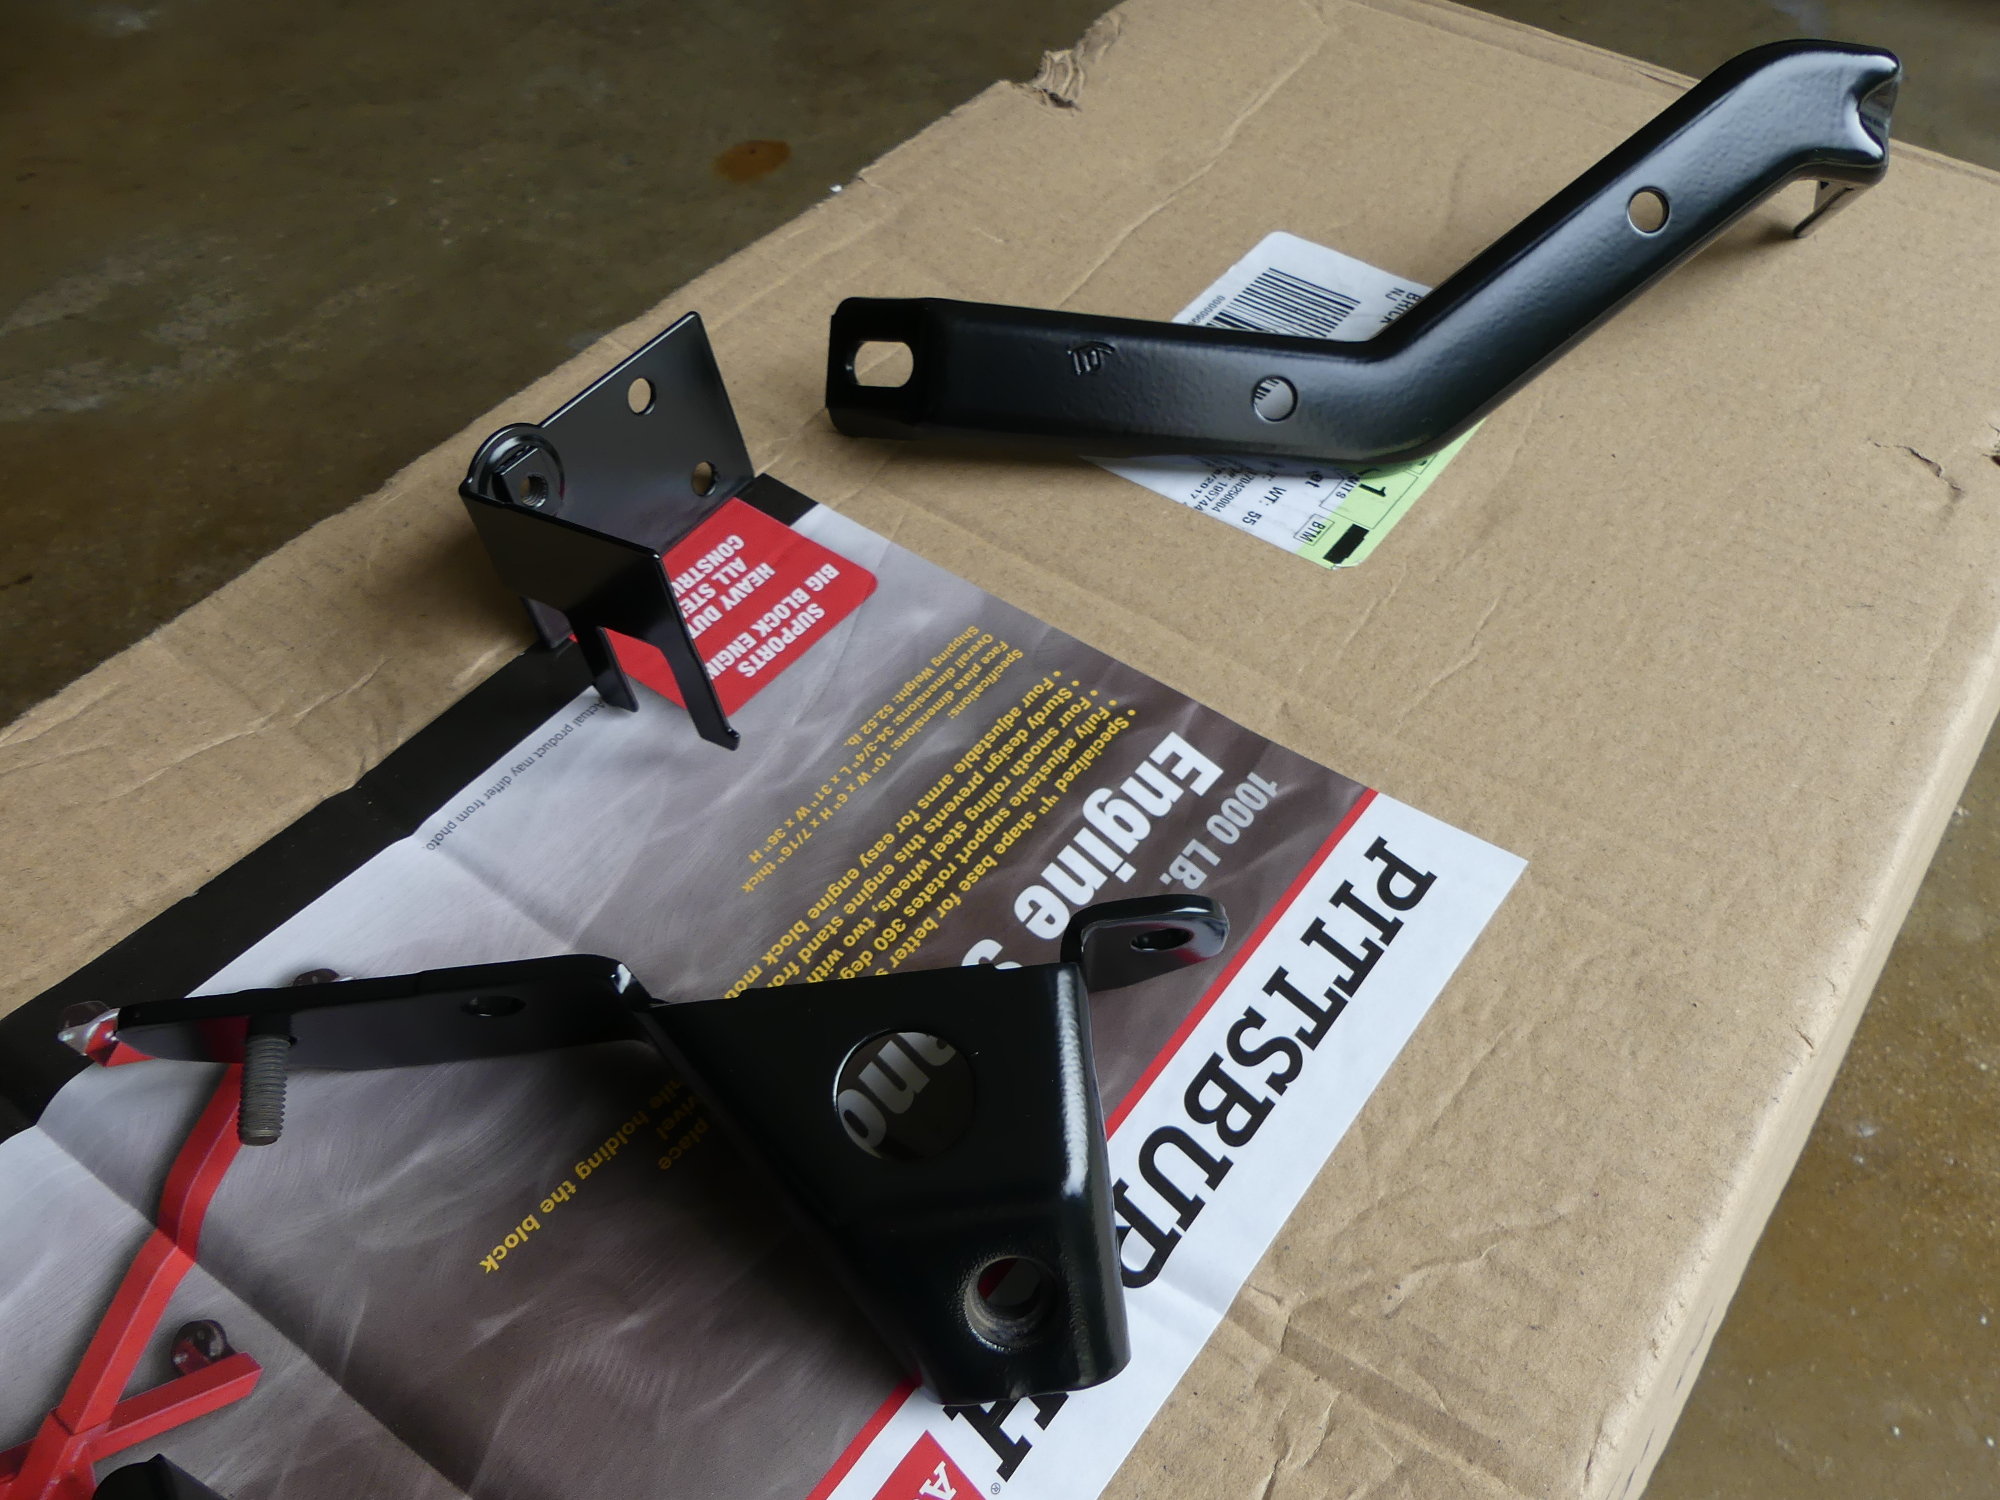 I don't know if these brackets were originally painted or powdercoated. The original finish was in good shape with only hints of rust forming on the edges. I decided to powdercoat them to protect them against future corrosion. |
 So far I've been 100% happy with the powdercoating from Coast2Coast. This piece did not meet expectations, but it wasn't worth the time and energy to have it redone. In any case it looks a lot better than it did. |
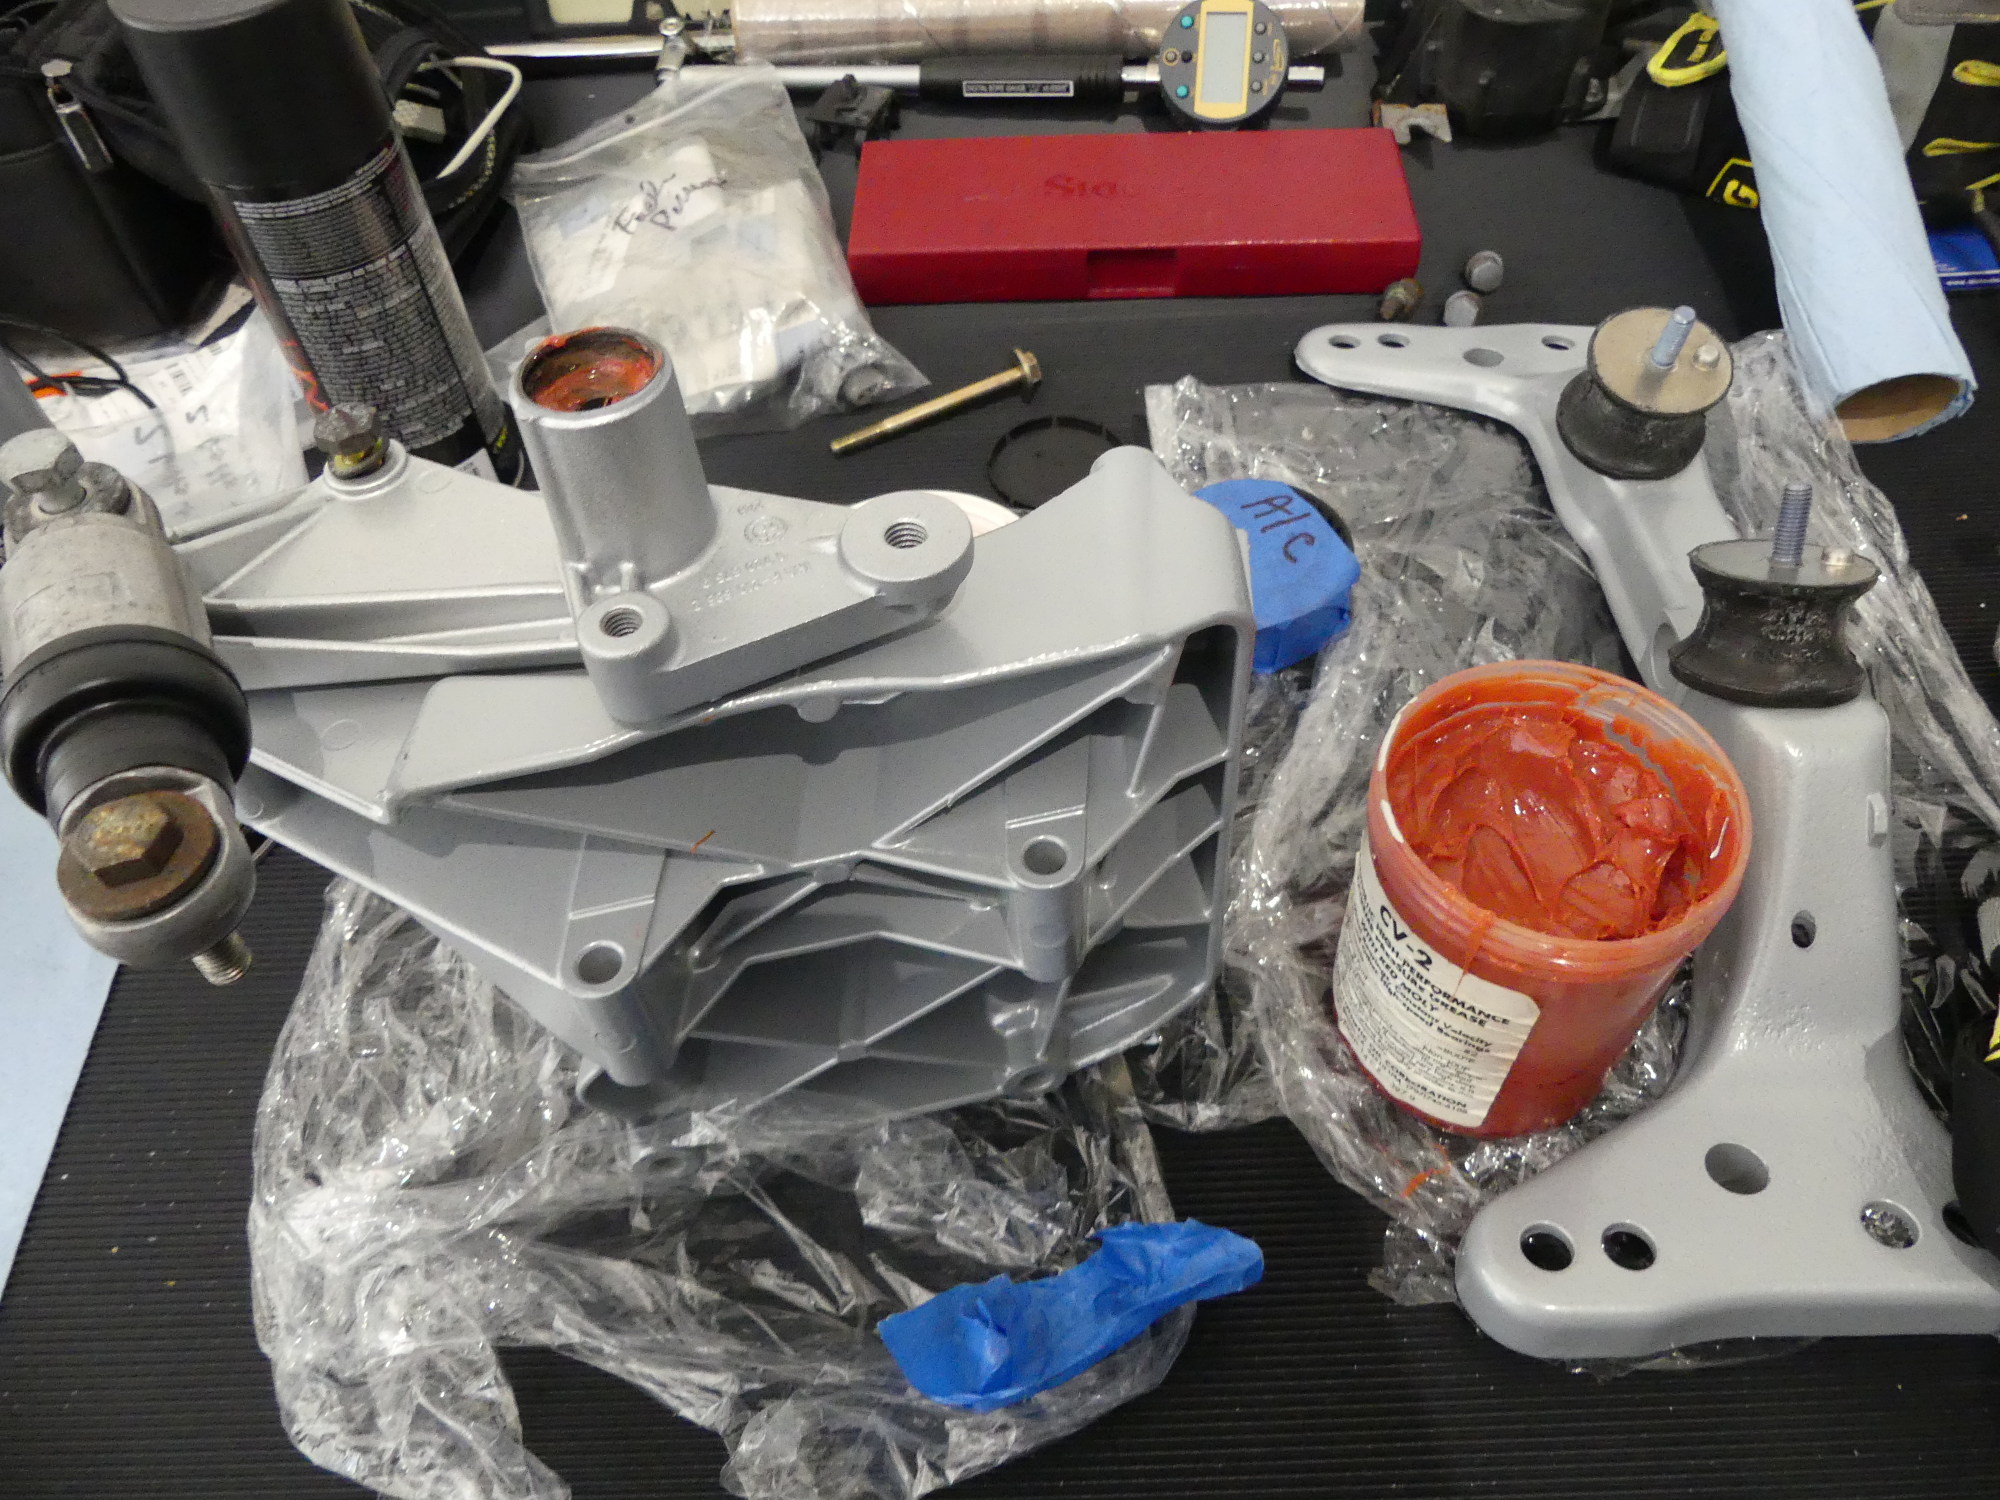 I've applied some CV2 grease (a high quality, high temperature grease) to the bearings and bearing shafts of the A/C tensioner. This was required because I removed much of the existing grease during the painting process. |
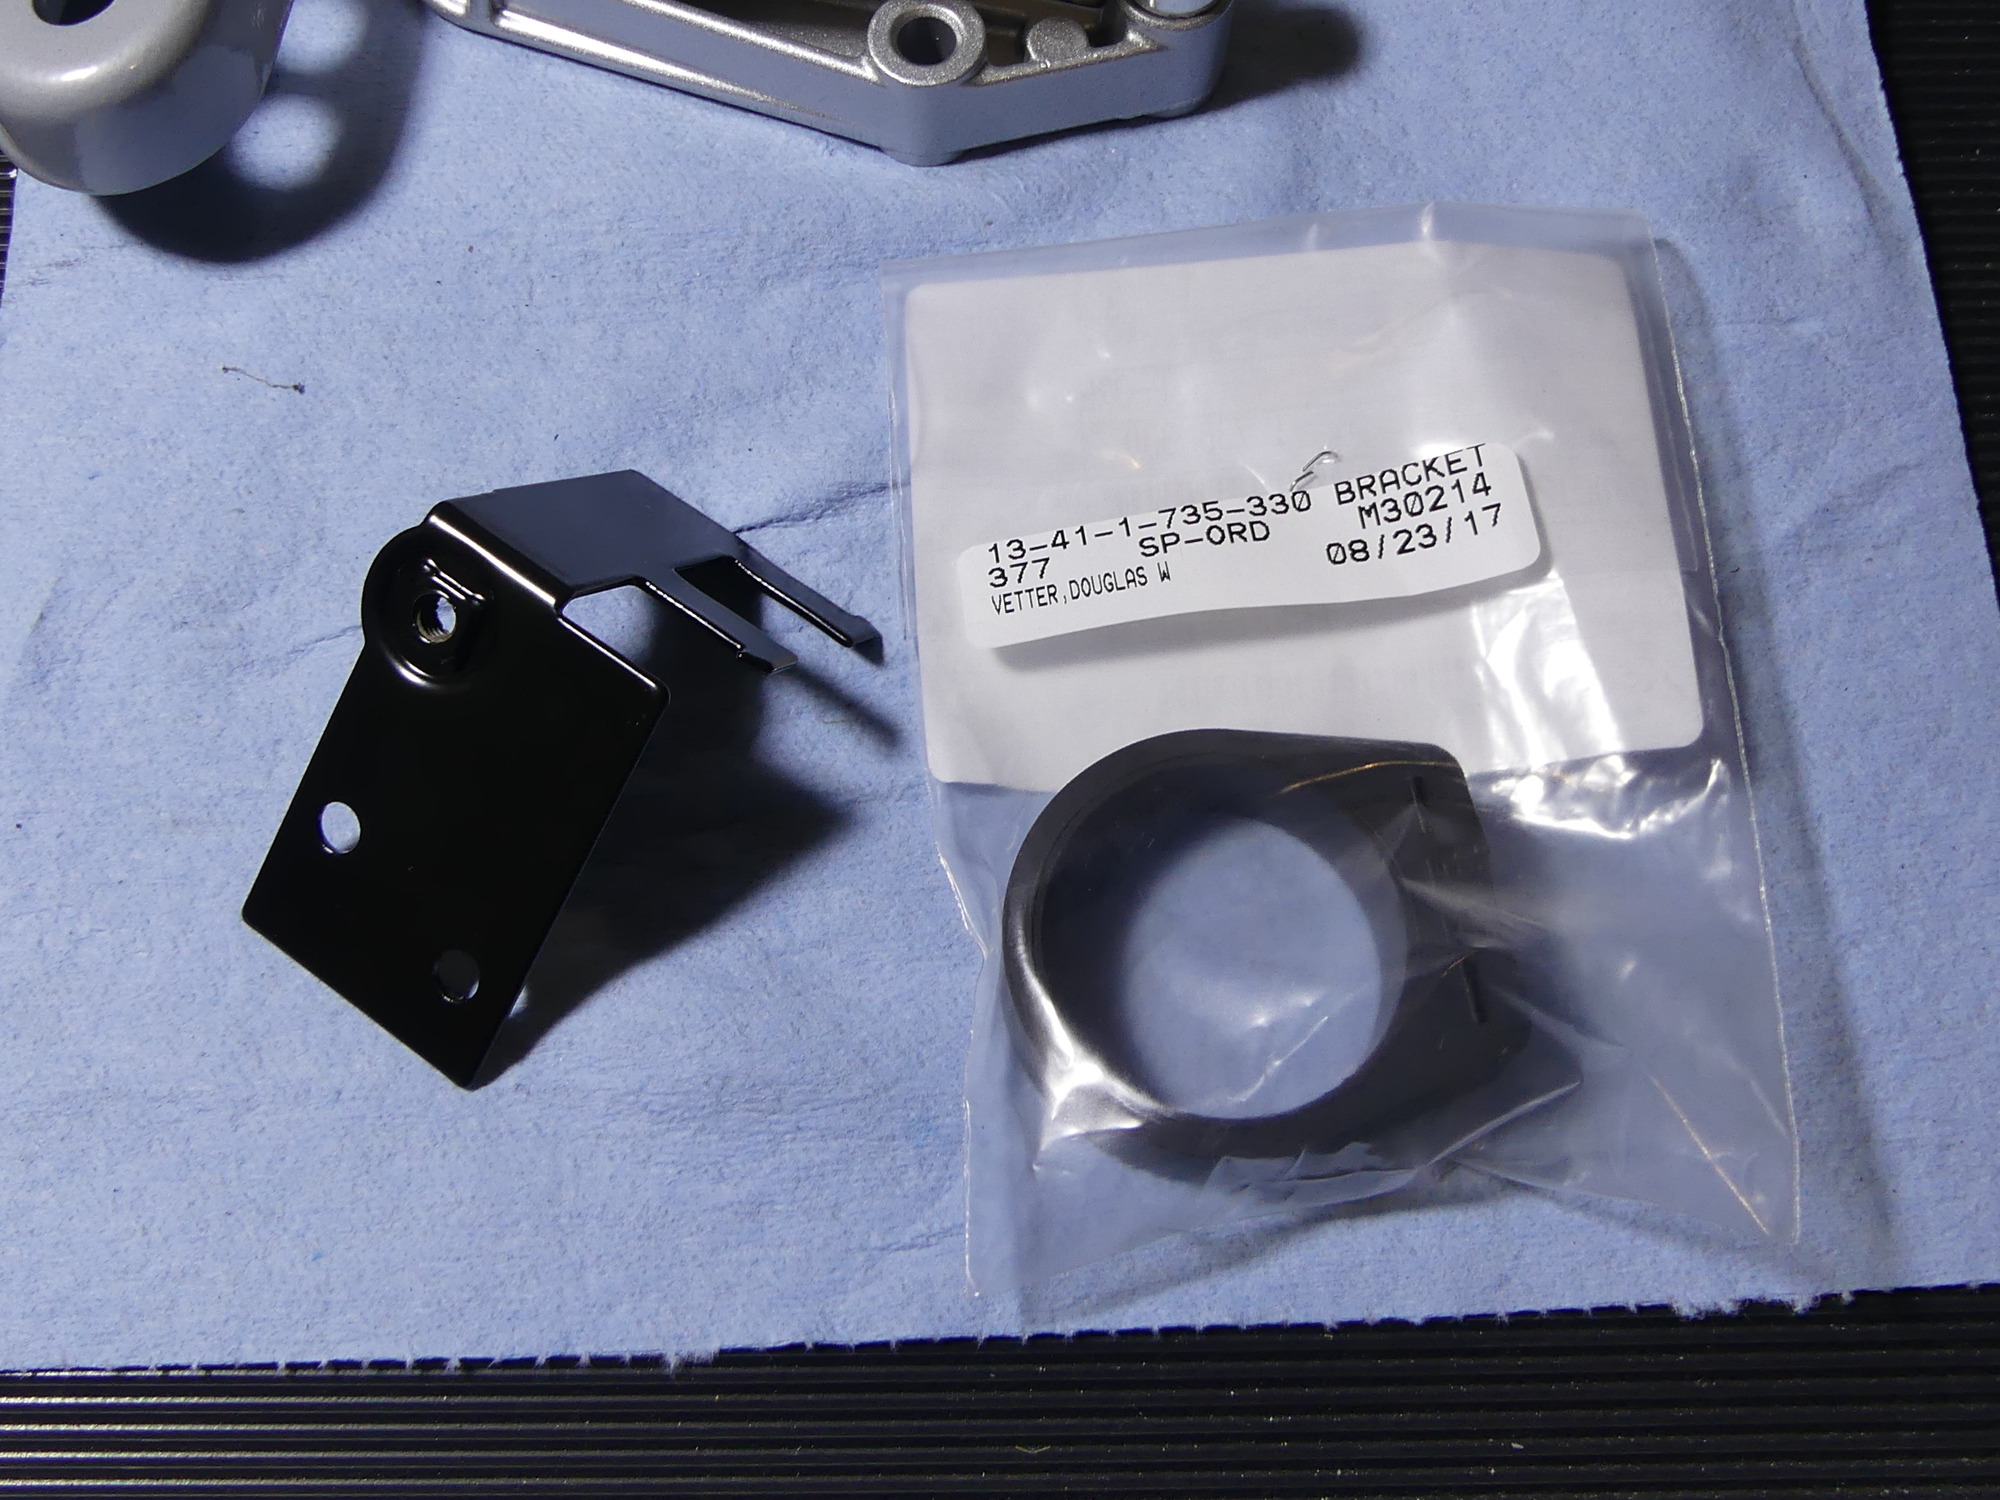 The ICV bracket and rubber mount are sold as a set by BMW for the ridiculous sum of $75. I managed to powdercoat the bracket for a few bucks and get a new rubber mount for $10, saving around $60. |
I also picked up the front support, only to learn that the part was not finished to expectations. The manager and I clearly discussed the use of a single stage paint here and my directions indicated this as well, but when the manager handed me the part it was painfully obvious that they had used a two-stage painting process (basecoat / clearcoat). His only consolation? "Well, at least it won't scratch or chip as easily". The part is far enough away from the hottest parts of the engine bay that I'm not expecting the clear to fail and I'll admit it does look better than the single stage paint would have, but doing something completely different than discussed and outlined in writing is not the way to get a plug on this site so the company will remain nameless.
Belly and Engine Bay Painting
Today I continued my painting efforts. I began underneath the car by applying VHT Satin Black over the VHT primer, but only in areas that would not receive seam sealer, as my intent is to apply the seam sealer and then paint over it as recommended.
I lowered the lift and prepped a few areas in the engine bay for painting with the rattle can I ordered filled with my exterior color, Boston Green. Once again I used my die grinder equipped with a roloc disc to get down to bare metal as required to remove rust in several locations. Then I used what was left of my VHT primer (light gray in color) to coat the bare metal. This turned out to be an annoyance, as I had to apply about six thin coats of the finish over a period of 2 hours (to allow for drying) to get proper coverage.
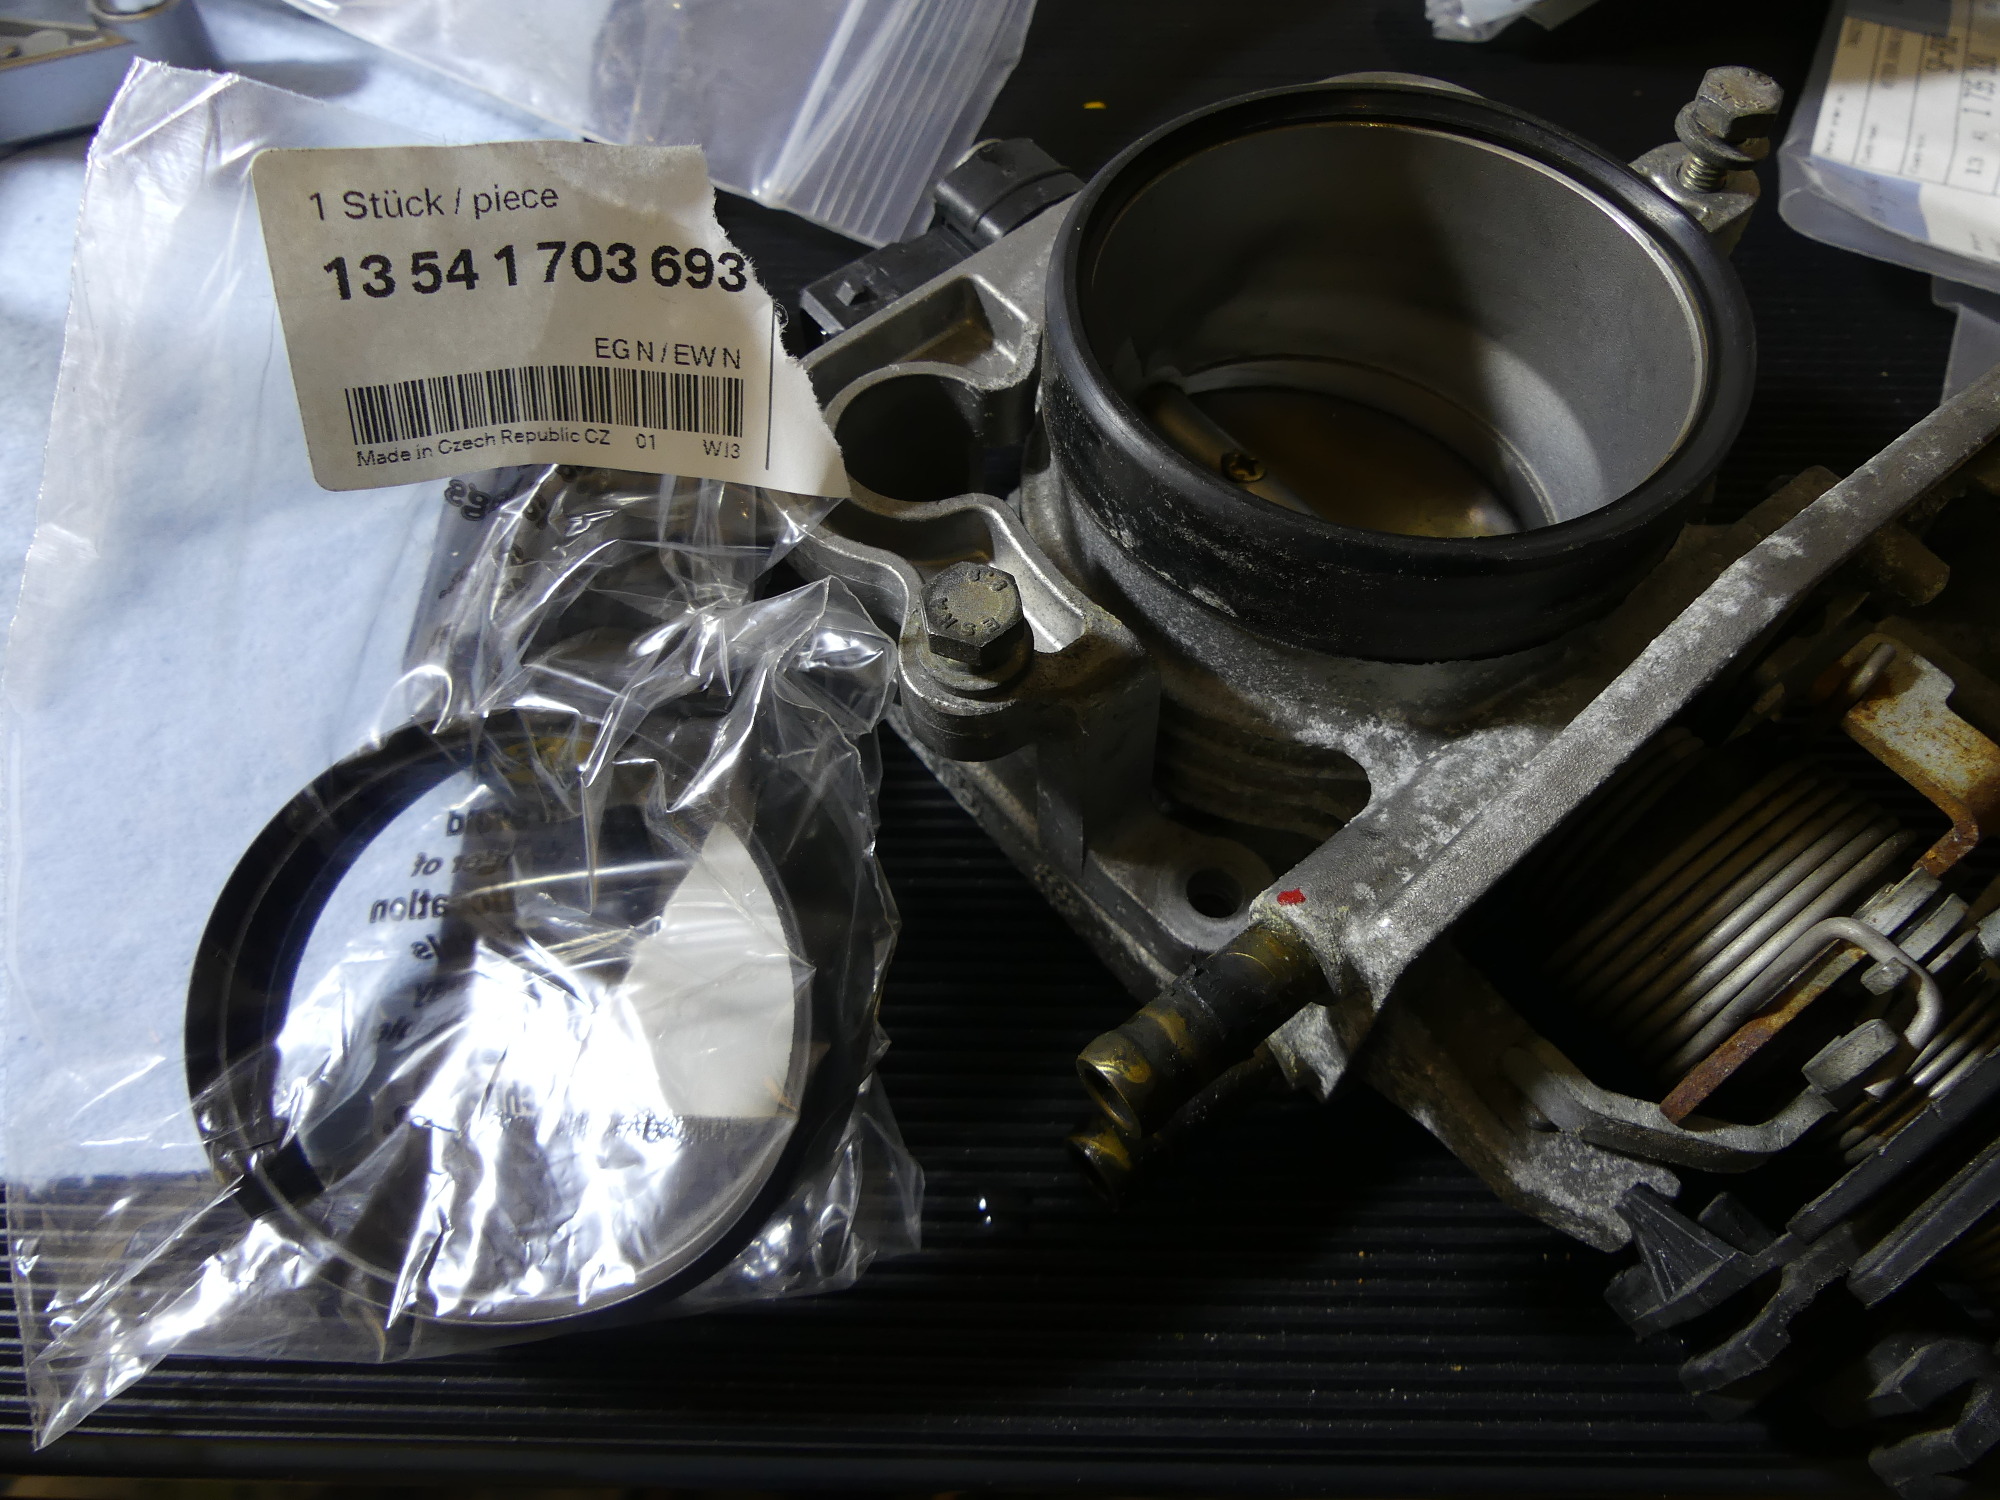 I meant to replace the black cylindrical seal that mounts to the throttle body but I couldn't find the seal in the parts book. I eventually found it on the ASC throttle body page. |
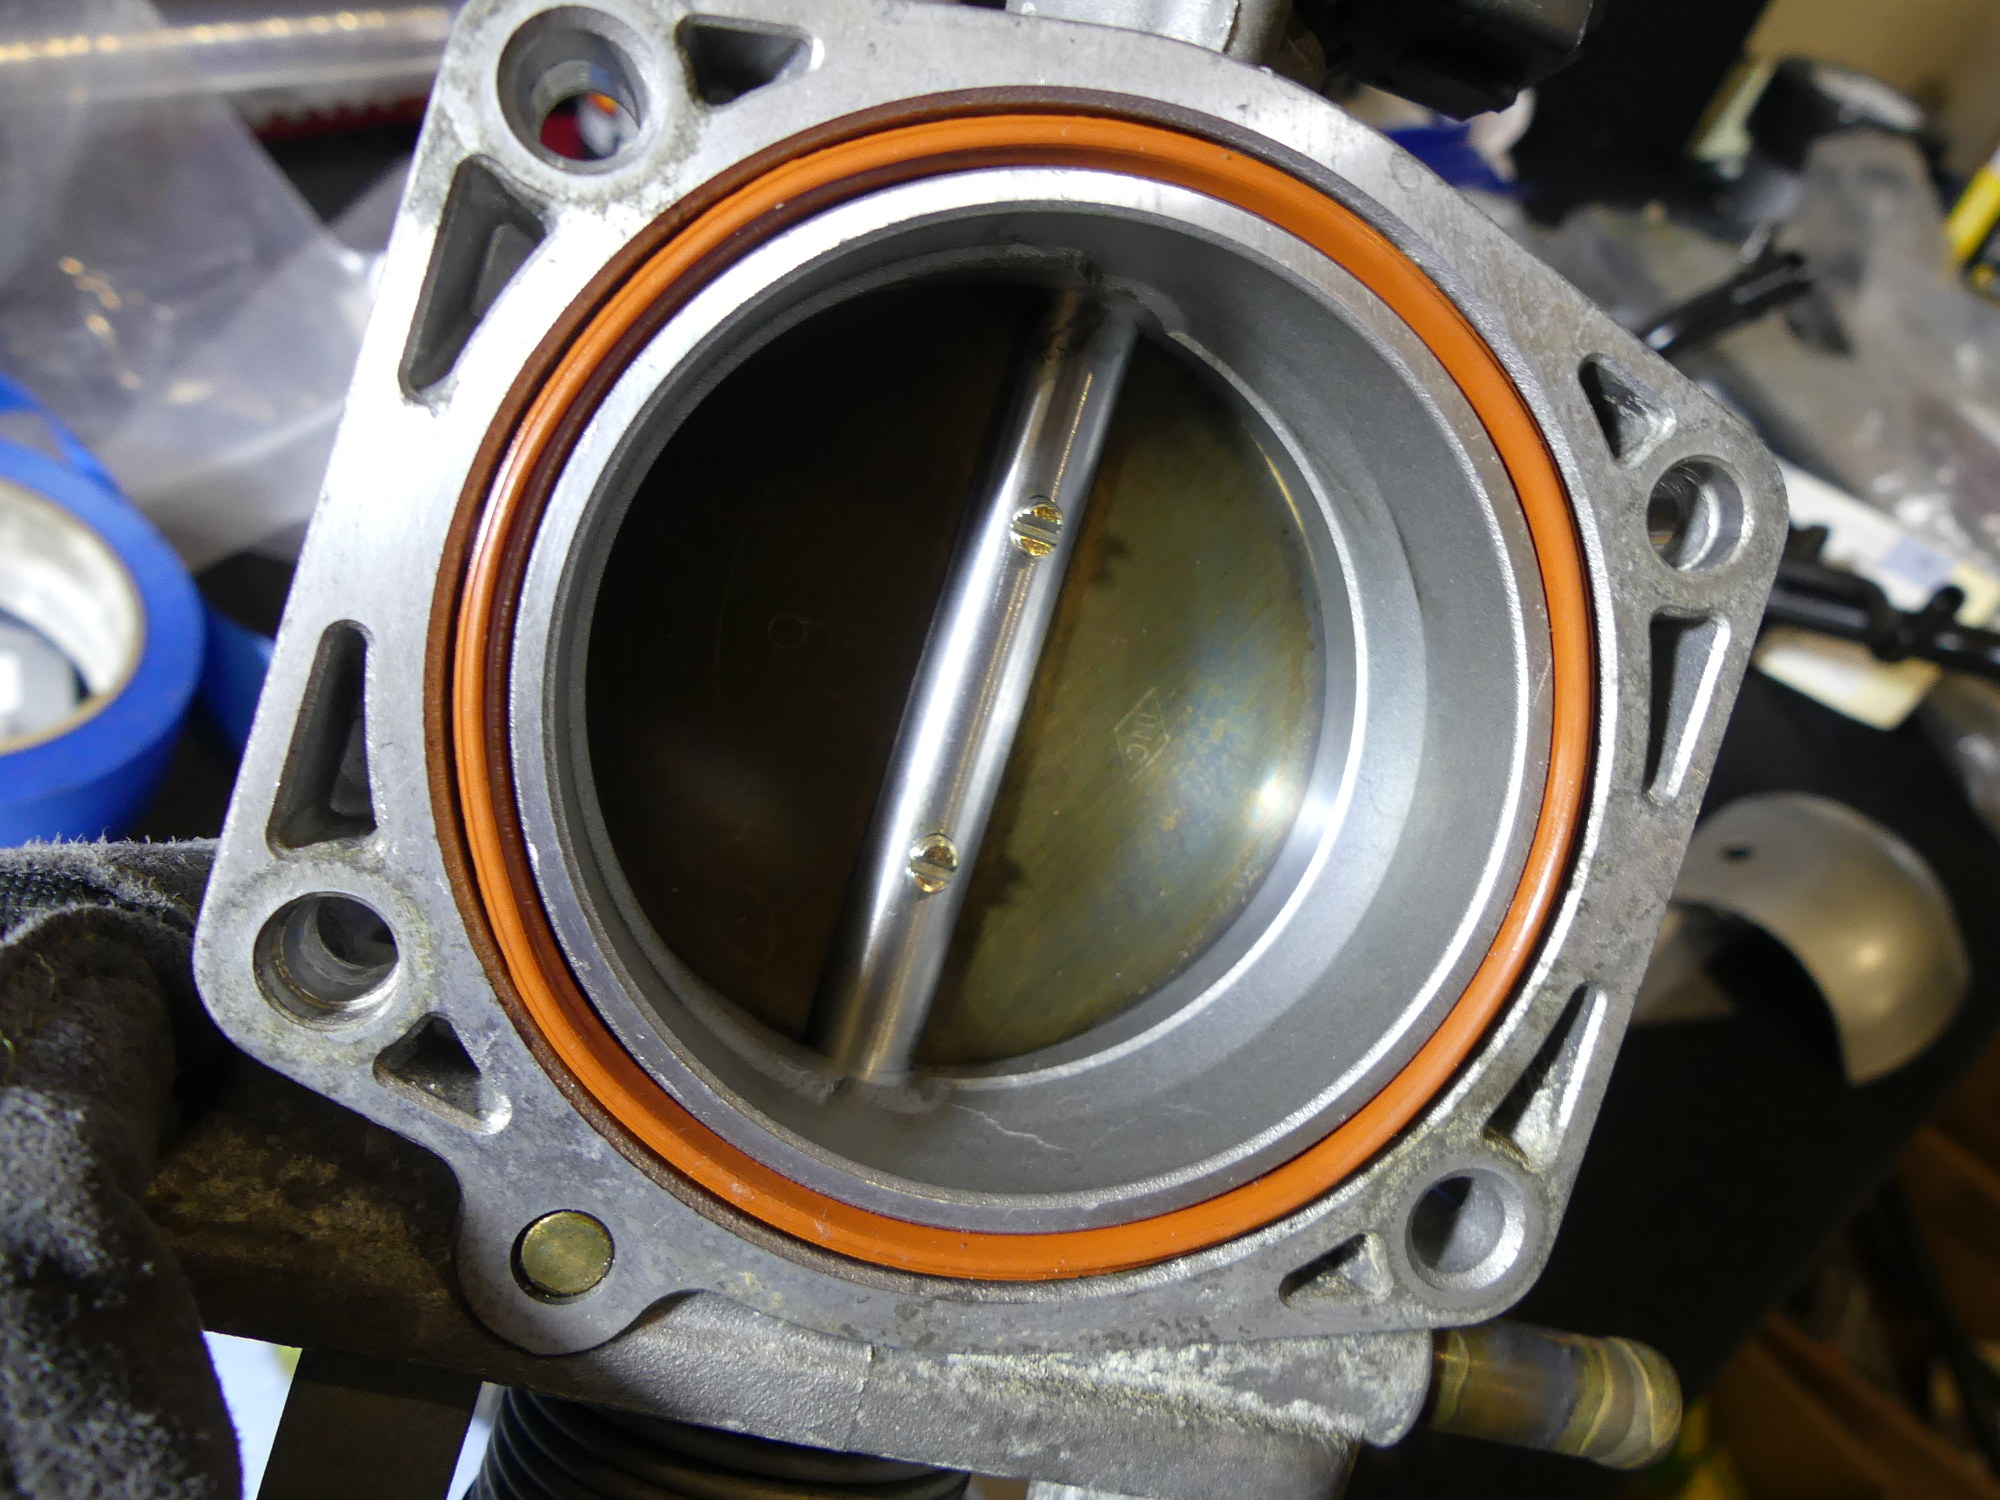 A closeup showing the cleaned throttle body and the orange silicone seal I installed in 2009. The seal is still in like-new shape so I plan to reuse it. This is the same material as used on the intake manifold gaskets and it lasts a long time. |
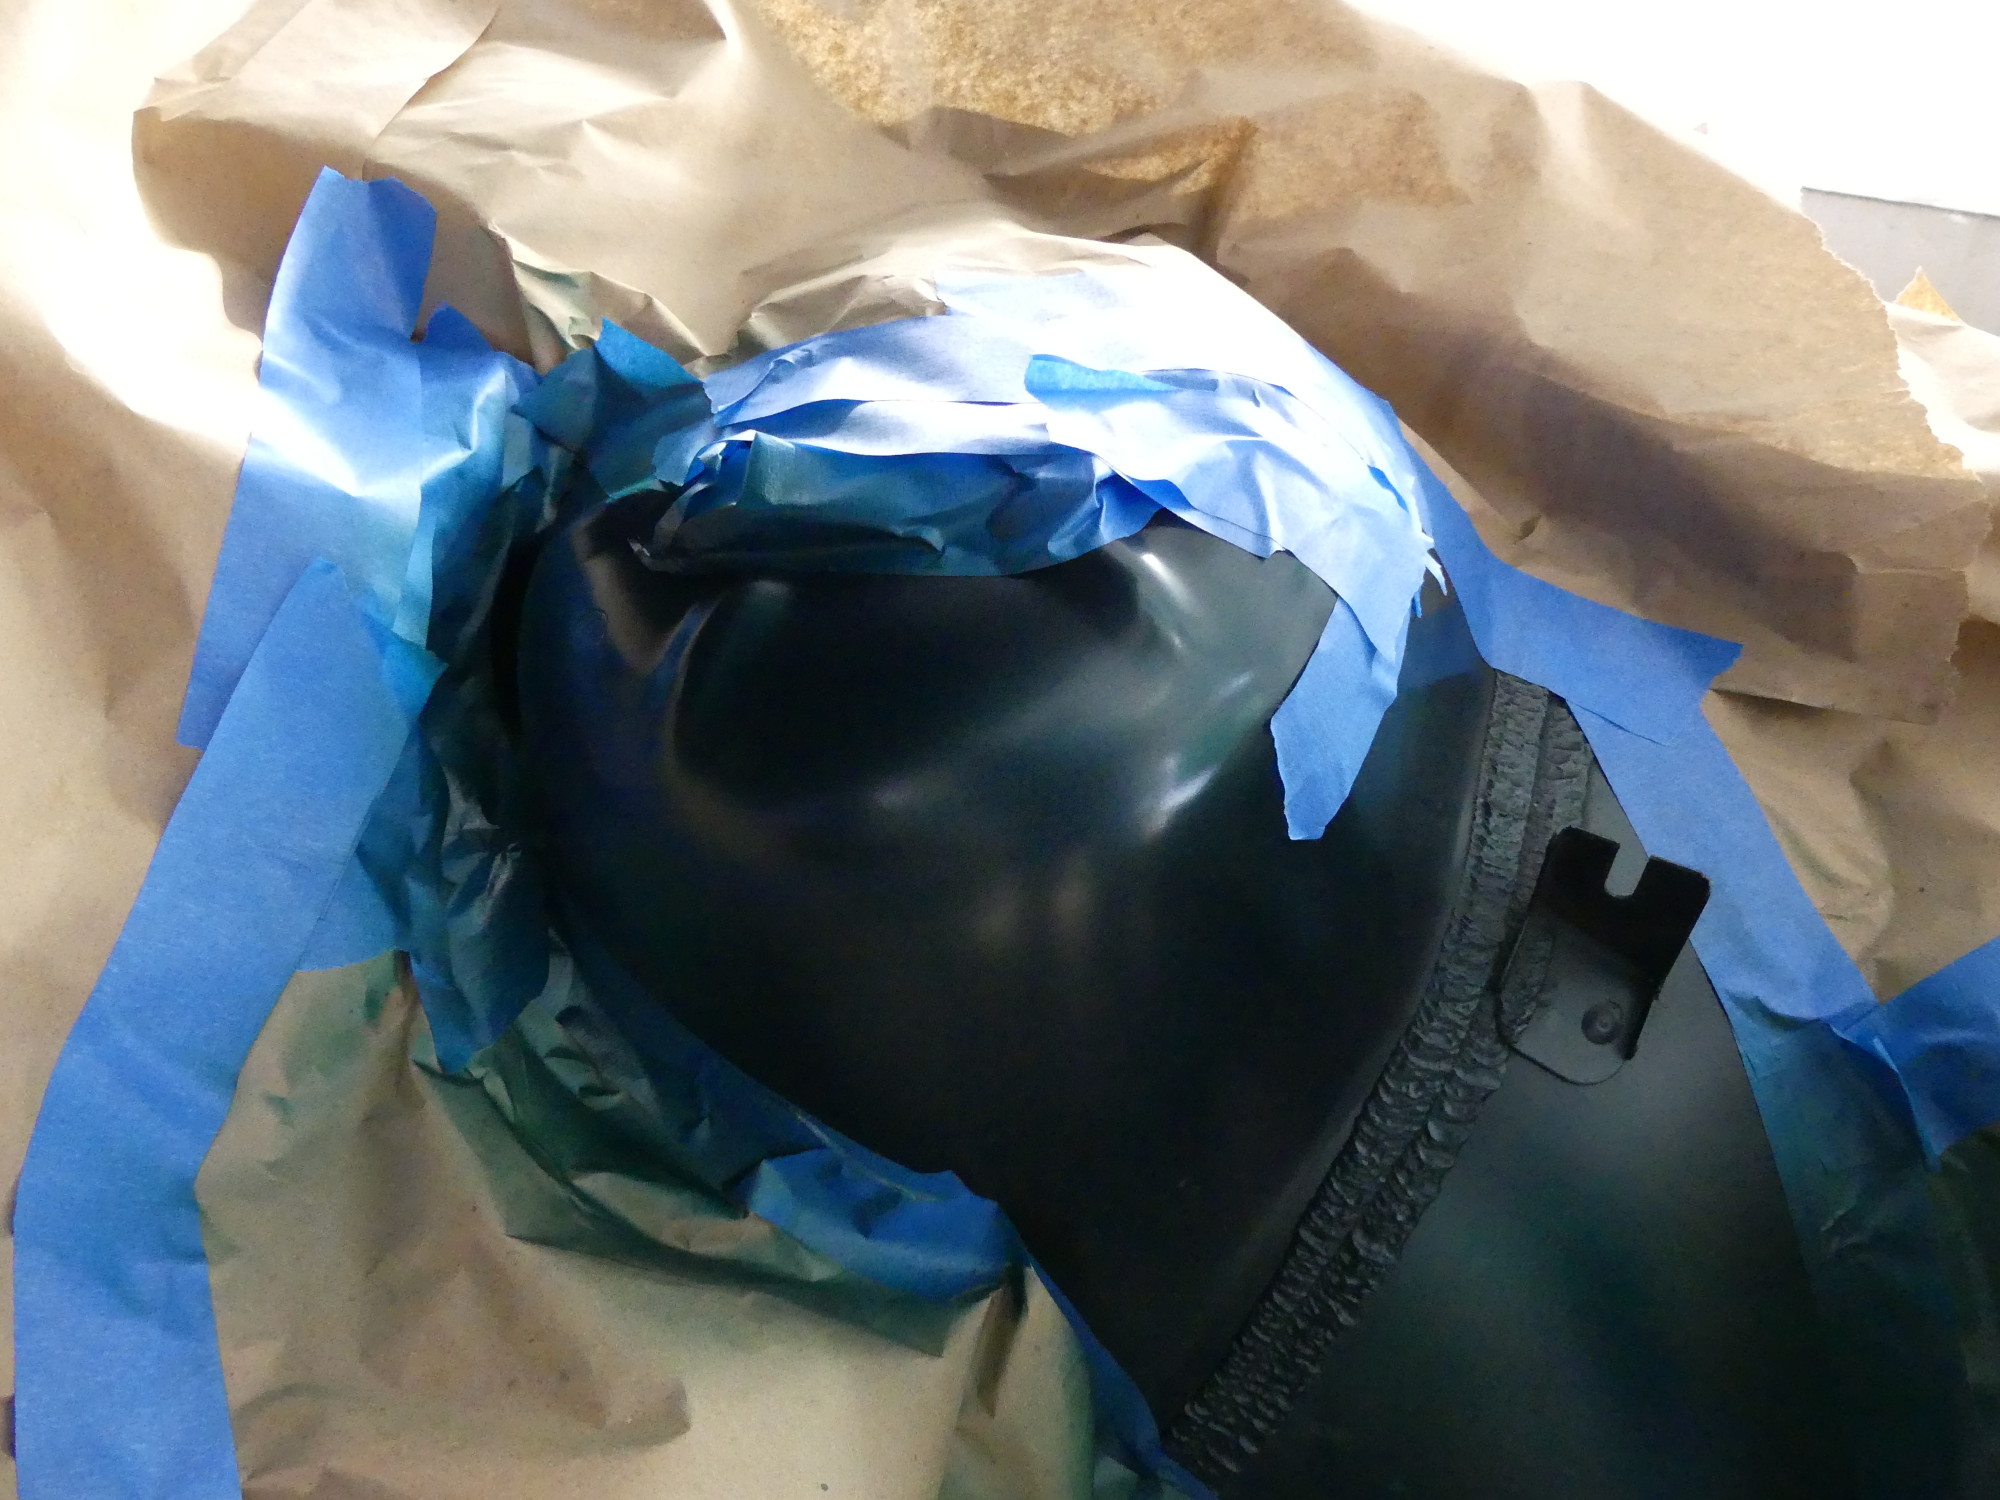
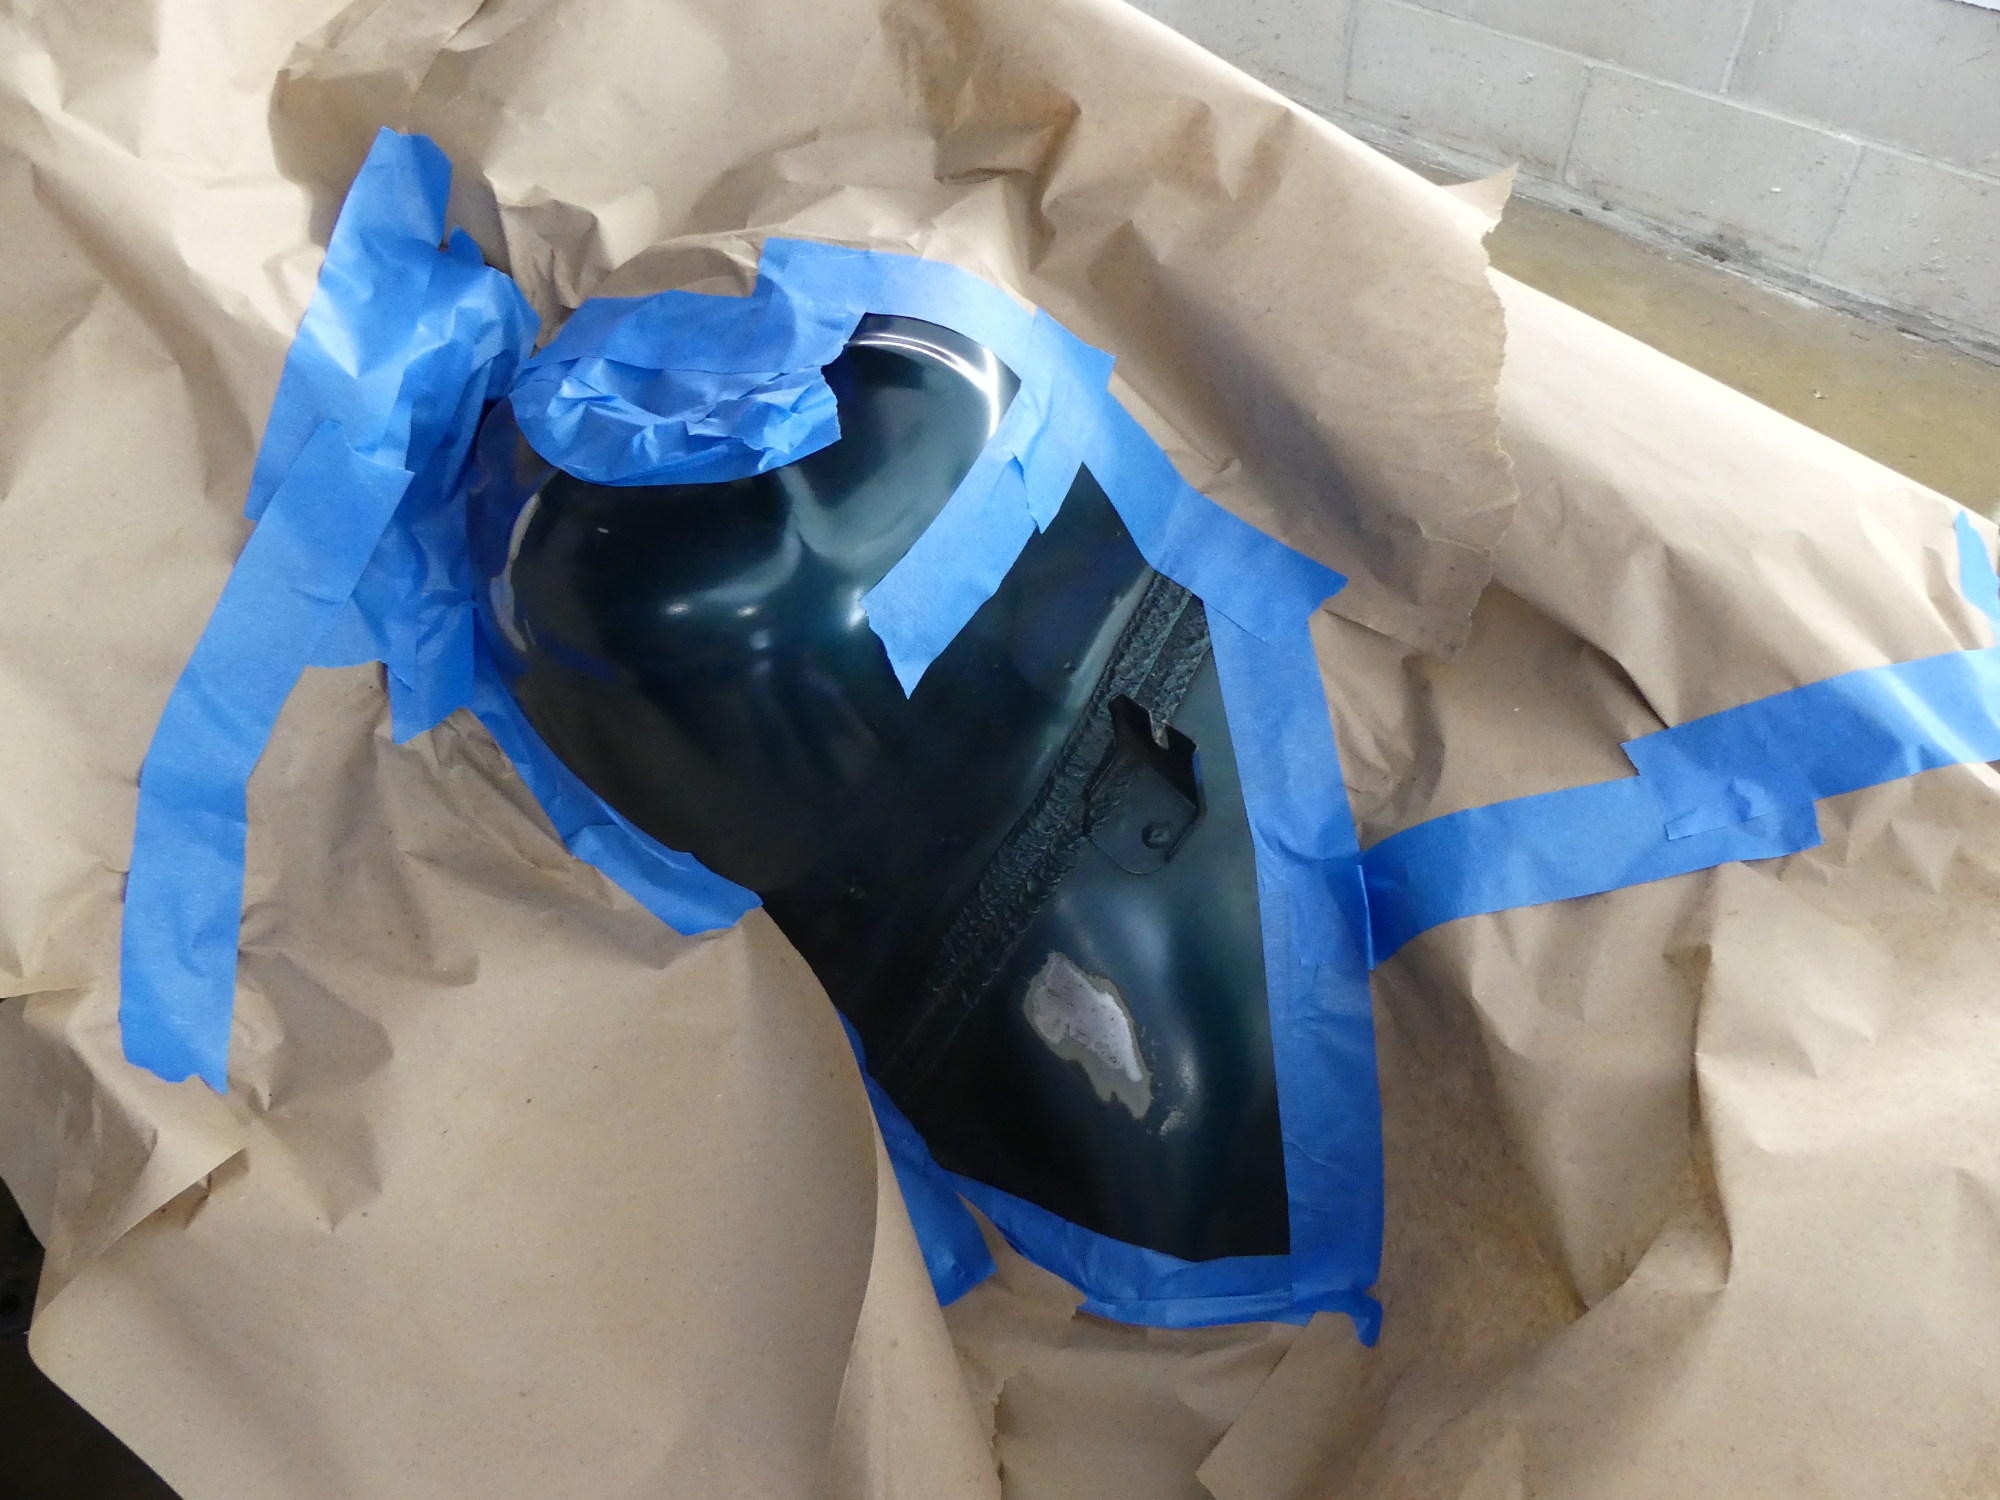 To address the rust near the left shock tower I first used my die grinder and a roloc disc to get to bare metal, smoothed everything out and scuffed the adjacent finish with some scotch brite, and then masked it to prep for priming. |
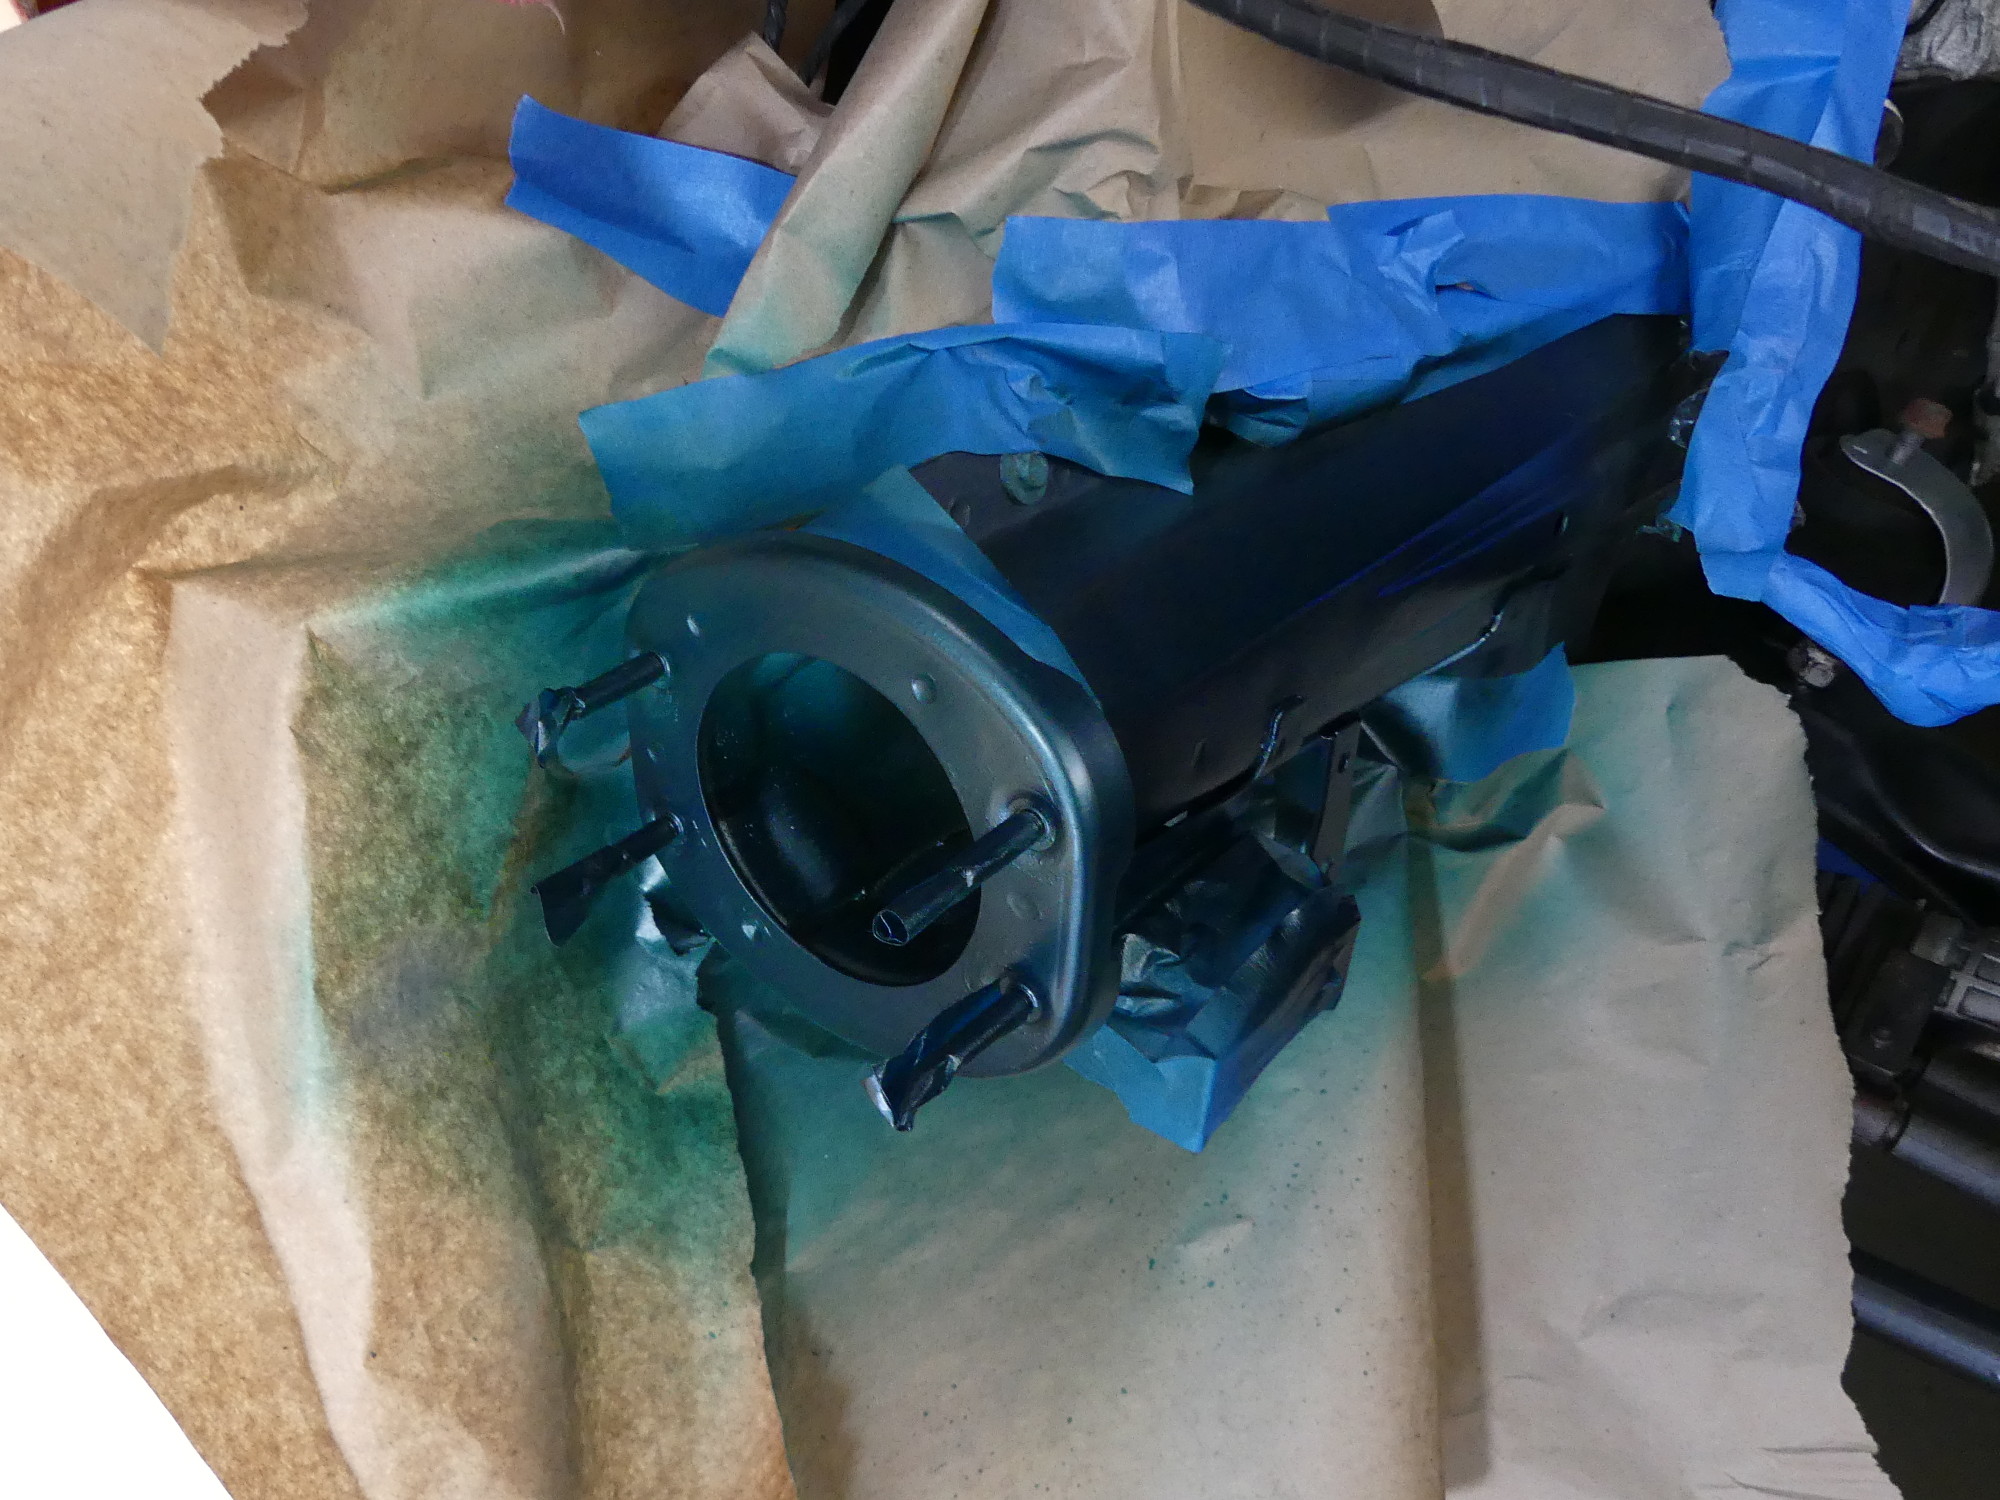
 The faces of the frame rails had a touch of rust in places but the main reason I painted them was because I had to drill out the spot weld on the front support and leaving that bare metal exposed was unacceptable to me. |
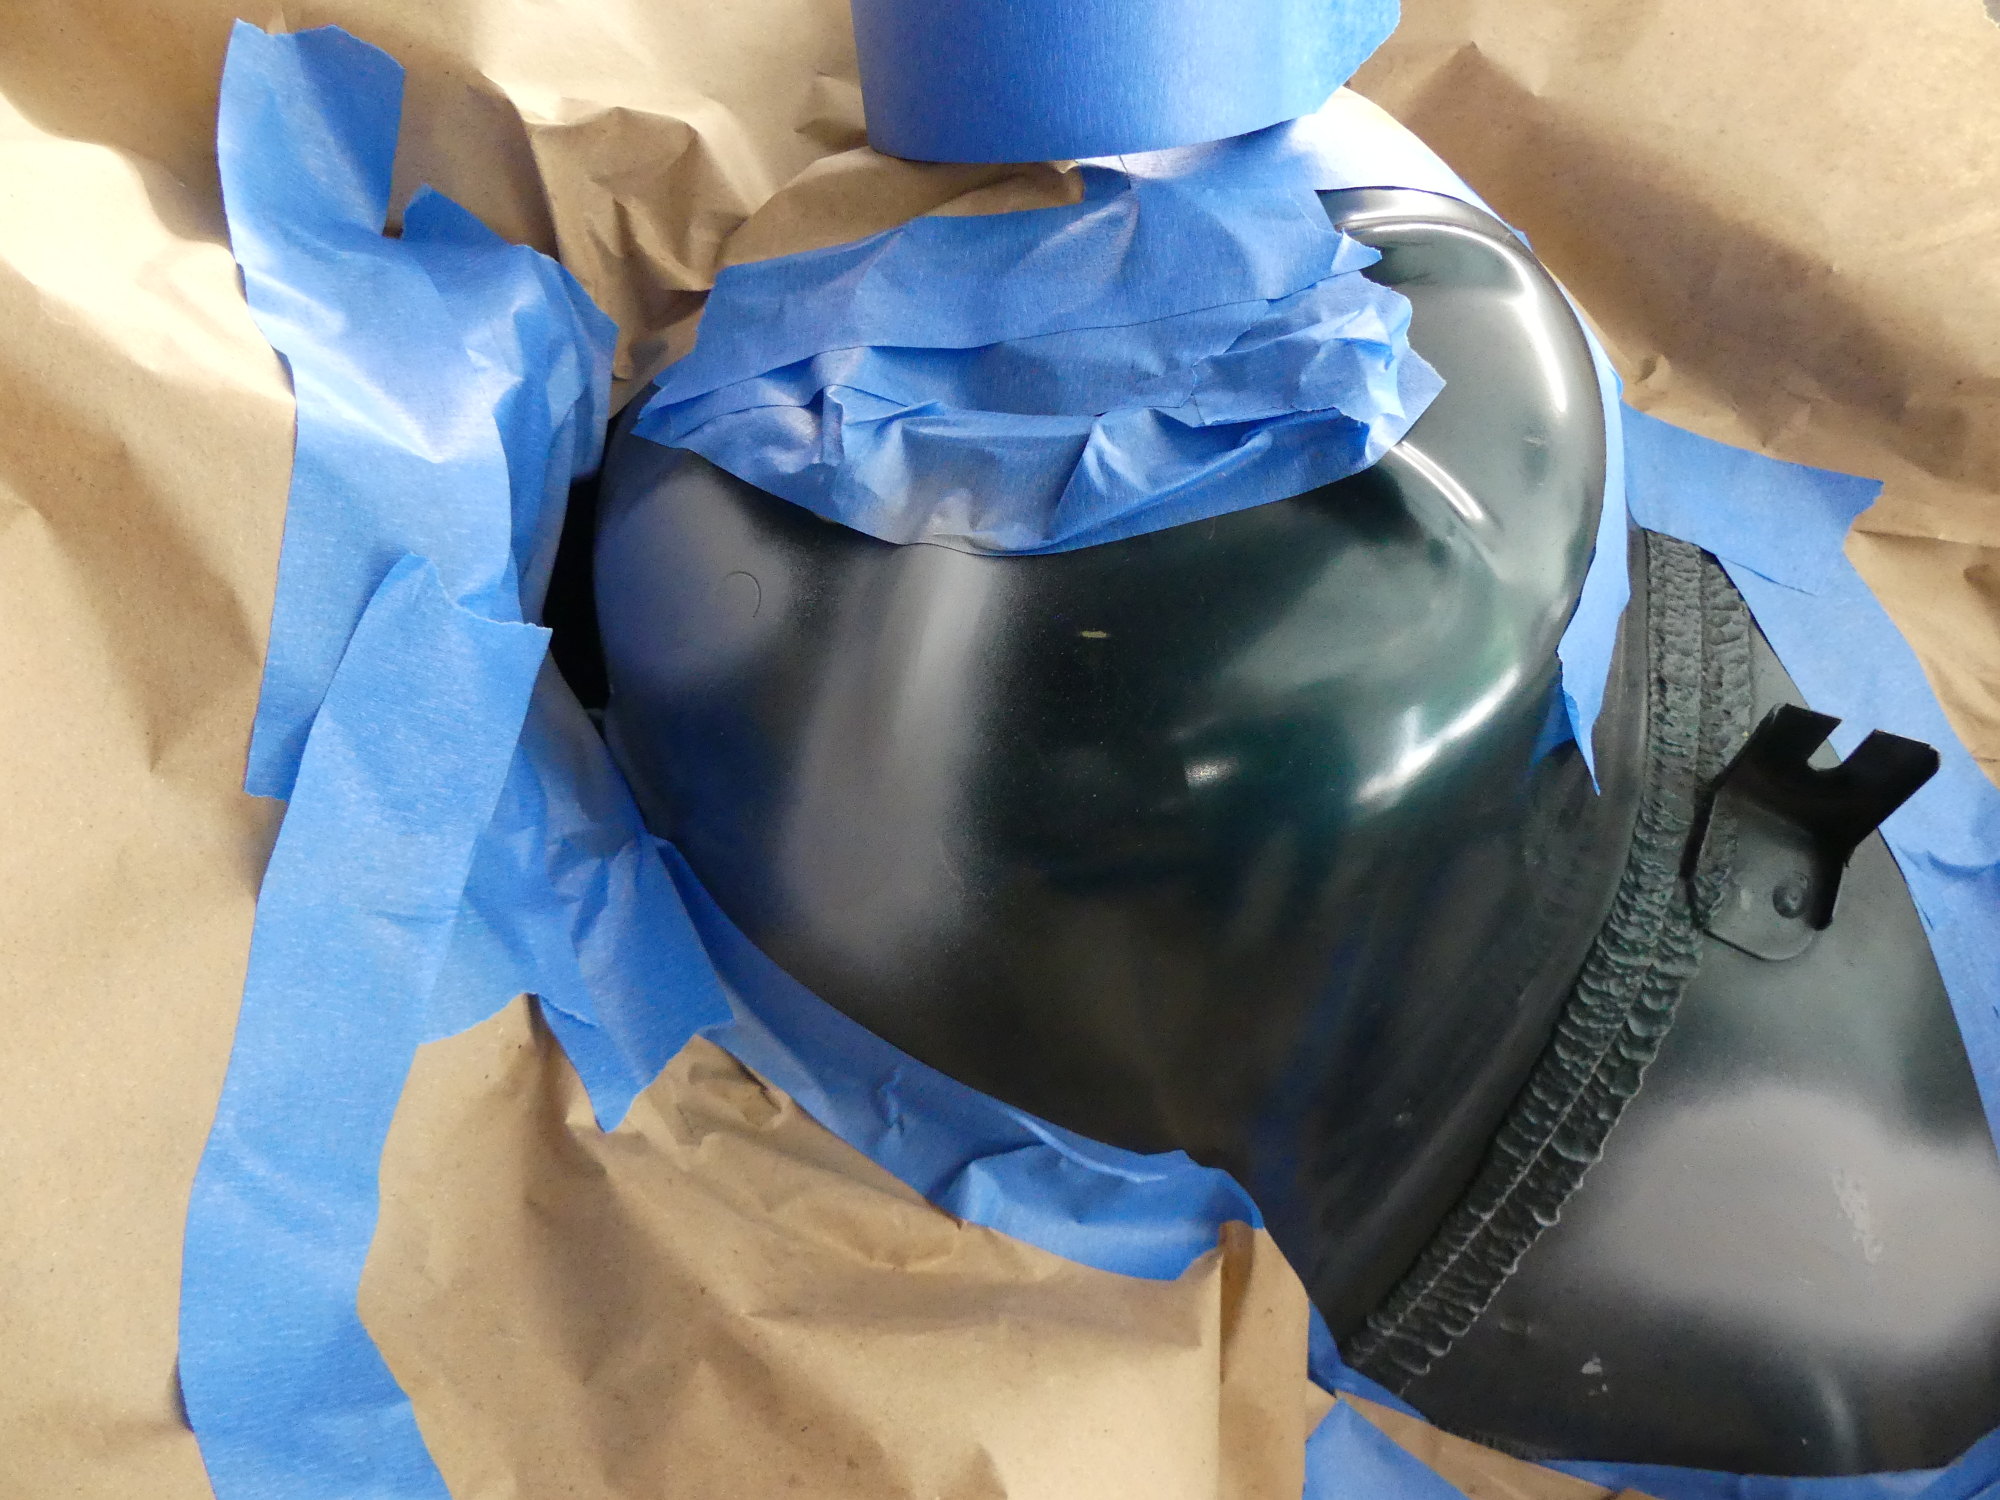 After sanding I cleaned the surfaces with water as recommended by the finish paint manufacturer, went crazy masking everything off, and then then applied a very thin single coat of VHT primer. |
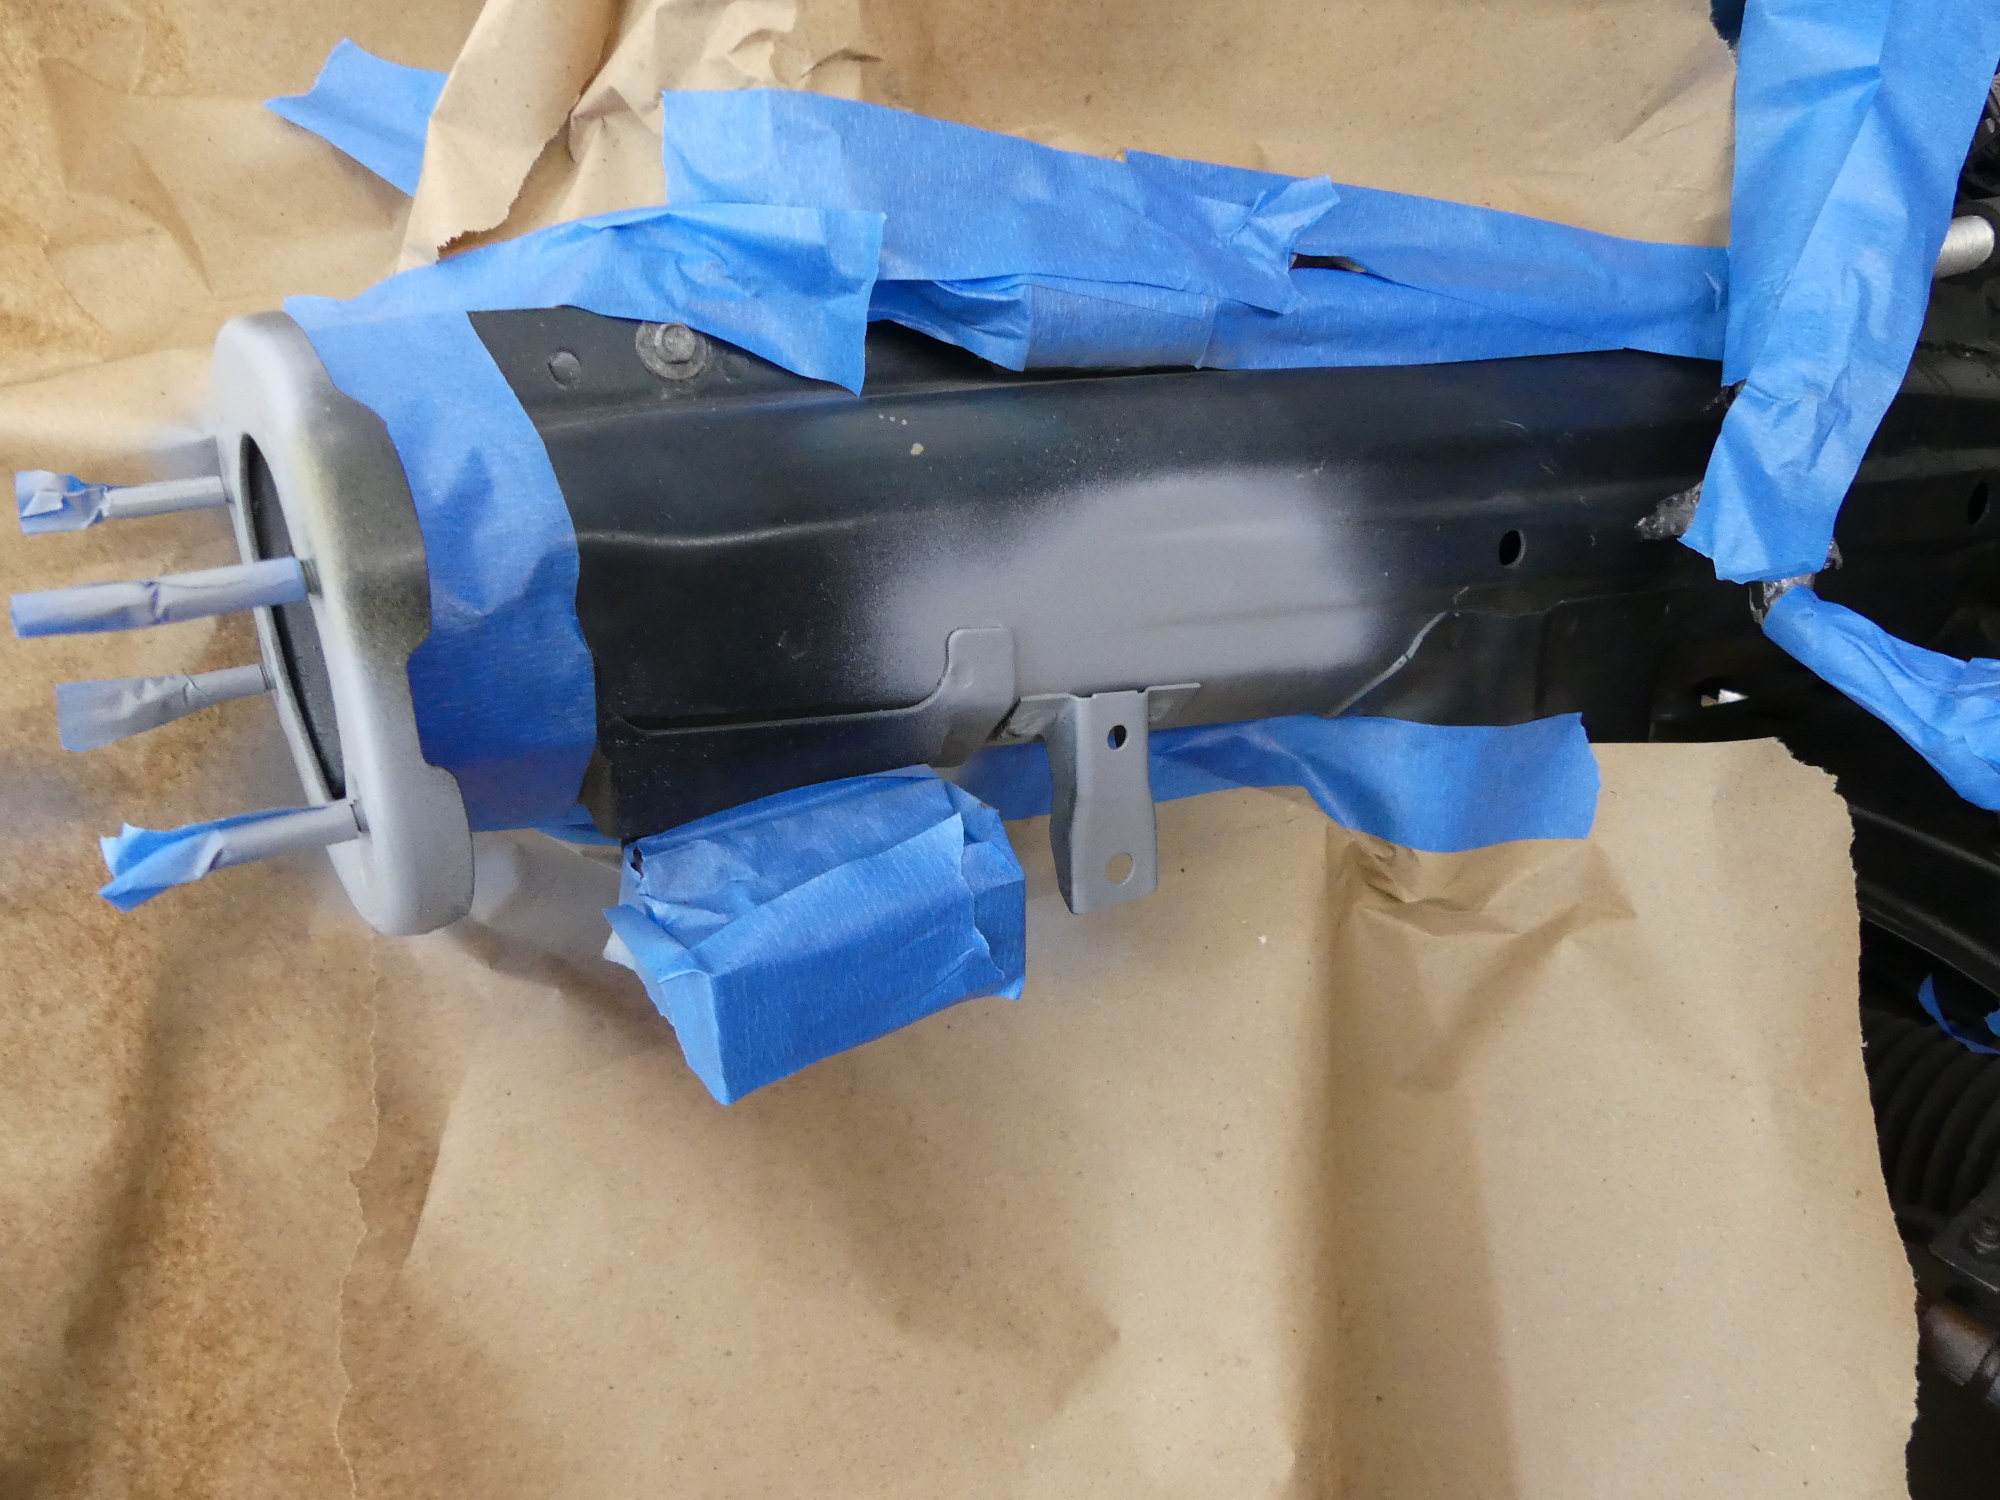 The rust on the right frame rail was caused by a hose rubbing up against it. I followed the same process here -- sanding, masking, priming and painting. |
 As I knew I would be applying multiple coats of primer / paint I took the time to protect the threads of these studs, but if you look carefully I left the area close to the face exposed so it would be protected with primer and paint. |
 This shows the color match and generally flat sheen of the finish. I had to apply multiple thin coats to fully cover the light gray primer. If I had to do this over again I'd use a black or body-color tinted primer. |
 The frame rail and adjacent mounting tab for the refrigerant line came out great. I feel confident that this will no longer be at risk of corrosion, which, of course, is the entire point of this project. |
Of all the areas I painted today the only one that didn't turn out as expected was on the left side shock tower. A noticeable dividing line occurred where I masked a bit too close to the area being painted. I'm planning to scuff and reshoot this area, but to be honest it's not a big deal and I could leave it as is. After all, most of it will be hidden by the airbox, and perhaps more importantly -- it's an engine bay and doesn't have to be perfect. My only requirement is that it be as rust free as possible.
Miscellaneous Assembly
While waiting for each coat of paint to dry I performed a variety of other assembly tasks:
-
I cleaned and then applied power lock sealant to the newly painted front support, truss support, and even the fuel filter cover to serve as added protection. I also cleaned the rubber bushings and associated metal inserts for the truss support with soap and water, and then applied a bit of silicone spray to dress them up and make them easier to install.
-
I reinstalled the A/C belt tensioner on the A/C support. I made a point of applying some CV-2 grease (a high quality synthetic grease normally used for CV axles) on the bearing shaft and the roller bearings themselves, to replace grease I had to remove for the painting process.
-
I cleaned the primary throttle body. I last did this in 2009 during a CCV/ICV preventative maintenance effort. I found the interior of the throttle body about as dirty as I did in 2009. I also poured a bit of mineral spirits into the throttle body with the throttle plate closed to check the seal and it was quite good -- only a minor seepage through to the other side occurred. I also replaced the cylindrical black rubber seal I neglected to replace last time, so this part was original and it showed. It was matted down on the edge where it mounts to the ASC throttle body and not as pliable as the new part.
-
I began assembly of the transmission mounts on the transmission support, but realized I neglected to buy new hardware so I added that to my list of parts required. Unfortunately the ETK (or the realoem.com version of it) is broken in that it shows the lower M8 nut as N/A for my car. I wound up finding the part number on another vehicle model.
Next Up
I plan to clean up the paint on the shock tower. I'll then reassemble the front end and install the new hood latch receptacles. Once the front end is back together and the hood is opening and closing reliably I'll start the fuel hose replacement project. After this I'm expecting to begin assembly of the engine. By the time I wrap that up the new sound / heat insulation blanket should be here. Once that is installed the vehicle will be ready to go back to my tech for installation of the overhauled drivetrain.