


Friday, September 22, 2017
Piston and Rod Assembly
Using the data previously acquired, today I matched and assembled the pistons and rods. I began by using Redline Assembly Lubricant to coat the wrist pin bores, pin, and rod bushing. This is good stuff, but it gets everywhere and for this reason I was glad I wore nitrile gloves. I just wish Redline would fire their marketing idiots and stop putting so much red dye in everything. At times my bench looked like a crime scene, and while I haven't seen much that would stain nitrile gloves, this assembly lube did.
With the parts lubricated I then inserted the pin into the piston bore. Despite putting what I thought was a reasonably thin coat of assembly lube on the pin I found most of it wiped off the pin and piled up outside the pin boss because the clearances were so tight. I tried to compensate by inserting the pin and then applying a bit to the pin at that point but that just caused the lube to pile up on the inside of the boss as I pushed the pin back out to prepare for installation of the rod. So the coat of assembly lube wound up being so thin as to be almost invisible. I hope that's good enough, because I couldn't see a way to apply more lube.
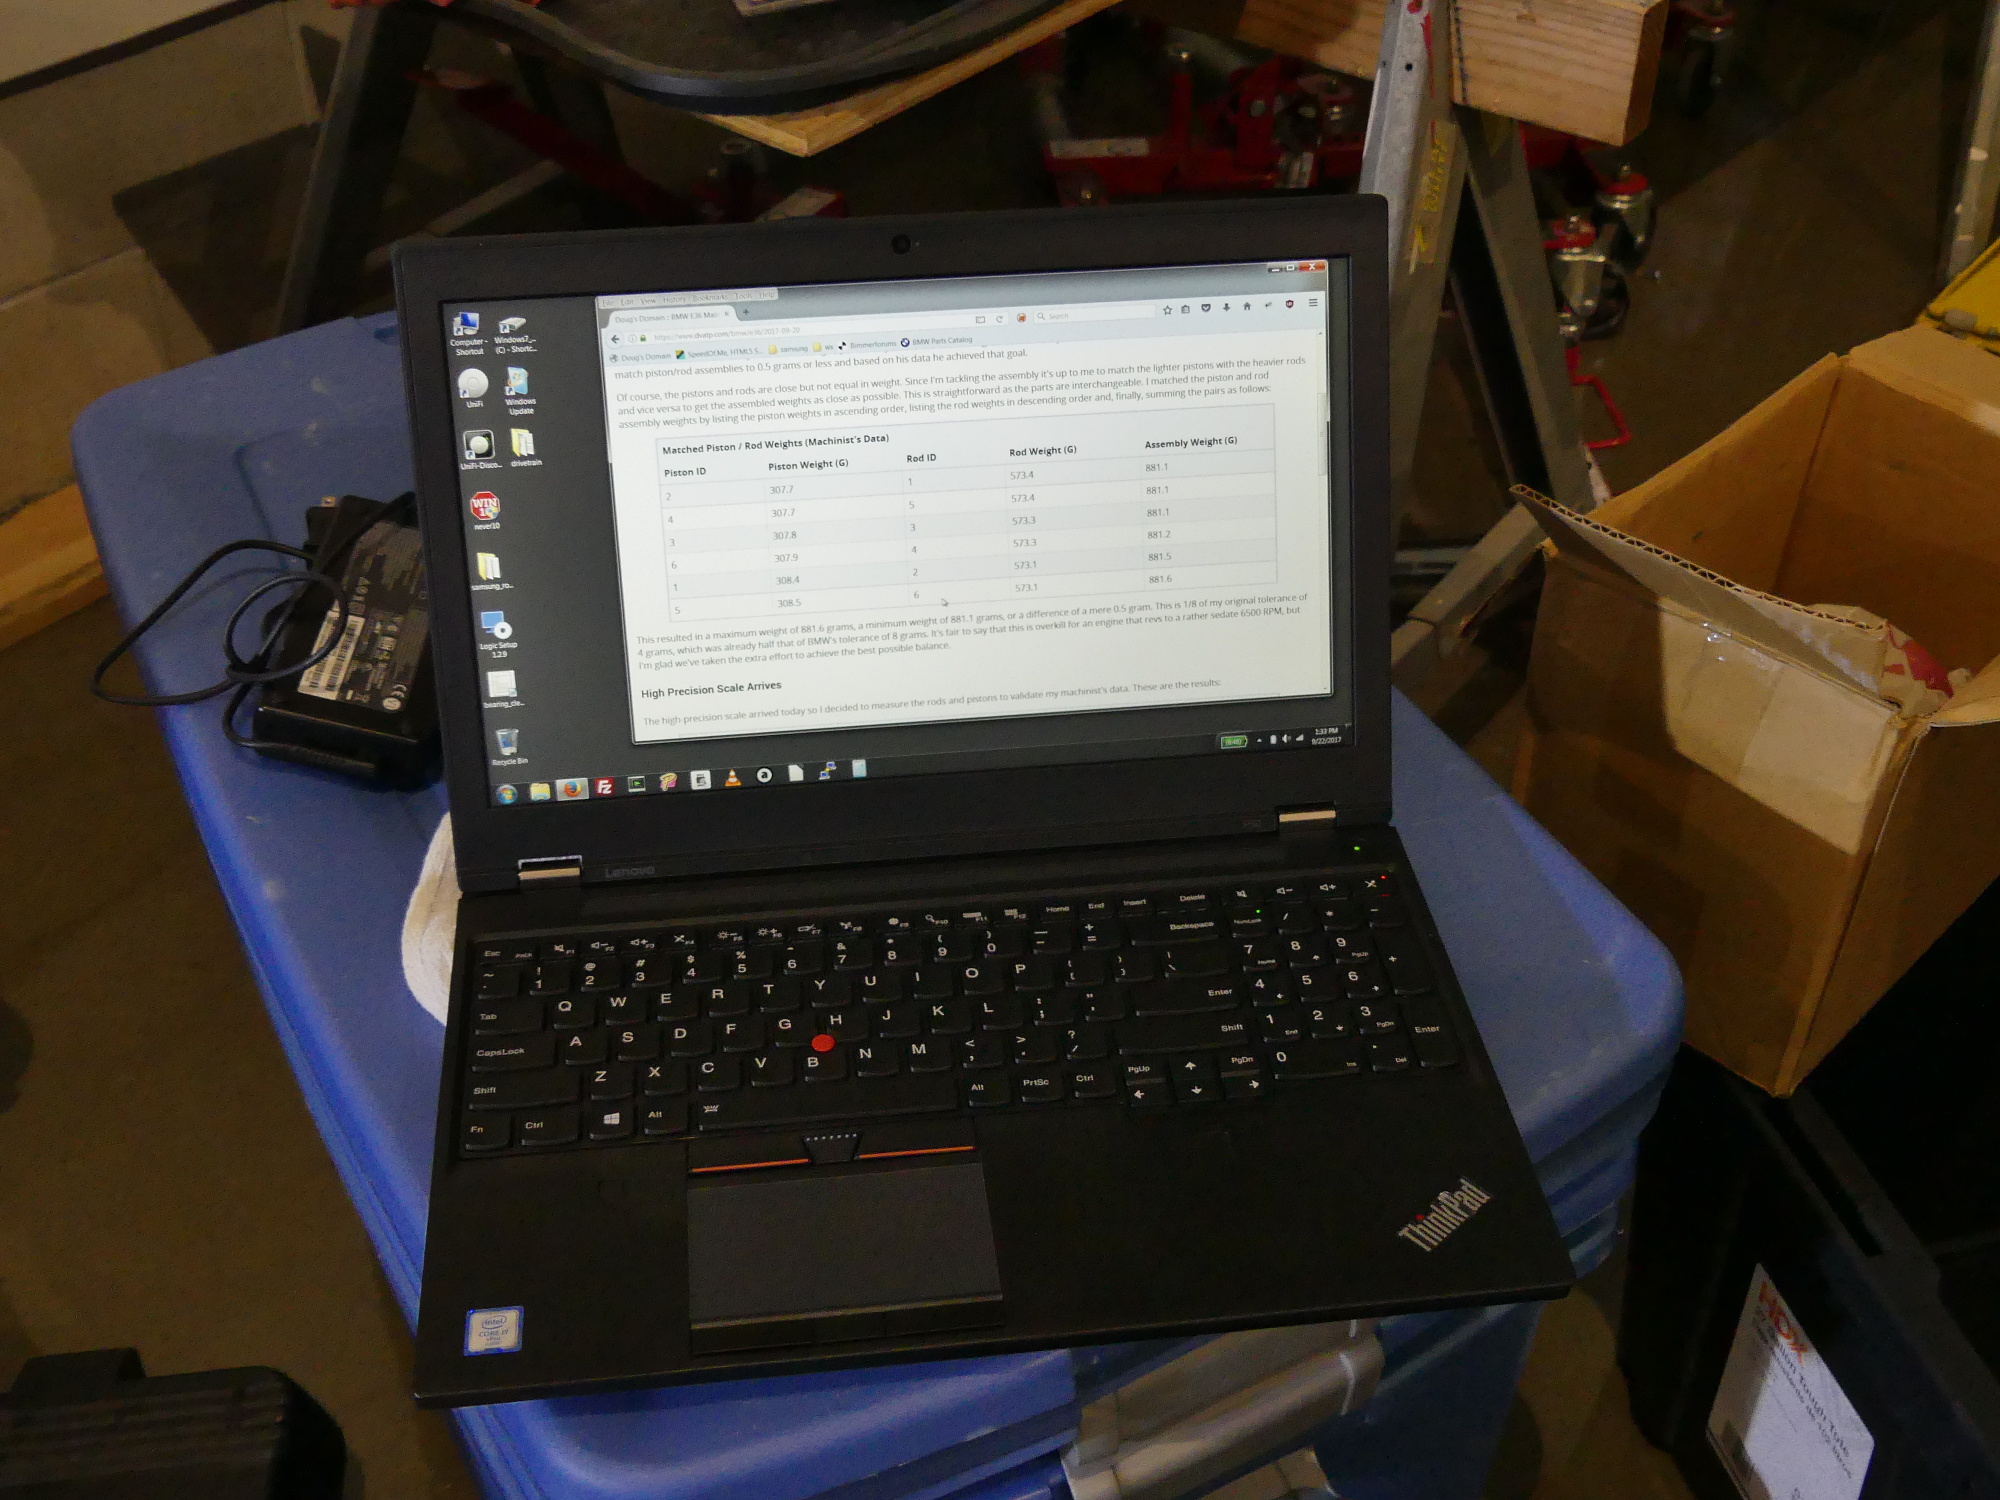 20 years ago I started this blog mostly to help me keep track of maintenance. Over time I have found myself referencing my own site for various data I have collected such as torque specs. I continued this tradition today, using my last blog to reference the piston and rod data. |
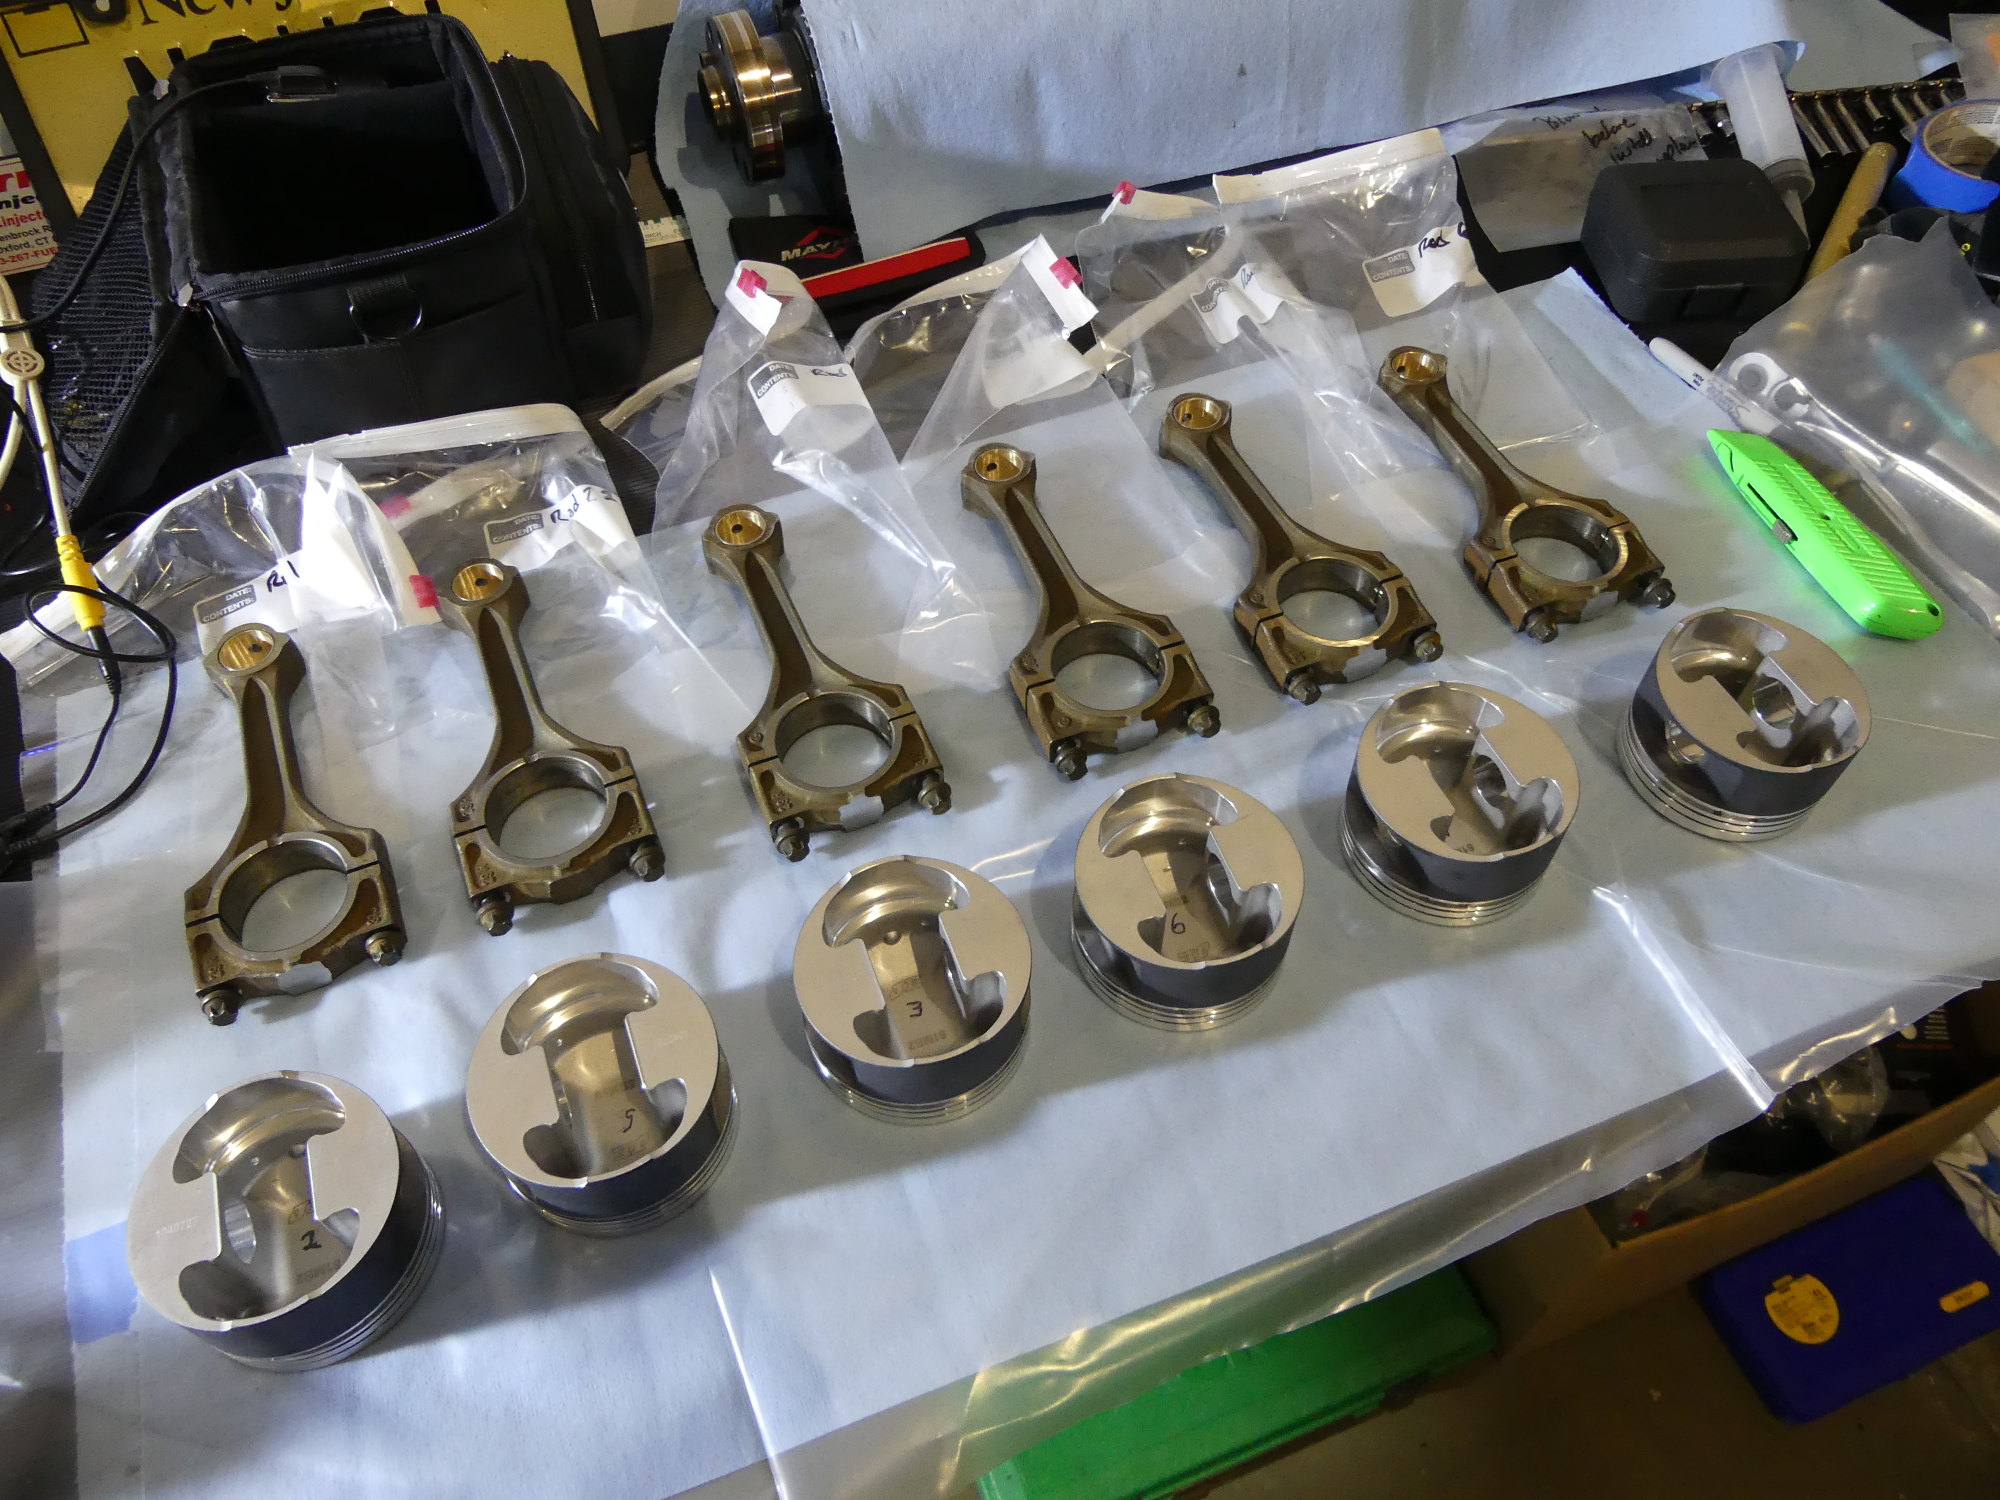 I labeled each rod as it came out of the block and each will be reinstalled in the same location. I labeled the pistons in no particular order, but they were ultimately assigned to each rod based on weight. Rods 1-6 are shown left to right. Note the piston numbers are different. |
 A perspective shot I took after I performed a final rinse of the pistons with mineral spirits prior to assembly. FYI, permanent marker appears to hold up to this solvent, so I didn't have to relabel my pistons after this cleaning process. |
With the pin installed and centered in the piston I held the piston at an angle in one hand with one finger on the lower side of the pin to prevent it from falling out as I prepared to install the first circlip. This process was made easy through use of the Stomski Racing Circlip Injector, though I must admit my first attempt to use the tool failed. Part of the problem was that I didn't initially adjust the circlip to protrude from the tool body enough and that ultimately limited the reach of the circlip when it was canted. The goal here is to get the edge of the circlip into the groove opposite the notch in the piston that facilitates later removal of the clip and unless the clip protrudes sufficiently from the tool it won't be firmly pressed into the side of the groove. And while the injector is intended to be canted with respect to the pin bore during the installation process, I also noticed that if it is not sufficiently pushed into the bore the circlip will wind up installed half way into the groove...which is exactly what happened to me.
At this point I was glad I was wearing safety glasses, because I was now looking at a loaded spring that could pop out at Mach 1. In my attempt to salvage the situation and see, mostly out of curiosity, whether I could have done this the old fashioned way I grabbed a small (1/4") flat blade screwdriver and attempted to use it as as lever in combination with my finger to press the remainder of the circlip into the groove. To say this was difficult would be the understatement of the century. I don't know if it's because the JE circlips are slightly thicker than standard circlips or because my hands were laced with slippery assembly lube, but this brief experience taught me that I would have wasted untold hours installing the circlips and hacked up the edge of the pin bores had I taken the traditional approach.
I wound up using a hook tool to pull the circlip out of the bore and reinstall it with the Injector. The second time turned out to be the charm. As the clip seated in the circlip groove with a satisfying metallic "click", I moved on to the next step in the process, which was to retract the pin sufficient to install the rod. On M52 and M54 engines the rod and cap come stamped with numbers on one side. When I disassembled my engine I took note that the numbers faced the exhaust side of the block, so I naturally took the time now to identify the smaller exhaust valve reliefs on the face of the piston and orient the rod such that the numbers were on the same side as those smaller reliefs. I then inserted the rod into the base of the piston and pushed the pin carefully through the rod bushing. My machinist fit these bushings to 3-4 ten thousandths and it showed. They fit together smoothly, but tightly with absolutely no observable radial play.
 It's important to be organized during assembly, and grouping the parts to be assembled is an essential part of the process. The two parts of the Stomski Injector are shown at the base of the rod. The JE pins are really nicely machined pieces. |
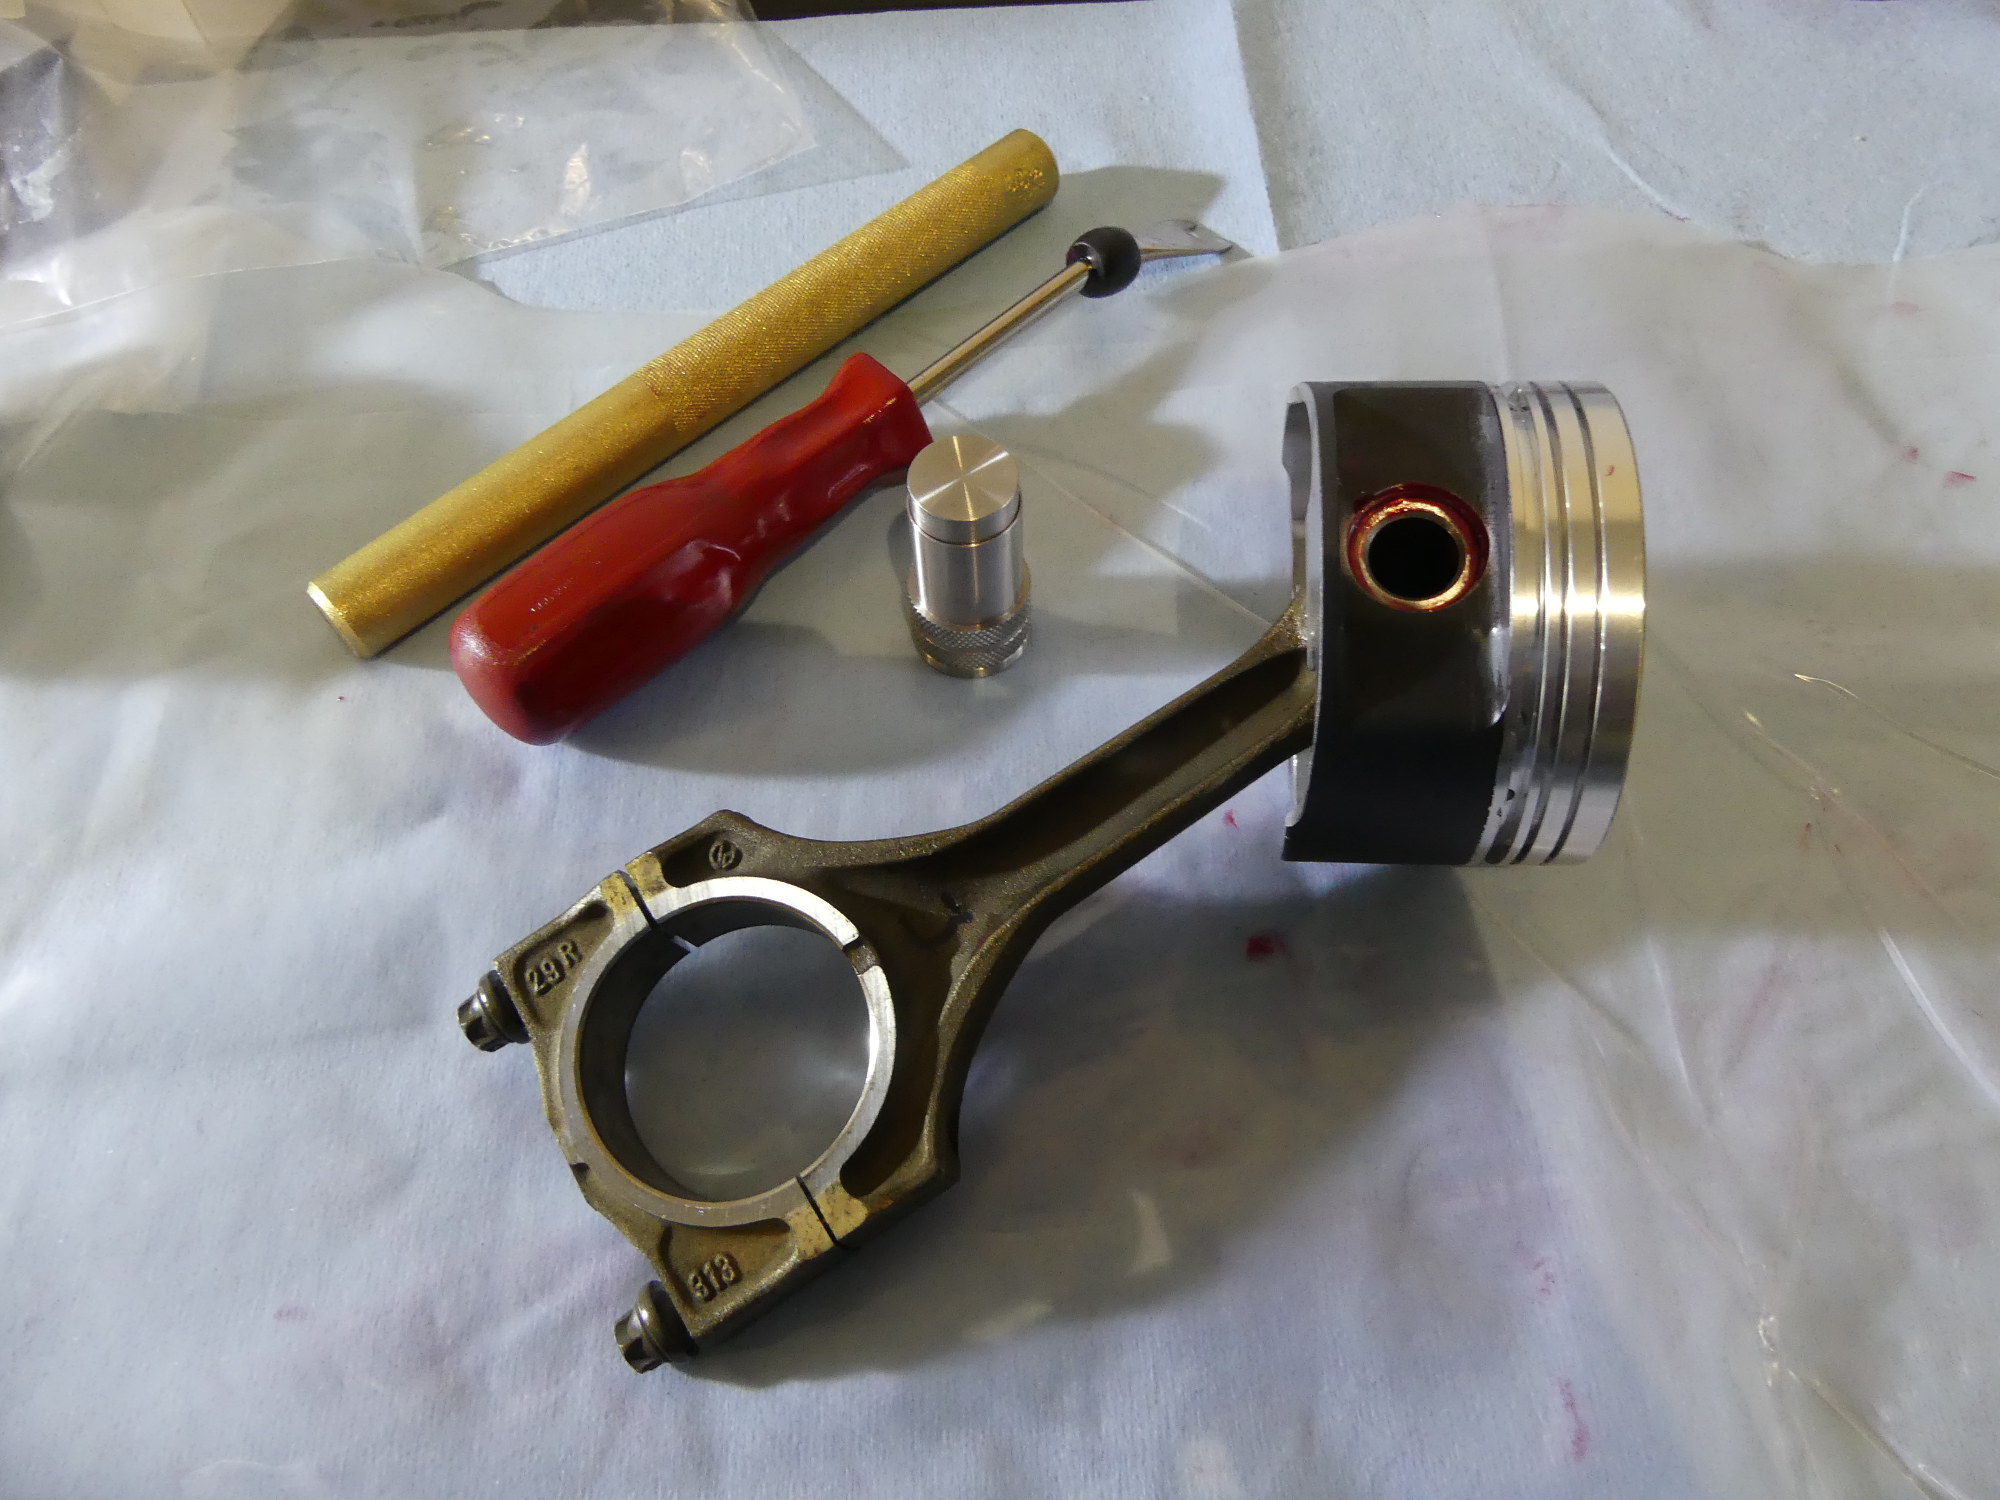 One rod done, five to go. The brass drift used to check circlip security is at the top and the panel rivet removal tool I bought years ago for interior work doubled as the special tool needed to press the circlip into the body of the Stomski Injector tool shown below it. |
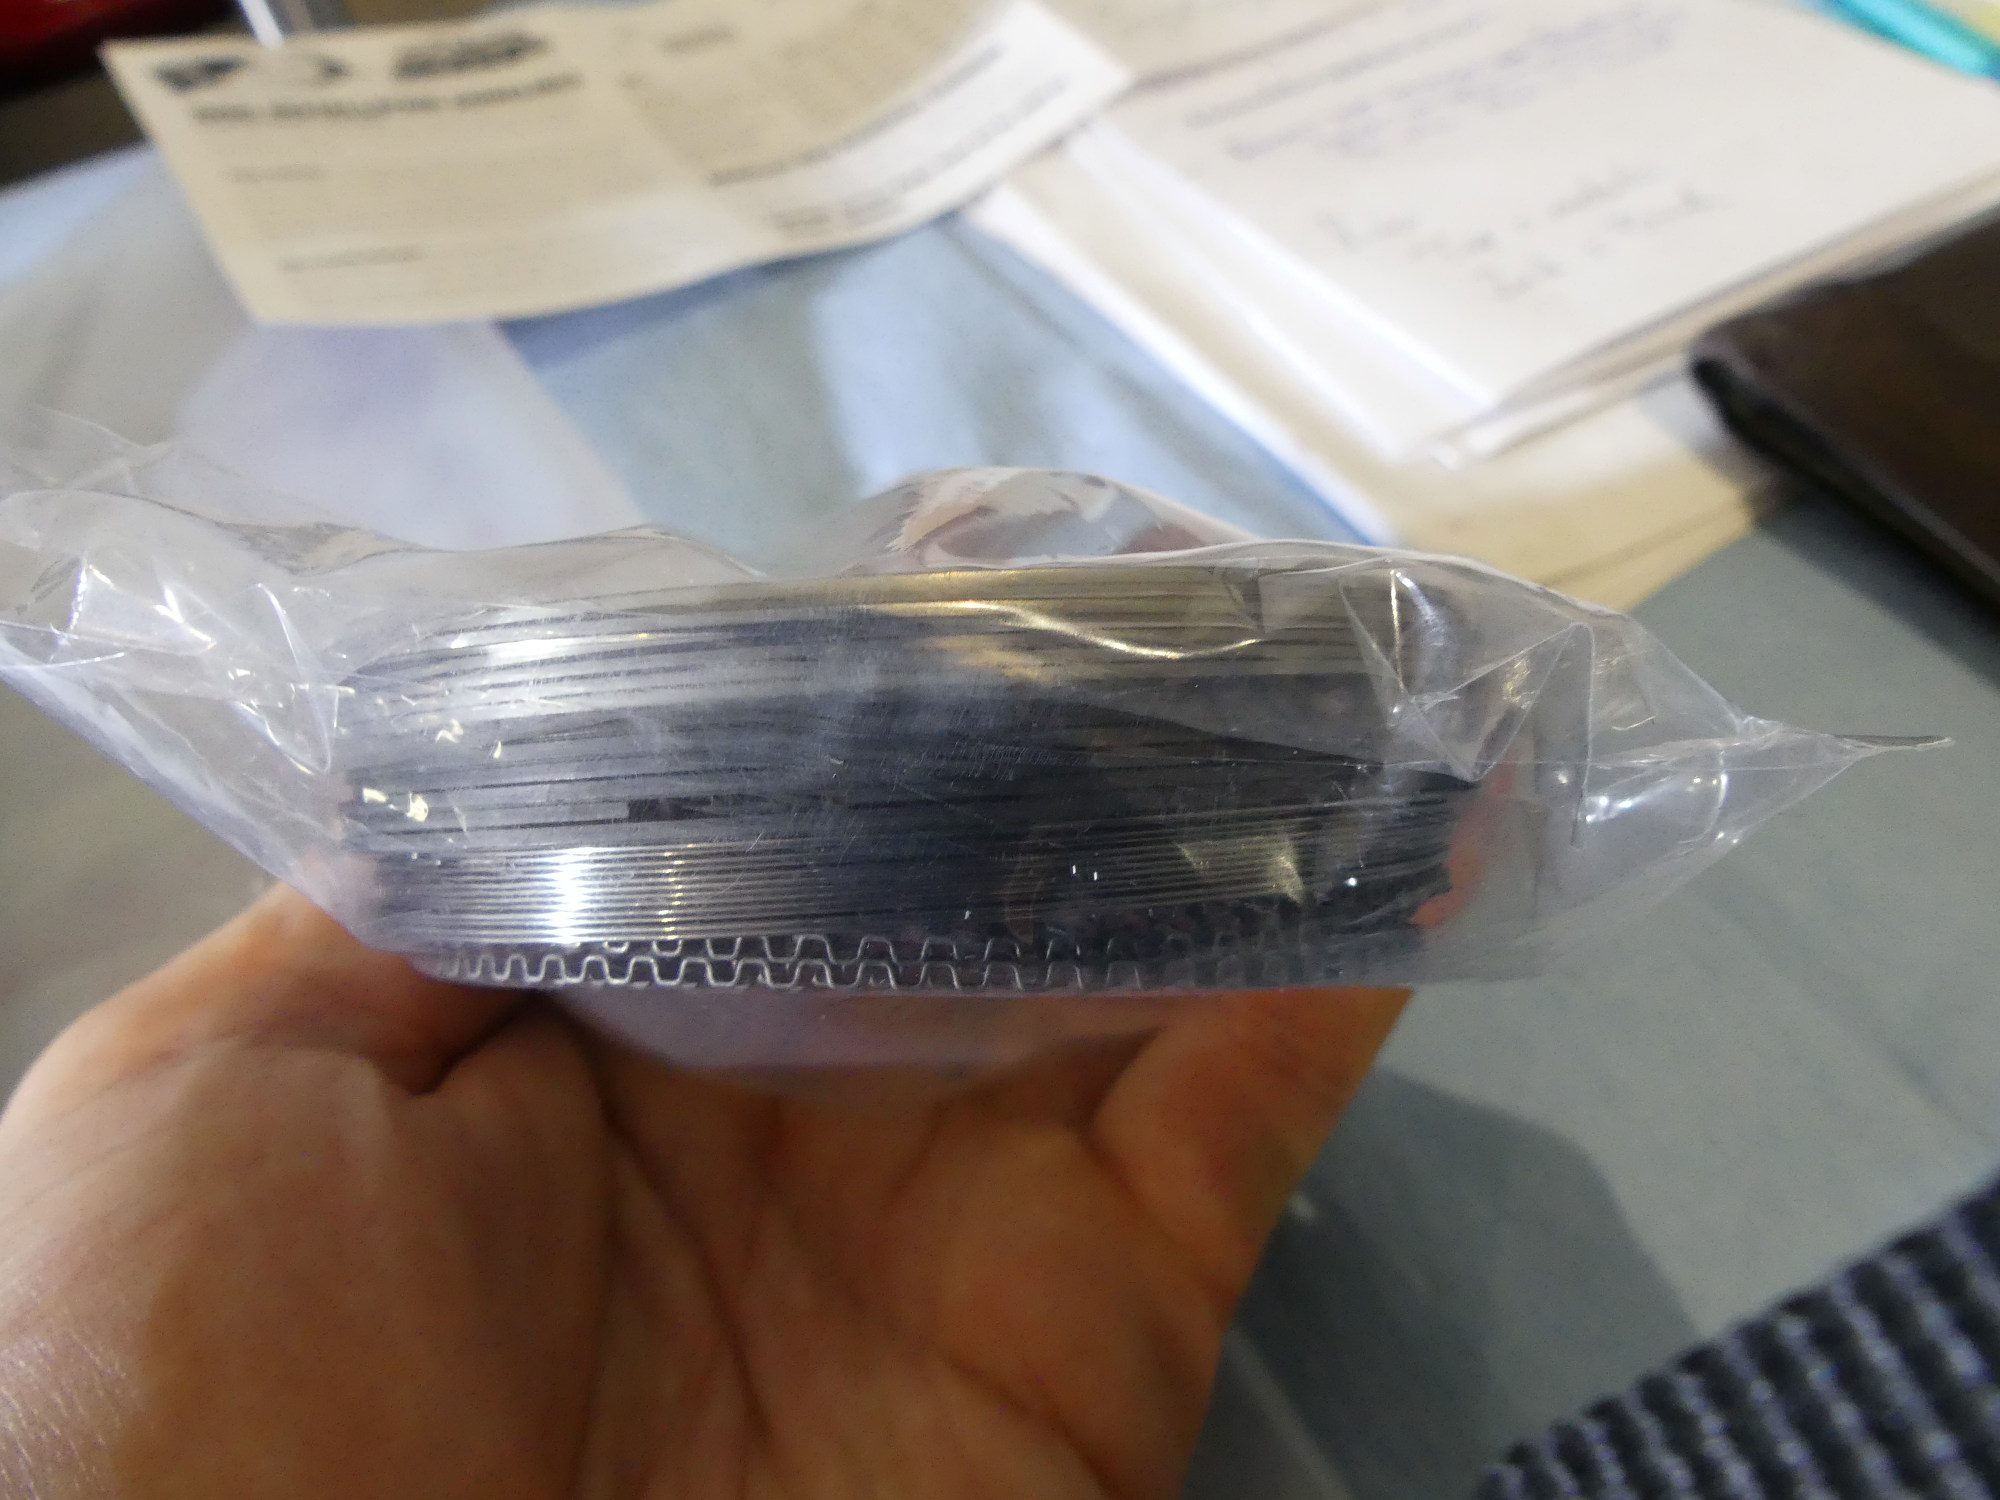 A hint of work to come -- a JE ProSeal ring set. The top rings are a natural metallic color while the second rings are black. I don't know why they are different colors and JE's documentation doesn't explain the difference either. |
Speaking of radial play, although I found my engine in pretty decent shape for the mileage, the most obviously worn parts were the wrist pins and rod bushings, so assuming you're planning to rebuild one of these engines my recommendation is to carefully check the condition and fit of the pins and bushings. If there is any noticeable radial play between the rods and pins the bushings should be replaced and honed to fit. However, if the pins are like mine and have grooves worn in them from contact with the piston bores the pins must be replaced. But BMW does not sell the pins separately and, as far as I can tell, none of the aftermarket companies do either -- likely because they are machined as a set -- so that really means if the pins are worn the pistons must be replaced as well.
With the rod installed in the piston I used the Injector again to install the second circlip. I found installing the second clip on each piston to be somewhat easier because the circlip on the opposite side of the pin served as a perfectly aligned backstop for the pin and so I could push the injector into the pin bore just the right amount required to smoothly inject the clip. Per JE's instructions, I wrapped up the process by using a brass drift and the only hammer I had handy -- a rubber mallet -- to attempt to drive the pin in both directions. This confirmed that the circlips were securely installed and would not mysteriously pop free once the assemblies were installed in the engine -- a cringeworthy possibility if there ever was one.
I wasn't looking at the clock but it probably took me 45 minutes to an hour all in to assemble the set of six pistons and rods. Of course, I was taking my time here to ensure I didn't screw up and incorrectly match or orient the components, and I was slowed down by learning to use the Injector as well as taking photos and video. I could probably do the job again in a half hour or less, assuming a generous five minutes per rod and I'm sure the pros could do it even faster. But I came away happy with the result, and in particular, happy that I could leave the garage earlier than planned without aching fingers or my hands covered in bandaids. Growing up in the electrical trade I recall my father routinely saying difficult jobs are easy with the right tools, and this could not have been more true with the Stomski Injector. I hate to sound like a commercial here, especially since I'm not being paid to say this but, if you're rebuilding an engine, save yourself the time and hassle and buy the Stomski Injector, Lock In Tool, or an equivalent circlip installation tool. Your fingers will thank you even if your wallet won't.
Next Up
The last of the custom-fit work begins next -- fitting of the rings to each cylinder to ensure correct end gaps. I'll be using a Summit Racing ring filer to help me with this task. After this is done the build should proceed more rapidly, as I'll be doing little more than turning wrenches as I put the engine back together