


Thursday, September 28, 2017
Piston Weight Comparison
With my options for high silicon replacement pistons severely limited I never placed much emphasis on performance. However, I knew up front that any reduction in reciprocating mass would be beneficial so I remained curious about the weight of the new pistons as compared to the factory original equipment.
As I prepared to fit the rings to the block I decided to clean up one of the old pistons to serve as a ring-squaring tool. This took a lot of scrubbing, and even with 400 grit paper and a good amount of mineral spirits the thick layer of carbon buildup on the piston did not give way easily. As I set the newly cleaned piston down on the workbench a lightbulb appeared above my head -- I could use the new scale to measure the weight of the old piston and compare it to the new pistons. So that's what I did.
Looking at the comparatively thin pin bosses and general construction of the factory piston I fully expected it to be equal or lighter in weight than the JE parts. After all, less material usually translates into less weight. I was pleasantly surprised to discover, however, that the JE pistons are approximately 17 grams lighter than the factory (Mahle) pistons. I'm not expecting any significant or measurable performance gains from this weight savings but any reduction in reciprocating weight will reduce mechanical losses in the engine, and that's a good thing.
Torque Plate Installation
Last weekend I realized that in order to correctly gap the rings I had to install the torque plate. The problem was that I did not want to waste the expensive BMW head bolt set and gasket on a temporary installation so I decided to order the necessary parts from Pelican Parts. I knew that Pelican recently opened a warehouse in Georgia to better serve east coast customers but I also knew that even shipping from that location would take two days. So I placed the order and spent a few more days working on a business project.
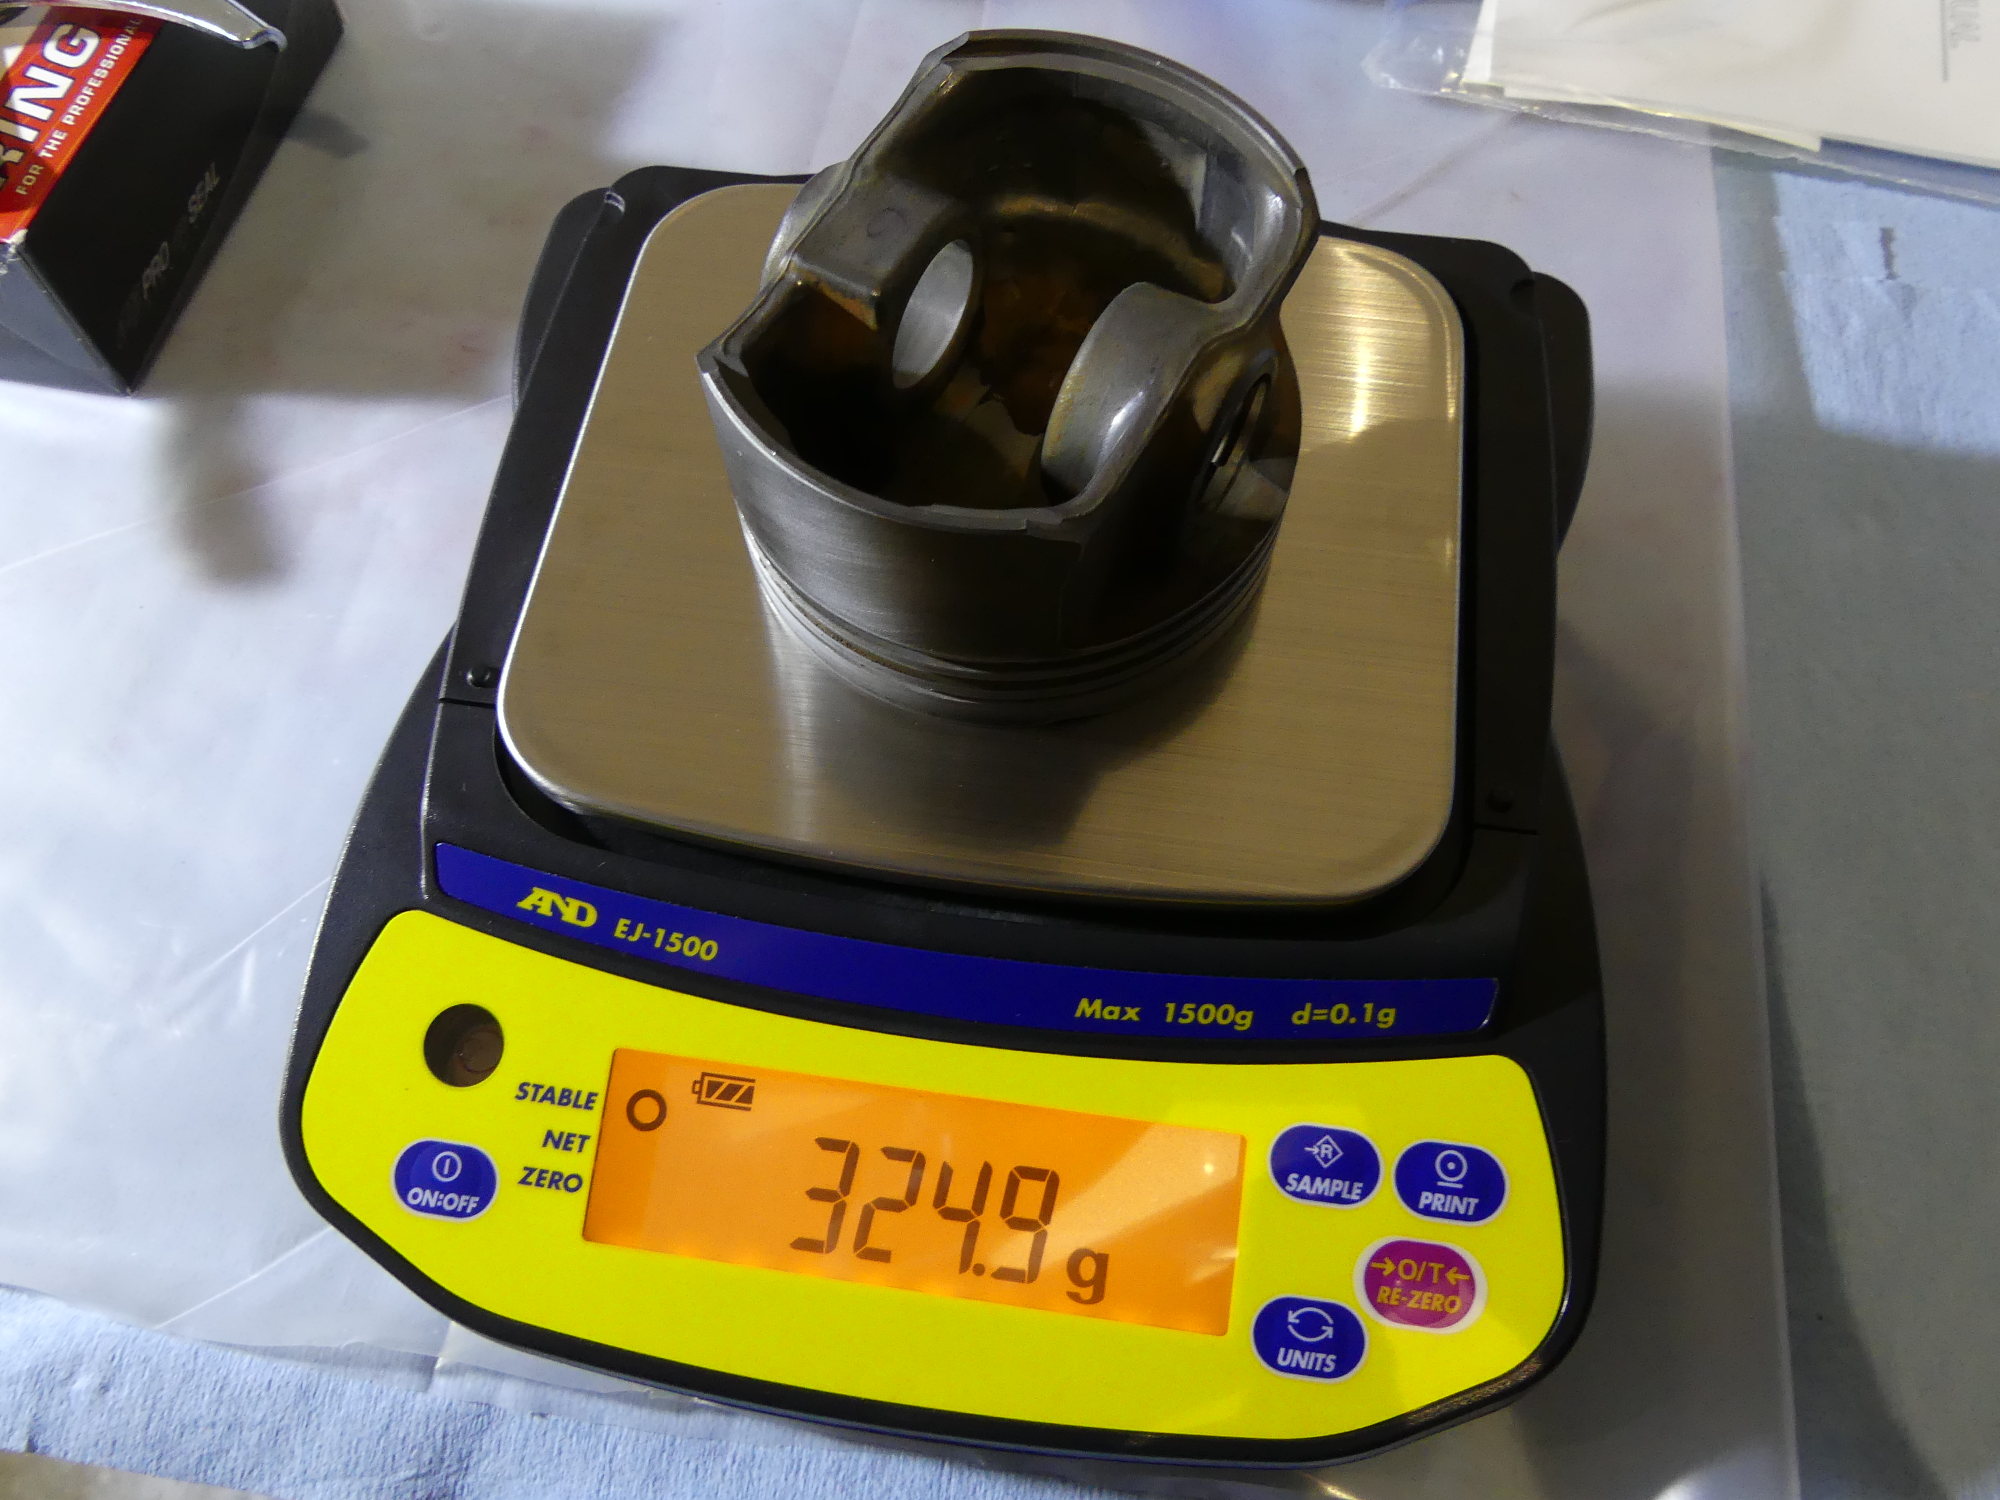 The new scale afforded an opportunity to weigh the factory piston and compare it to the new JE pistons. The end result? The JE parts are roughly 17 grams lighter. Not much of a savings but beneficial nonetheless. |
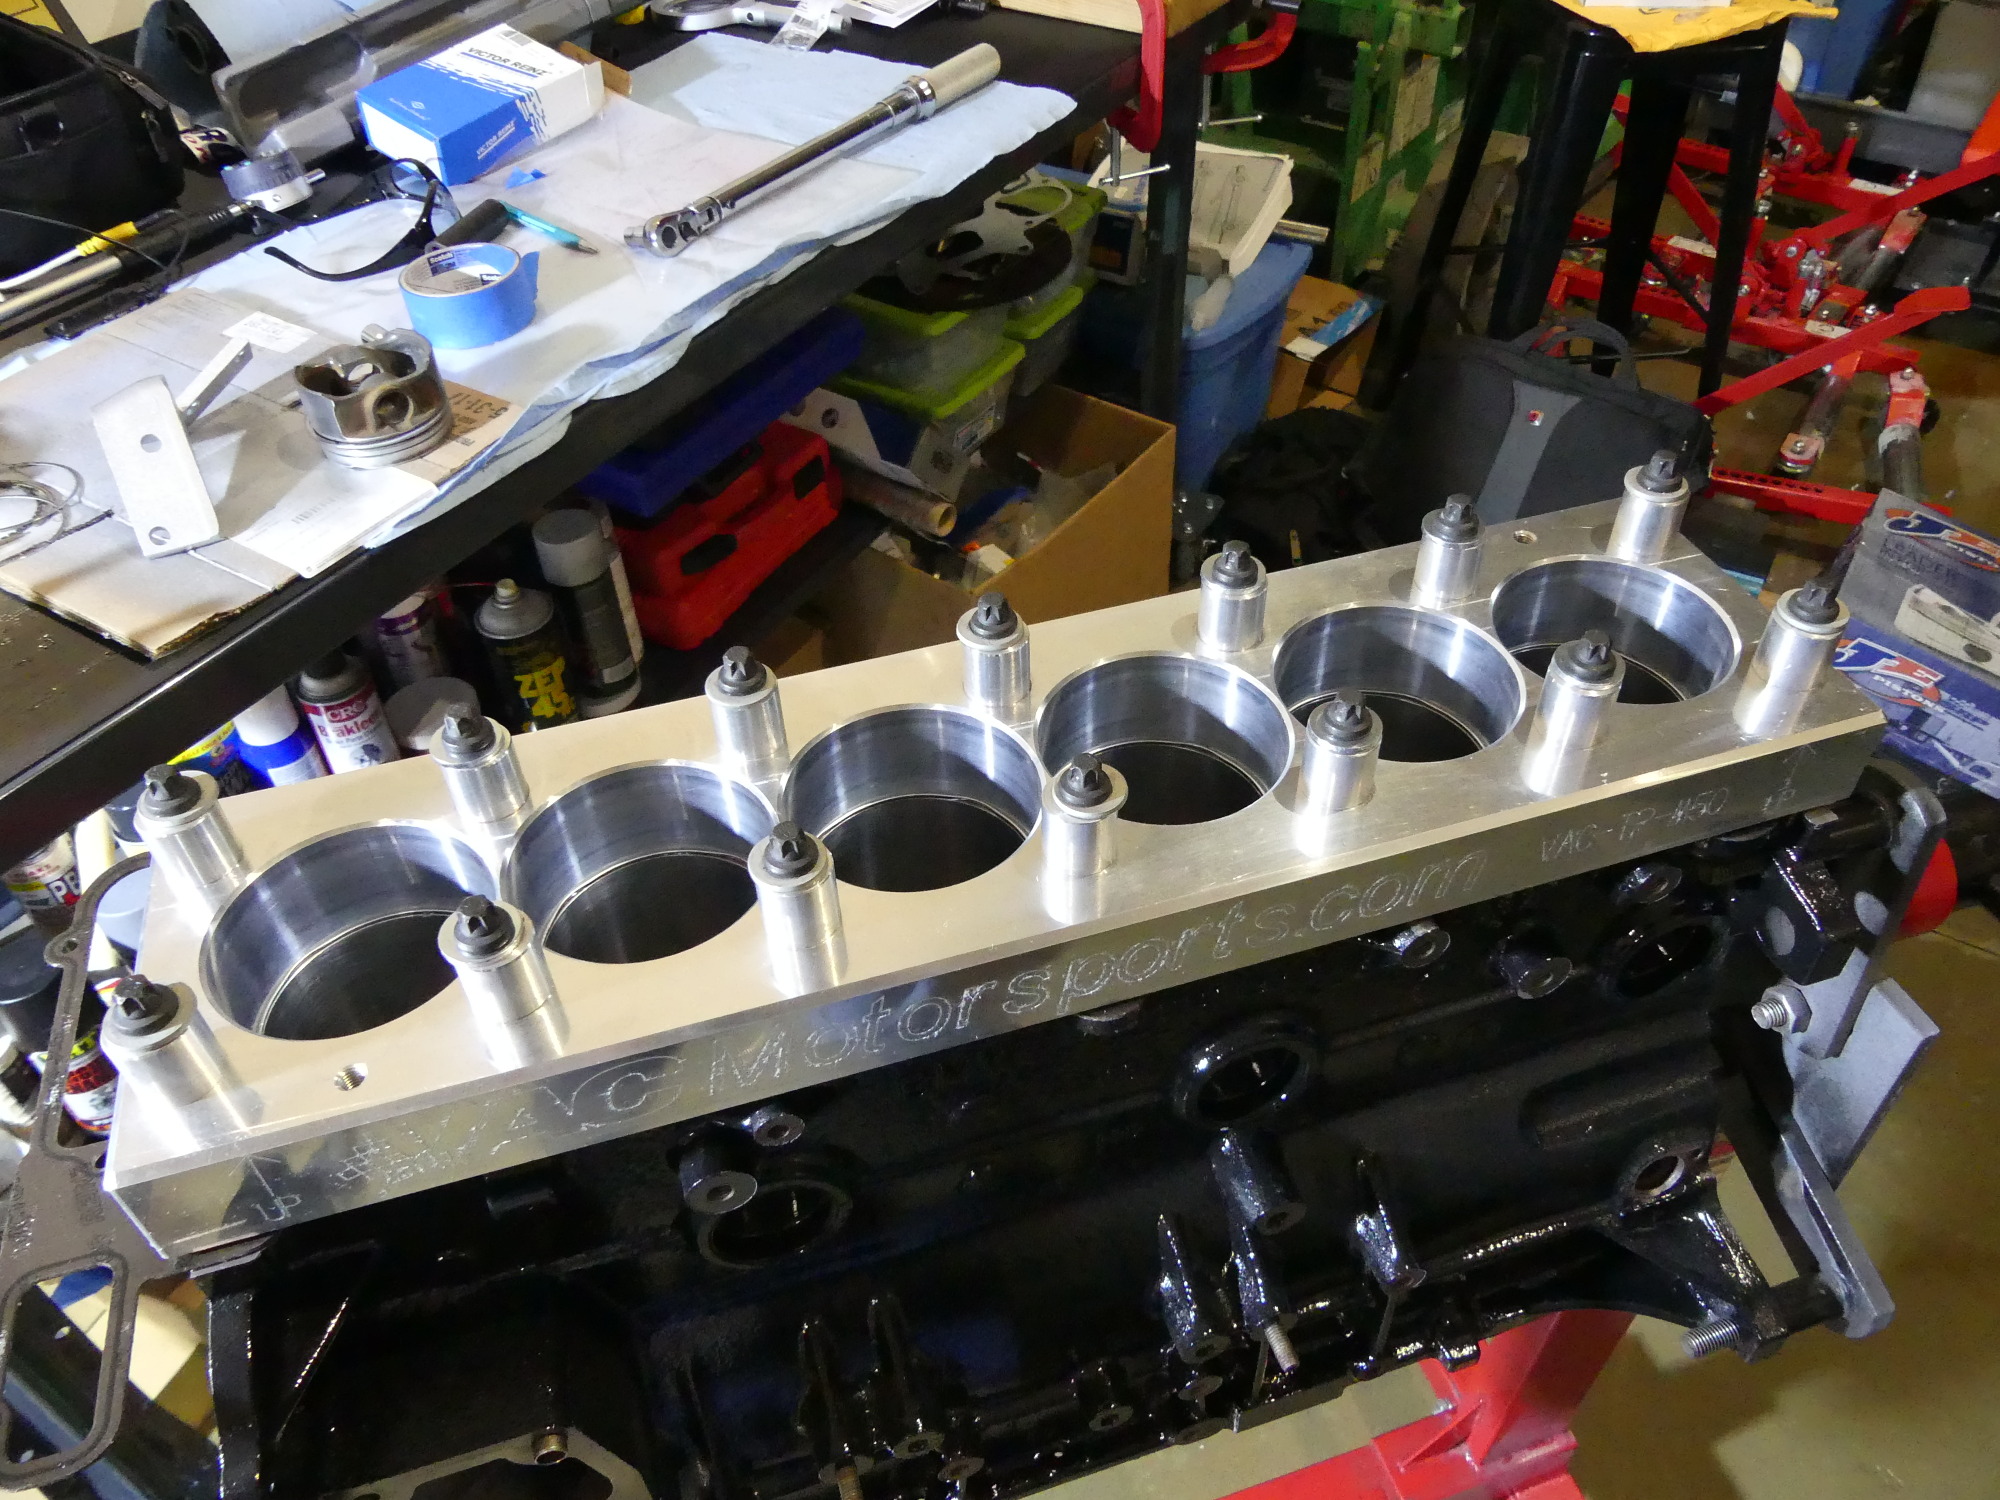 It dawned on me that in order to properly set the ring gaps I would, in fact, have to install the torque plate, so I ordered a set of Victor Reinz head bolts and a gasket. This is the end result. Note the non-factory washers. |
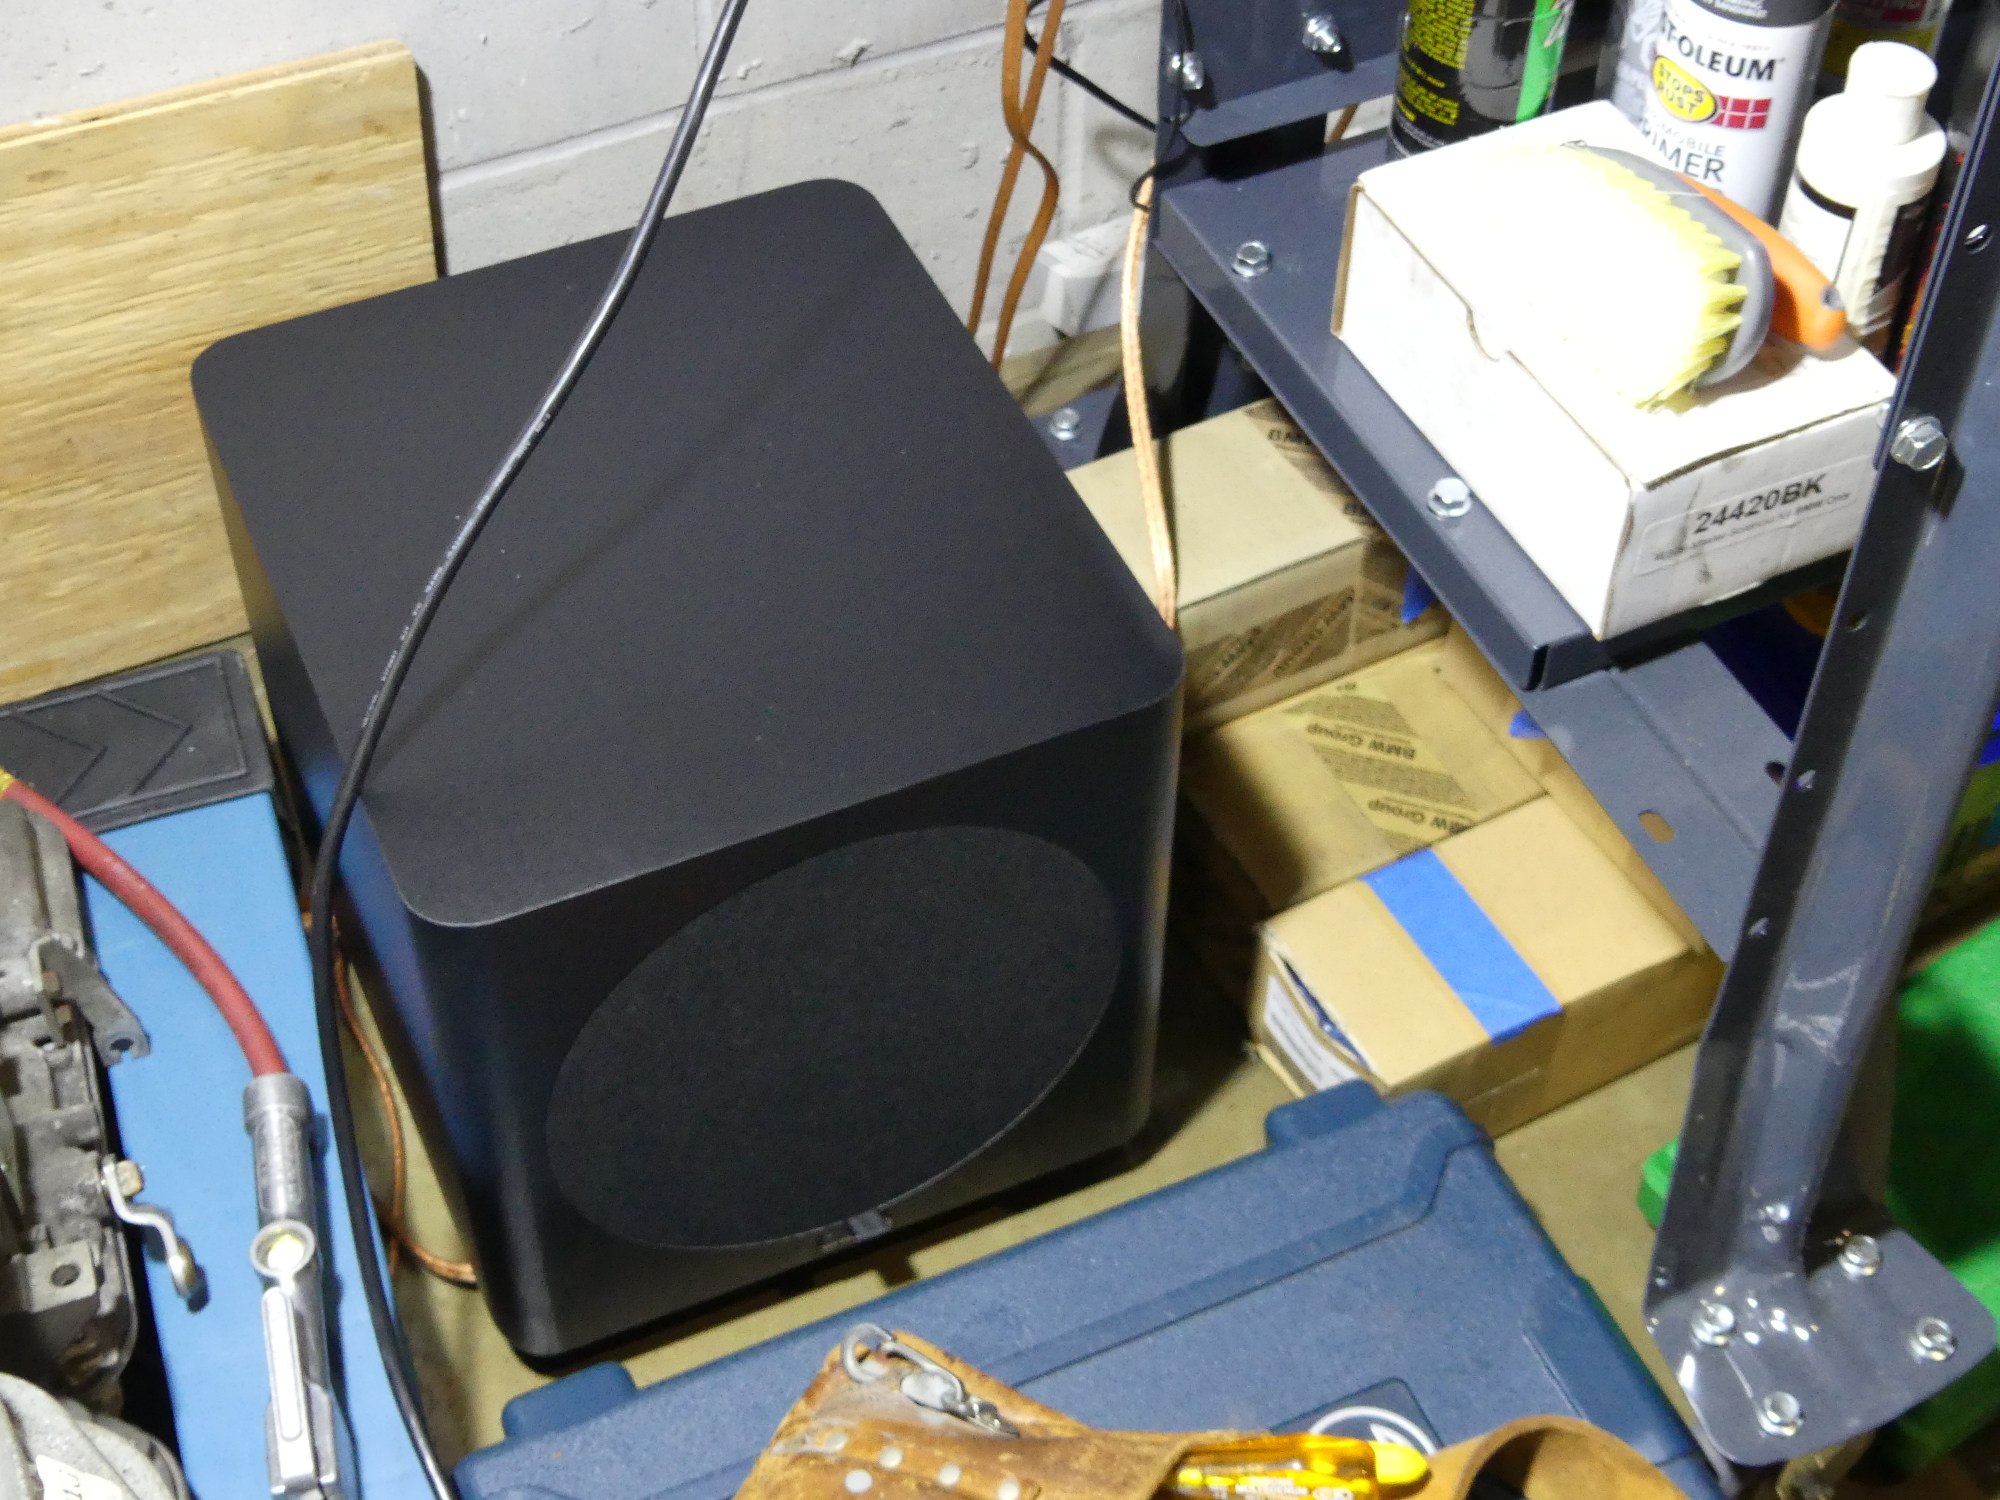 After 20 years a Cambridge Soundworks sub I had relegated to garage duty failed so decided to buy the cheapest thing I could find. The Dayton Audio Sub 800 sold by Parts Express fit the bill. |
The head bolt set and head gasket arrived yesterday so I was able to install the torque plate. This is something I expected to go pretty smoothly but, as they say, the devil is in the details. The 30 Nm (22 ft*lbs) and first 90 degree torque went as planned. The bolts turned smoothly and I accurately applied each torque using the Brownline digital torque angle gauge.
During application of the second 90 degree torque, however, four of the bolts stuttered. If this occurs when replacing a head while the block is installed in the vehicle this is not really a big deal, so long as the 90 degrees is ultimately achieved, because the block is anchored by the vehicle. The problem in this case was that I was unable to keep the engine stand from moving and this made it quite difficult to accurately achieve the correct angle. I reviewed the video I took of the process and it appears that I managed to salvage the operation but I came away with two valuable lessons learned:
-
Stuttering typically occurs as a result of a lack of proper lubrication of the bolts. After cleaning the bolts with mineral spirits as required I thought I applied enough oil to the threads but it's clear a few of the bolts were too dry after all. For the final assembly I'm planning to thoroughly coat the bolts in engine oil before I insert them. I'm also planning to wash and oil the washers and underside of the bolt heads to minimize friction between those components.
-
Second, I need to secure the legs of the engine stand before I attempt to install the head. Although I don't expect the stand to move around as much with the crank and head installed since those add at least 125 pounds to the assembly, I still plan to brace the legs, as I absolutely do not want this happening again. I have access to a bunch of concrete blocks so I'm hoping that will do the job.
You may note in the picture that I'm not using the correct BMW washers on the head bolts. That was due to my machinist failing to return them. As best I can tell (since he hasn't returned my call in two days) he tossed the washers along with the bolts I gave him to install the torque plate. Another $25 down the drain -- $20 for new BMW washers and $5 for the generic class 10 washers I had to buy to avoid the delay I would have otherwise suffered waiting for the BMW parts to arrive.
Cylinder Bore Measurements
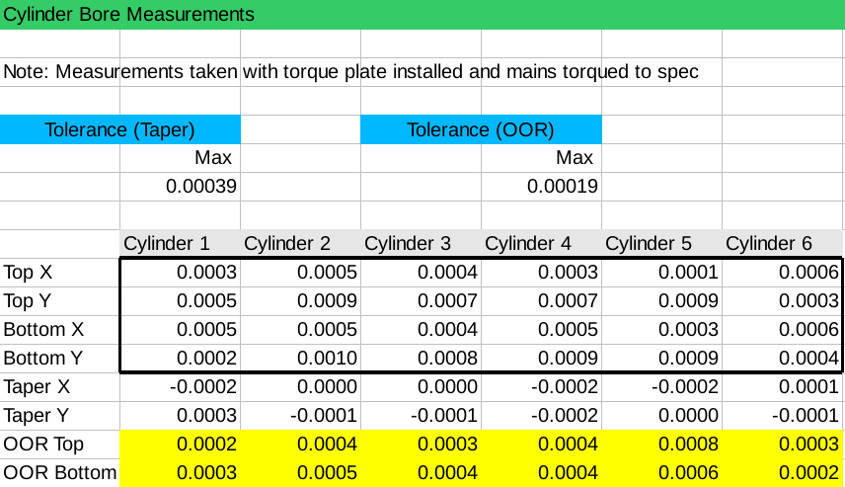
Some time ago I measured the cylinder bores with the torque plate not installed, knowing full well the data would be of value only in the context of demonstrating how much the block distorts when the torque plate (or the head) is installed. With the torque plate now installed I was able to take a more thorough and meaningful set of cylinder bore measurements to double-check my machinist's work.
From this data I have managed to conclude the following:
-
All of the cylinders are larger than the reference bore dimension (84.5mm) by a few 10 thousandths. This was clearly not what I ordered or expected. If I can trust the data this means the piston to cylinder bore clearance will be larger than expected and clearly larger than what the machinist told me he set it to (2.5 thousandths). While this is clearly safer than a smaller clearance and JE states that 2.5 thousandths is a minimum clearance I'm not thrilled with these numbers.
-
The cylinders meet BMW's taper spec for new blocks (0.00039 or roughly 4 ten thousandths). This is a fairly critical measurement as it influences wear of the piston ring grooves, so the less taper the better.
-
The cylinders do not meet BMW's out-of-round (OOR) spec for new blocks (0.00019 or roughly 2 ten thousandths). While most cylinders appear to be 2 to 4 tenths out, the worst cylinder (#5) is 8 tenths (almost 1 thousandths) out of round.
The fact that nearly all of the measurements are larger than the reference dimension suggests some absolute error in the instrumentation -- either mine or my machinist's -- but I checked the micrometer used to set the bore gauge reference against its standard twice and I took repeated, consistent measurements out to five significant figures (100 thousandths). So unless the standard provided with my micrometer is inaccurate I am forced to blame the machinist's instrumentation and/or technique.
Aside from the reasonable taper specs, the only other positive thing I have been able to pull out of this data is that I see a clear pattern -- the data in the X dimension (across the block) is relatively consistent as is the data in the Y dimension, and this seems to suggest that the bores were originally perfectly round but that something has since caused the block to distort. The only cause of this block distortion effect that I am aware of is the torque applied to the headbolts, so I am now wondering whether the machinist used the correct torque specs I provided or he did what every other vendor seemed to do on this project -- ignore my explicit written instructions and do it his own way.
I surmise these OOR measurements are tolerable for two reasons:
Used engine OOR specs typically reach far beyond these numbers.
I think that the OOR tolerance applies only to blocks that have been bored without a torque plate installed, i.e. factory new or remanufactured blocks.
It's clear that the effect of a torque plate or head on block distortion (and hence OOR) is far greater than the maximum OOR tolerance and yet BMW does not torque plate their blocks at the factory. This leads me to believe that factory new or remanufactured engines likely don't meet this spec once the heads are installed. This, in turn, implies that the tolerance strictly applies to a block that was bored without a torque plate and represents the maximum OOR that can be tolerated and still produce acceptable OOR numbers once the heads are installed. Given that I have torque plated the block the measurements more closely represent what I'll see in the final assembly, and while not perfect, they are better than what I'd likely see in operation from a fully assembled factory engine. That's my take, at least. I'm no expert on these matters and I could be wrong.
I should point out that the measurements I've reported here were taken without the crank installed but with the mains torqued to spec. I took a few extra measurements before this (i.e. without the main caps torqued) and that data not look good to me either, which explains why I ultimately torqued the mains. From what I've been able to discern, if torquing the mains has any effect on block distortion it is minimal.
Next Up
The next task is to set the ring gaps and install the rings on the pistons. As the remaining white thrust bearing shell arrived from Germany today that clears the way to install the crank and plastigauge all of the mains before I do the same thing with the rod bearings.