


Friday, September 29, 2017
Ring End Gaps Set
With the torque plate installed on the block it was time to set the ring gaps. I started with the oil rails because the gap specification is a minimum, rather than a hard target, so I knew they would tolerate a bit of overzealous filing as I gained experience with my tools. To check the minimum gap of 50 thousandths I taped three feelers together -- 25, 20, and 5. I found it took on average 80 turns of the filer to widen each gap to meet that spec. I would later realize (and my race-engine-building neighbor would confirm) that the oil rails are made from a harder metal than the other rings. This seemed a bit counterintuitive but my neighbor said this is because the compression rings must wear in to conform to the bore in order to seal, while the oil rails just have to scrape excess oil off the bore.
I expected a similar process for the second rings but found most of the gaps wider than expected out of the box, to the point that they required little if any filing. My goal here was 17.6 thousandths and while trying to find the initial gap I found the 18 thousandths feeler entered some of the gaps out of the box. For consistency I widened the remainder to the same extent. Based on my ability to "rock" the feeler a bit in each gap it's fair to say that all are all a touch over 18 thousandths now (perhaps 18.2/18.3).
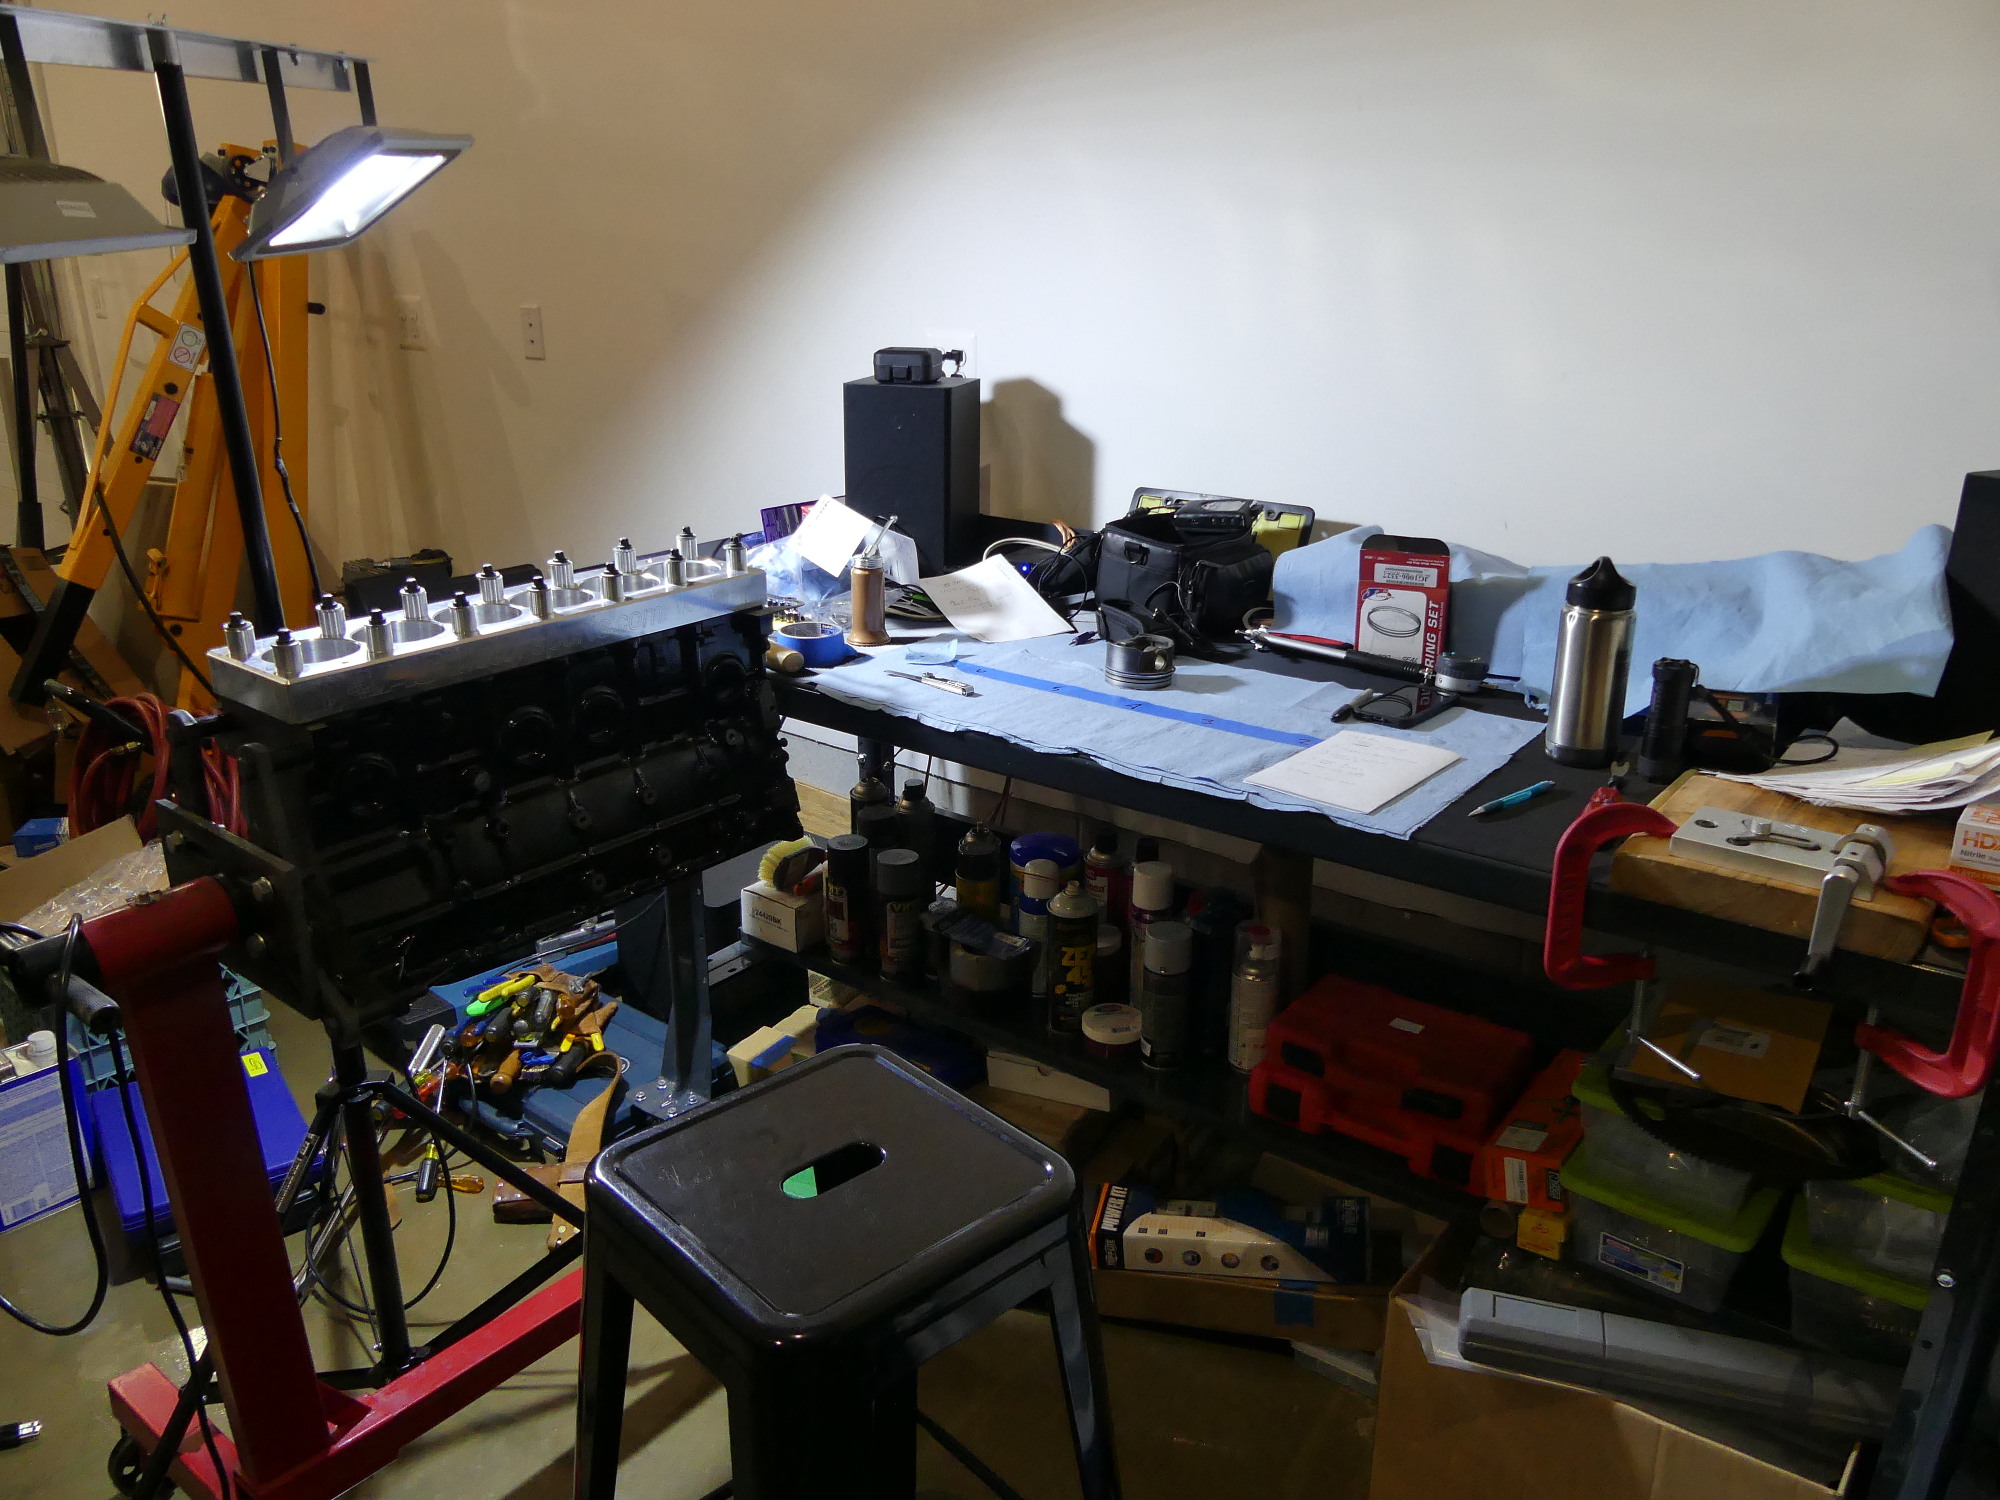 Another iteration of my work environment, which changes to suit the work I'm doing. I got tired of standing over the engine block so I did this work sitting mostly. The LED flood lights continue to provide essential illumination for these detail tasks. |
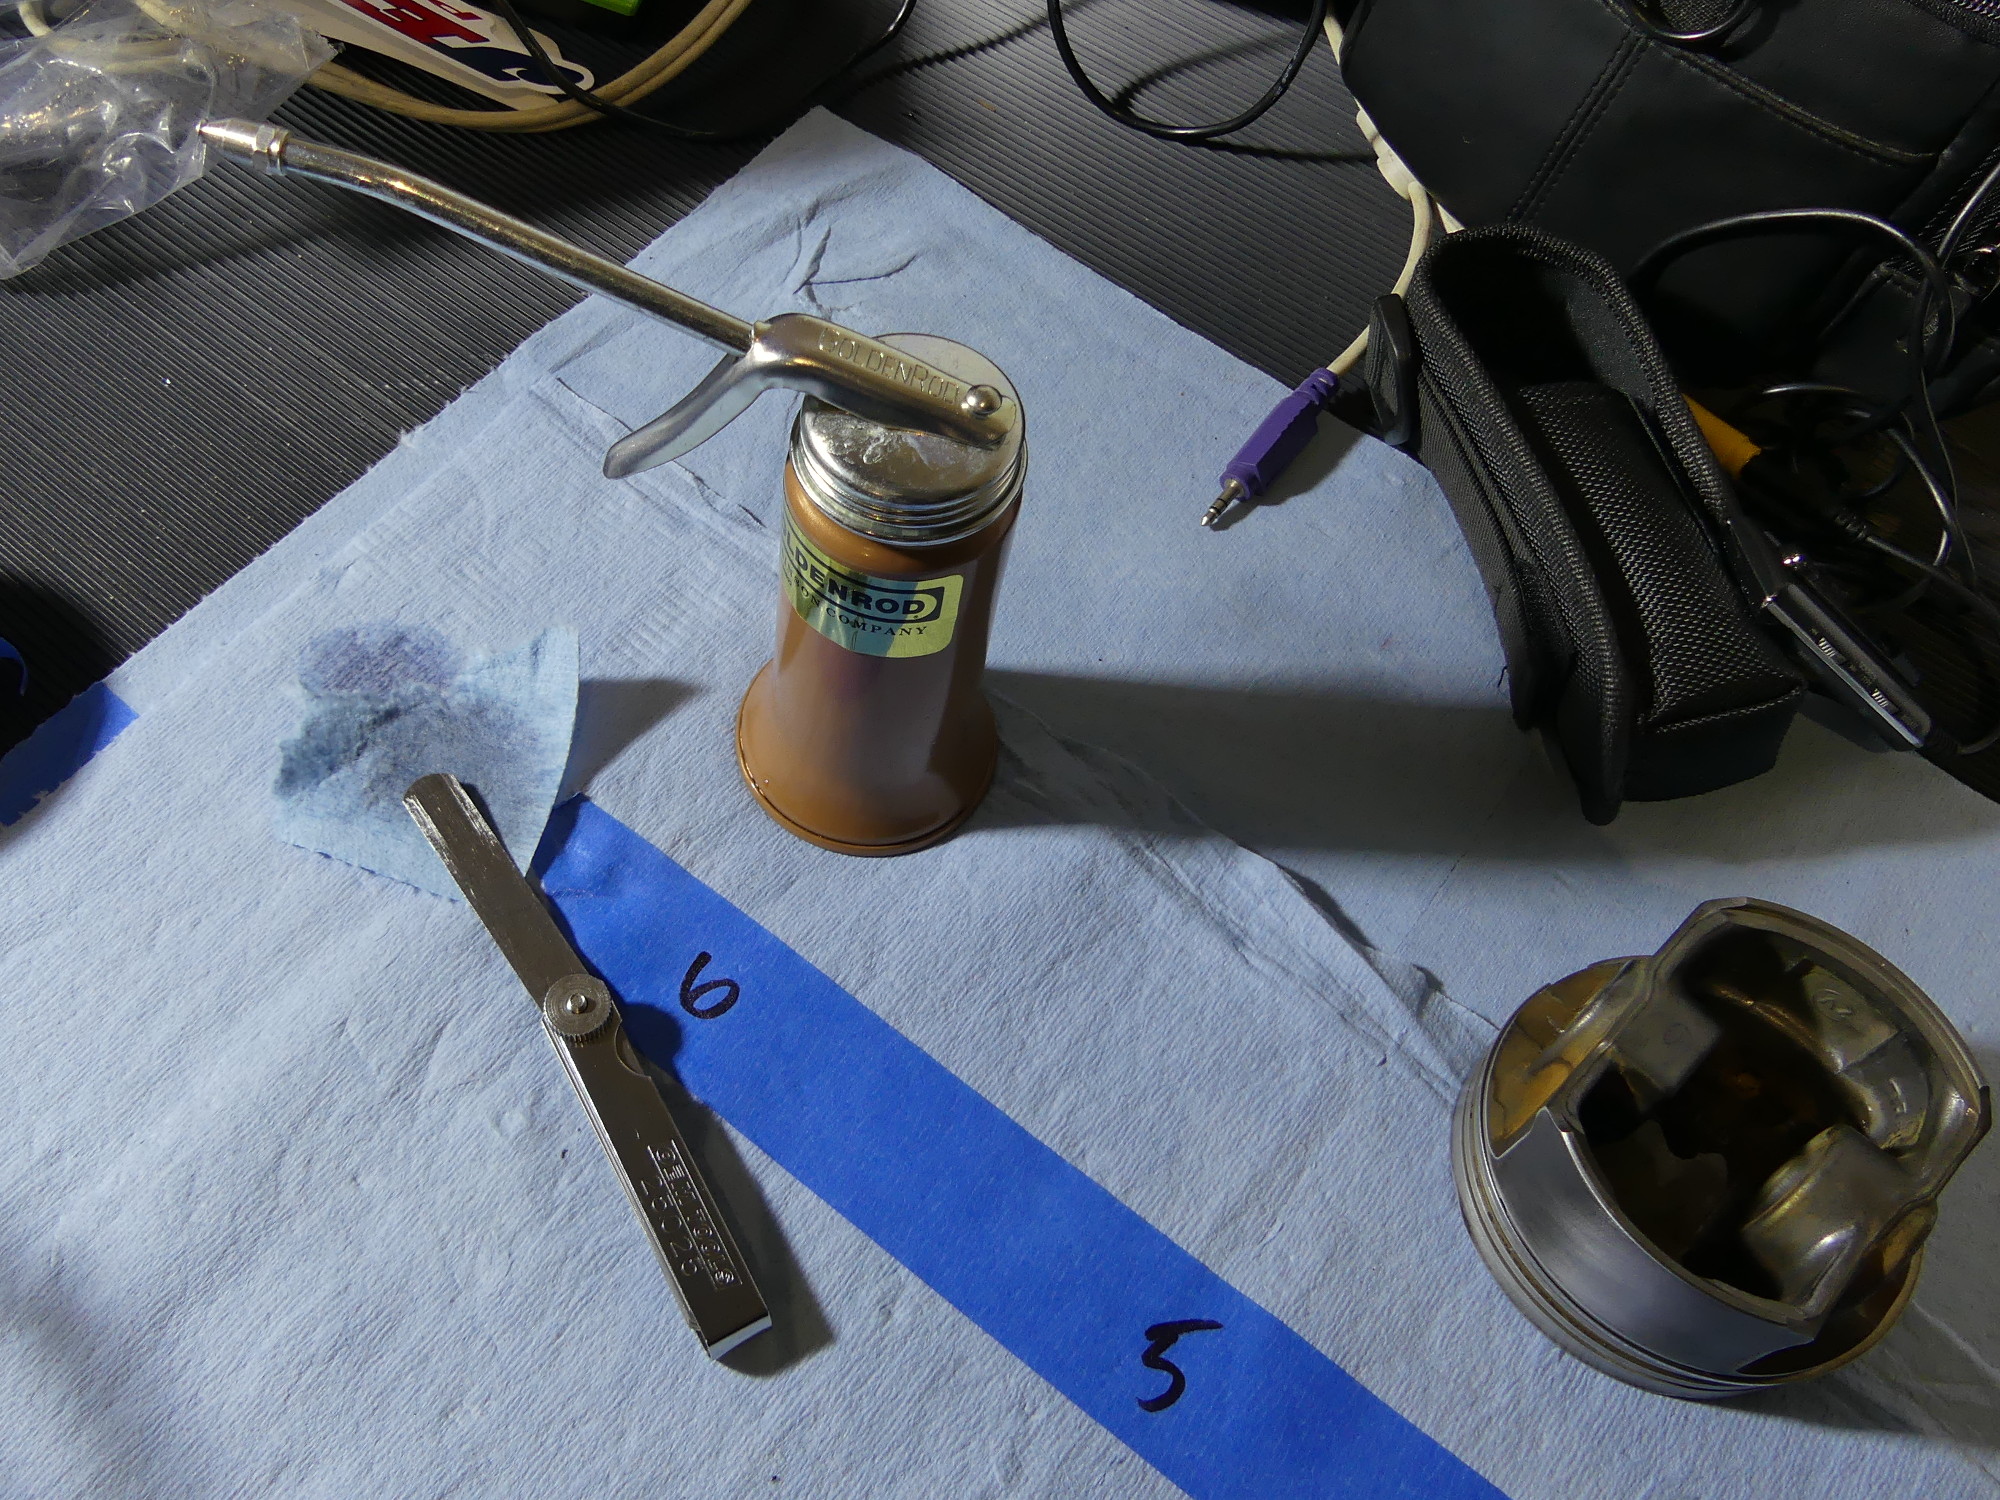 No one really talks about the need to lubricate feeler gauges, but it's essential. I saturated a piece of blue towel with the same break-in oil I'm using throughout the assembly process and wiped both sides of the feelers periodically. |
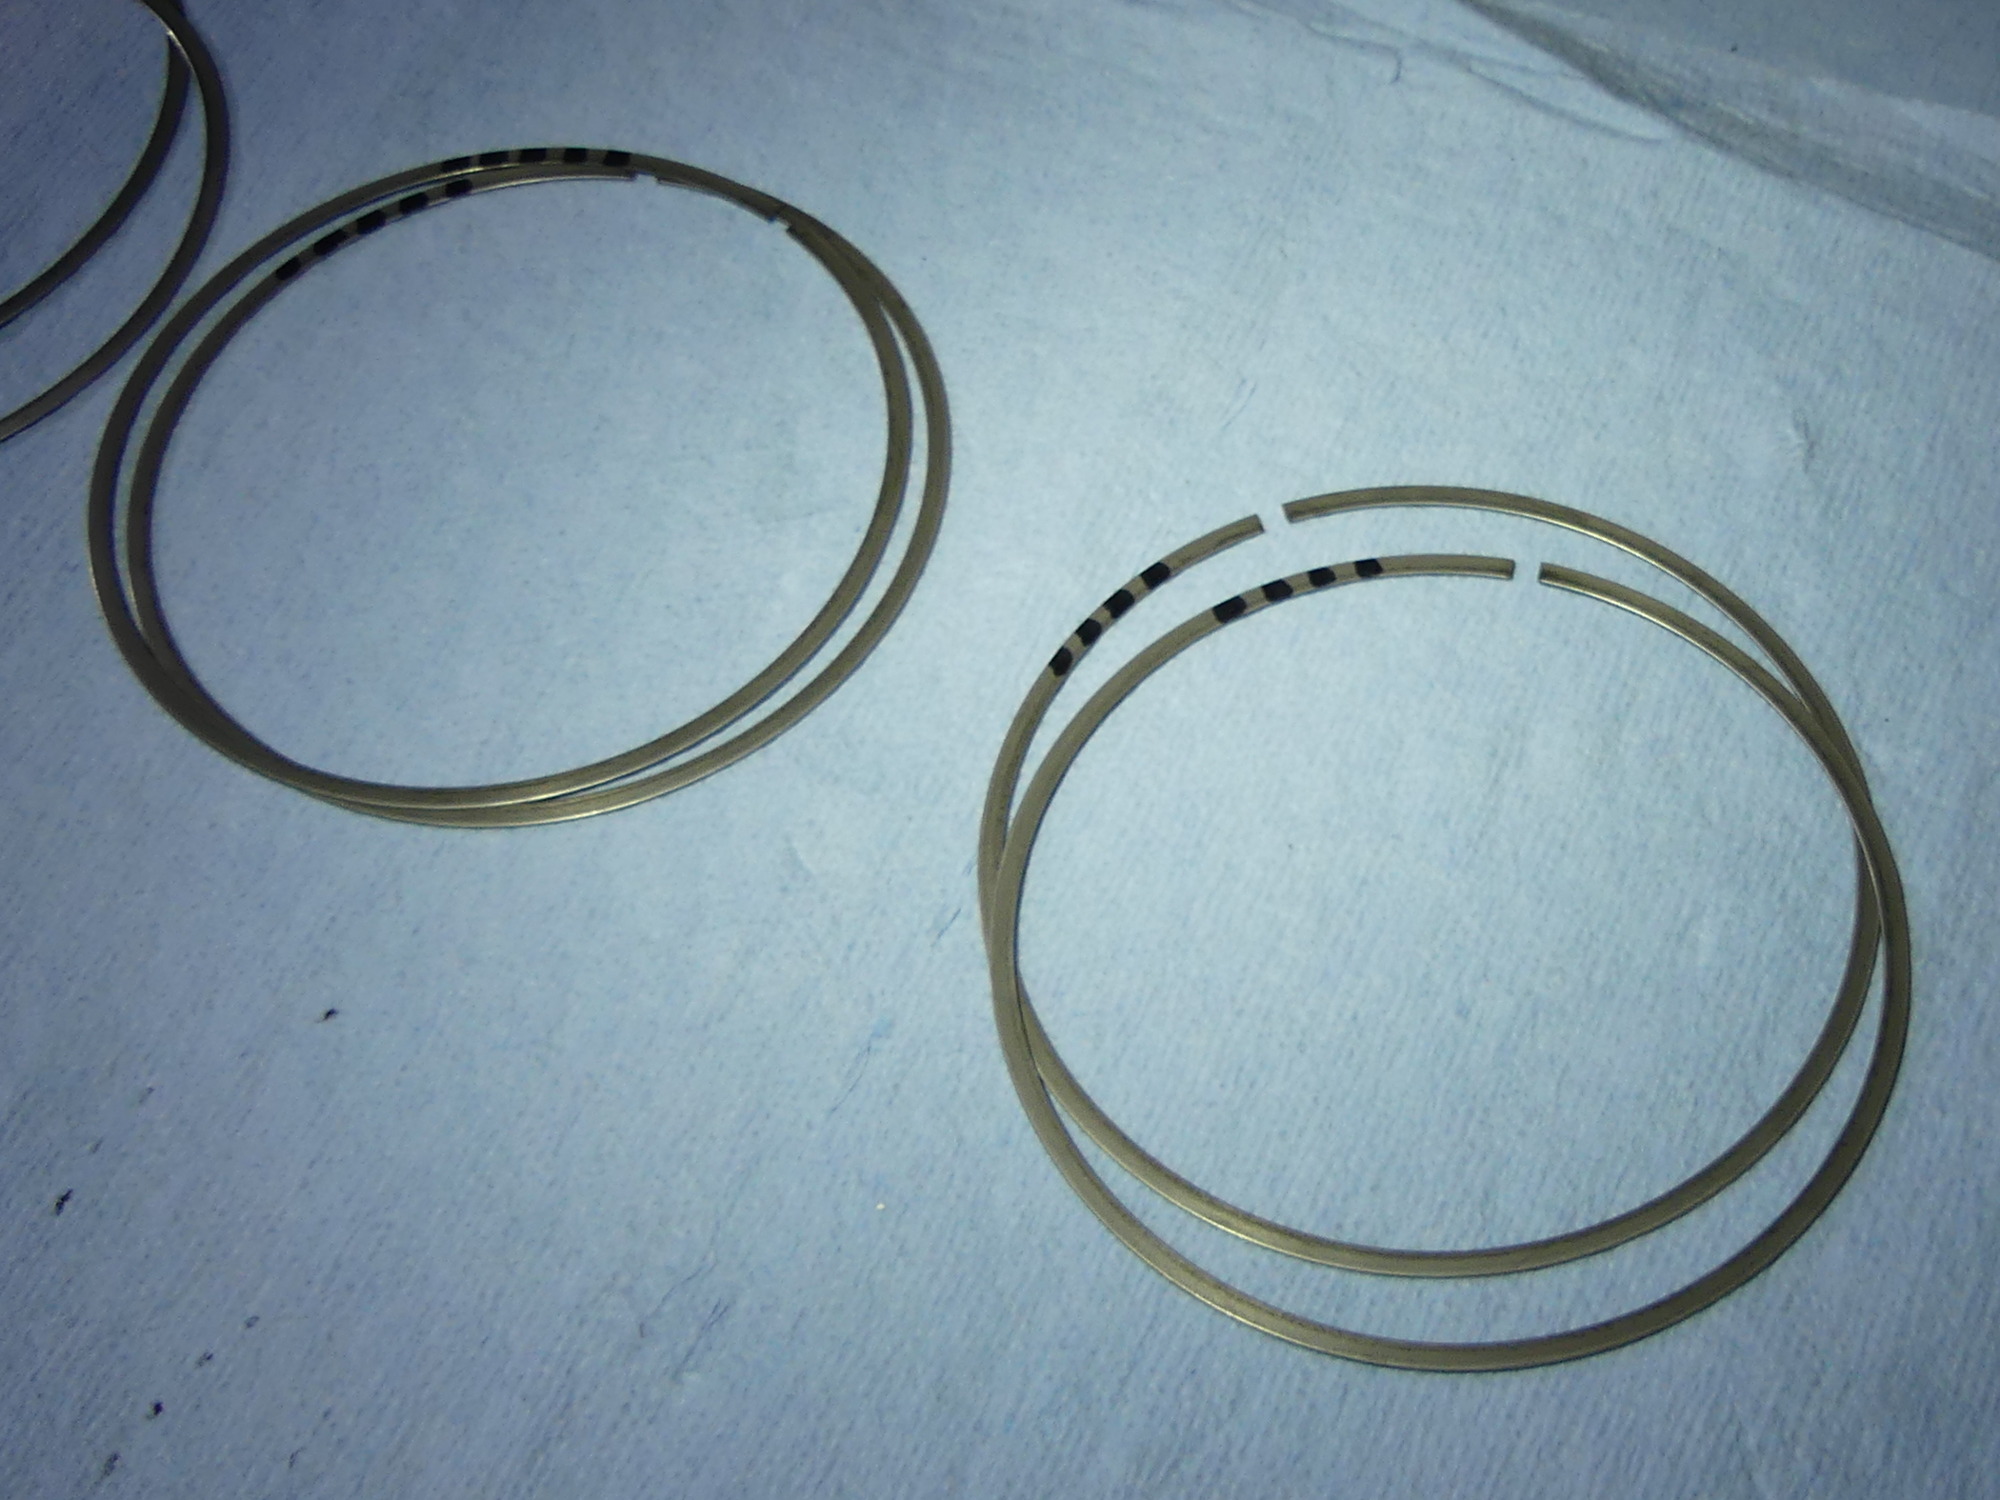 A crappy photo of a technique I decided to use to label the rings so I could not possibly install them in the wrong cylinder. Think this is paranoia? It's easy to become distracted. That's all I'm saying. |
While I found the initial top ring gaps were a lot tighter than the second rings out of the box (12-13 thousandths feelers were the largest I could fit into the gaps), it didn't take much filing to slowly bring them up to the target of 16.6 thousandths. I rotated the filer handle at most 2 turns initially, tapering down to 1/2 turn for the final iterations. As the top gaps were the most critical I spent a lot of time with each ring -- around 10 minutes each. While I didn't have a feeler gauge to cover that 0.6 thousandth, I was able to grind away just the right amount of material to allow the 16 thousandth feeler to fit without drag but the 17 thousandths feeler to bind. I figure the end result was close enough to 16.6 thousandths that I could run with that.
On a few rings I had some difficulty getting the feeler into the gap, but once there it moved smoothly, or I was able to insert it only part of the way into the gap. This was evidence of a slight bevel or angle to the "shop edge" (the filed edge) with respect to the factory edge. These bevels can be dangerous to the novice because they may trick you into thinking the gap is too tight and this will encourage additional filing when only some minor correction is required. When I finally realized what was happening I took extra care to correct the error, filing the shop edge only as required to remove the angle. To confirm I had corrected the error I brought the ring edges together in front of a bright light to verify they fit before returning the ring to the cylinder for another gap check. Fortunately, these bevels were few and far between, mostly confined to my early attempts before I learned how to properly align the ring on the filer.
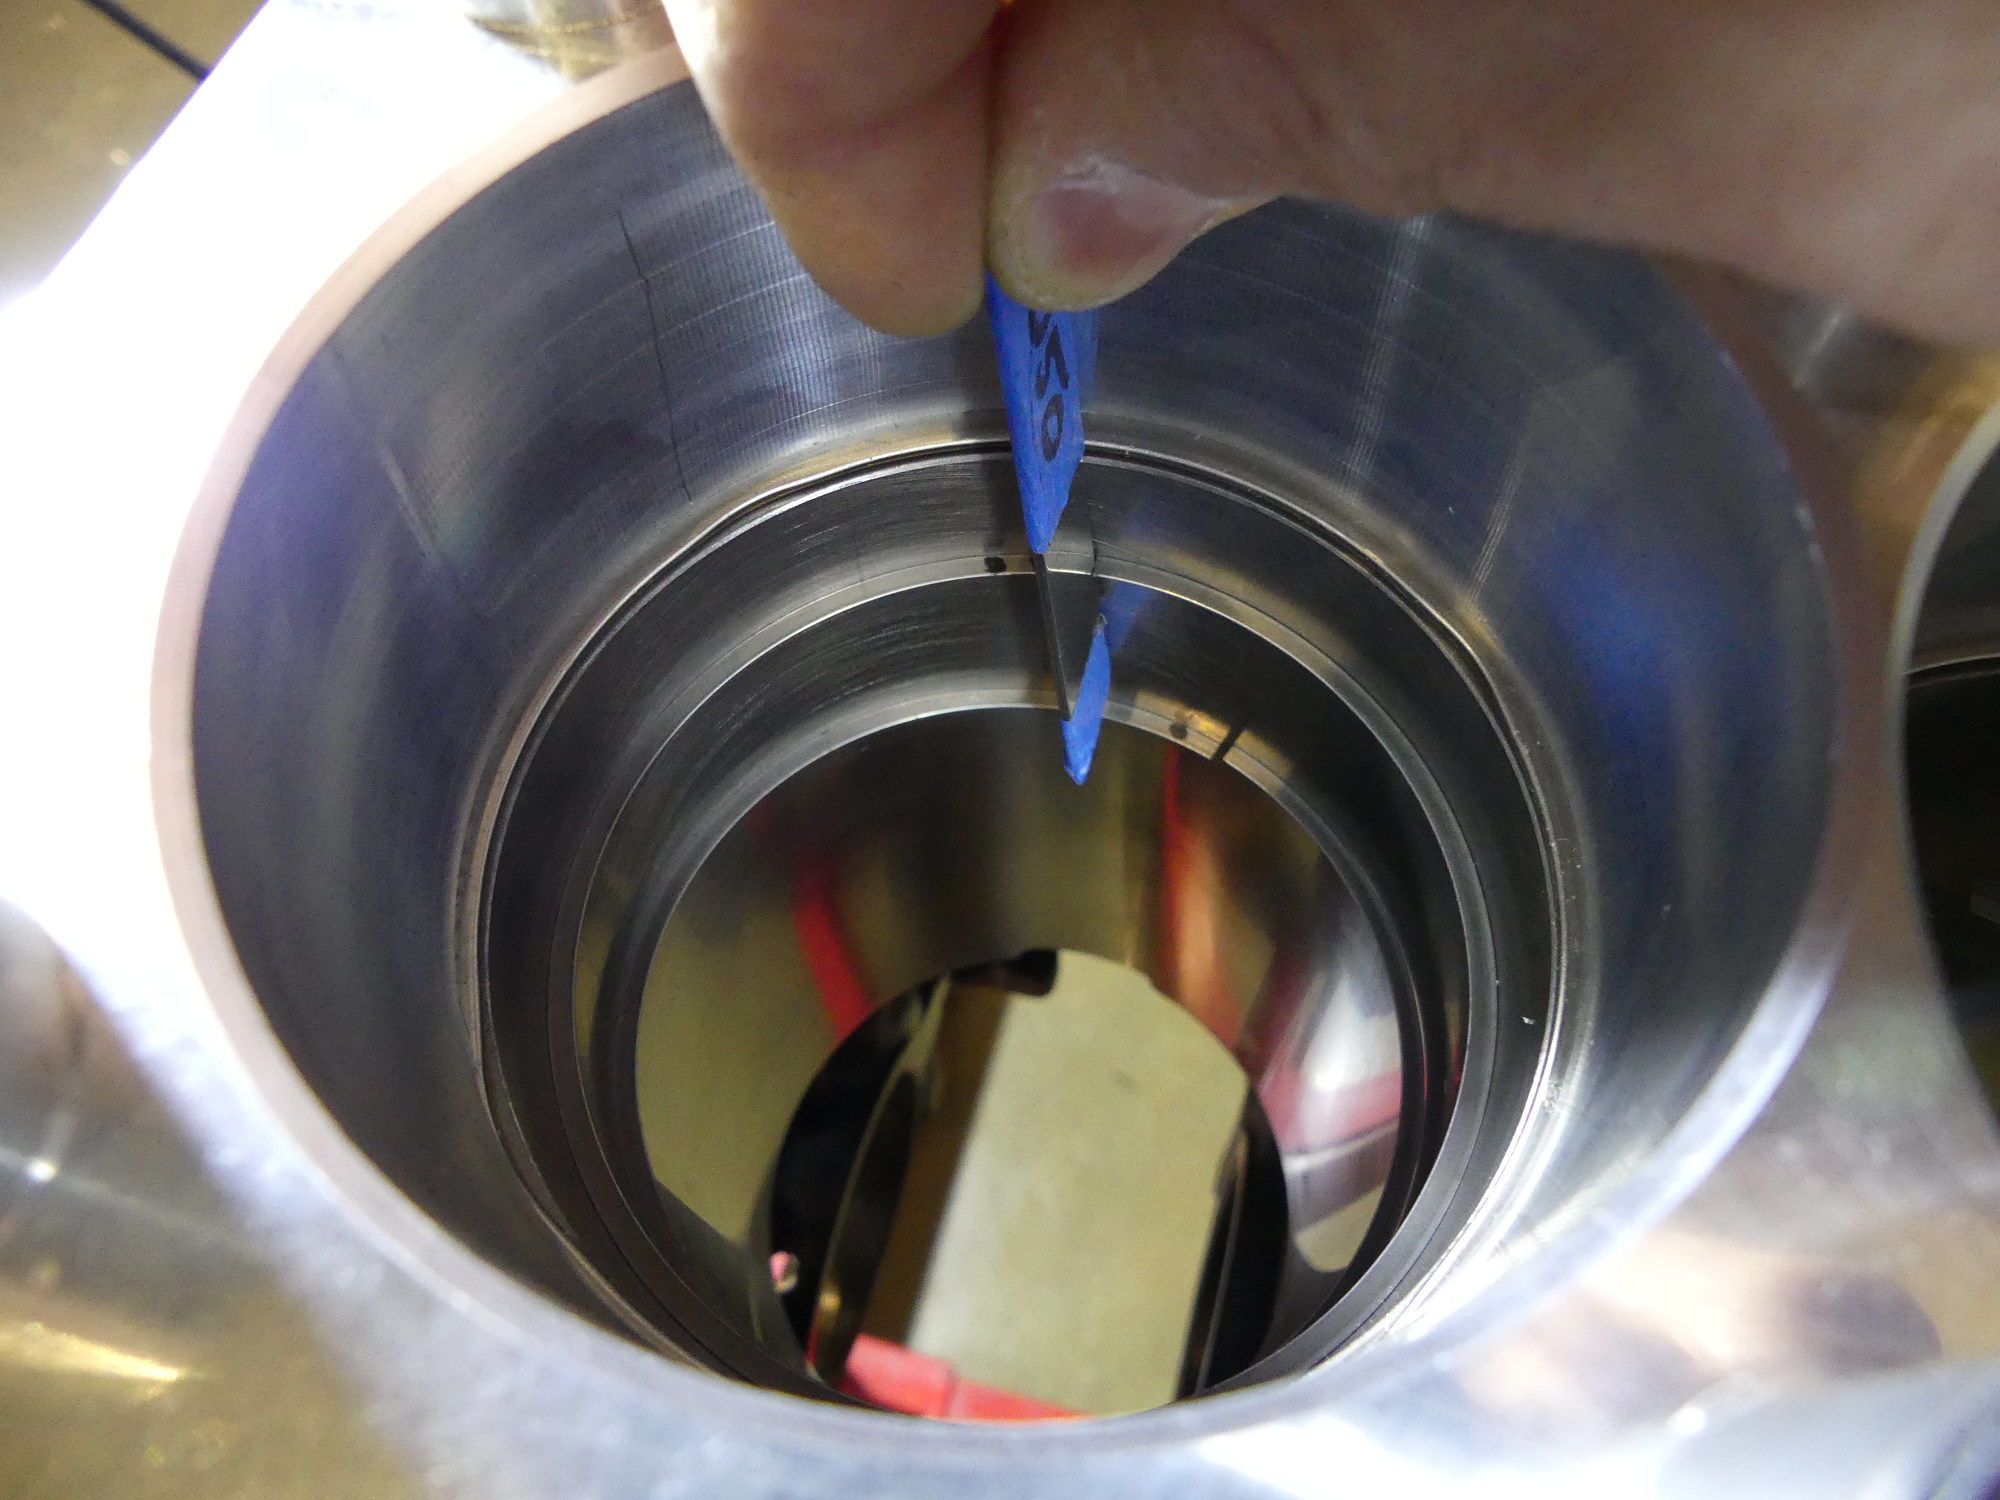 Here I'm showing how I checked the oil rail gap with a set of feelers I created to measure 50 thousandths. In reality the set is probably a bit thicker than 50 thou but as the oil rail gap is a minimum spec it works. |
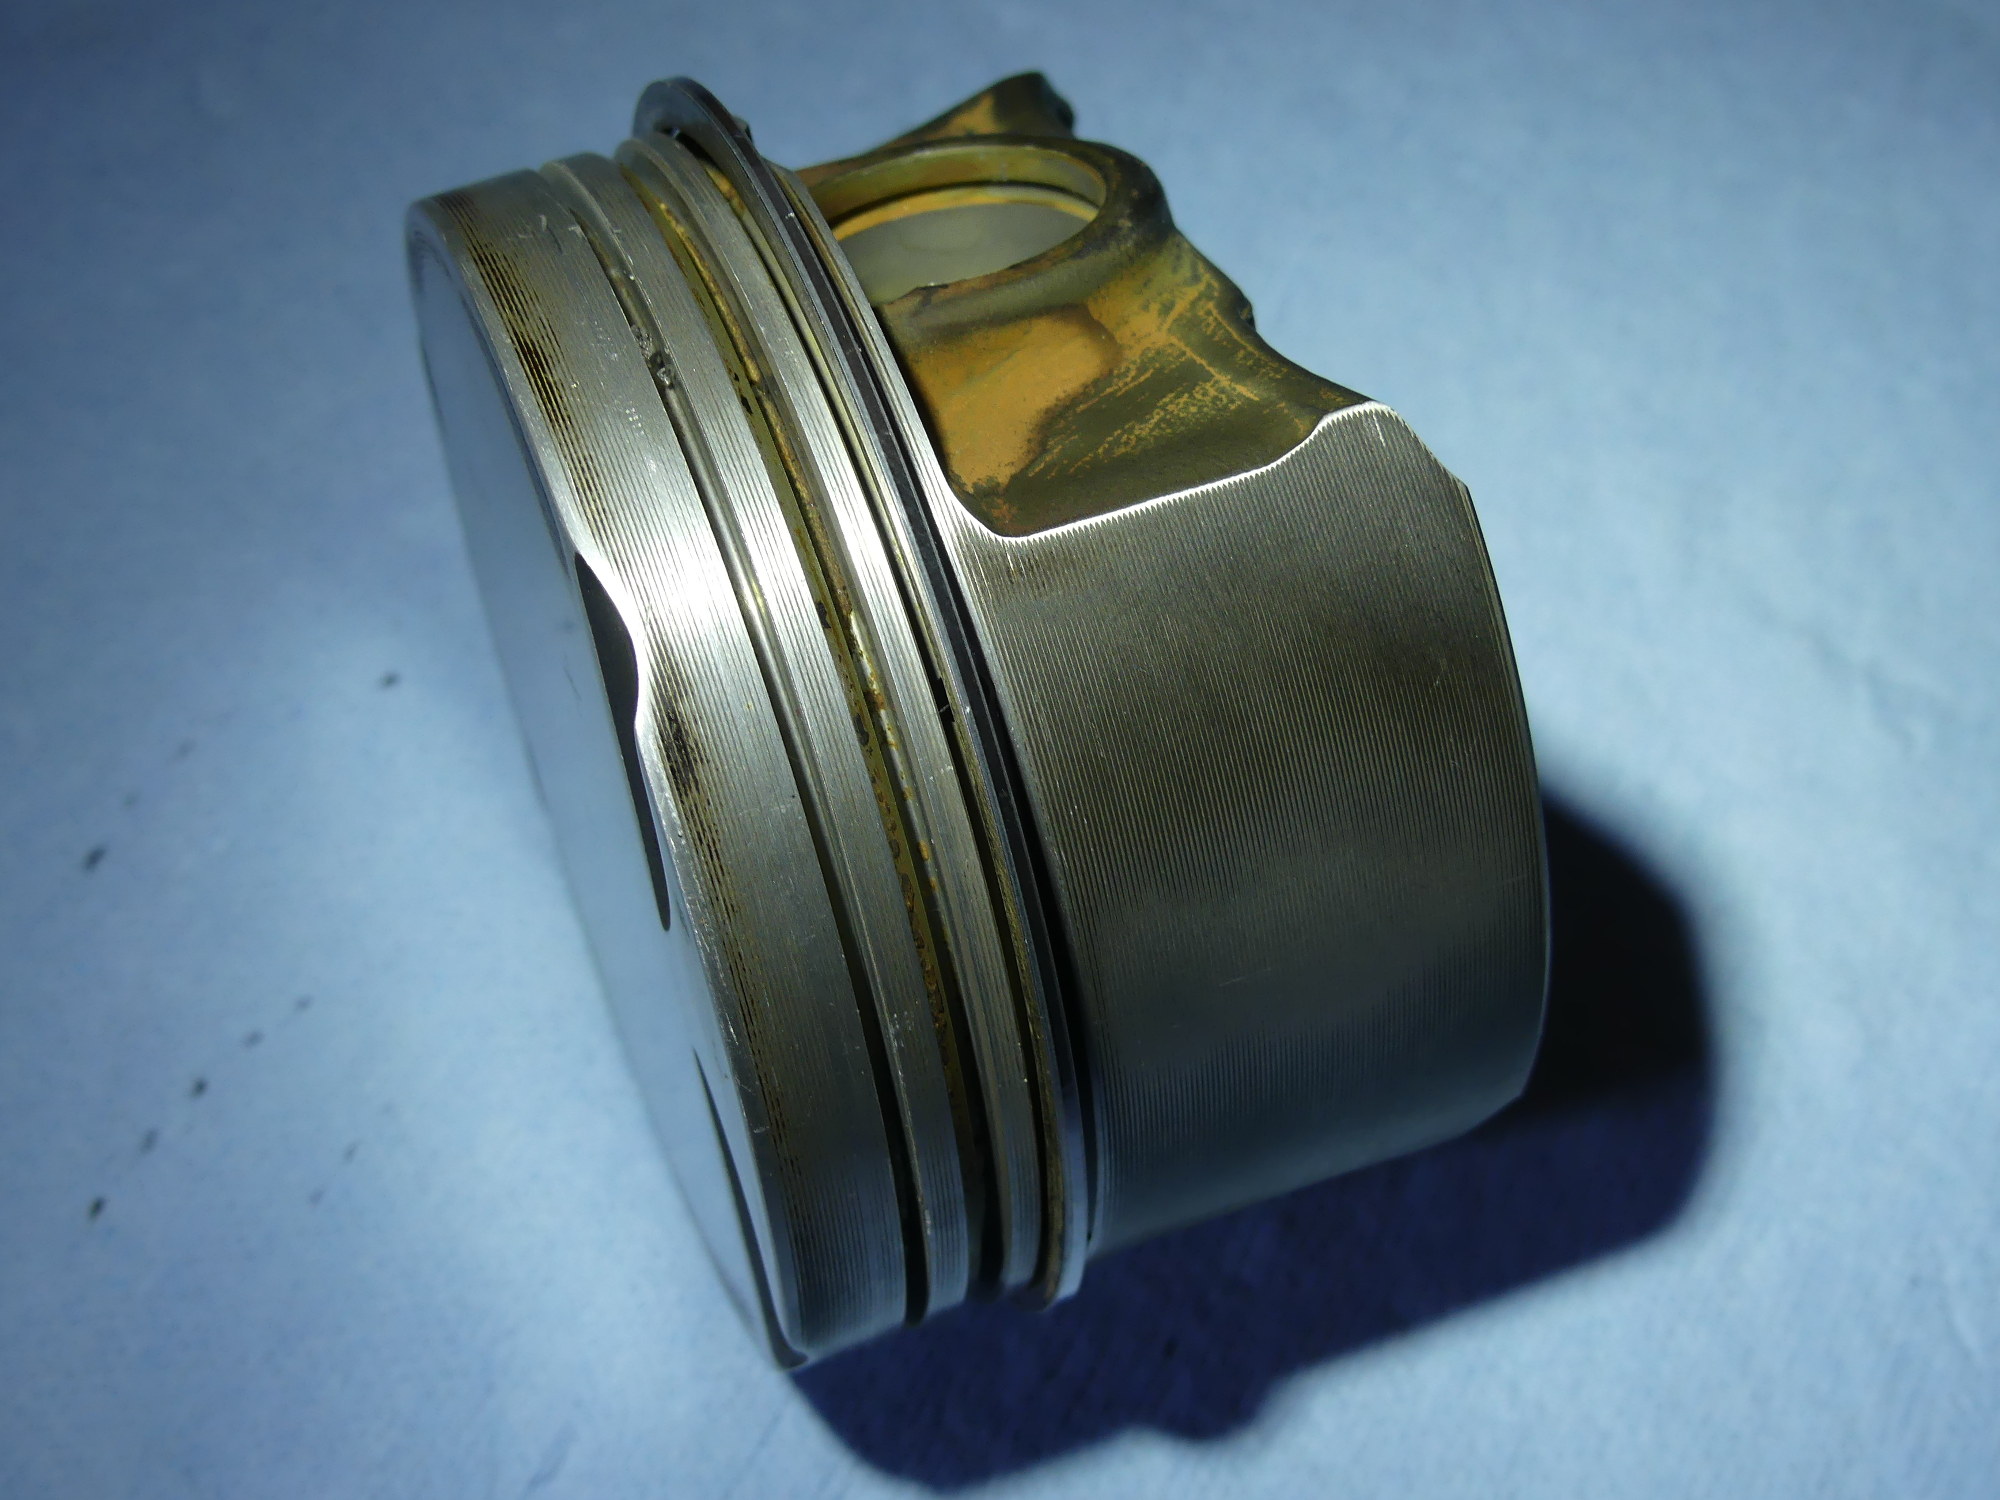 My low-tech ring squaring tool consists of an old piston with a compression ring installed in the oil ring groove. Squaring the rings (making sure they are level in the bore) is essential to taking accurate measurements. |
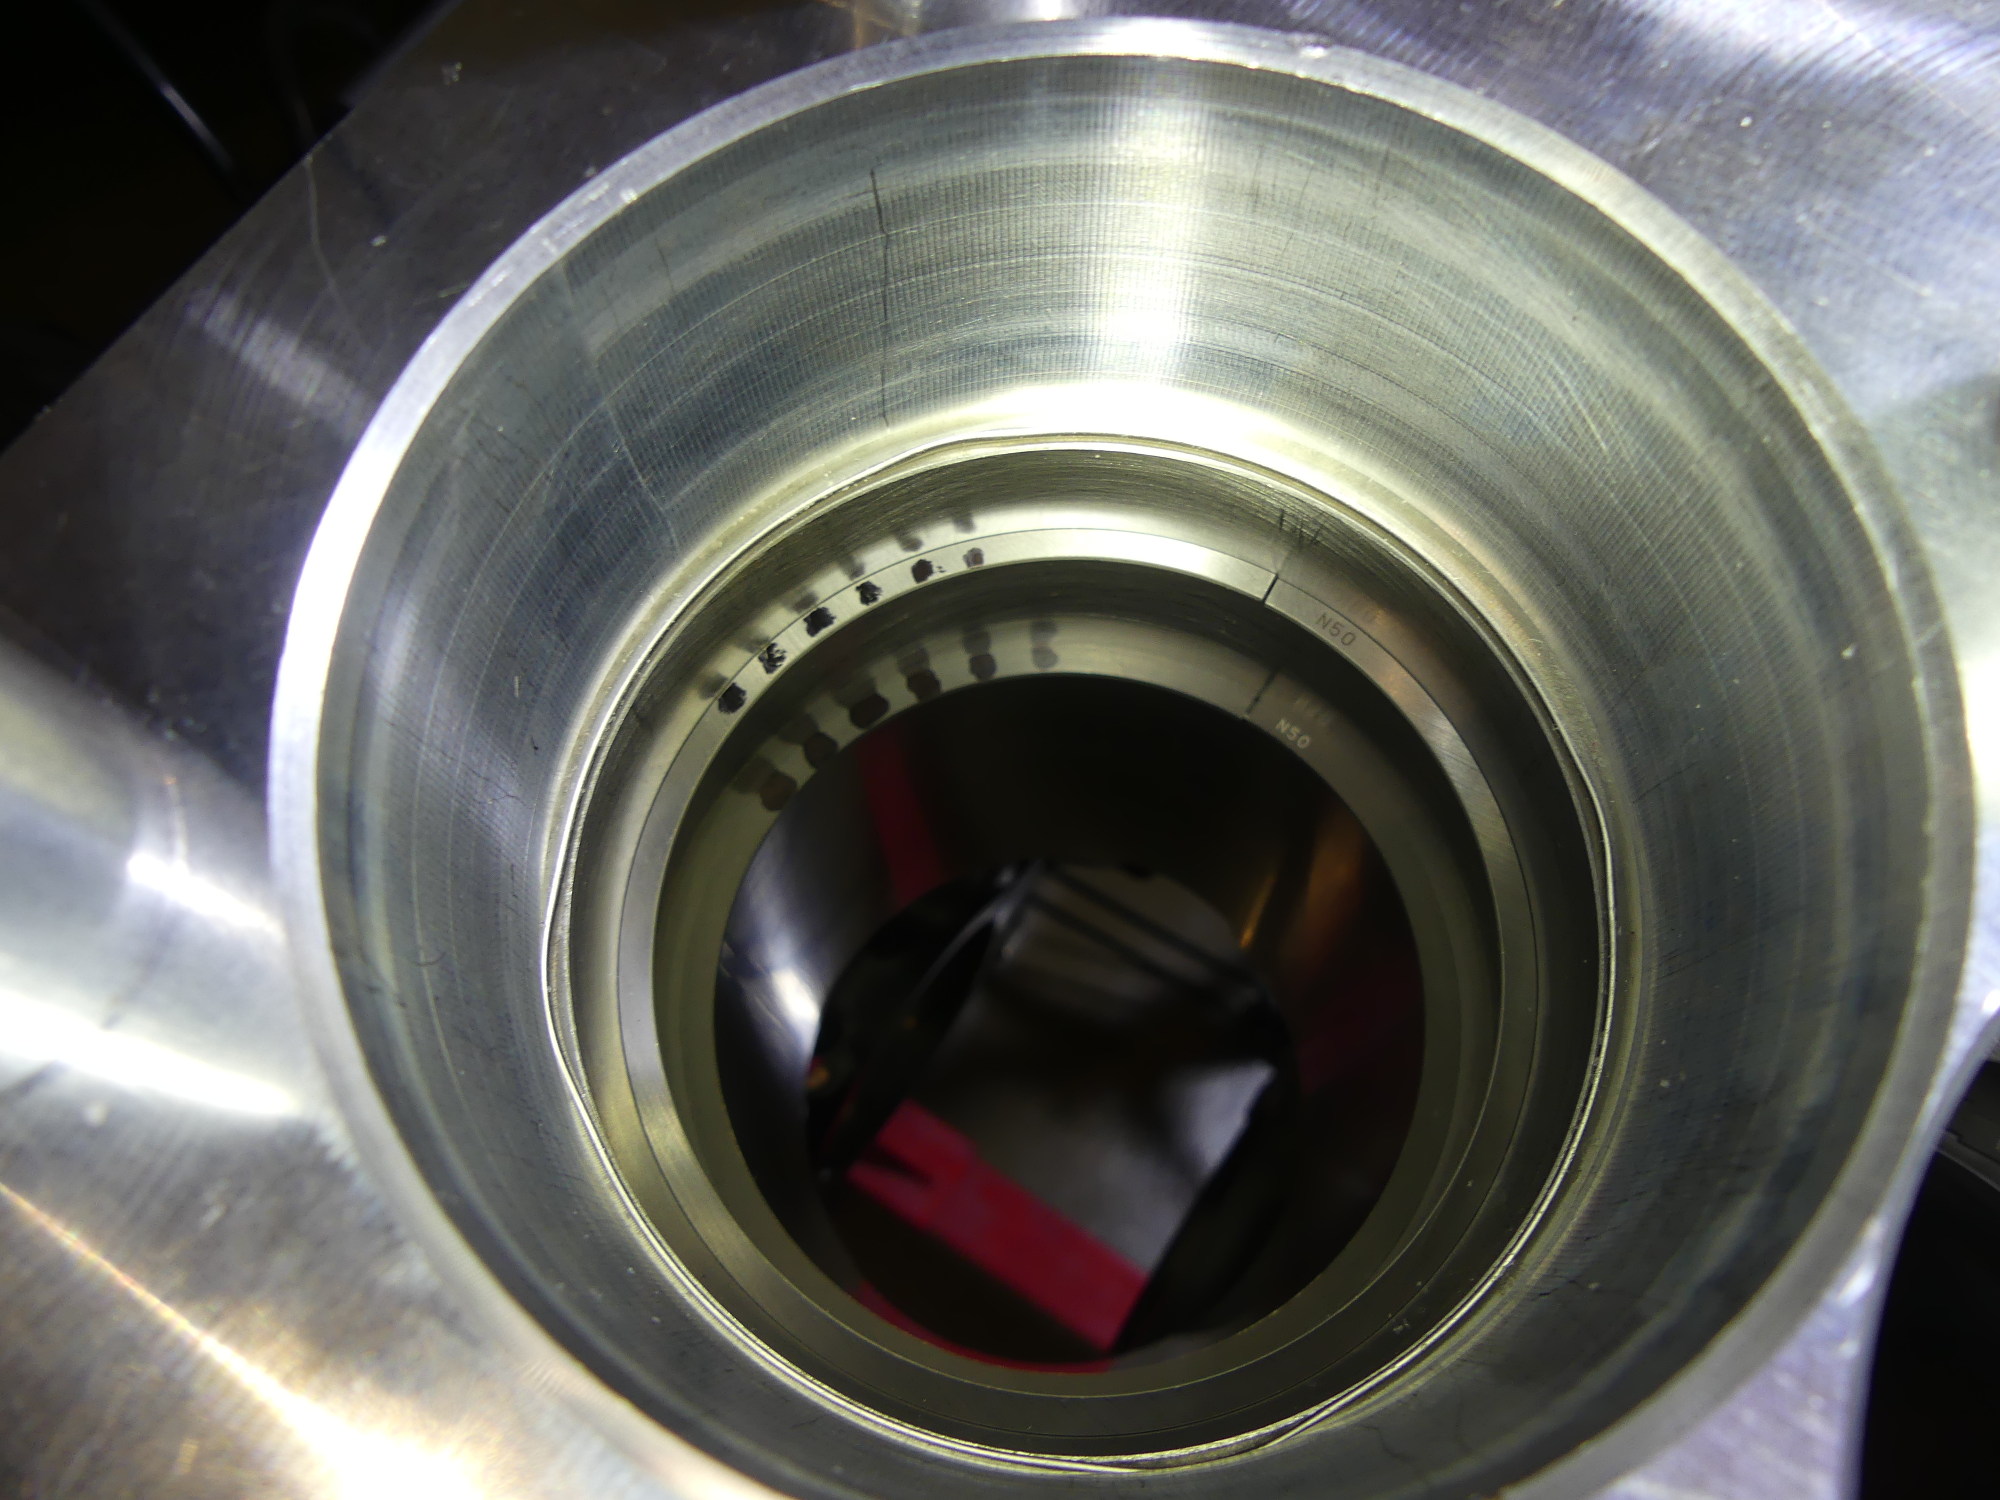 Looking into the #5 cylinder with top and second ring gapped. Although the second ring was not perfectly squared here, this shows a reasonable approximation of the difference in ring gaps between top and second ring. |
Speaking of the filer, I'm happy with the performance of the Summit Racing unit and recommend this tool for DIYers or first timers. It allows filing of the rings in a safe and repeatable fashion. Based on the reviews which complained about the longevity of the abrasive wheel I bought a second wheel as a backup. I did not wind up using it. They may have improved the quality of the abrasive since those reviews were written or my rings did not wear down the abrasive as quickly. In any case I plan to sell the extra abrasive with the unit when the time comes, which will guarantee a similar experience to mine.
Ring Filing Tips
My tips for those attempting to file ring gaps for the first time:
-
Buy a purpose-built manual ring filer. Do not attempt to file the rings with a hand-held file and don't waste your money on an expensive powered model. The hand held file lacks the repeatable precision required and the powered models can destroy a ring set in a fraction of a second if improperly configured. Worse, some of the more reasonably priced powered models are also designed without a vernier control, which is a recipe for disaster.
-
Experience with feeler gauges is essential to this task. Unfortunately this is one of those skills that cannot be adequately described via the written word or demonstrated with video. The gauges are aptly named -- they require the operator to judge the "feel" of the gap, and without experience it is easy to mistake a lousy fit for a proper one. The easiest and cheapest way to gain the necessary experience is to experiment with the old ring set in the unrefinished bore. I recommend measuring the existing gap, picking an arbitrary target a few thousandths above that and then filing to meet that target. Repeat this for all three ring types because each will react differently to the filing process.
-
As JE recommends, only one side of the ring should be filed so the other side remains as a factory edge and a reference against which the "shop edge" (i.e. the filed edge) can be compared.
-
It is best to start with the oil rails. They are made of a harder alloy and therefore are more forgiving of the filing process. The oil rail gap is also a minimum specification, so if the ring is filed a bit too much and the gap winds up slightly wider than desired it's not game-over.
-
The second and top rings are made from a surprisingly soft (easy to file) material and so the filing process cannot be too aggressive or rushed. The initial gaps must be checked, and the ring filed and gap-checked in multiple iterations so that it is possible to detect the gap approaching the target value. If the process is rushed the gaps are likely to wind up oversized.
-
Label all rings with a permanent marker. I placed number of dots representing the number of the cylinder on the "shop edge" side of the gap so I always knew which edge to file. In retrospect, handling of the ring during the filing process tended to wipe off the dots so I'd recommend putting those on the right side of the gap.
-
As the ring gaps are finished, store the rings in the cylinder by pushing them down the bore. This reduces the chance that they will be damaged.
Next Up
The next step is to mount the rings on the pistons so I can insert them into the block for a plastigauge test.