


Saturday, September 30, 2017
Rings Installed
I began the day by pulling each set of rings out of the cylinders, deburring them, and installing them on their respective pistons, identified by rod number.
I used 400 grit sandpaper to debur the edges rather than a file because it seemed stupid to me to take such care during the filing process to keep the shop edge perfectly square to the factory edge only to wreck it with a tool that cannot realistically be squared with the ring. So I took a small piece of sandpaper, wrapped it over my index finger and then lightly swiped the edges one or two times, moving in the same direction as I filed the rings (toward the inside of the ring). I have to admit I did not feel any difference after the process was finished, but I think that's the point. The worst thing you can do here is introduce a significant bevel or radius on any of the edges. A video published by Mahle on YT specifically warns against doing this. My take is that a little work with some fine grit sandpaper goes a long way here.
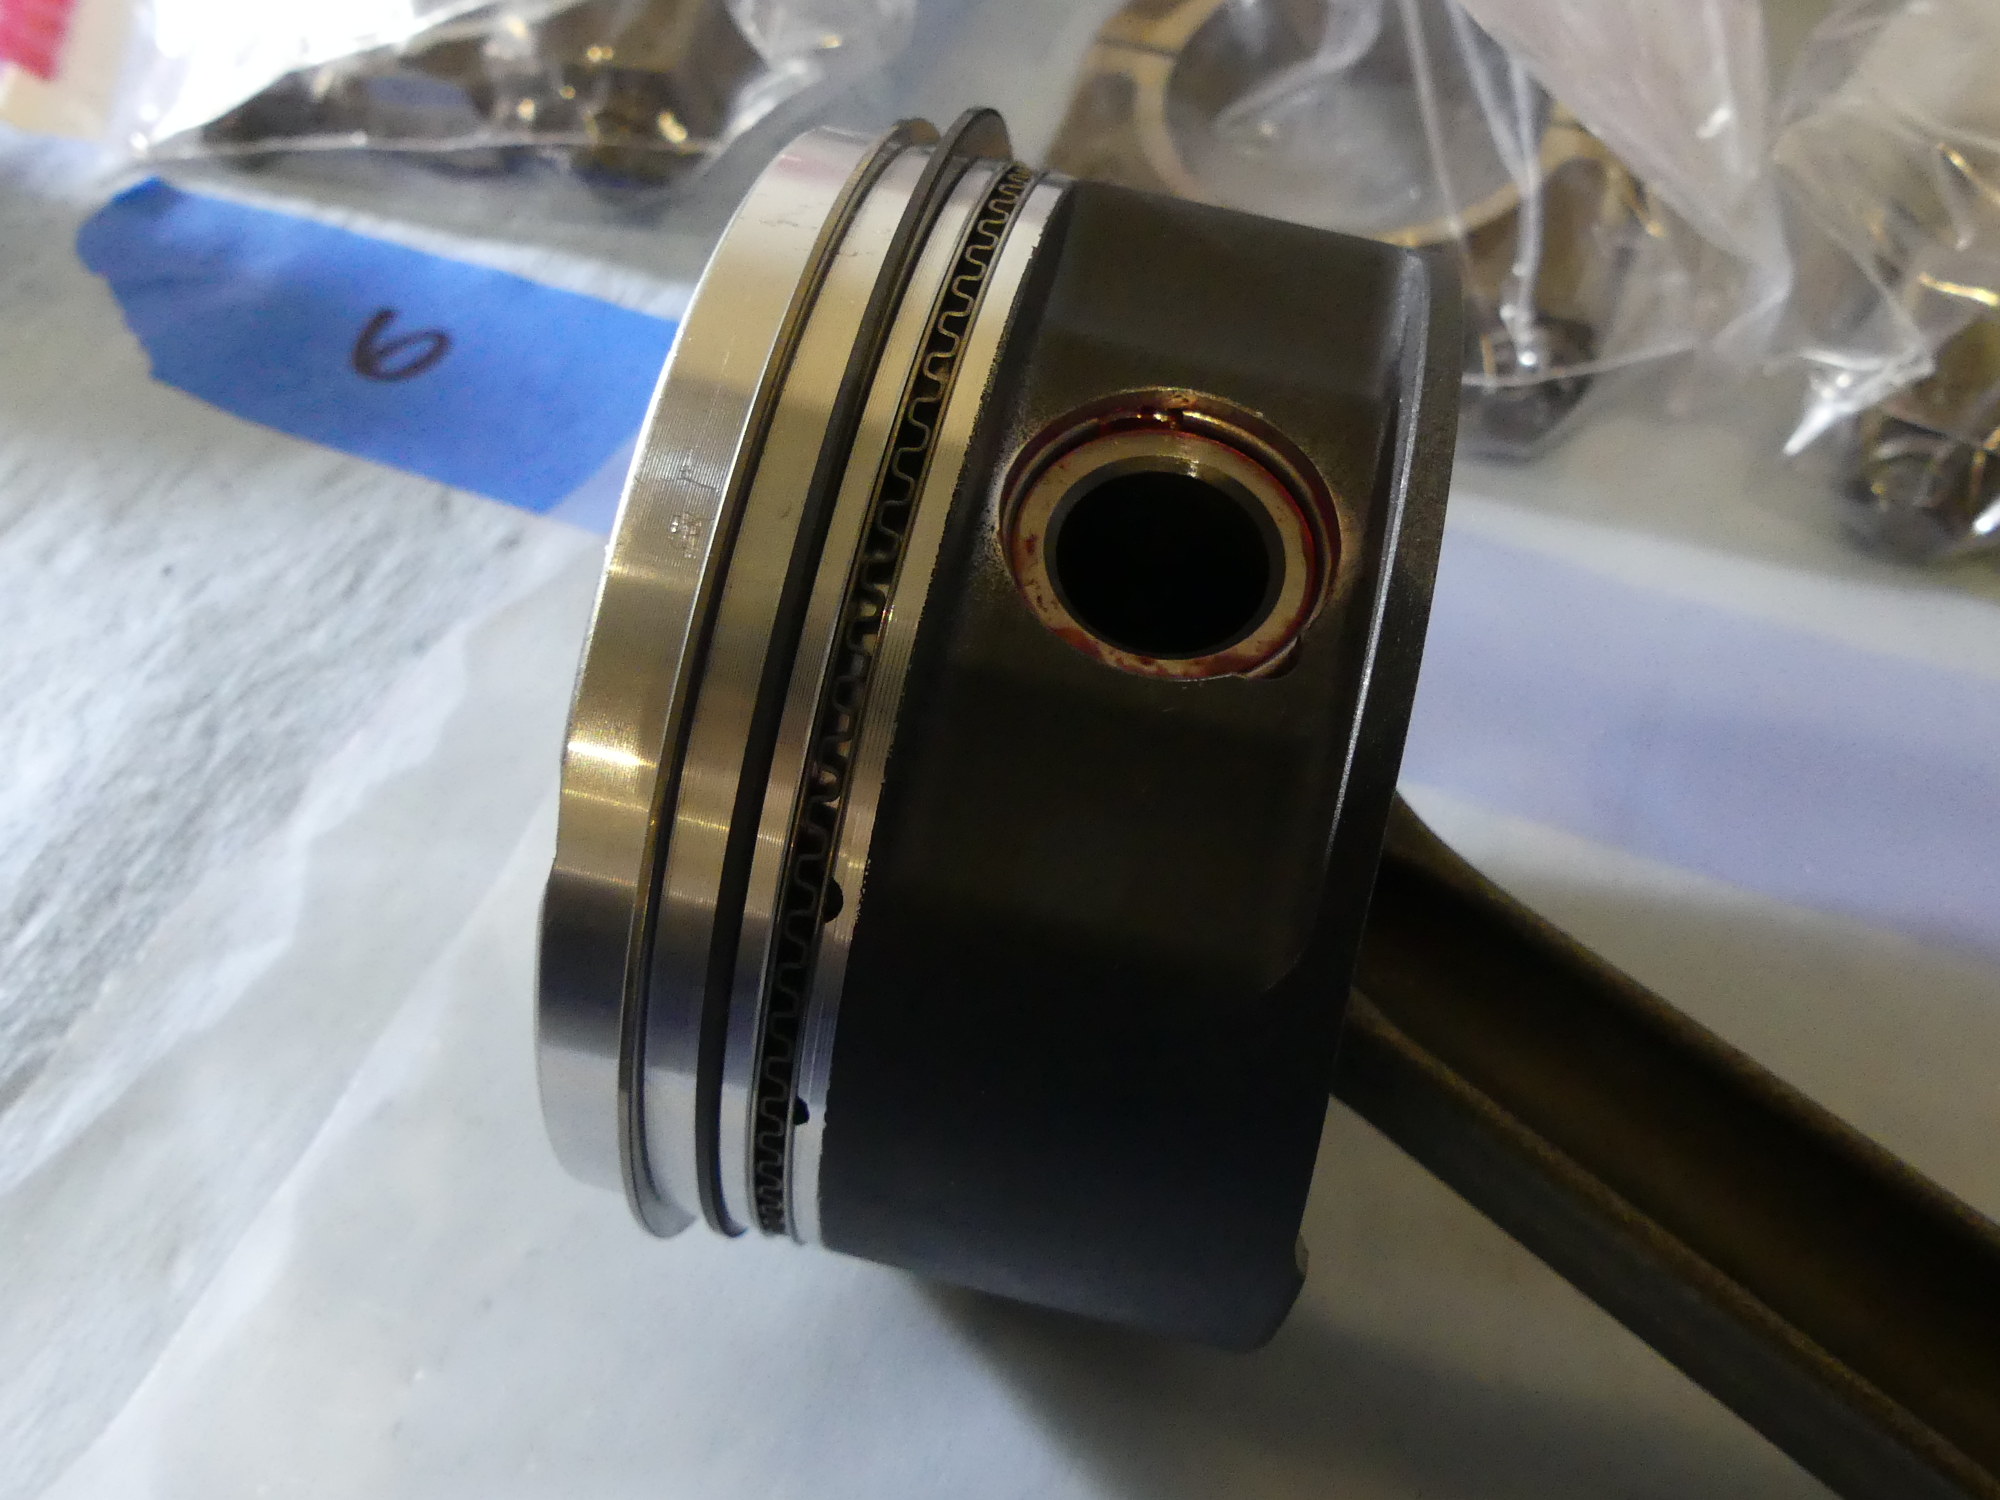 One of six pistons with the filed and deburred rings installed. The oil rails were easy to install by hand while the top and second rings were installed easily using a special tool. |
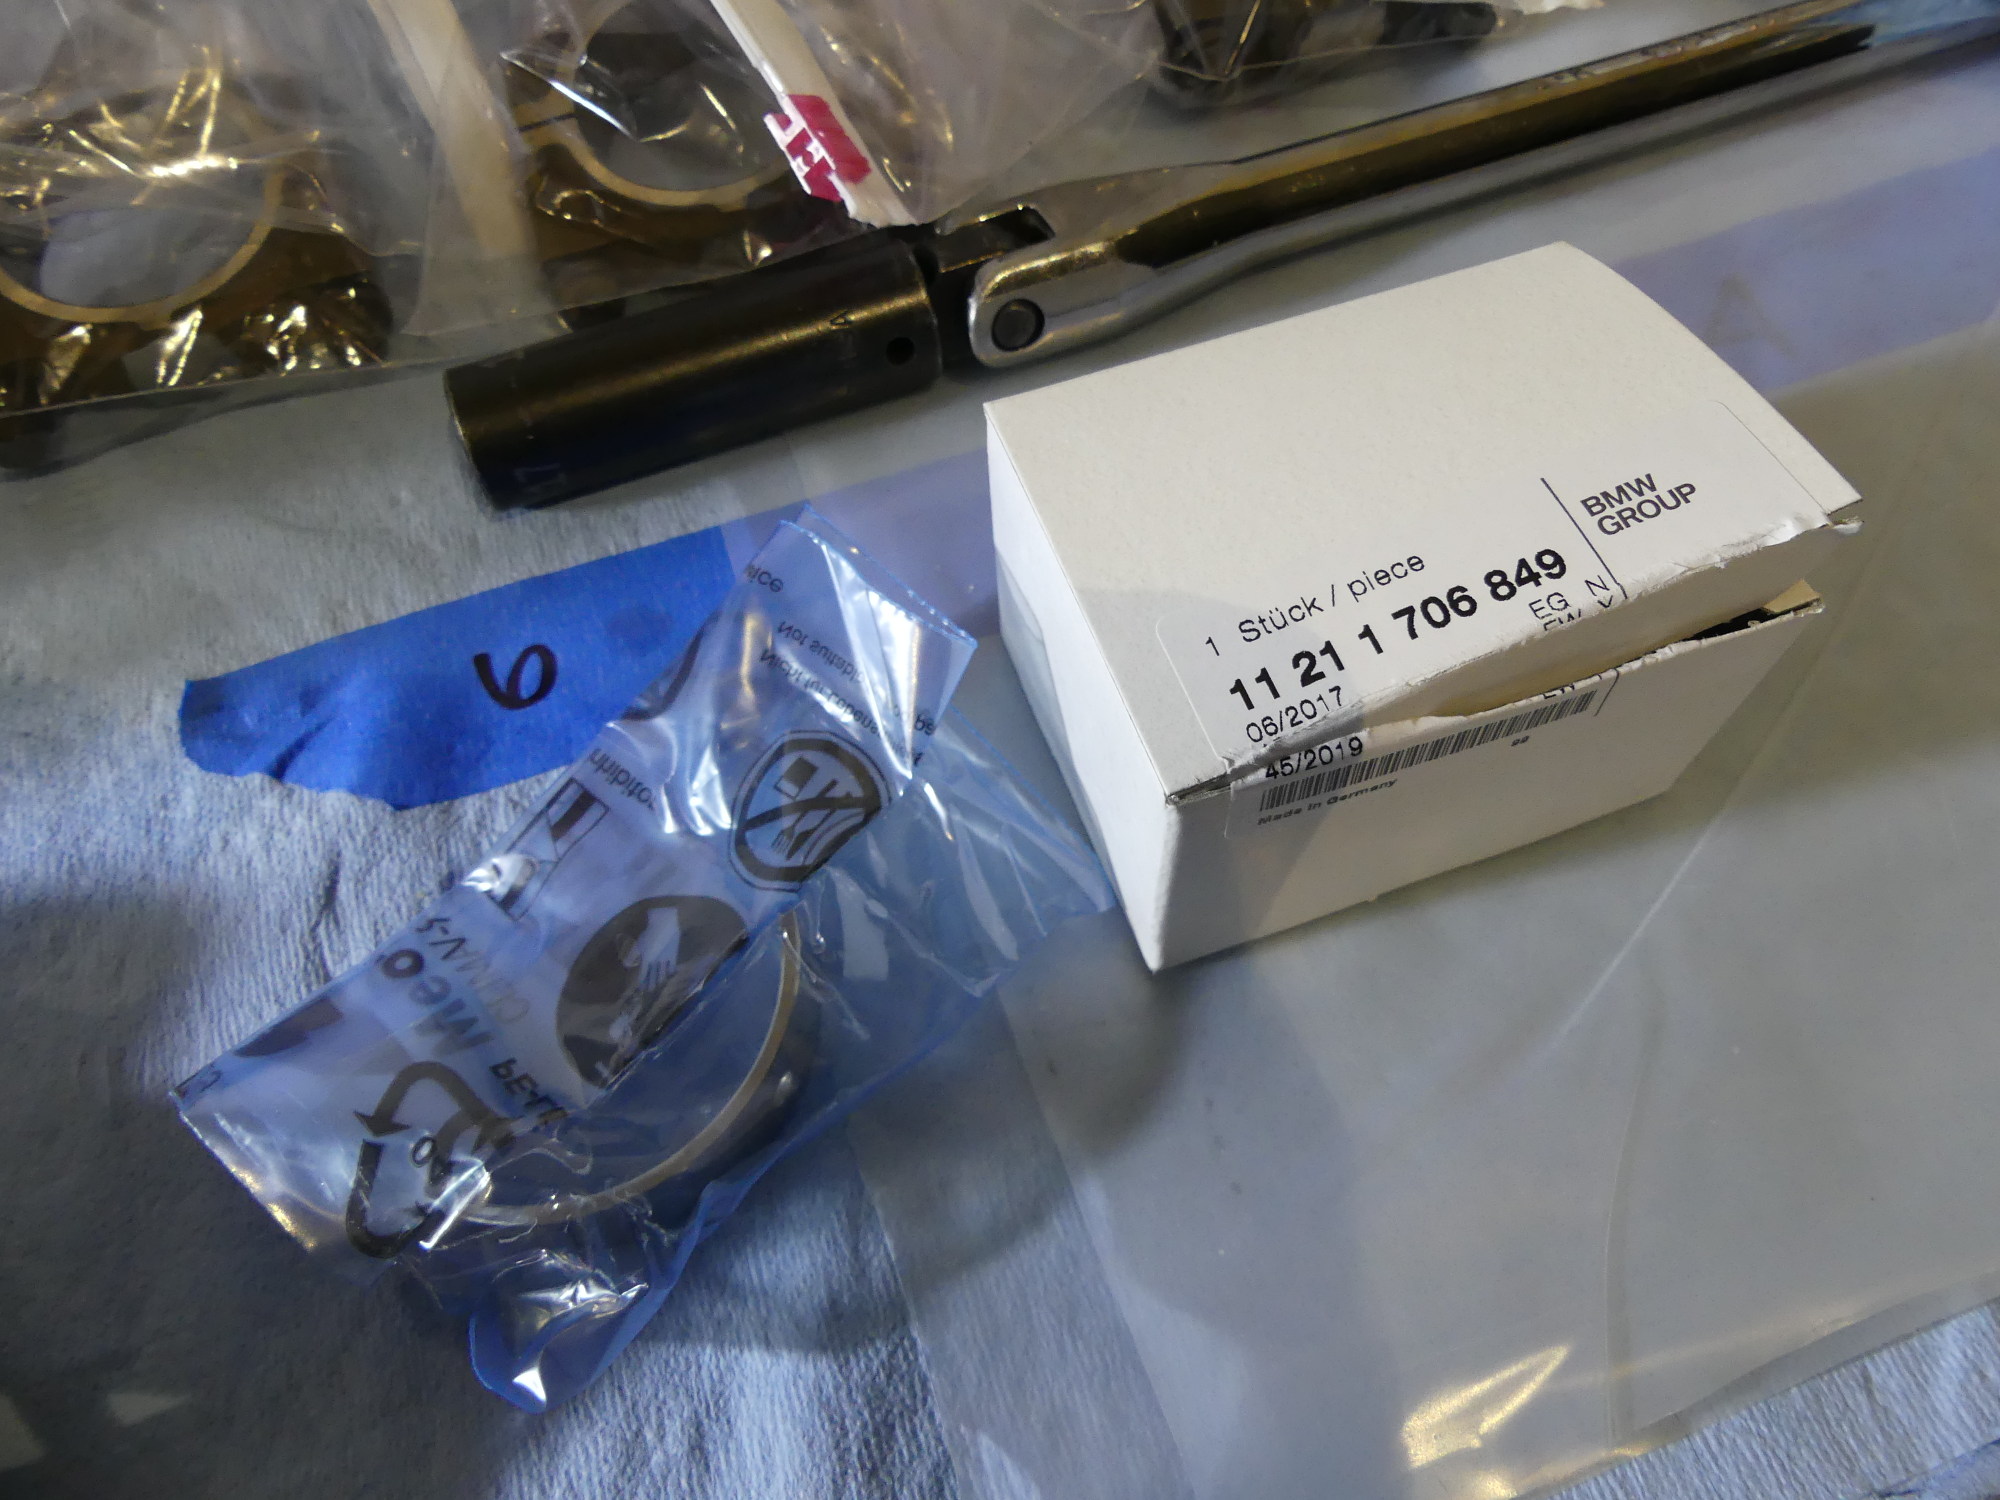 Want to know why BMW bearings are expensive? They're individually packaged by hand and sealed in a plastic bag with an anti-corrision coating. |
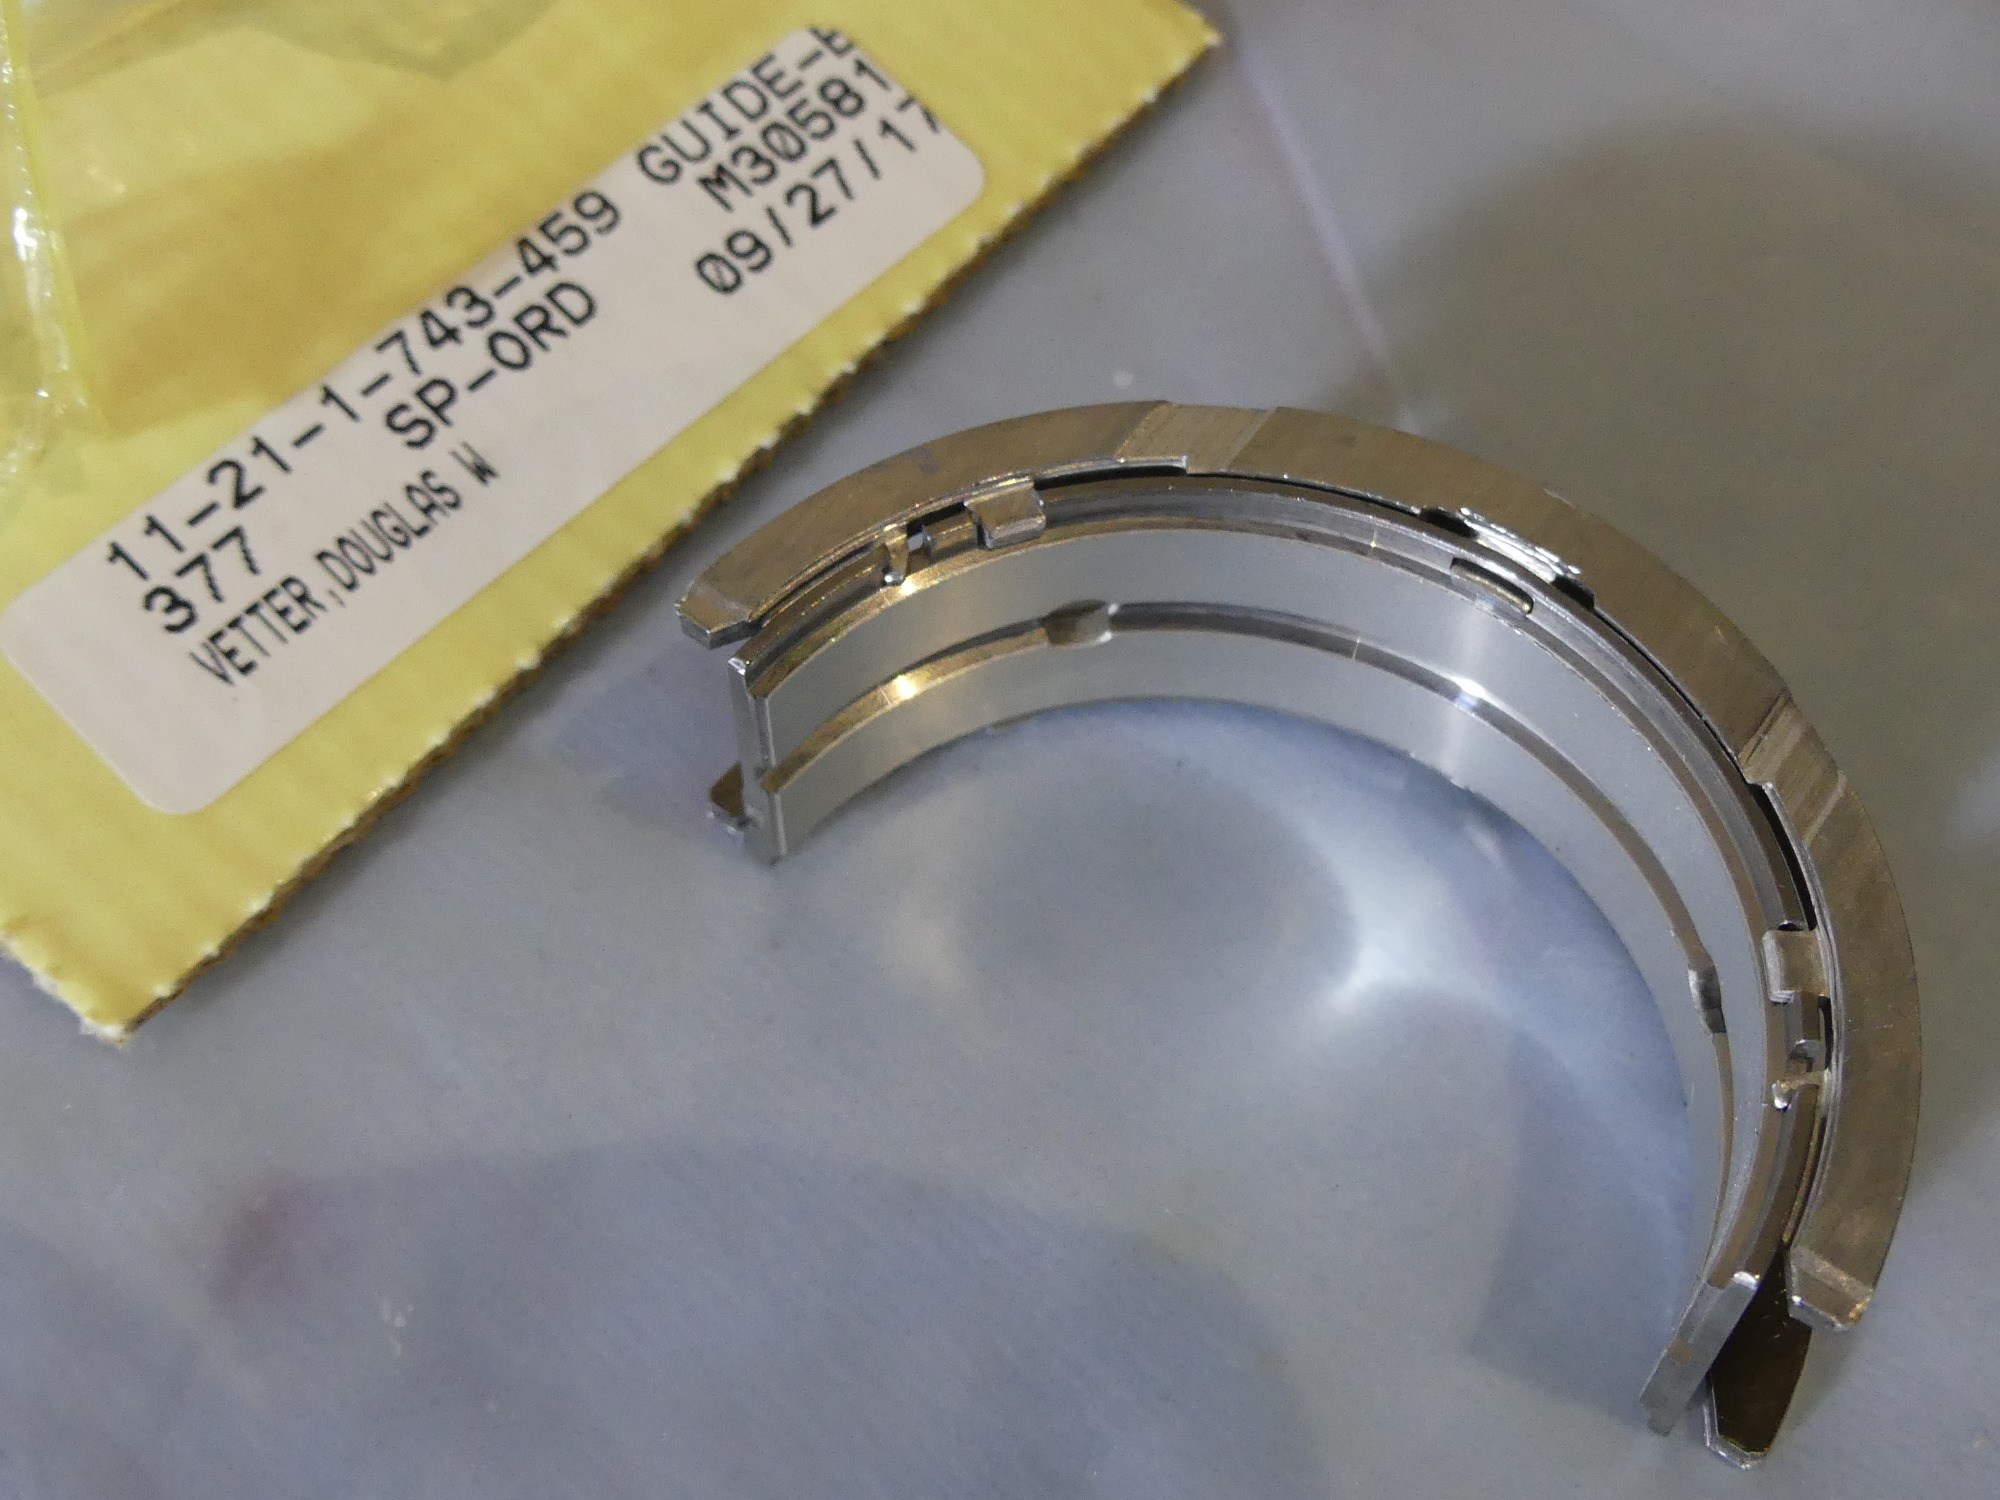 The top half of the thrust bearing -- the only bearing of the white bearing set I purchased that wasn't in stock in the US. I had to wait a week and a half for this to be delivered from Germany. |
I then installed the oil rings by first placing the oil ring expander in the groove, taking care to make sure the ends did not overlap each other. I then installed the oil rails below and above the expander by inserting one side of the ring and then spiraling it into the groove, taking care to ensure the trailing edge did not scrape the piston as it was carefully brought down over the lands and placed into the groove.
The second and top rings were installed with the Stenn tool. While this tool isn't perfect it's better than standard ring pliers, mostly because it supports a good portion of the ring. That's not to say the ring is perfectly secure in the pliers either...and that's the flaw in the design. The trick to using the tool is to ensure you have opened the ring wide enough to get over the piston lands, because if the ring does catch it will tend to pivot out of the arms. In that case you're in the same boat as with standard ring pliers. Are the Stenn pliers better than standard ring pliers? Yes. Are they worth the premium? I'd have to say yes, considering that we're only talking $20 extra, which is in the noise on a project this big.
Crank Installed
You may recall I did an earlier plastiguage test involving mains 1, 4, and 7. I limited the bearings installed in this test so I could return the other bearings and limit my costs in the event the plastigauge revealed unacceptable clearances. Given the positive outcome of those tests I approached today's tests of mains 2, 3, 5, and 6 with a lot less anxiety. Since the corresponding journals measured smaller than the others I expected the plastigauge to reveal slightly wider clearances. As it turned out they produced the same 1.5 thousandth clearance with the exception of main #2, which was for some reason much tighter than the others at around 1 thousandth. I can't explain this difference, but it's within the acceptable bearing clearance range so I decided to proceed.
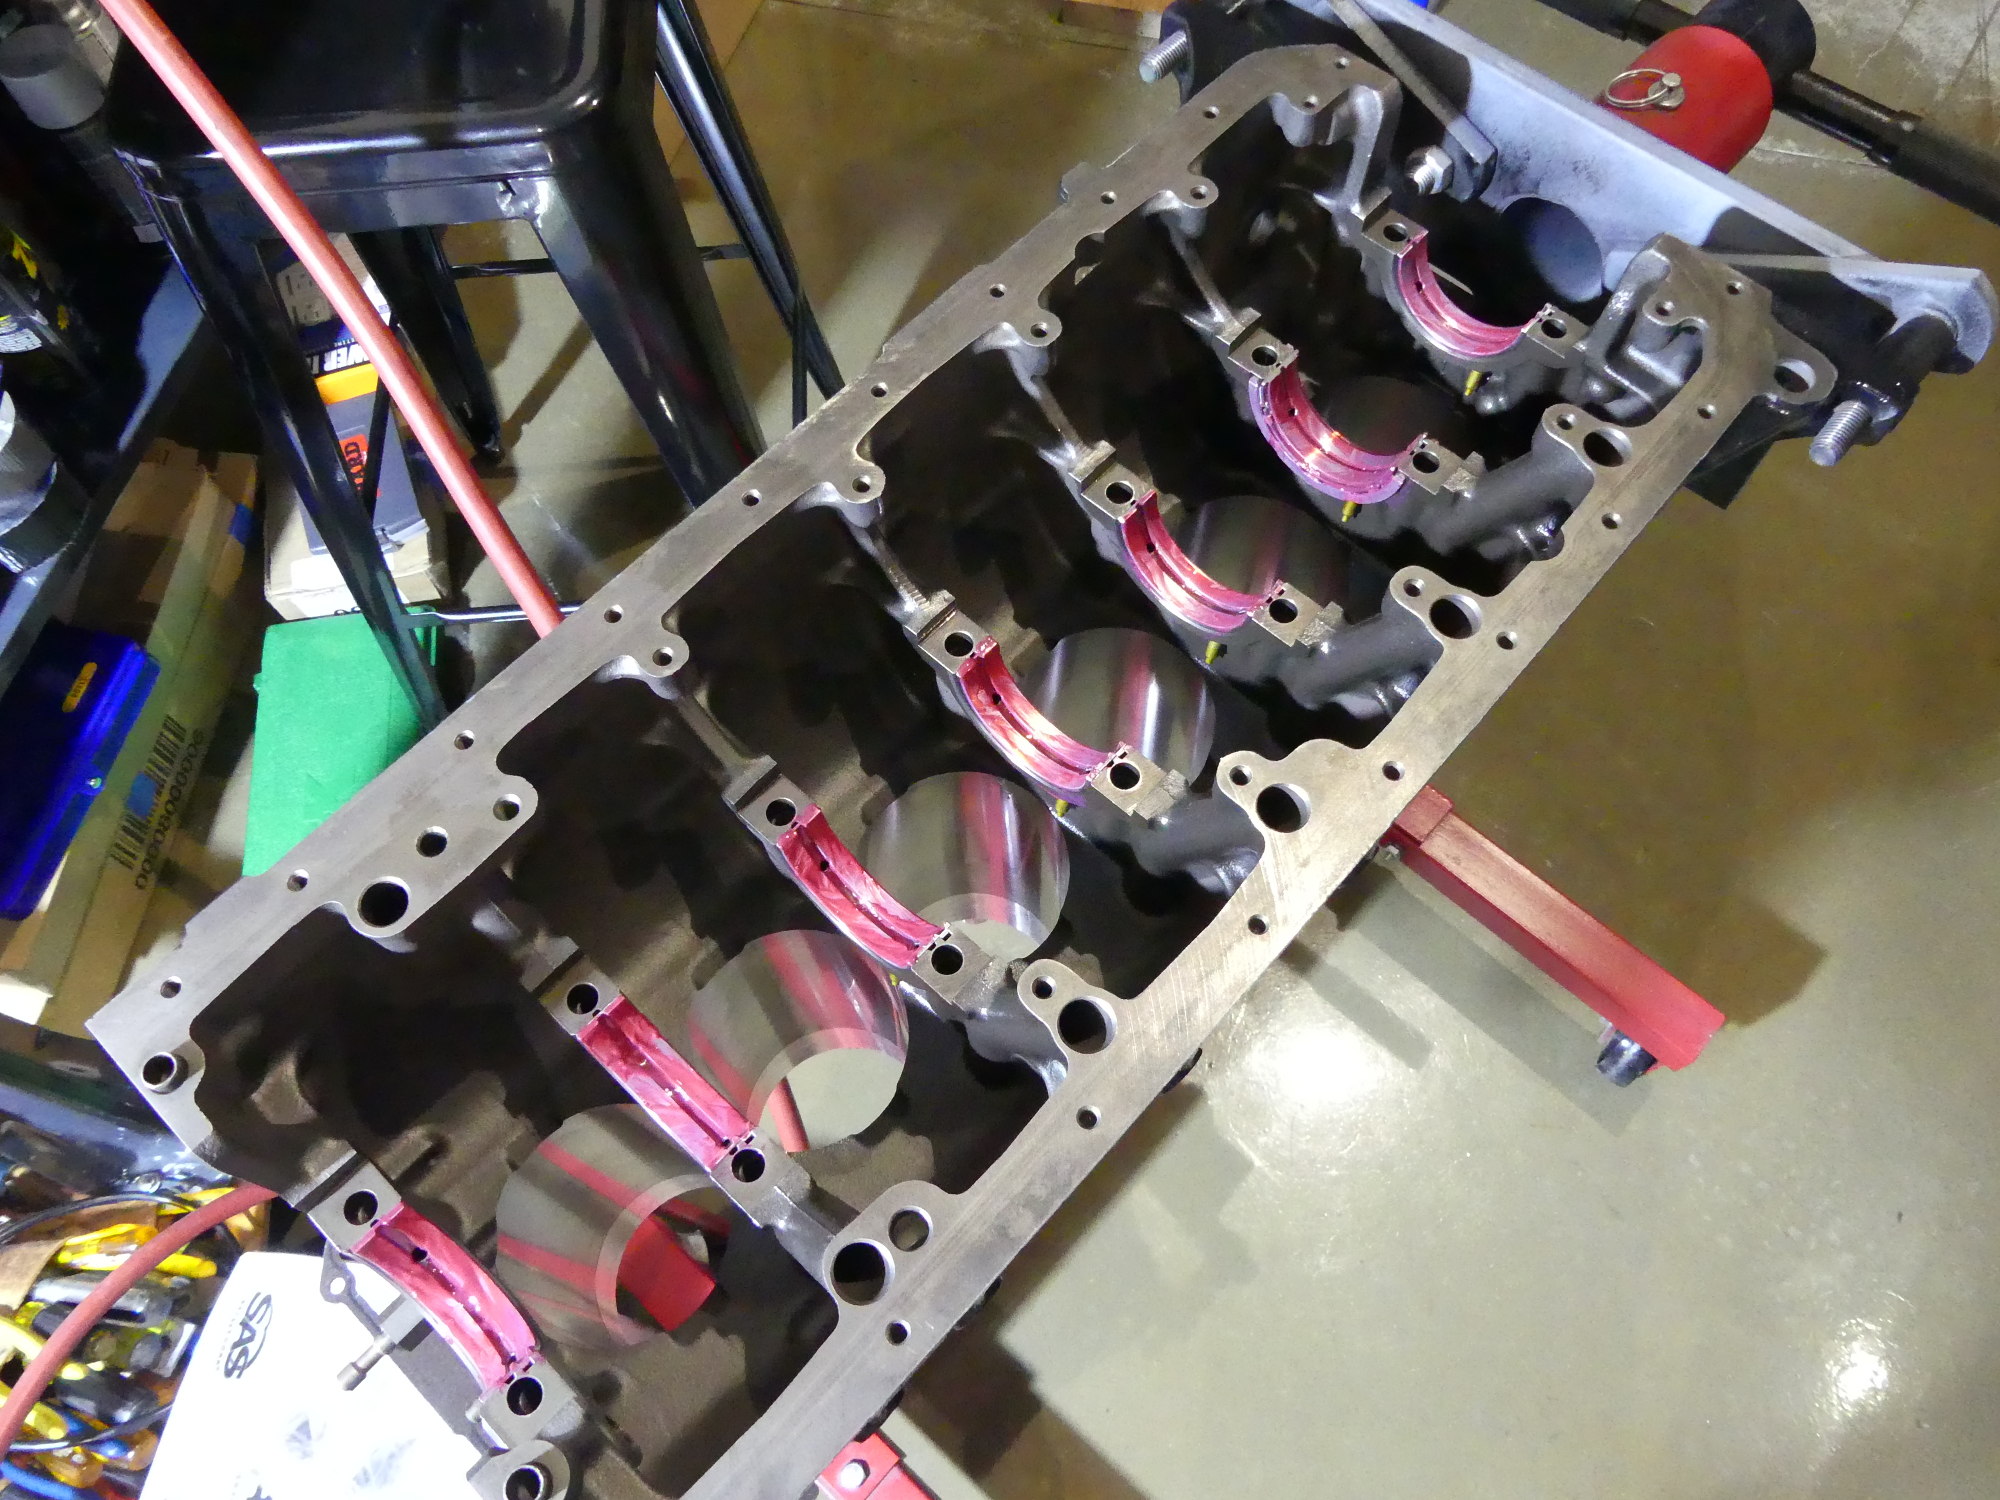
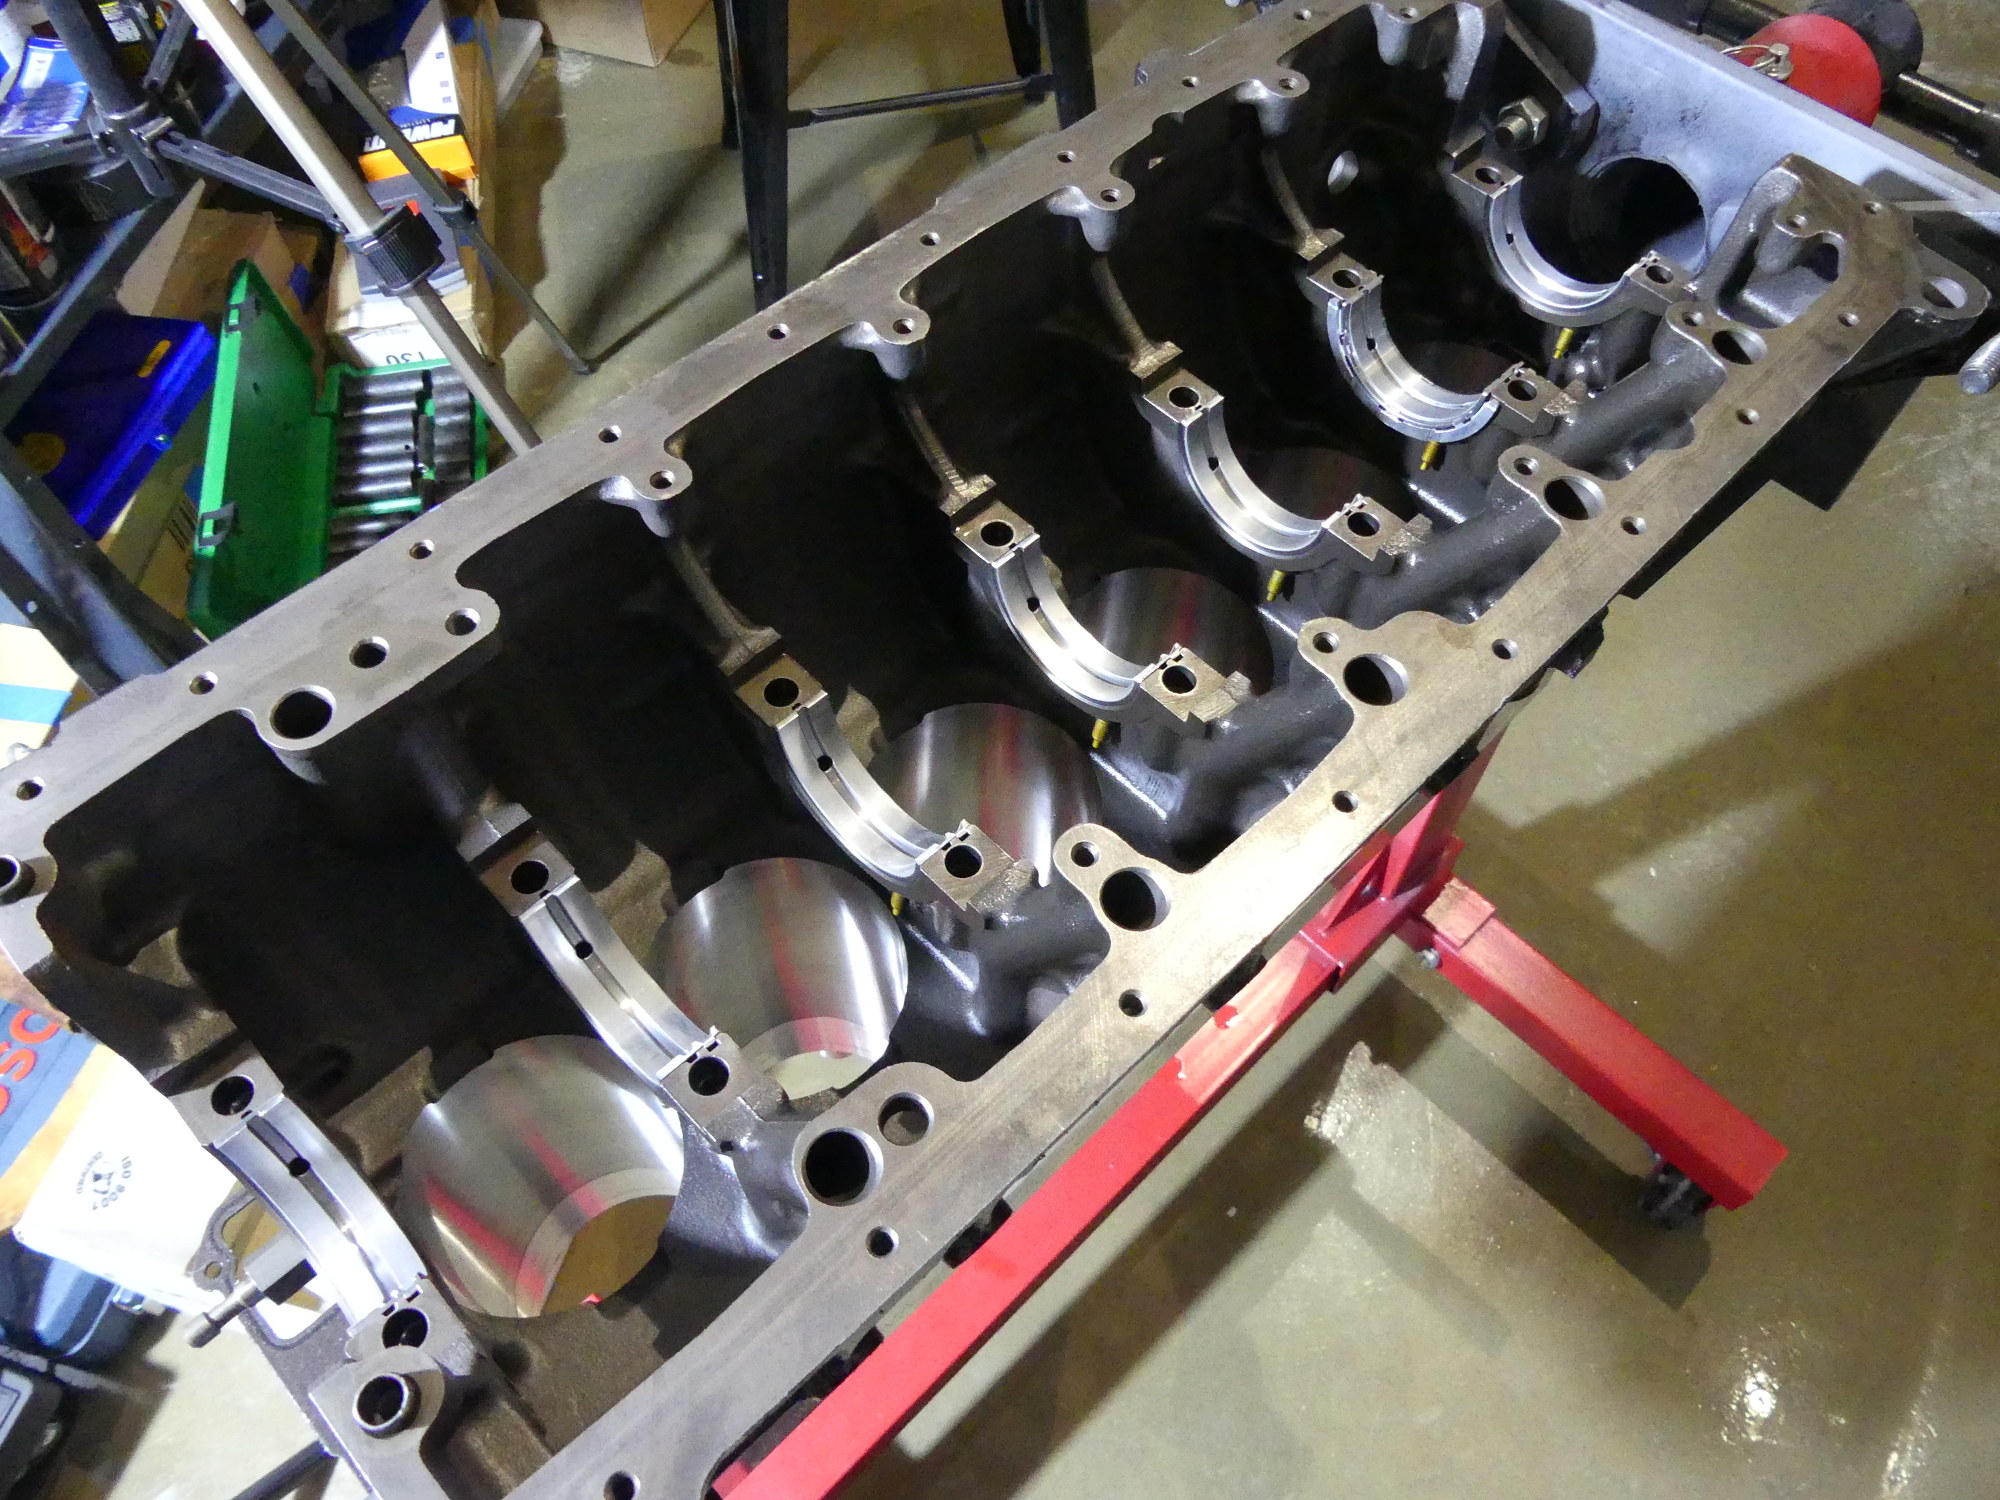 Here I've installed all the top bearing shells, cleaned them with mineral spirits and blown away any lint with compressed air, all with the purpose of keeping them as clean as possible before the crank is installed. |
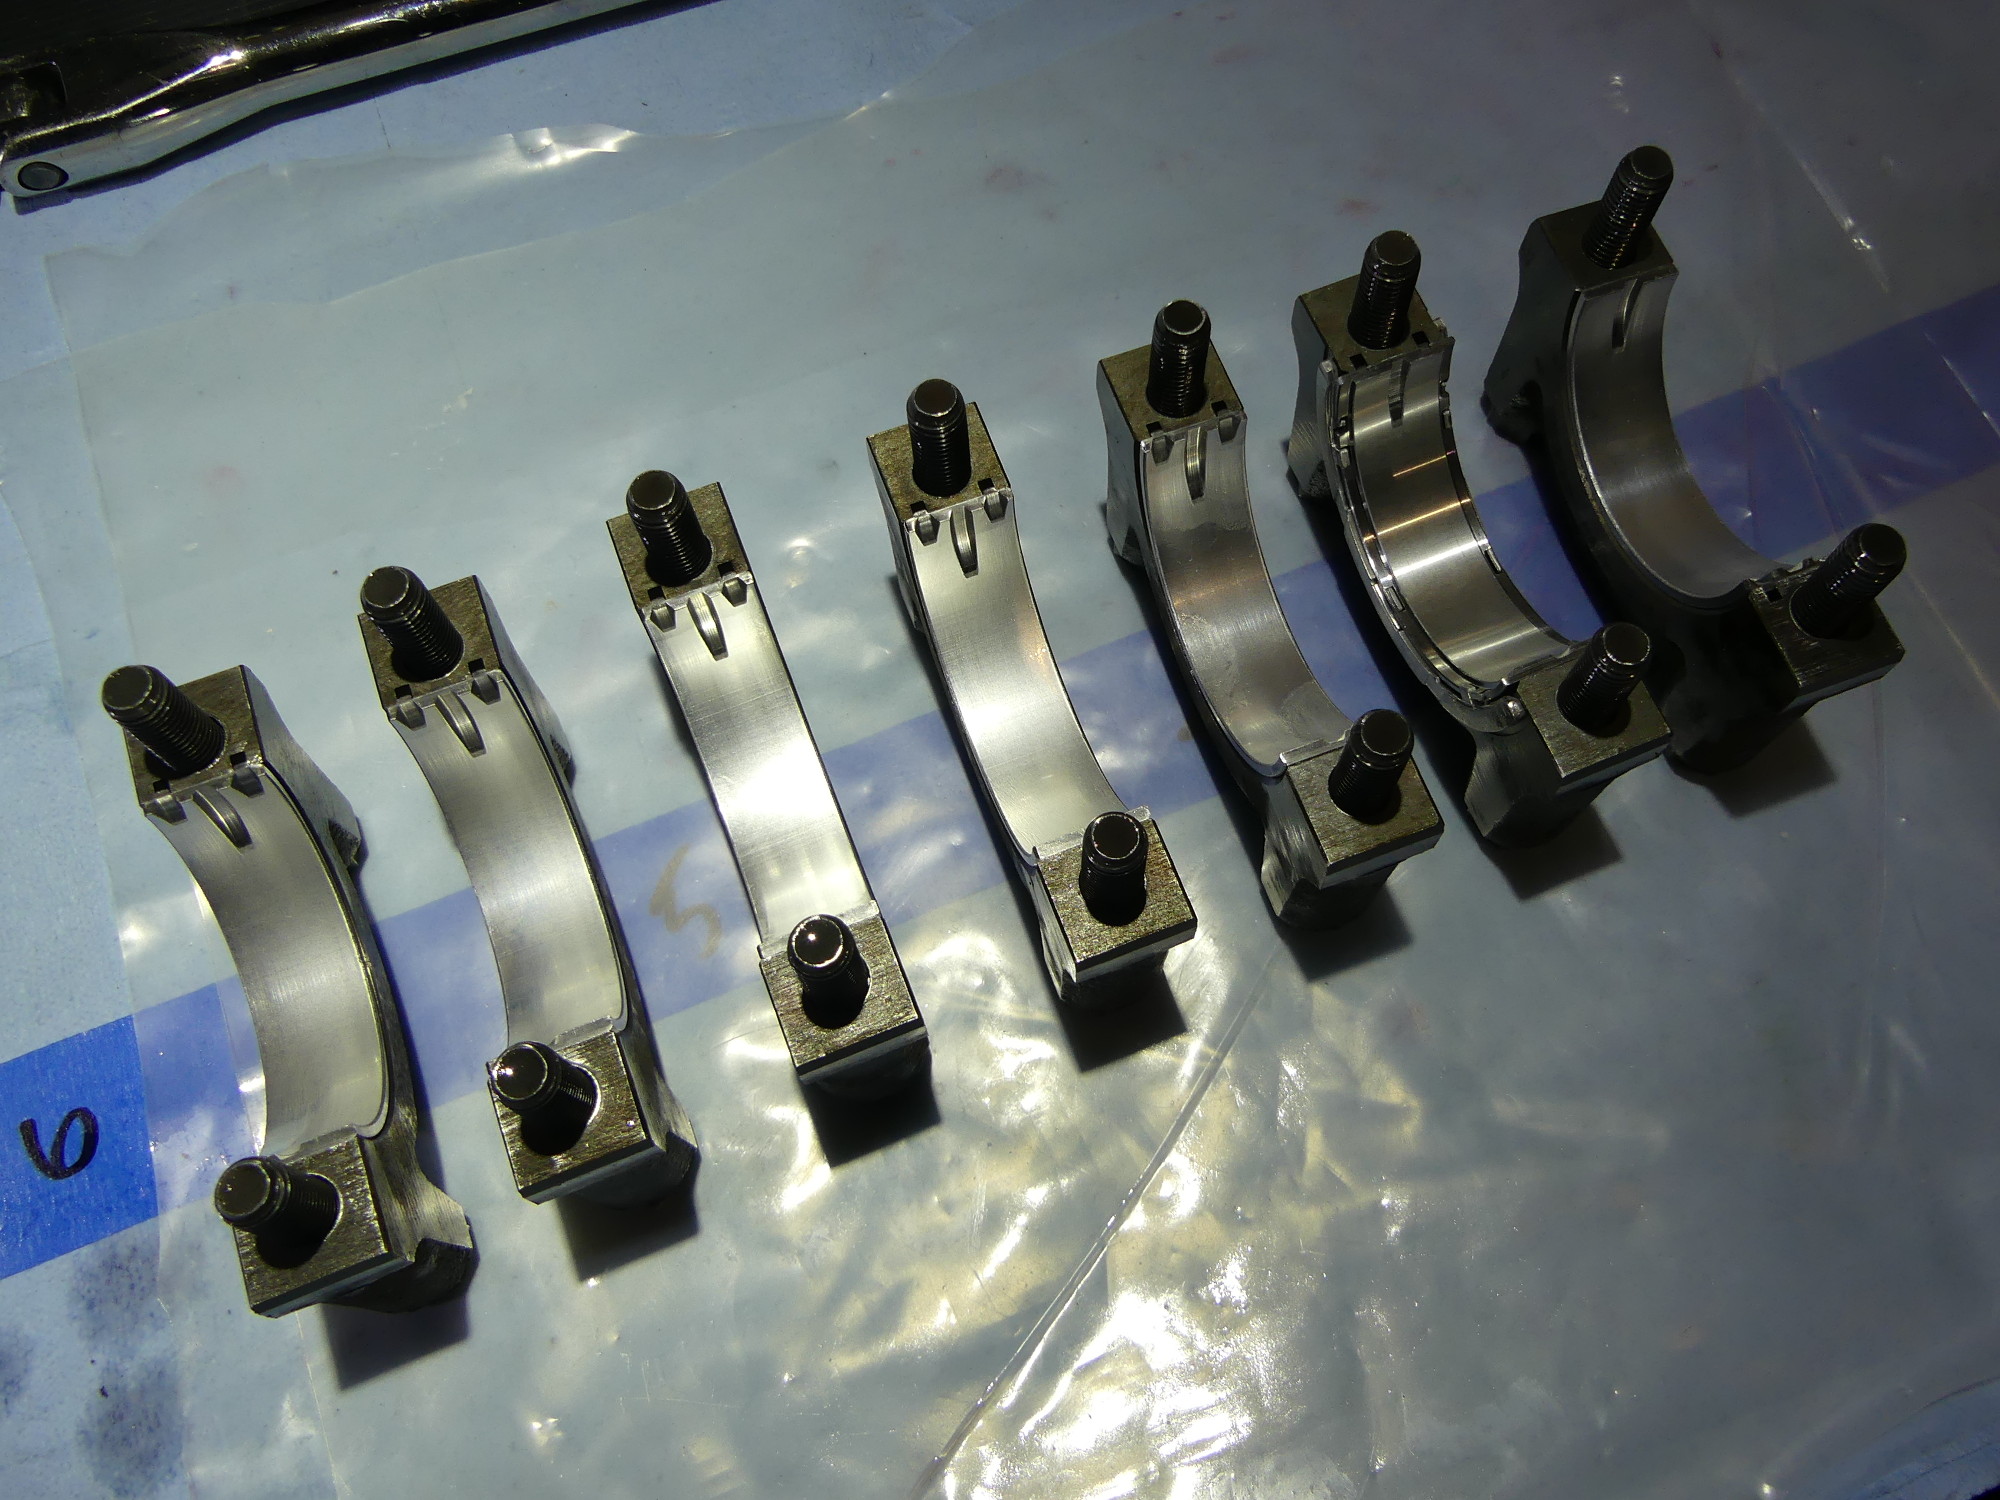 The bottom main bearing shells installed in the main caps, just before I cleaned them with solvent and compressed air. Note how the lower bearings, which take most of the weight, are solid, while the uppers are not. |
 Although I tested bearings 1, 4, and 7 earlier, I had to test the remaining bearing clearances today before installing the crank permanently. The test starts with a small piece of plastigauge on the top of each main journal. |
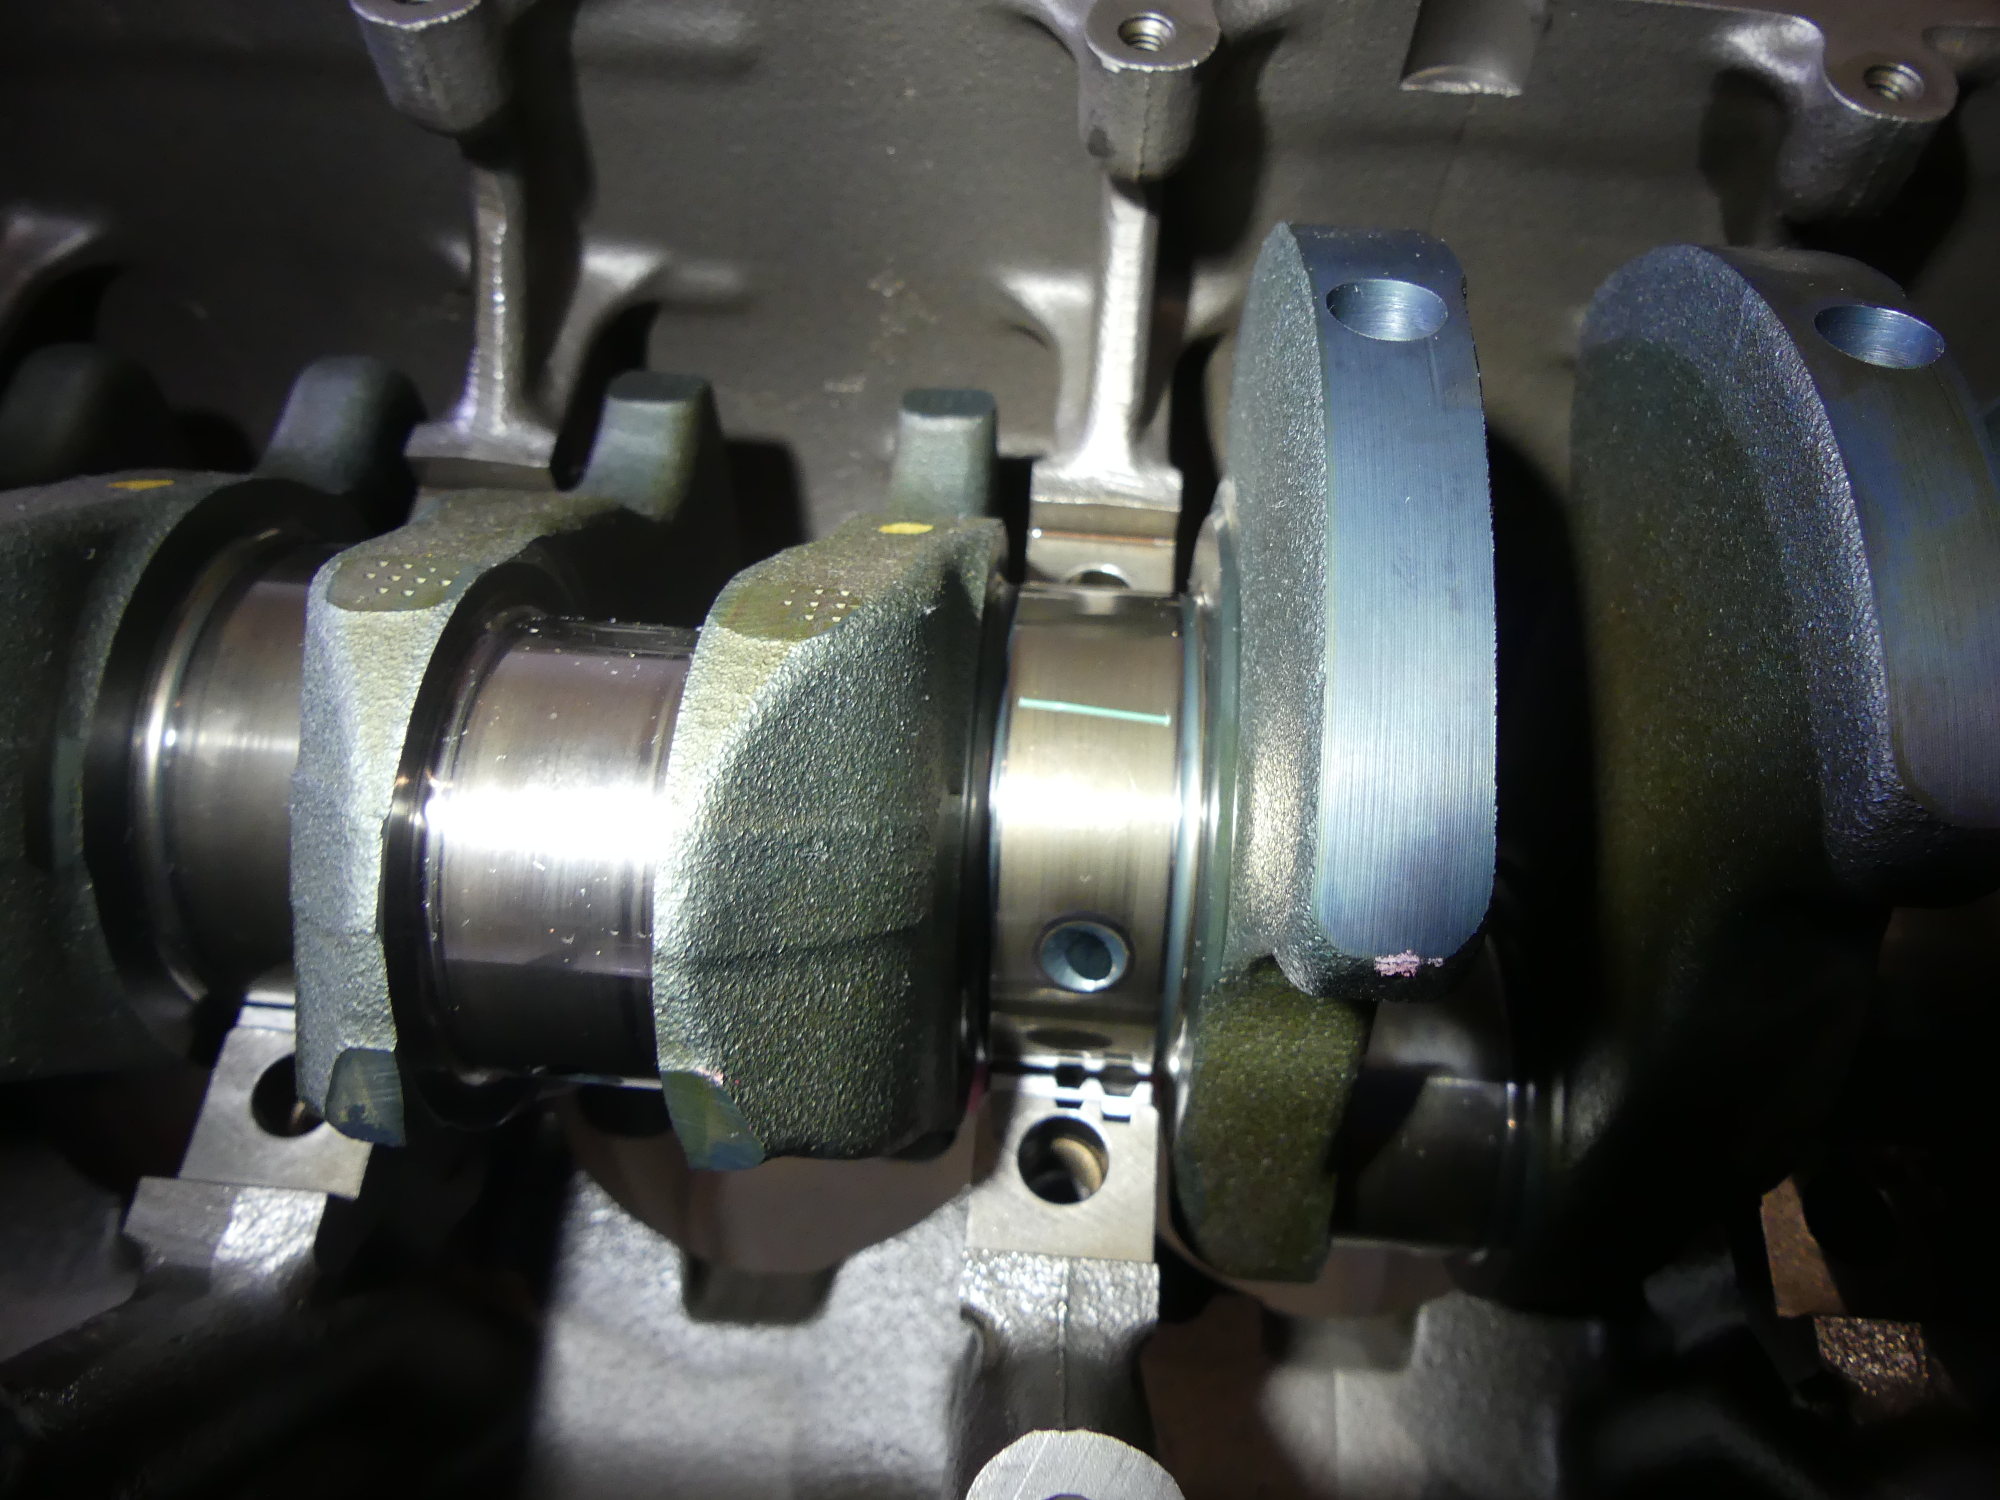
With the plastigauge tests successful and the white bearings validated I cleaned all the bearings with mineral spirits, dried them, blew away any lint with compressed air, and then coated them with assembly lube. Before I installed the crank I knew I had to install the rear main seal because some of the holes on the carrier are used to secure the oil pan, so I hammered the seal into the carrier with a rubber mallet and a 2x4 before installing the seal on the crank flange. To wrap up the prep and ensure complete coverage I applied assembly lube to the main journals of the crank, paying particular attention to the thrust bearing surfaces.
When I attempted to install the crank I realized that the rear main seal housing was hitting a couple of the engine stand bolts. The solution involved using some M12 washers to reduce the profile of the bolts but the only M12 washers I had on hand were currently holding the torque plate to the block. So while I had planned to remove the torque plate after the crank was installed I had to switch gears, remove the torque plate, and then install exactly four washers on each engine stand bolt. With that done the crank and the seal carrier mated with the block as expected.
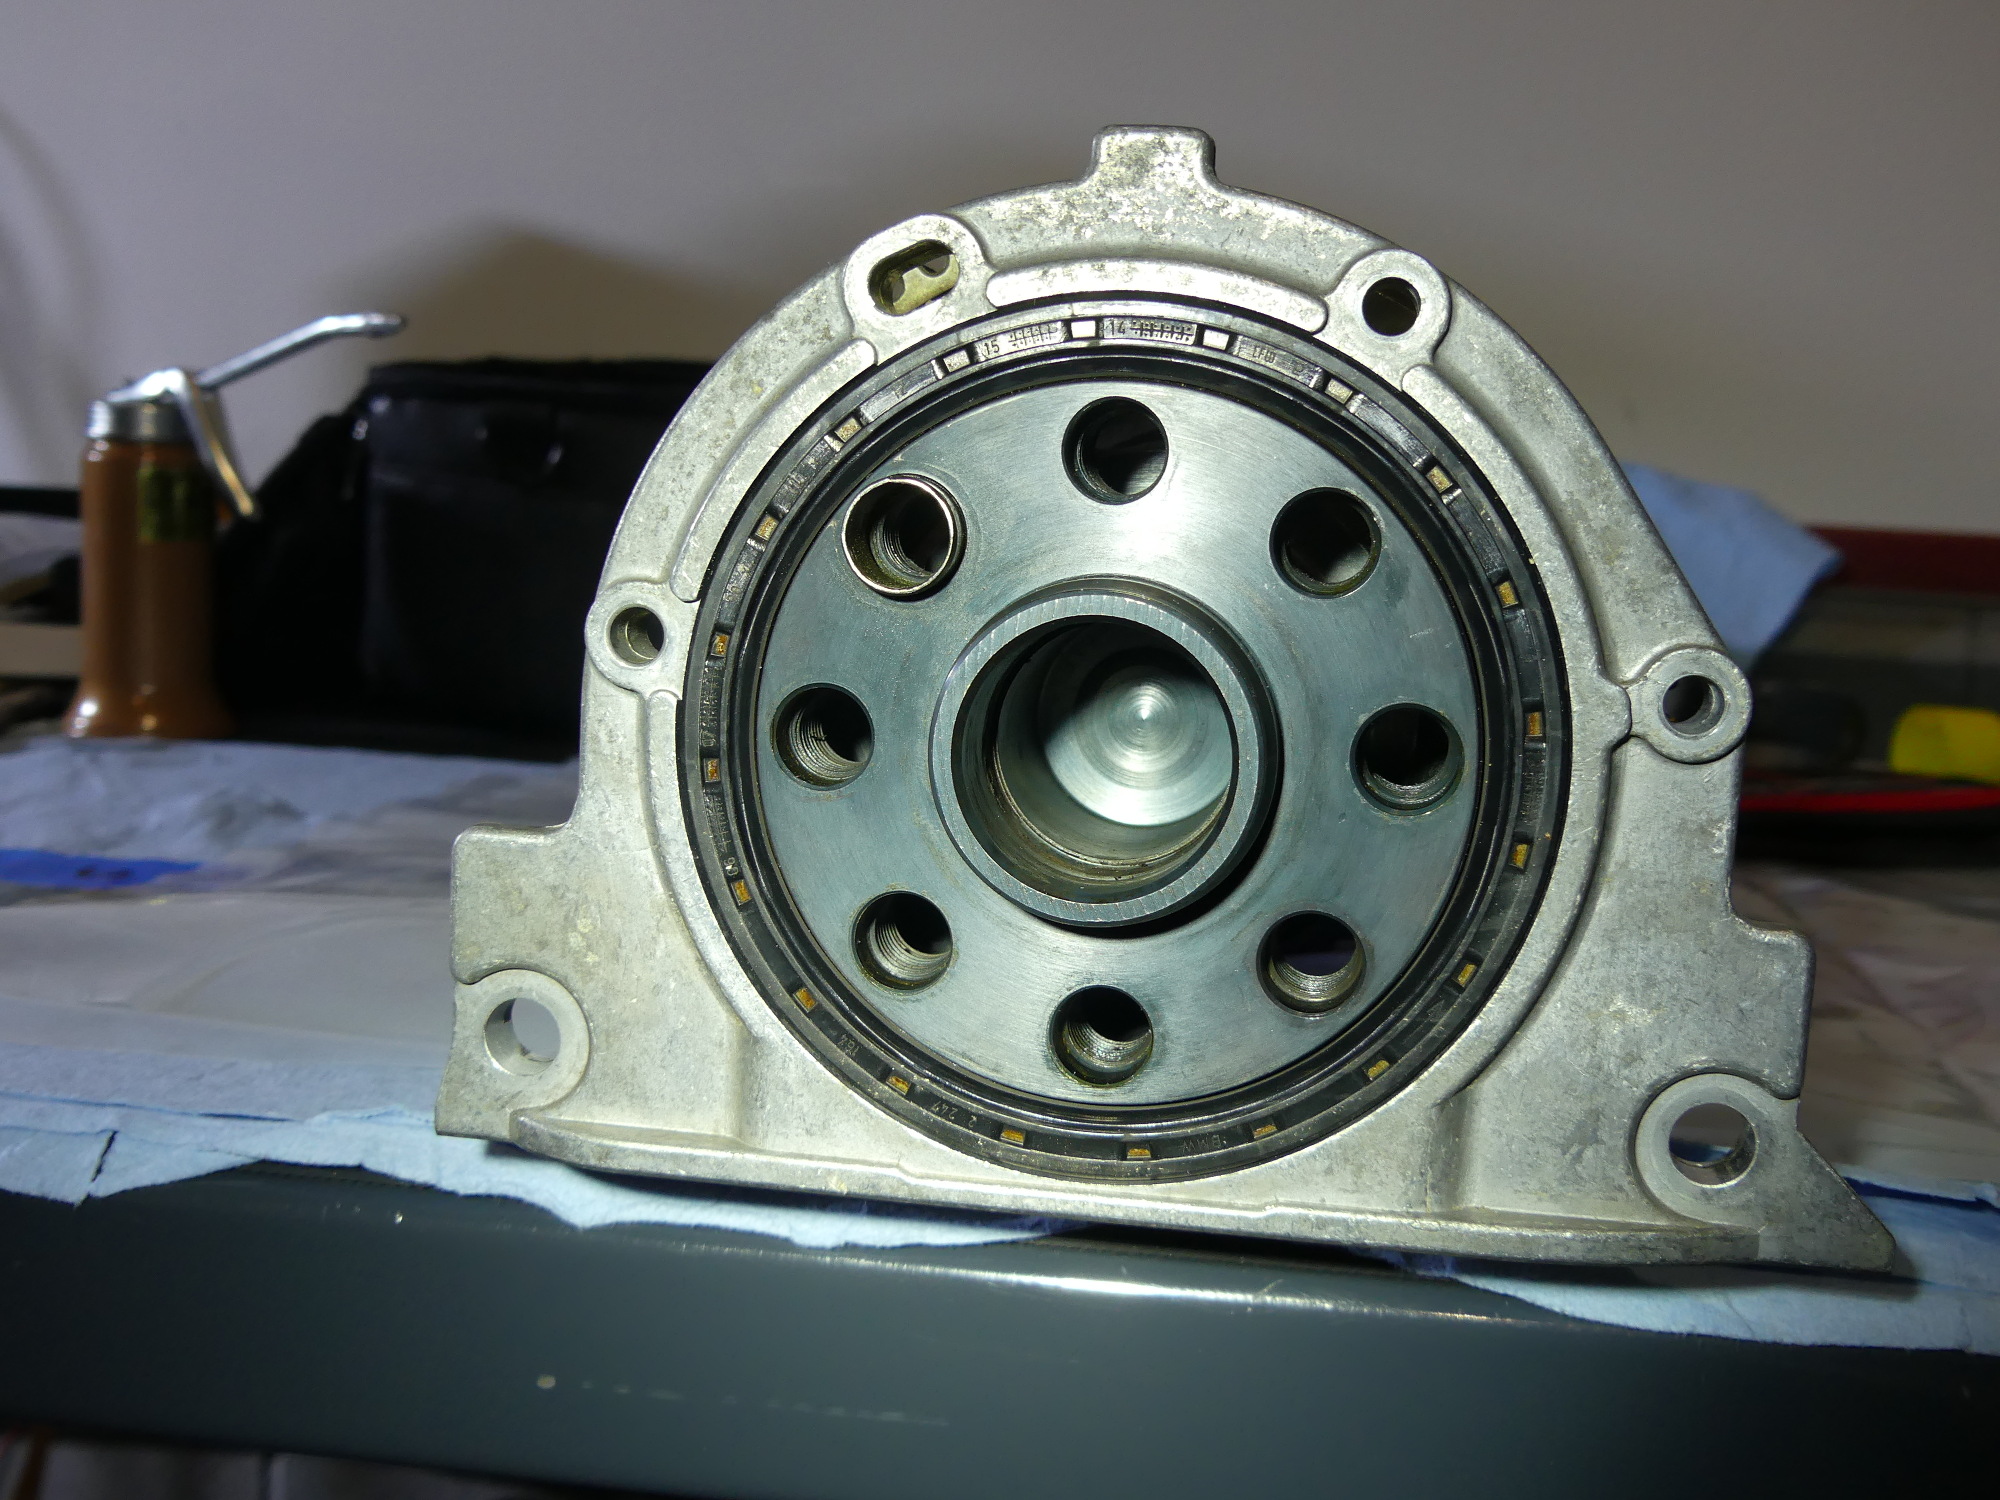 The rear main seal carrier must be installed to install the oil pan but the engine stand gets in the way of installing it after the crank is lowered into the block, so they must be installed as a set. |
 Since I don't know exaclty when I'll be firing the engine for the first time I used assembly lube as opposed to engine oil to lubricate the bearings and crank journals. This stuff is messy but essential. |
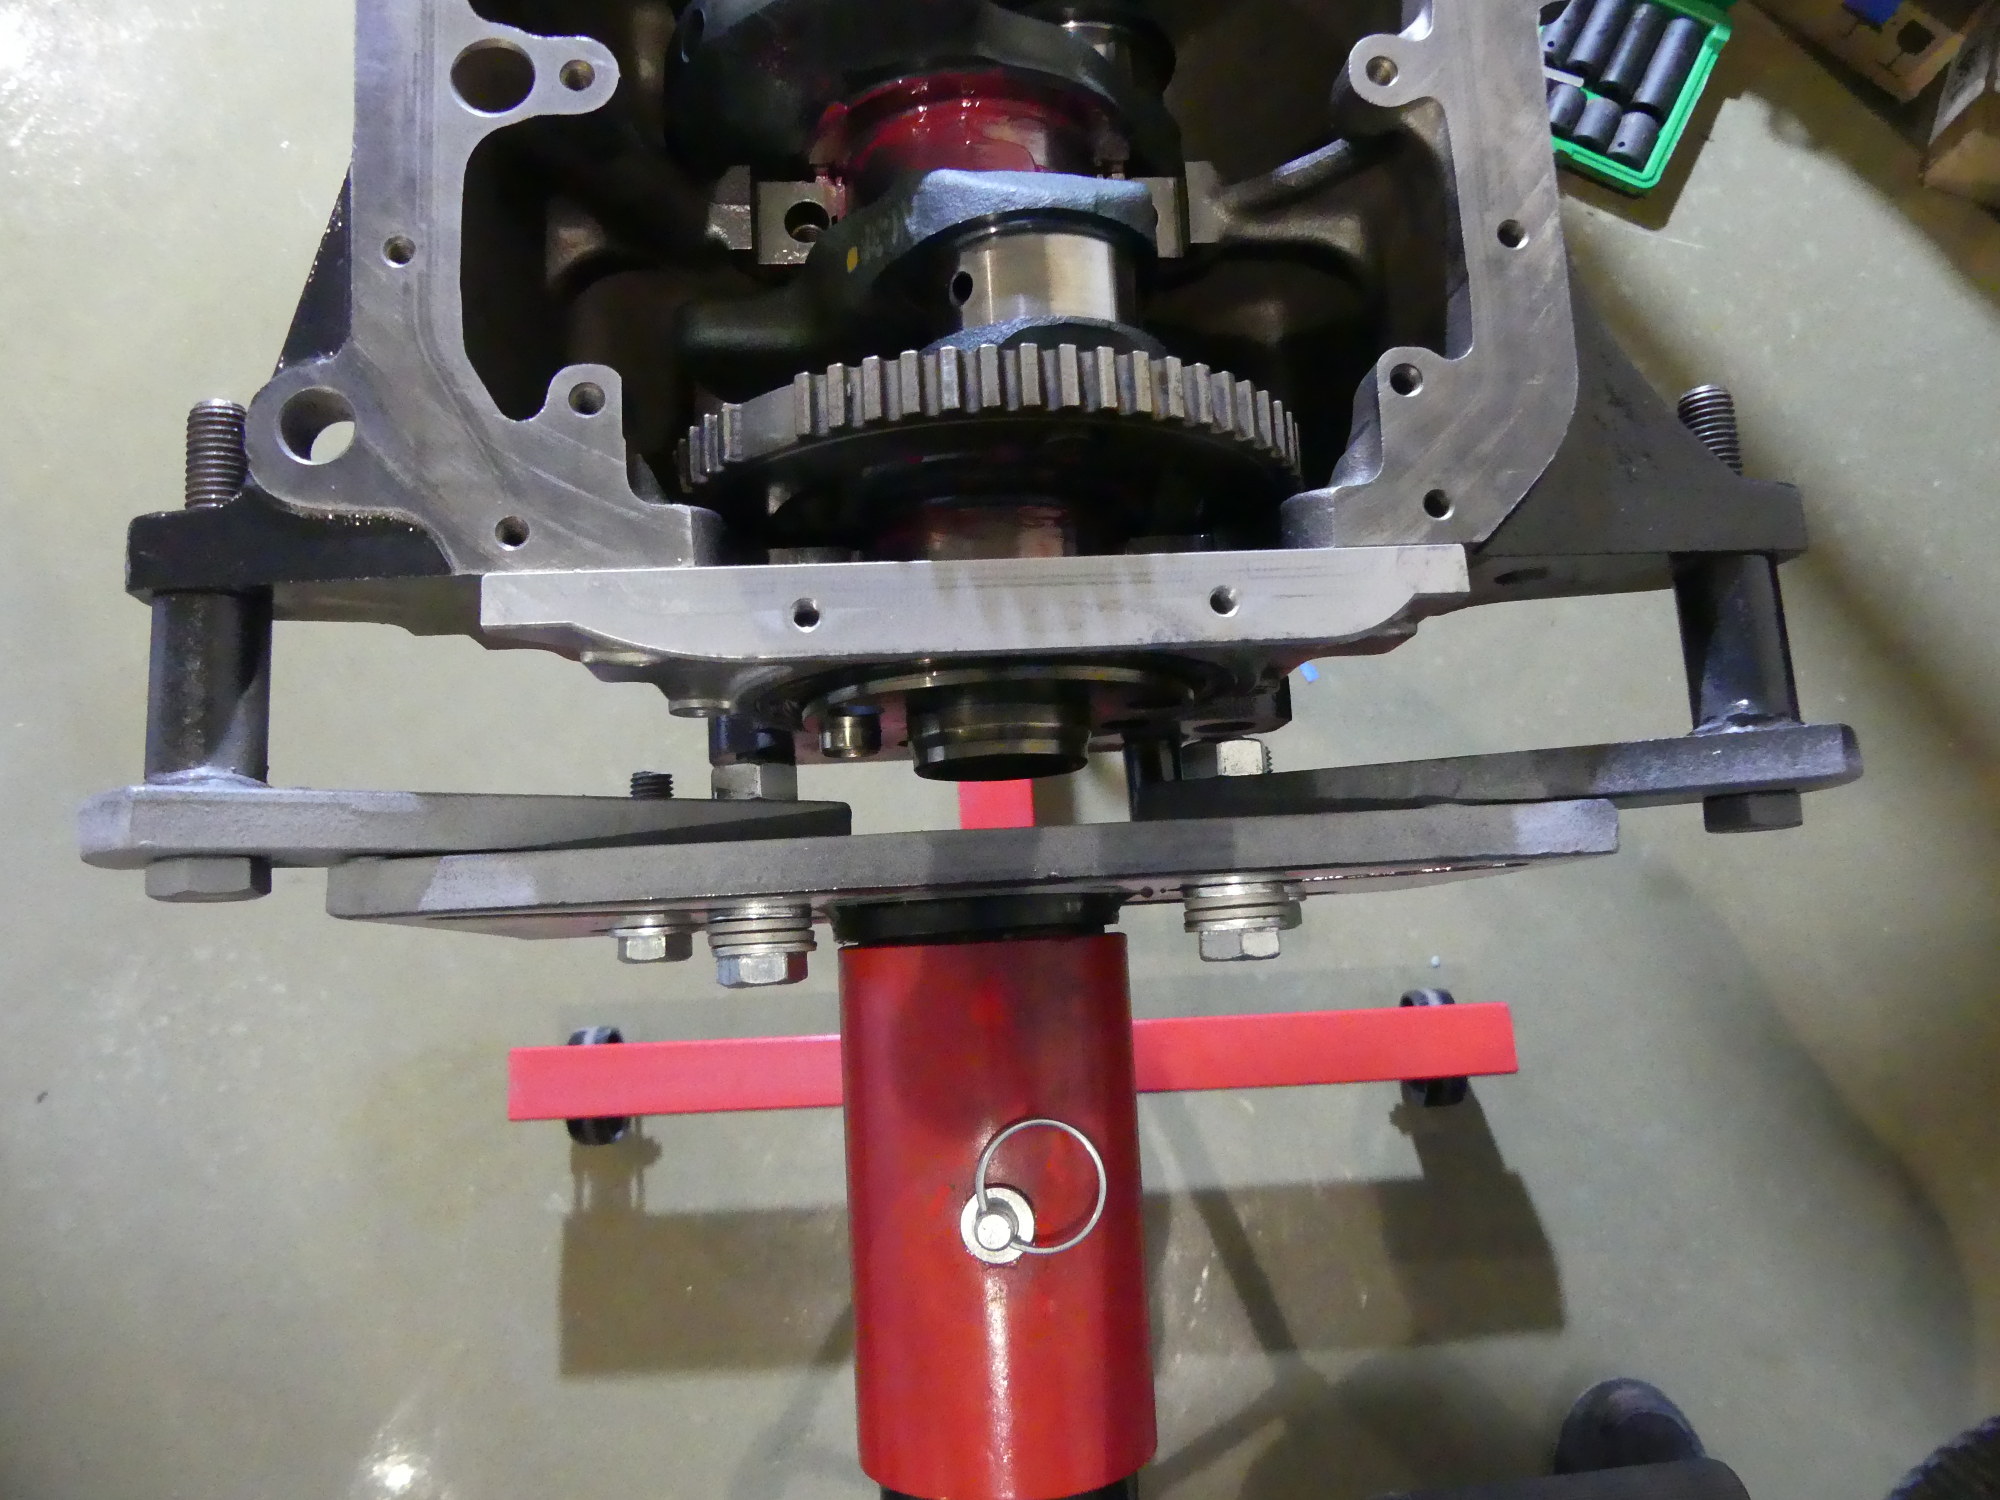 My fix for the HF engine stand to accommodate the rear main seal carrier. Four Class 10 M12 washers I bought for other purposes must be installed to reduce the profile of the bolts. Worked for me. |
I'm still not sure why BMW advises via the TIS that the mains bolts be replaced. As others have pointed out, while the bolts are installed with a torque spec including a torque angle, the resulting torque is less than 50 foot pounds, which is well below the yield point of these M10 Grade 10.9 bolts. However, I didn't design the engine so I'm not qualified to countermand the TIS requirement. For this reason I bought new bolts, which I washed in mineral spirits and oiled as specified in the TIS. As I installed and hand tightened each set of caps I confirmed the crank continued to rotate freely, albeit with some initial resistance due to the rear main seal.
Next Up
Tomorrow I'll torque the mains bolts to spec. Once that's done I can install the windage tray, upgraded oil pump, timing chains and guides, timing cover and oil pan -- at which point the bottom end assembly will be complete and I can prepare the new head for installation.