


Tuesday, October 3, 2017
Mains Bolts Torque Check
I woke up today unable to shake the feeling that perhaps I didn't torque all of the mains bolts yesterday. Although I'm getting punchy as of late I knew this particular issue had some foundation in reality as I was talking to my brother at the time and my full attention was diverted.
So how do you test a torque on a fastener with a torque angle that you don't want to loosen as required to torque it again? You do what I did -- set a torque wrench for a value over the "fitting" torque and below the approximate torque applied via the angle. In the case of the mains bolts the fitting torque is 15 ft*lbs and the approximate final torque that results from the torque angle is around 45-50 ft*lbs. So I set my torque wrench for 25 ft*lbs and rechecked all the mains bolts. I got 14 good clicks on the bolts so I concluded they were all fine. Let this be a lesson to all engine builders. Avoid distractions... and late night, caffeine-fueled blog writing sessions.
Installed New Rod Bolts
The next task was to replace the original rod bolts with factory new bolts. Reviewing the TIS, I confirmed that BMW wants the new bolts washed and oiled, just like the mains bolts, so I washed them in mineral spirits and oiled them with the break-in oil that will be soon circulating through the engine. I then went through each rod, from 1-6, and installed the new bolts. A couple of the bolts gave me fits as the engine stand wanted to move around quite a bit. This experience renewed the importance of figuring out some method of securing the stand in prep for the head bolts.
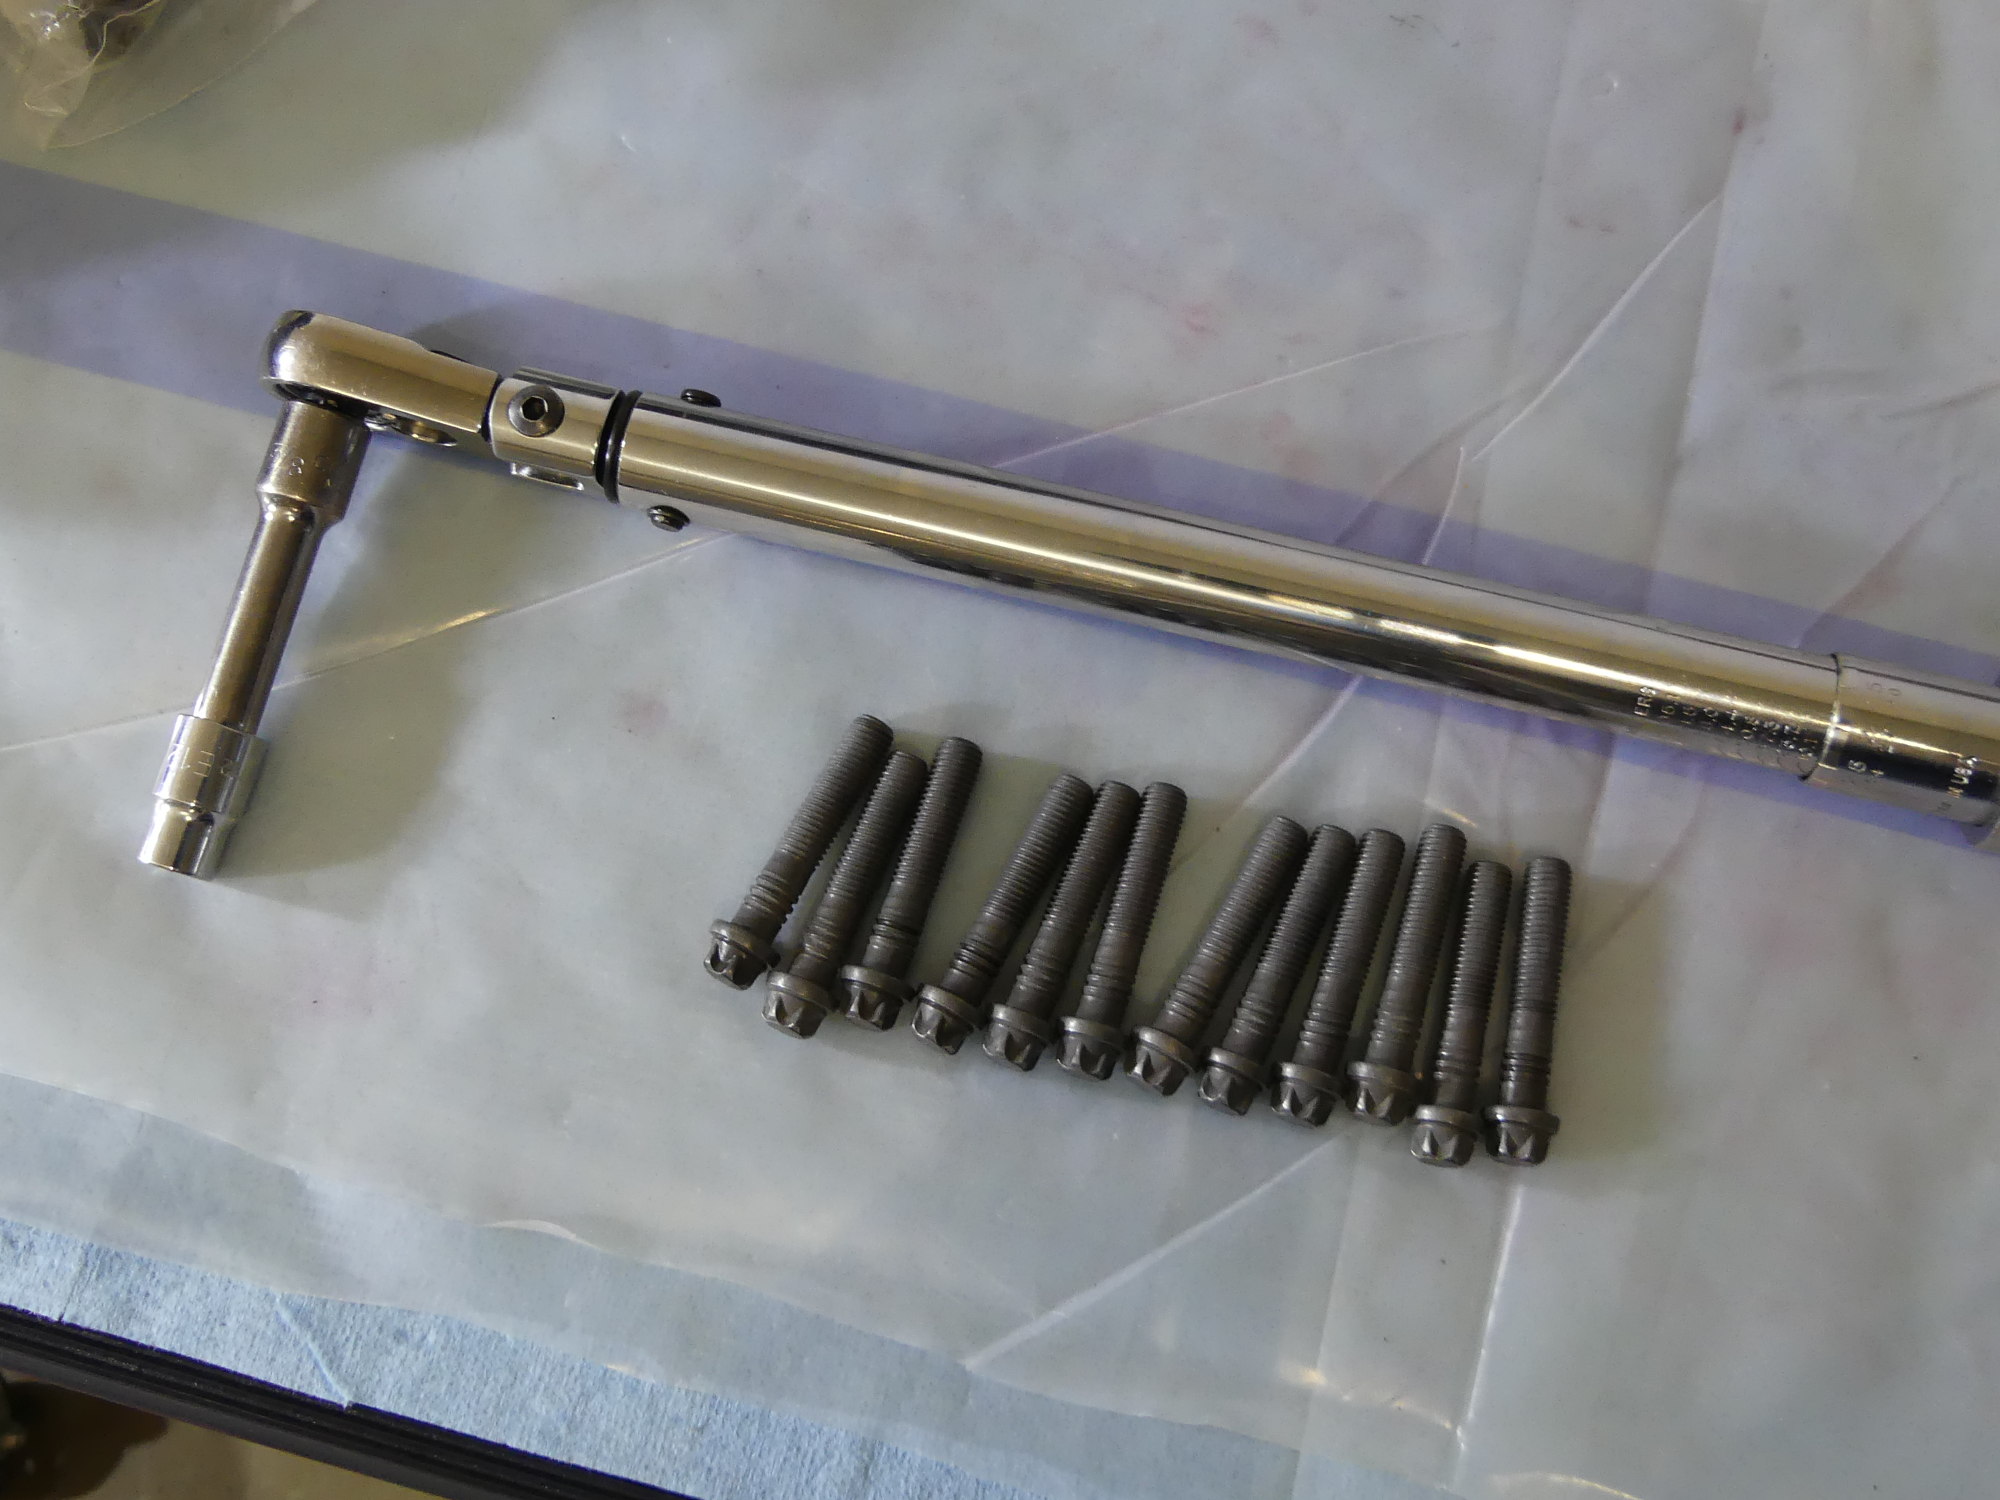 With the plastigauge tests complete it was time to install the new rod bolts. These bolts are torqued beyond their yield point so they must be replaced. BMW torque specs: 5 ft*lbs, 15 ft*lbs, plus 70 degrees. |
 The cadmium plated M6 bolts securing the windage tray looked brand new after I washed them with mineral spirits and lightly reoiled them. This is what happens when bolts are bathed in oil throughout their life. |
 I am replacing all the timing chain sprockets due to wear of the teeth as well as the rubber collars, which I imagine are designed to reduce chain noise. If you look closely you can see how the links have worn down the rubber. |
Coolant Drain Plug
I bought a new coolant drain plug but I ultimately determined that I could not use it because it was longer than the original and the threads exposed in the water jacket had long ago corroded. The new bolt went in freely and then just stopped. I didn't want to risk any damage to the block and the existing drain bolt was perfectly fine so I decided to put a new sealing ring on it and torque it to the spec in the TIS -- 25 Nm (16 ft*lbs). I found this to be a surprisingly light torque for the size of the fastener, particularly given that it didn't feel like the sealing ring had started to crush, but the spec is the spec, so I left it at that.
Rear Main Seal Gasket
I neglected to install the rear main seal gasket yesterday so I tackled that today. As I pulled the gasket from its packaging I realized that the gasket is embossed with a continuous ridge, rather than manufactured with a small bead of silicone as I originally assumed. I'm not sure if direction really matters on these gaskets, but I decided to install the gasket with the embossed ridge facing the block. I then put in a couple of the original bolts to hold the seal housing in place as the new bolts I ordered had not yet arrived.
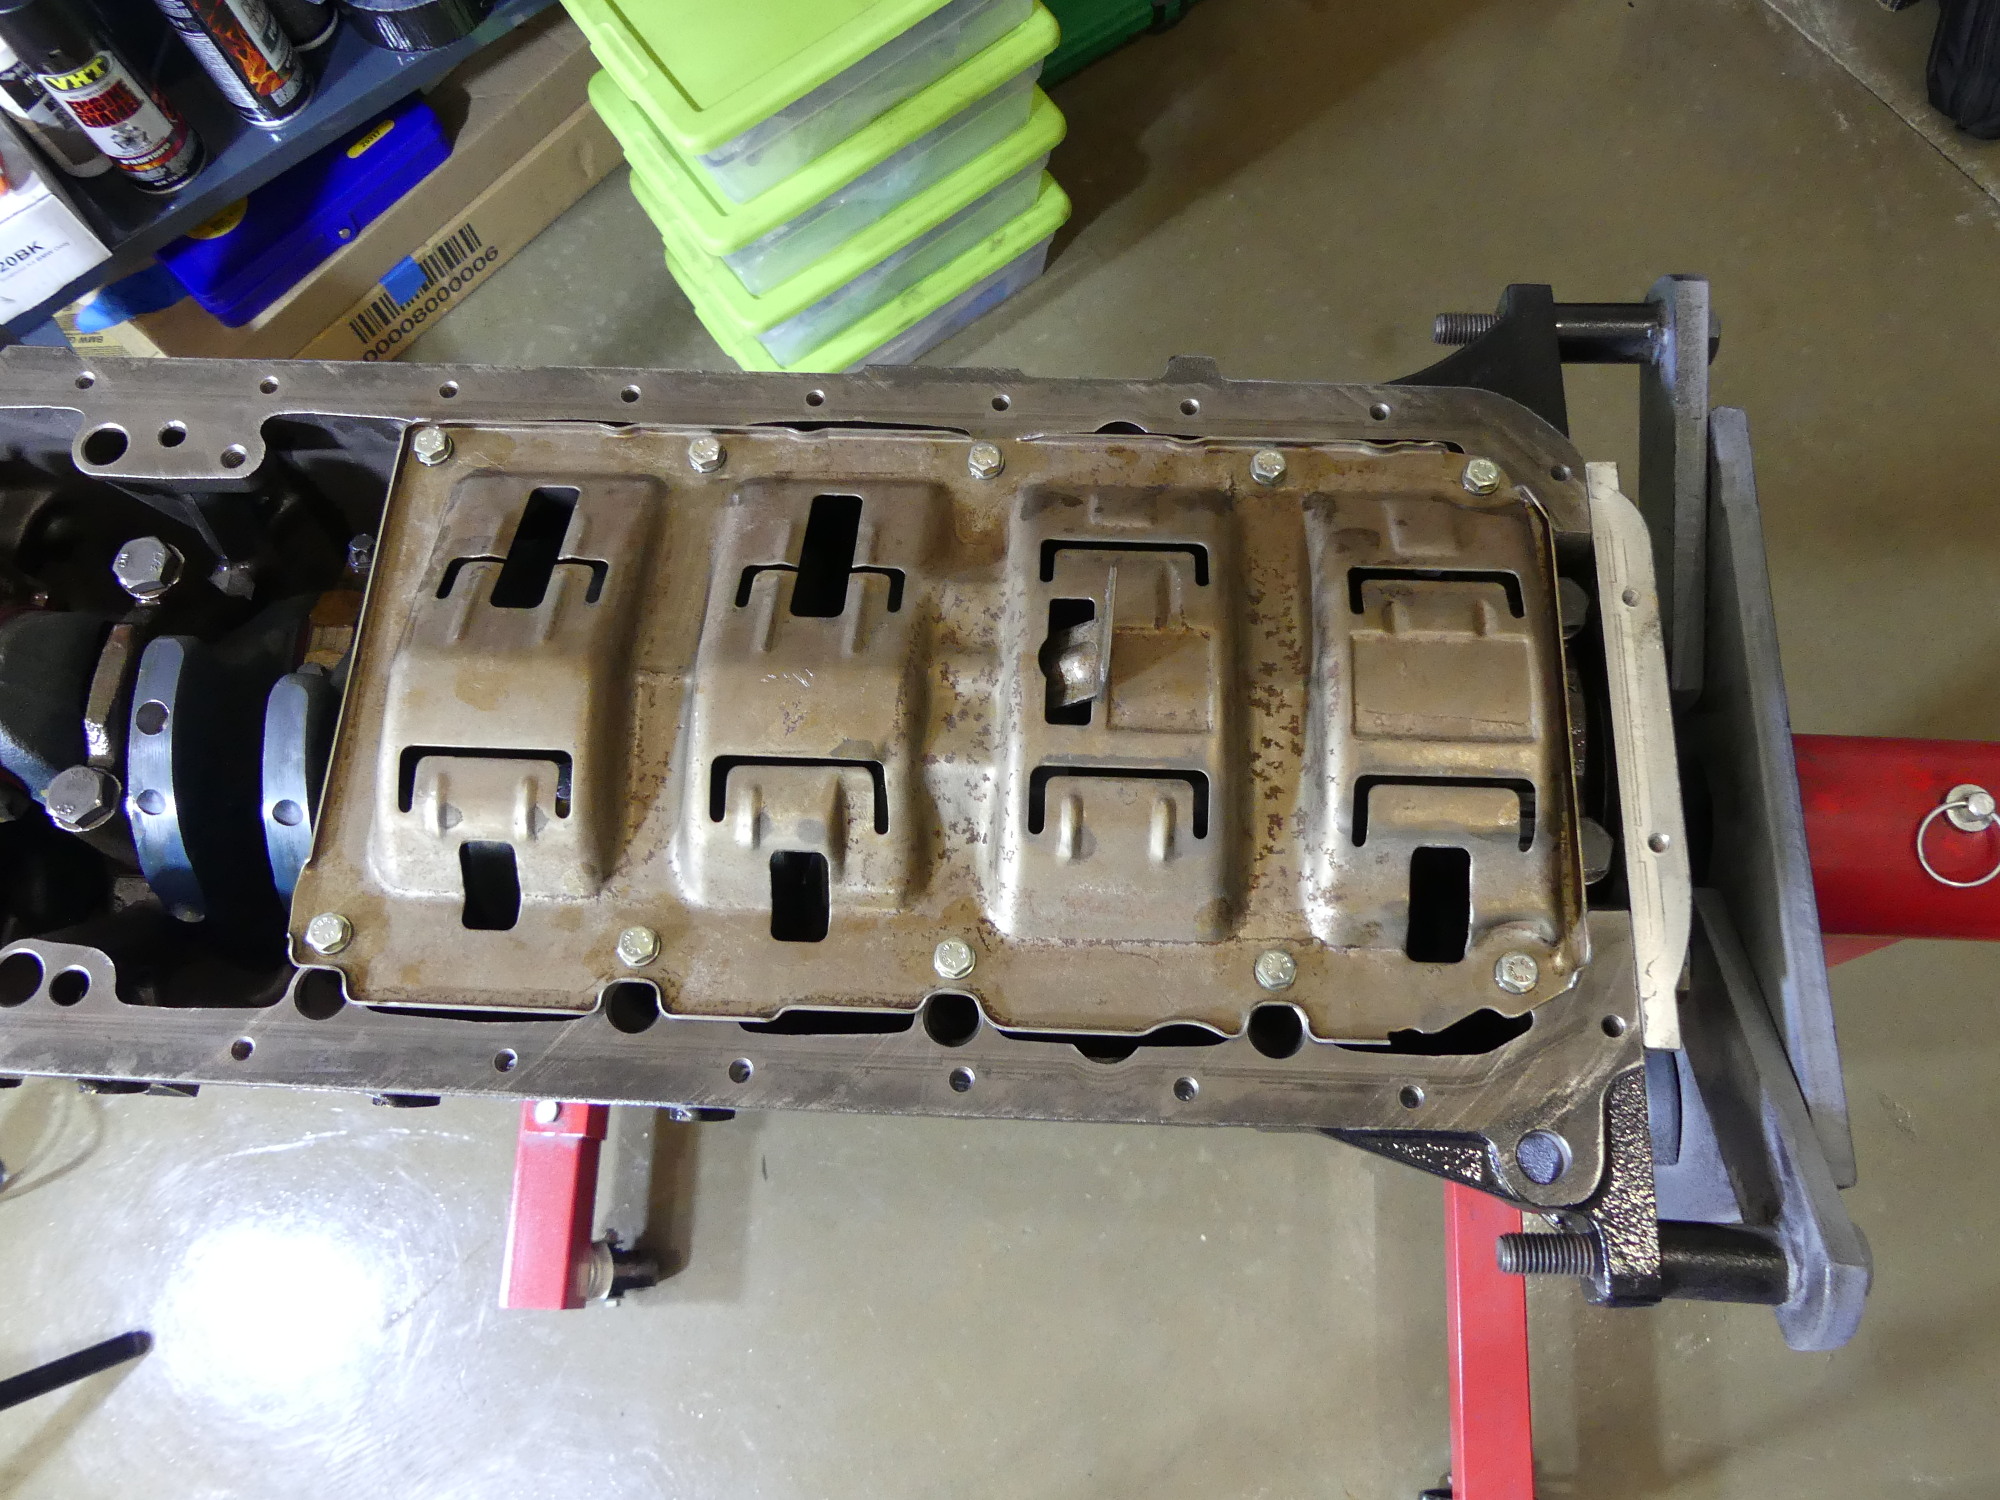
Windage Tray
Installing the windage tray was a simple process but one of the more satisfying things I've done so far, probably because it represents a turning point -- I'm finally done assembling the bottom end internals. I found the ten M6 bolts used to secure it to the block in one of the dozens of bags I'm now emptying and washed them in mineral spirits. They cleaned up beautifully and looked brand new...which is what happens when a bolt is continuously bathed in oil and corrosion is not allowed to take hold. I wish I could say the same for most of the externally-facing hardware on this engine, which explains why most of it will be replaced.
Oil Pump
The last item of the day turned out to be installation of the oil pump. I pulled the new pump, complete with the Z3 2.8L reinforced pickup tube and Achilles Motorsport upgraded pump shaft, out of its protective plastic and placed it on the inverted block just to check the fit. I was glad I did this up front, as I found the pickup tube bracket significantly out of alignment with the bracket that is secured to the number five main. I was able to pull the tube into position, but I quickly decided against that as it would have put too much stress on the tube where it is brazed to the flange that mounts to the pump.
I went back to the drawing board and pulled my old pump and pickup out of storage. I put that on the block and it fit like a glove. As I also had the new (non-reinforced) pickup tube supplied with my new pump I put that on the old pump and tried to make it fit, assuming that perhaps the welding jig used to make the newer pickup tubes was out of alignment but that fit as well. As I looked more closely at the installation I discovered the problem. The pickup tube mounting holes are slightly larger than the bolts that secure it to the pump, and that means the entire pickup tube pivots a bit. That very small amount of play in the mounting holes translates into a good centimeter or more of movement at the end of the pickup tube, and by securing the pickup tube on the bench I simply torqued it to spec in the wrong position. The solution was simple enough: I loosened the bolts that secured the pickup tube to the pump so I could tighten them later, after the unit was installed.
The Achilles' instructions indicate that the pump should be primed by pouring oil into the inlet or outlet, but that's all they say. I perfectly understood the concept of priming the pump, but since I was working with the engine inverted on the engine stand at this point and I knew that oil poured into the pump would just pour out when I turned the pump over, I called Achilles seeking more information on why they consider it "important" that the pump be primed prior to installation and exactly how I could verify that the pump was in fact primed. Once again I was connected to Mino, who told me, as expected, that they recommend priming the pump to maximize vacuum so oil pressure rises as quickly as possible. He added that the priming process can be accomplished by pouring oil only into the outlet and the pump turned back and forth until resistance is felt. He also noted that this is done for the customer if they buy a pump preassembled with the upgrade, but for those that buy just the internal parts some oil must be added to help seal the impeller.
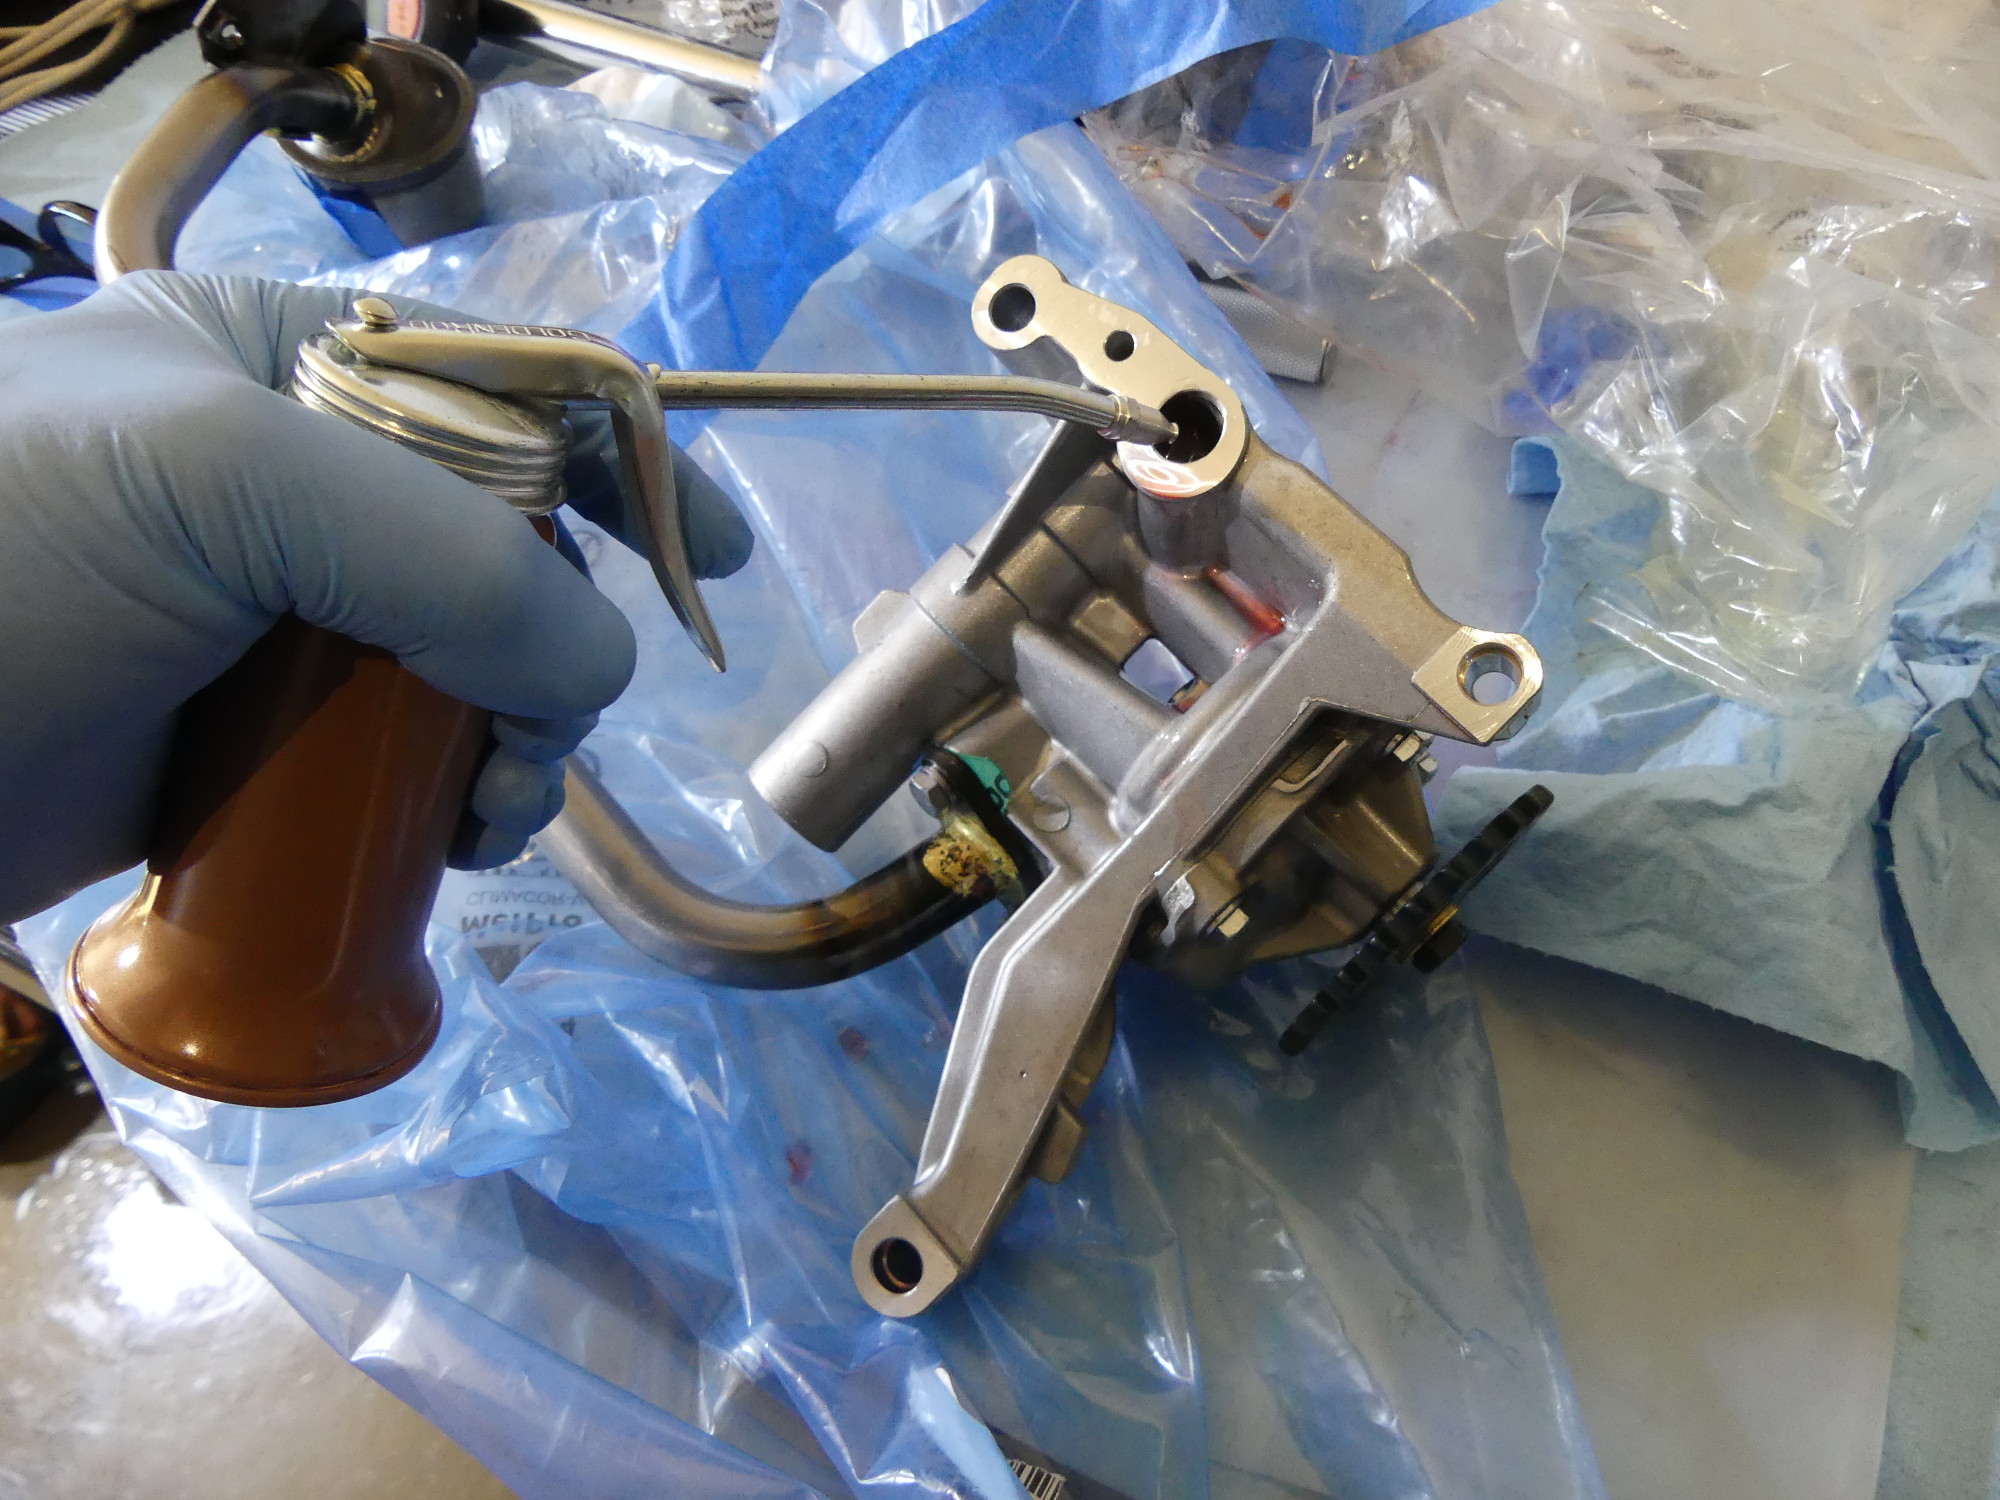 The easiest way to prime a recently disassembled pump is to squirt some oil into the pump outlet and turn the pump backwards and forwards until a column of oil is seen to rise in in the outlet and resistance to turning the pump increases. |
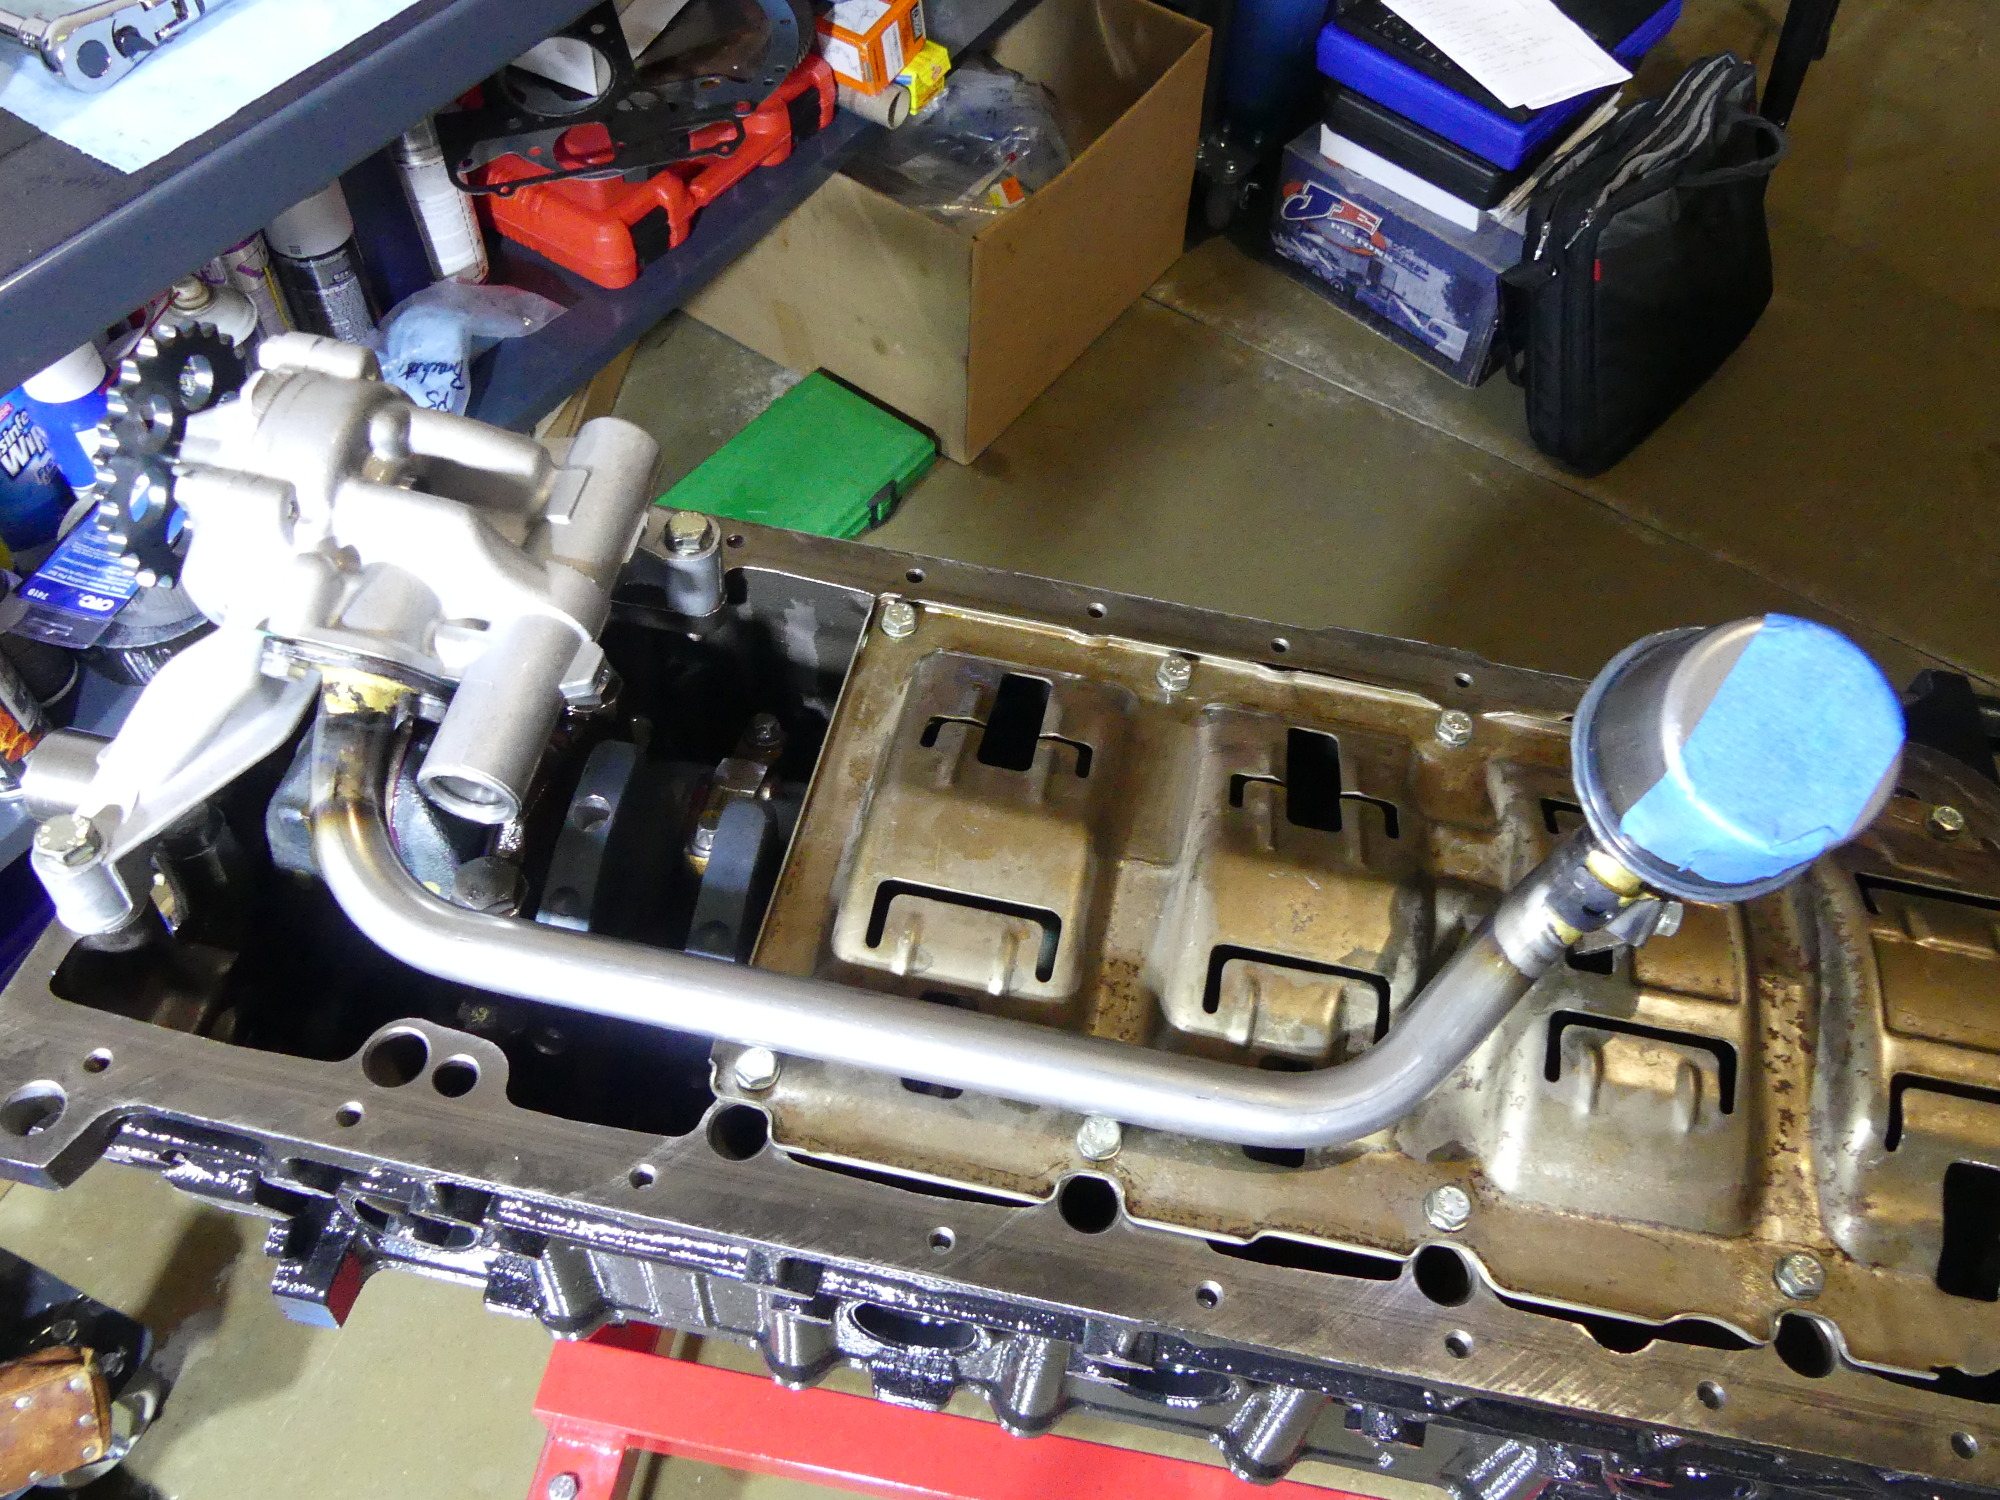 Initially the new pump and pickup didn't want to fit but I managed to figure out that I needed to to loosen the bolts that secure the pickup to the pump to align the pickup tube with the bracket on the right. |
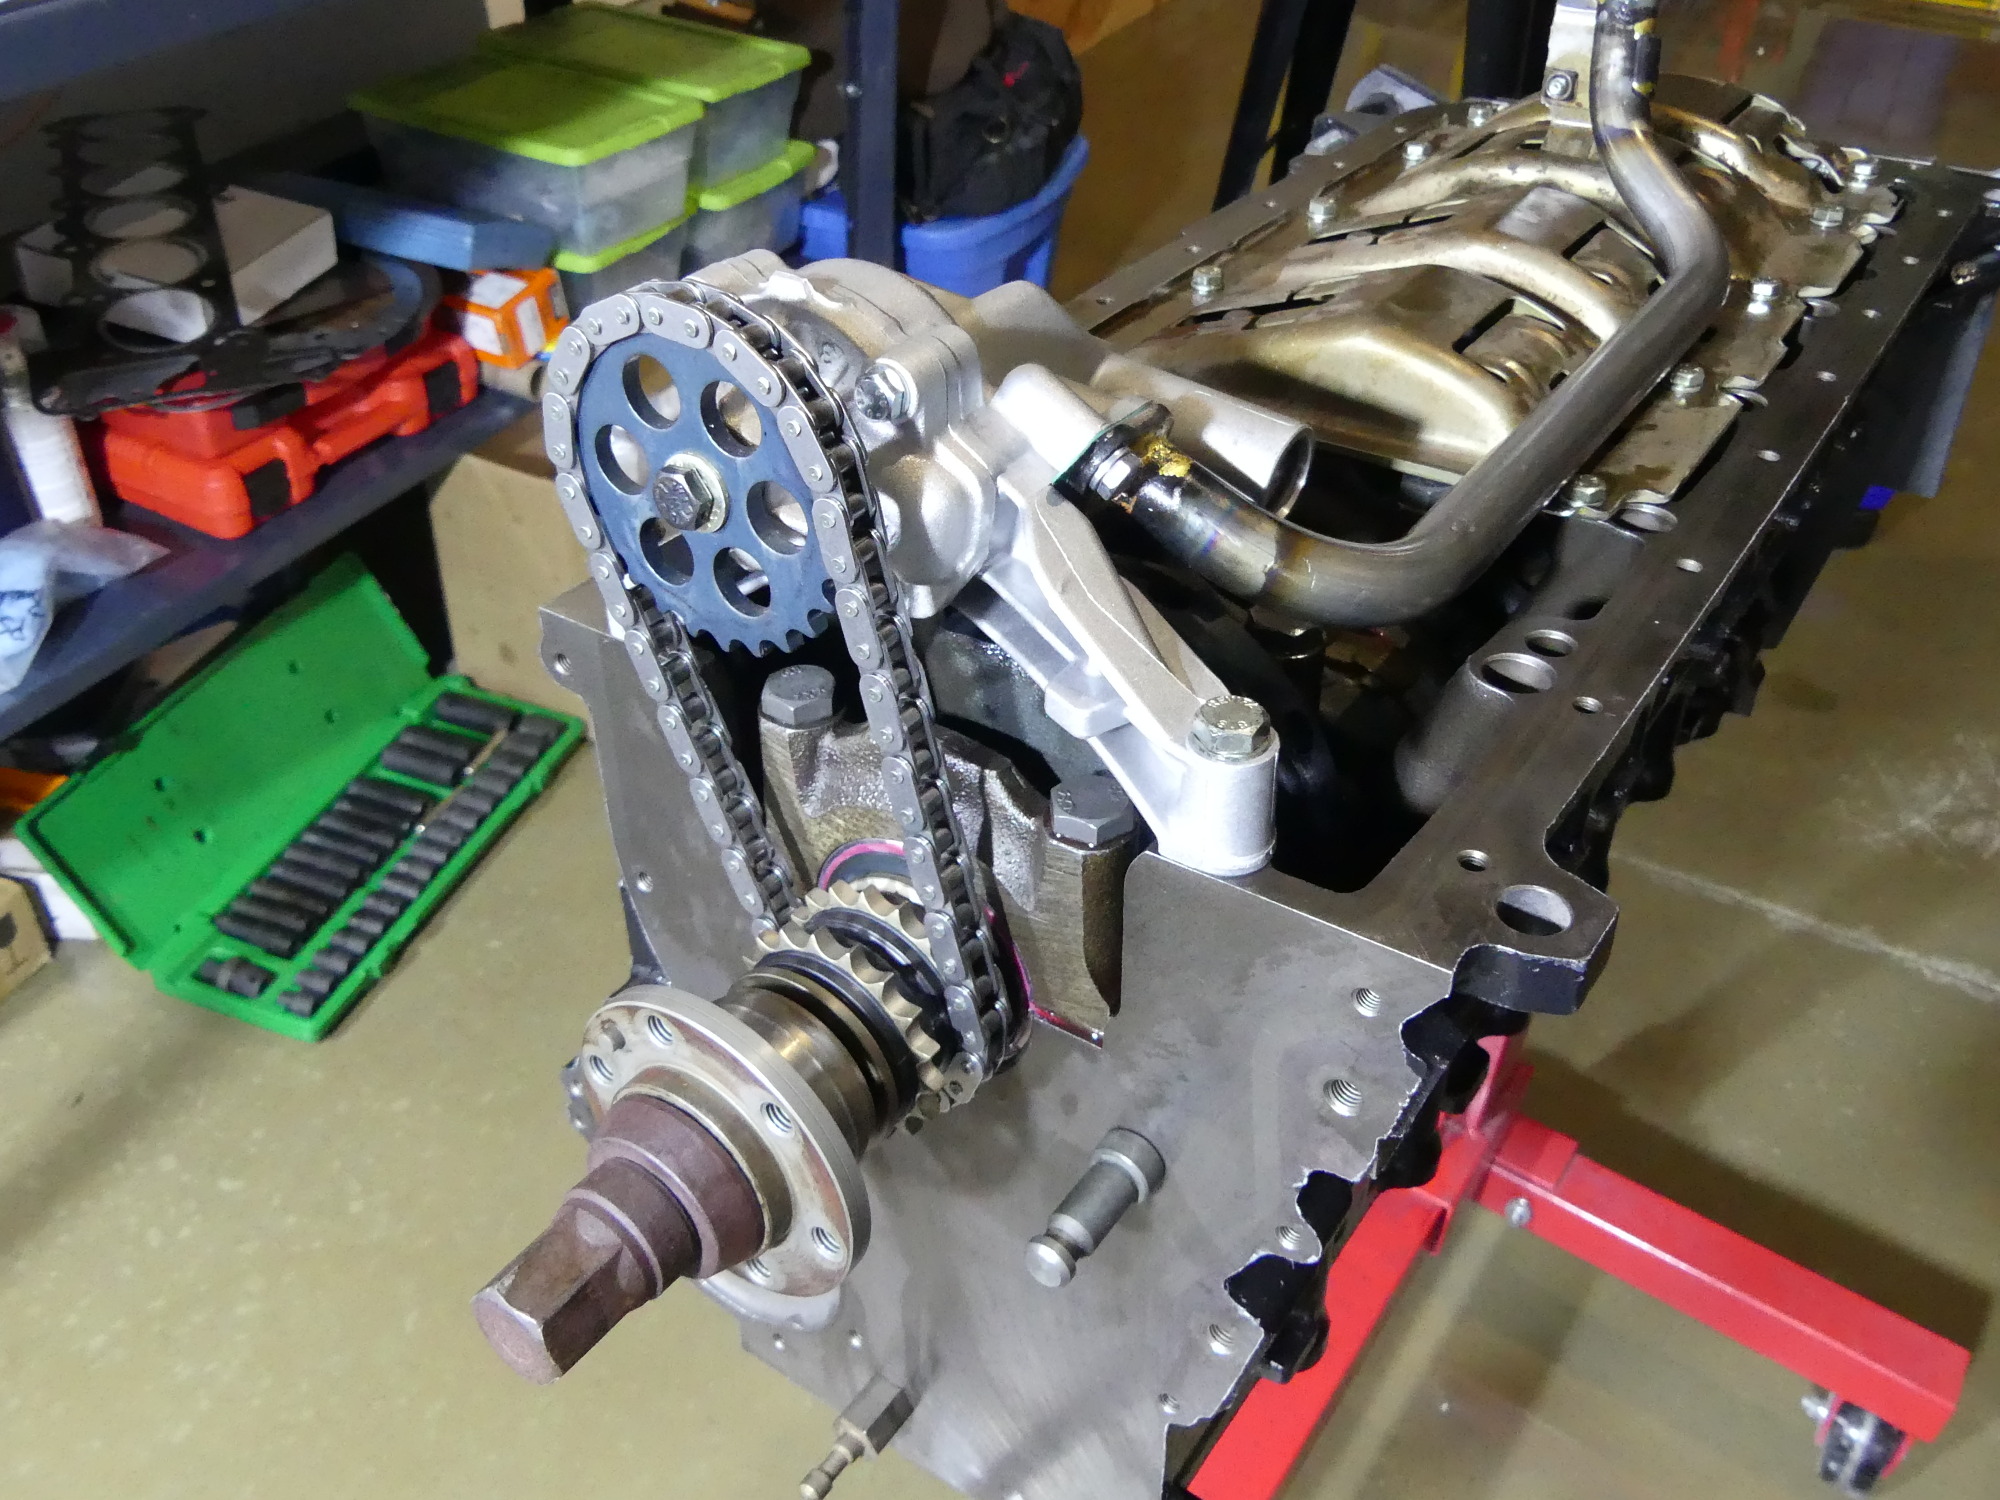 I installed the new double chain sprocket and chain. Combined with the new Achilles oil pump sprocket, the entire oil delivery system is new and the chain has very little slack. The heart of my M52 is all new! |
I pulled the trigger on my oil can five or size times to put a bunch of oil into the outlet of the pump and rotated the pump backward to suck it in. As I rotated the pump forward again I initially saw only a bunch of bubbles float upward through the oil in the outlet but eventually the entire column of oil began to rise and start dribbling out of the outlet. As this occurred the I felt the sprocket "firm up", indicating that the pump was fully primed. Now, truth be told, a bunch of this oil did in fact leak out when I inverted the pump and installed it on the block, but it's safe to say I accomplished the intent of the priming process.
I then installed the new double-chain sprocket on the crank, wrapped the new oil pump chain around the double sprocket as well as the Achilles pump sprocket, and mounted the pump sprocket to the pump. Of course, this last step was easier said than done. Several things combined to make this a bit more difficult. First, the chain was new, so it was quite tight. Second, the rubber on the double sprocket, which I believe is intended to reduce chain noise, spread the chain out a bit more. Lastly, the new Achilles sprocket is precision machined with a double-D hub which is intolerant of even a small misalignment with the pump shaft. I had to reposition the shaft a good 6-8 times to get the angle perfect. But this is what happens when parts are correctly machined with no slop. Kudos to Achilles for building a quality product.
I wrapped up the process by shooting some brake cleaner into the threaded hole in the shaft per Achilles' instructions, blew it out with some compressed air, cleaned the bolt and applied some blue loctite before tightening it counter-clockwise (as it's a left-hand thread) and torquing it to 22Nm (17 ft*lbs). I would have safety wired it before I wrapped up work for the day but I couldn't remember offhand where I put the safety wire included in the kit. I'll tackle that tomorrow.
Next Up
After I install the safety wire to secure the oil pump nut I'll install the timing chain guides, primary timing chain and timing cover. After I put a small film of RTV in a few places I'll install the oil pan and crank sensor and call the bottom end assembly complete.