


Wednesday, October 4, 2017
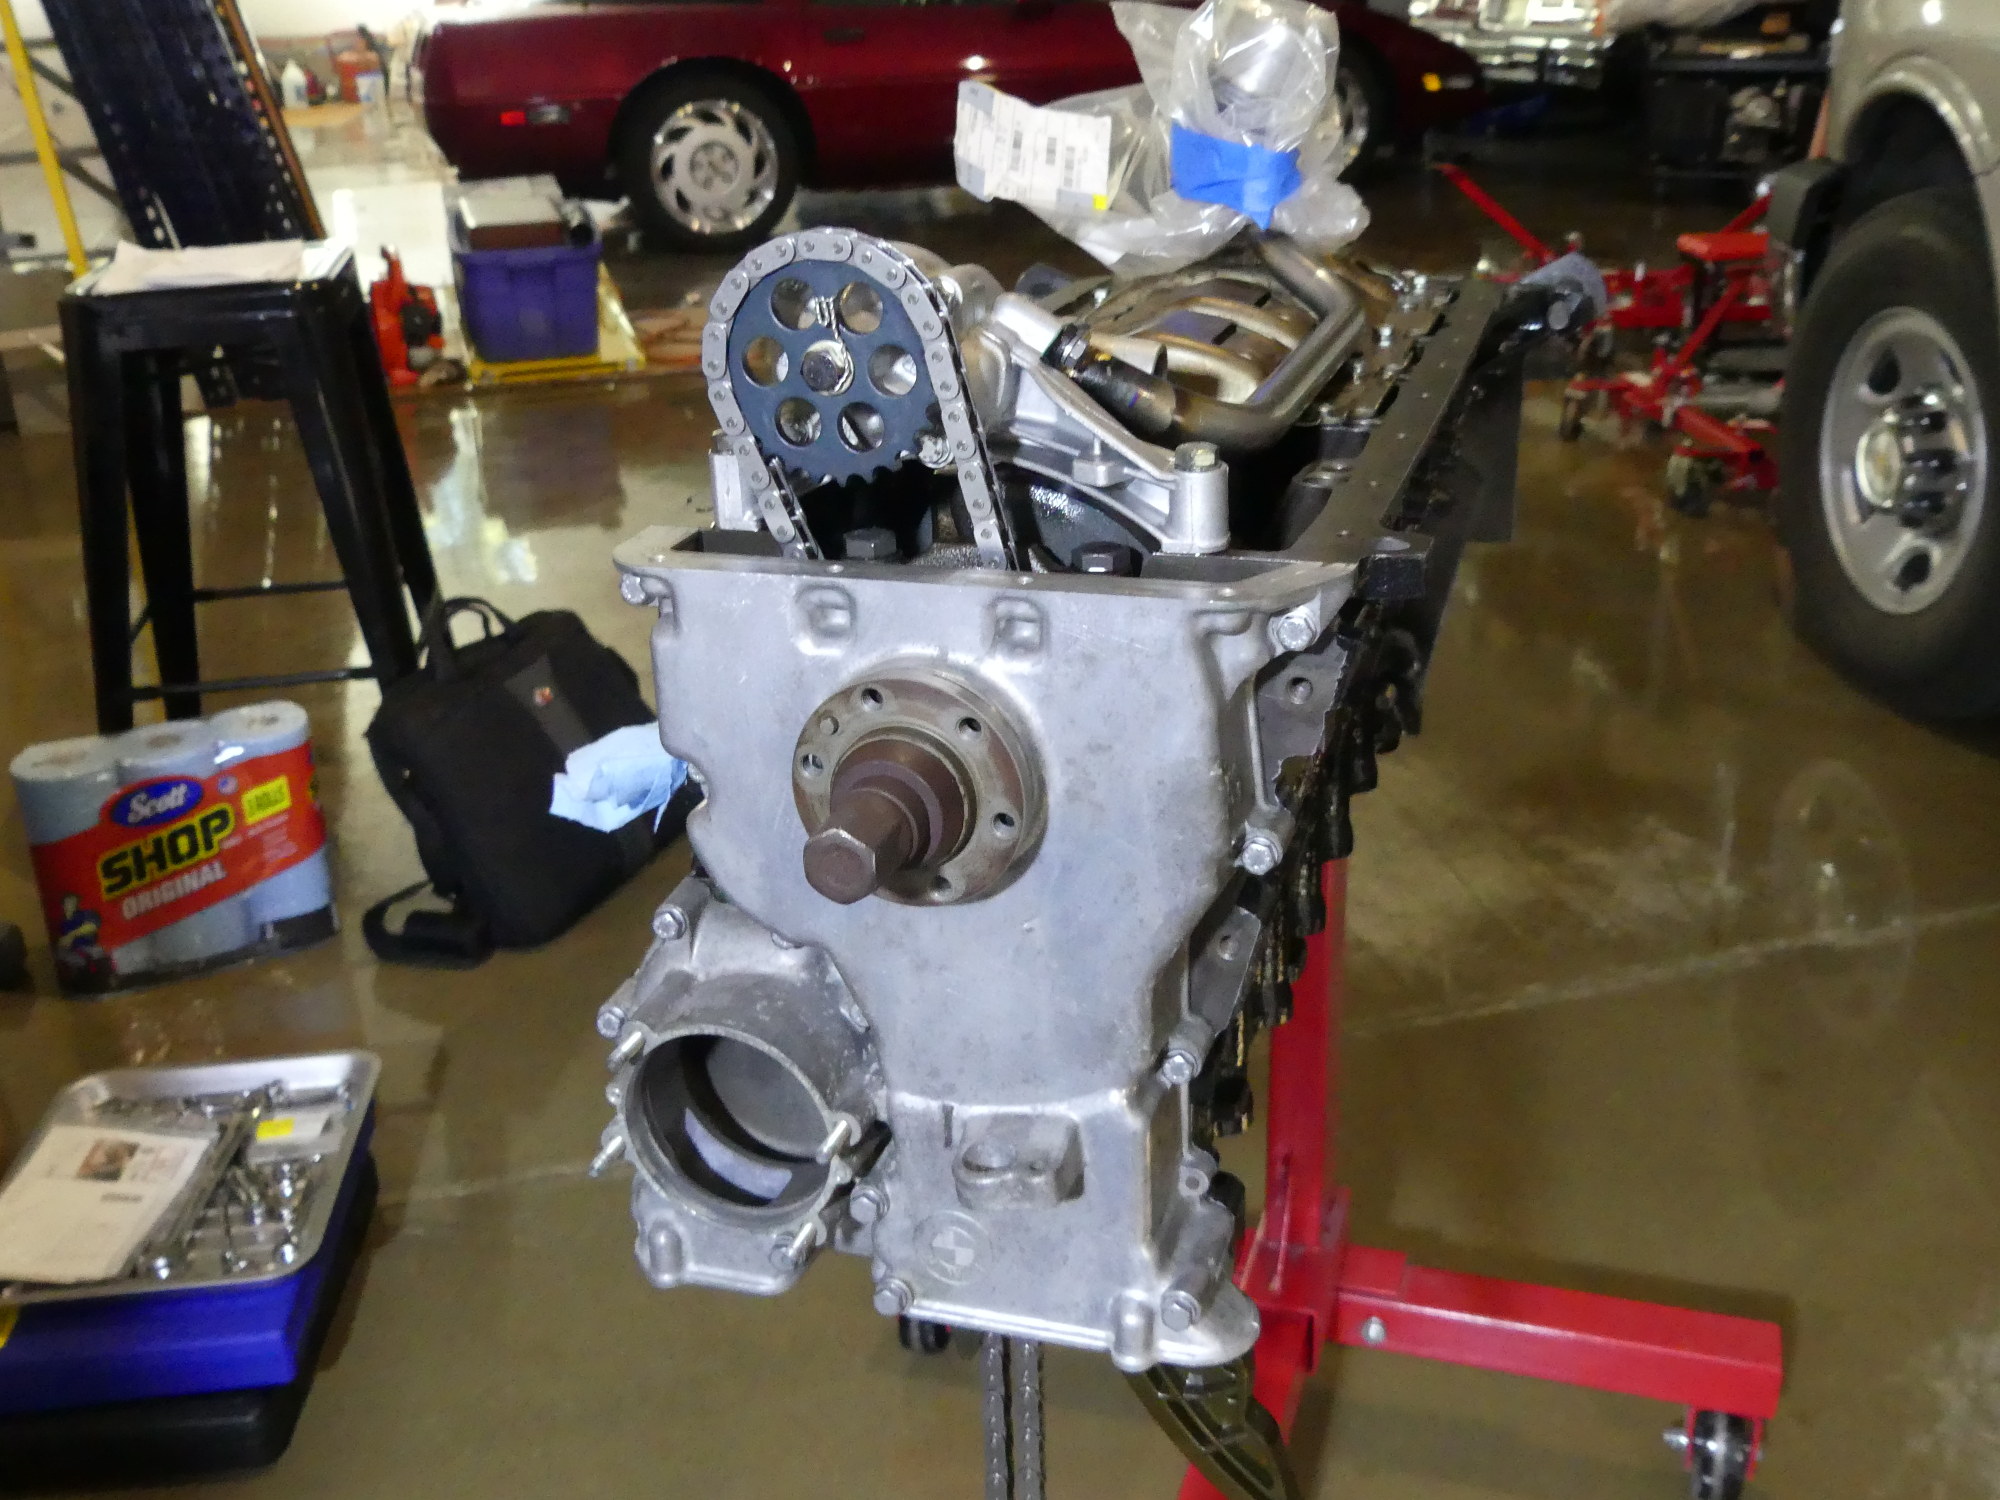
Today I wrapped up a bulk of the bottom end assembly by safety wiring the oil pump sprocket bolt, installing the timing chain guides, primary timing chain, timing cover and, lastly, the oil pan.
Safety Wiring Oil Pump Sprocket Bolt
I'm familiar with safety wiring from my work in aviation. I would have preferred to use safety wire pliers for this work as it usually results in the wire being more cleanly twisted and tight to the bolt or other fixtures being secured, but I no longer have a set and I wasn't about to buy one for this project. As a result, I used a couple sets of regular pliers and twisted the wire by hand. This took me two tries. The first looked okay but it didn't fit nearly as tightly as I wanted, so I did it again. Fortunately Achilles thought ahead and provided enough extra wire to do this. Grabbing each end of the wire with a pair of pliers I "snapped" the wire to tighten it at the bolt and and then gave it a reasonable twist (about 8 twists per inch) before wrapping it around the sprocket web and twisting again on the other side. I finished up by tucking the tail away so it presented no sharp edge per aviation SOP.
 Not the best safety wiring job of my career but good enough. In retrospect I wished I had drilled a small hole above the web and secured the safety wire there, but this will have to do. |
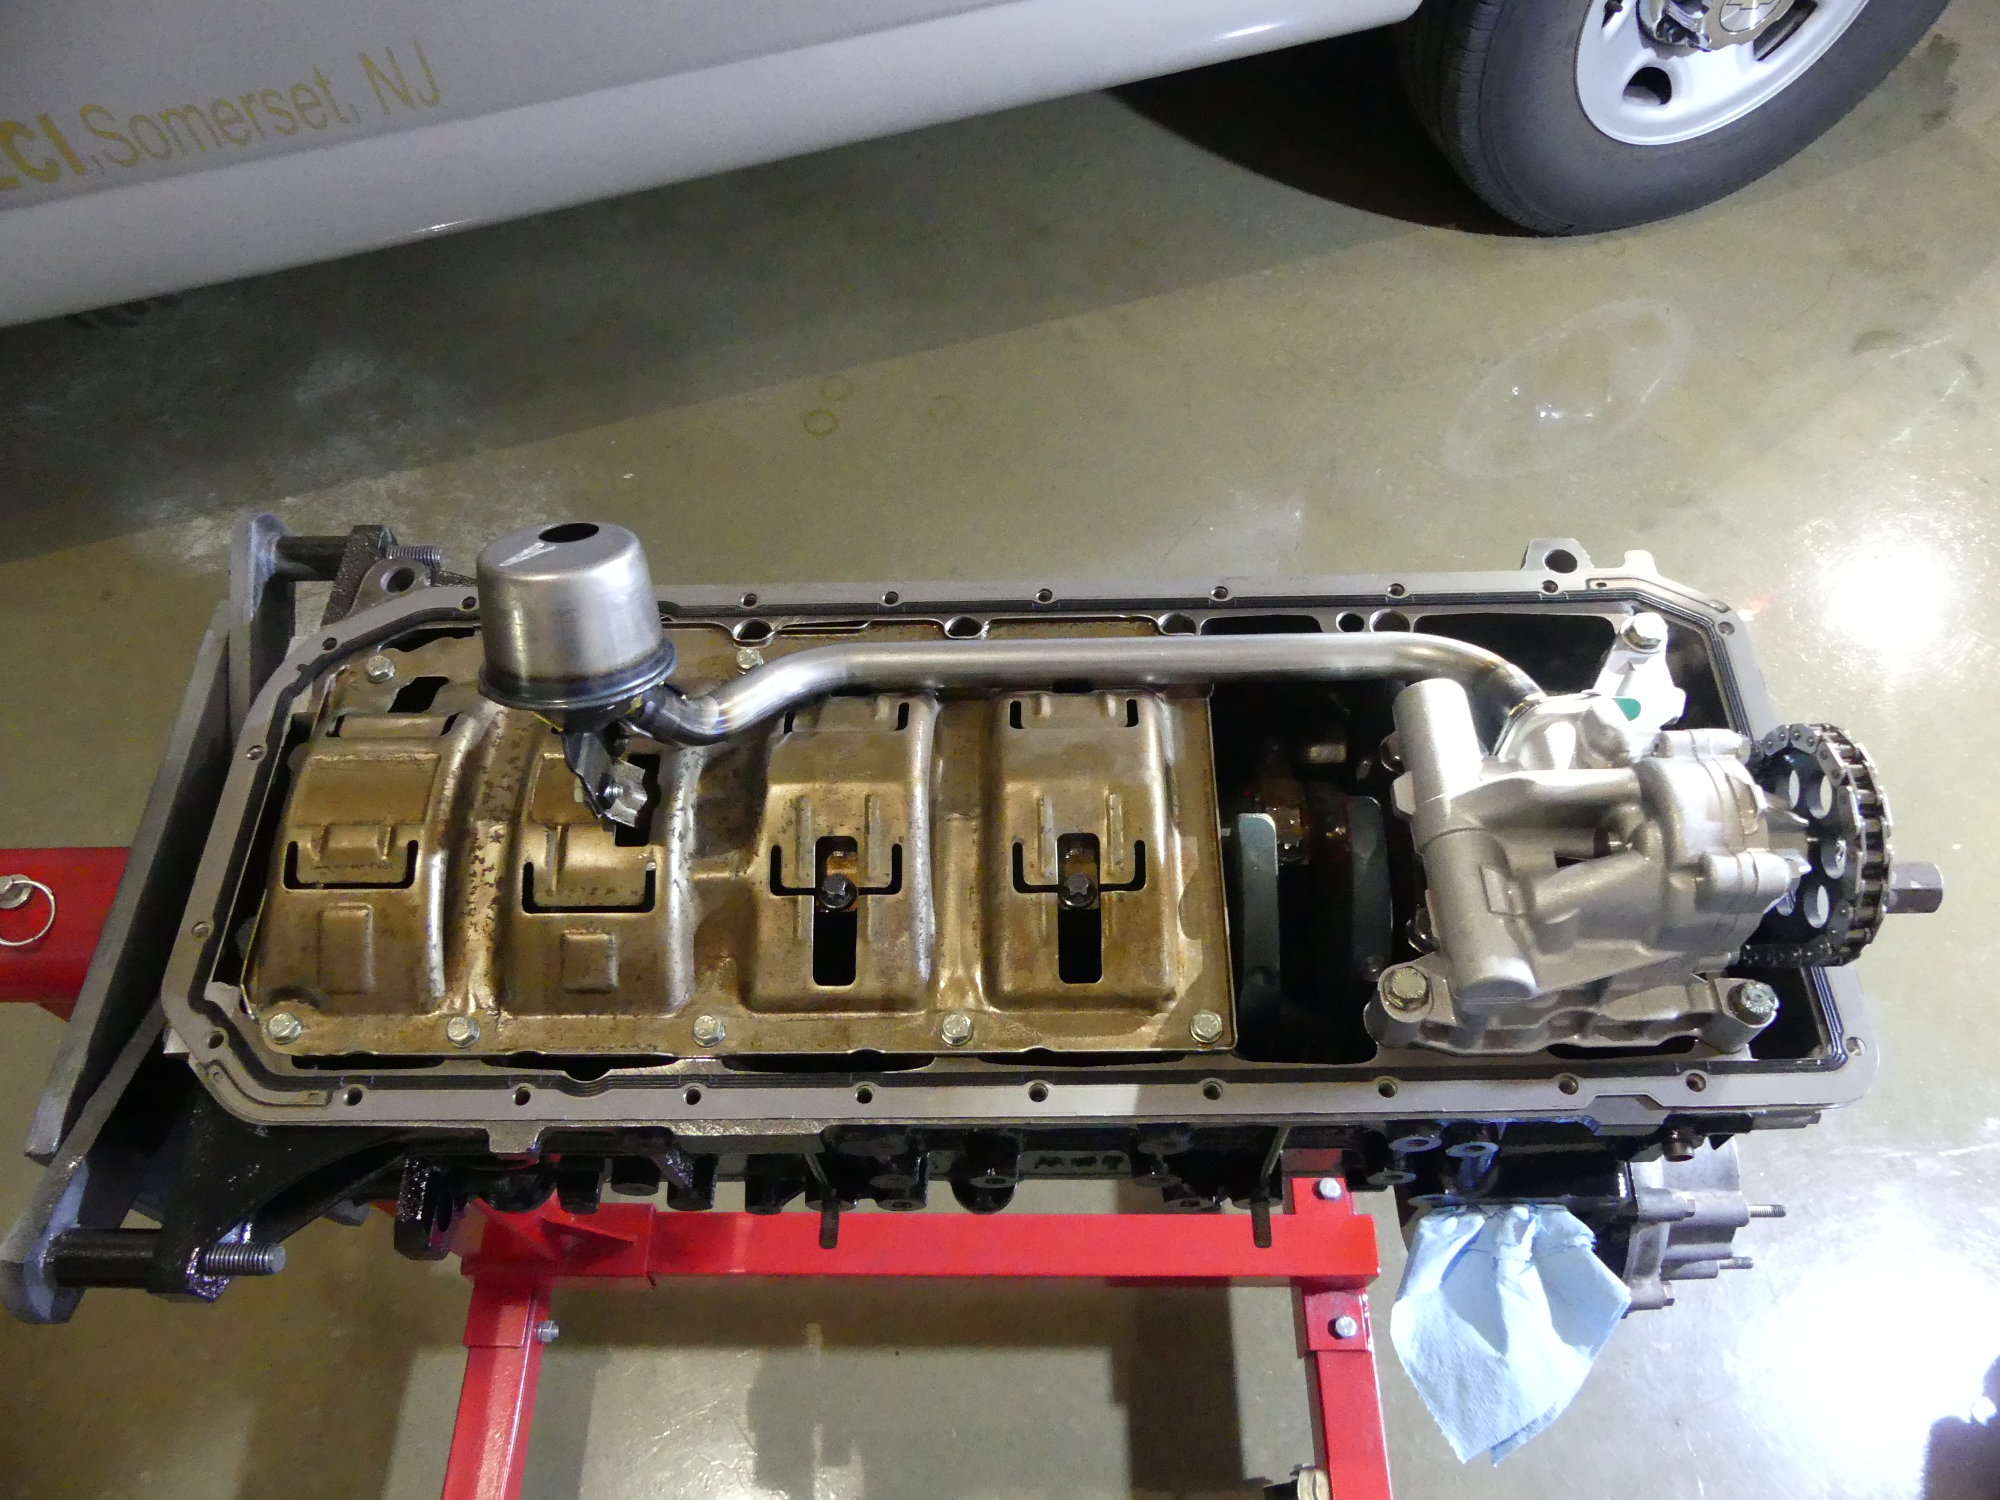
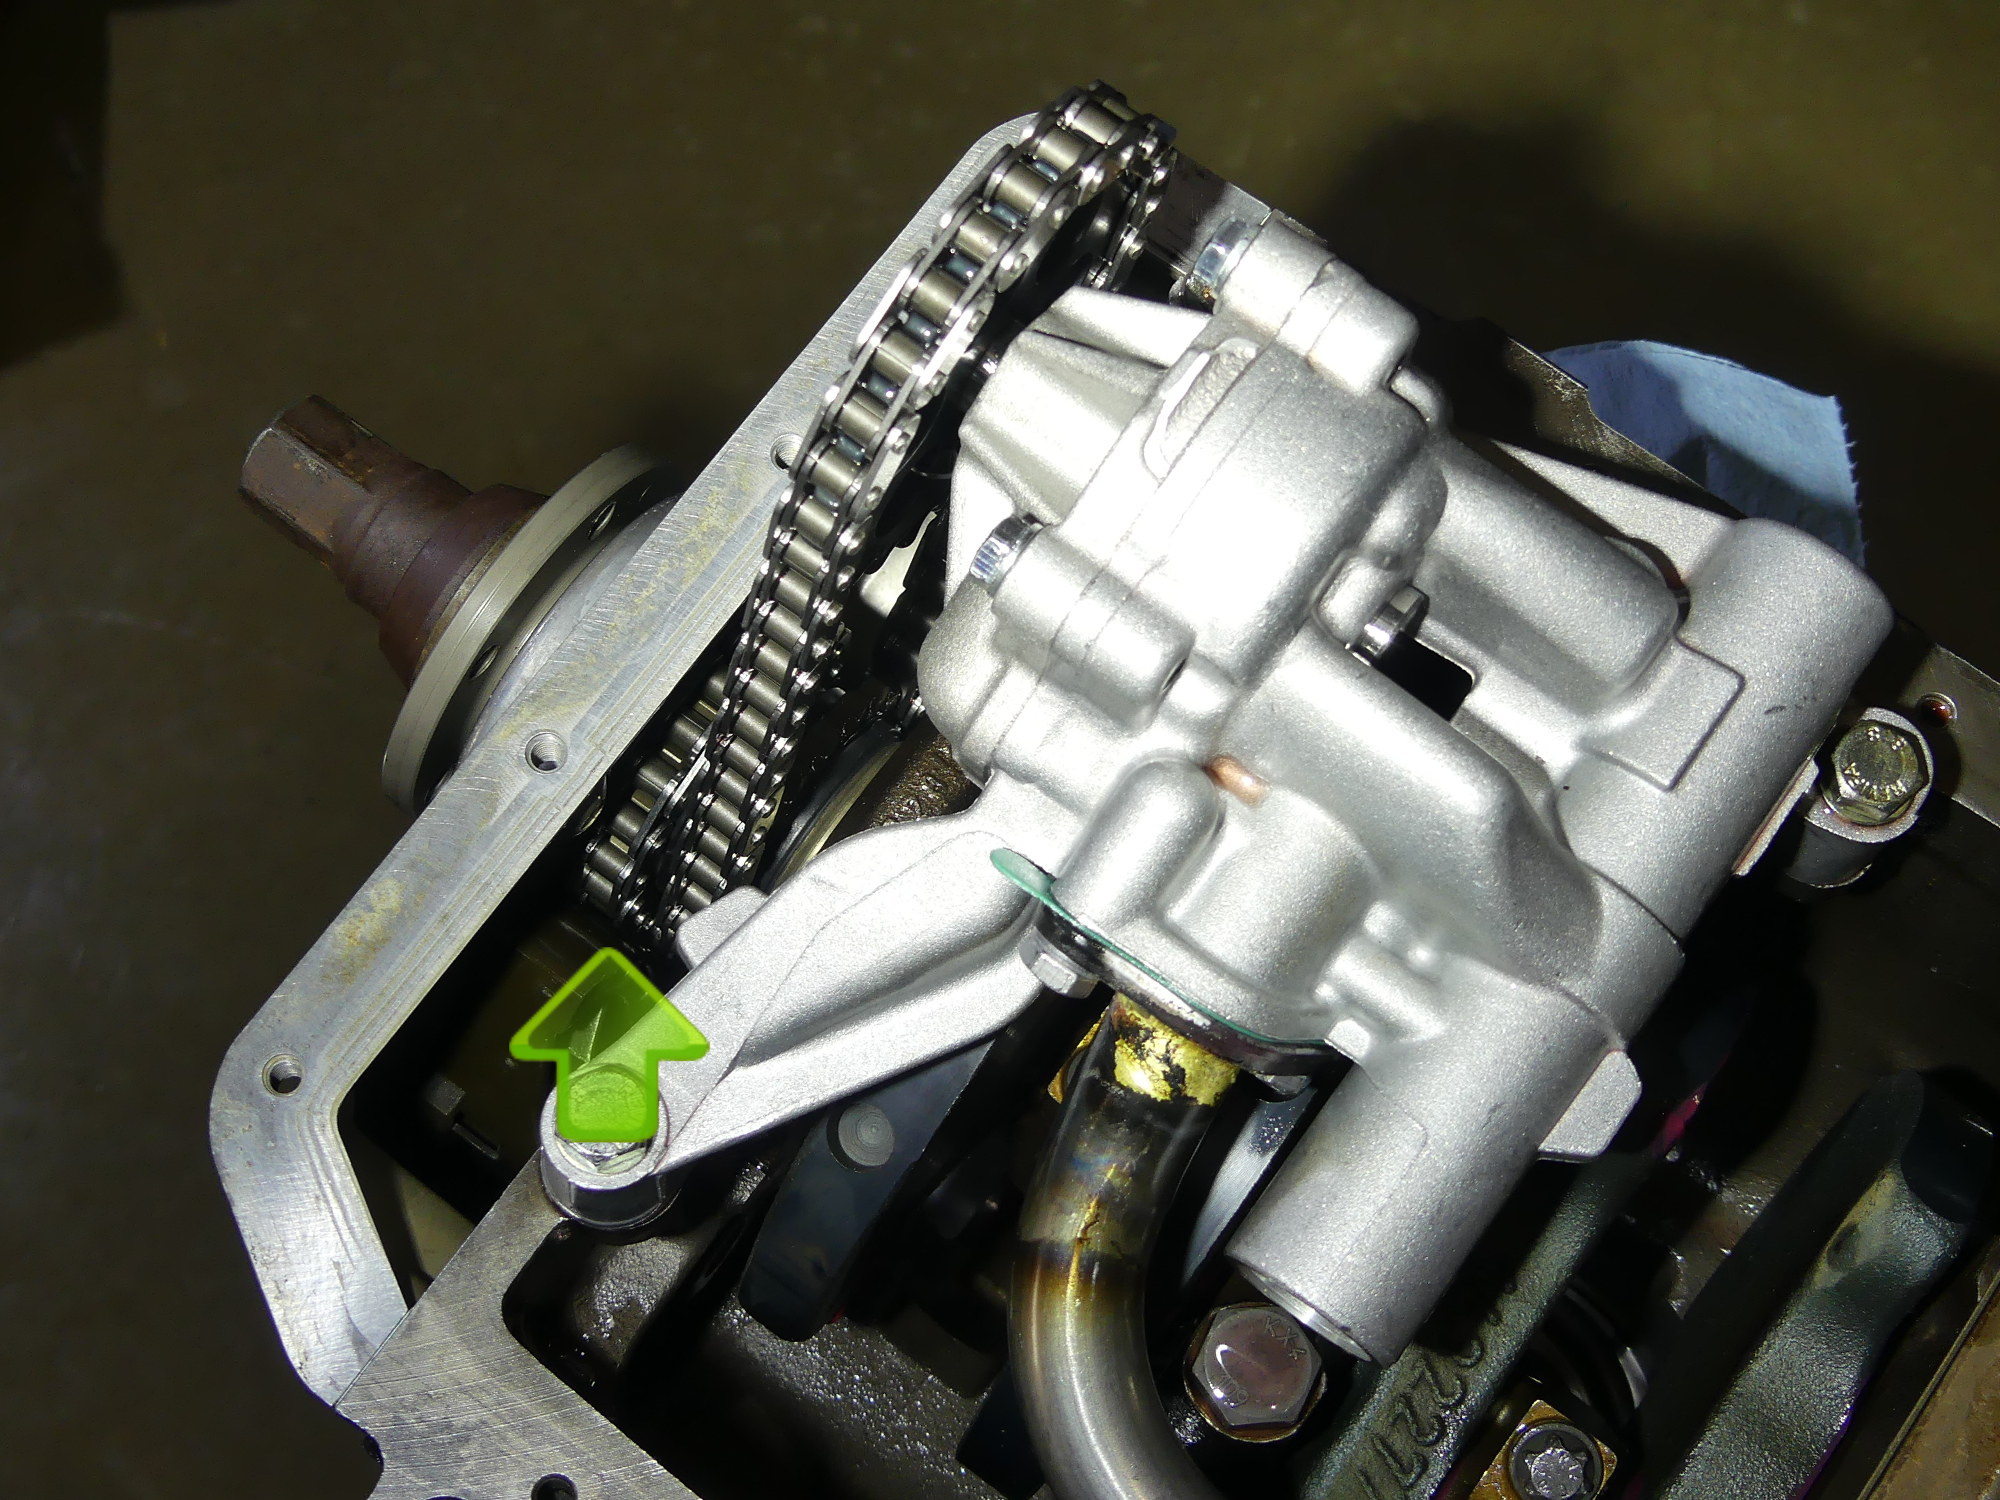 After looking at the timing cover I realized that it lacks the boss cast into the M54 cover (near the green arrow) that prevents the chain from falling off sprocket as long as the cover is installed. |
 This is my answer to the question of how to keep the primary timing chain firmly mated with the crank sprocket until the head is installed and it is held in place by the exhaust cam timing sprocket. Seems to work. |
This process revealed two issues I have with the otherwise well designed Achilles product. First, they drilled the head of the bolt incorrectly. The correct way to prepare a bolt for safety wiring is to drill directly through the head of the bolt, perpendicular from one flat to the opposite flat, but they drilled from one flat to the adjacent flat, a technique typically used for nuts. This causes the safety wire to exit one of the flats at an oblique angle, which places additional stress on the wire. Second, they took the time to custom manufacture a sprocket yet didn't bother to drill some small holes in the webs of the sprocket to anchor the safety wire. No matter how tight you make the safety wire around the web it can and will tend to move along the web as it reacts to changes in centrifugal force as a result of RPM changes. I am concerned that this will result in wear of the web and safety wire, and, in the long term, cause the wire to break.
Installed Timing Chain, Guides, and Cover
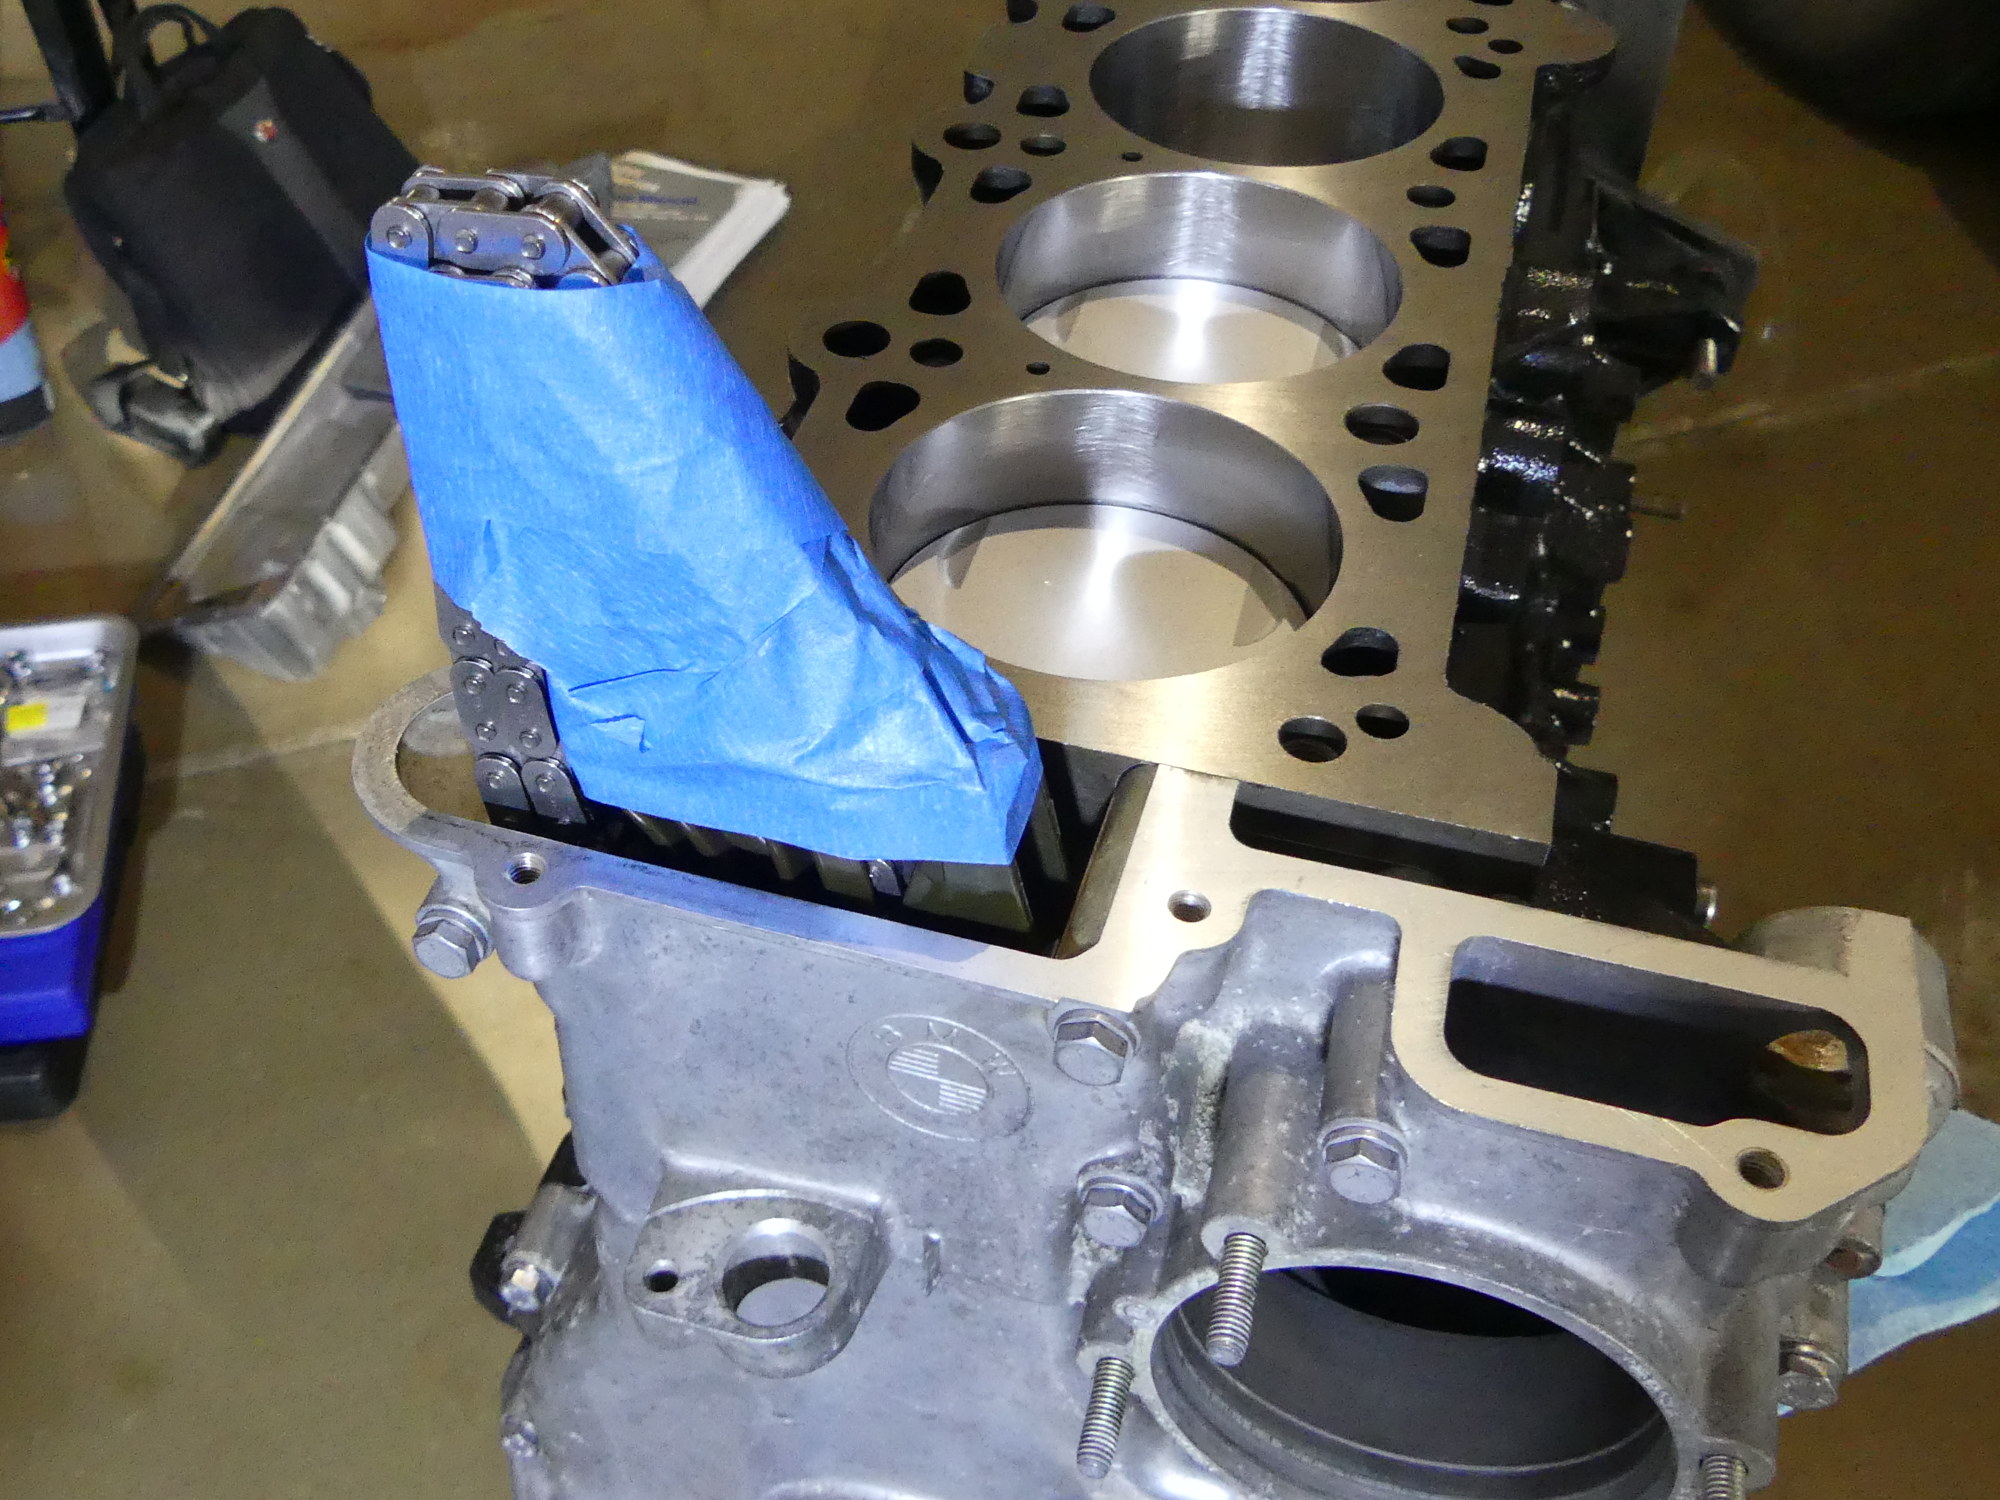
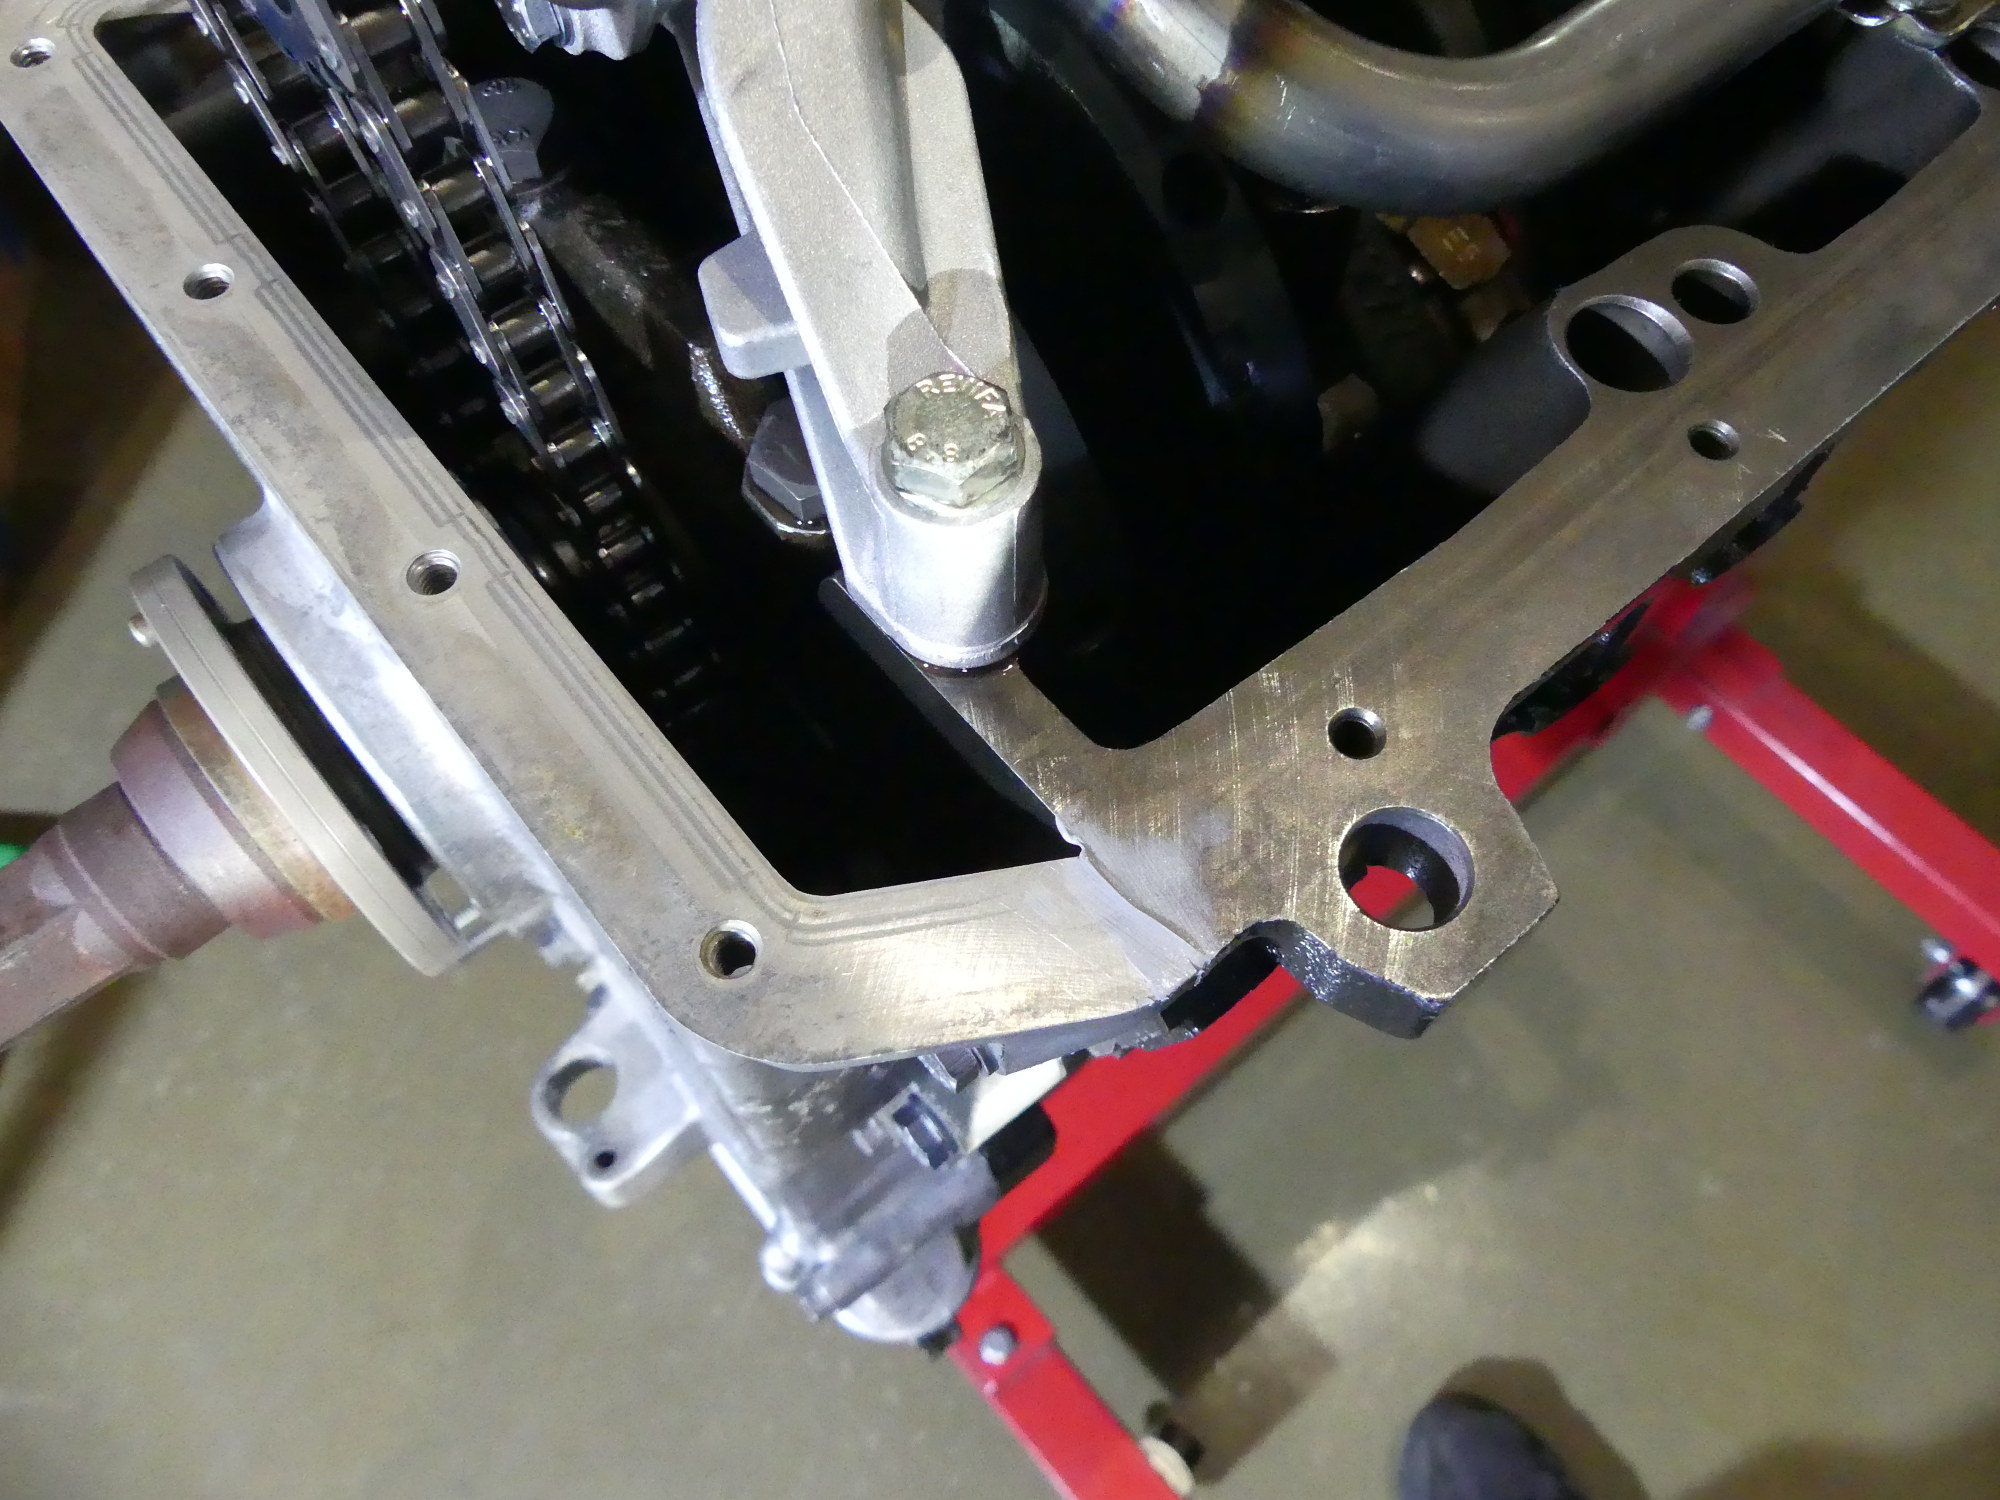
This went as expected, though I had to check the pictures I took during disassembly to ensure I installed the smaller guide correctly the first time around. As the plastic of these guides is generally hard for wear resistance it's brittle even when new so I assumed the clips would break if I tried to remove the part. Would it have killed BMW to mate these things to the posts with a screw and washer? Apparently.
As I mated the timing cover to the block it dawned on me that the M52 cover lacks the half-moon boss cast into the timing cover designed for the M54. This means I'll have to be paranoid about keeping tension on the chain so it doesn't fall off the sprocket, which is easier said than done while the head is being installed. Had I realized this earlier I would have researched whether it was possible to use the M54 timing cover on the M52.
Installed Oil Pan
Installing the oil pan turned out to be a straightforward process but it did involve turning a lot of bolts. I decided to hand tighten them only at this point, just in case the timing chain falls off the sprocket and I have to pull the pan to fix it. I will torque them to spec once the timing chain is secured to the exhaust cam sprocket and the sprocket, in turn, secured to the cam.
 BMW requires a very small amount of gasket maker (in my case an oxygen sensor safe Permatex RTV) at the four corners of the oil pan where the gasket crosses the gaps in the rear main seal carrier and timing cover. |
 Taken seconds before I installed the oil pan. You can see the nice new oil pan gasket, which consists of a ribbed silicone seal on a metal substrate. Take that, driveway oil spotting! |
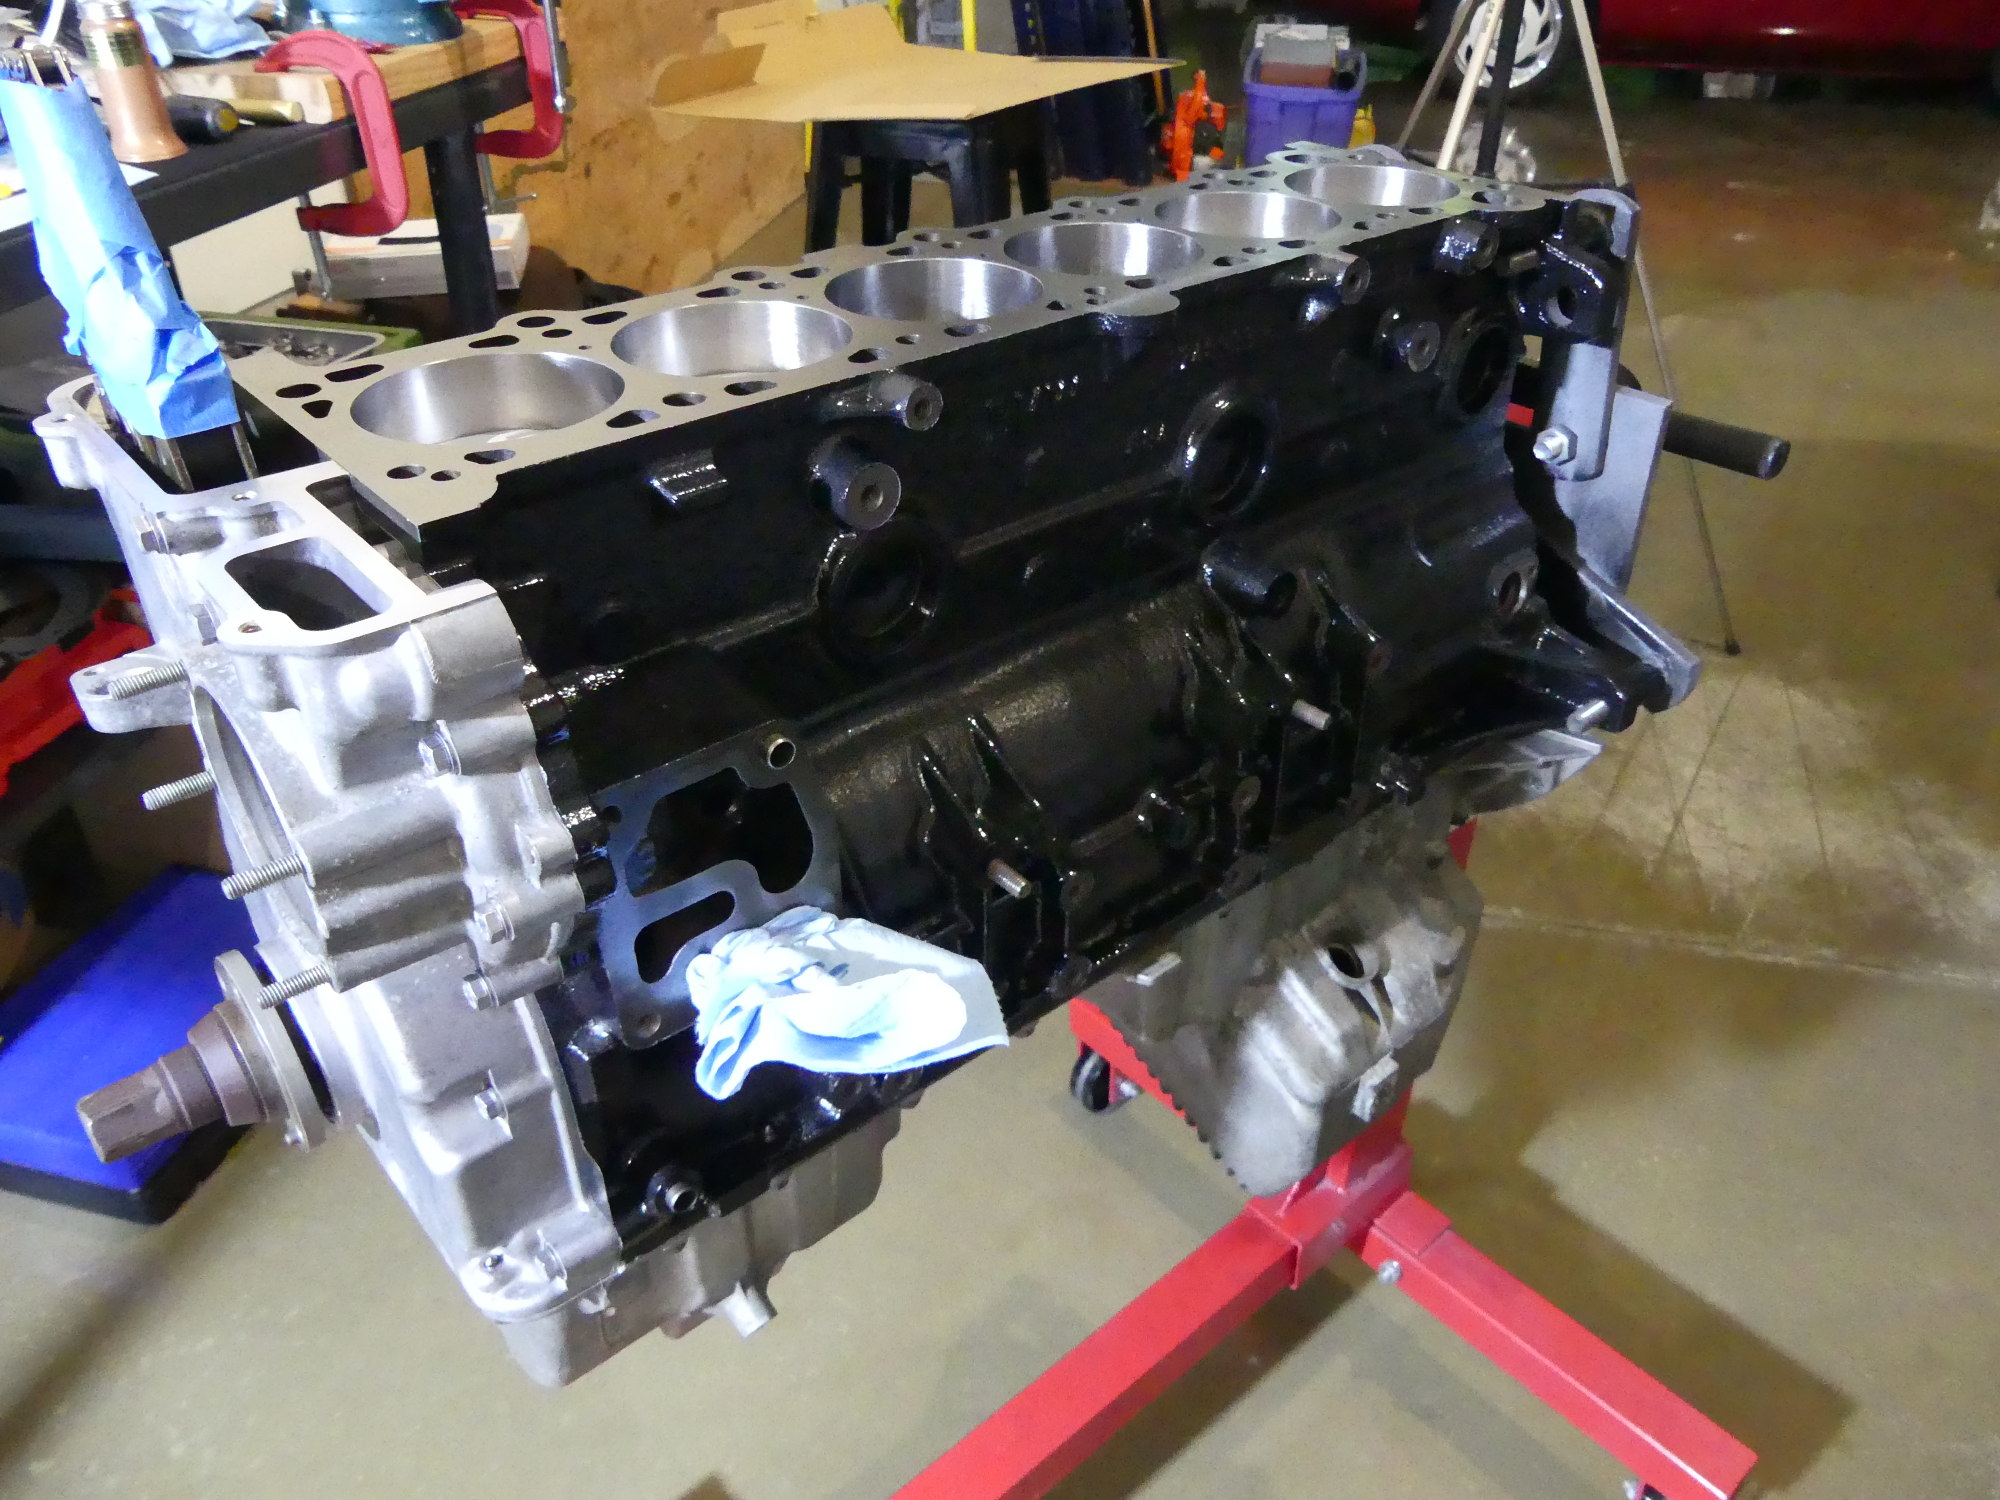 Just a gratuitous perspective shot showing the timing cover and oil pan installed. A lot of work was required to get to this point, but it's shaping up nicely. It's starting to look like an engine again. |
The ETK indicated that the new bolts I bought for this application would be ZnNi plated but the bolts I received were black with a purple iridescent finish as opposed to the more traditional "purple silver" finish I've received so far. I'm not sure if the color is merely for cosmetics or the process that results in the finish provides a different corrosion resistance.
Next Up
I have to review a bunch of procedures and torque specs before I install the head. When ready I'll remove the AMC cam carriers, clean the head and mount it to the block. After that I'll install my new BMW cam carriers and cams, time the engine and install the VANOS.