Do-It-Yourself Tire Replacement
for the Cessna 172
Page 4
New Shoes
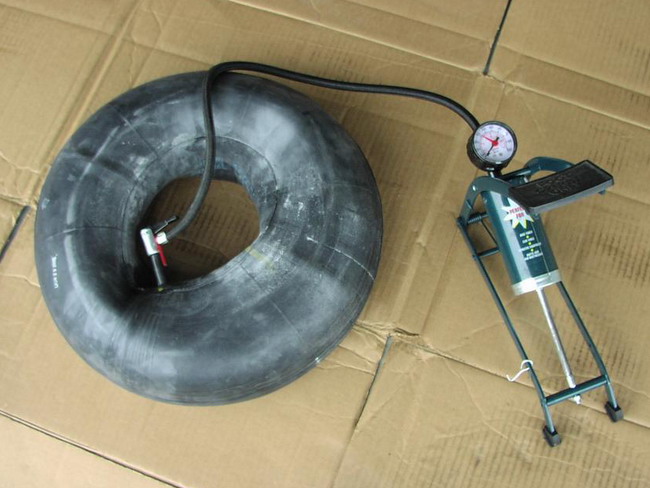
Once the rim was separated from the old tire and the bearings repacked and reinstalled in each half, we began work installing the new tire. We first pumped up the tube slightly to check for leaks and overall integrity. We actually deflated the tube a bit after this so we had some hope of cramming it into the tire later.
Tires destined for small GA aren't balanced like a car, but some attention is paid to aligning the tube and tire such that any imbalance will be minimized. As you can see below, there's a red triangle on the tire and a yellow dot on the tube. The goal is to put the heavy part of the tube in the same area as the light part of the tire, thus keeping the overall weight the same around the circumference of the tire. We accomplish this by installing the tube such that the dot on the tube is directly across from the triangle.
Here you can see what I mean:

One of the more frustrating parts of the job can be cramming the tube inside the tire through the small wheel opening. The goal is to insert the tube such that the valve stem goes in last. Why? So we can keep an eye on the alignment of the tube and we don't have to rotate the tube much to align it afterwards. Keeping the sharp edge of the stem away from the remainder of the tube doesn't hurt either.
This process was aided somewhat by a sprinkling of "tire talc" (a.k.a baby powder) inside the tire and bit on the tube surface (which was already talced somewhat from the manufacturer). The interior of the Michelin Air tire in particular is coated with a smooth material that makes tire talc is almost unnecessary, but we decided to use a bit just for our own sanity in squeezing the tube past the bead of the tire.

When the tube was fully inserted and aligned, we pumped it up a bit more so it fit loosely in the tire. This allowed us to again check for kinks, folds, or anything else that might cause a failure at full inflation pressures.

We then began the reassembly of the tire by first installing the front half of the wheel (containing the valve stem). This is necessary because insertion of the valve stem through the hole in the wheel requires it to be inserted into the tire opening at an angle that would otherwise conflict with the other half of the wheel.
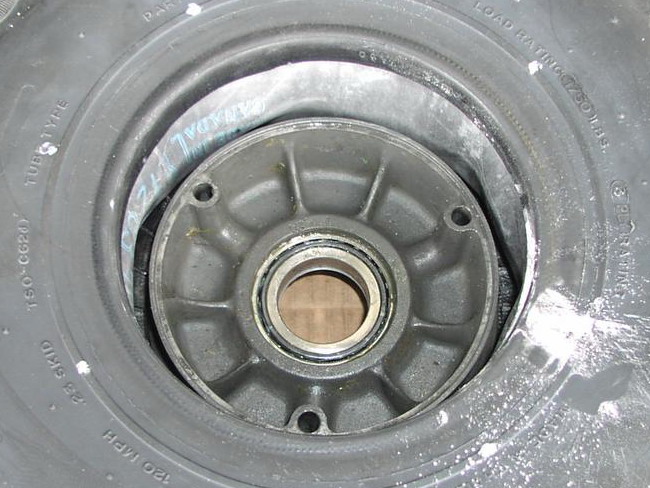
Once we had the front half of the rim installed, we flipped the tire over (shown below), inserted the other rim half, then the brake rotor, and finally the washers and nuts on the front side of of the wheel.
We then torqued each bolt to spec -- 120 inch pounds, to be exact. Rather than just torquing right to the final torque value, we approached it in steps. In this case, we torqued first to 80 inch pounds, then to 100, and finally to 120. Sorry, no pictures of this process, as it required all hands on deck to do properly.